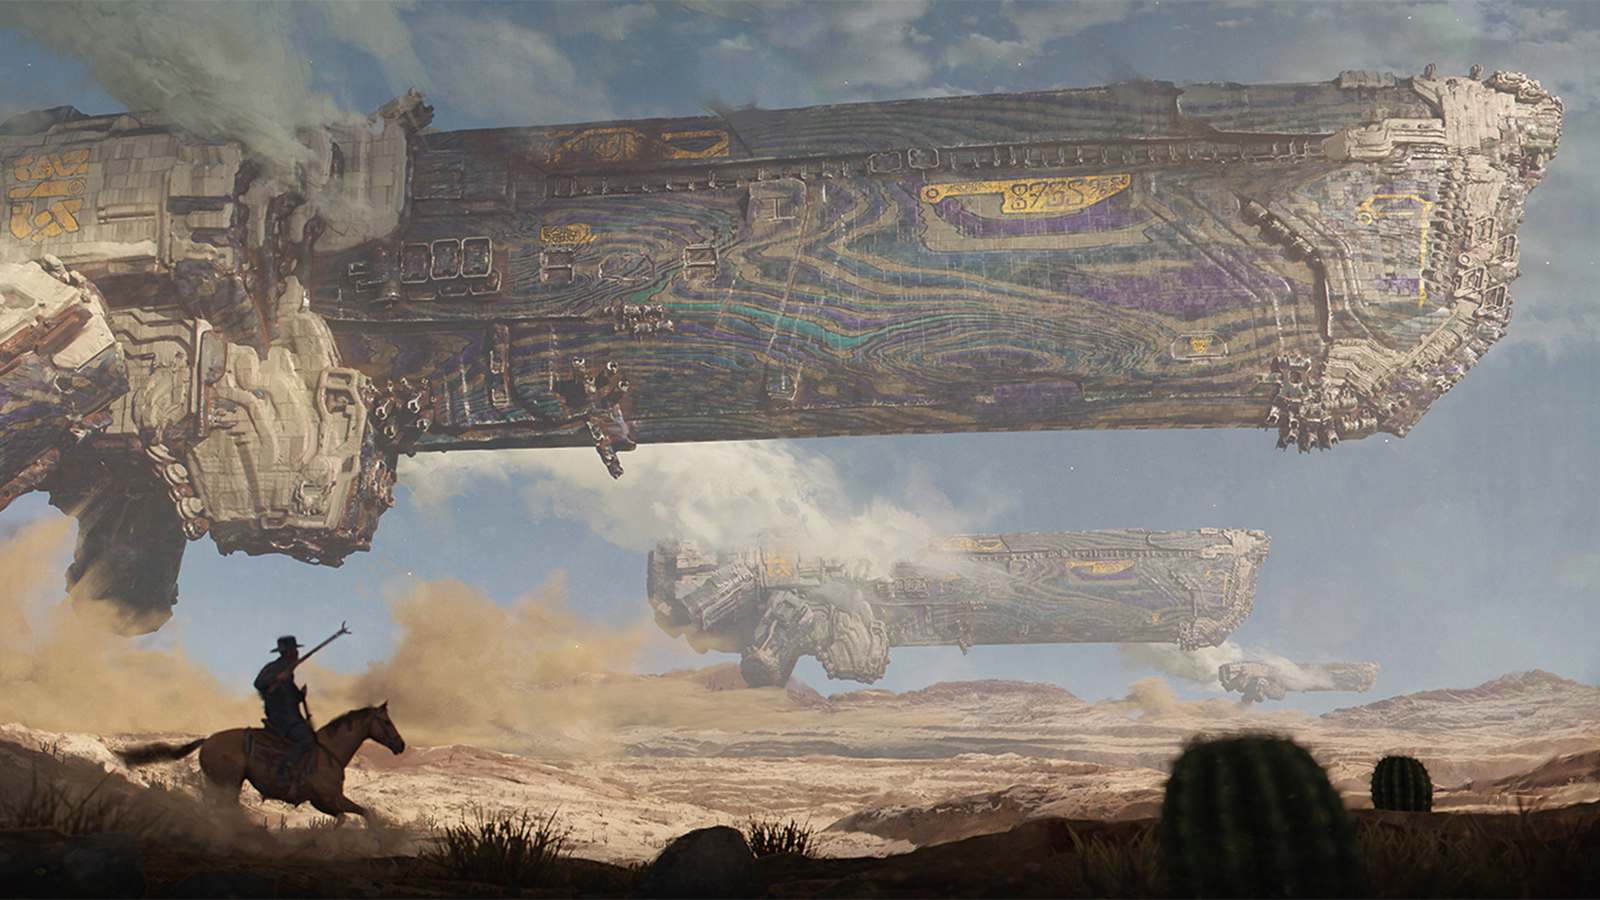
How to paint a ghostly figure in Photoshop
Expert Tom Bagshaw explains how to paint translucent shapes using Photoshop and create a ghost.
Sign up to Creative Bloq's daily newsletter, which brings you the latest news and inspiration from the worlds of art, design and technology.
You are now subscribed
Your newsletter sign-up was successful
Want to add more newsletters?

Creating ghostly shapes with a translucent effect can be a little daunting, but I use a simple technique that can be applied to a lot of things where you may need a translucent feel, such as ghosts, underwater creatures and plants, smoke, glass objects or even bubbles.
Hone your illustrator skills with these top tutorials
I use Photoshop CS2 but my method can be readily applied using later versions as well as Painter, because it makes use of vector shapes and simple layer masking. I think that as long as there's a light source and you can make a guess at where that light will affect a translucent object you're half-way there.
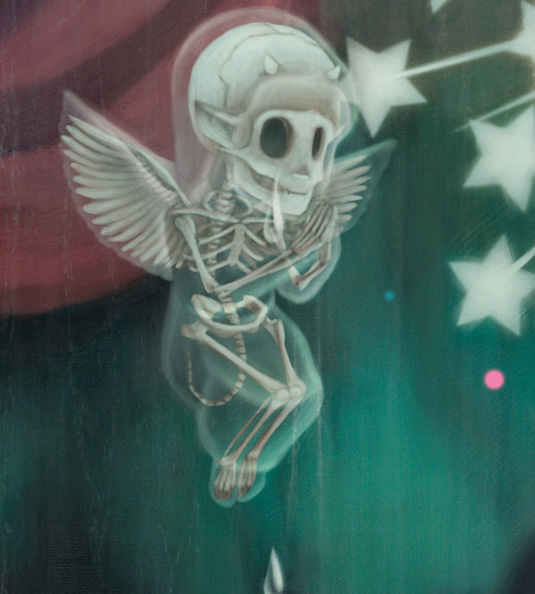
I start by sketching the shape I want to appear translucent on a new layer. At this stage don’t worry about any details – just concentrate on the main shapes. On a layer above I use the Pen tool to create a vector shape.
With the shape selected, I create a Solid Fill layer, drop its opacity down to 90 per cent and add a layer mask to it. Now it's a relatively simple case of using a Soft brush with a low opacity to gently paint onto the layer mask with solid black in order to make areas see-through.
Finally, to get the most from the effect I concentrate my efforts on the surface form or more solid areas where more light is bouncing back, if you want the texture to be slightly 'milky'.
01. Shape it up
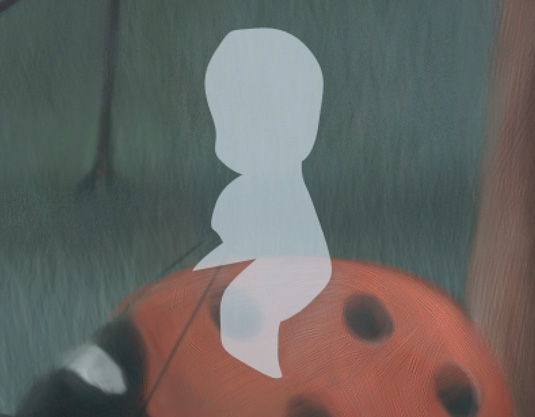
To get things started the basic shape of the ghost is added in as a Vector Fill layer with a suitable off-white colour. If you need to see your underlying figure sketch then you can obviously reduce the opacity further, but generally I drop it to 90 per cent so that the fill isn’t completely solid in any particular area.
Sign up to Creative Bloq's daily newsletter, which brings you the latest news and inspiration from the worlds of art, design and technology.
02. Paint in character
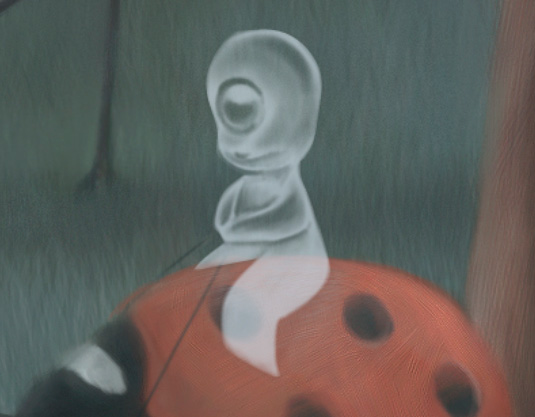
After a layer mask has been added to the vector shape layer of my friendly looking ghost, I select a default Round Soft brush with the opacity pushed right down to 10 per cent. I then gently start painting black onto the off-white mask, effectively making the character more translucent.
03. Use the blur tool
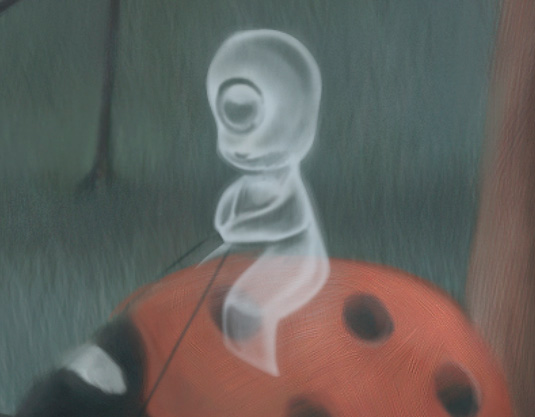
I keep working up the form of my ethereal character by gently eroding the mask; the solid areas give the impression of reflected light. If you make a mistake then you can simply paint back over with white to repair the damage. Once you're done you can also use the Blur tool to soften your brush marks.
Words: Tom Bagshaw
Tom is a commercial illustrator whose highly rendered digital painting style has caught the eyes of Saatchi & Saatchi, the BBC and Sony, as well as us! This article originally appeared in ImagineFX magazine issue 69.
Like this? Read these!
- Is Corel Painter 2015 'changing what's possible in art'?
- How to create a suit of armour in Photoshop
- How to illustrate realistic fire on your iPad

The Creative Bloq team is made up of a group of art and design enthusiasts, and has changed and evolved since Creative Bloq began back in 2012. The current website team consists of eight full-time members of staff: Editor Georgia Coggan, Deputy Editor Rosie Hilder, Ecommerce Editor Beren Neale, Senior News Editor Daniel Piper, Editor, Digital Art and 3D Ian Dean, Tech Reviews Editor Erlingur Einarsson, Ecommerce Writer Beth Nicholls and Staff Writer Natalie Fear, as well as a roster of freelancers from around the world. The ImagineFX magazine team also pitch in, ensuring that content from leading digital art publication ImagineFX is represented on Creative Bloq.
