10 pen drawing techniques and tips
Top tips to get you started with pen drawing.
Daily design news, reviews, how-tos and more, as picked by the editors.
You are now subscribed
Your newsletter sign-up was successful
Want to add more newsletters?

Five times a week
CreativeBloq
Your daily dose of creative inspiration: unmissable art, design and tech news, reviews, expert commentary and buying advice.

Once a week
By Design
The design newsletter from Creative Bloq, bringing you the latest news and inspiration from the worlds of graphic design, branding, typography and more.

Once a week
State of the Art
Our digital art newsletter is your go-to source for the latest news, trends, and inspiration from the worlds of art, illustration, 3D modelling, game design, animation, and beyond.

Seasonal (around events)
Brand Impact Awards
Make an impression. Sign up to learn more about this prestigious award scheme, which celebrates the best of branding.
When drawn with knowledge, a great pen drawing carries a certain evocative power that stems from the cleanliness of the finished work. However, that same cleanliness can also leave you vulnerable because high contrast line drawings give you nowhere to hide.
Every line in pen and ink communicates knowledge and power or timidity and uncertainty. It’s a fine line between one and the other, no pun intended. To help, here are some of my techniques for making pen and ink drawing more approachable and less nerve-racking. Grab your best pens (see our Copic marker Black Friday post) and let's get started.
This pen and ink video is a tribute to one of my favourite artists, Chuck Close. If this inspires you to educate yourself further, head over to Schoolism.com to discover courses (including two of mine!), workshops and more. It’s an amazing way to study with the pros!
It's also worth checking out our best how to draw tutorials.
01. Get the right tools
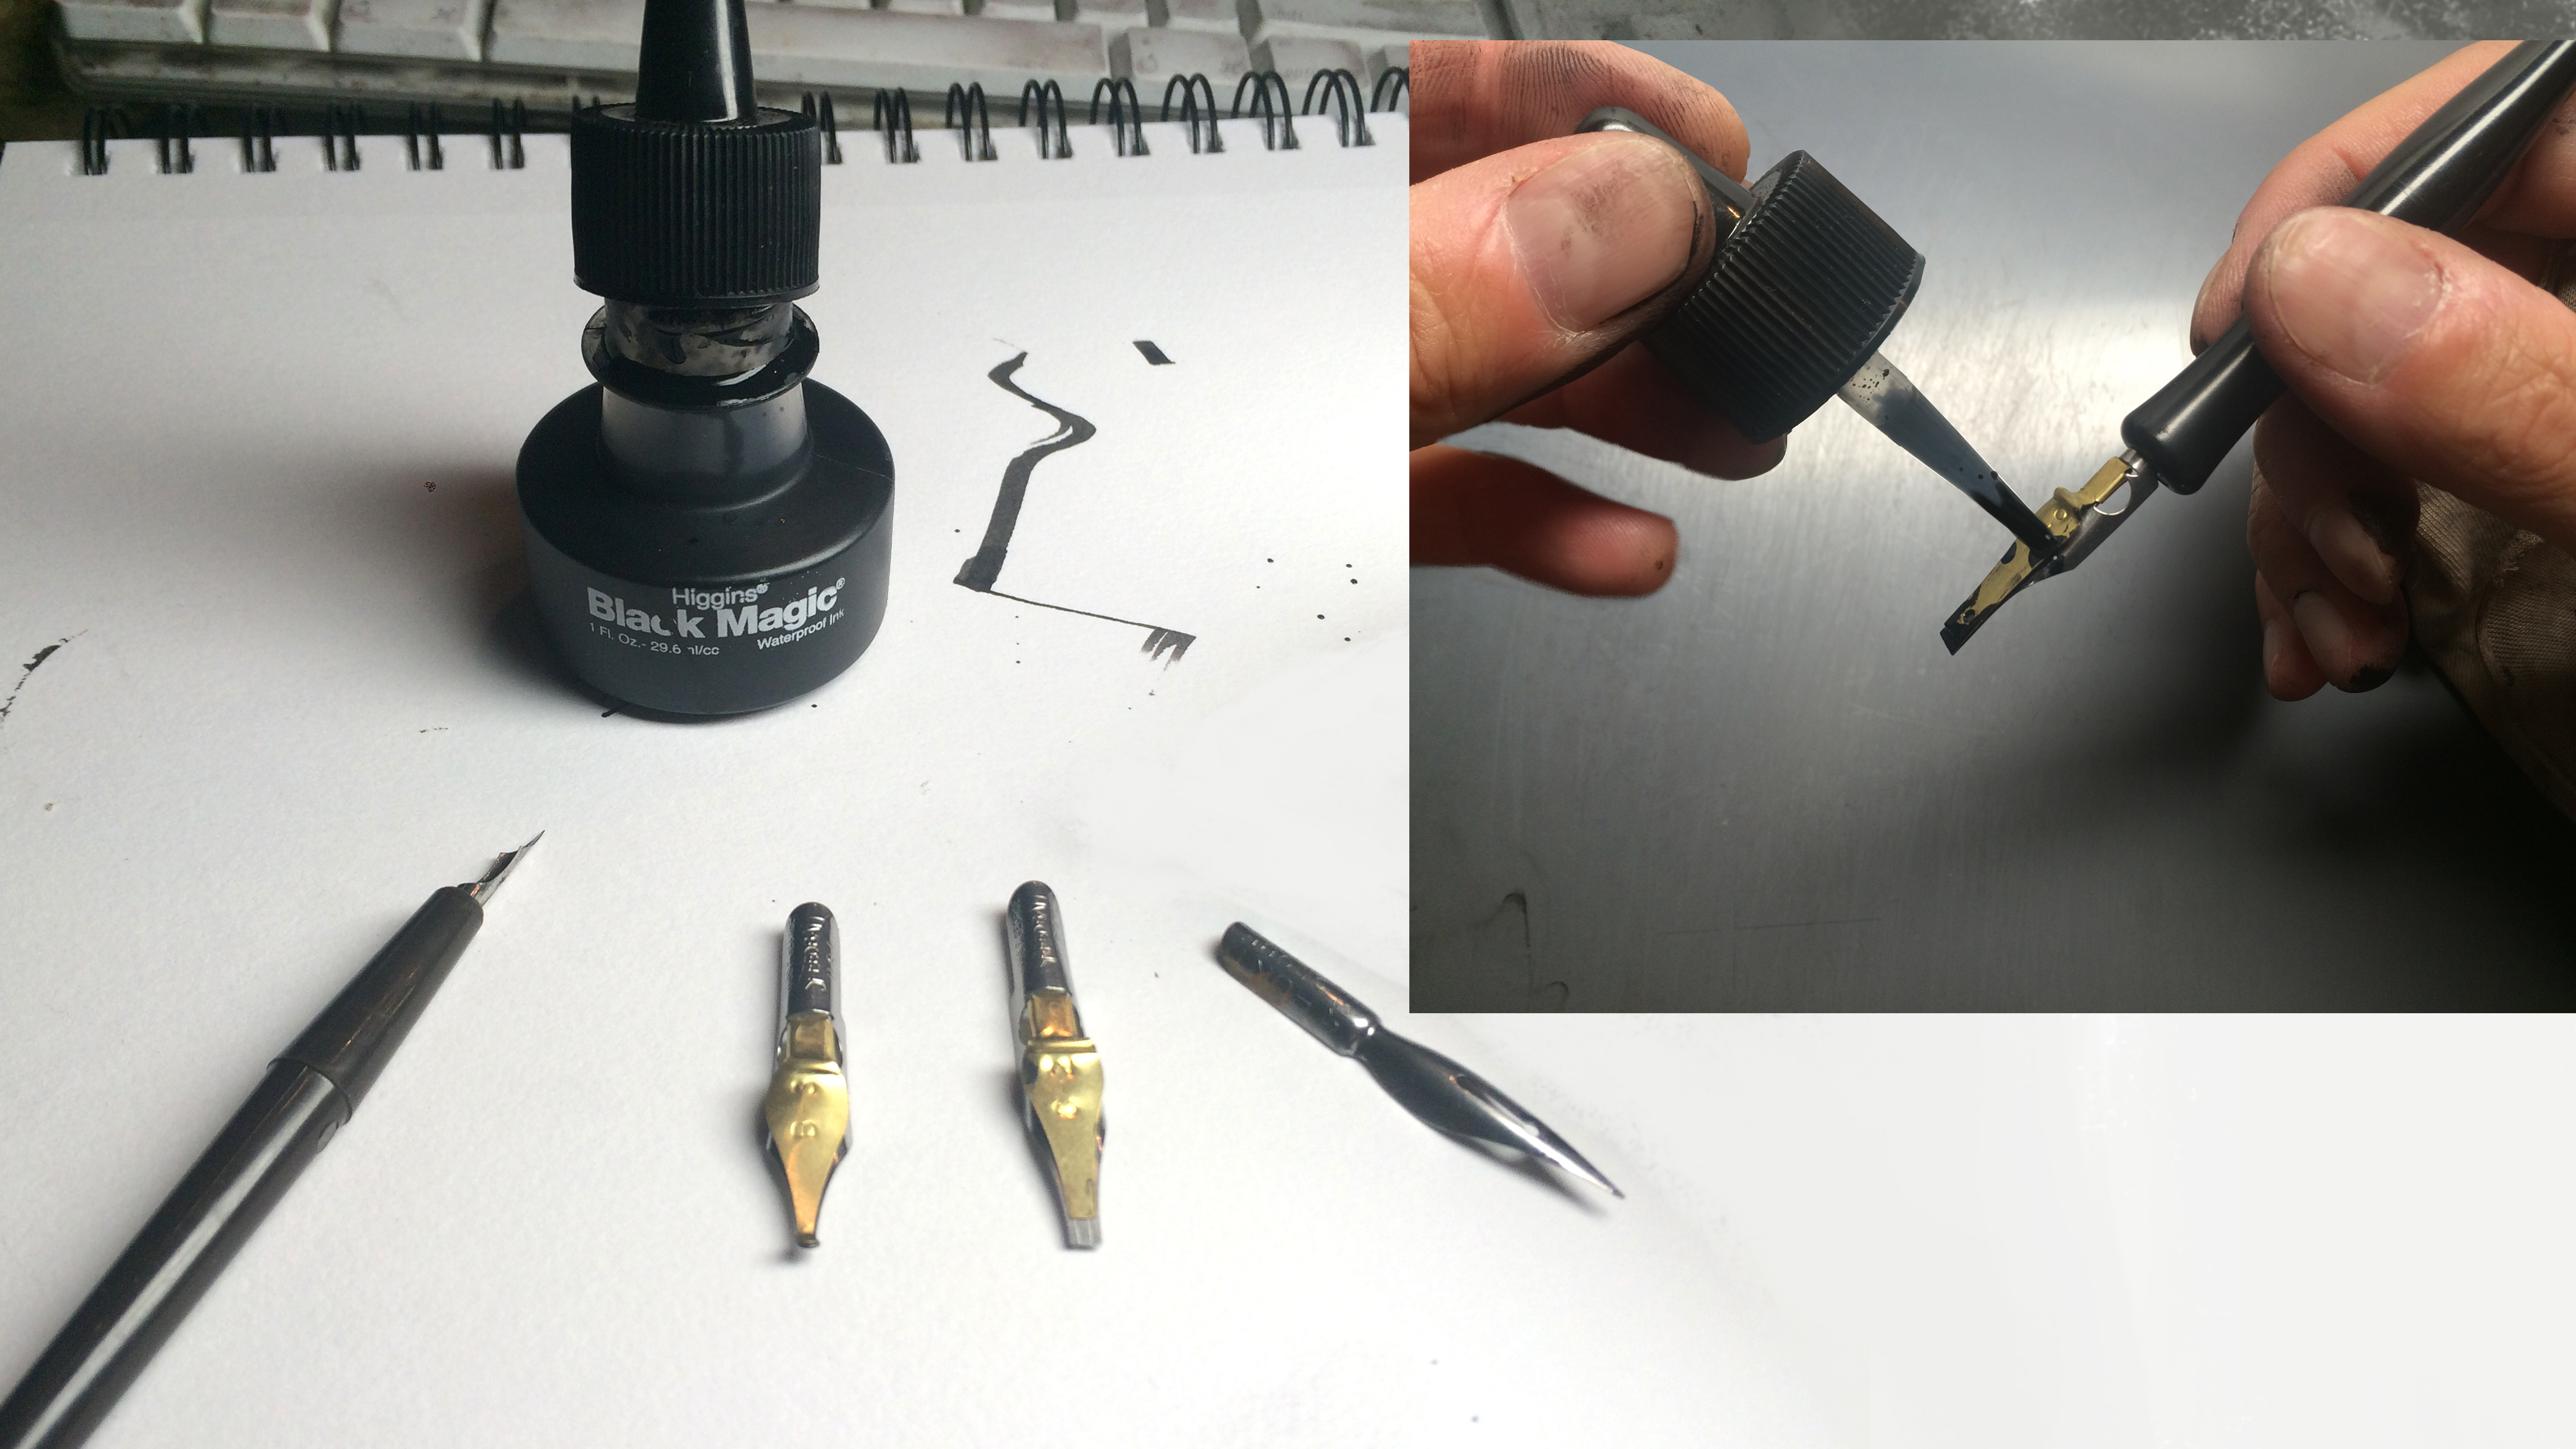
To draw in ink, you need a pen, nibs, and ink. I like using Higgins Black Magic ink, which is waterproof when dry, so I can paint over it and the ink won’t run. Remember to only pull or drag a nib to make marks; pushing will cause splatters and ruin your work. Also, a slight change in pressure will change the thickness of your lines. These are things you need to get used to at the outset.
02. Know your strokes
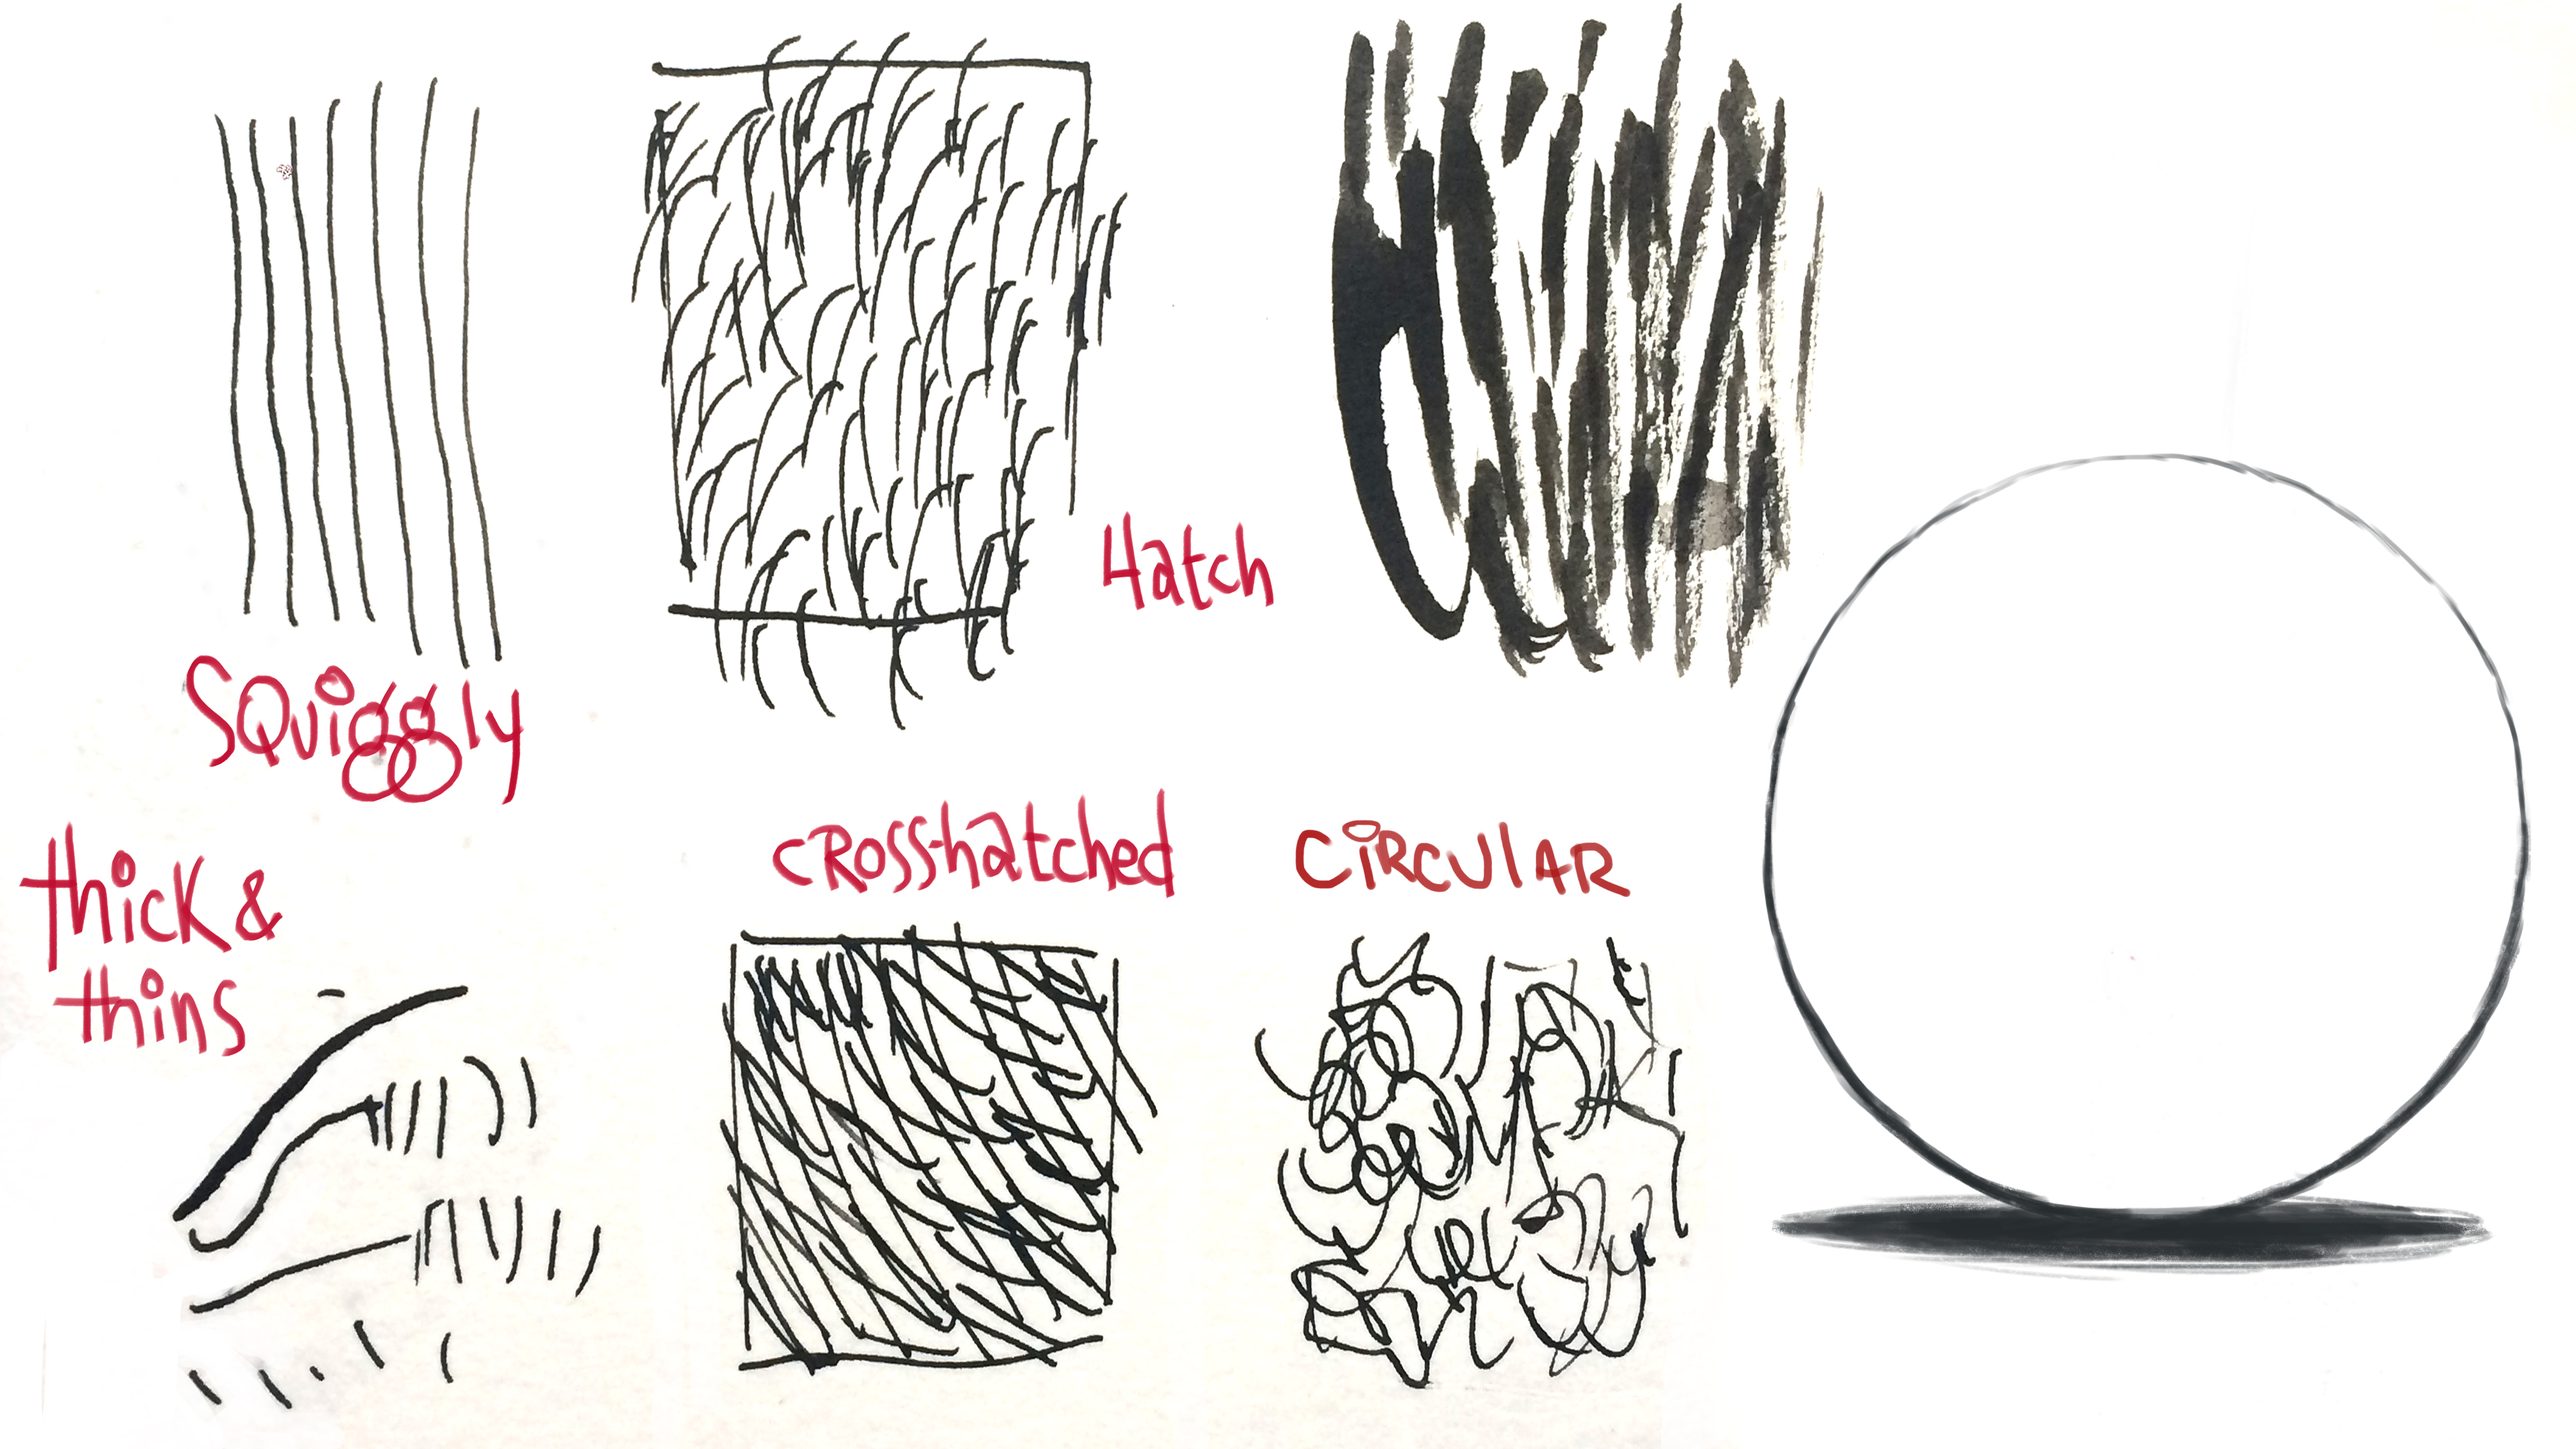
Above are my favourite techniques for creating the illusion of gradations in value using high contrast black ink on white paper. Look at thick and thins. Nib pens are great for this. Draw structures in shadows with thicker lines, and structures in light with thinner lines. Try it yourself: draw a circle, then go over the bottom of it with a heavier line and immediately it gains volume and looks like a ball.
03. Use a mixture of pens
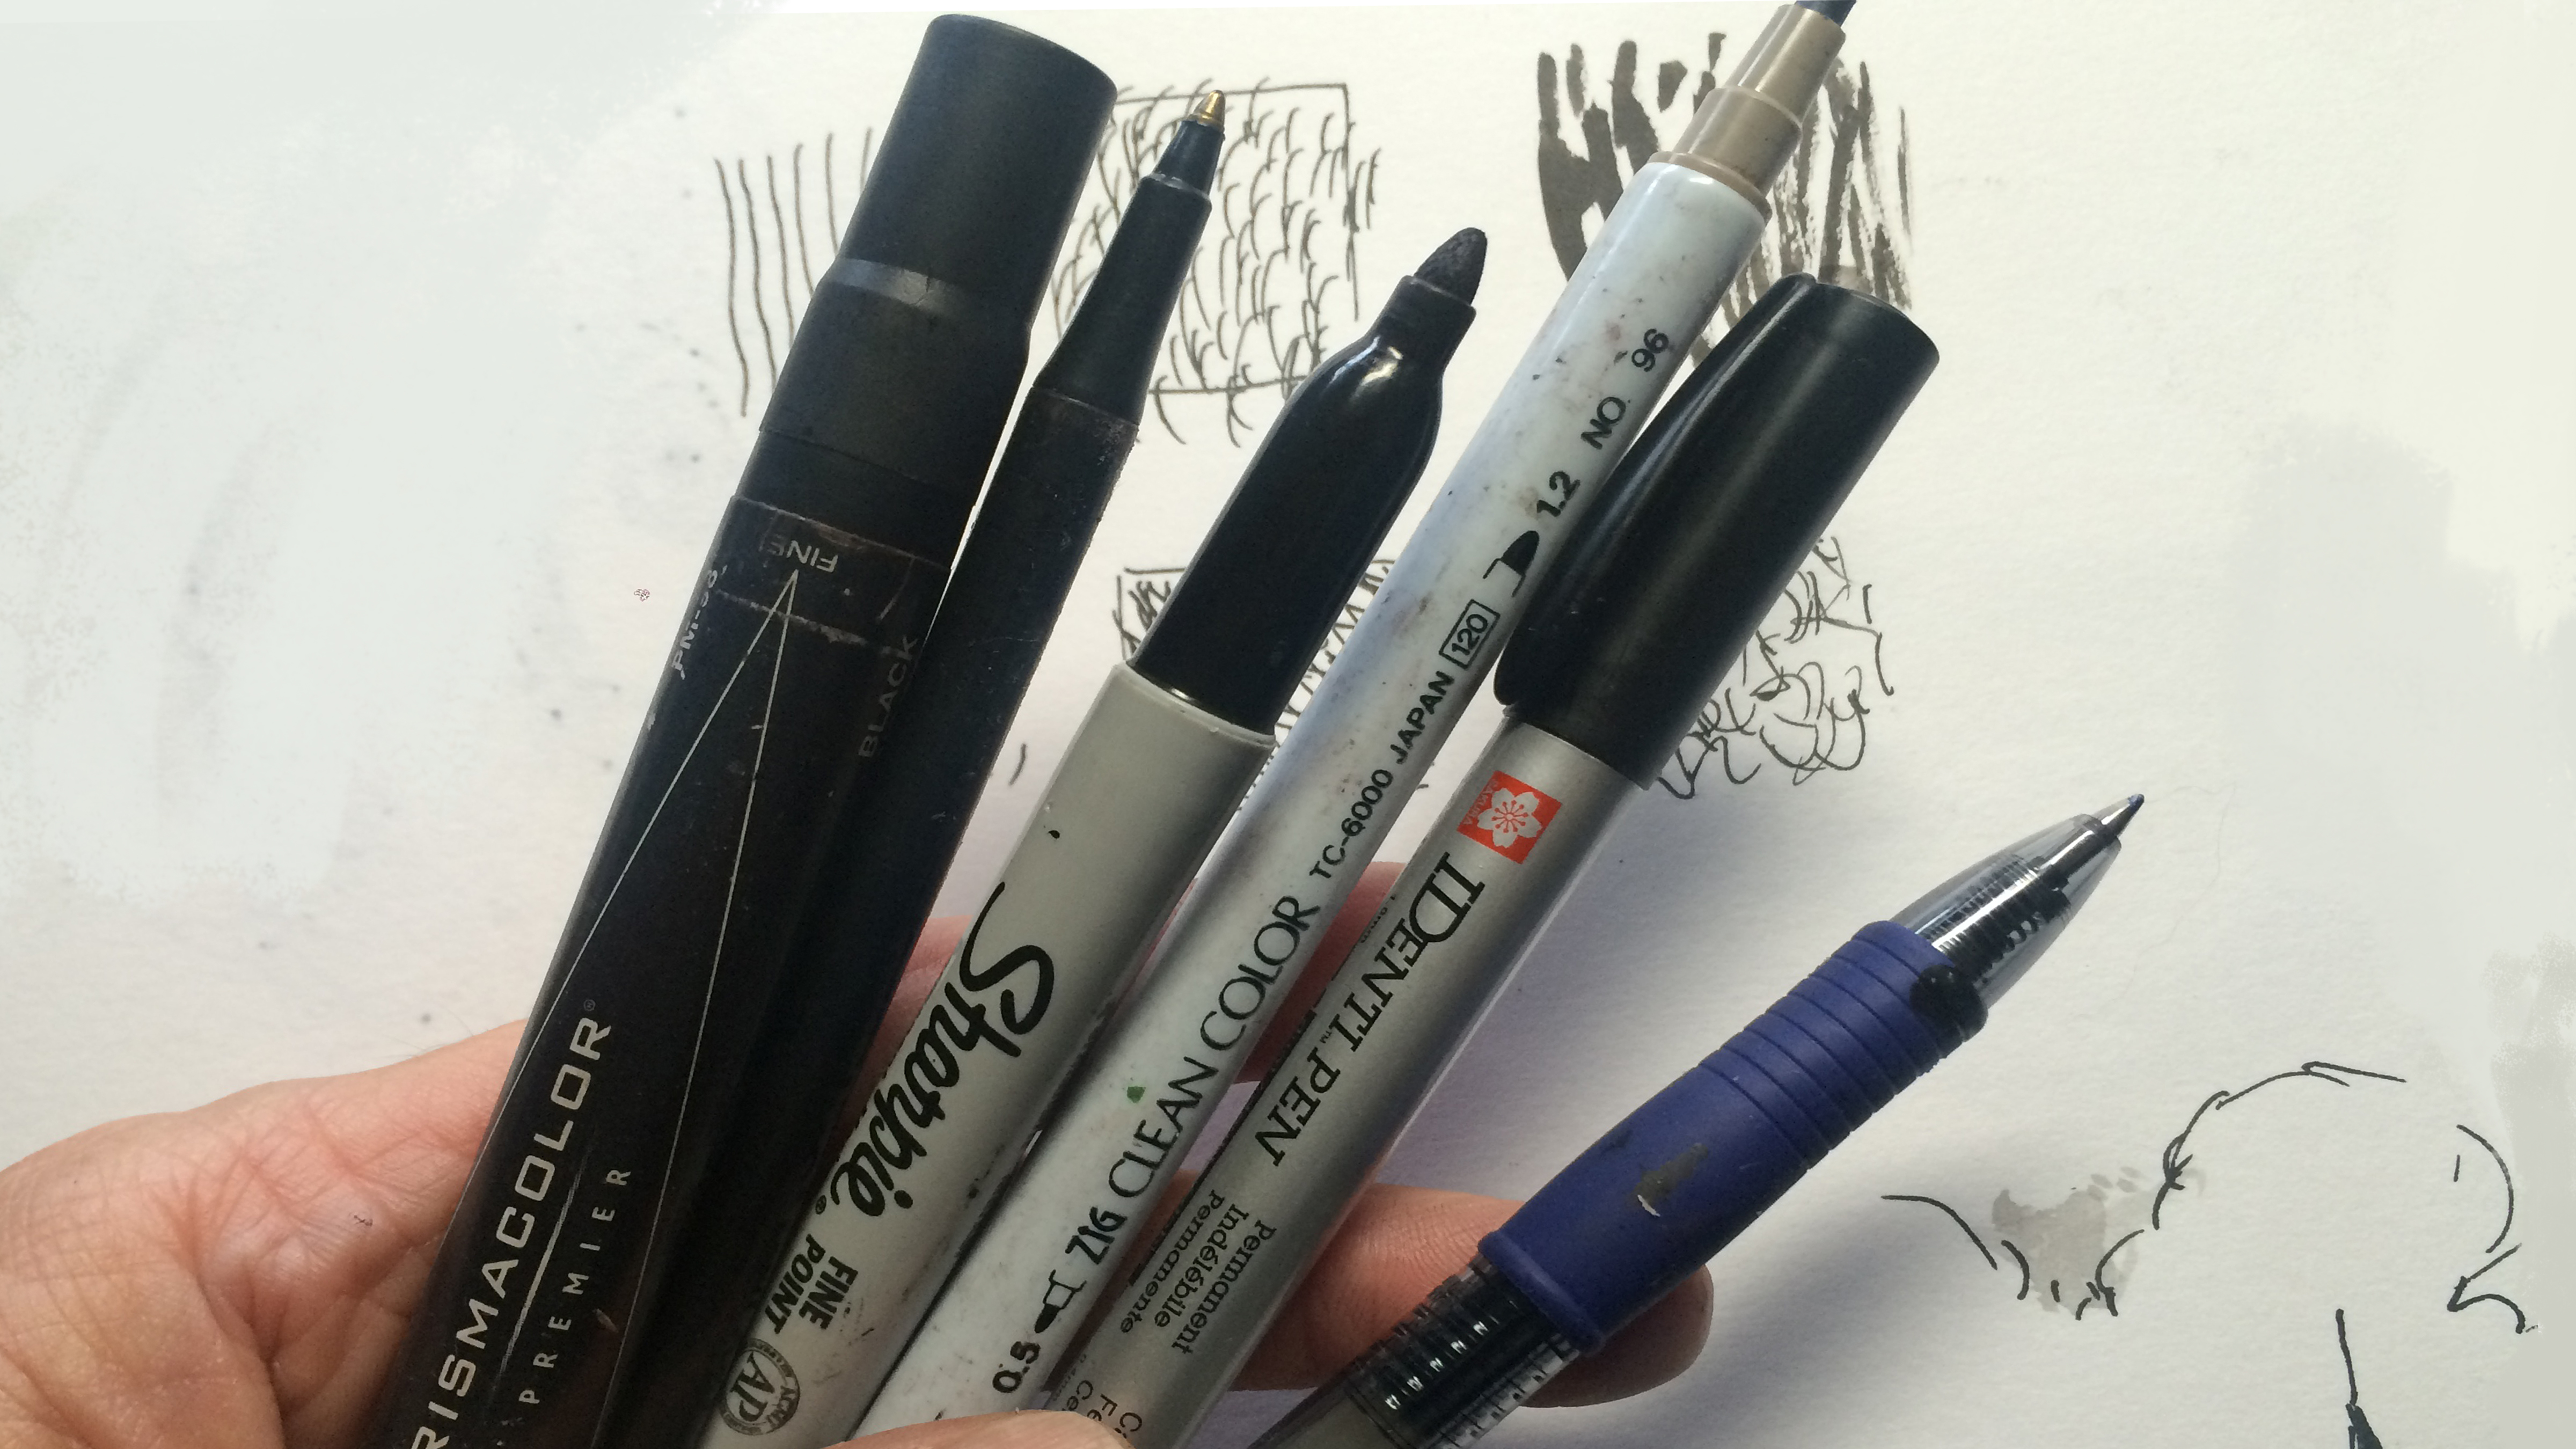
I like to use different pens for different things. I use thick markers for large shadows because they’re big and chunky and cover a lot of paper quickly. I like Sharpies for smaller shadows and thick continuous lines. A blue writing pen might be good for clouds, waves, or anything that might look cool in blue. Consider all characteristics of your pens, like colour, thickness, and so on. Be creative and stay alert for any pen that can make your work distinct.
Daily design news, reviews, how-tos and more, as picked by the editors.
04. Hold your pen properly
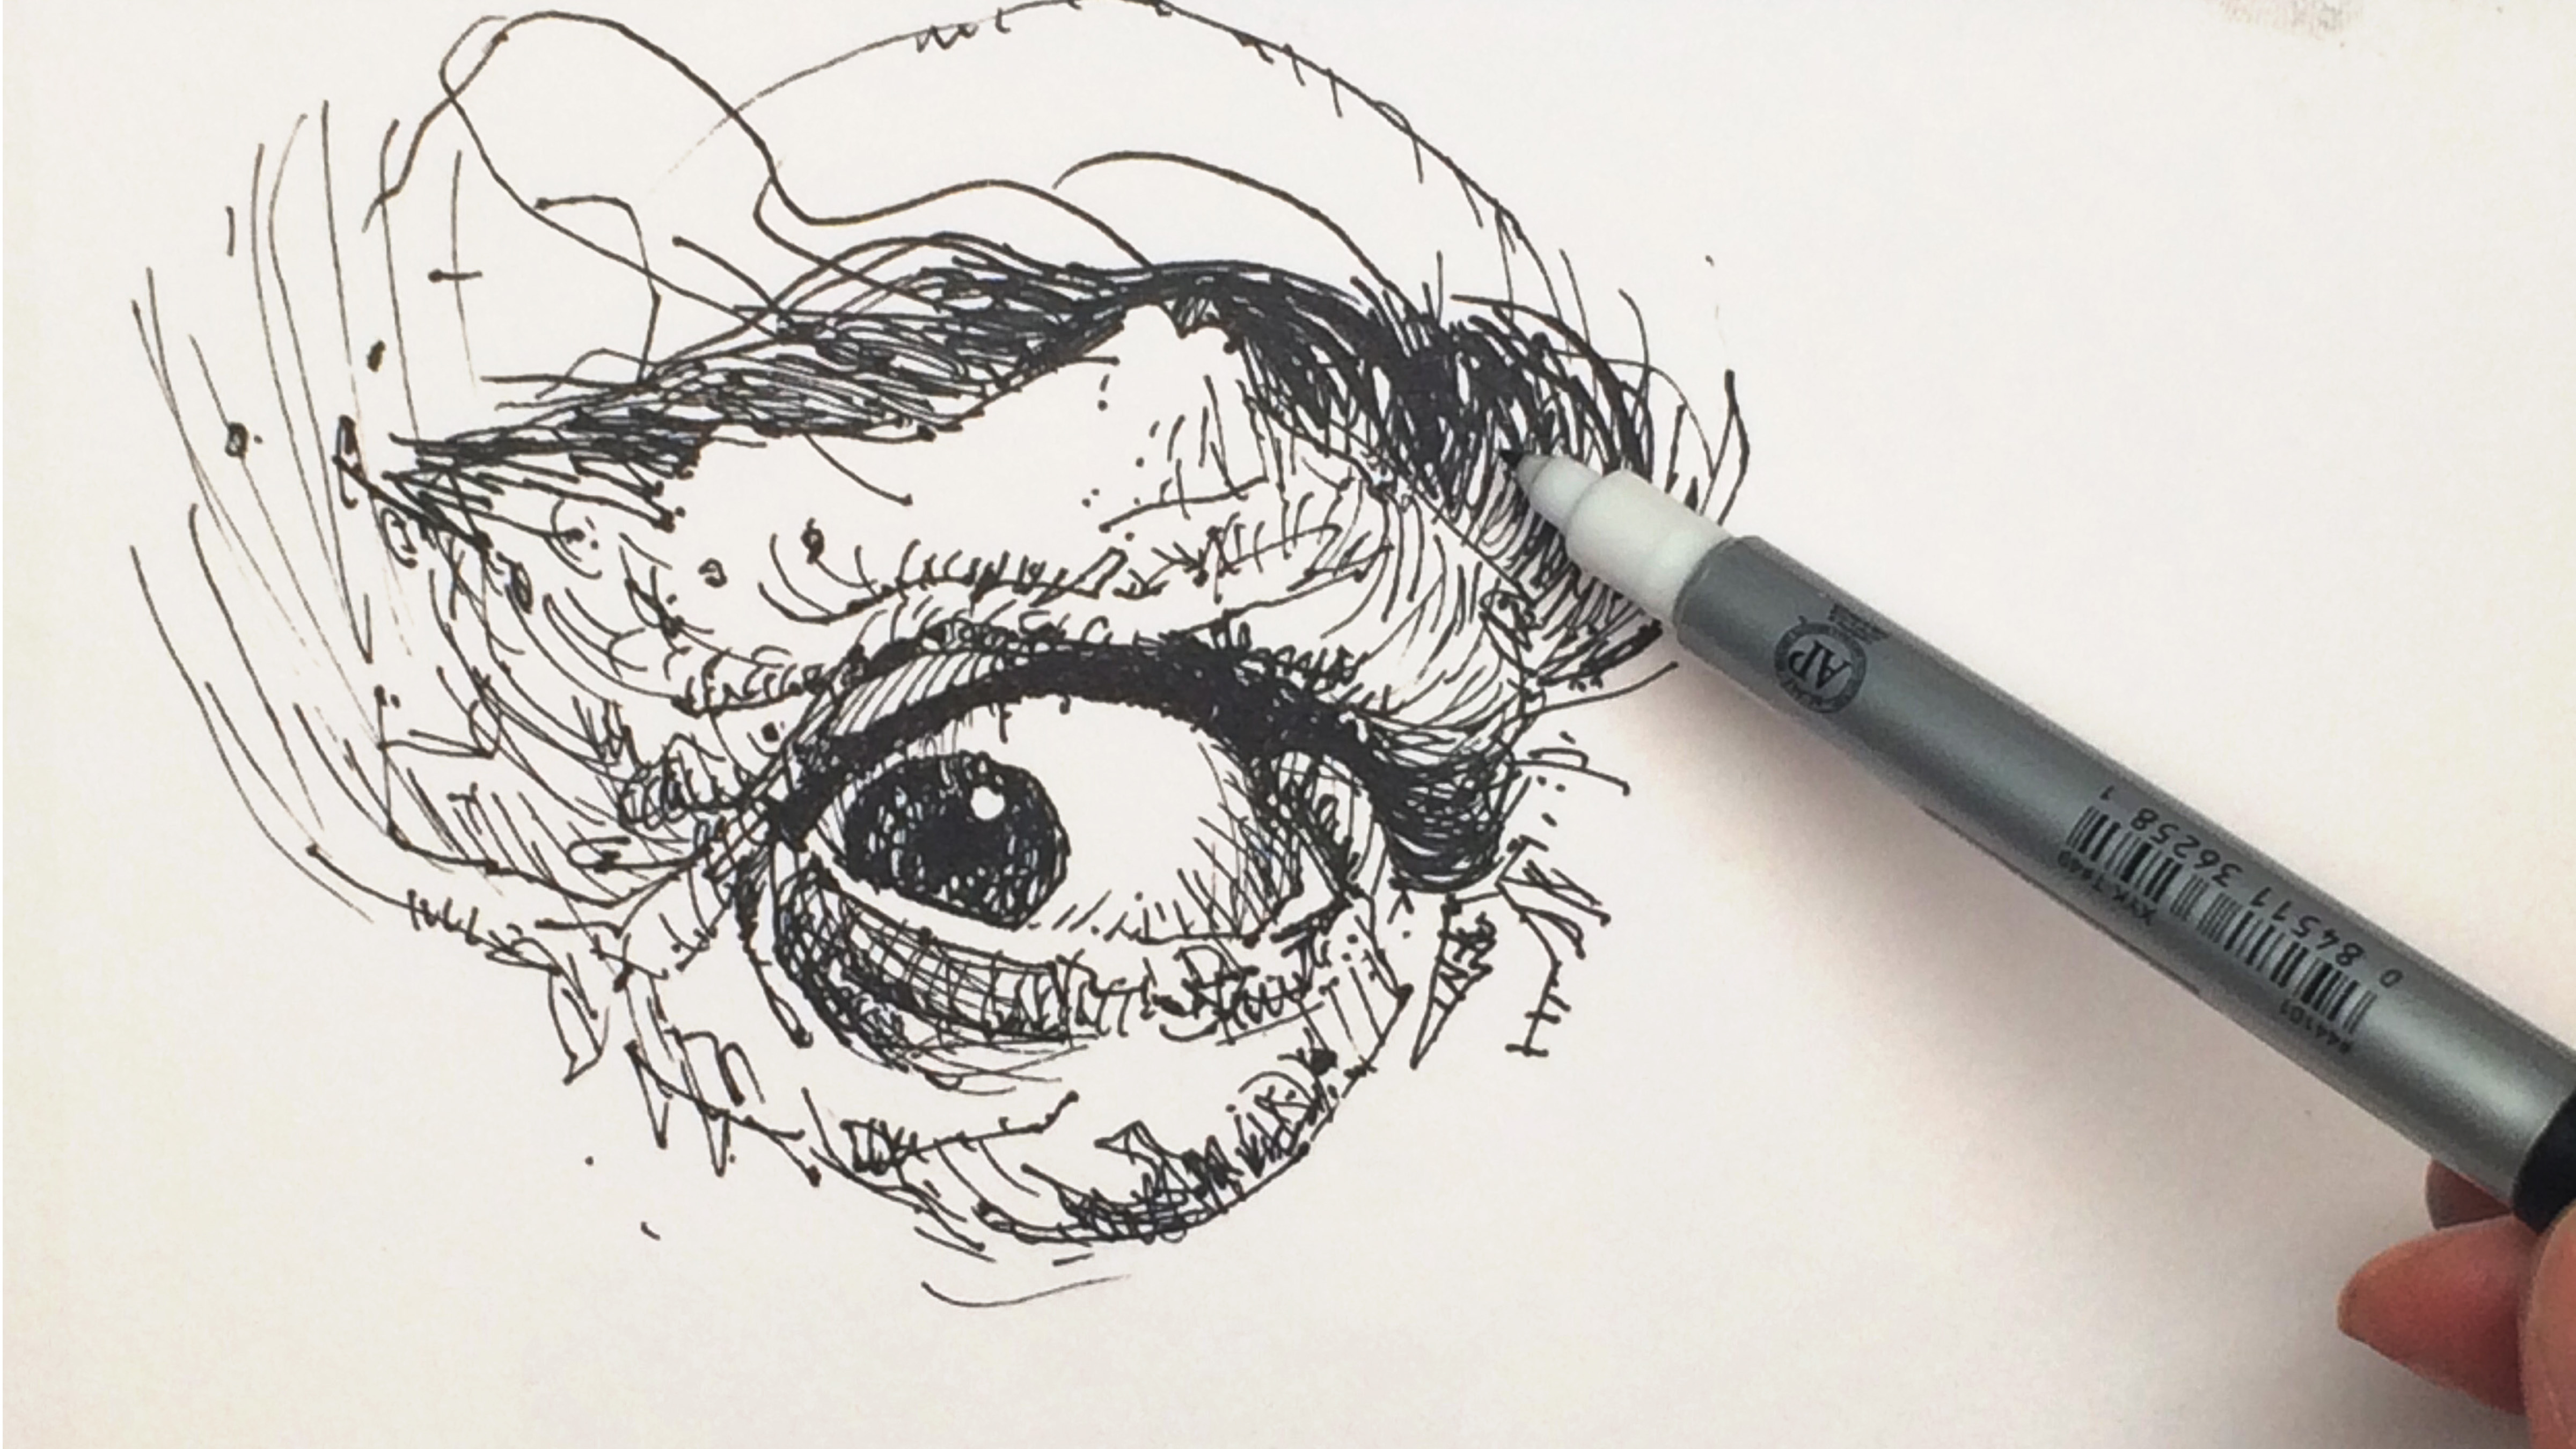
Simply changing the way you hold your pen can add an extra dimension to your pen and ink drawings and make them special and unique so that they stand out from other artists. I like to hold my pen at the back whenever possible because the looseness in my lines often present unexpected opportunities in my work. If your drawings are usually very tight and controlled, give this method a try, you might surprise yourself with the wonderful accidents that can happen.
05. Just add water
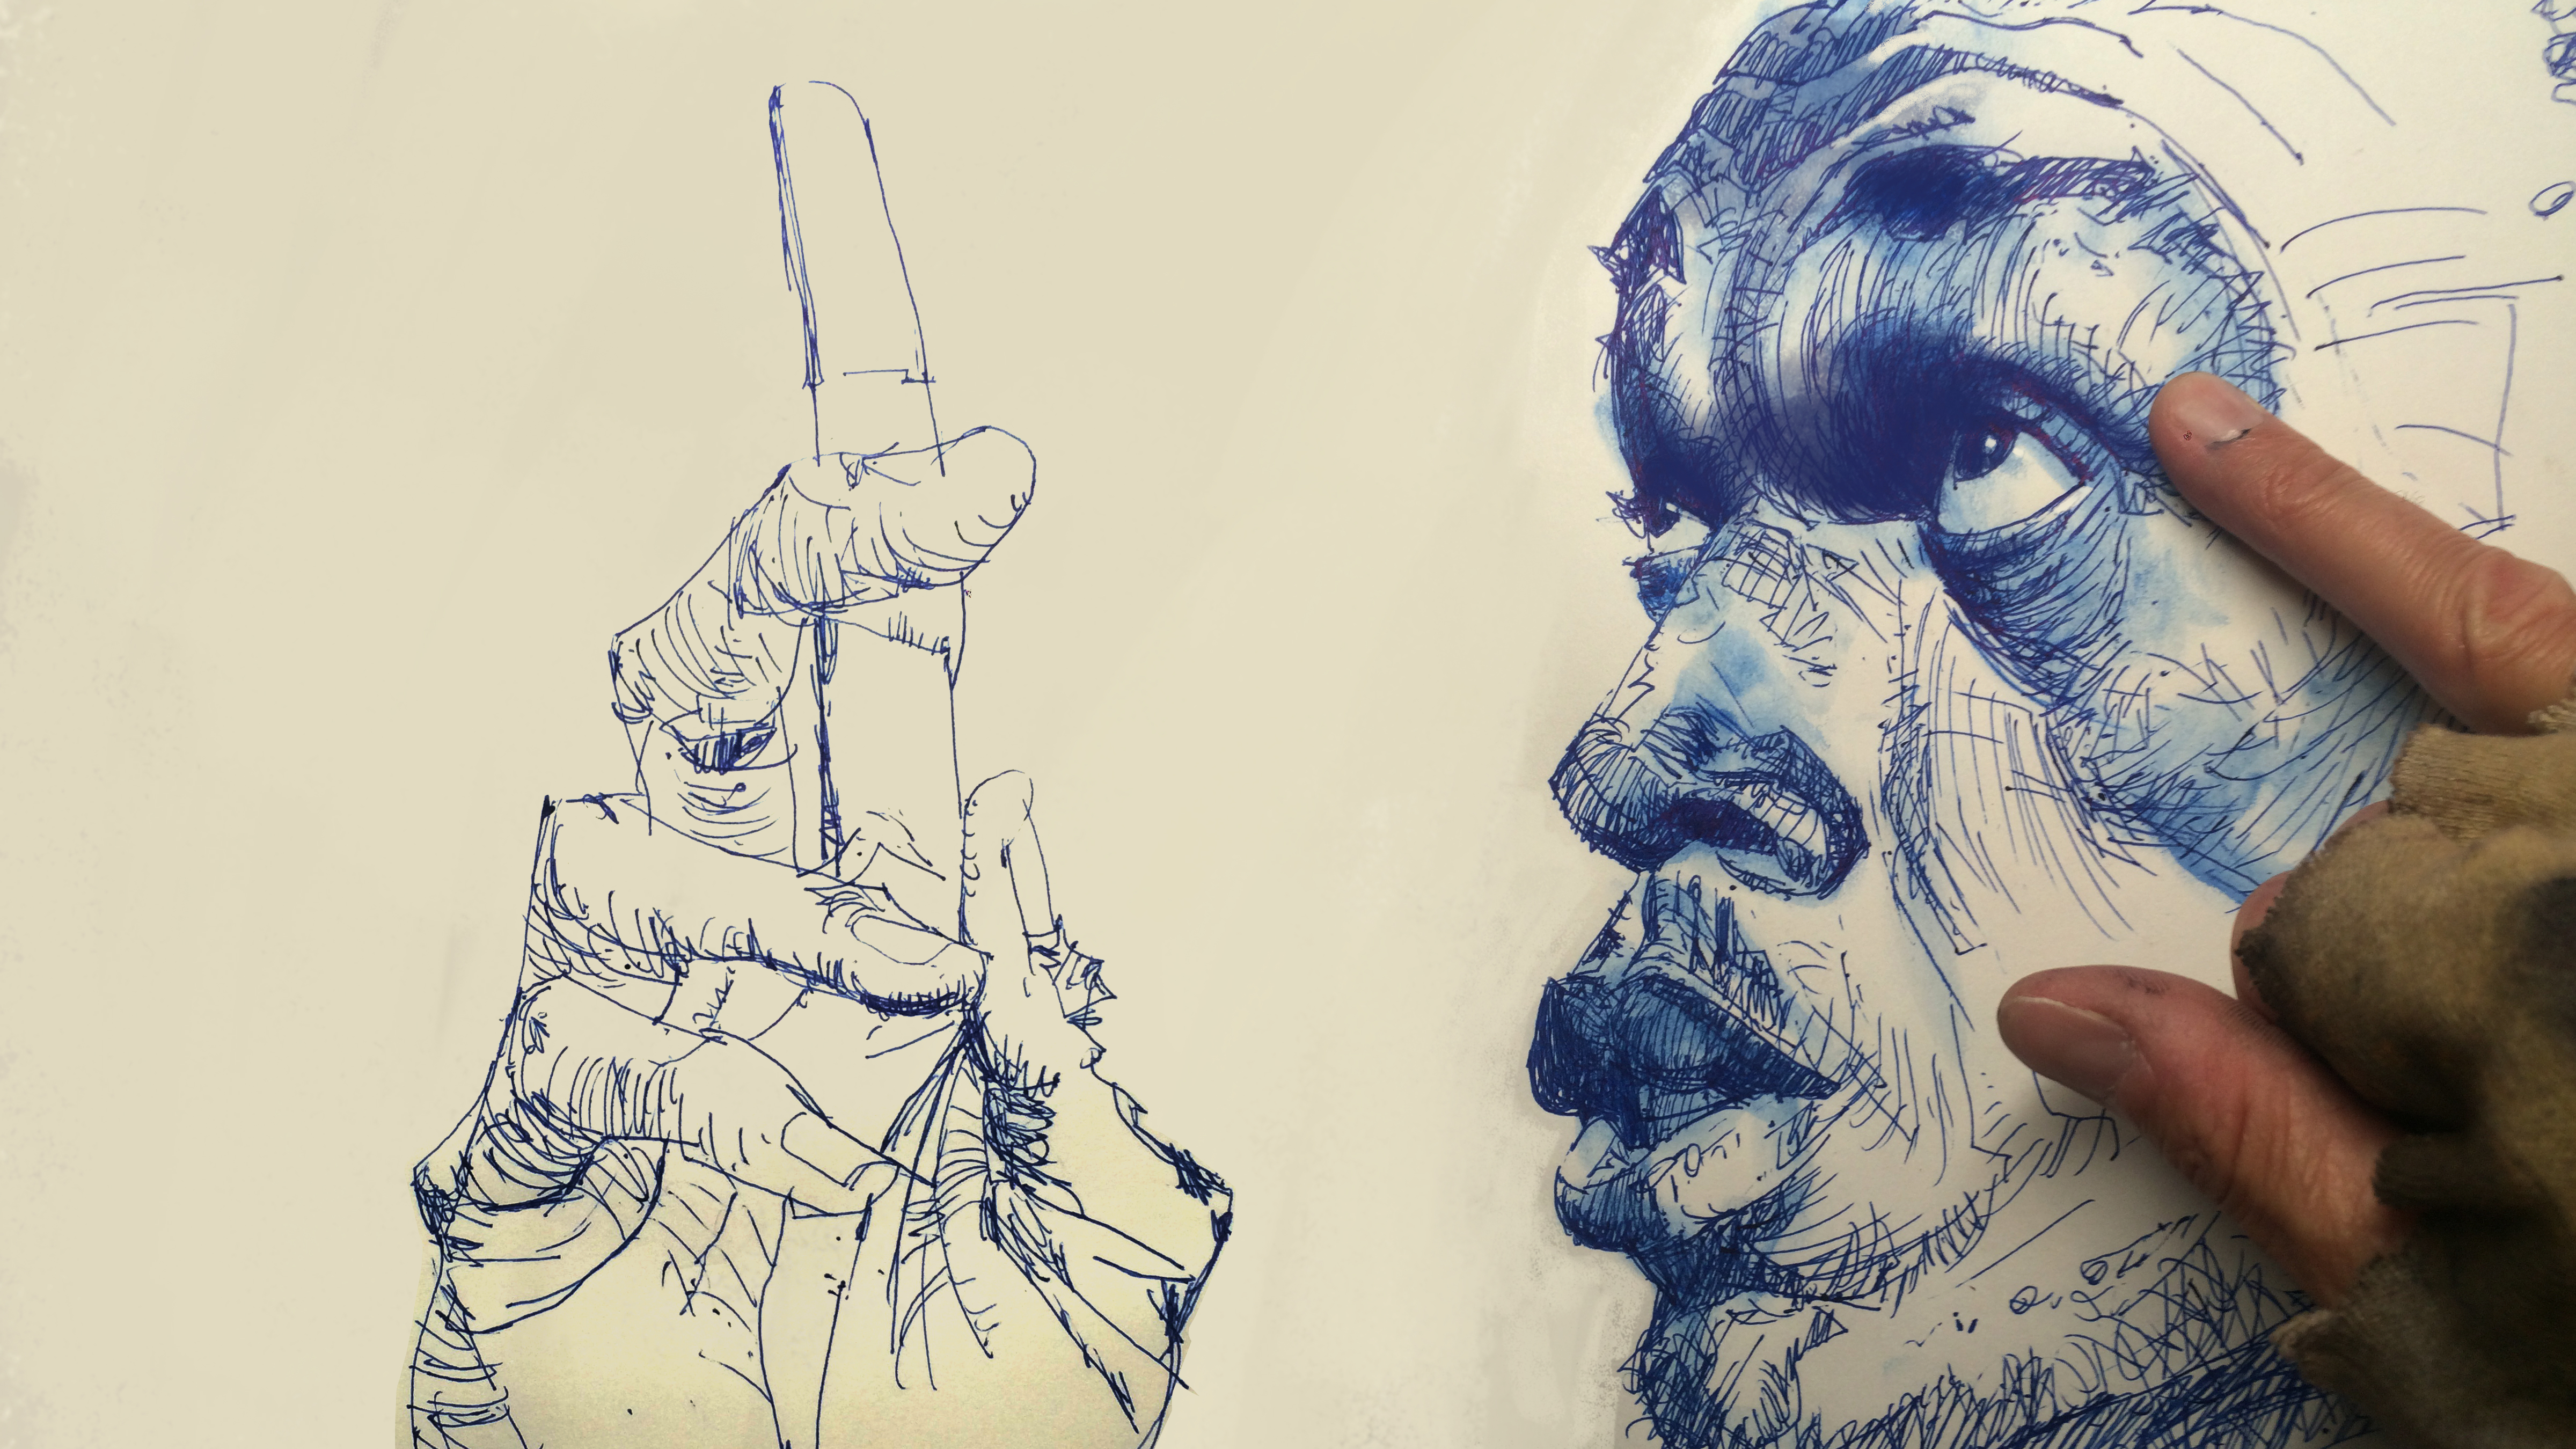
As you might tell from my previous tips, when working with ink, tones can become a puzzle. I’ve talked about hatching and line weight, here’s a trick that takes tones more literally: try rubbing a bit of water onto your fresh ink lines to create softer tones. In a pinch, I would do this with saliva and my finger! Softer tones alongside ink lines create a wonderful contrast and will make your drawings a little more lifelike.
06. Use a Crow Quill
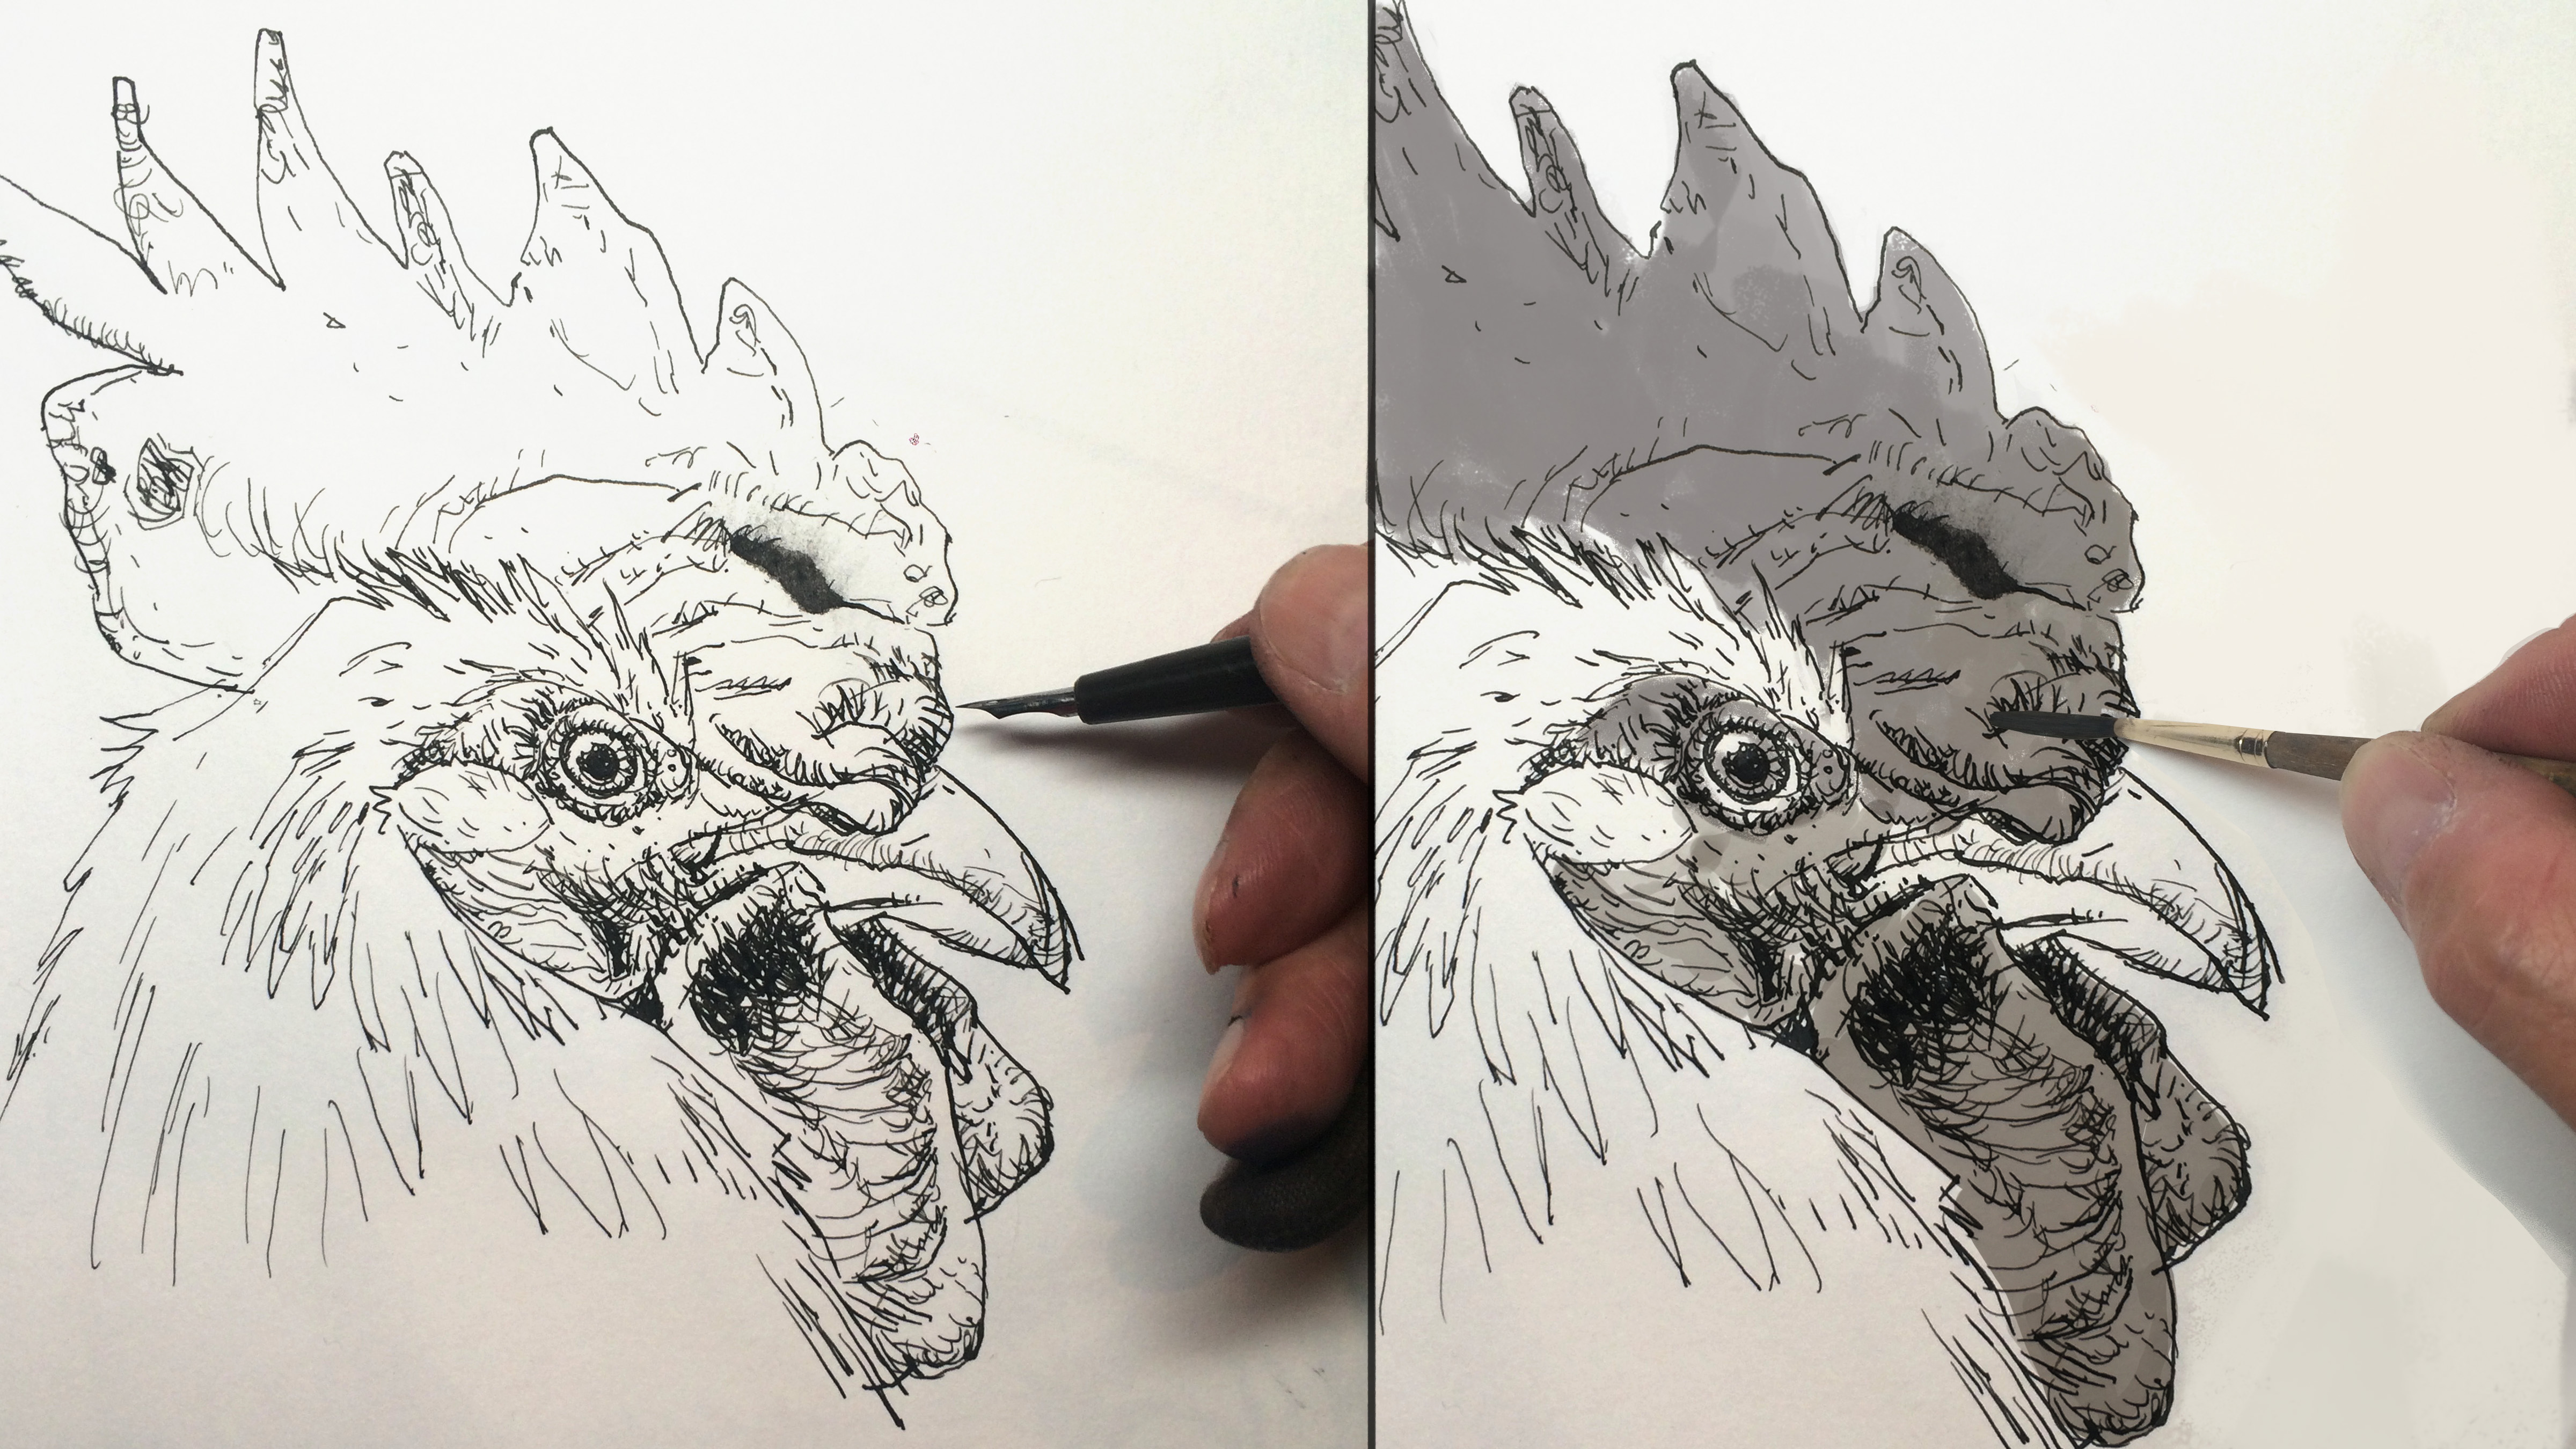
The Crow Quill makes the thinnest lines I know of outside of a Rapidograph. It has a scratchy feel and allows great accuracy. I use the Crow Quill when I want to do a Rembrandt-esque drawing. However, because of the fineness of Crow Quill lines, this pen is really only suitable for smaller drawings; there are more efficient ways of doing a large drawing than with a Crow Quill. Once you’re finished inking, do a wash to add dimension to your drawing.
07. Don't forget to wash
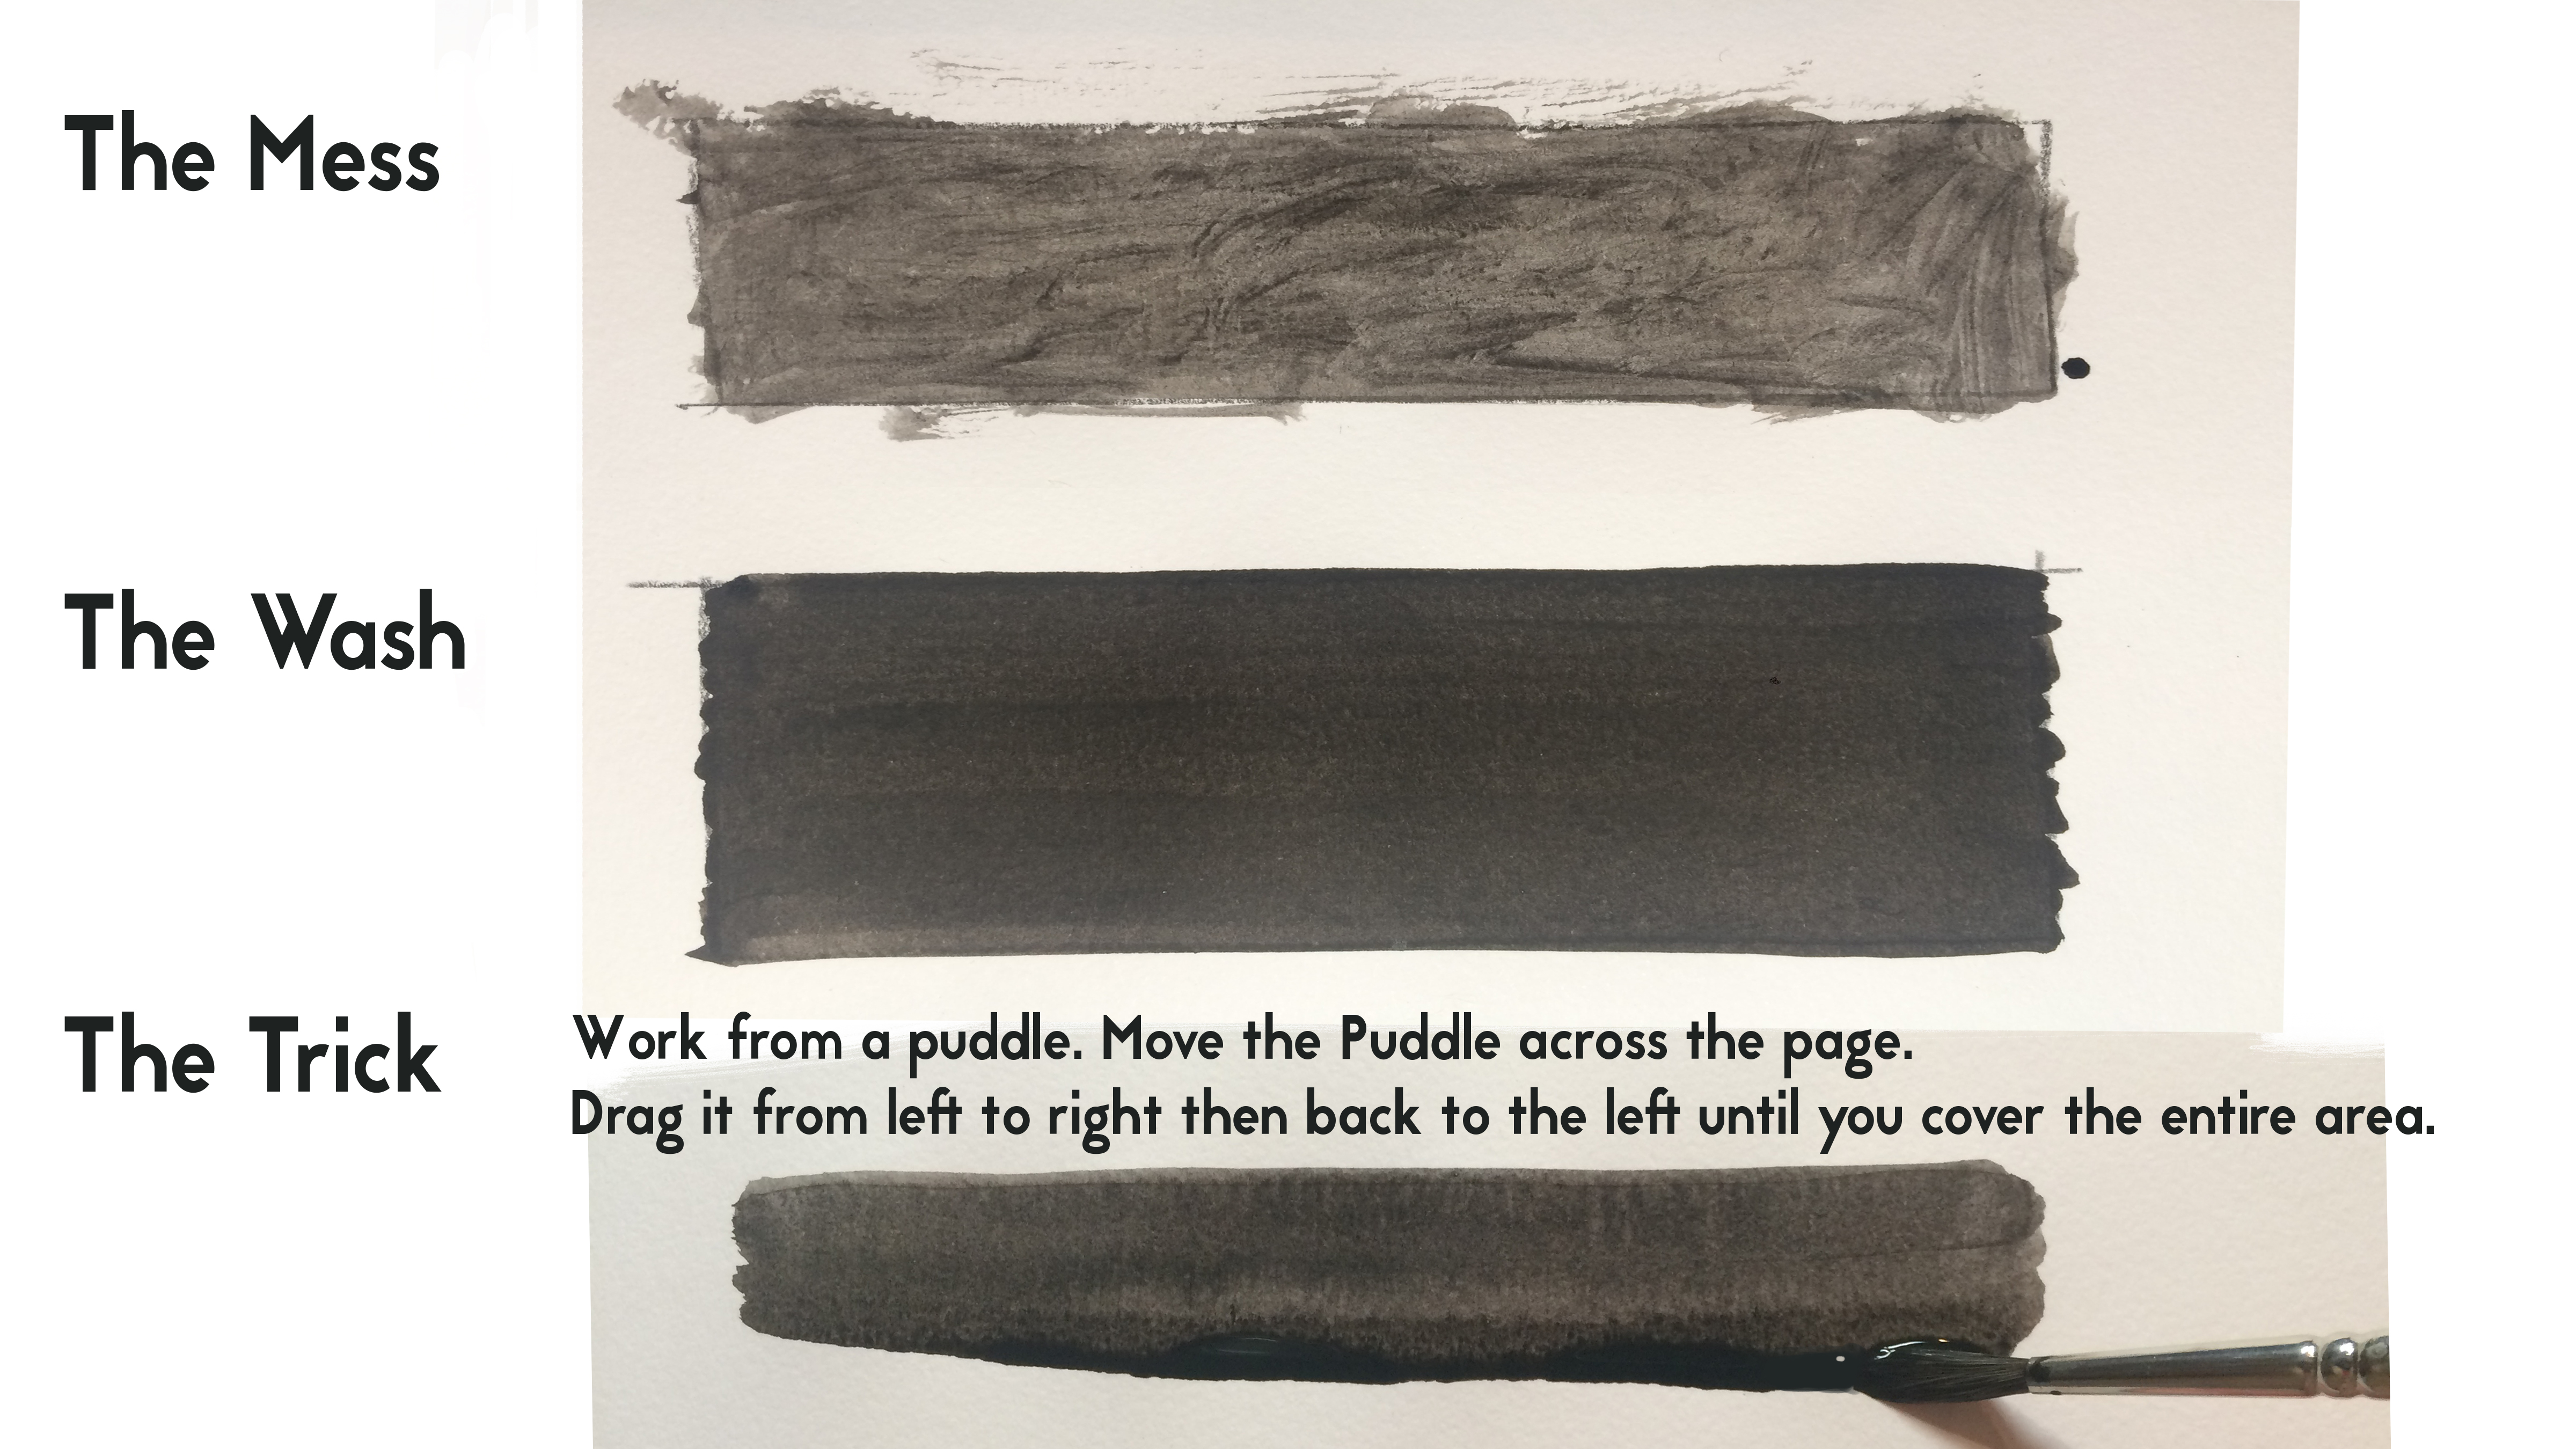
Ink wash is like a hybrid inking and painting technique done with a brush instead of a pen. Value is controlled by your ink to water ratio – the more ink or less water, the greater your value. Start with your brush dipped liberally in ink so it collects on your paper. Paint by pulling the ink puddle across the page. Re-dip your brush when needed, always keeping a puddle, and continue washing. Ink wash and watercolour techniques are similar.
08. Use dry pens
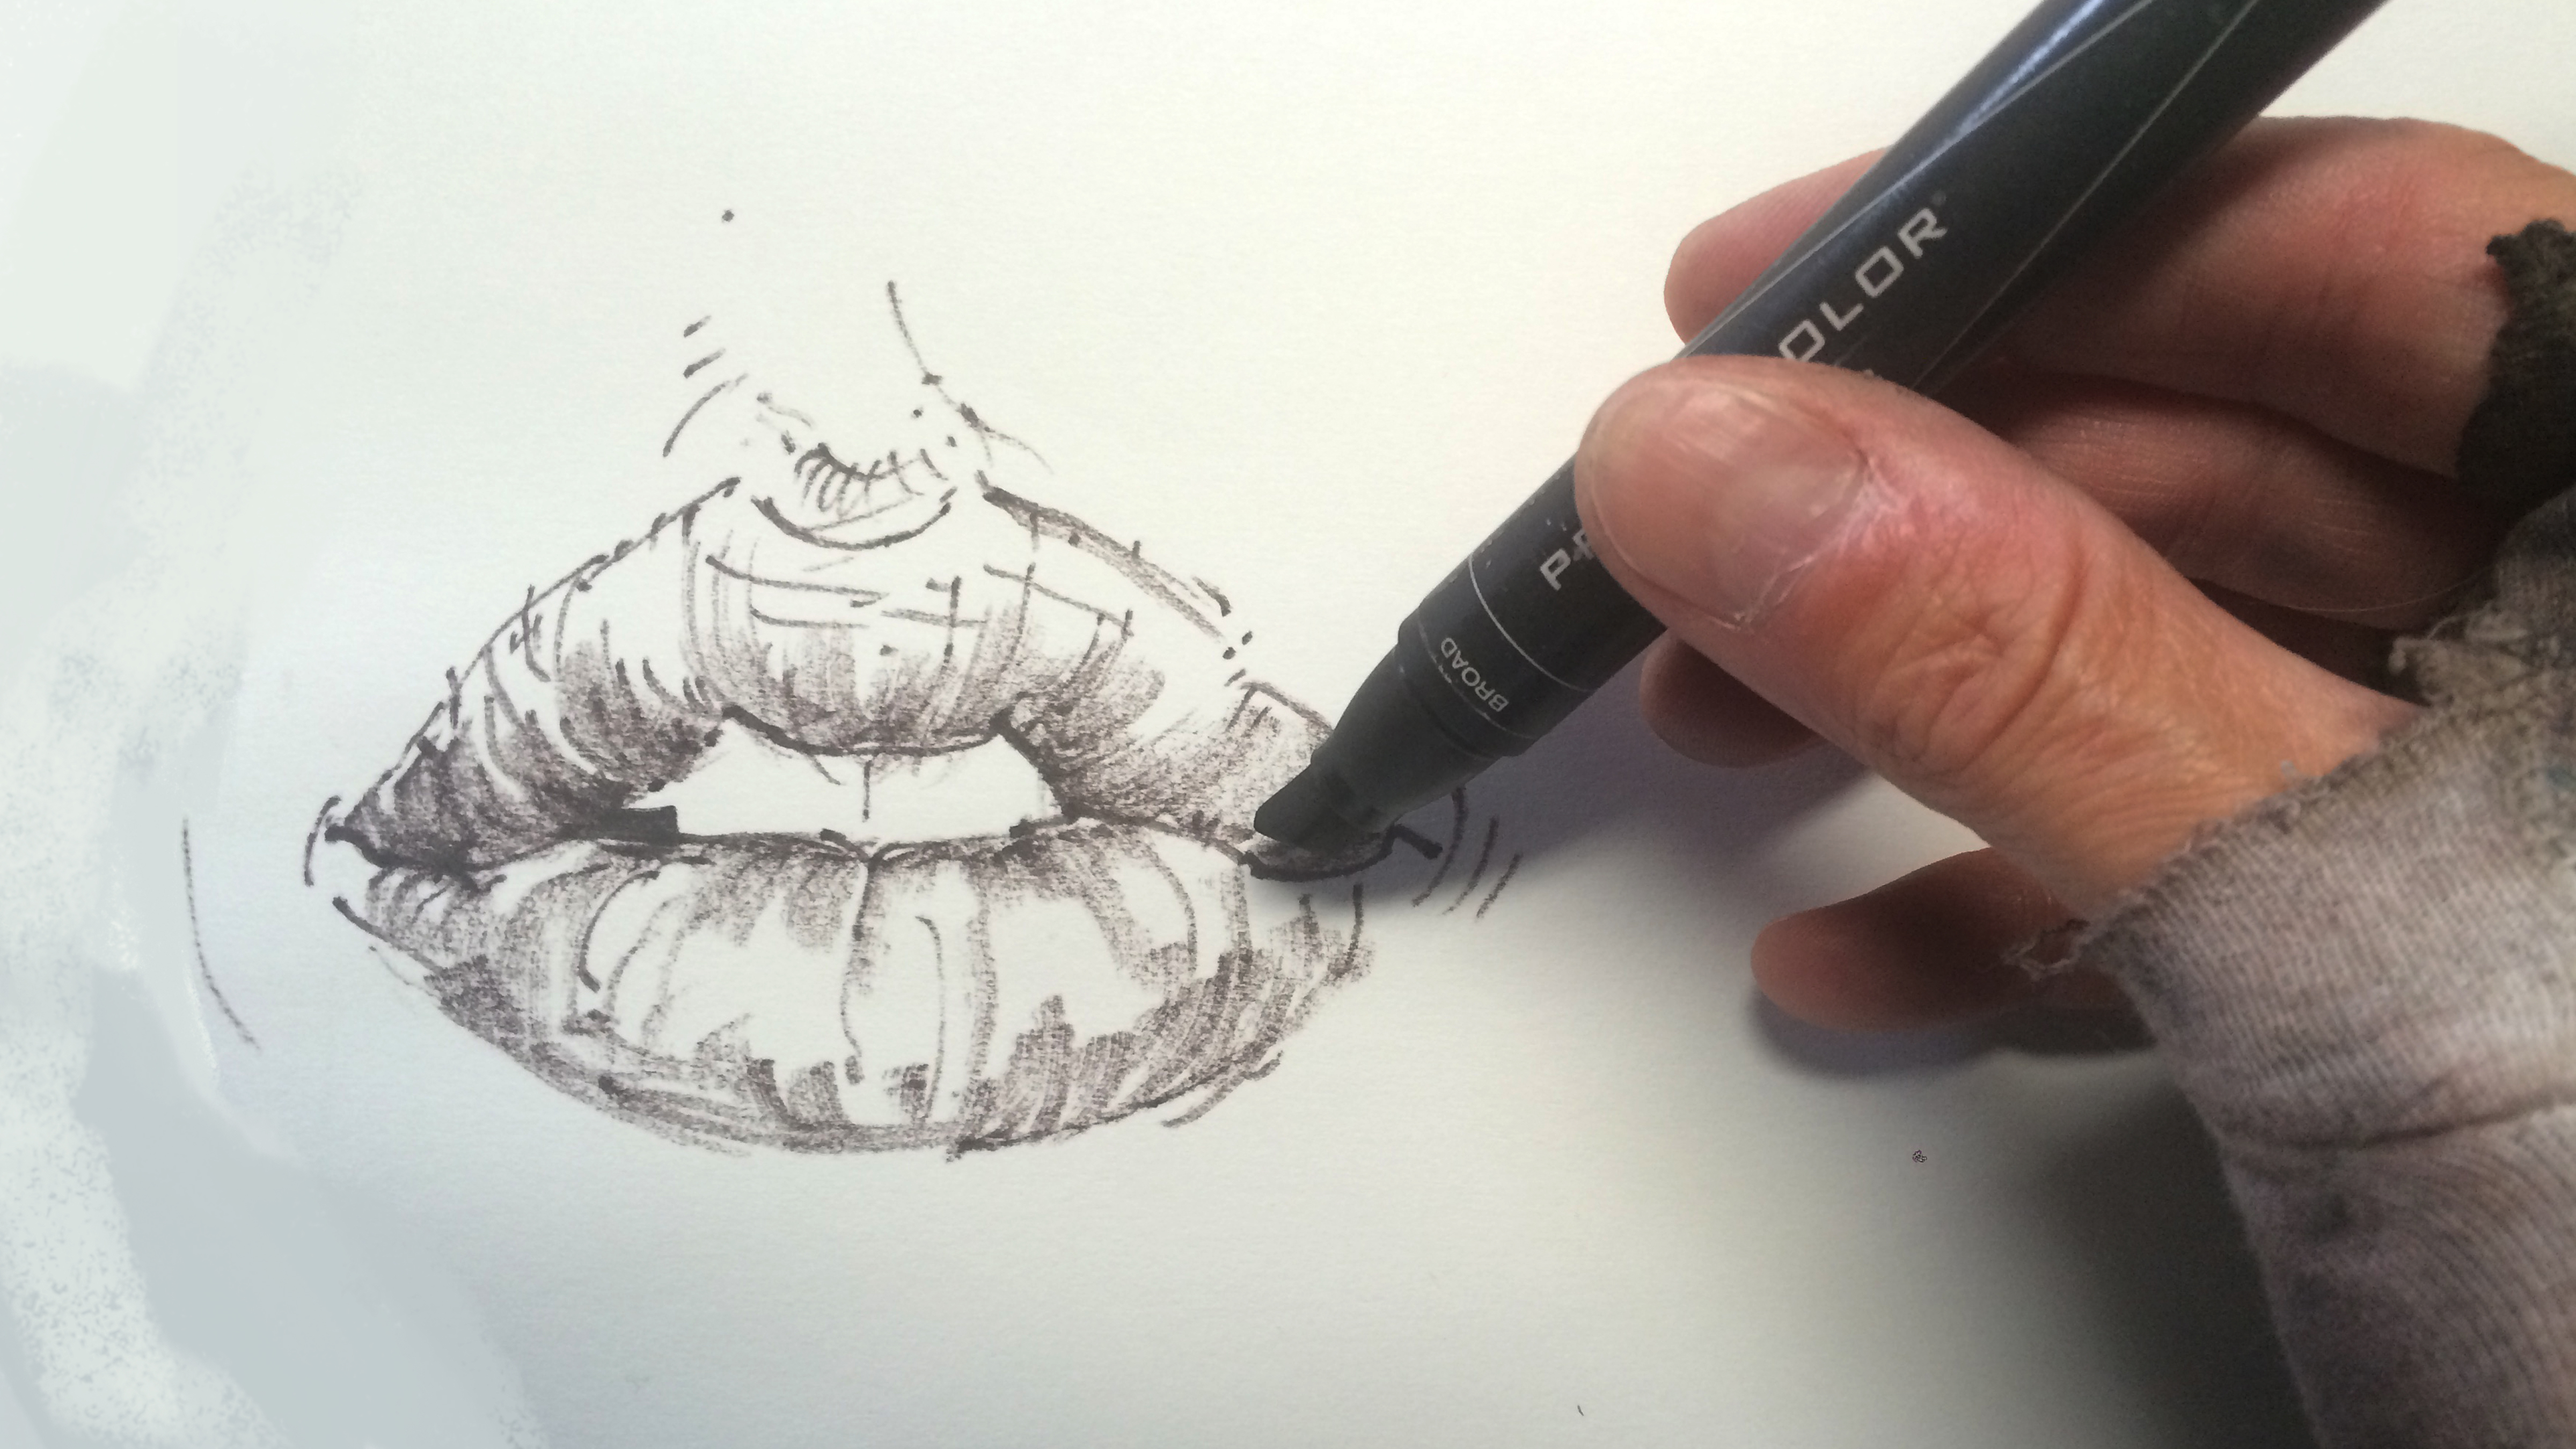
Don’t be too quick to throw away your dried up pens! Pens on their last breath can deliver a very dry, almost brush-like stroke to your pen and ink drawings, which has a completely different look from other tools. Also, by putting dry pens away with the cap tightly fixed, you may resurrect them for a few more minutes’ use. Try it the next time your pen dies.
09. Sketch first
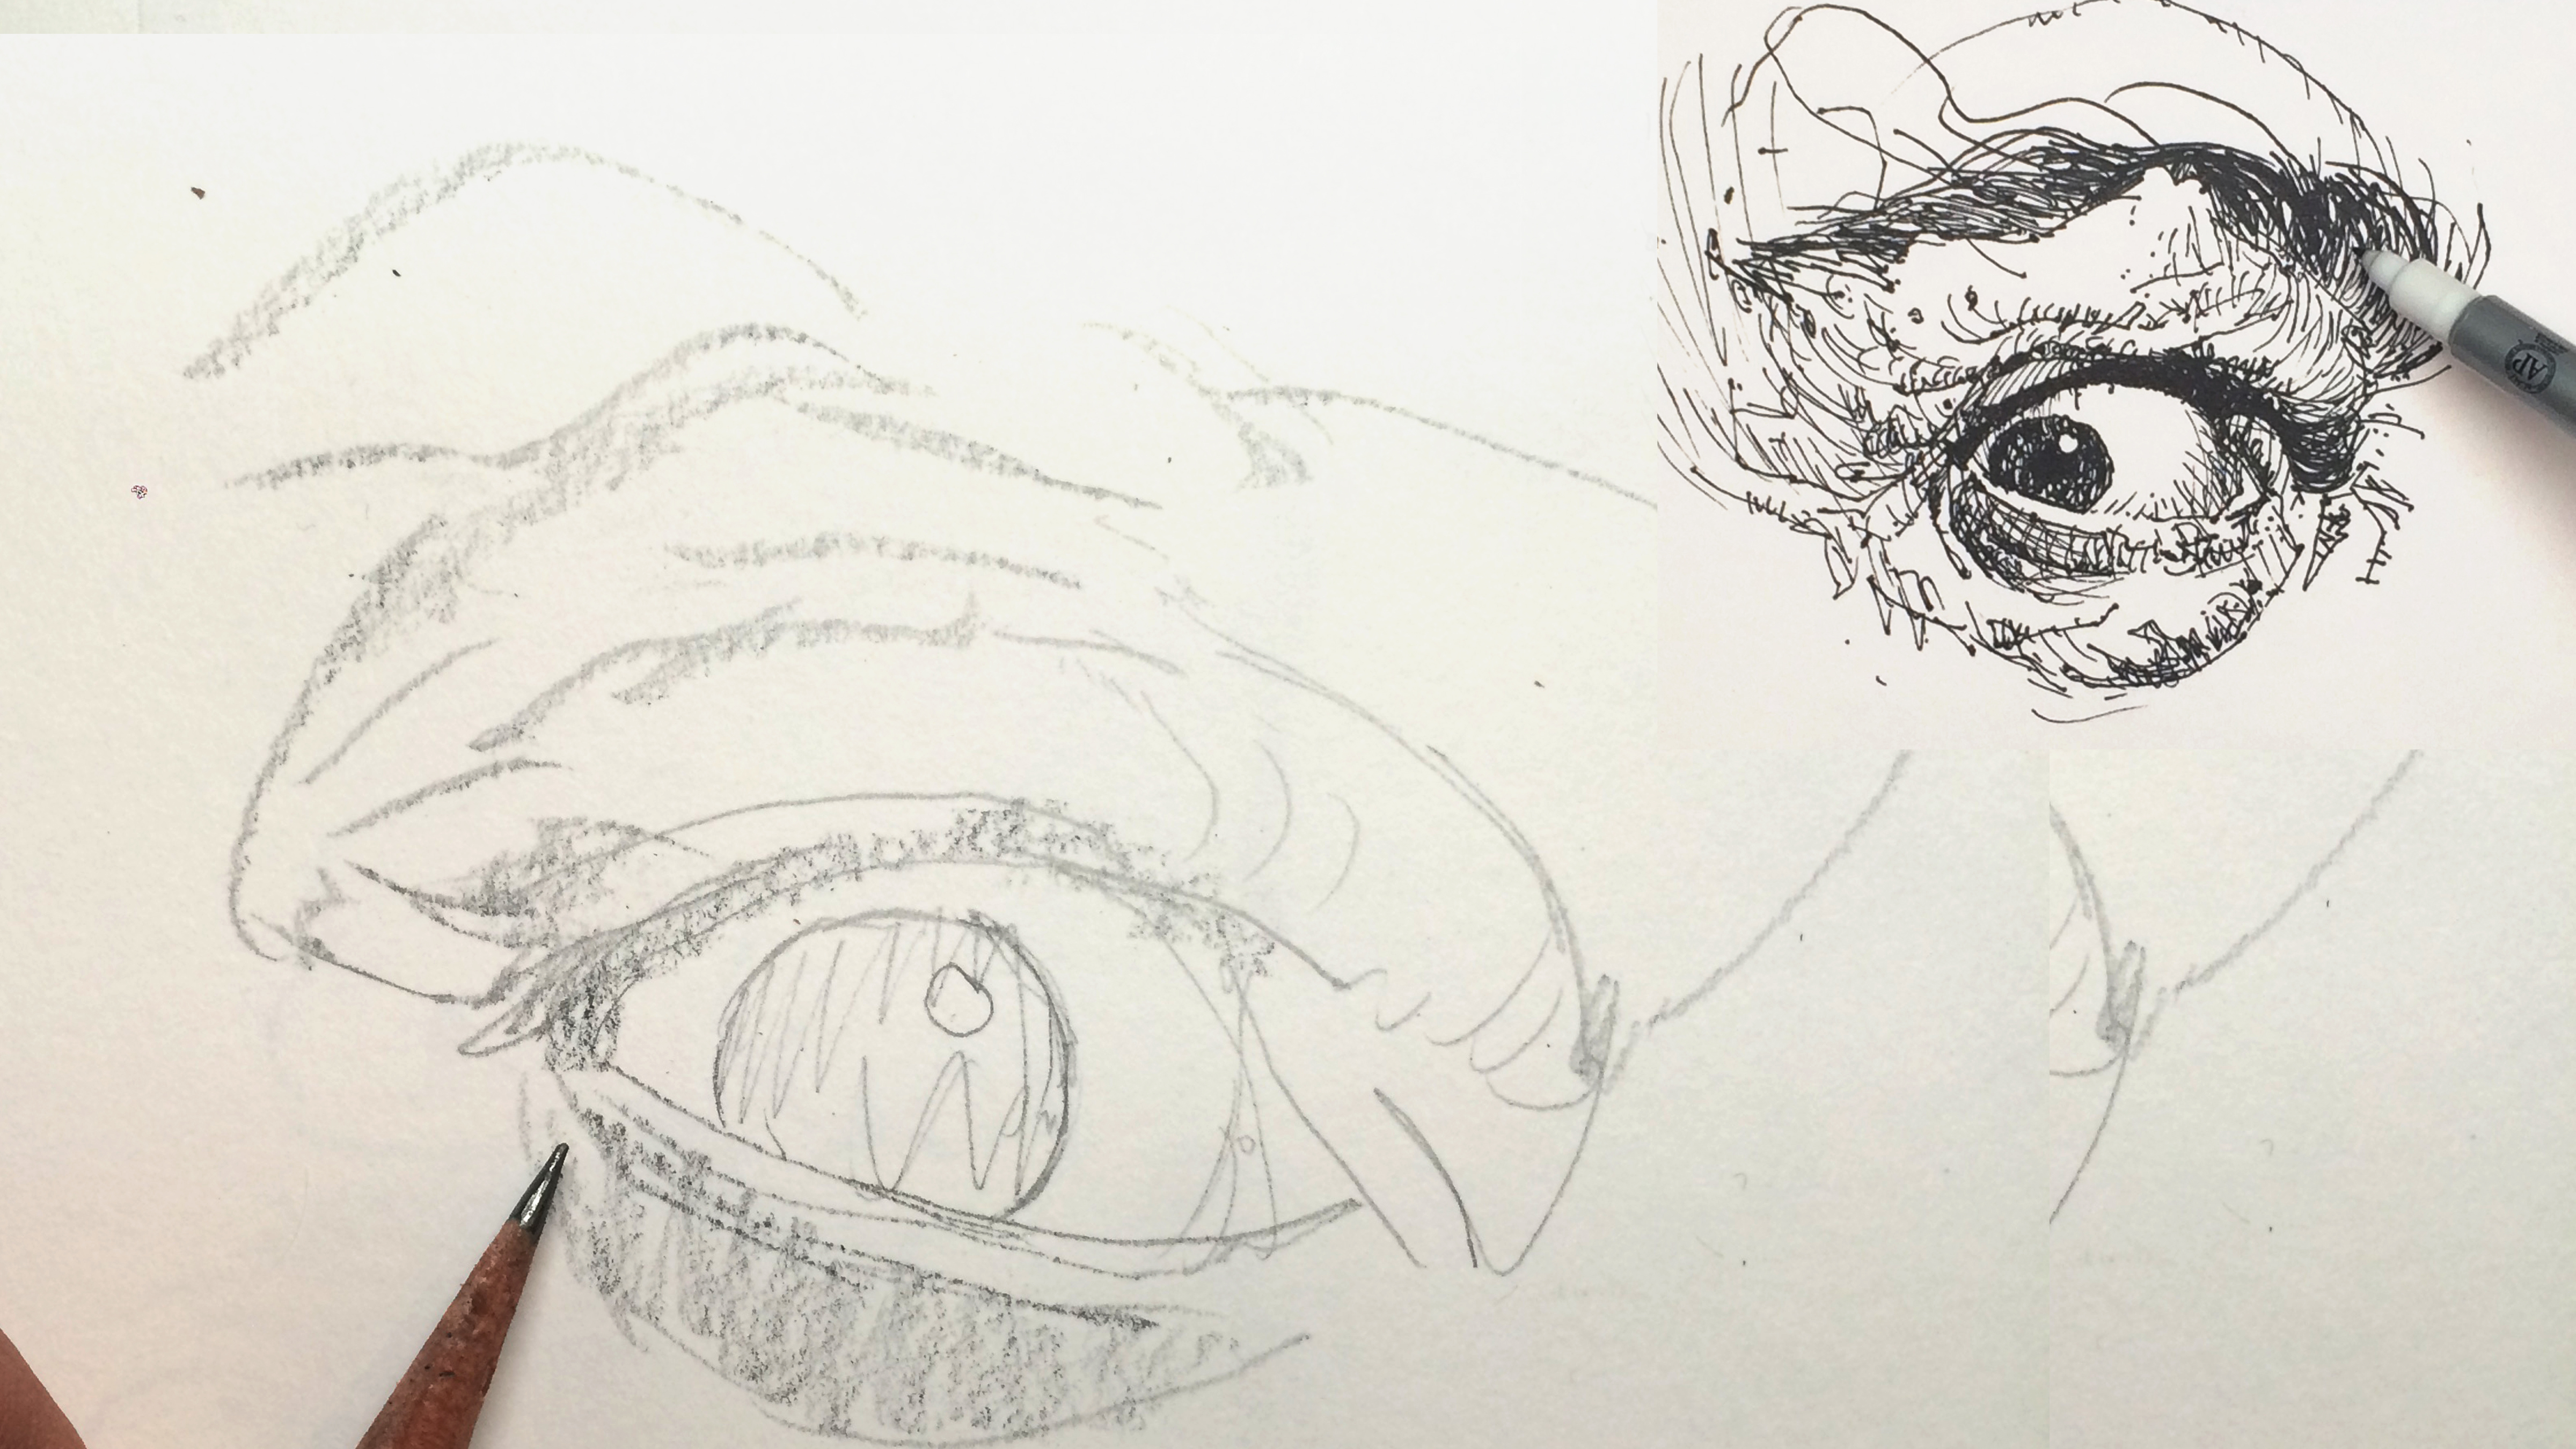
The unforgiving permanence of ink can stress some people out. But remember, just because you’re making an ink drawing doesn’t mean you have to use ink all the way through. I’m a firm believer that art should be fun and stress-free. So if launching straight into ink is too much pressure, try drawing your image in pencil first, then add ink over it. Either way works, just do what you’re comfortable with to set yourself up for the greatest joy.
10. Try to chill
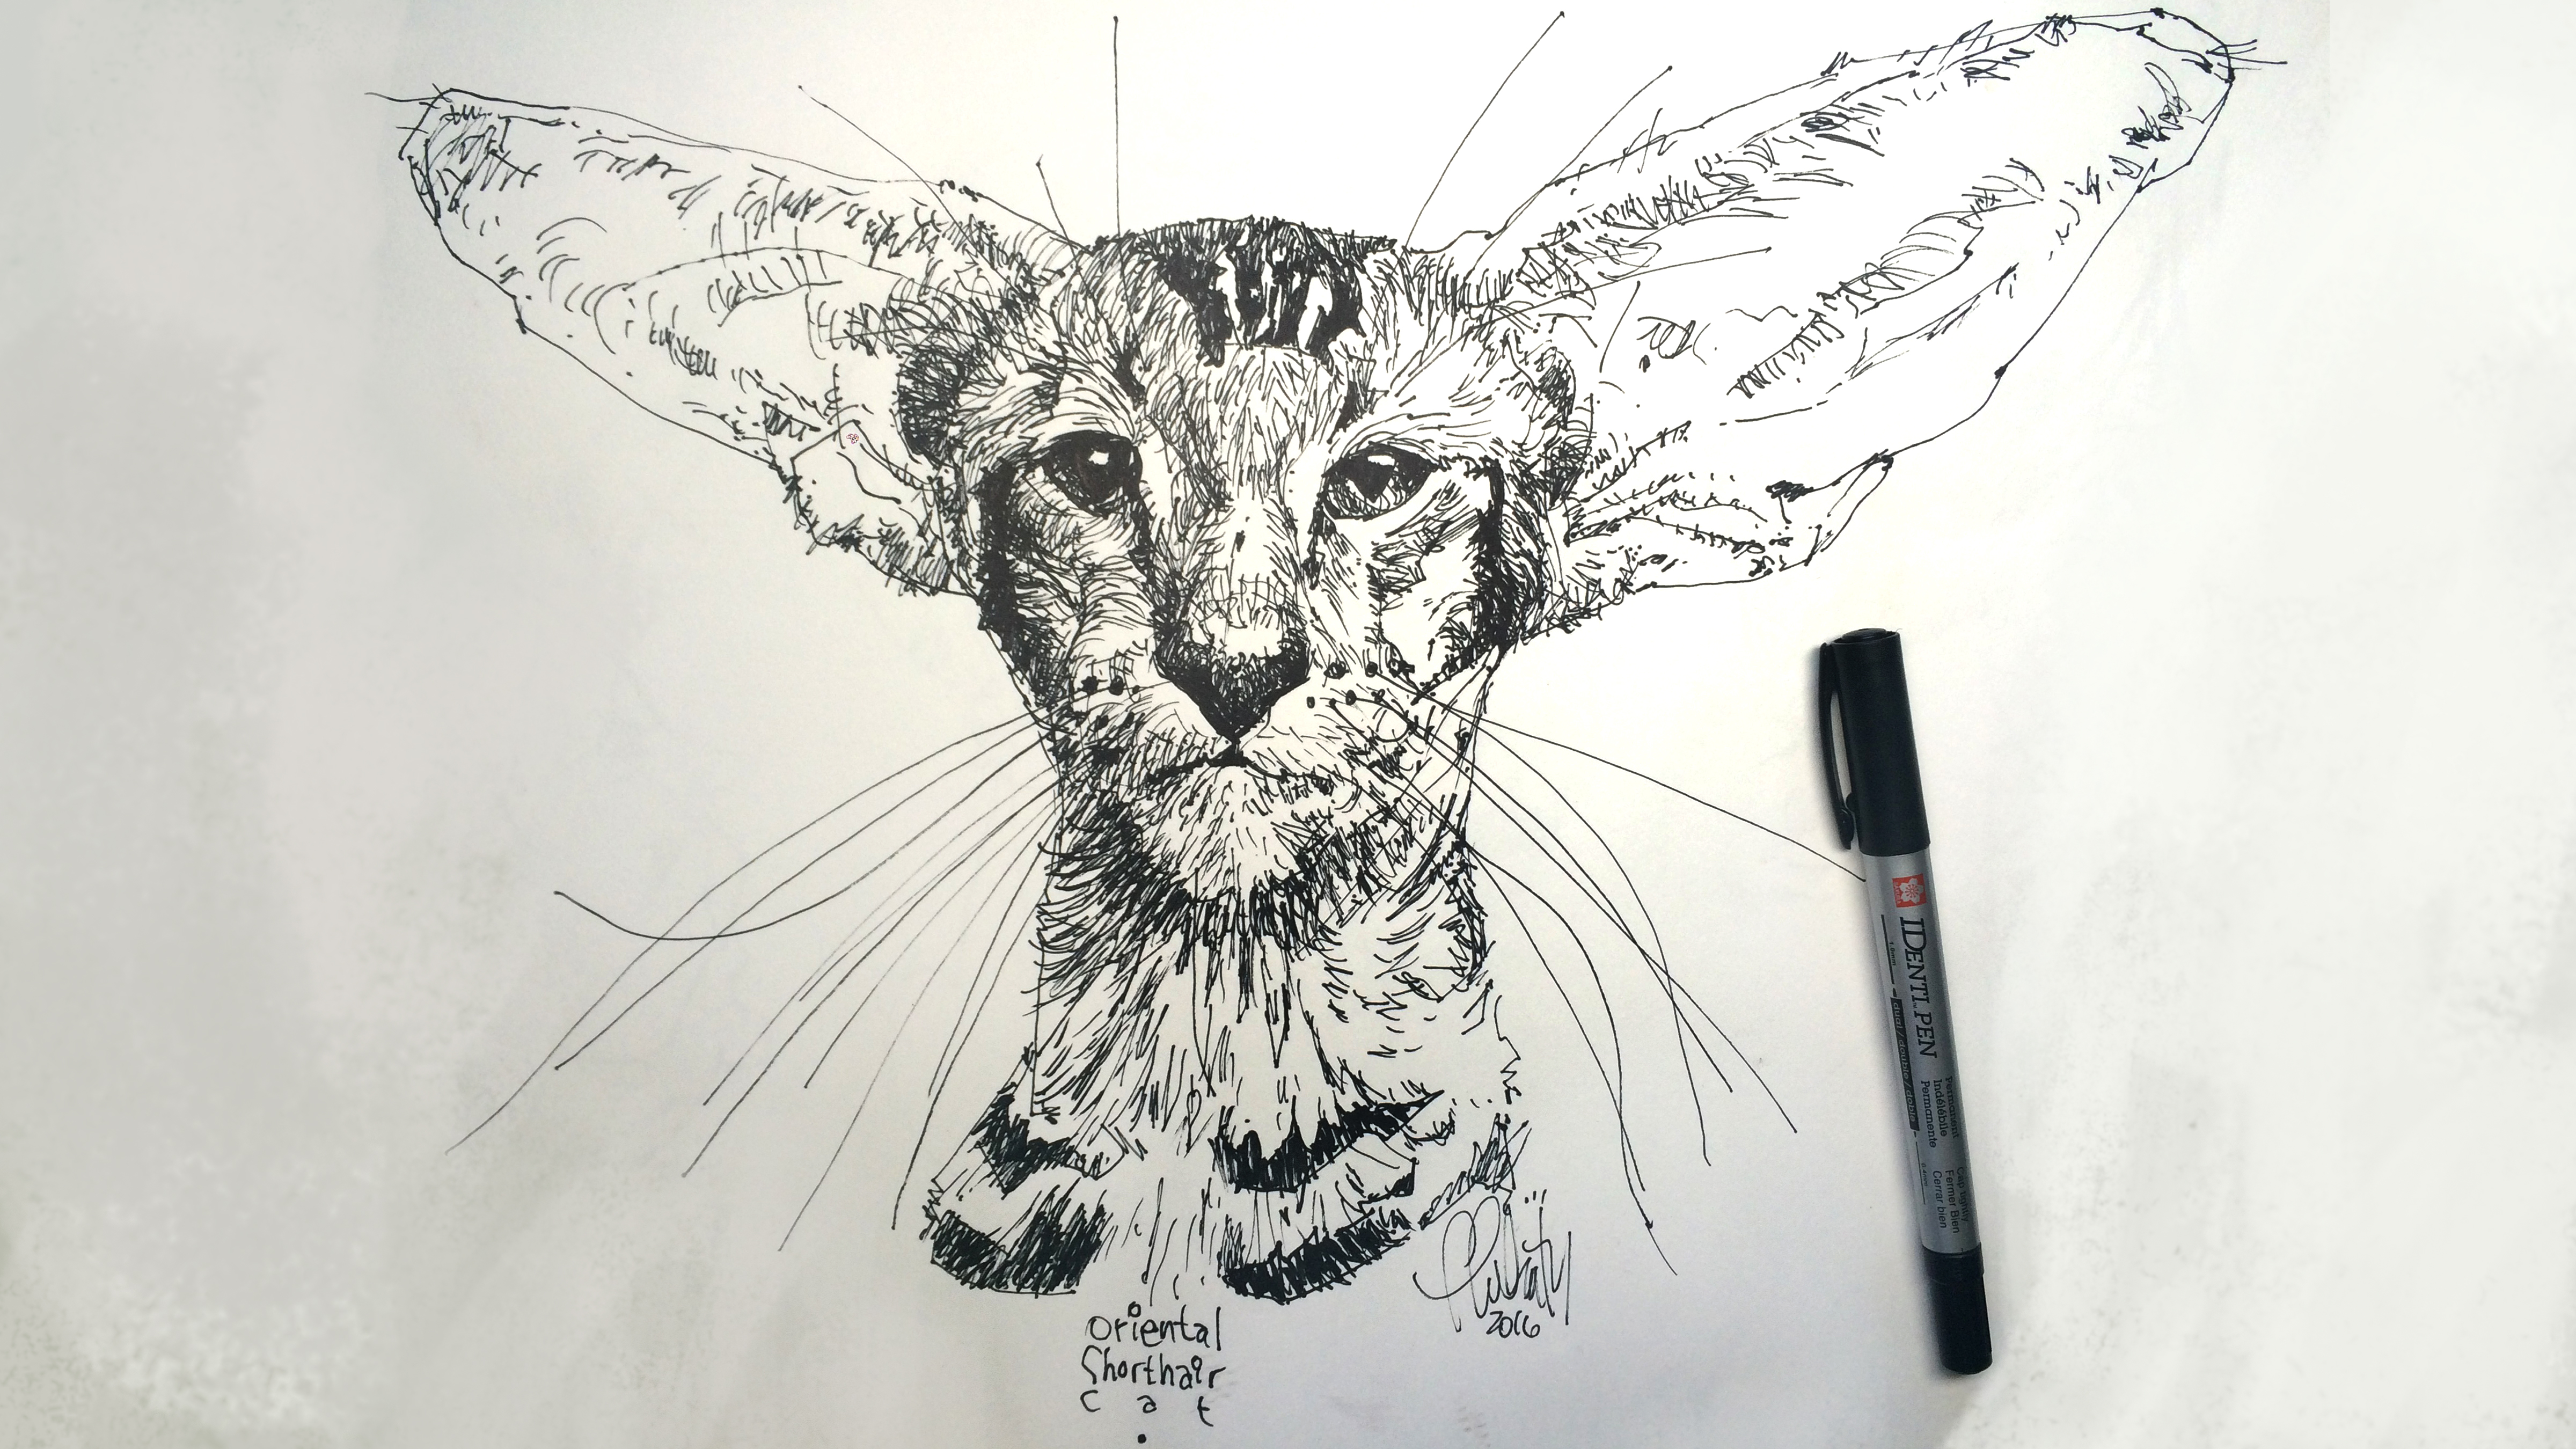
Art should be fun. You can forget this when you worry too much about making mistakes or obsess over every line you draw and forget the joy of making art. Remember the bigger picture. Every journey every making is fraught with mistakes and missteps. That’s okay; it’s normal. Just remember that each line serves a greater whole and leads to your final image. If you make a mistake, chill out and move on – it might not even be noticeable in the end. Your lines WILL get better with time so enjoy the journey.
Read more:
