10 top Octane tips and tricks
Octane is one of the most exciting render engines on the market, which works with a huge range of applications. Here are some top tips for working with Octane in Cinema 4D.
With Octane 3, the latest version of OTOY’s GPU based unbiased renderer, it really does feel that Octane is part of the big time with it’s relatively easy-to-use settings, adaptability and, of course, blazing fast render speed. With a road map which includes much better cloud rendering capabilities and the ability to use Octane on computers without NVidia cards (aka current macs), coming with v3.1., Octane has the potential to hugely expand it’s user base. Here are some top tips for working with Octane in Cinema 4D.
01. Get lots of graphics cards
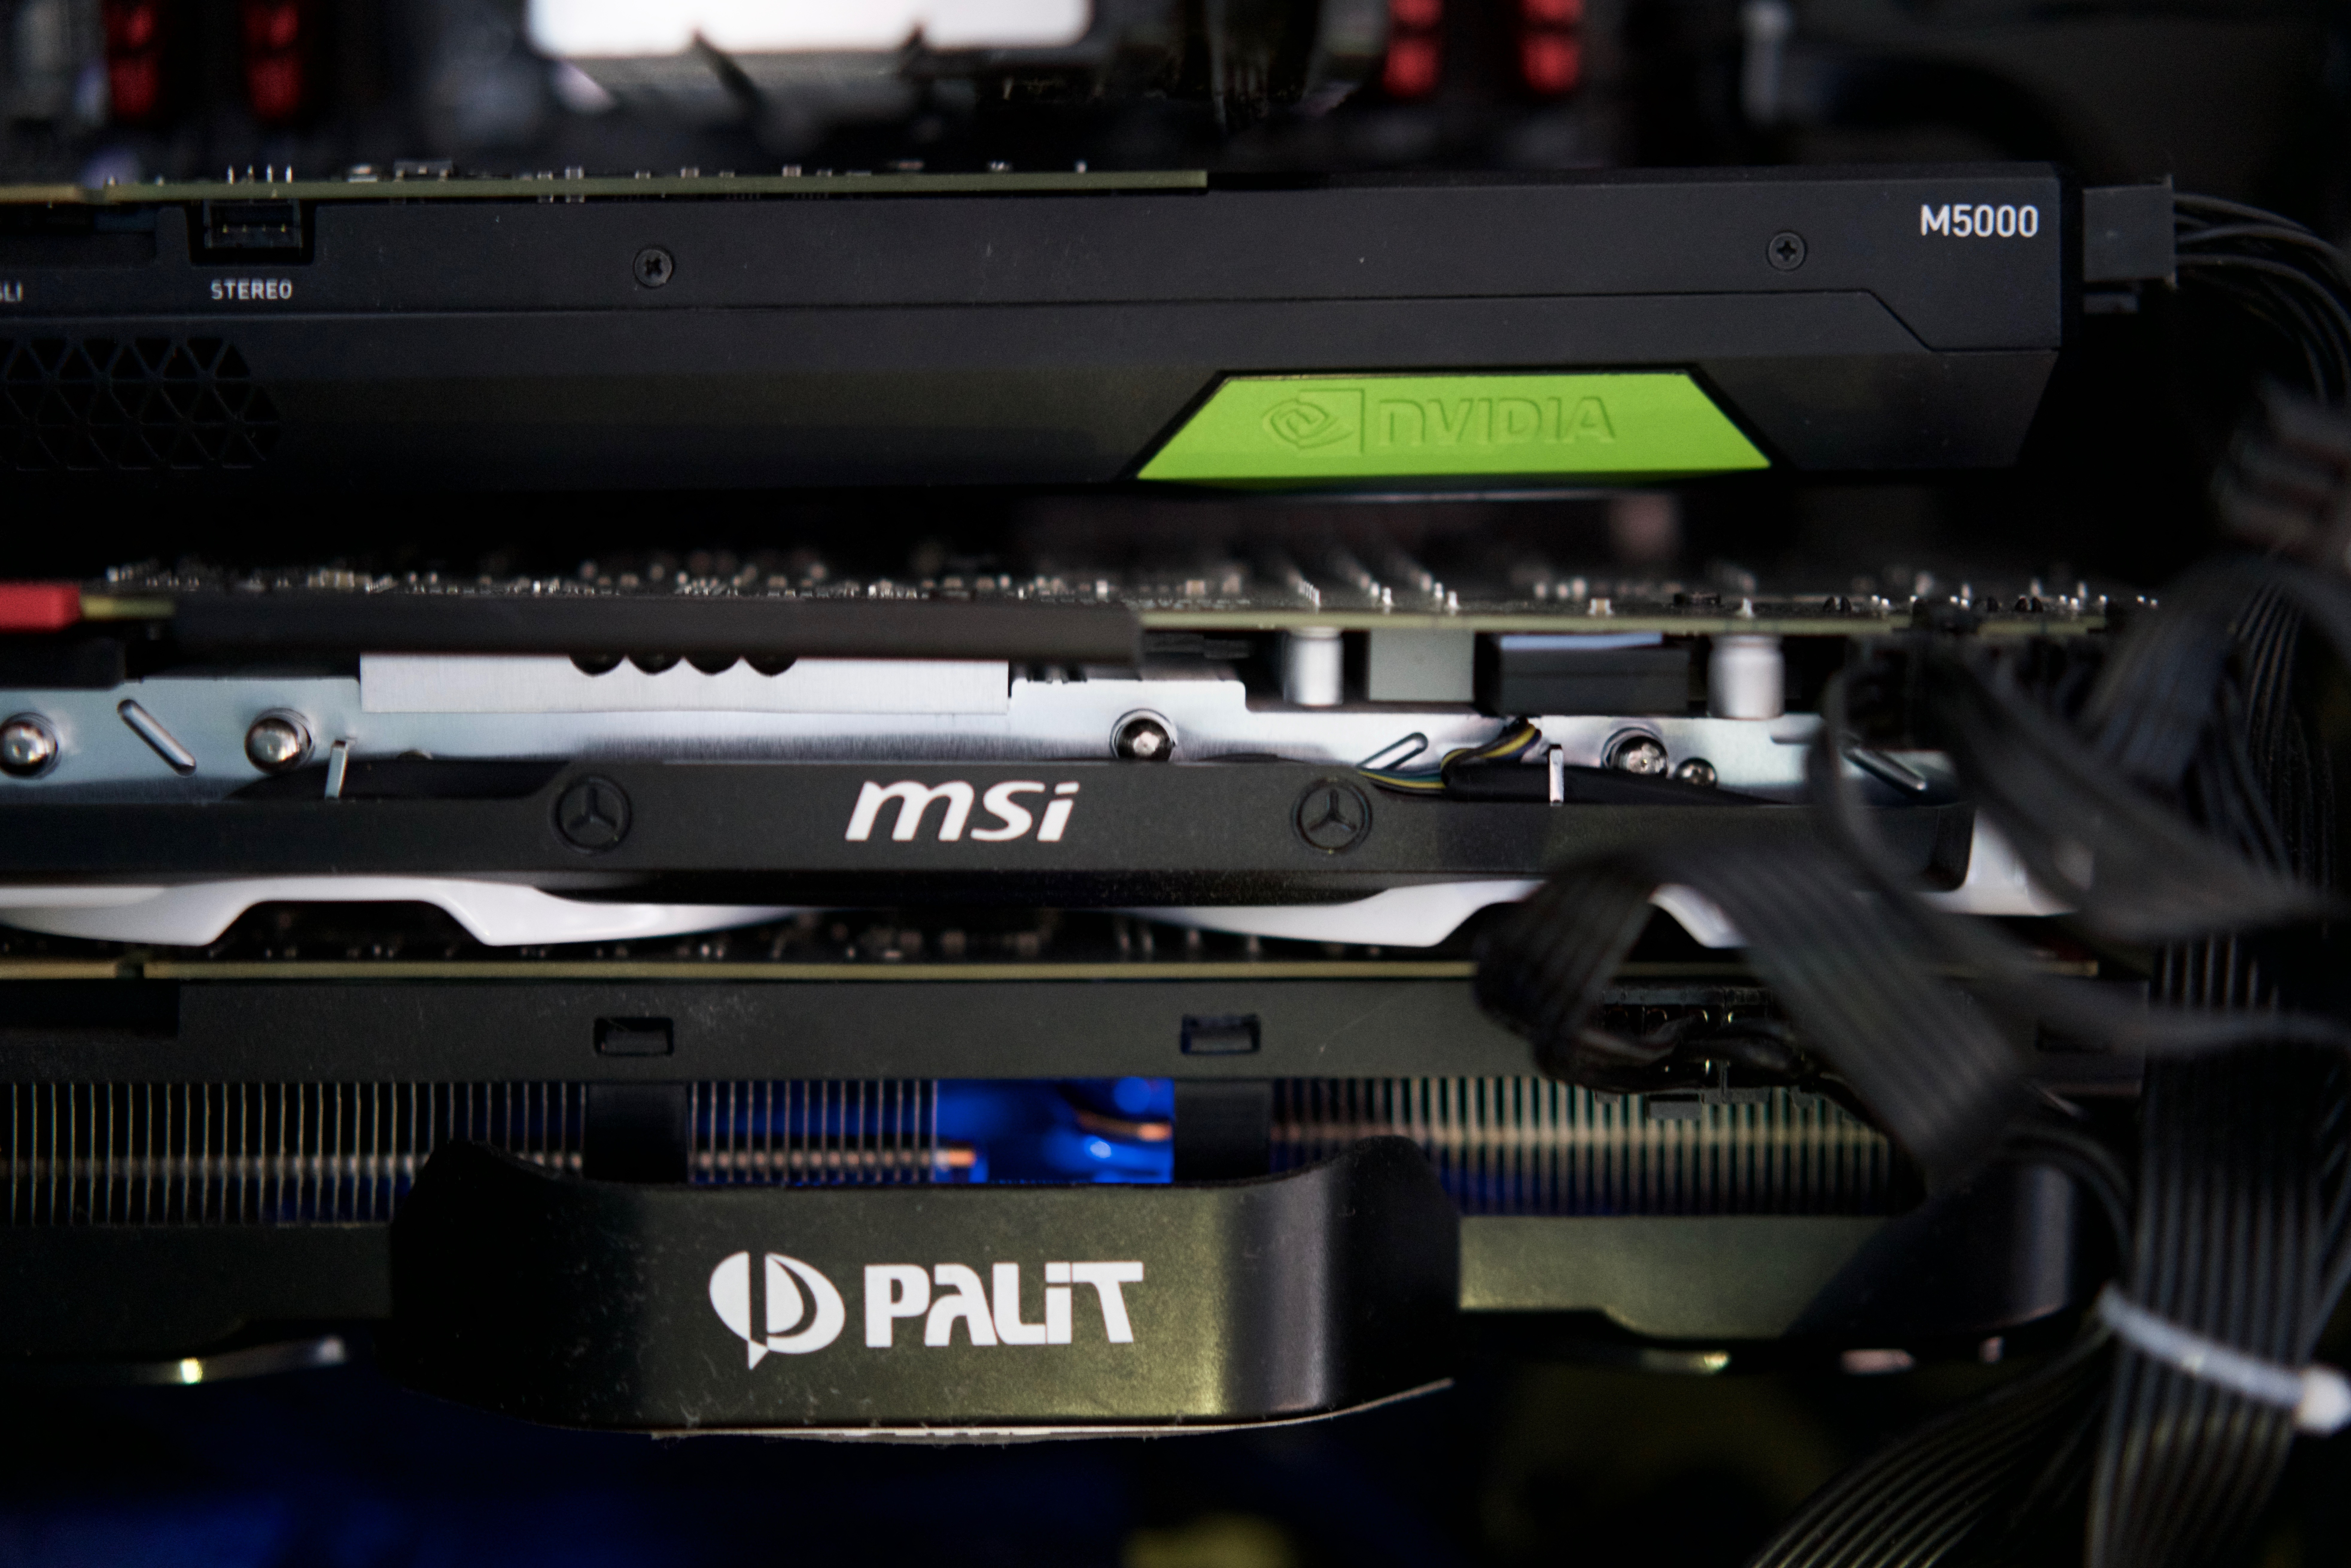
Octane is the reason I built my own PC for the first time in 15 years. Octane is a GPU based renderer, which means that it uses the power of a gaming card for it’s render speed. Octane’s license is per machine, but you can build PC’s with up to 12 GPU’s (graphics cards) in them. At the moment, the cards need to be Nvidia, but they can be mixed and matched based on what is available
02. Network Render
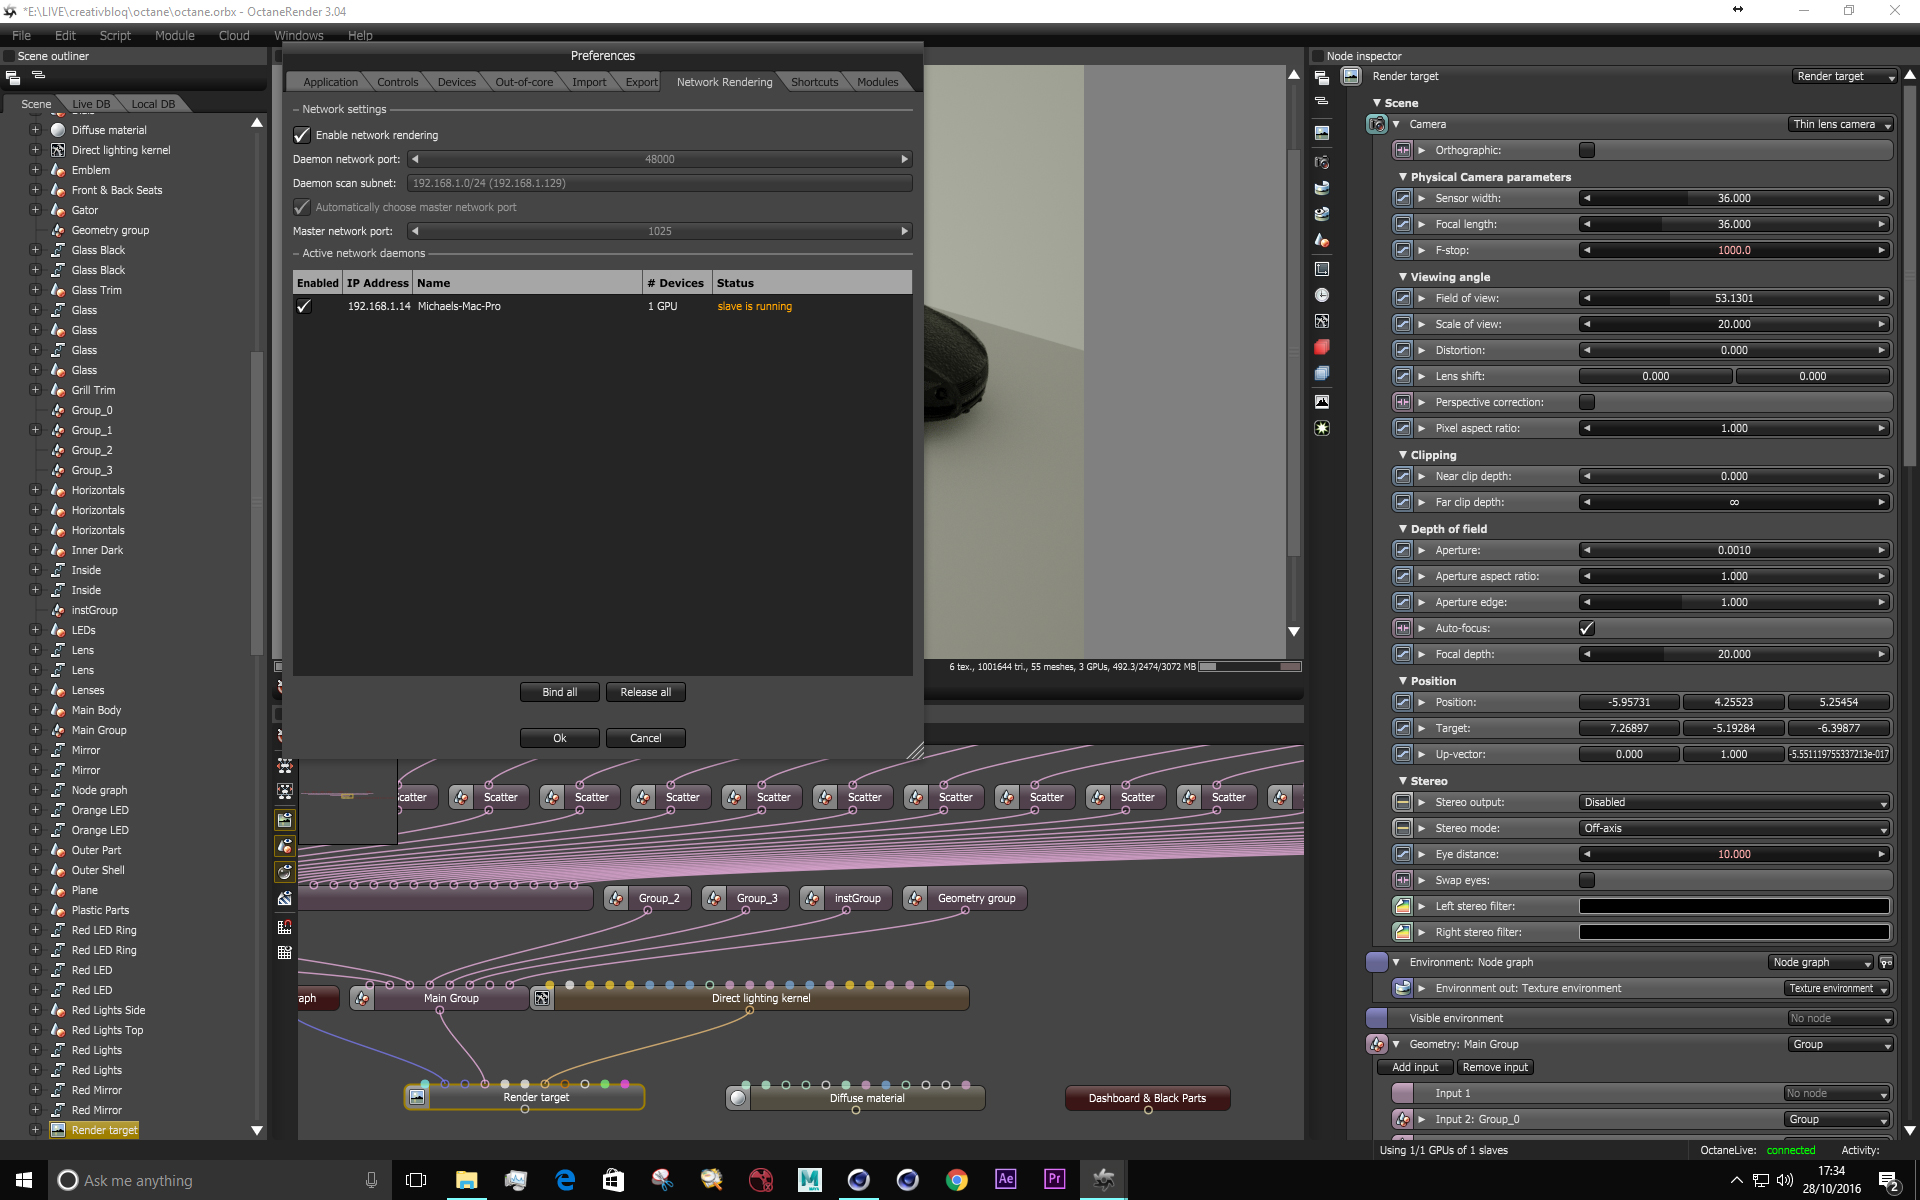
Try to have a minimum of two graphics card in your computer when working with Octane, one to drive the screen, and one for Octane to use exclusively. What if your machine has only one GPU? For example, if you work on a laptop. Octane’s network rendering works really well. As long as you have a Octane License for every computer on your network, Octane can use the GPU’s on all the machines for every part of it’s process from Live Preview through to Final Render.
Article continues below03. Use Octane standalone for material building
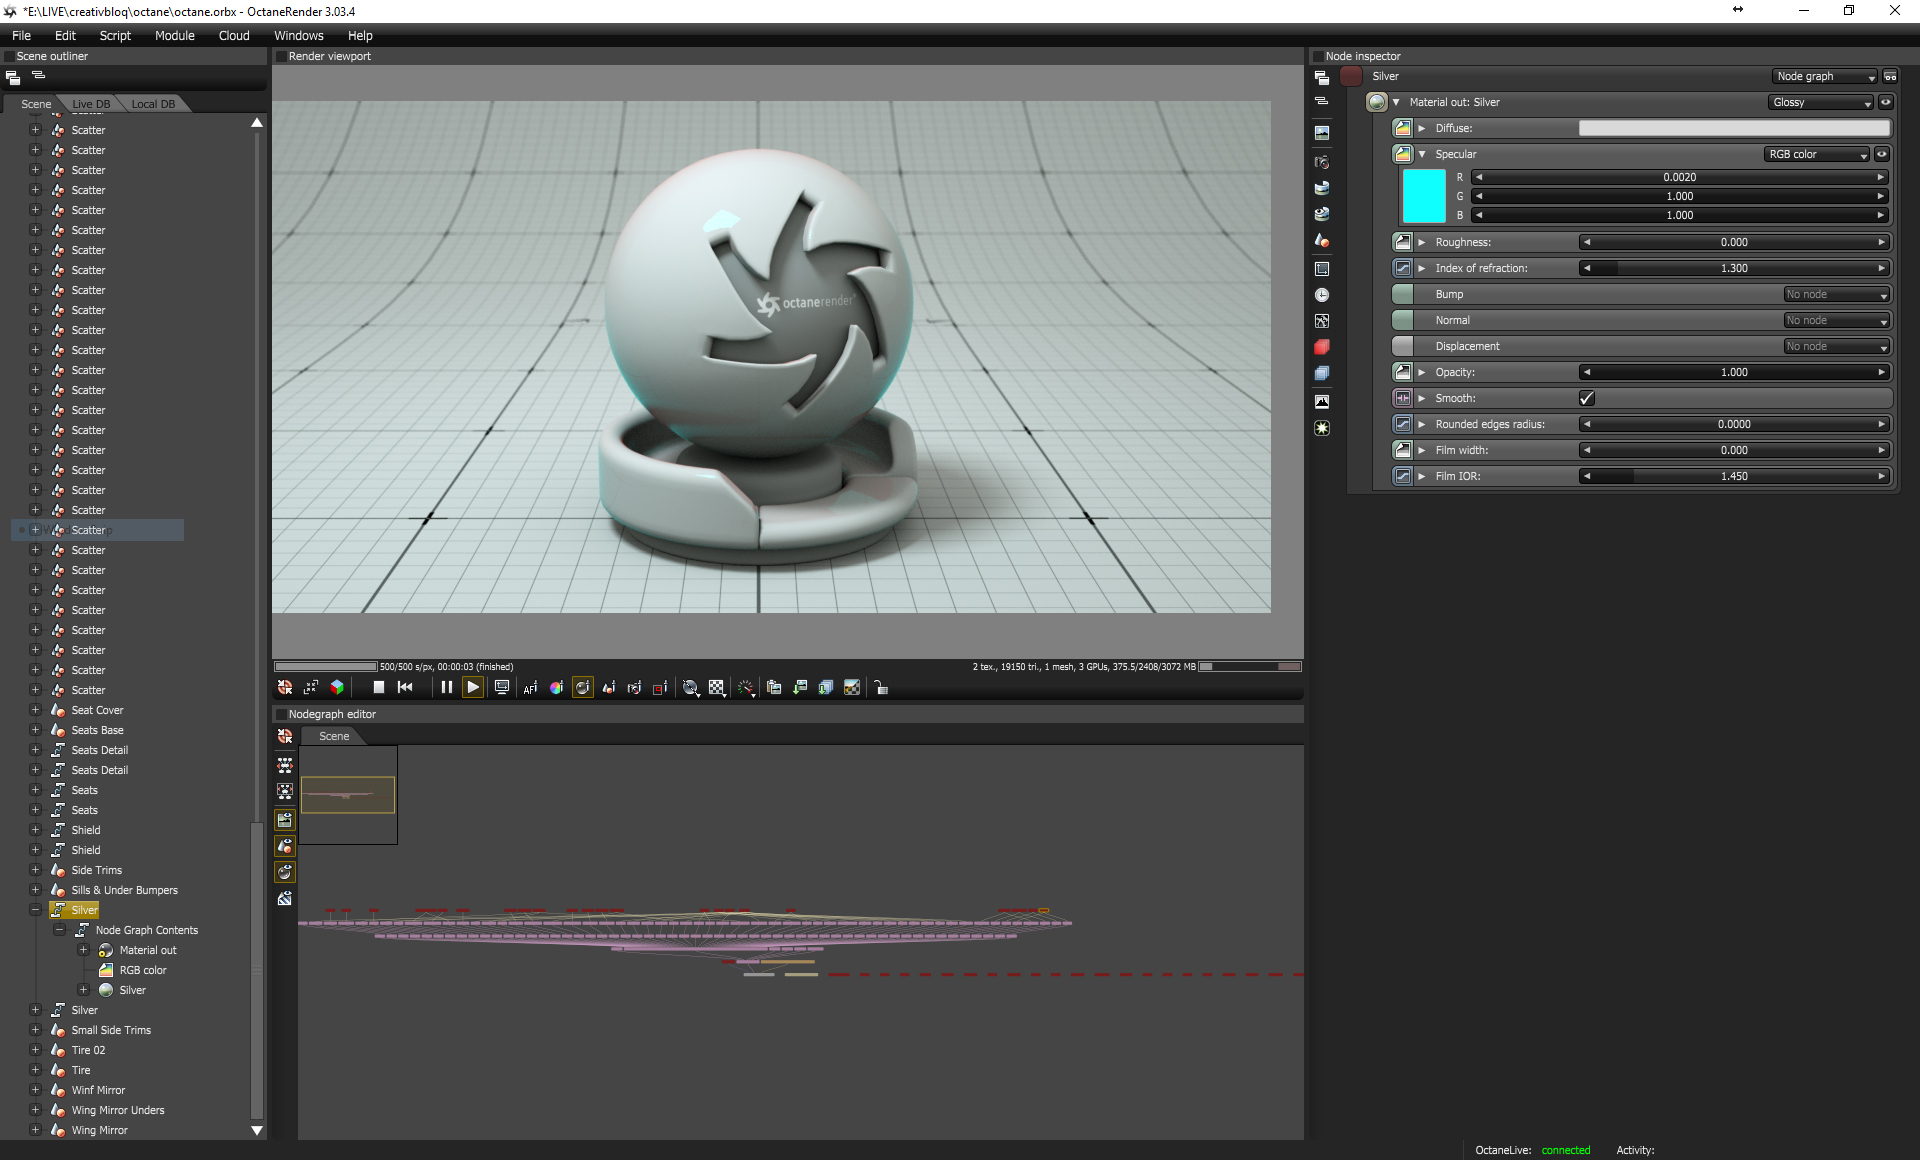
The Octane standalone application is definitely an acquired taste. However, that doesn’t mean that it should be ignored. Especially as due to the .ORBX file format, files can be swapped from the host application (in my case Cinema 4D) to the standalone app with ease. One the great things about the standalone is the UI which it provides to build materials which can be used across all Octane application instances.
04. Use Mix Materials
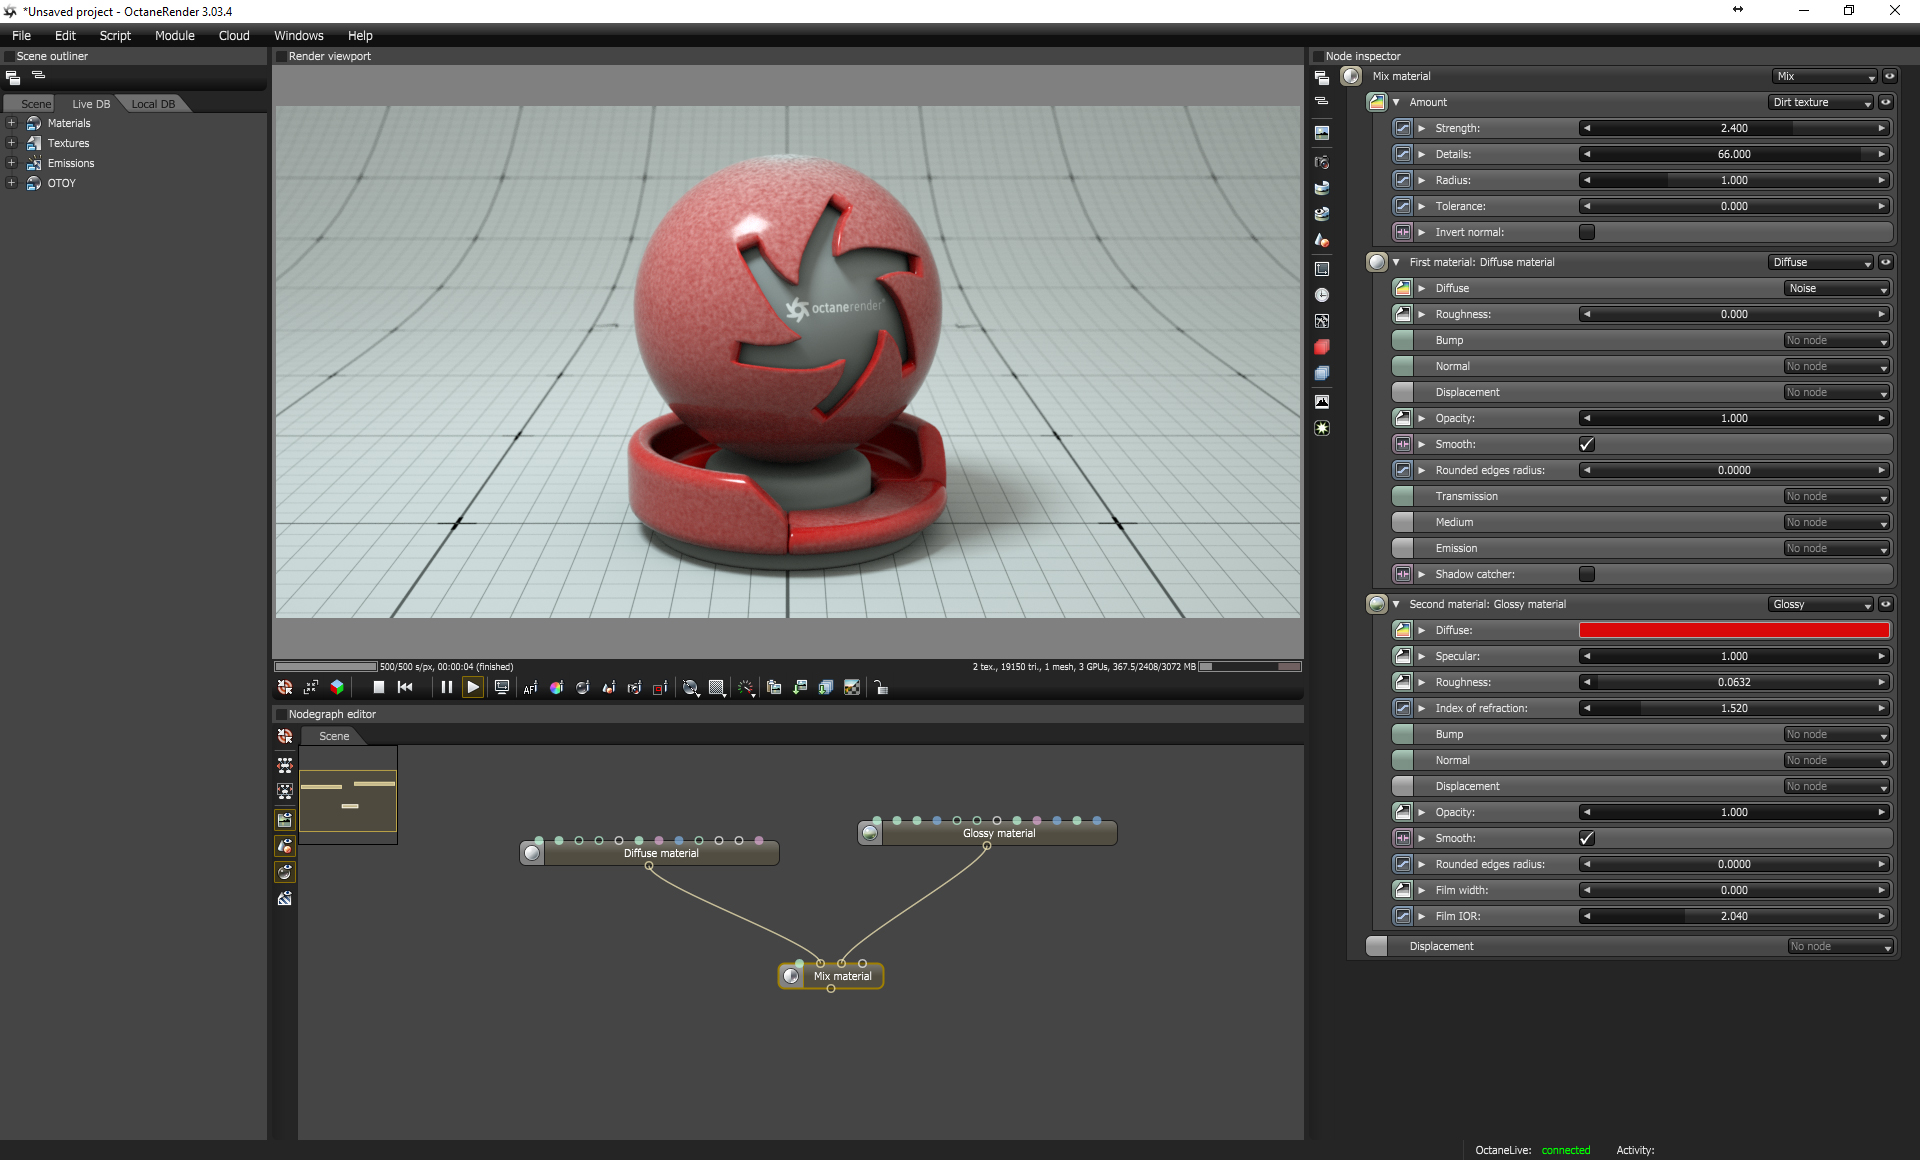
Mix Materials are hugely powerful as they allow combinations of simple materials to be overplayed into one ‘super material’. The mixing of the material can be controlled by procedural tools within Octane or image maps, and Mix Materials can be used within other Mix Materials to give near limitless control when creating textures within Octane.
05. Use LiveDB
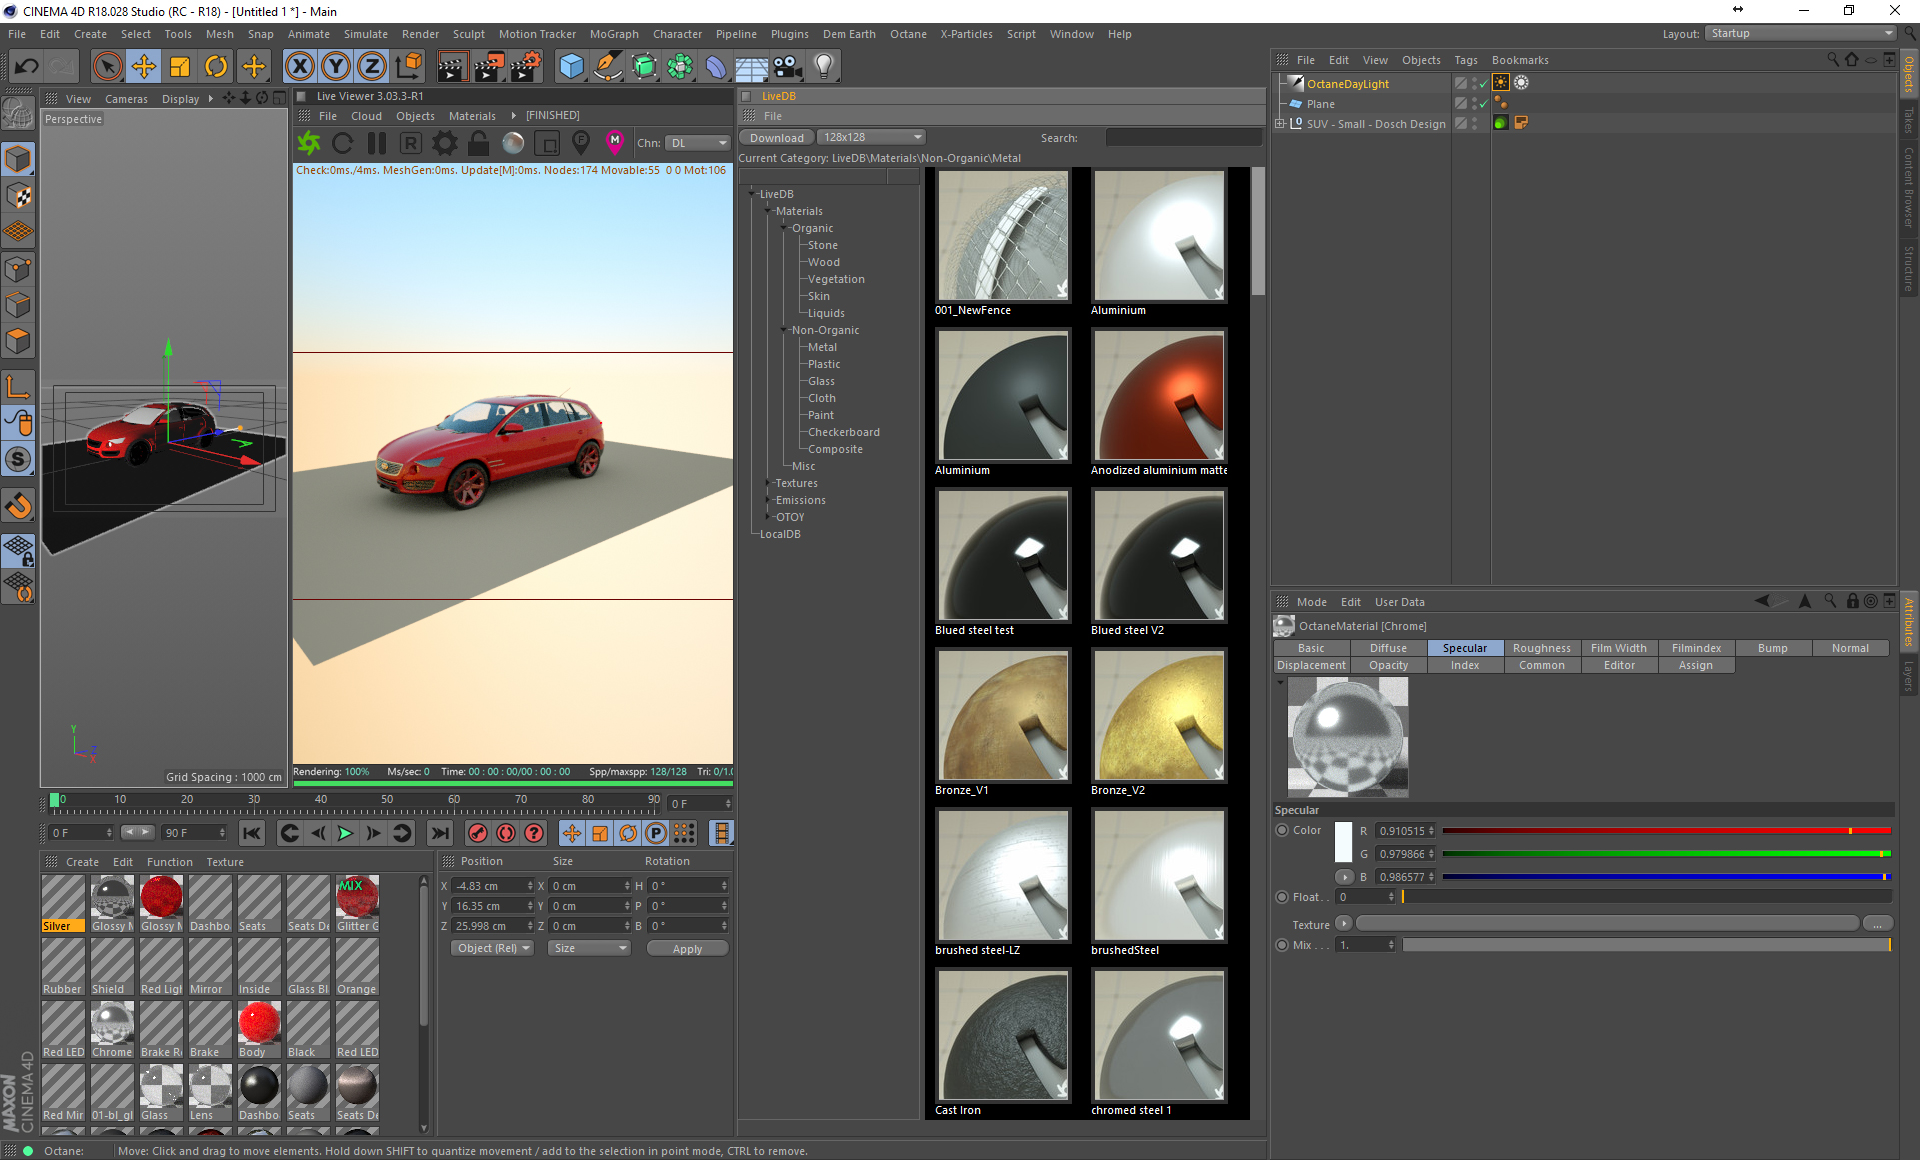
When time is too tight to create a material from scratch, it is great to know that you can use the ‘LiveDB’ database of materials that come with Octane to create a starting point for what you need. From metals, fabrics, liquids and skin there will be a Material preset available within LiveDB to download into your scene to help you on your way.
06. Volumetric powerhouse
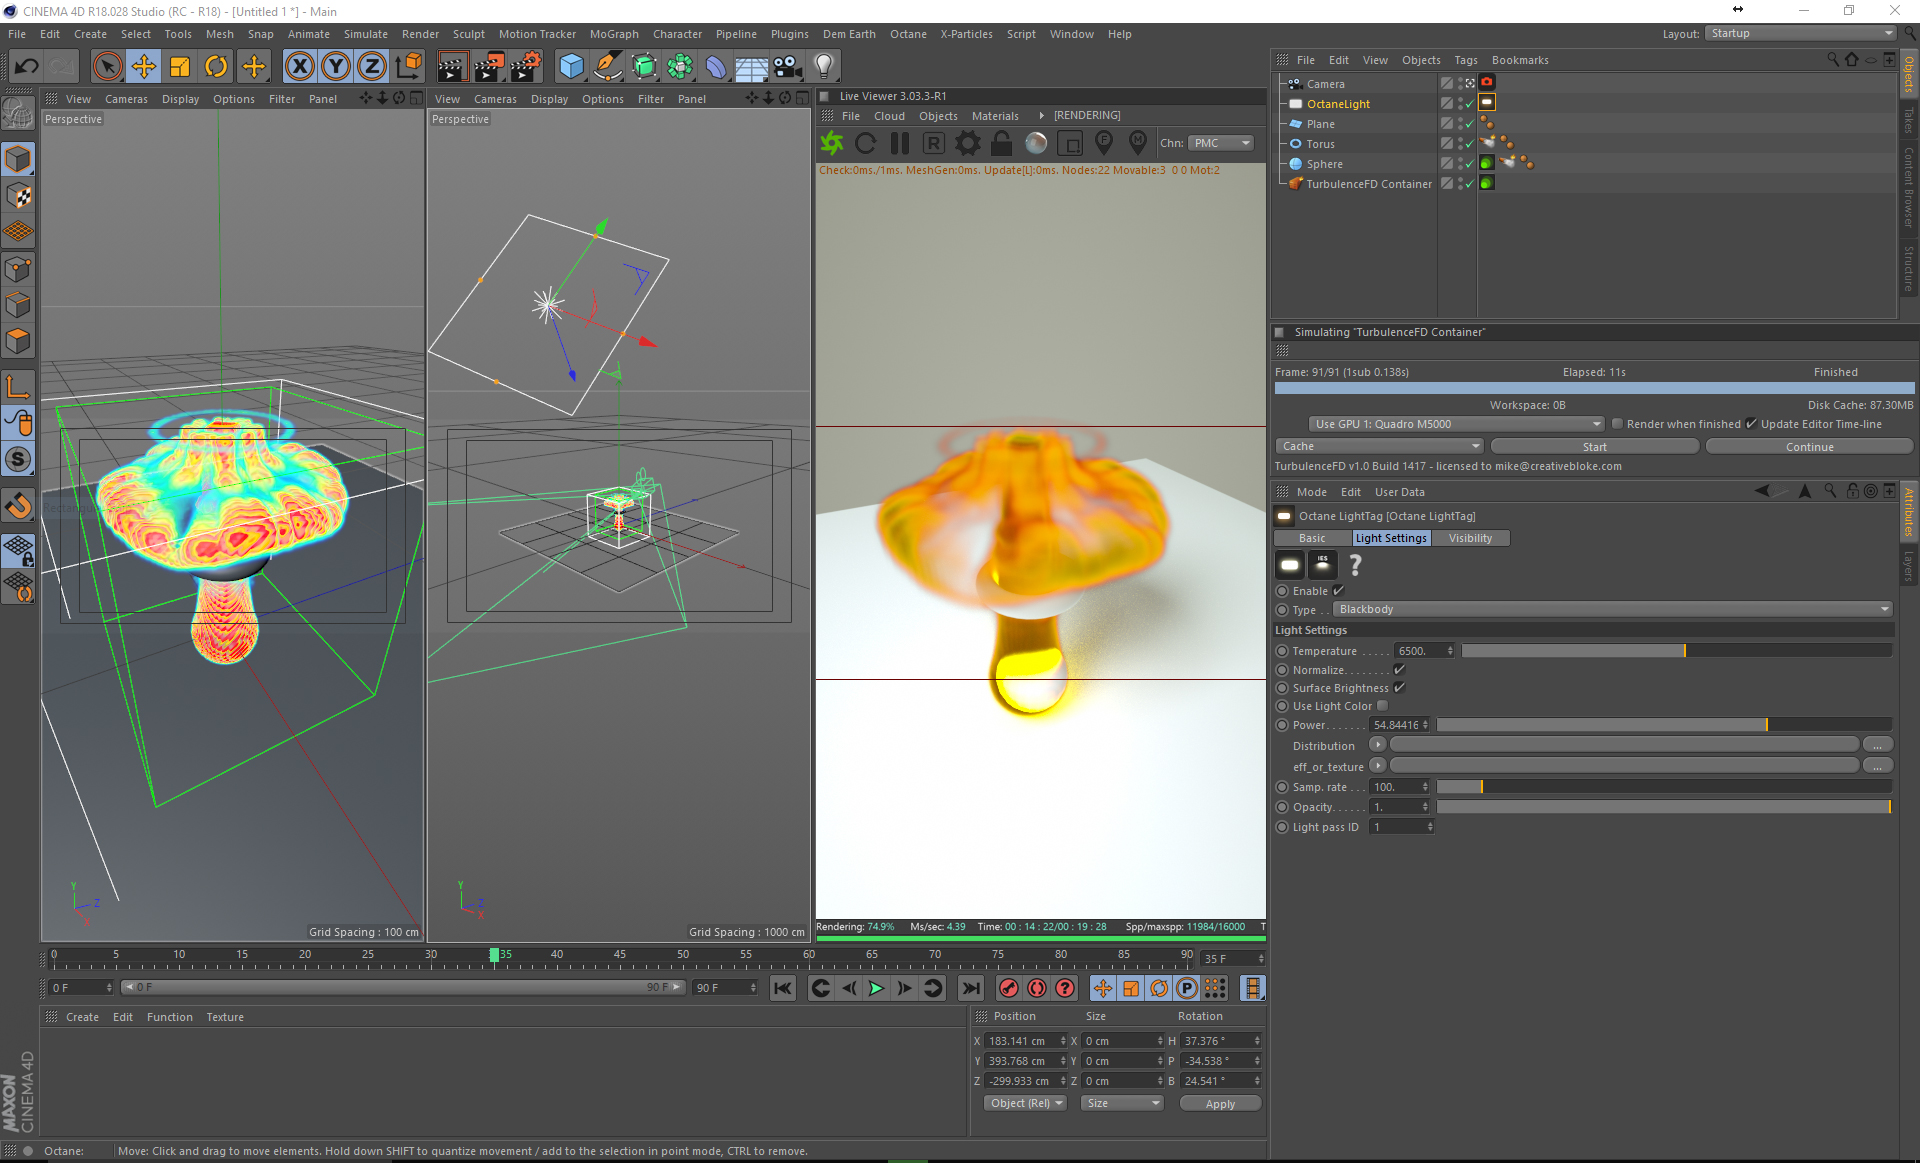
Octane 3 can now support volumetric systems like gas, and fire with full emissive and shadow capabilities. This is game changing when combined with tools like Turbulence FD for Cinema 4D. As both of these plugins are GPU-based, they are blisteringly quick allowing many more iterations of sim and render all within one PC.
Sign up to Creative Bloq's daily newsletter, which brings you the latest news and inspiration from the worlds of art, design and technology.
07. Explore all of the Kernels
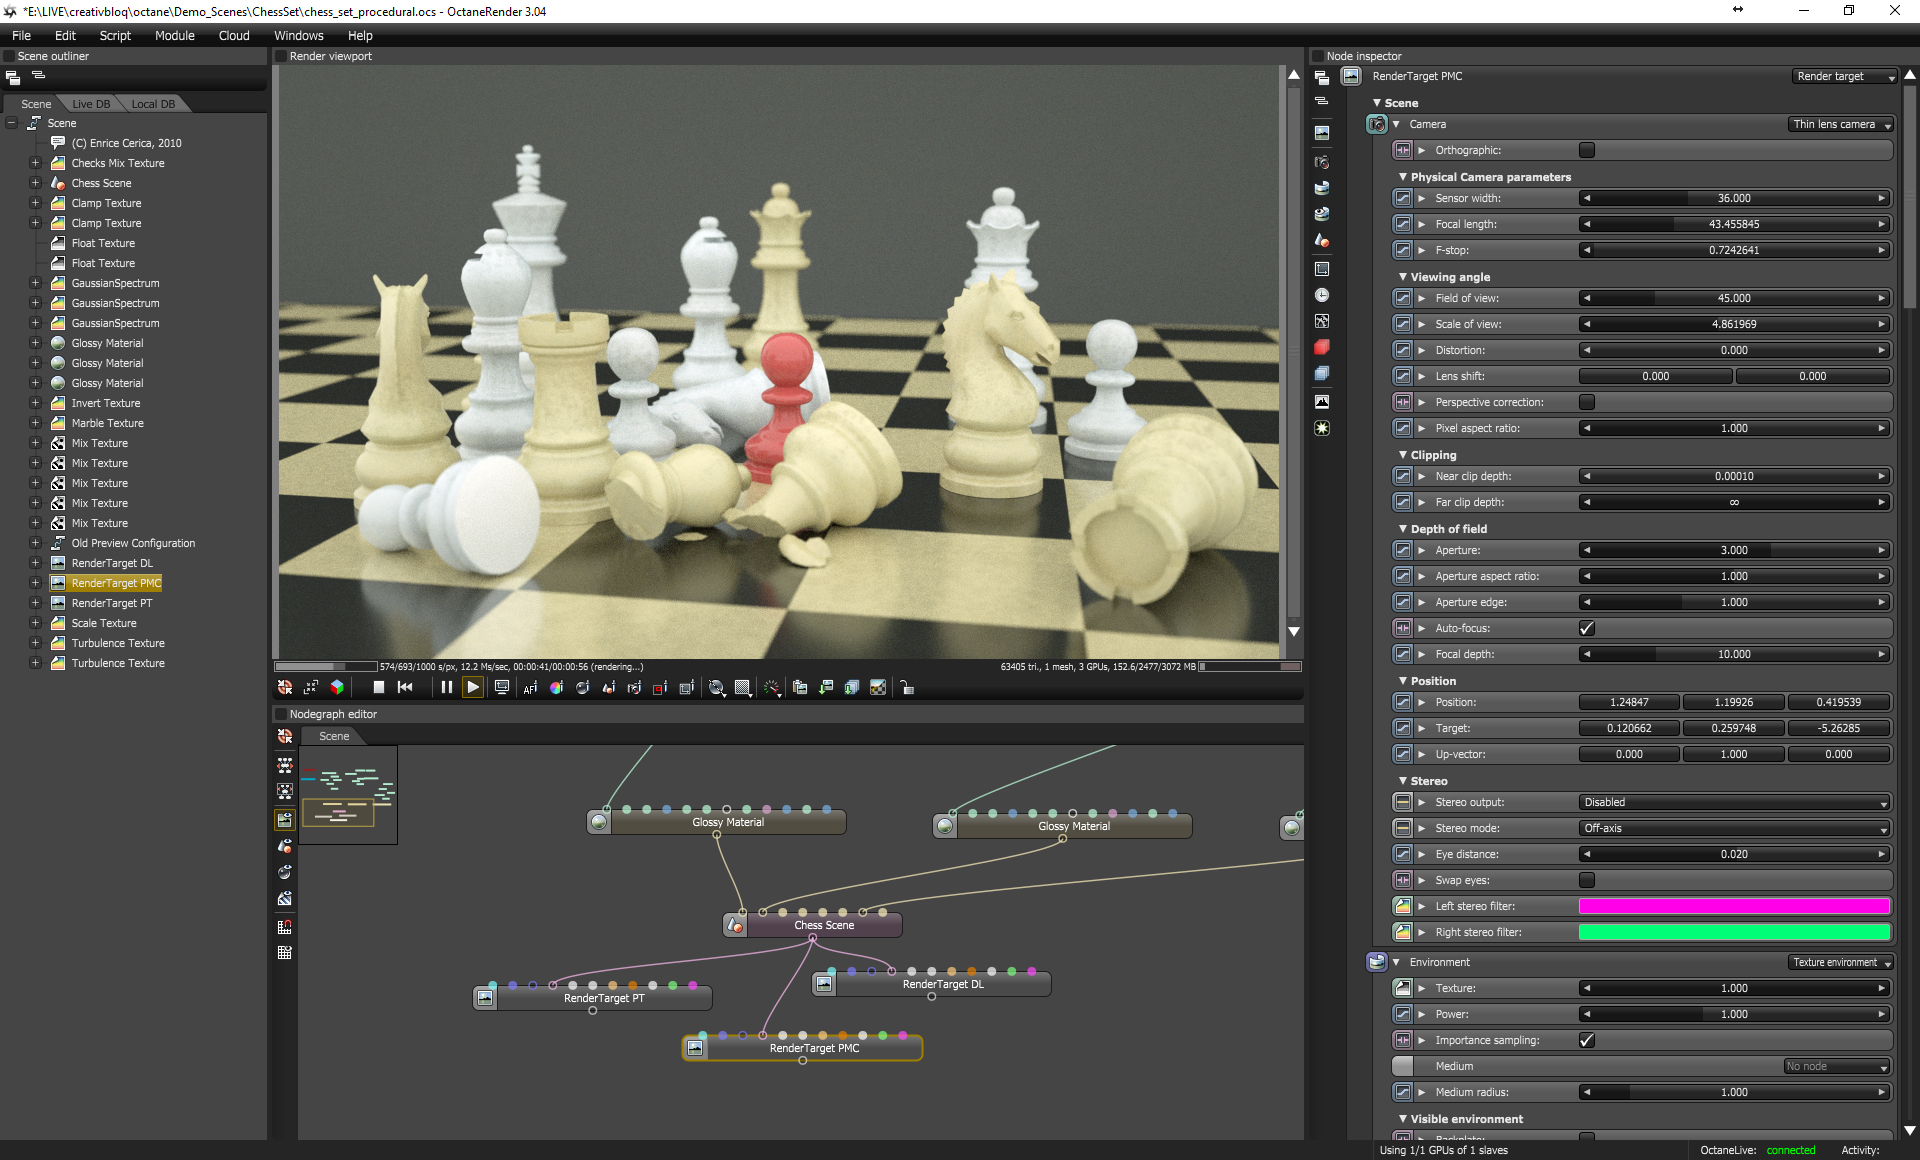
Don’t assume that the three different Kernels in Octane equate to fast, pretty fast and slow. Direct Lighting is my go to Kernel for animation, but it can create gotcha’s such as weird shadows. This is where I can explore PMC and Path Tracing, although on the surface both of these options seem slower, reducing the sample count can still create good results. They also both provide more realistic results, and offer extra features such as caustics.
08. Make the most of depth of field
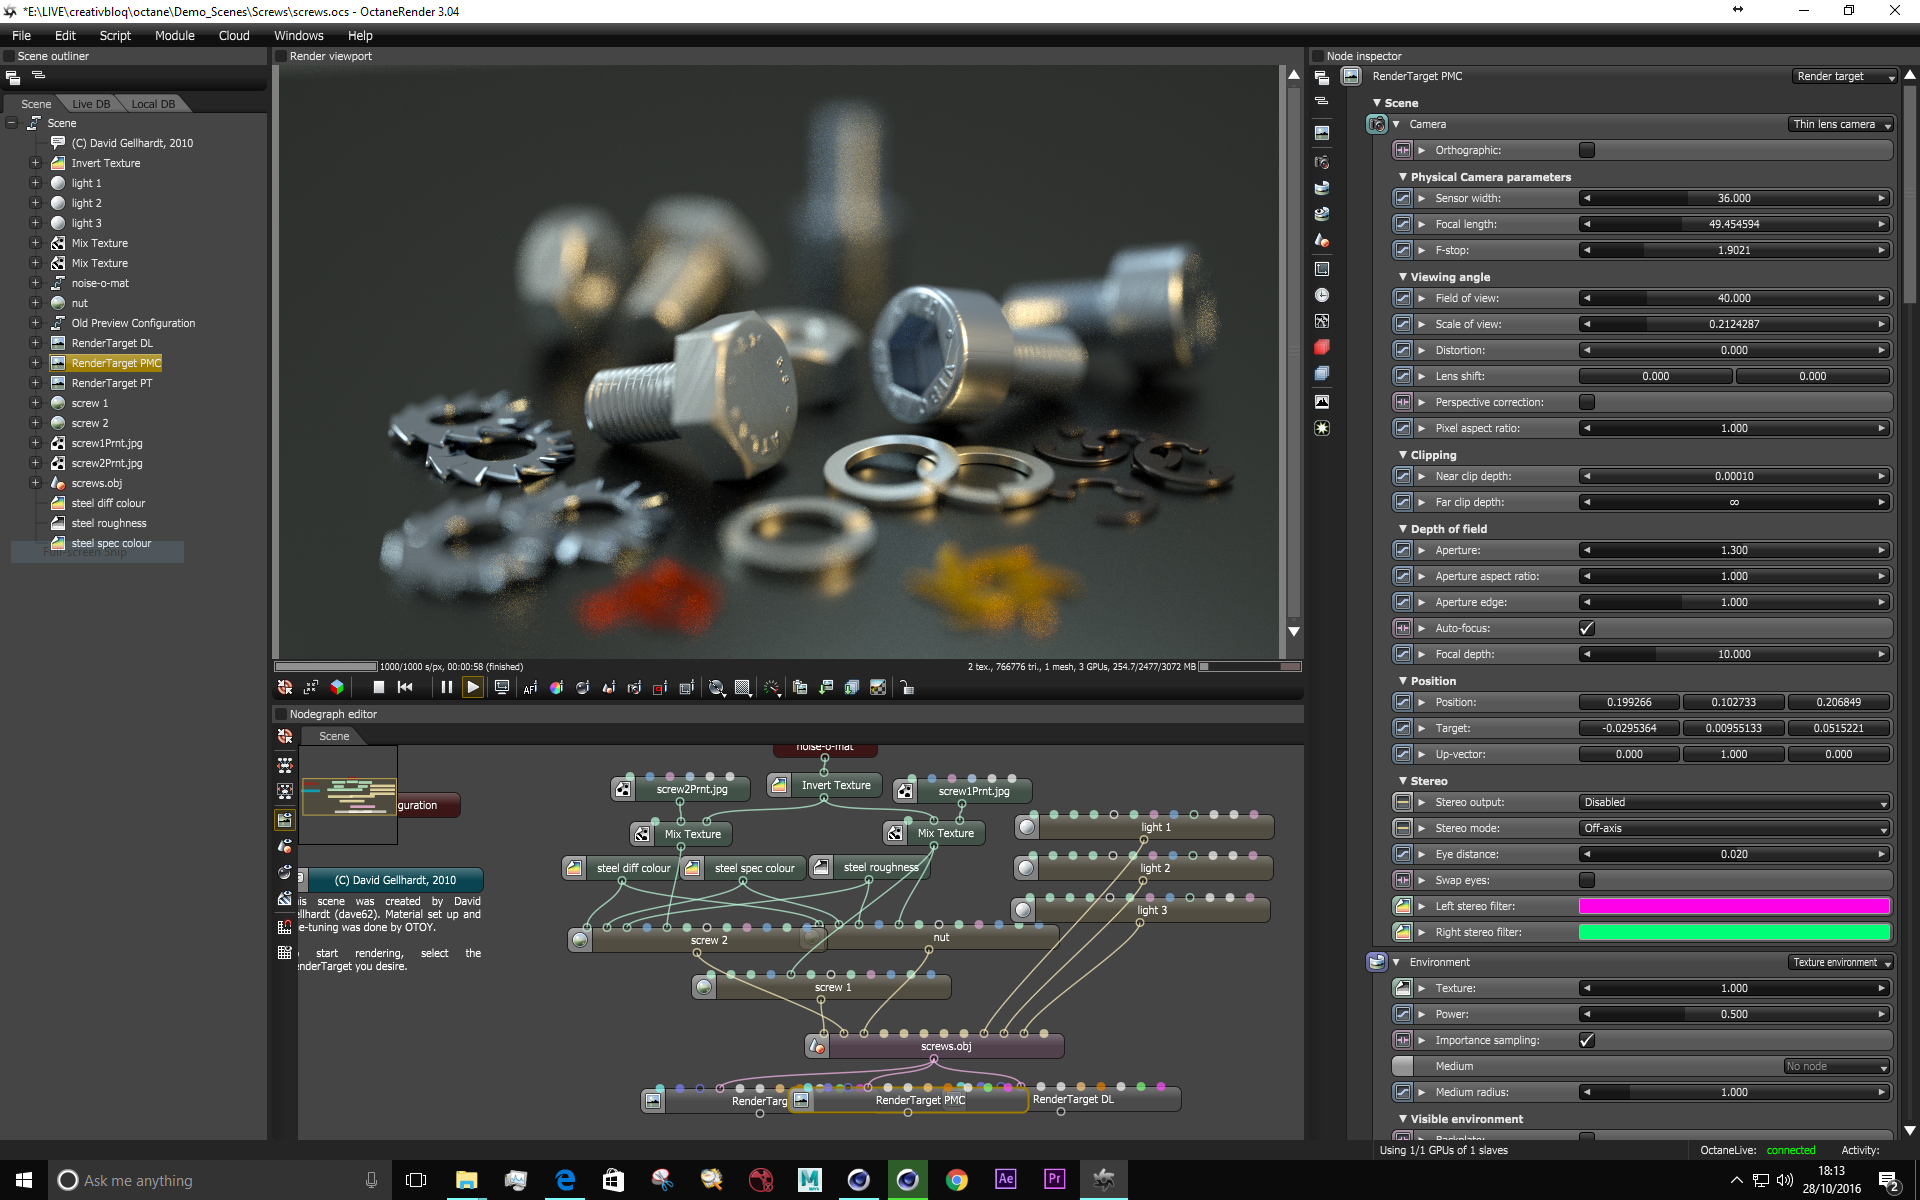
Usually when using depth of field in CG Renders it sends the render times through the roof. This isn’t the case with Octane. At most, I have only ever seen an increase of 5-10% in render time by adding depth of field, but usually it’s a lot less and because its in the render, it carries through into compositing passes as well.
09. Use low samples for client preview
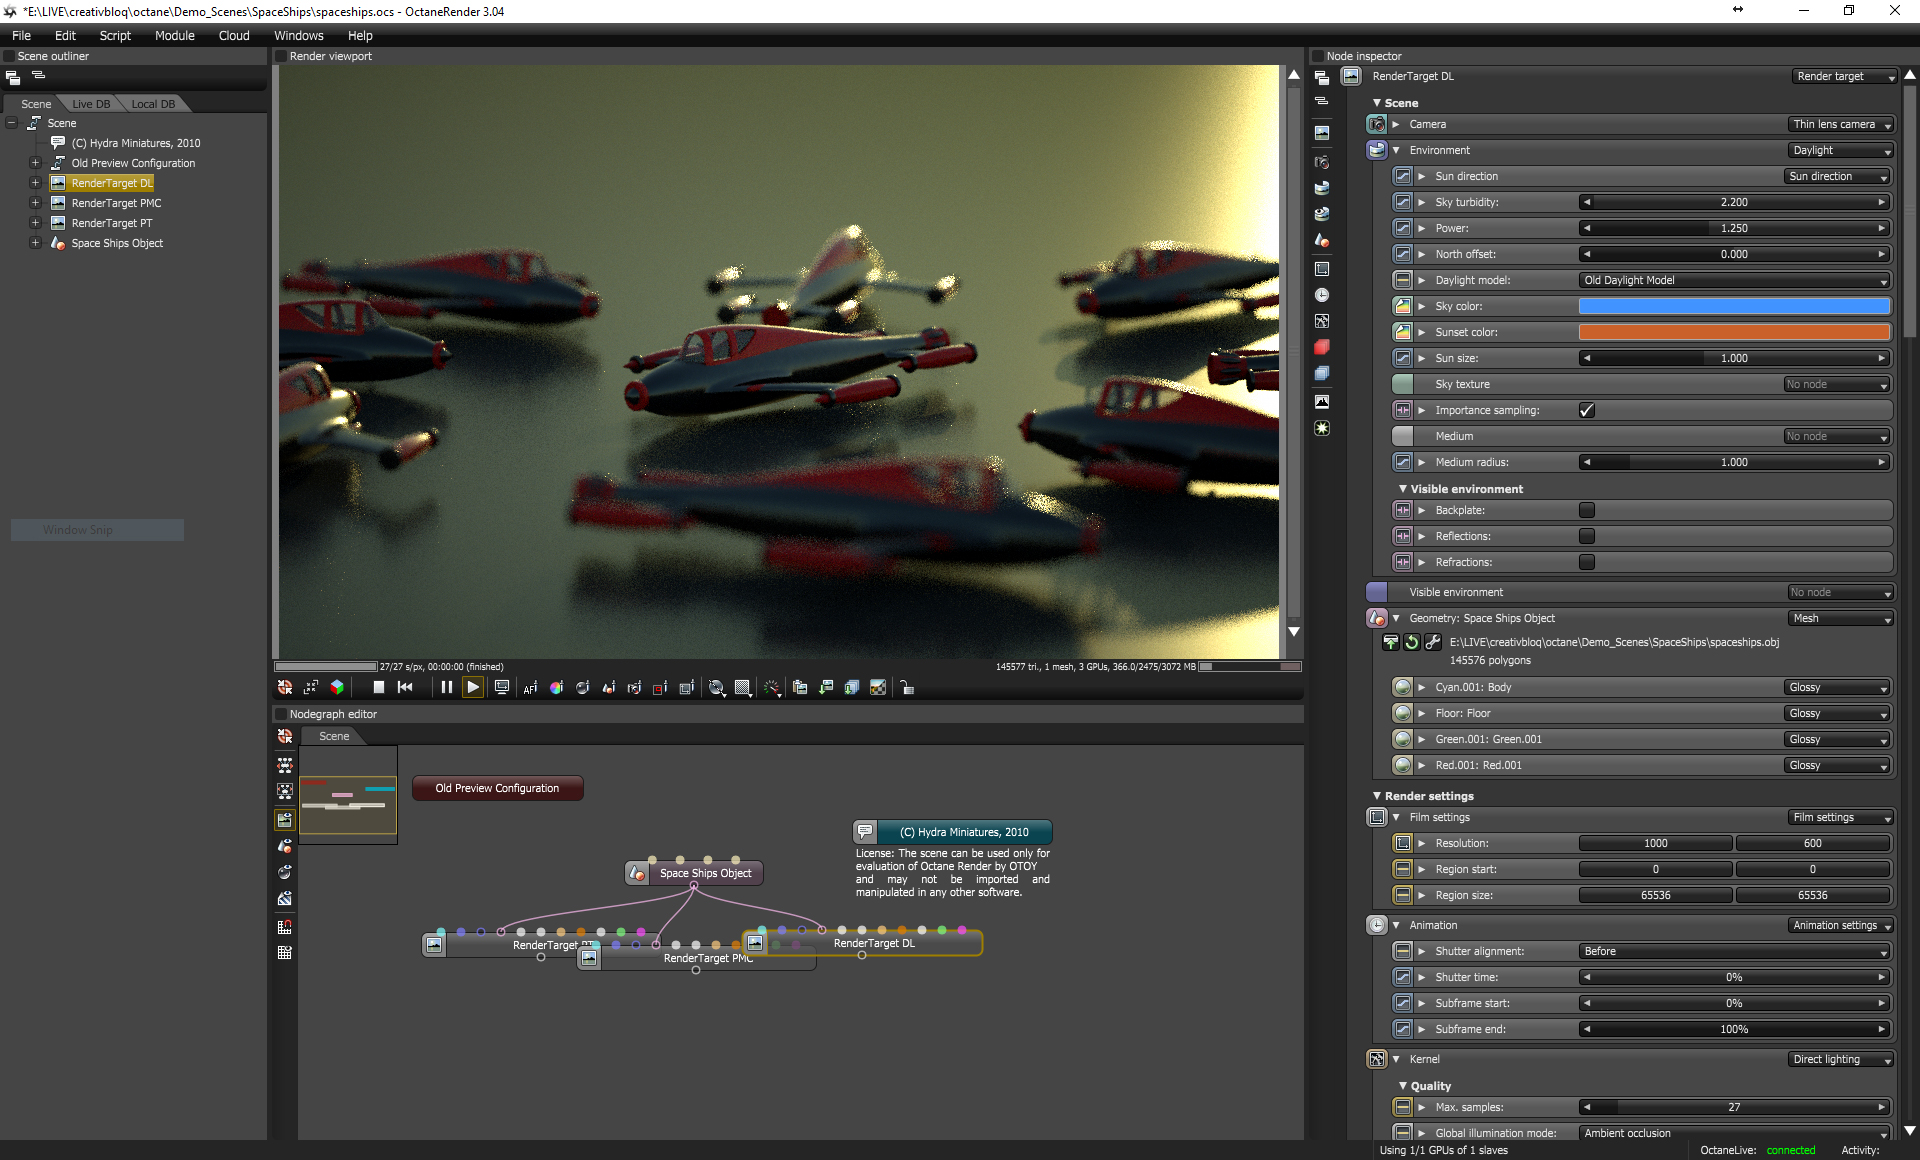
When working in animation, I try and use a few samples as I can when working, even for client preview work, as the great thing with Octane is that there are no tedious render buckets, just a complete iteration of frame with each sample. There are various post tools such as Red Giant’s Denoiser which are great for cleaning up noise, and when the work is signed off, just increase the sample rate.
10. Use the Node Editor
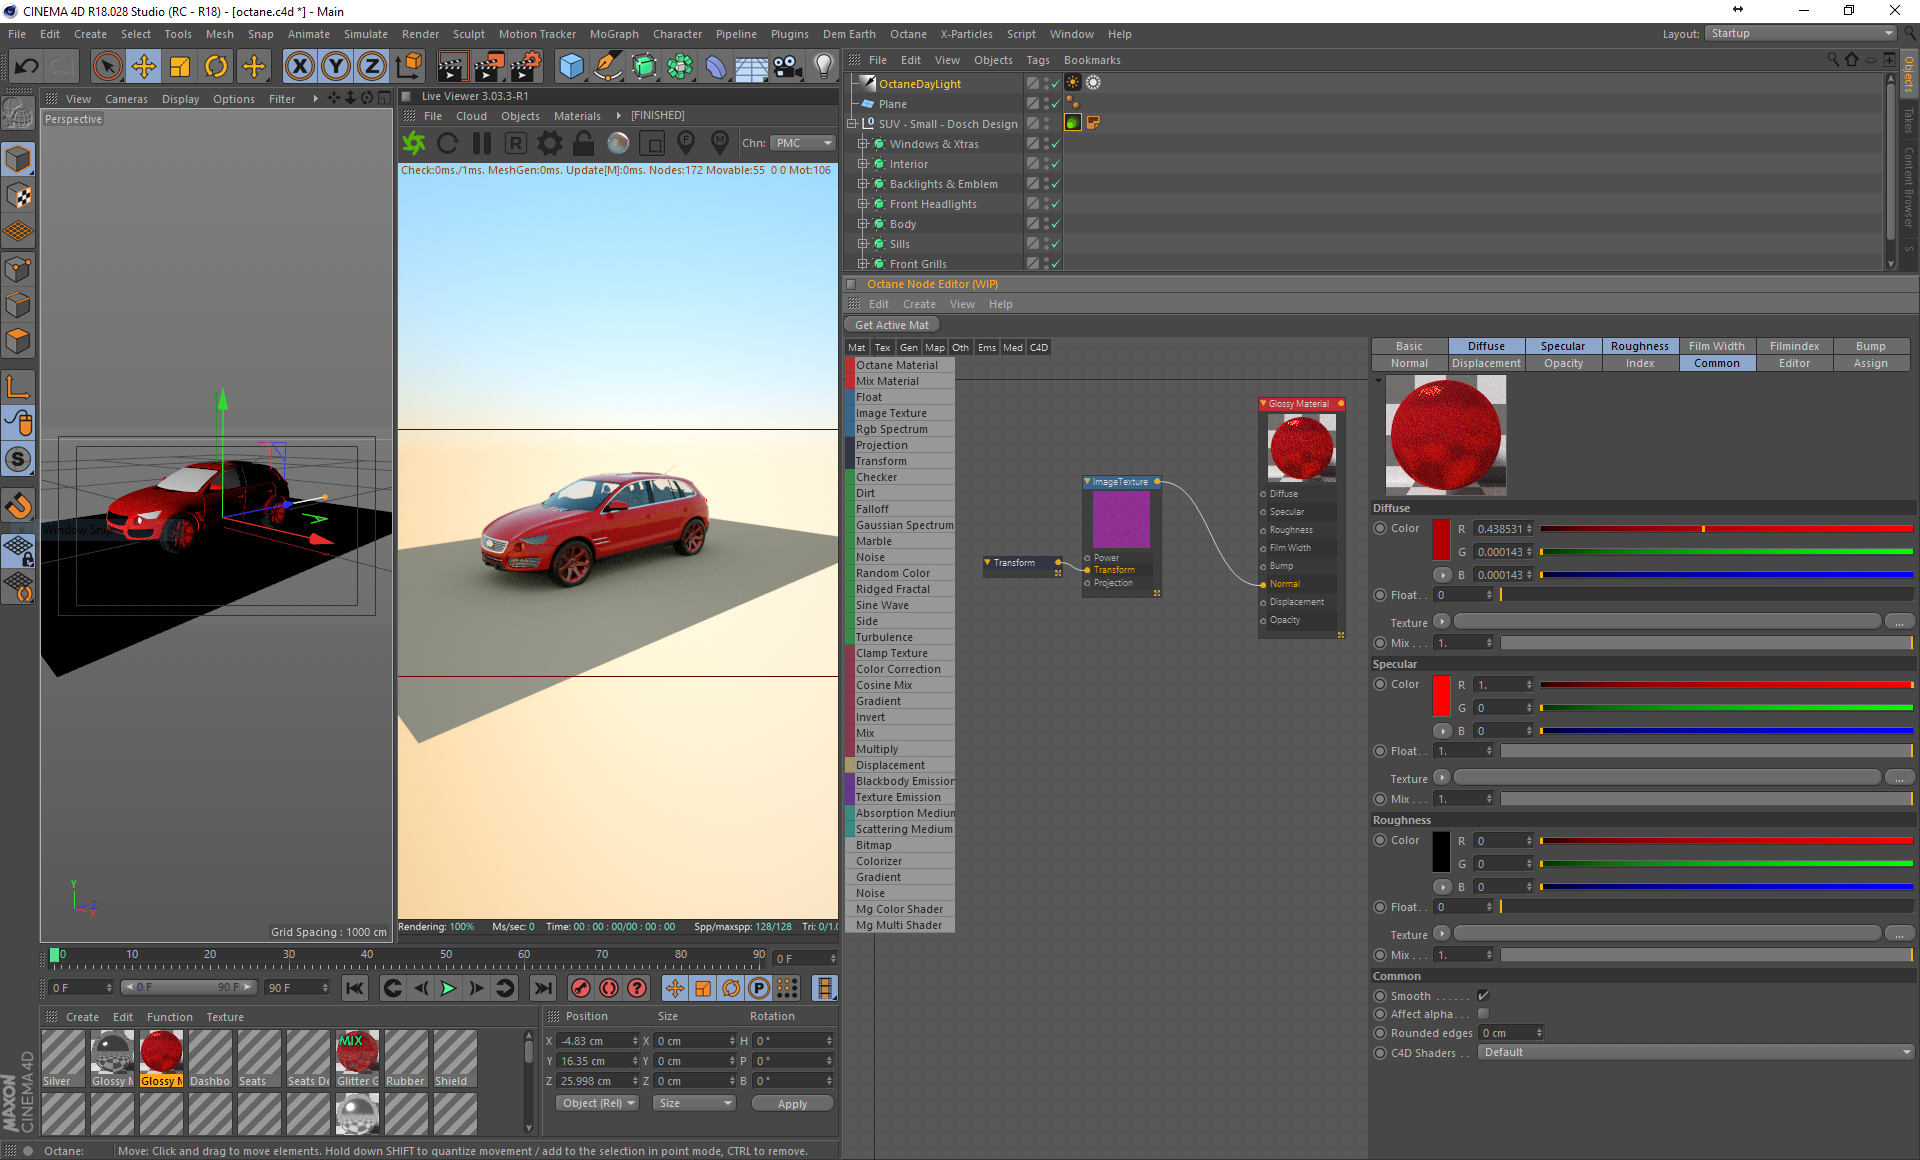
Learning to use the node editor, whether it’s in the Octane Standalone app, or more importantly within the host application, can make scenes much more efficient. This is especially true in Cinema 4D where the lack of a true nodal material system is a real hindrance. Also it makes it easier when working with Octane in different applications as the node structures are then consistent across your work.

Mike Griggs is a veteran digital content creator and technical writer. For nearly 30 years, Mike has been creating digital artwork, animations and VR elements for multi-national companies and world-class museums. Mike has been a writer for 3D World Magazine and Creative Bloq for over 10 years, where he has shared his passion for demystifying the process of digital content creation.
