Blending is key for any artist, digital or otherwise. When you add layers into the mix on Photoshop, it becomes easier for you to structure your artwork and blend it with other layers to create more realistic imagery. In most cases, you’ll probably just find yourself flipping through these Photoshop actions until you find the effect you want, experimenting with the unexpected. This Photoshop tutorial will take the guesswork out of the process.
The blend modes change how their selected layer reacts with the pixels in the layers below them. They can alter the colour or the tone of your art, and are often used for brightening, darkening, changing hue or reducing colour. You can use as many of them in a project as you like.
One of the first things that anyone with Photoshop should do is have a play the program’s blend modes. Once you become more seasoned Photoshop user, a knowledge of how to harness blending is vital to improving your digital art skills.
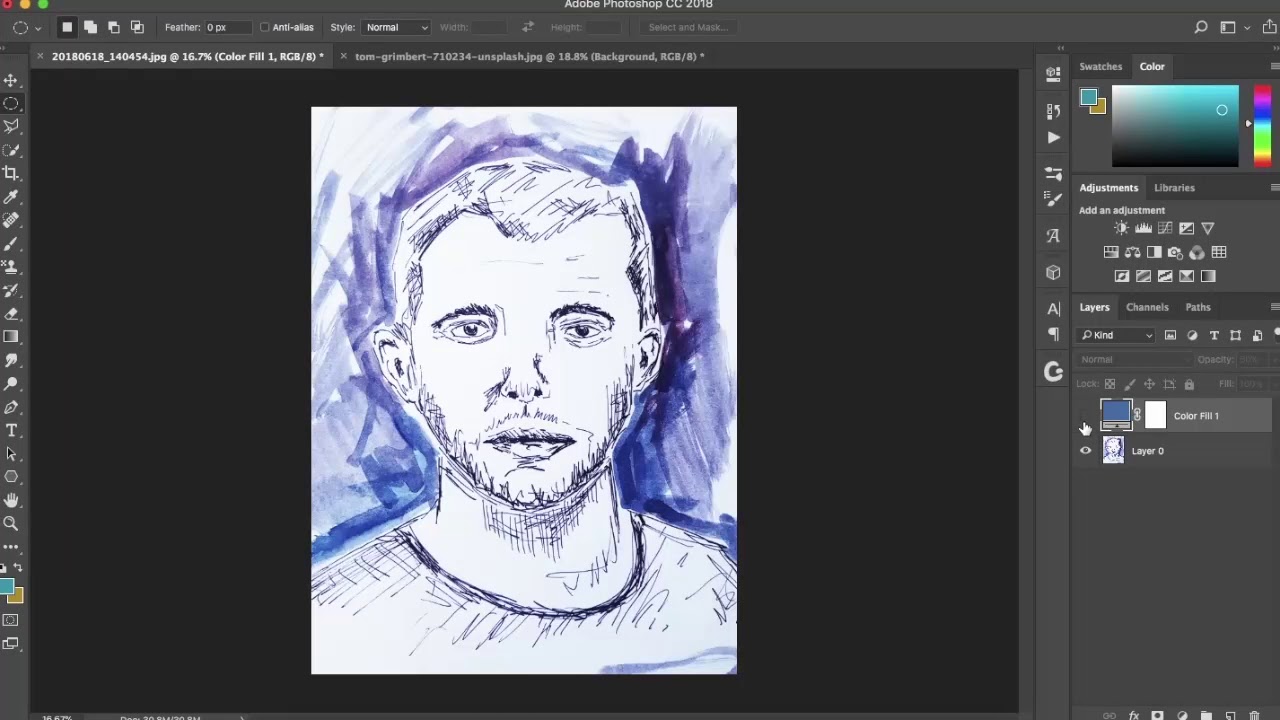
For the sake of consistency, the blend mode examples shown here all have the same solid colour adjustment layer, before going on to explore the effects of the mode. You can see the original image we're working with above.
Darken blend modes: Add colours or shadows
The first set of blend modes – Darken, Multiply, Color Burn, Linear Burn and Darker Color – are all used to darken your layer in reaction to the layers below. This is good for creating fill layers that are full of colour, or adding shadows to your work.
Image 1 of 3
Click the arrow icons to see more Darken blend modes
Multiply
Multiply multiplies the luminosity of lower layers by the blend layer. Darken compares the lower layers and blend layers, and keeps the darkest pixels of the two. These modes are similar, but Darken creates more block colours.
Click the arrow icons to see more Darken blend modes
Color Burn
Color Burn creates a darker result than Multiply, because it increases contrast for more saturated midtones. Linear Burn is similar, but it lowers the brightness from your lower layers. These blend modes are similar to using the Burn tool.
Click the arrow icons to see more Darken blend modes
Darker Color
Darker Color is similar to Darken. The only difference is that it reacts differently to colour, because Darker Color blends the blend layer’s colours into the final result, creating a more saturated finish to your artwork.
Lighten blend modes: Increase brightness
The Lighten blend modes are used to brighten up your artwork a little and add a splash of colour to an already dark canvas. These modes are also particularly good for creating optical effects such as double exposures and light leaks in your artwork.
Image 1 of 3
Click the arrow icons to explore more Lighten blend modes
Lighten
Lighten compares the colours on the layers below and the blend layer colour, and keeps whichever one of the two is the lightest. Screen works in a similar fashion, but it doesn’t create such a block colour effect.
Click the arrow icons to explore more Lighten blend modes
Color Dodge
Color Dodge reduces contrast between the lower layers and the blend layer colours, creating saturated midtones and stronger highlights. It’s akin to using the Dodge tool. Linear Dodge is similar to Color Dodge, but creates more dramatic effects.
Click the arrow icons to explore more Lighten blend modes
Lighter Color
Lighter Color is to Lighten what Darker Color is to Darken. As such, it doesn’t blend pixels. It reacts differently to colours, and generates a more saturated finish by comparing the base and blend colours, and then keeping whichever is the brightest.
Contrast blend modes: Manage light placement
The tonal blend modes can alter the highlights, midtones and shadows all at once. Blend modes such as Overlay and Soft Light can be used to pinpoint the brightness and contrast in various places in your image, and Linear Dodge is good for sharpening, for example.
Get the Creative Bloq Newsletter
Sign up to Creative Bloq's daily newsletter, which brings you the latest news and inspiration from the worlds of art, design and technology.
Image 1 of 3
Click the arrow icons to see more Contrast blend modes
Overlay
Overlay – like Soft Light and Vivid Light – has no effect if a layer is filled with neutral grey. Once you add a colour or tone either side of neutral grey, you’ll brighten or darken your image. Soft Light does this subtly, Overlay achieves it in a harsher way, and Vivid Light pushes the effect still further.
Click the arrow icons to see more Contrast blend modes
Hard Light
Hard Light mixes Screen and Multiply for harsher results compared with Overlay or Soft Light. Linear Light mixes Linear Dodge and Linear Burn depending on whether it’s used on darker or lighter pixels. Pin Light mixes Lighten and Darken for dramatic, block colour.
Click the arrow icons to see more Contrast blend modes
Hard Mix
Hard Mix applies the blend by adding each RGB channel into the blend layer to the corresponding RGB channel in the layers below. The blending mode creates a loss in detail, and the colours can only be black, white, red, green, blue, cyan, magenta or yellow.
Inverting blend modes: Reverse out elements
The inverting blend modes turn any layers below them into their opposite colour and tone. These are particularly useful for creating non-destructive inversions in your image, especially if you’re looking to depict pinpoint effects in specific places.
Image 1 of 3
Click the arrows to explore more Inverting blend modes
Difference
Difference uses the difference of the lower layers and blend layer’s pixels; a fill layer of white inverts the base layer’s colours. This mode can be useful for aligning layers: the image will go black if a duplicate layer is perfectly aligned with a layer below.
Click the arrows to explore more Inverting blend modes
Exclusion
Exclusion works in a similar manner to Difference mode, because blending with white inverts the lower layers’ colours. However, if you decide to blend with neutral colours, you’ll produce a perfect inversion of your artwork.
Click the arrows to explore more Inverting blend modes
Subtract
Subtract takes away values from the lower layers, which has the result of drastically darkening pixels by subtracting brightness. Divide achieves the opposite effect, and introduces a significant amount of brightness to your image.
Color blend modes: Control the effects of colour
The Color blend modes are used for altering colours in your artwork, whether you’re looking to tweak the hue, saturation, full colour or luminosity on the layers below. They’re perfect for developing even more precise results with your shades.
Image 1 of 3
Use the arrows to explore more Color blend modes
Hue
The Hue blend mode will turn all layers below to the hue of the blend layer, without affecting the saturation or luminosity of the image. Color will alter all the layers below to the colour of the blending layer, changing the hue and saturation, while preserving the luminosity.
Use the arrows to explore more Color blend modes
Saturation
The Saturation blend mode will turn all layers below to the saturation of the blend layer, without affecting the hue or luminosity of the image. This mode is useful when you want to give your painting a particular tint, or go the other way and develop a monotone appearance.
Use the arrows to explore more Color blend modes
Luminosity
Luminosity keeps the hue and saturation of the layers below, while altering luminosity. This is a rarely used blend mode, but can help you to control the tone in your artwork. But as with all the blend modes we’ve mentioned here, play around with them to see what effects you can achieve!
Mark is the former techniques editor at Photoshop Creative magazine. He uses Photoshop almost exclusively, and has been using the software for over a decade.