Affinity Designer: How to use the Pixel persona
Sign up to Creative Bloq's daily newsletter, which brings you the latest news and inspiration from the worlds of art, design and technology.
You are now subscribed
Your newsletter sign-up was successful
Want to add more newsletters?
Affinity Designer is a popular vector editing tool for Mac, Windows and now iPad. The app is cleverly broken down into three interchangeable personas: the Draw persona for vector editing, the Pixel persona, and lastly the Export persona. In this tutorial we’re going to briefly look into the Pixel persona, and how to use it in your vector art.
While Affinity Designer is primarily for working with vectors, you can make use of a selection of raster editing tools within its Pixel persona. This is incredibly useful if you need to make quick retouches to images. Alternatively, if you illustrate with vectors and are also interested in digital painting, combining the two can yield some interesting results.
Watch the video below for an overview of what you need to know, or read on for five essential tips to get you started.
Article continues below01. Switch to the Pixel persona
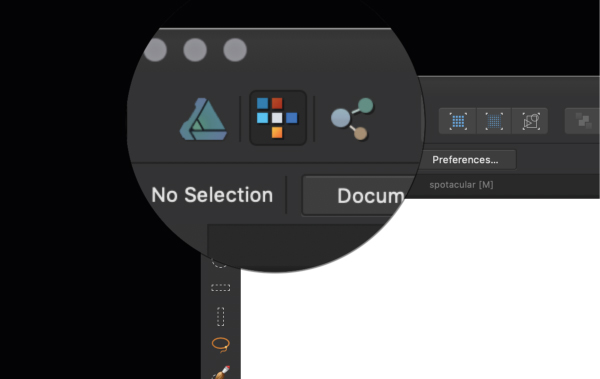
When you fire up Affinity Designer, by default you'll be in the Draw persona. To switch to the Pixel persona, select the middle icon in the top left (as shown in the image above) – hovering over should confirm. As you switch to the Pixel persona you will see the toolbars will change to raster editing tools.
02. Raster selection tools
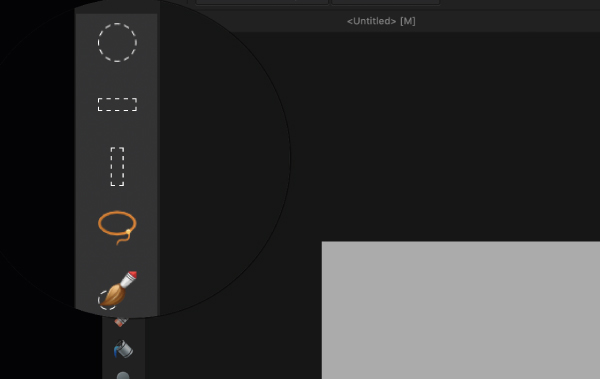
The top set of tools on the left are for raster selection. These include marquee tools, a pixel lasso tool and a selection brush, which work much like other raster editing software would. Do note that they won't work on vectors unless you rasterise them. To rasterise a vector object, right/alt-click on the object in the Layer panel and scroll down to the Rasterise option.
03. Pixel editing tools
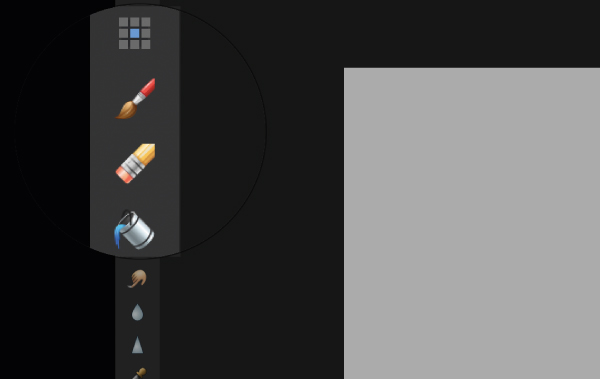
Below the raster selection tools on the left-hand toolbar you'll find some pixel editing tools. The Pixel tool enables you to change the colour of individual pixels to whatever colour you have currently selected. This is particularly useful for pixel art. You can also change the size of your brush.
Next up is the Brush tool, which enables you to make use of all the raster brushes that come with Affinity Designer (these can be found in the Brushes panel to the right). Last up is the Flood Fill tool, which you can use to fill in sections of pixel layers only. Again, make sure you rasterise your layer before attempting this.
Sign up to Creative Bloq's daily newsletter, which brings you the latest news and inspiration from the worlds of art, design and technology.
04. Retouch tools
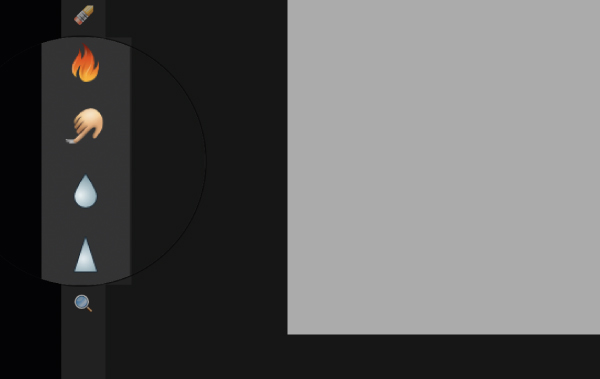
There are also a selection of retouch tools, which are useful to have if you are looking to make quick changes to imagery. Normally if you wanted to retouch a photo you would have to take it into a photo editing software. The fact that Affinity includes these tools in Designer streamlines the design process and saves time.
05. Combine vector and raster
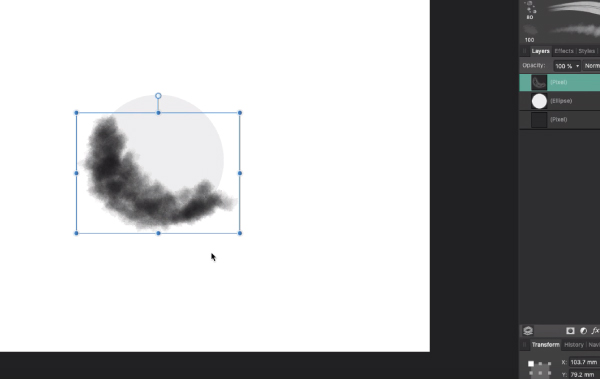
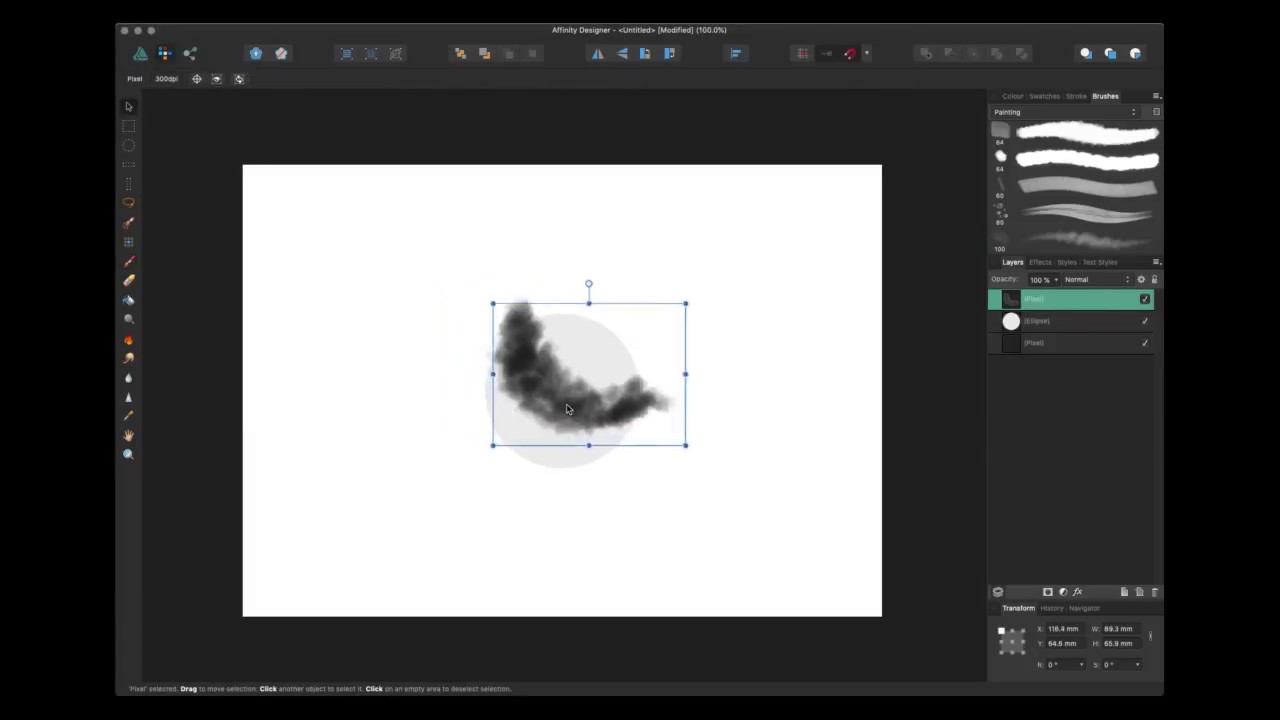
It may seem counterintuitive but Affinity Designer makes it incredibly easy to combine vector and raster together. For example, you may illustrate a character or a scene in the Draw persona, then switch over to the Pixel persona to apply raster textures with the brush tool. This opens up a whole new world of creative possibilities.
Read more:

Tom Ludd is a Product Designer at Softr, and the founder of creativity.wtf. He previously founded The Designers' League, a community of more than 80,000 creatives, and has written for Creative Bloq on digital design tools. Tom also runs the brand and product design studio Prelude, which is currently working on Showcase, "a place to discover what's next at the intersection of tech and creativity."
