
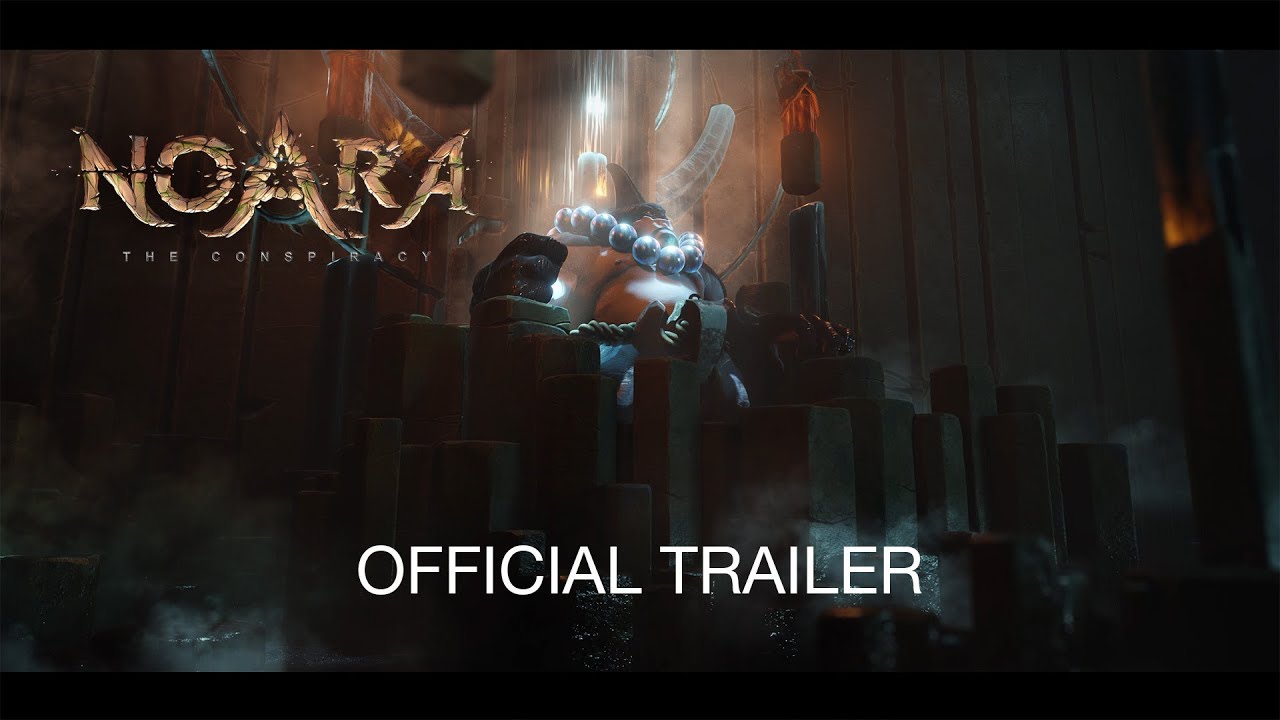
When I started working on Noara’s video-game teaser, I immediately loved the idea of using EEVEE to get more flexibility and reduce render time and cost. It was in early alpha at this time, but I wanted to learn it and I think the result was worth it. In this Blender tutorial, we will break down the main techniques and shaders used to render the scene seen in the Noara teaser.
Our goal is to understand how to set EEVEE properly to a render nice-looking, dark interior scene and deal with its limitations. We’ll go over some shader tricks, and the use of light and reflection probes. Since EEVEE doesn’t support a lot of features from a classical ray-tracing engine, we will have to cheat to achieve some wanted effects. The scene is organised by depth and asset position. Lights are also separated to gain better control. Organising your scene is the first step.
EEVEE is definitely a game-changer. It won’t be better than Cycles or V-Ray as these evolve too, but I believe real-time rendering will be a big thing in the next few years and you should definitely give it a try.
If you’re a Blender user, it’s very comfortable; you won’t be as lost as if you were to learn a new engine such as Unreal. But if you’re curious, dive into real-time rendering studies as soon as possible. It will help you tremendously for previews and fast presentation, with convincing output for preproduction, or even for full production – as it was proven with shorts such as ADAM by Oats Studio.
Download the files you need for this tutorial from FileSilo
Click in the top right corner of each image to enlarge it.
01. Set up lighting

As we’re in a dark environment, using an HDR would not be helpful. It’s better to use a pure black colour to get deep shadows and avoid unwanted reflections. We also add some volumetric lighting with the volume scatter node set to .02. We need to enable volumetric in the render setting, AO for some contacting shadows and the bloom for aesthetic.
Screen space reflection is also activated to make sure we have reflectivity on our water materials. All assets are classified in the outliner. Three spots will light the scene from above to fake god rays. Each physical lamp has a parented point lamp as EEVEE can’t use emissive geometry to light the scene.
02. Be lazy, be clever

Making reusable assets to populate the scene can be achieved by creating a position-based wet map. Whatever the high position of these stones, their base will always be wet by separating the Z position and mixing it with some noise. This will drive a lower roughness and darkening effect on the stone colour, 99 per cent of the assets are using PBR painted textures so we can add variety by mixing PBR tileable textures from Poliigon using different procedural noise textures as mask.
03. Add emissive materials

We can add emission to a PBR material in EEVEE by using the add shader node. To create the hanging lamp, we can add two emissive shaders, one for the rims and one for the core of the lamp, driving both their strength and colour variations using painted textures. The same technique was used on the crystal horns in the back to fake light scatter using a thickness map to drive the emission.
04. Cheat to simulate

To simulate the water cascade at the back of the throne, we use a simple plane with an animated procedural texture. This texture is projected onto the plane UVs and the mapping node will allow us to shift the position of the texture. By animating the Y position value, we’ll see the texture flowing onto the surface. The texture is then used to both influence roughness and bumps on the surface.
The specularity is pushed to 1, to get strong reflectivity. For the water surface on the ground, we can use the same technique to drive combined noise texture to animate the luminescent plankton.
05. Use indirect lighting

Since it’s a real-time engine, EEVEE doesn’t support indirect lighting as a core feature. But this indirect lighting can be approximated, giving your scene a bit more realism. To do so, we can add a light probe and scale it so that it covers the whole scene; then set the resolution to 6 on each axis. This will subdivide its volume into pieces. Each point will gather lighting information baking indirect light information, and will then act as subtle point lamps emitting the closest colour value as possible.
If you add any animated object in the scene, it will be influenced by this approximated indirect lighting as it would in Unity or UE4. We can also add a reflection plane and place it onto the water, and scale it to fit the surface. Reflection will be less buggy using it.
06. Render your scene

It’s now time to render your scene. In the render layer option, you can check the render passes you want to use. I generally select more than necessary so that I’m sure I won’t miss one. Regarding sampling, I’ve tested several values but for me 32 was enough. I’ve rendered the whole movie in 2880x1620 using a 150 per cent factor on a regular 1080p resolution.
I did post-work in After Effects, but you can definitely practise in Blender and a simple S curved RGB curve node will bring the little touch of contrast needed to improve your render. The file output node is very handy to save your render passes in any given format.
This article was originally published in issue 129 of 3D Artist, the world's best-selling magazine for CG artists. Buy issue 129or subscribe to 3D Artist.
Related articles:
