Clients are constantly looking for new ways of engaging with audiences. Snapchat Geofilters – special communicative overlays – are a great way to get a brand in front of people at a particular event, or a set time and place.
Over the next 10 steps, I'm going to walk you through the process of creating a filter in Photoshop and getting it approved through our friends at Snapchat. Don't have Photoshop? See how to download Photoshop right here.
Step 01: Download the app
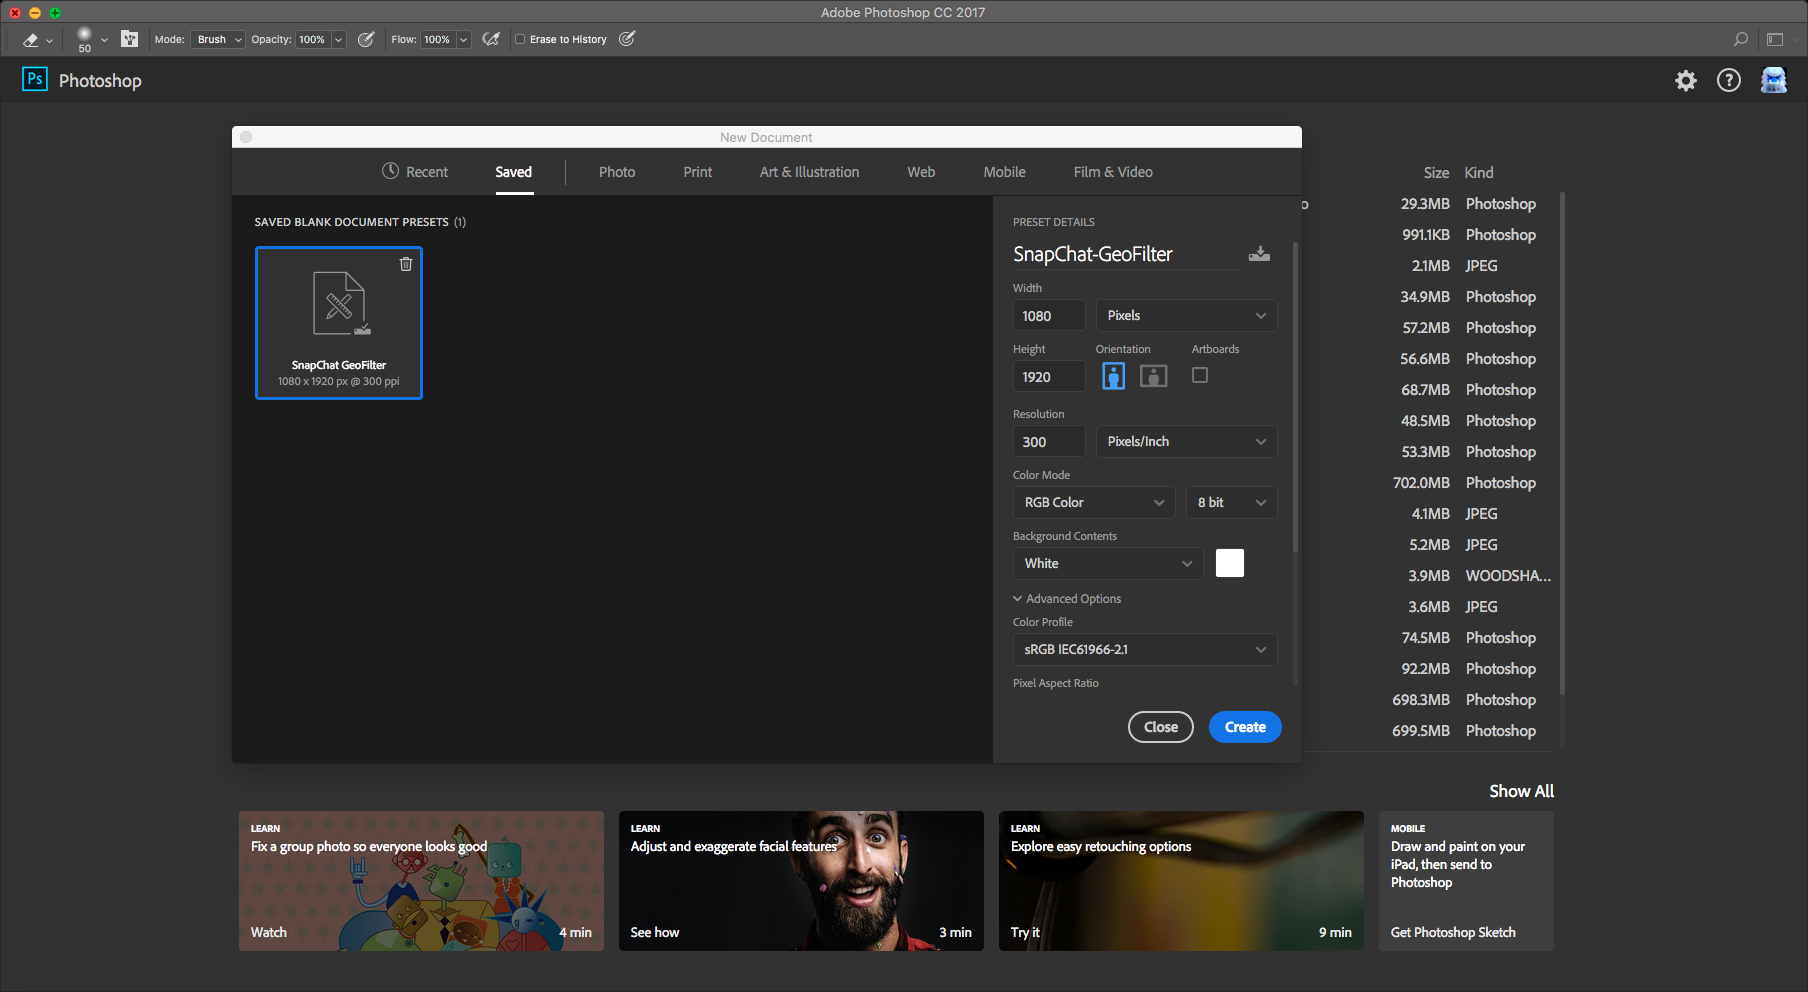
First up (if you haven't already) download the App and sign up for Snapchat. You'll need your login details later when putting a design in for approval. Once you're up and running with the app, open a new Photoshop document (cmd+N); width 1080px by 1920px.
Step 02: Start with a transparent layer
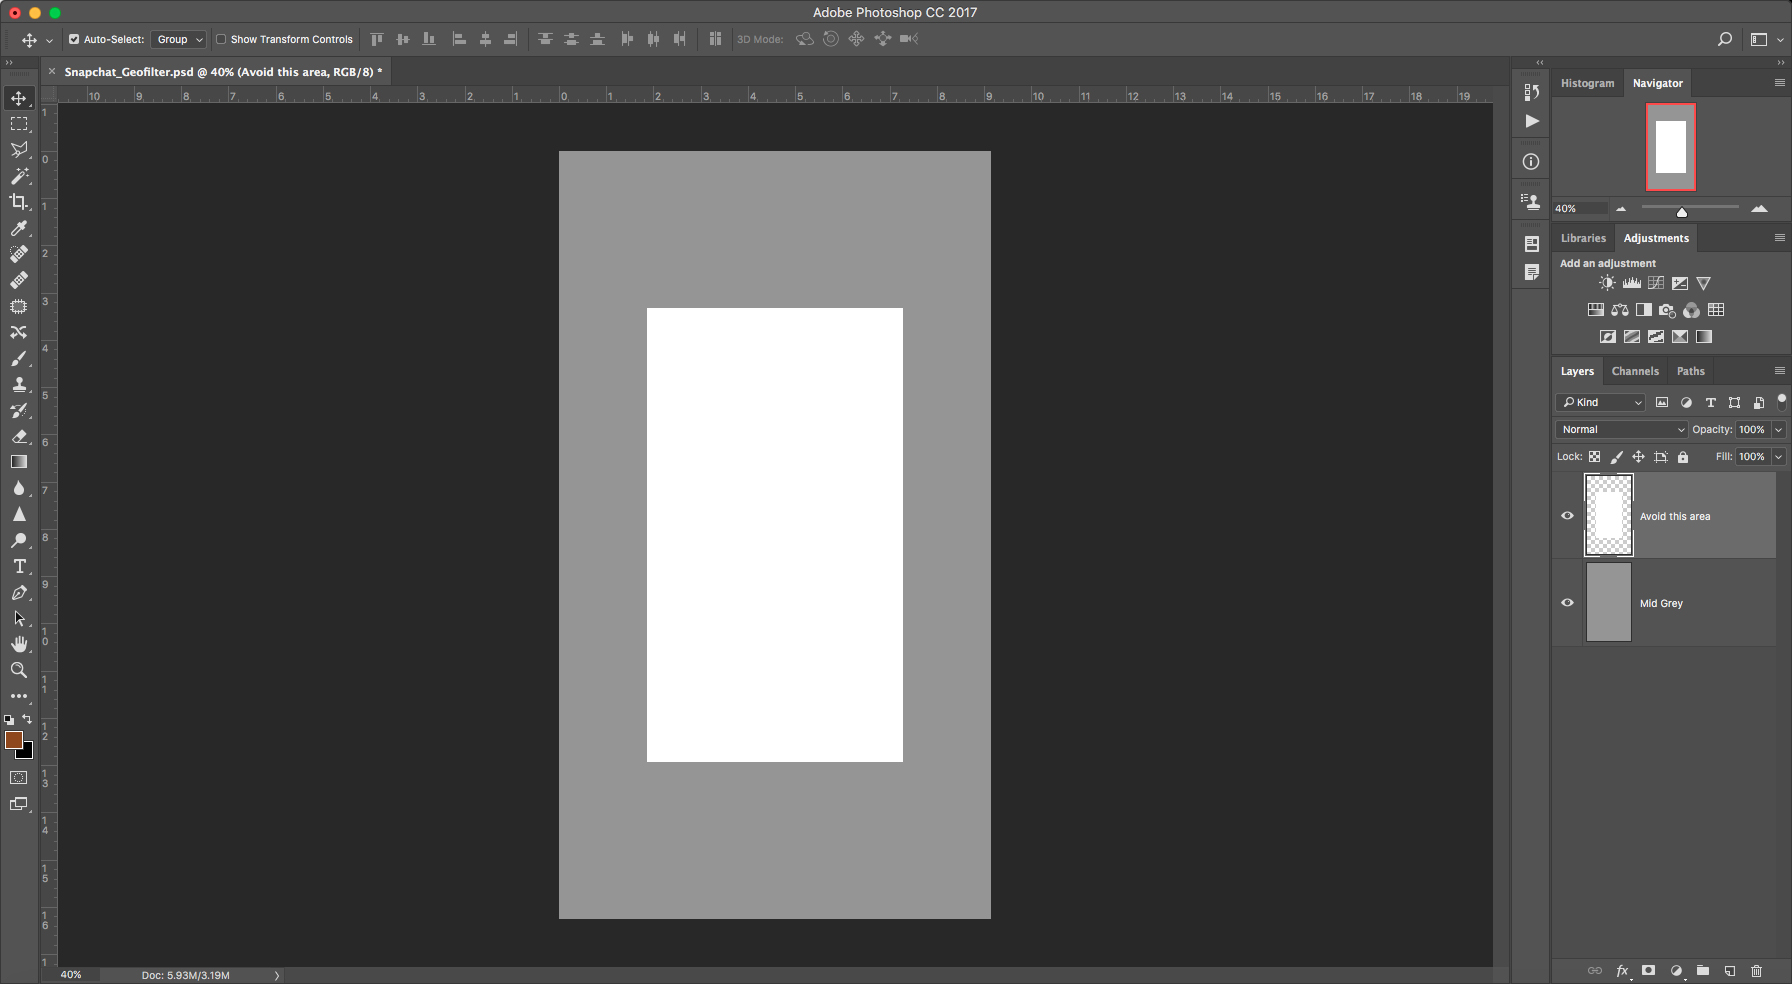
Once open, double-click the background layer in your layers panel and delete it, so you're starting with a transparent layer. Generally, Snapchat likes you to leave a fair portion of the photograph untouched. In the image above, the white rectangle is a good indicator of the area to avoid.
A quick tip: try adding a layer filled with a mid grey to give you a loose idea of how your design might sit on a photo.
Step 03: Keep it simple
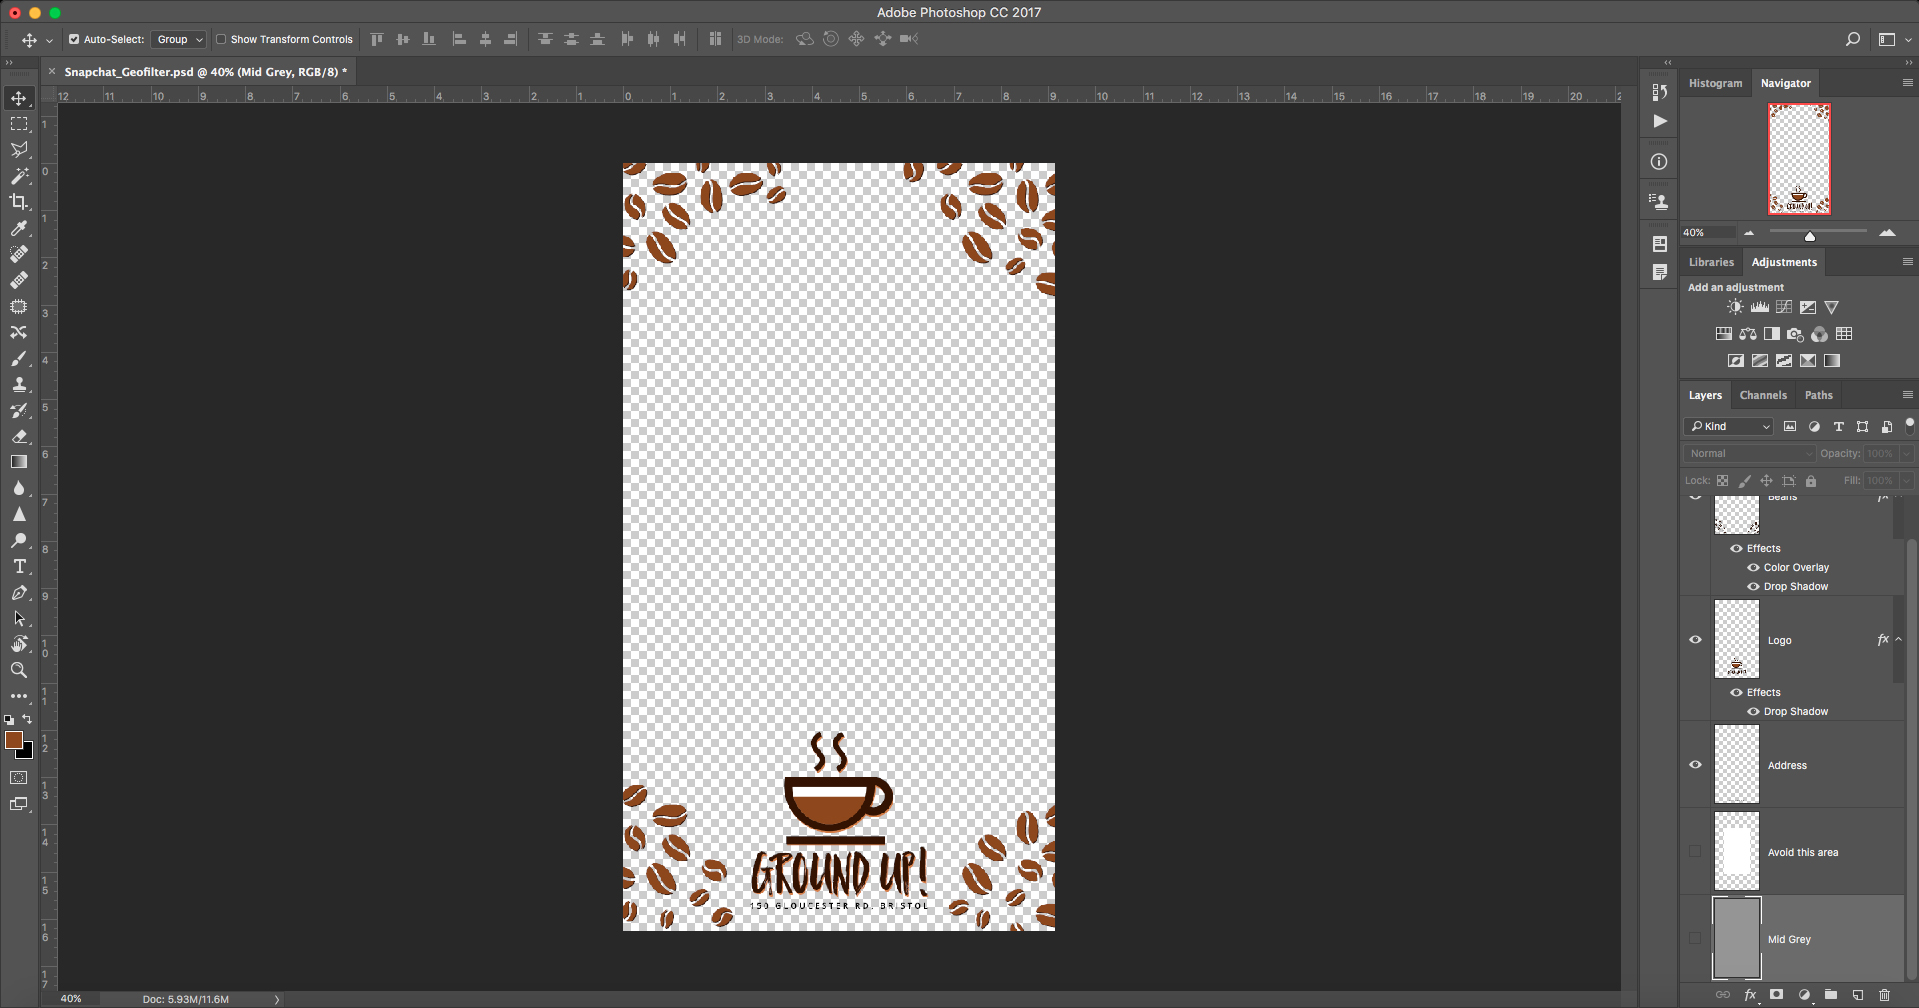
For the purpose of this tutorial, I've put together a design for the launch of a new coffee house based in Bristol, to illustrate the process. Try to keep your design simple and your colour palette minimal, it'll help when you come to optimise your file later. The final image needs to be under 300kb for it to be approved.
Step 04: Make full use of layers
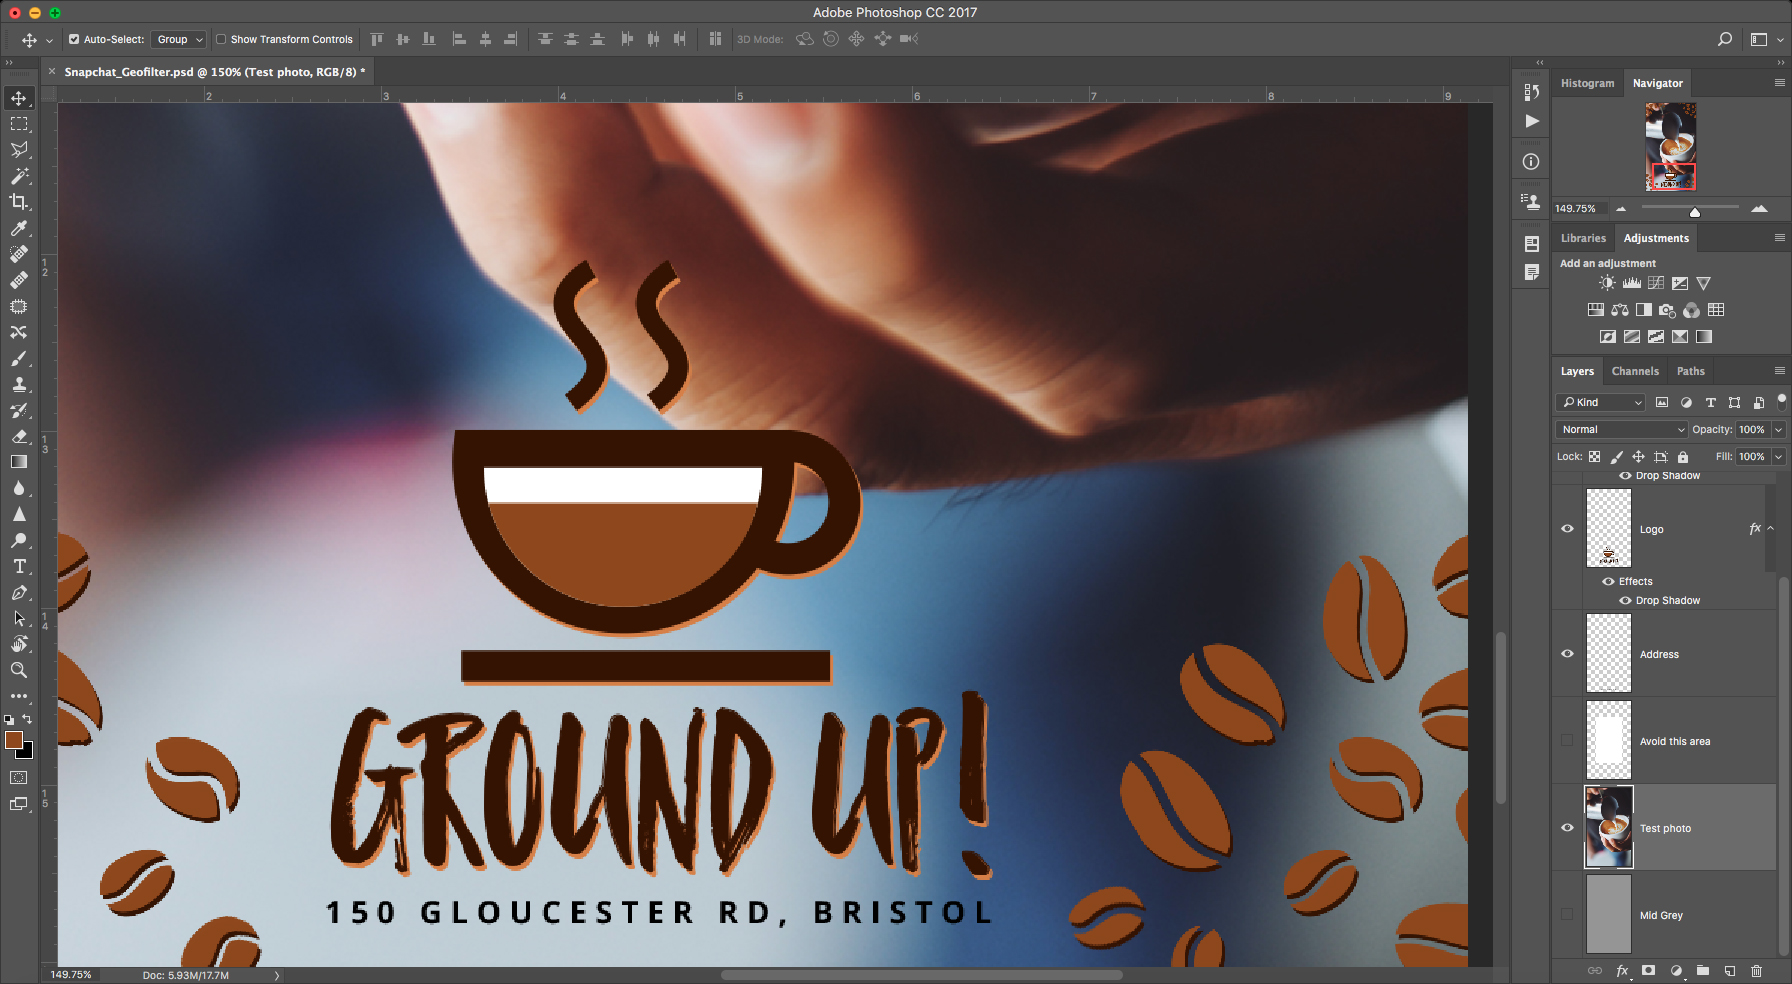
If you're unsure that your design will work, try dropping a selection of different photos on a layer behind your design, and consider using a drop-shadow in your Layer Style panel. Just double-click a layer to bring this up; it'll help separate the design from the image.
Step 05: Save for web window
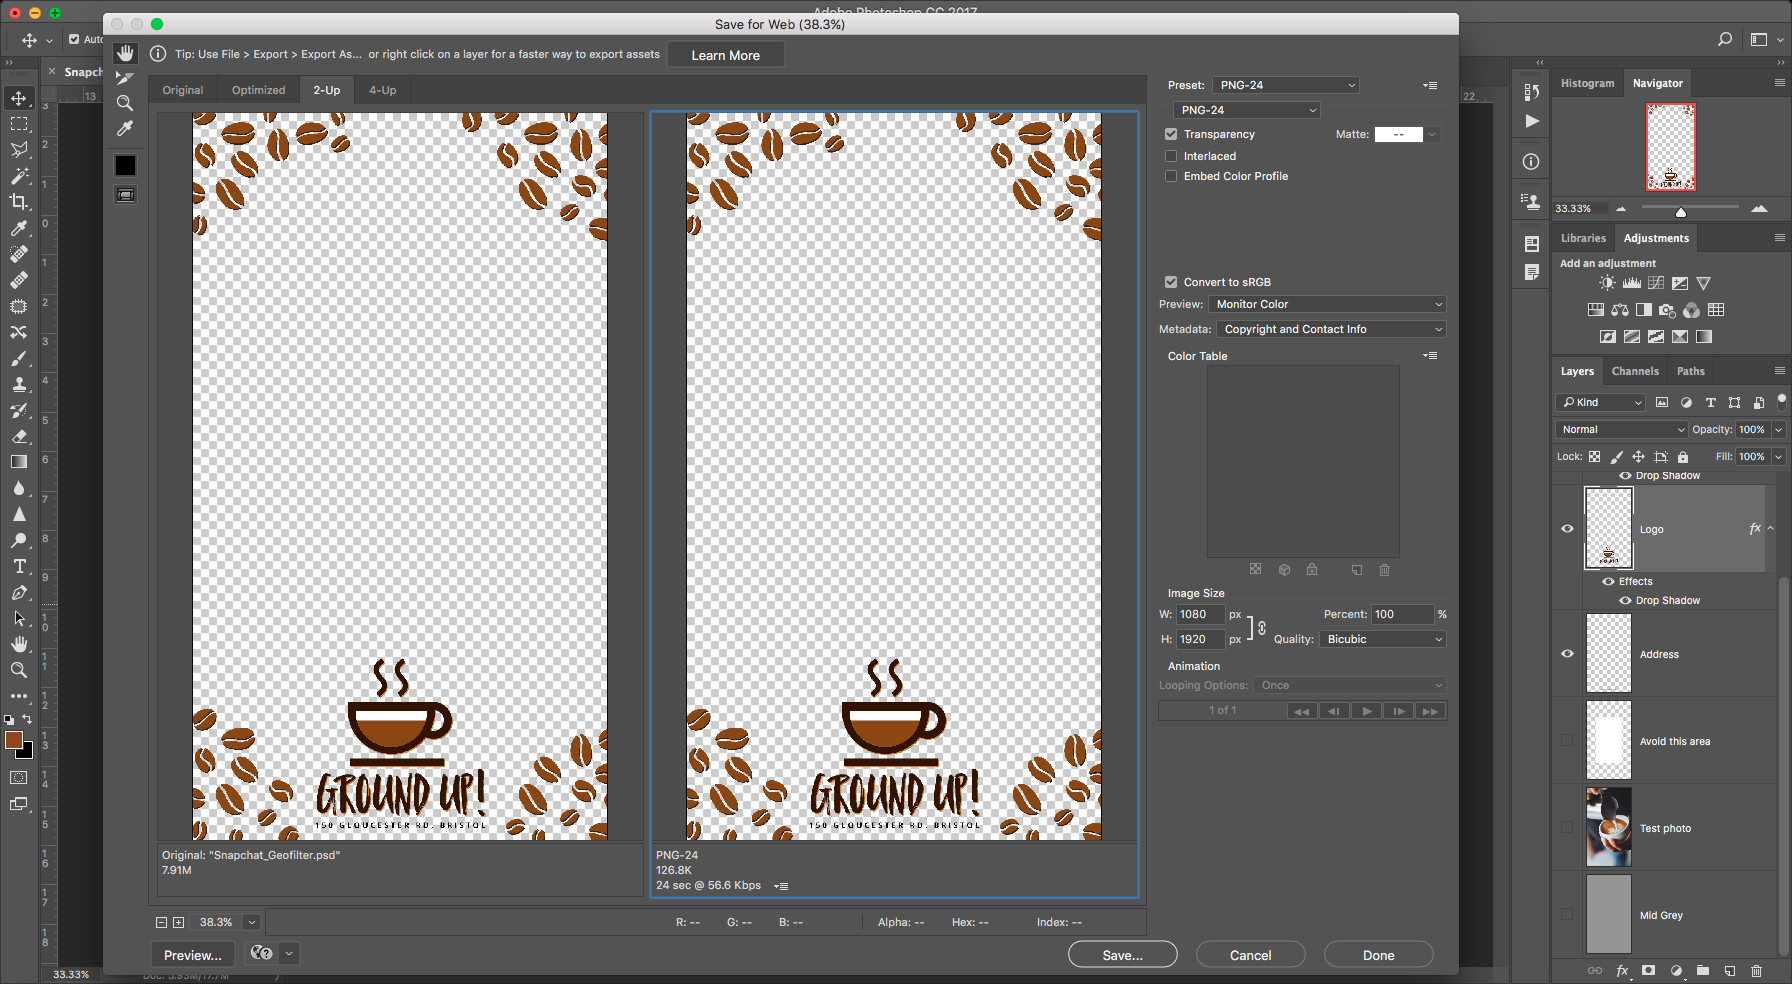
Now you're sure the design works and it's sitting nicely on a transparent layer, select 'File > Export > Save for Web' (cmd+shift+alt+S) to bring up your Save for Web window.
It's a good idea to click the 2-Up tab in the top left to show your design before and after it's been optimised. As well as being a good indication of how saving for web will affect your design, this will also shows you the file size. We're looking at getting our file under 300kb.
In the top right, click the Preset drop-down and select PNG-24. With this selected make sure the Transparency box below is ticked, then click Save in the bottom right.
Step 06: Upload to Snapchat
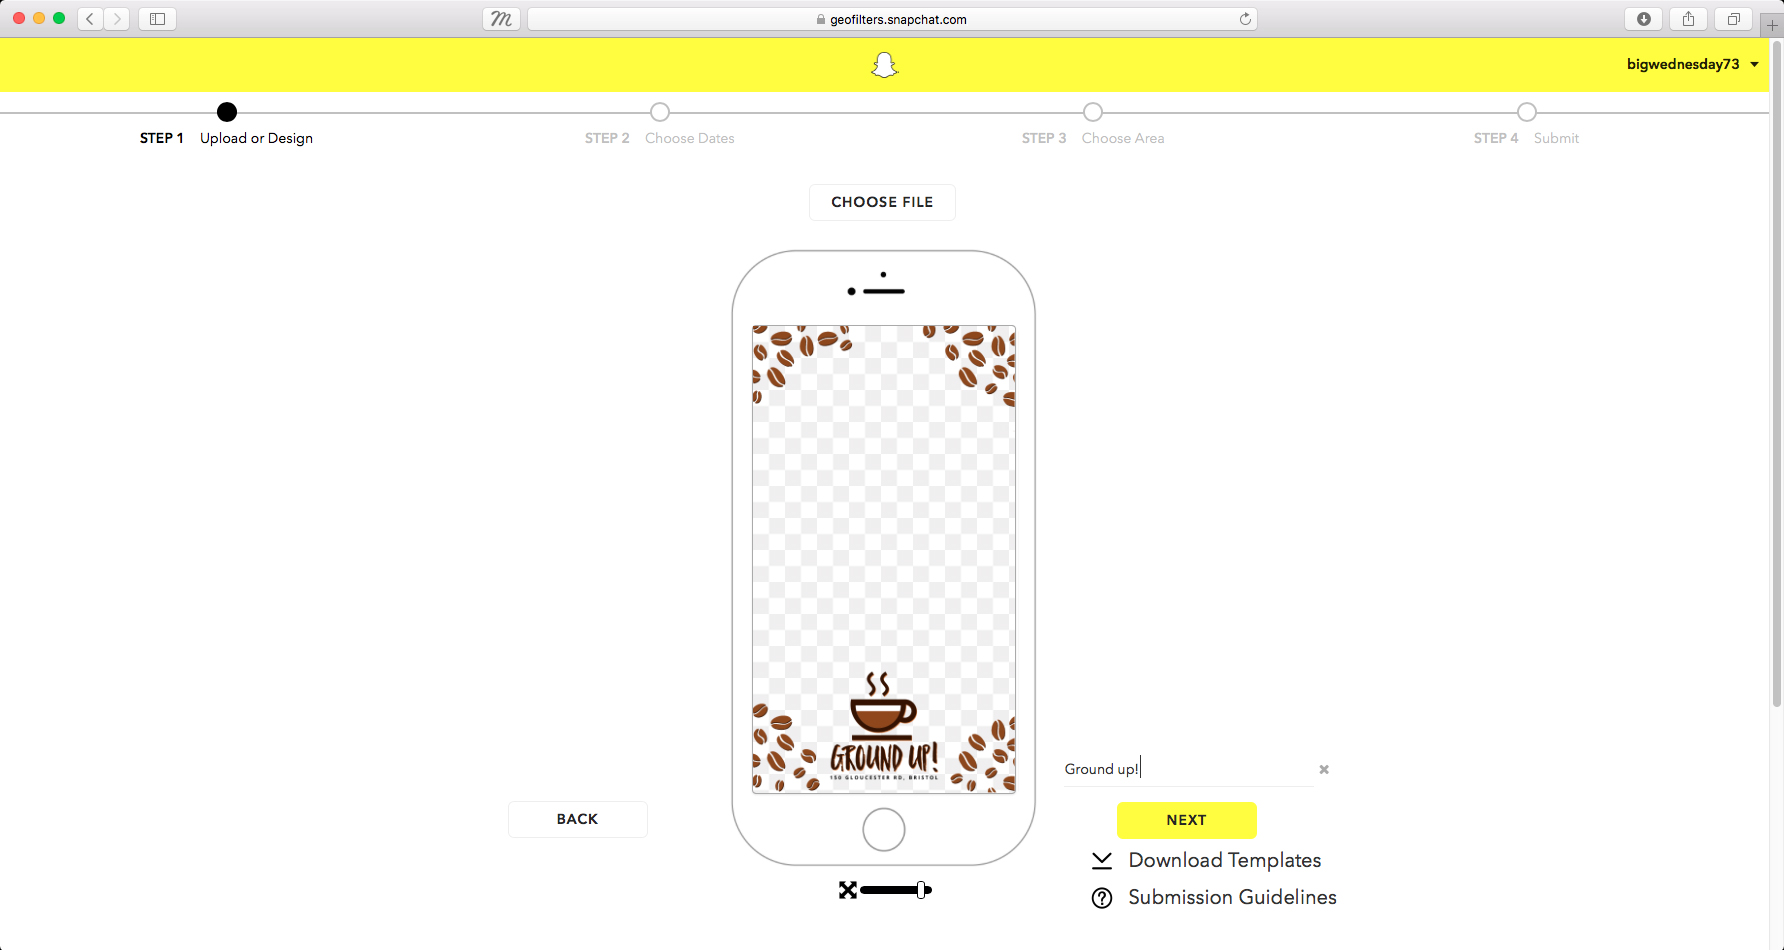
Now we have our design nailed and saved in the right format, it's time to upload to Snapchat. Go to www.snapchat.com/on-demand and click the Create Now button – you'll be asked for your Snapchat login details. Then click upload. Once you've chosen your file, Snapchat will preview your design in a device and ask for a filter name. If you're happy, press Next.
A quick note: On this page you can also download Photoshop and Illustrator templates if you're not sure you have the dimensions right.
Step 07: Choose a time and date

Next, simply choose the date and time you want your filter to be available for – Snapchat allows you up to two days. If you want a long-term Geofilter, there's a button in the top right that will give you more details. But for our coffee house opening, two days will be fine. Click next to move on.
Step 08: Set the location
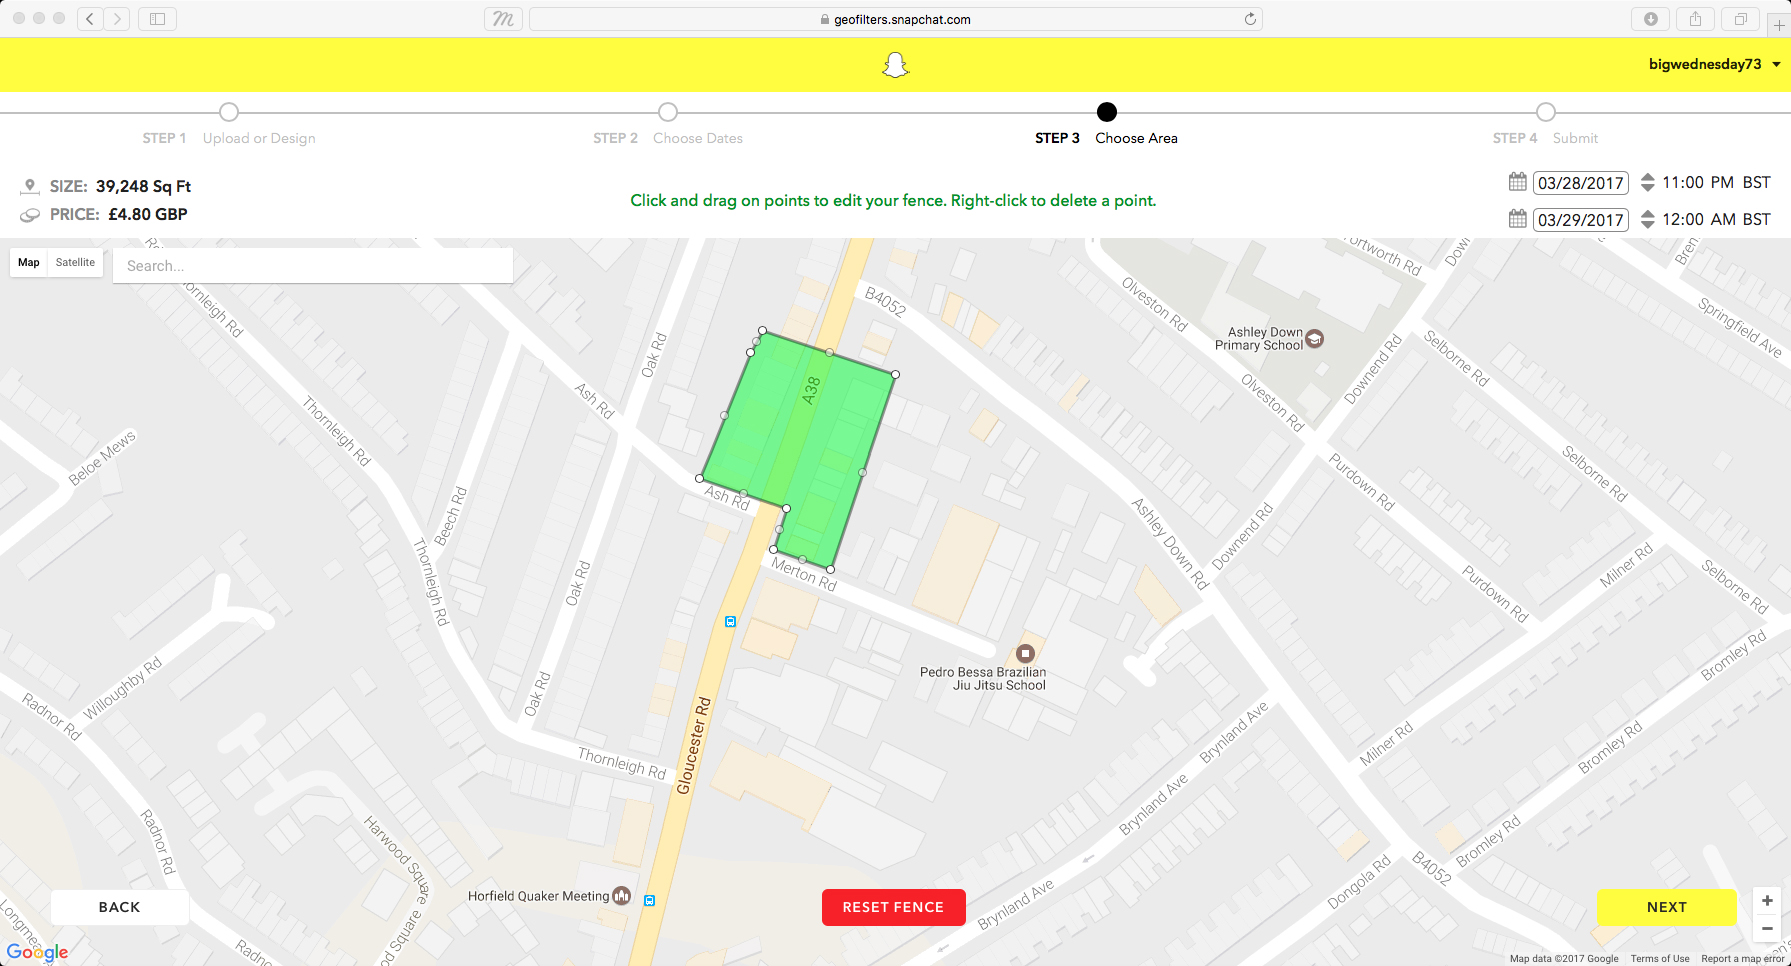
If you're UK-based, you'll be asked a couple of questions regarding VAT and currency, then you'll find yourself on the map screen, where you set the location of your GeoFliter. Scroll around the map to find your location and then click Draw Fence. This will allow you to draw an area on the map you wish your Geofilter to be activated in.
A Geofence needs to be a minimum of 20,000 square feet, so draw a generous area around your location. You can see the size and the price in the top left of the browser window. If you're happy, click Next.
Step 09: Payment
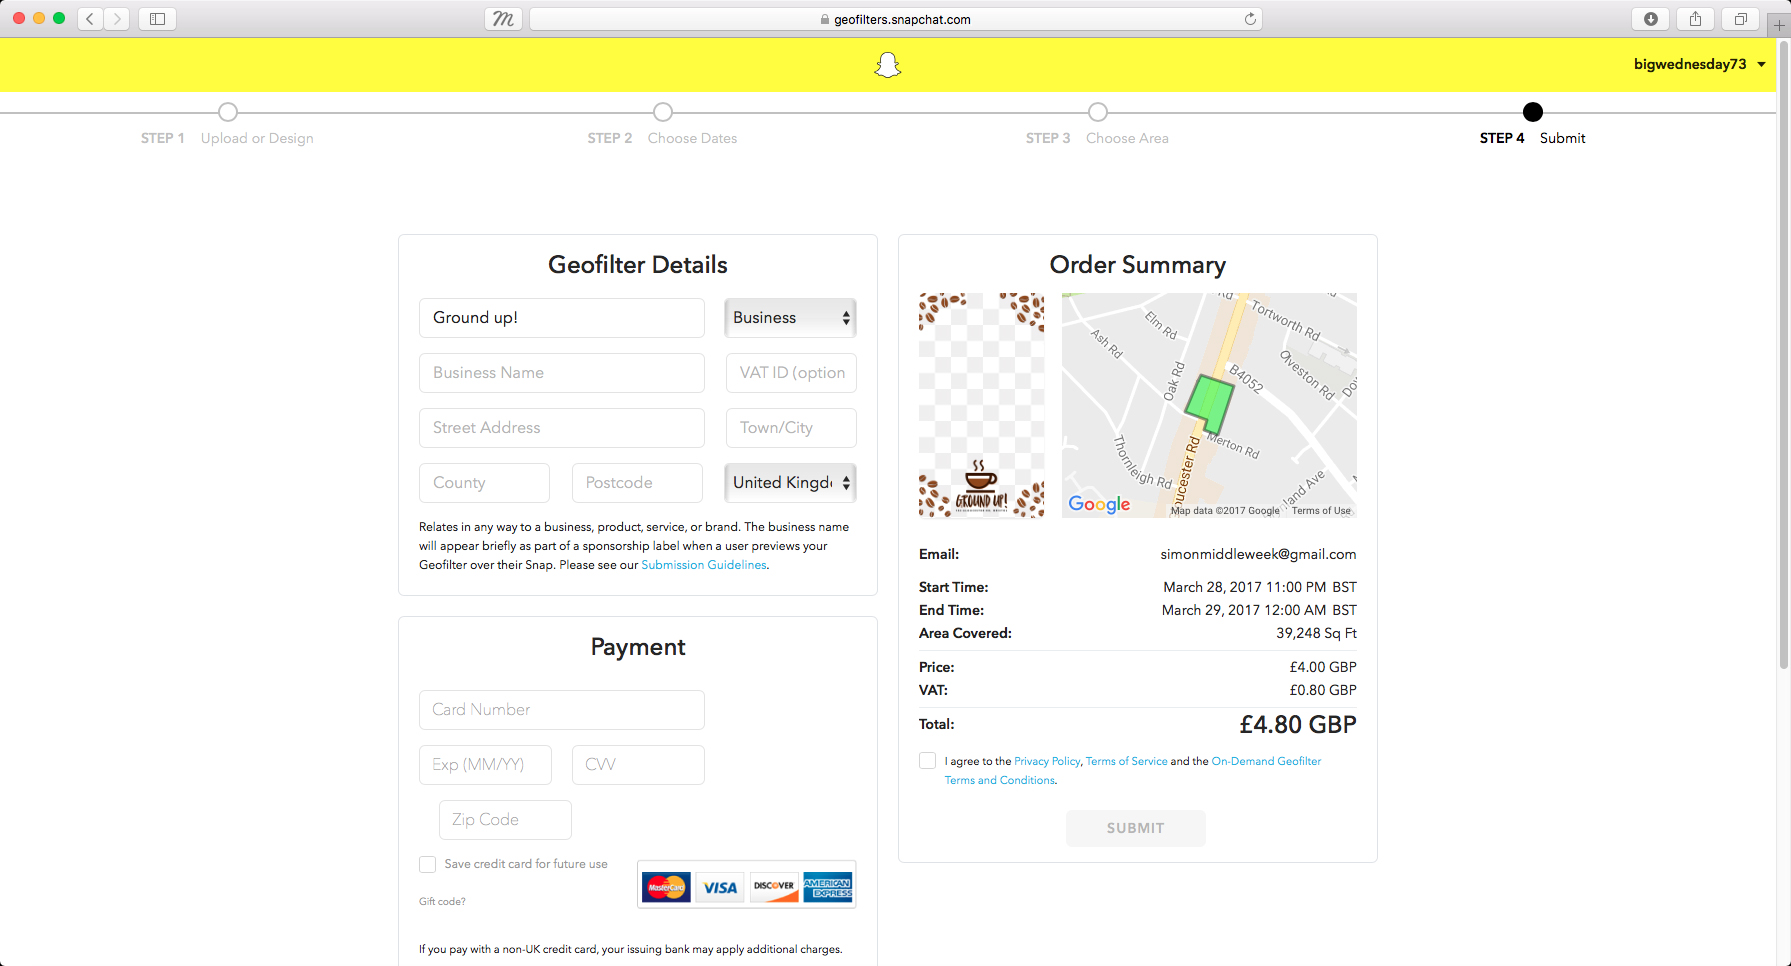
All you have to do now is fill in your details for payment and click Submit. Snapchat will generally get back to you within 24 hours, but it's worth submitting your design with time to spare for any event, just in case there are any problems.
Step 10: Dos and don'ts
There are a couple of dos and don'ts for submitting artwork to Snapchat. It goes without saying you shouldn't use any logos or trademarks you're not authorised to use. Snapchat doesn't like hashtags or other social platform logos, and photos of people are a no-no.
If for any reason the Snapchat team has a problem, they're pretty cool at getting back to you with what it exactly is. Here's a full run-down of guidelines. If you fancy having a go without spending all your cash, take a look at community Geofilters. Have fun!
Related articles:
