Illuminate your 3D work with Dome lights
Dome lights are one of the best ways to light a scene realistically; here's how to use them.
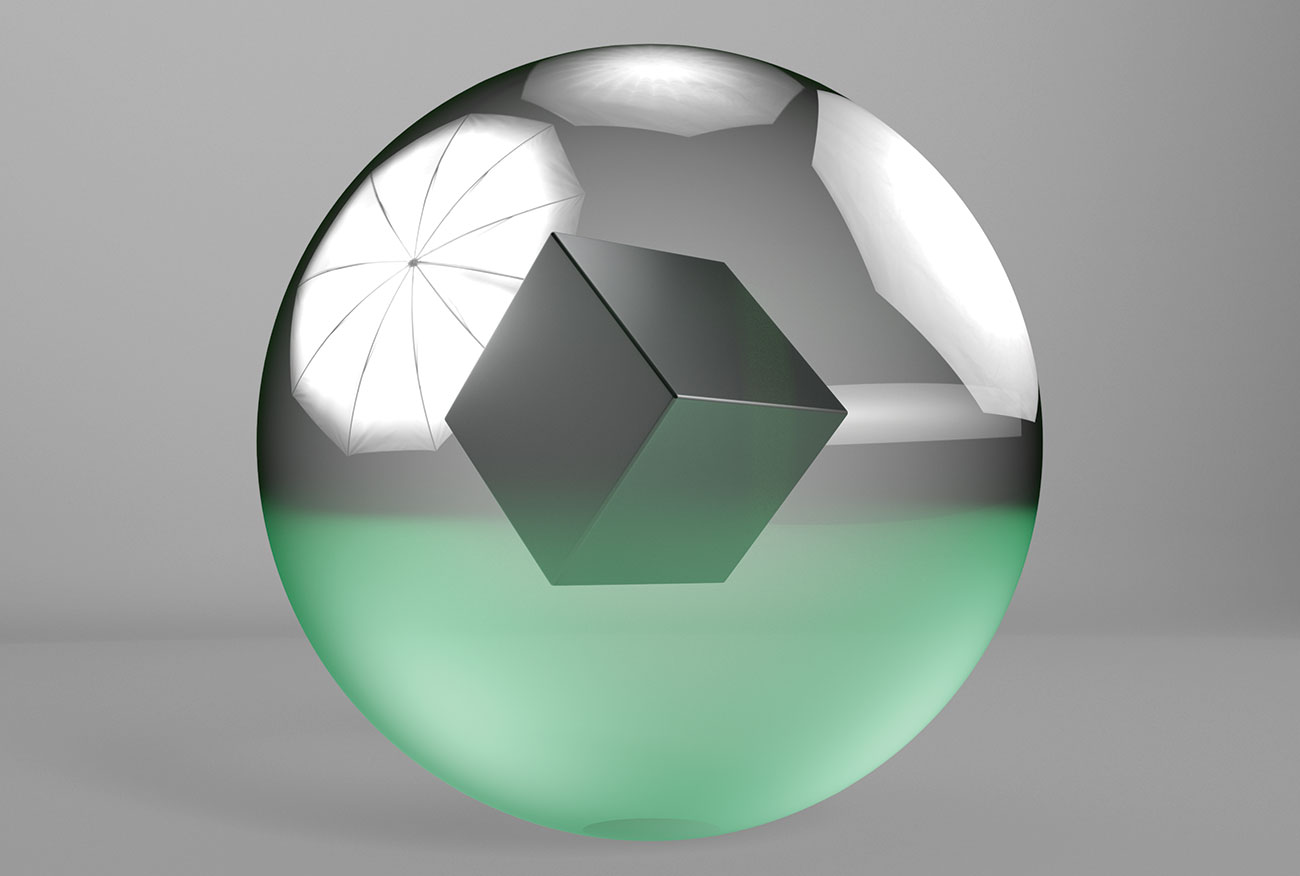
The use of Dome lights has been one of the greatest advancements in CGI creation over the past decade. Bathing a scene from every direction used to be computationally intensive, but with advances in both hardware and software, the Dome light has emerged as an efficient way to start lighting your 3D art.
This is because a Dome light can embed an image-based light image (IBL, also known as HDRIs). This is a single image of a real environment or one created by an artist which, when mapped into a Dome light, instantly re-creates the lighting environment.
These images are usually saved in a 32-bit format that captures nearly the full range of available light, and allows lighting to be created with a rolling falloff with no ugly clipping or banding. As the images have a full range of captured light they can be adjusted either with more power or less to help set the desired mood of the image.
While there are applications that can create IBLs, there are countless images available that re-create everything from a rocky vista to a photography studio.
Dome lights are also highly computationally efficient, which means it can be a good idea to use a spherical camera in an existing scene to create a HDRI map of the background. Placing that in a scene creates no loss of light fidelity, but enables the artist to concentrate on the primary geometry with little slowdown.
The biggest caveat with using Dome lights is that they solve so many problems that it can be easy to neglect other light types. This can be a mistake, as adding extra light to highlight key objects will always make a scene feel more alive than just using a Dome light.
What is a Dome light?
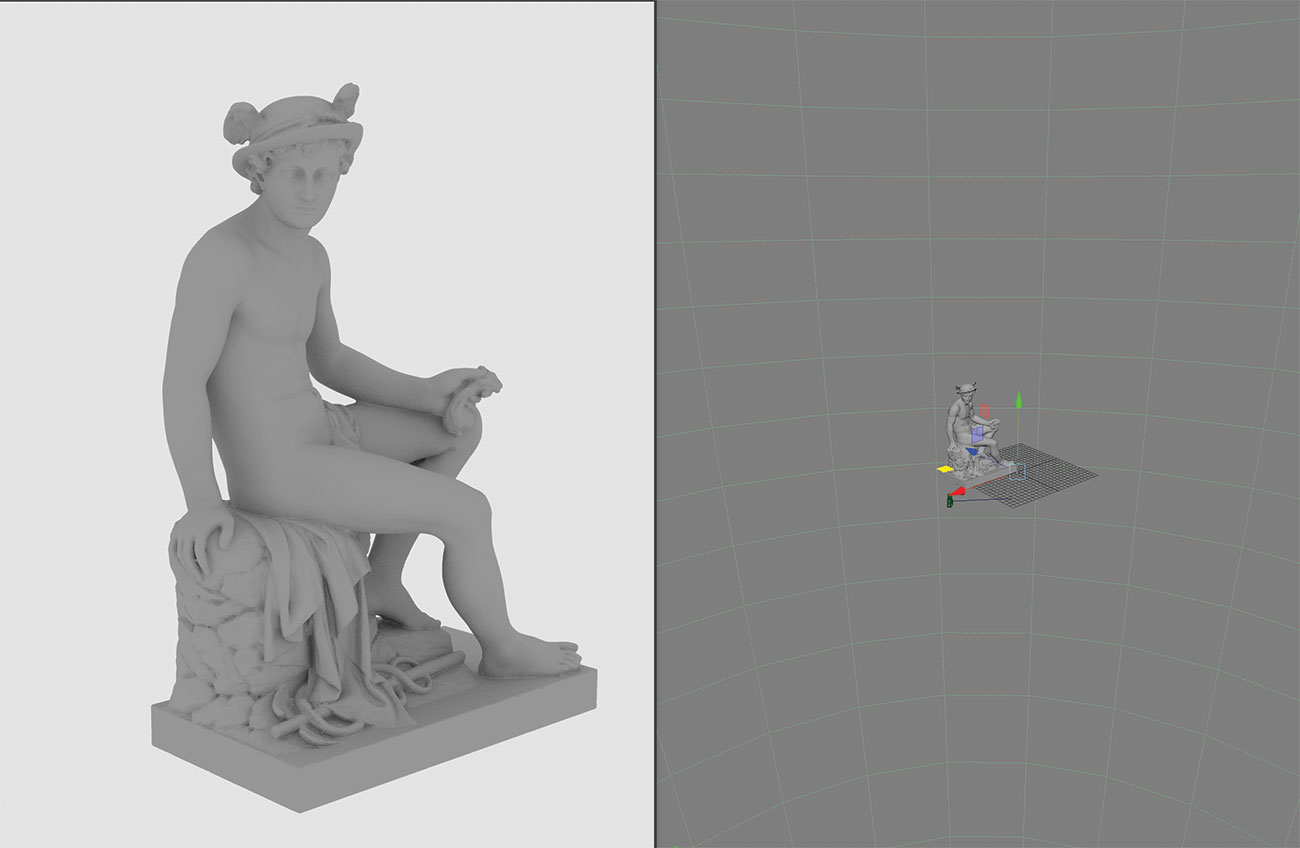
A Dome light in its simplest form is a light object that surrounds the scene in a constant white light from all directions. As soon as a Dome light (Skydome or Environment are other commonly used terms) is placed it creates an instantly pleasing soft 'studio' look, which would be hard to re-create with any other type of single light object. Be warned that not all applications show the Dome light as a visible object, especially when it is for a third-party render solution.
Daily design news, reviews, how-tos and more, as picked by the editors.
01. Colour a Dome light
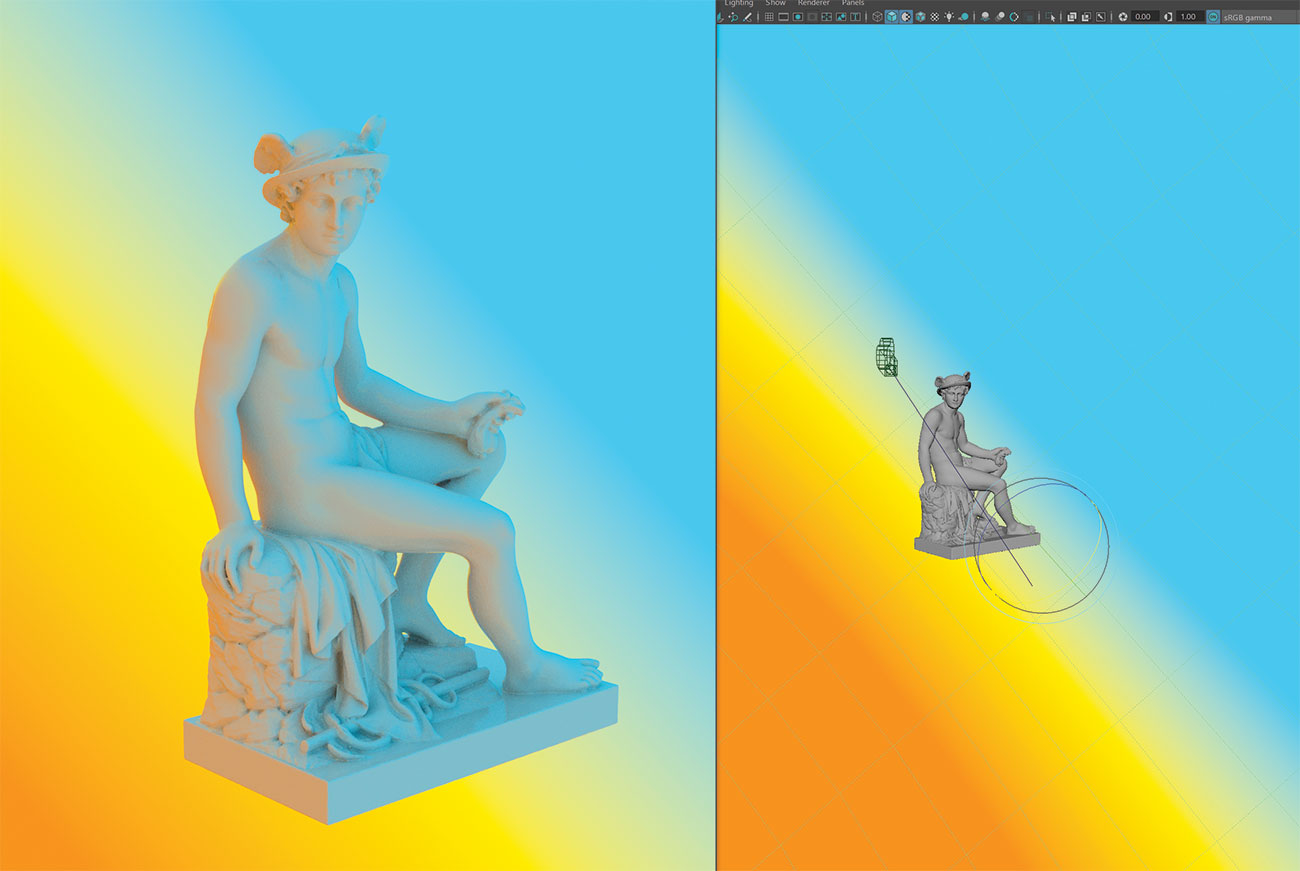
While Dome lights are most commonly associated as a base for image-based light sources, this doesn't mean that there aren't other ways to light a scene with them. One of the easiest and most powerful ways for a creative effect is to use a ramp or gradient texture to feed in a range of colours into the Dome light, to produce a more interesting look. As the Dome light is a physical object in the scene it can be rotated to easily adjust the look you are after.
02. Use image-based lighting
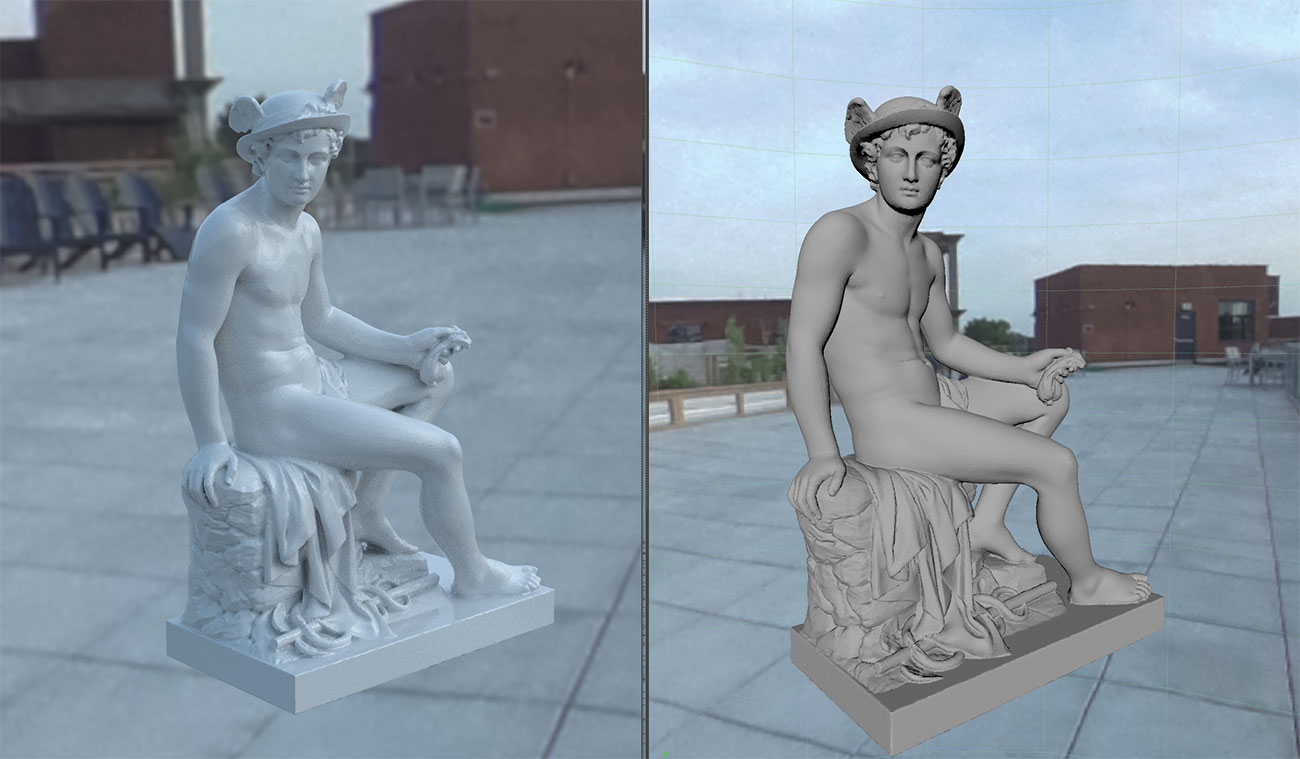
Using an image with a Dome light is a really effective way to add a much more realistic look to a scene. High Dynamic Range images which contain a full 32 bits of colour data are the best format to use with a Dome light, as they allow exposure to be adjusted without any clipping. Otherwise, the coloured areas in an image can either go to white or black as there is not enough colour data, which can in turn create some ugly, unwanted image artefacts.
03. Eliminate the background
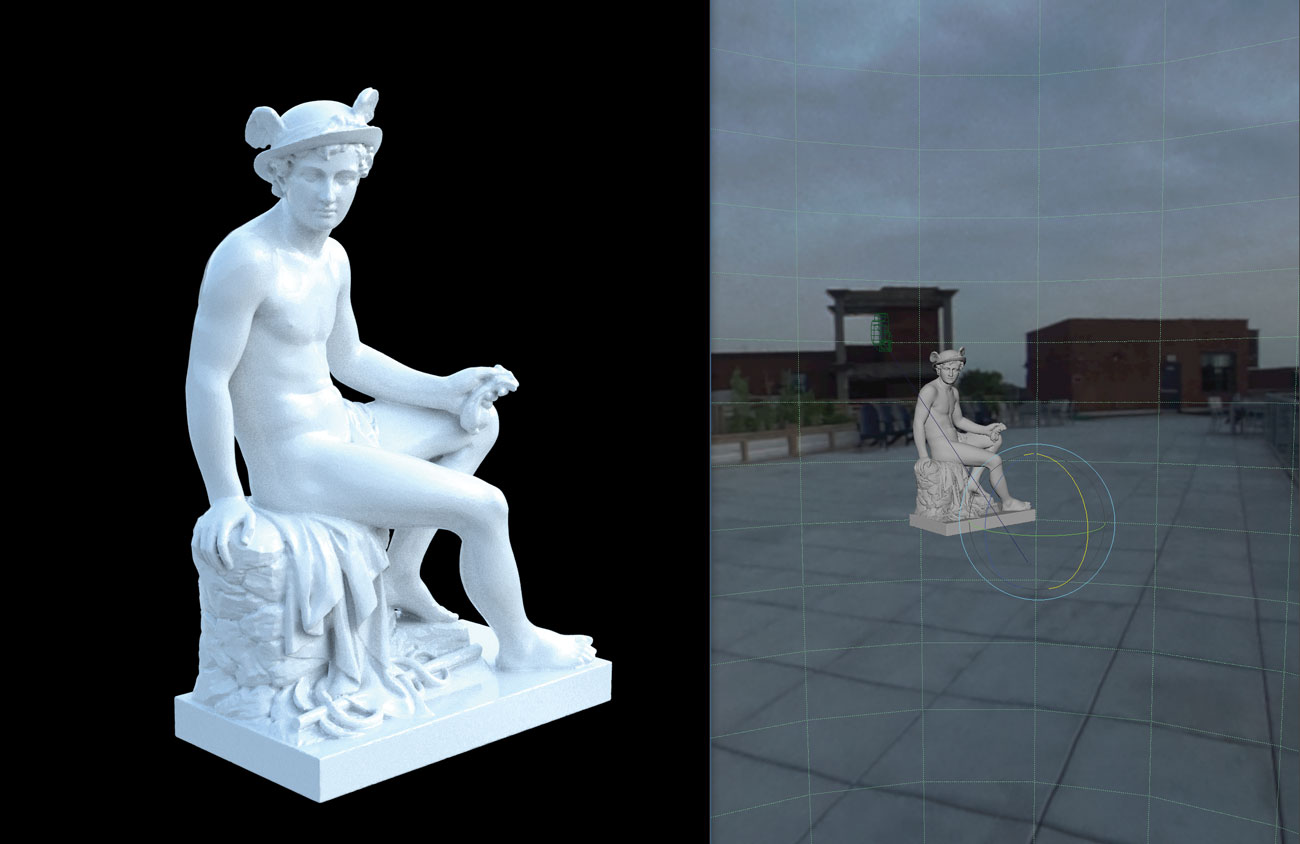
While many HDRIs come with additional background images, it is still a good idea to ensure that the HDRI is invisible to the alpha channel and potentially to the camera itself. This means that the Dome light is only lighting the geometry and creating interesting reflections rather than getting in the way where it is not needed, such as skies. Also, not having the background enabled can save on render speed, as the computer only needs to render the areas that are visible.
This article was originally published in 3D World, the world's best-selling magazine for CG artists. Buy issue 233 here or subscribe to 3D World here.
Related articles:

Mike Griggs is a veteran digital content creator and technical writer. For nearly 30 years, Mike has been creating digital artwork, animations and VR elements for multi-national companies and world-class museums. Mike has been a writer for 3D World Magazine and Creative Bloq for over 10 years, where he has shared his passion for demystifying the process of digital content creation.
