Master the Bridge tool
Vertex speaker Mike Griggs shows you how to get to grips with this fundamental 3D tool.

What is the Bridge tool?
If you are new to CGI there are far too many tools to choose from in a dizzying array of software. This article aims to break things down to make it easier for you to be a better artist.
Mike Griggs, who will be presenting at Vertex, shows you how to make the most of the Bridge function.
Bridge is one of the most helpful functions in a 3D artist’s arsenal. It is a hugely versatile tool that can create the foundations for a complex build, or produce curved and twisted geometry with a single click of the mouse.
One of the key things that using Bridge teaches is the concept of surface normal direction on a polygon. While polygons (or faces) may appear to be a 3D shape, a polygon only has one ‘true’ side, and the normal denotes the perpendicular direction the polygon is facing. This matters when using the Bridge tool, as bridging two polygons facing the wrong direction can create unpredictable results, and makes using the Bridge tool a disappointing experience for new users.
The Bridge tool has the power to radically change your geometry by removing polygons at the ends of bridge segments, so make sure you are aware of all the options that the Bridge tool has in each piece of 3D software. These options can include factors such as twisting, and making a curved bridge as opposed to a linear one.
Some apps can use the Bridge command to create polygons from vertices, which is a powerful way to remesh geometry. When working with meshes using subdivision methods, like Open SubDiv, mastering the Bridge tool is a good way to get to grips with complex shapes. For example, creating a basic arm between a wrist and shoulder model.
Certain 3D applications can allow multiple elements to be bridged with one click, which enables complex and organic models to be created easily.
Daily design news, reviews, how-tos and more, as picked by the editors.
The Bridge tool is a versatile command that takes a lot of the pain out of 3D modelling.
The Bridge tool in use
01. Basic bridging

At its simplest, the Bridge tool creates geometry between two selected and unconnected elements. These can be vertices, edges or polygons, ideally with the same edge count. Using Bridge with polygons to create a new length of geometry can remove the end polygons, creating a tunnel. Using the Bridge command with edges can be an excellent way to retopologise a scanned model into a mesh pattern, which works better for animation.
02. Curved bridges
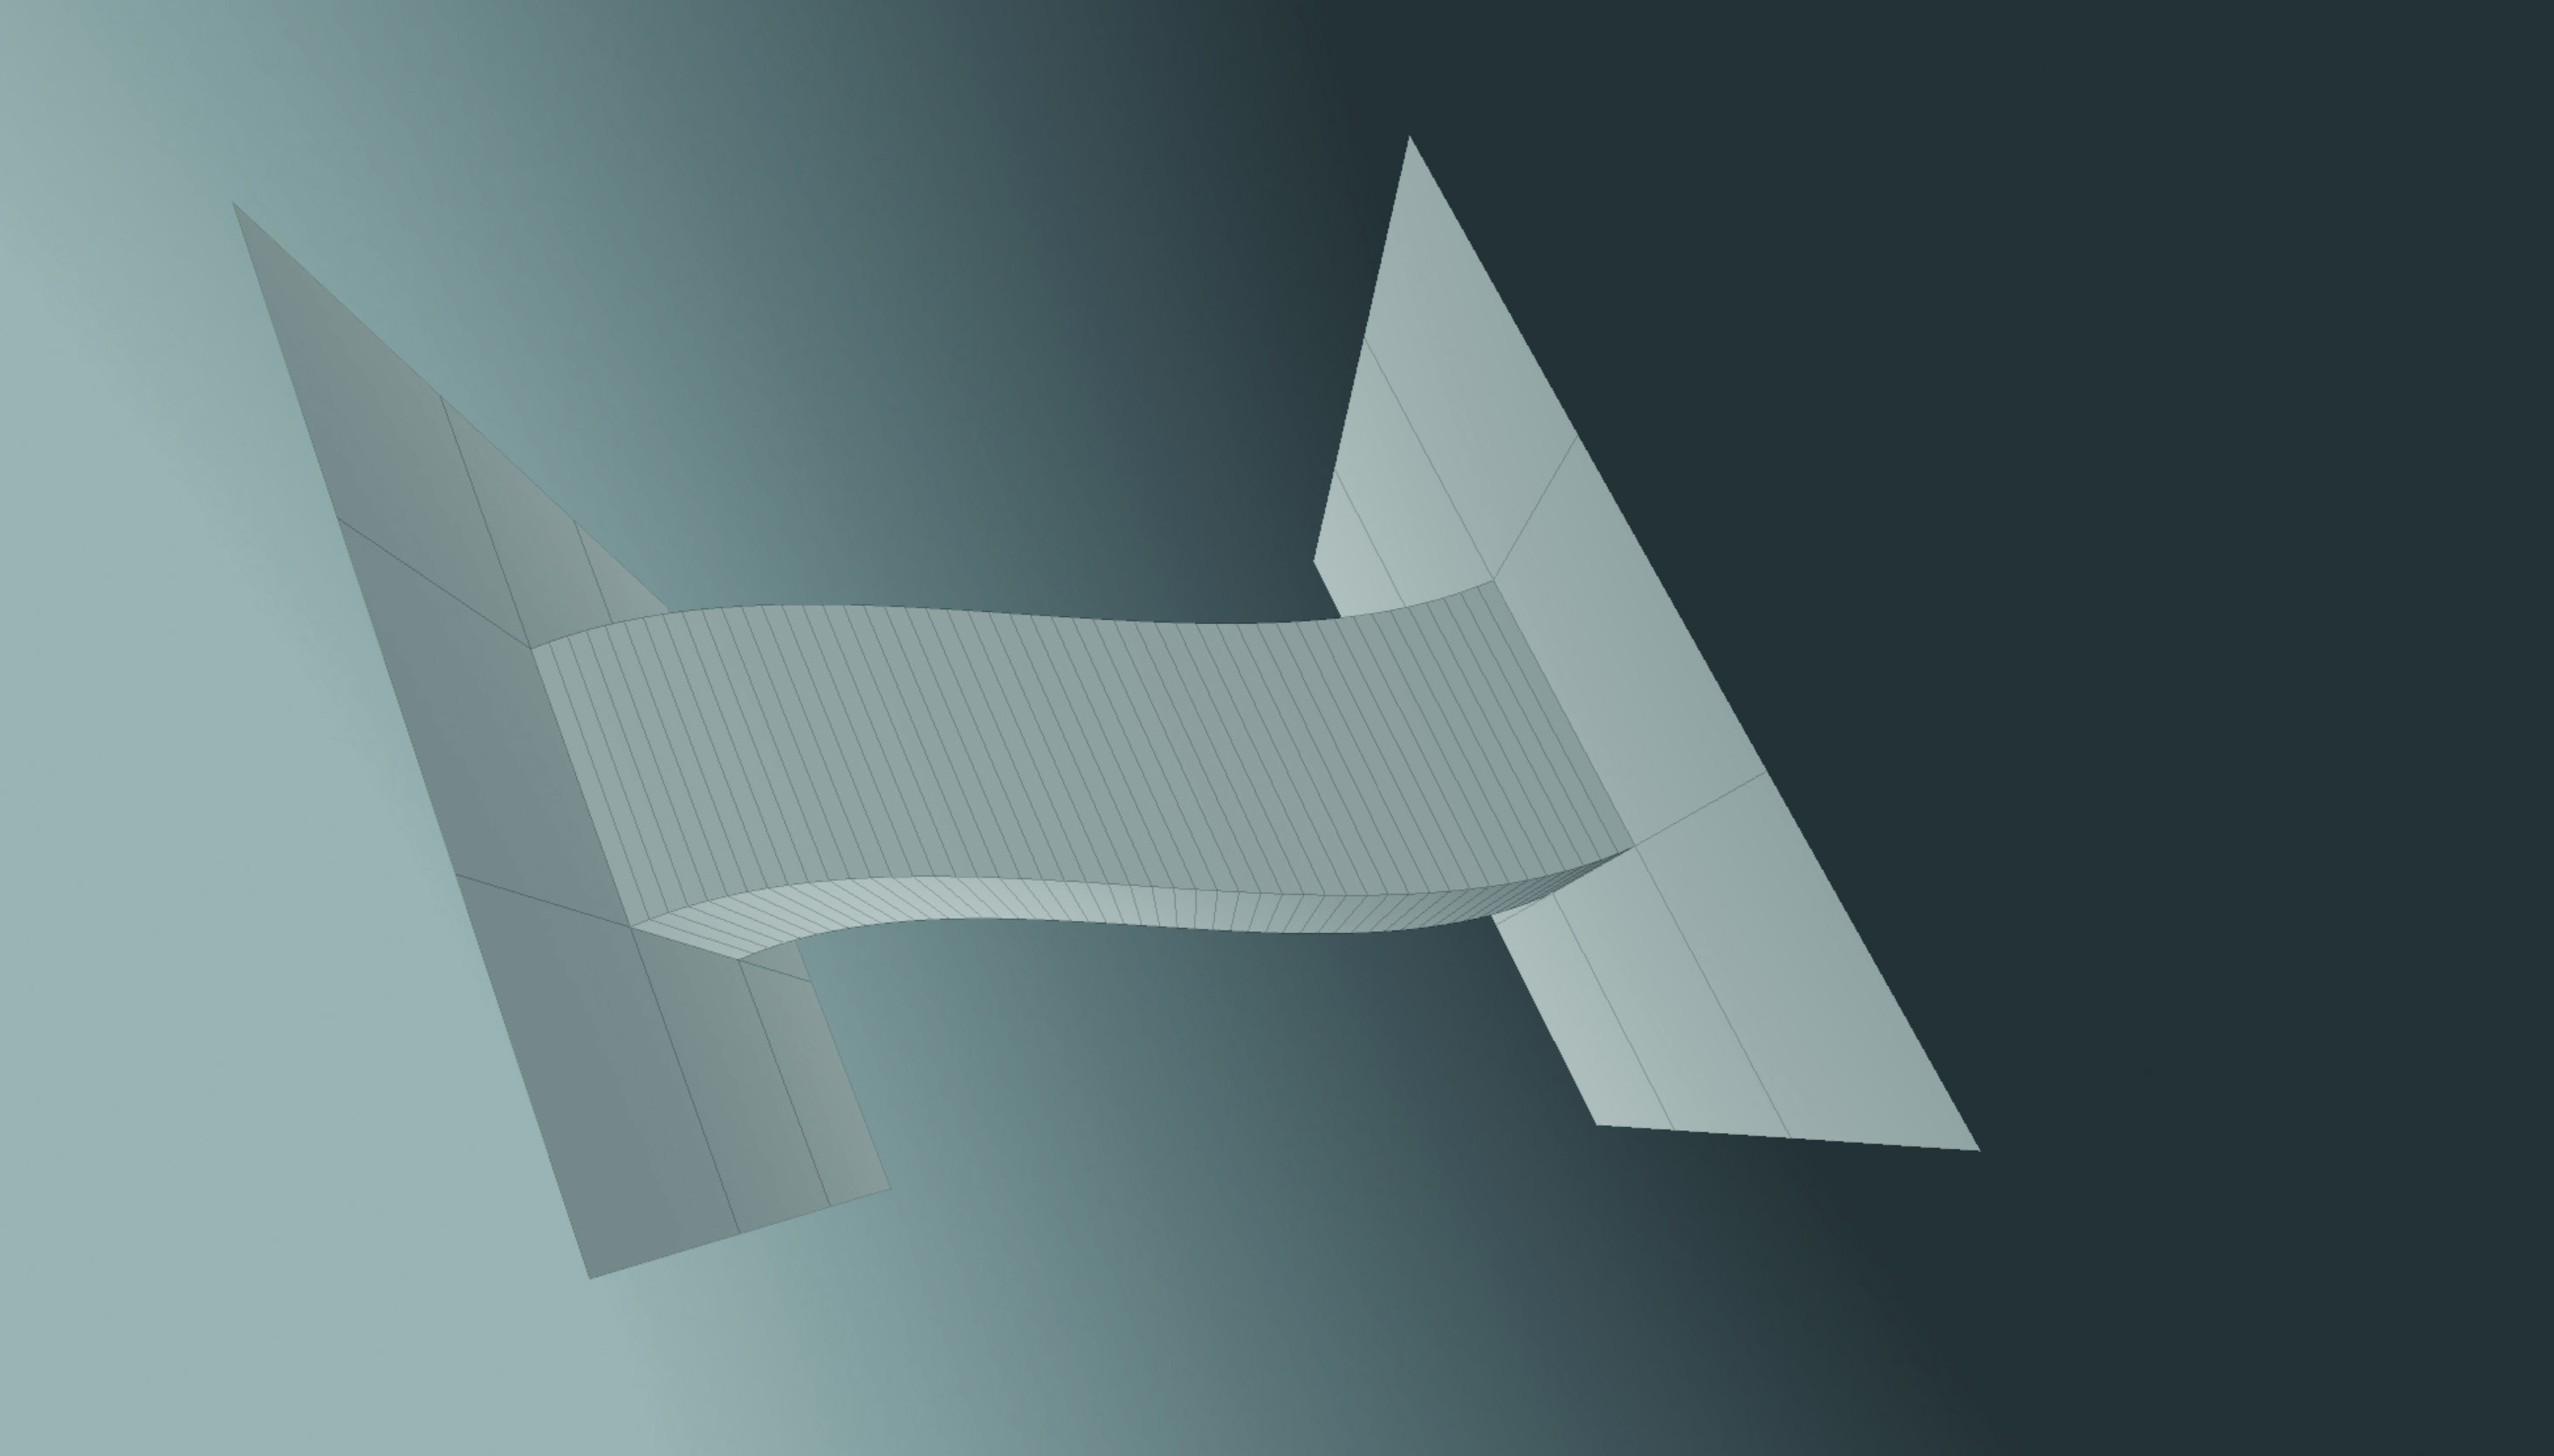
Most 3D applications enable the Bridge tool to create curved, rather than linear, connections. This can be a great way to make pipework, or more organic shapes quickly and easily. The applications that do allow curved bridges will also allow the number of divisions, otherwise known as edge loops, to be controlled. This means a curved bridge can be faceted or smooth. Having a faceted bridge is useful for hard modelling and game assets.
03. Bridge different elements
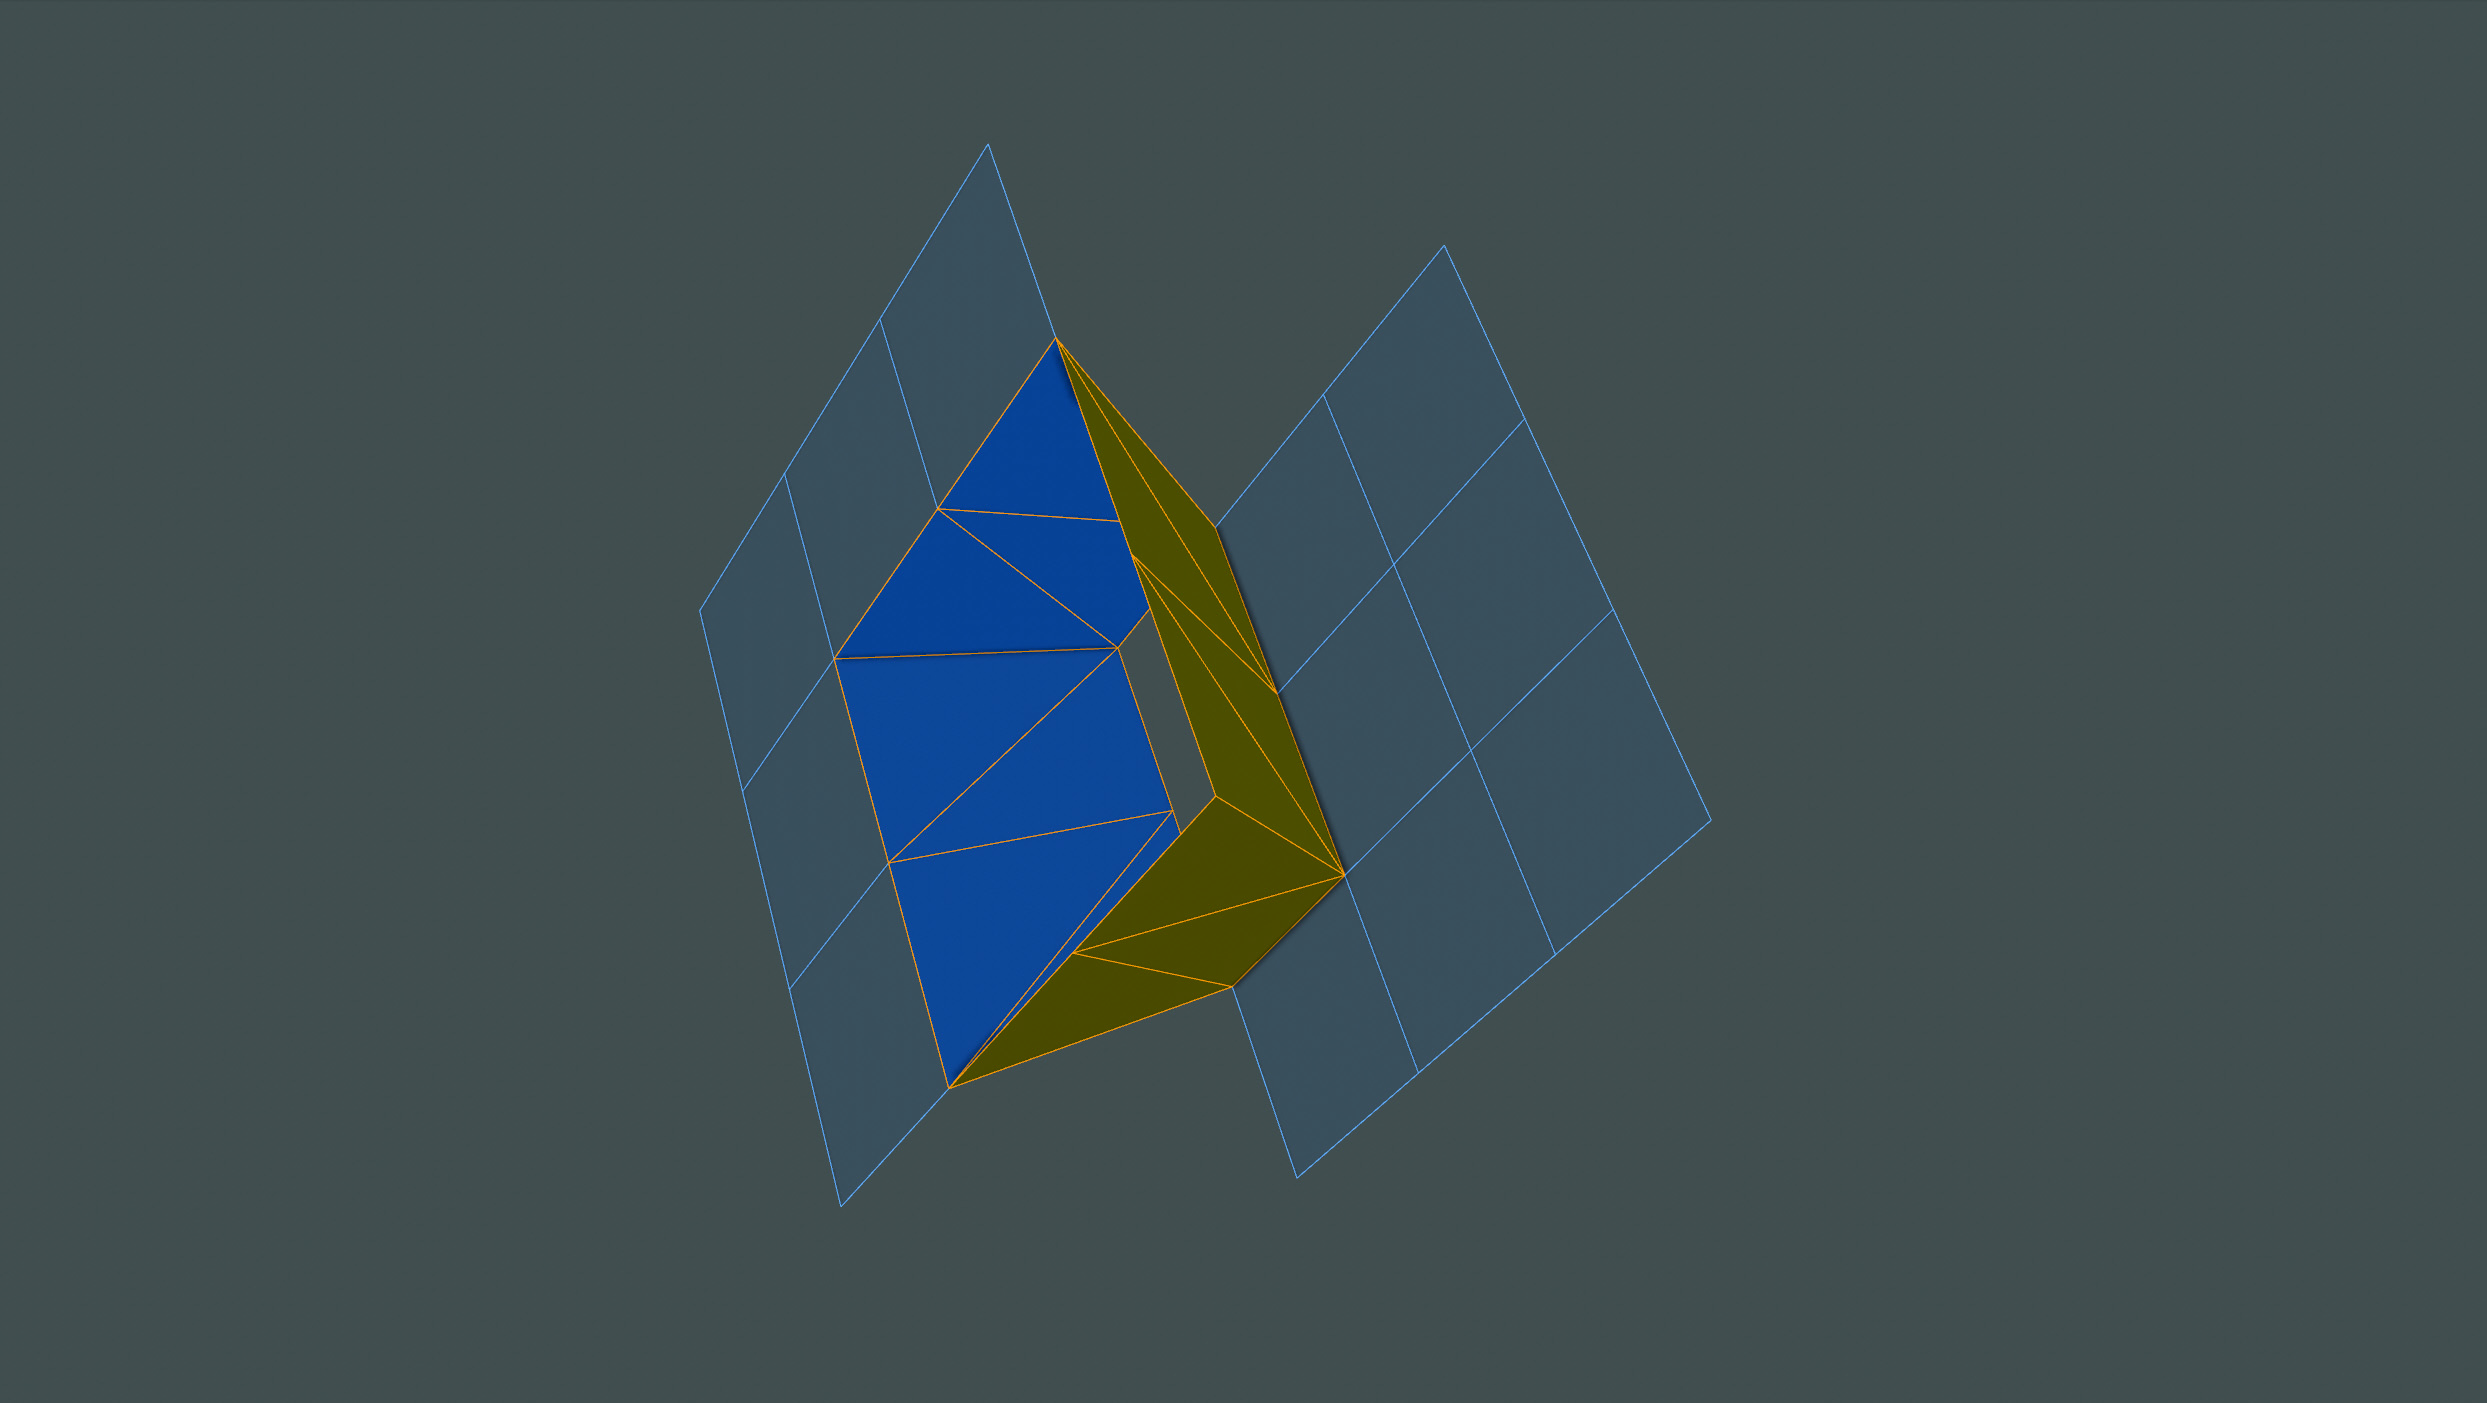
Most Bridge tools are great for linking similar polygons or edges, and you’ll find that this is the most common workflow. However, the Bridge tool can also be used to create geometry between radically different geometry. The catch is, however, that there can be some trial and error in finding which is the correct ‘shape’ that is desired. This is due to the fact that the algorithm bridging the geometry is making a best guess, and as a result there can be some tidying required.
04. Multiple bridges
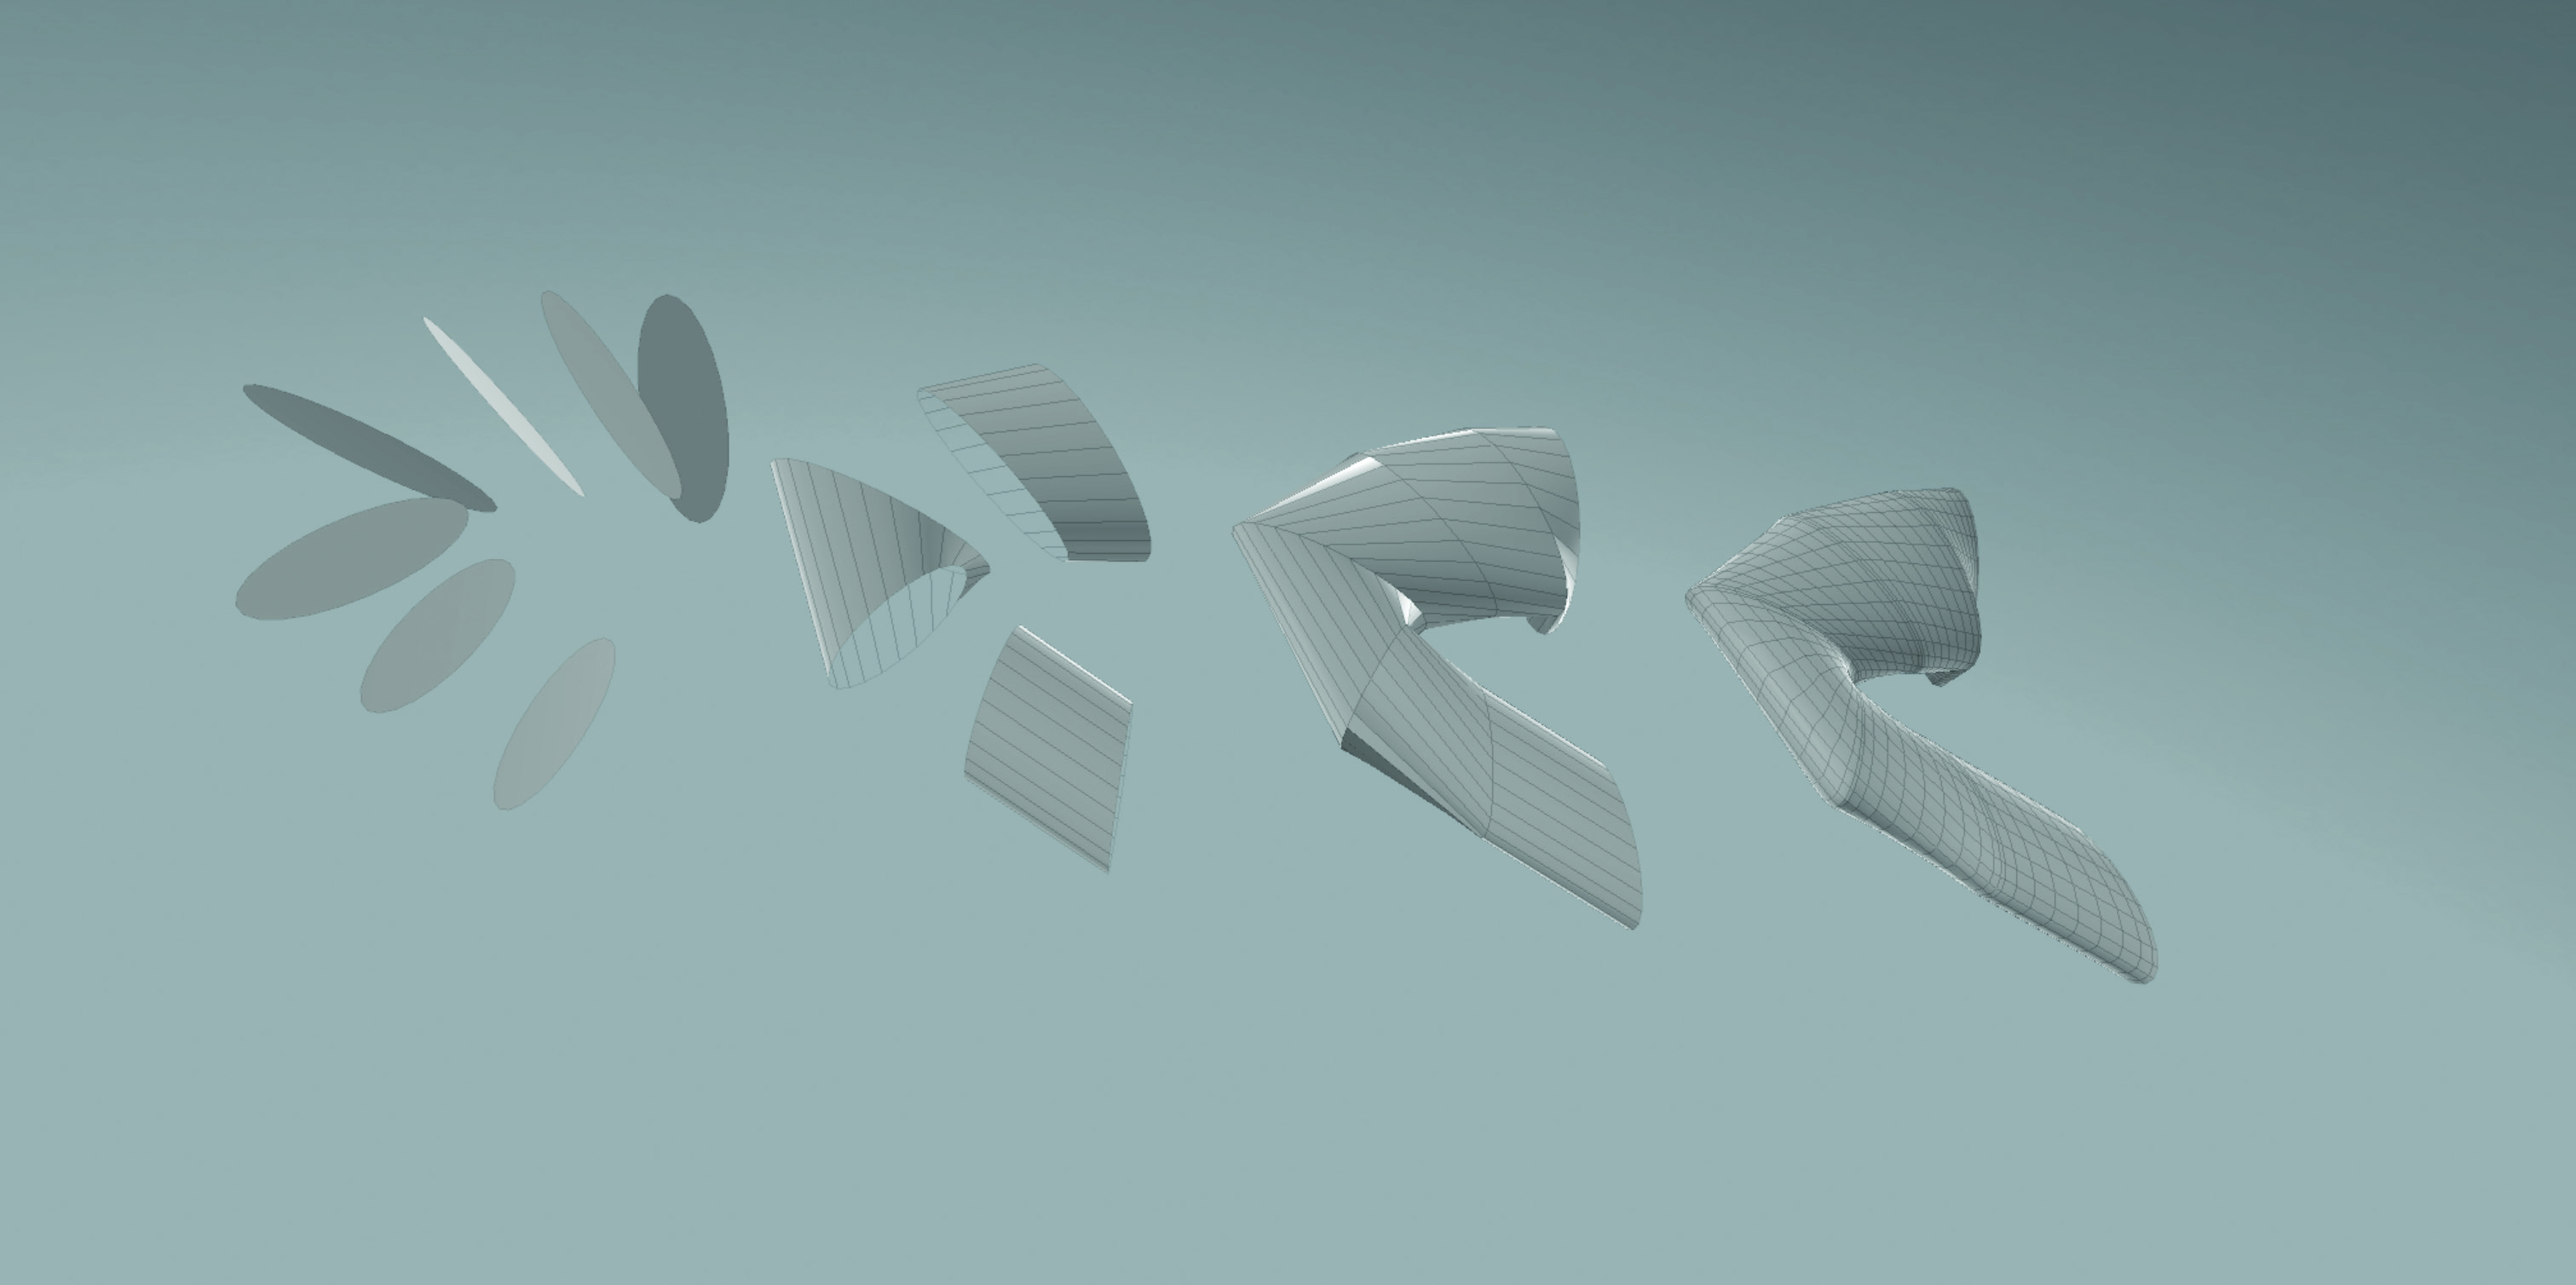
Some 3D applications enable multiple elements to be bridged. This is a great way of creating really complex geometry based on a few simple polygons. If linking polygons to create organic shapes, using a tension or similar command can allow pinching at bridge segments, which can help give a much more natural appearance to geometry. Also available in some applications, when bridging multiple elements, is the ability to skip every other bridge. This can create multiple pieces of geometry.
Learn from Mike, live at Vertex!

Becoming a CGI artist can be daunting, especially if you are just starting out. However, CG generalist Mike Griggs brings his 20 years of experience of working in (nearly) every aspect of CG to new artists via this workshop and Q&A session. Following his popular Bootcamp, Fundamentals and Basics sections in 3D World, he will guide you through the process of laying down the foundations of becoming an efficient and effective artist. Make the most of your software by understanding the principles underlying all that you do.
Don't miss out on this fantastic chance to get some face-to-face training from the mastermind behind 3D World's fundamentals pages. Tickets are available from the Vertex site, so head there for more information.
Related articles

Mike Griggs is a veteran digital content creator and technical writer. For nearly 30 years, Mike has been creating digital artwork, animations and VR elements for multi-national companies and world-class museums. Mike has been a writer for 3D World Magazine and Creative Bloq for over 10 years, where he has shared his passion for demystifying the process of digital content creation.
