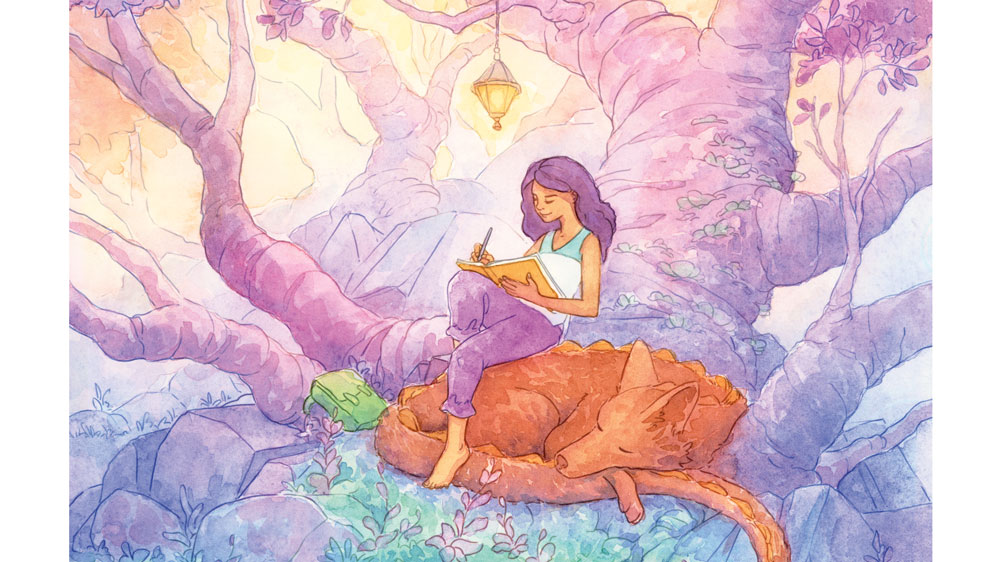
Mixed-media art tutorial: How to watercolour over digital artwork
A step-by-step guide.
Sign up to Creative Bloq's daily newsletter, which brings you the latest news and inspiration from the worlds of art, design and technology.
You are now subscribed
Your newsletter sign-up was successful
Want to add more newsletters?
As an independent artist, I enjoy the creative process as much as the satisfaction of a finished painting. I prefer beginning my work in Photoshop because it gives me the freedom to experiment with various ideas quickly. Often, in this early stage of a piece, I like to explore abstract shapes in which I can find a theme or form I'm looking for.
Over time I've taken this early digital stage of my process further from sketches, to fully concepting out an idea and finally, to inking a piece digitally. It wasn't until about a year ago that I came upon the idea that's now a part of my process: printing digital line-work on to watercolour paper using pigment-based ink.
If you want to work your art skills, head over to learn the watercolour techniques every artist should know. Or, check out the best how to draw tutorials.
Article continues belowWhy print your line-work?
When I first started experimenting with printing line-work, I used to take my watercolour paper to my local giclée printer. I recommend trying this method if possible before investing in a printer.
Printing my line-work meant I not only saved time, but also fully re-embraced my love of the digital medium. Incorporating the two almost equally has improved my artwork as a whole because I'm able to explore an idea before paint touches paper. When it comes time to use my watercolours, I can relax and embrace the subtlety of the medium, knowing that most of the hard work has already been thought out.
01. Create rough sketches in Photoshop
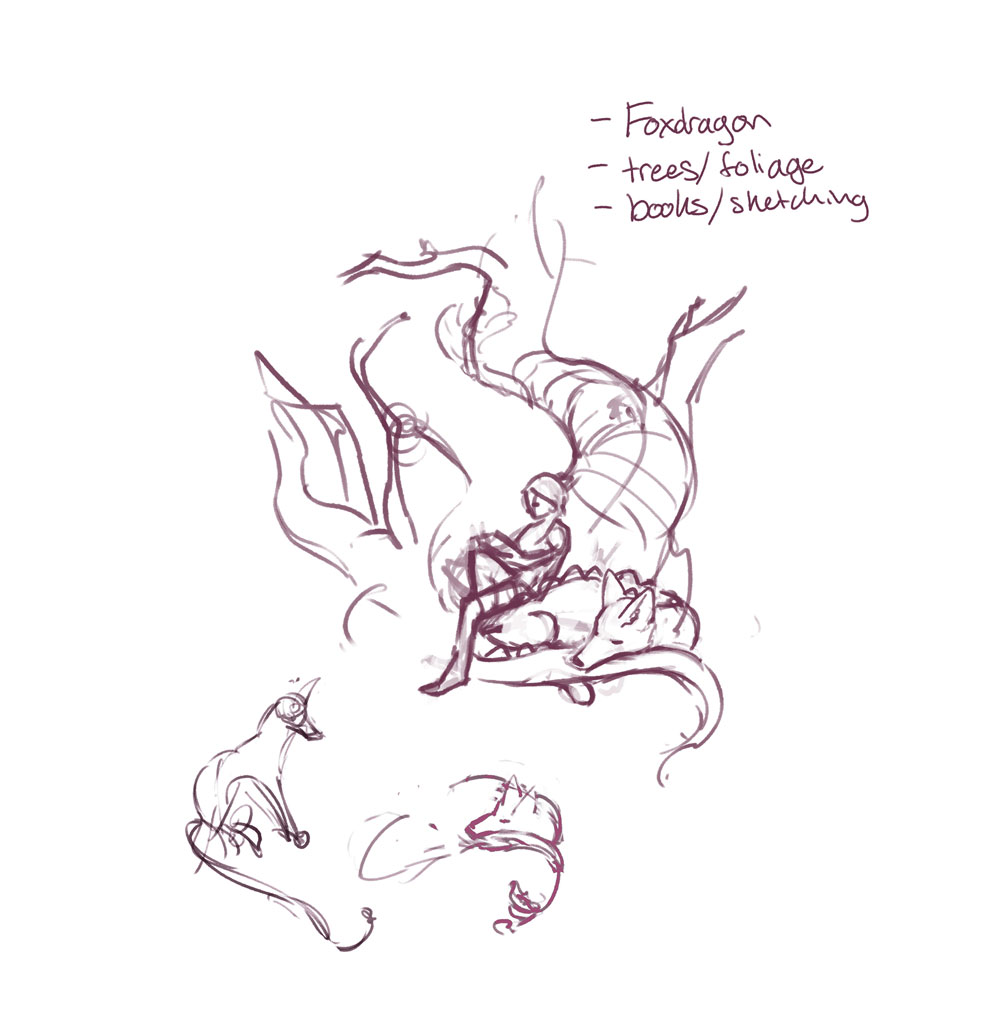
I begin my piece in Photoshop with very rough abstract shapes or noise, and find my ideas within those marks. I take notes of themes that I want to explore, and move shapes and lines around – manipulating and distorting them as required.
02. Refine into a composition
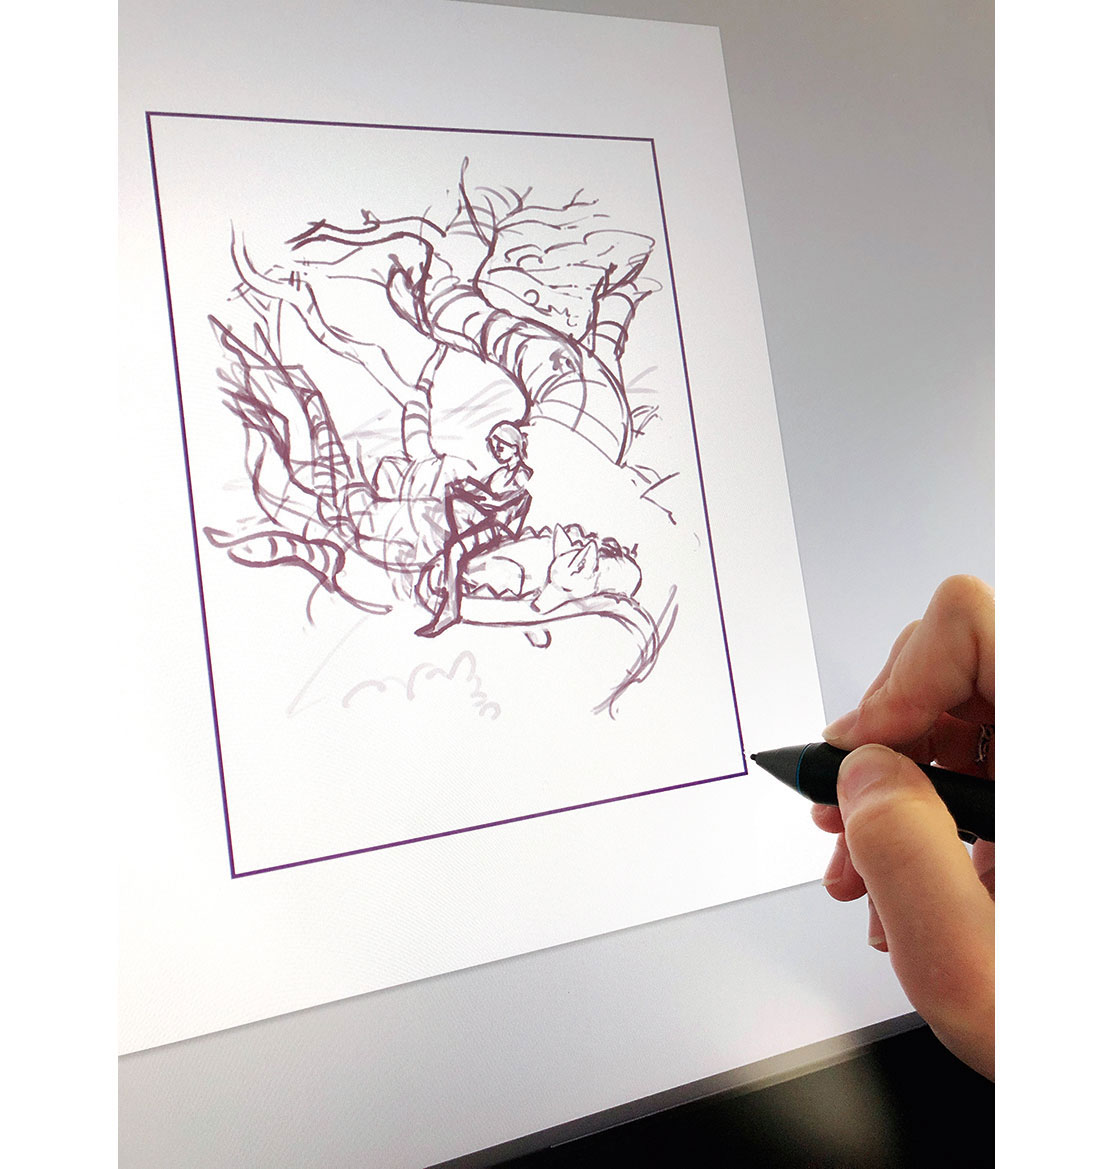
After I'm satisfied with a general idea of what I want to create I determine the finished canvas size and begin refining my sketch into a composition. At this stage, I finalise where large gestural shapes are within the frame.
03. Introduce textures and shapes
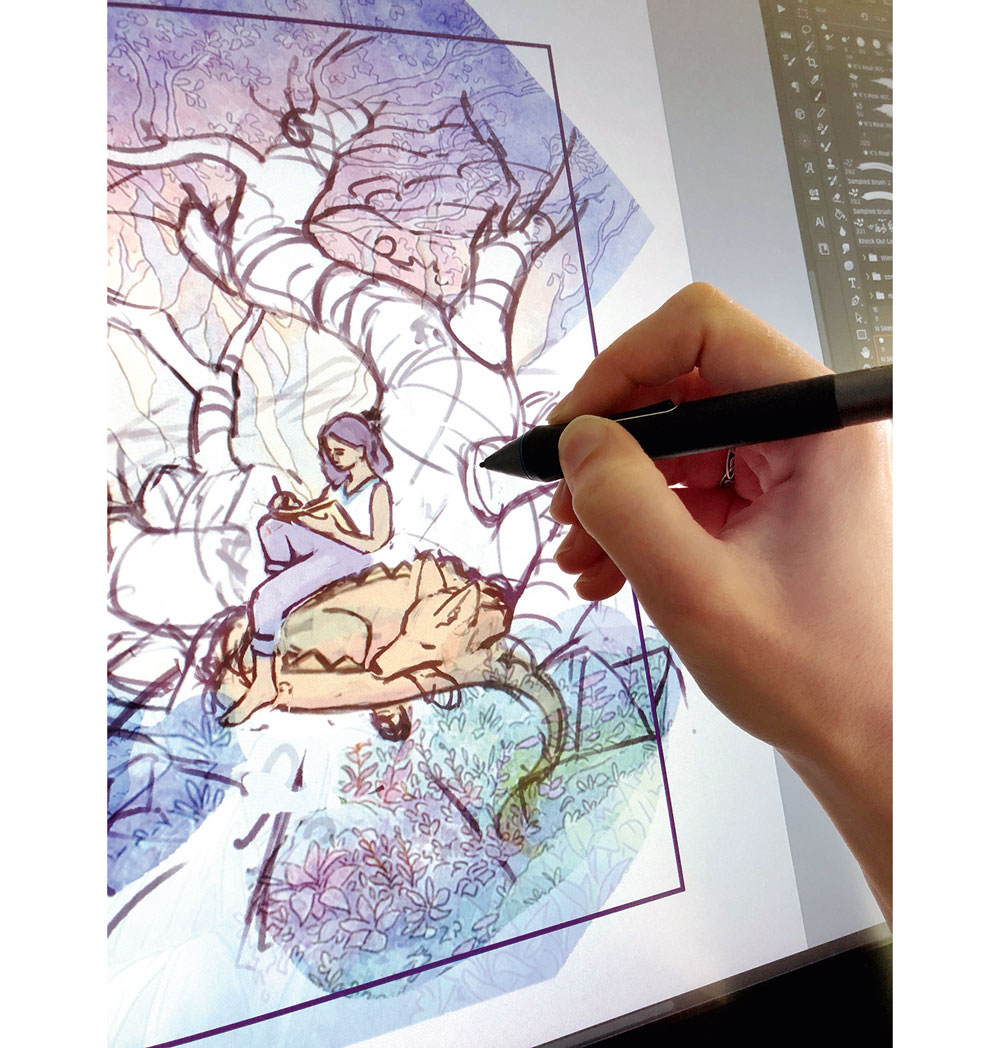
As I'm designing my piece I like to bring in textures from my own artwork as a quick guide for creating similar textures. This stage is also where I work out the perspective, gather reference, and solidify the 3D forms of my figures and objects
04. Refine my line-work
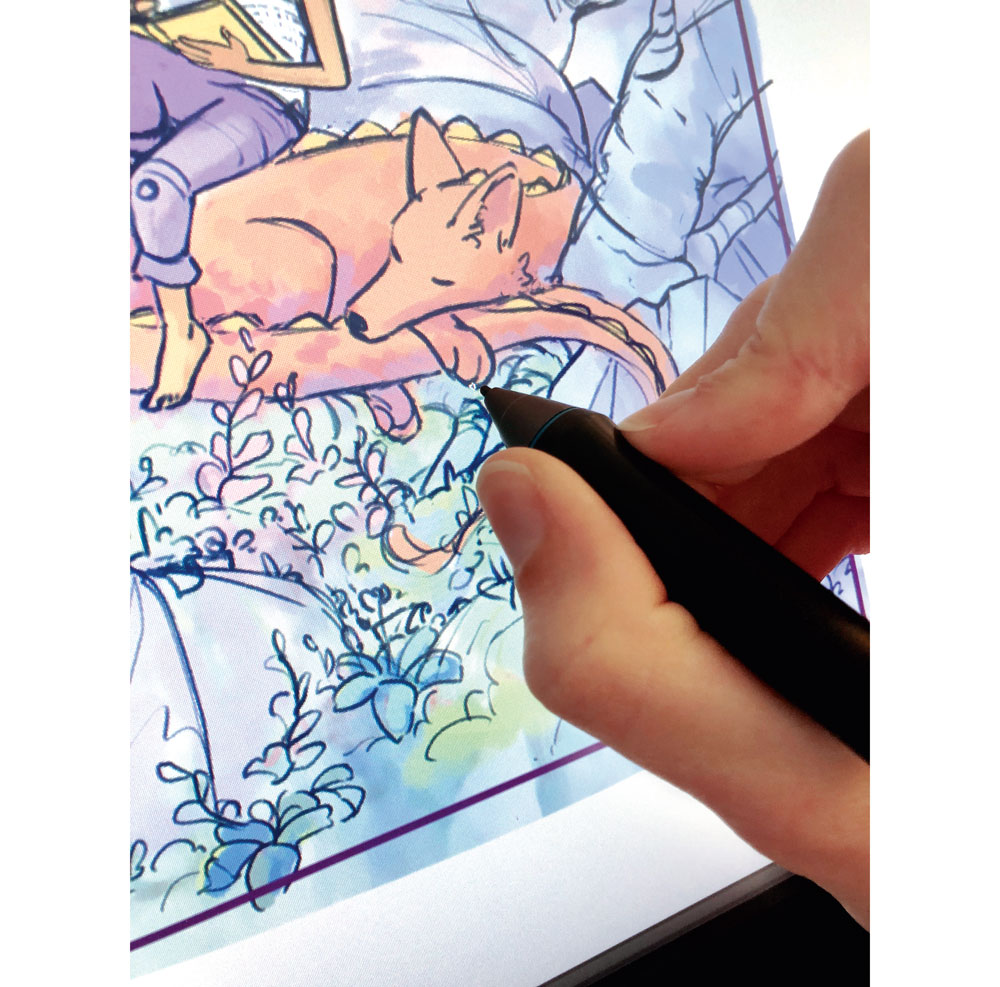
Here I work out the final poses of each of my characters, deciding where my stylised lines will go. I also loosely establish my colour, light, and shadow in this phase, which will be used later in my colour comp.
05. Finalise the line-work
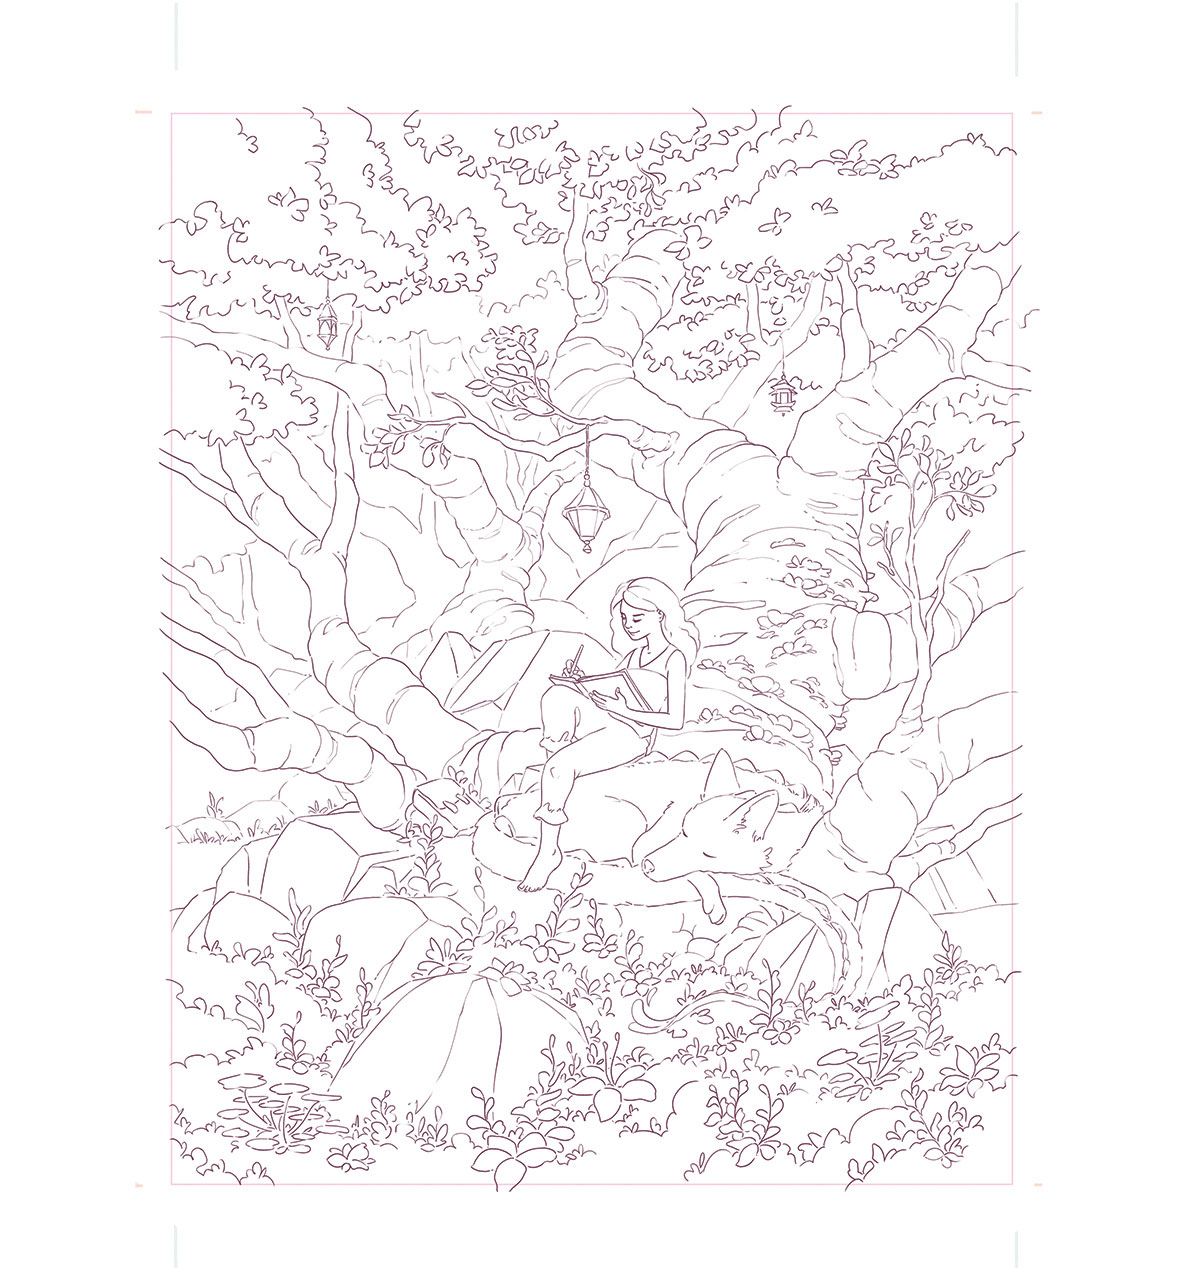
I create a new layer of white and set the Opacity to 90 per cent. This enables me to see the rough line-work and use it as a guide when I'm inking my final lines on a new layer with one of Kyle T Webster's pencil brushes.
06. Develop a colour comp guide
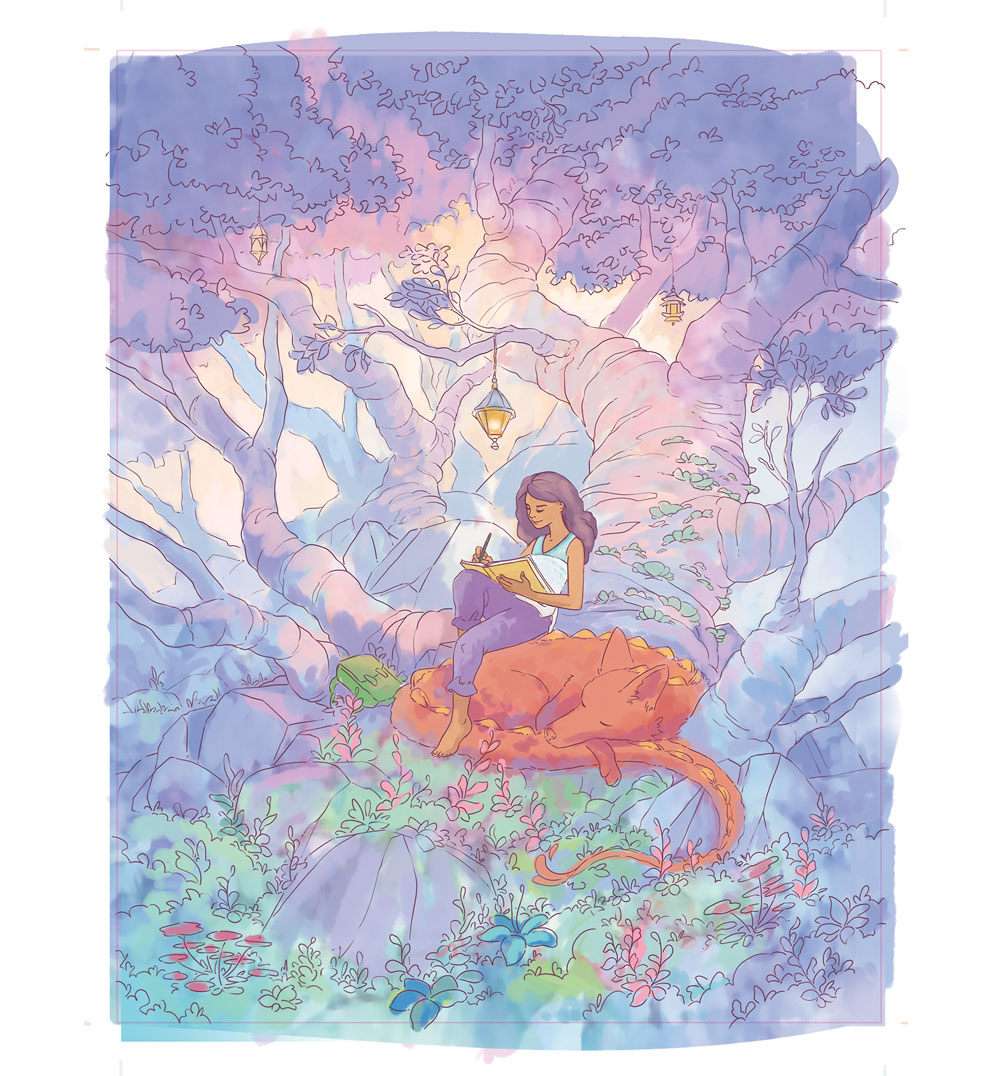
This guide makes it possible for me to confidently make marks without worrying about what needs to go where. I use the soft Round default Photoshop brush and Gradient tool to loosely distribute colour under my line-work layer.
07. Colour the line-work
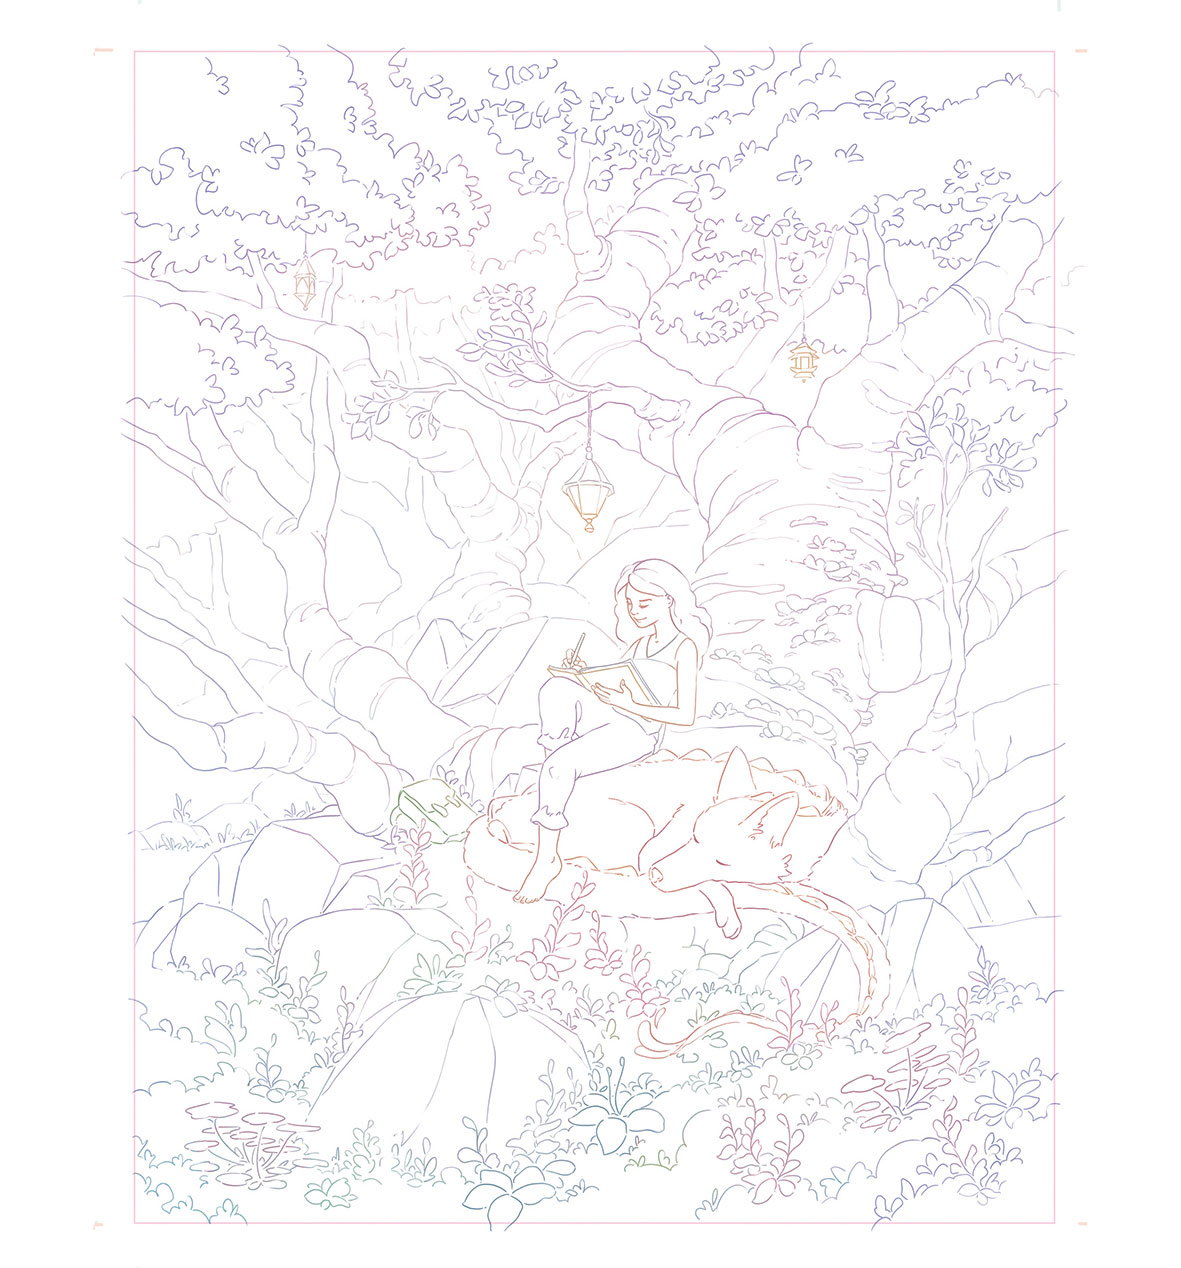
I copy my colour comp layer,move it above my line-work and create a Clipping Mask. This colorises the line-work layer. Then I select the Eyedropper tool, set it to Current Layer and fix any uncoloured lines.
08. Print the finished line-work
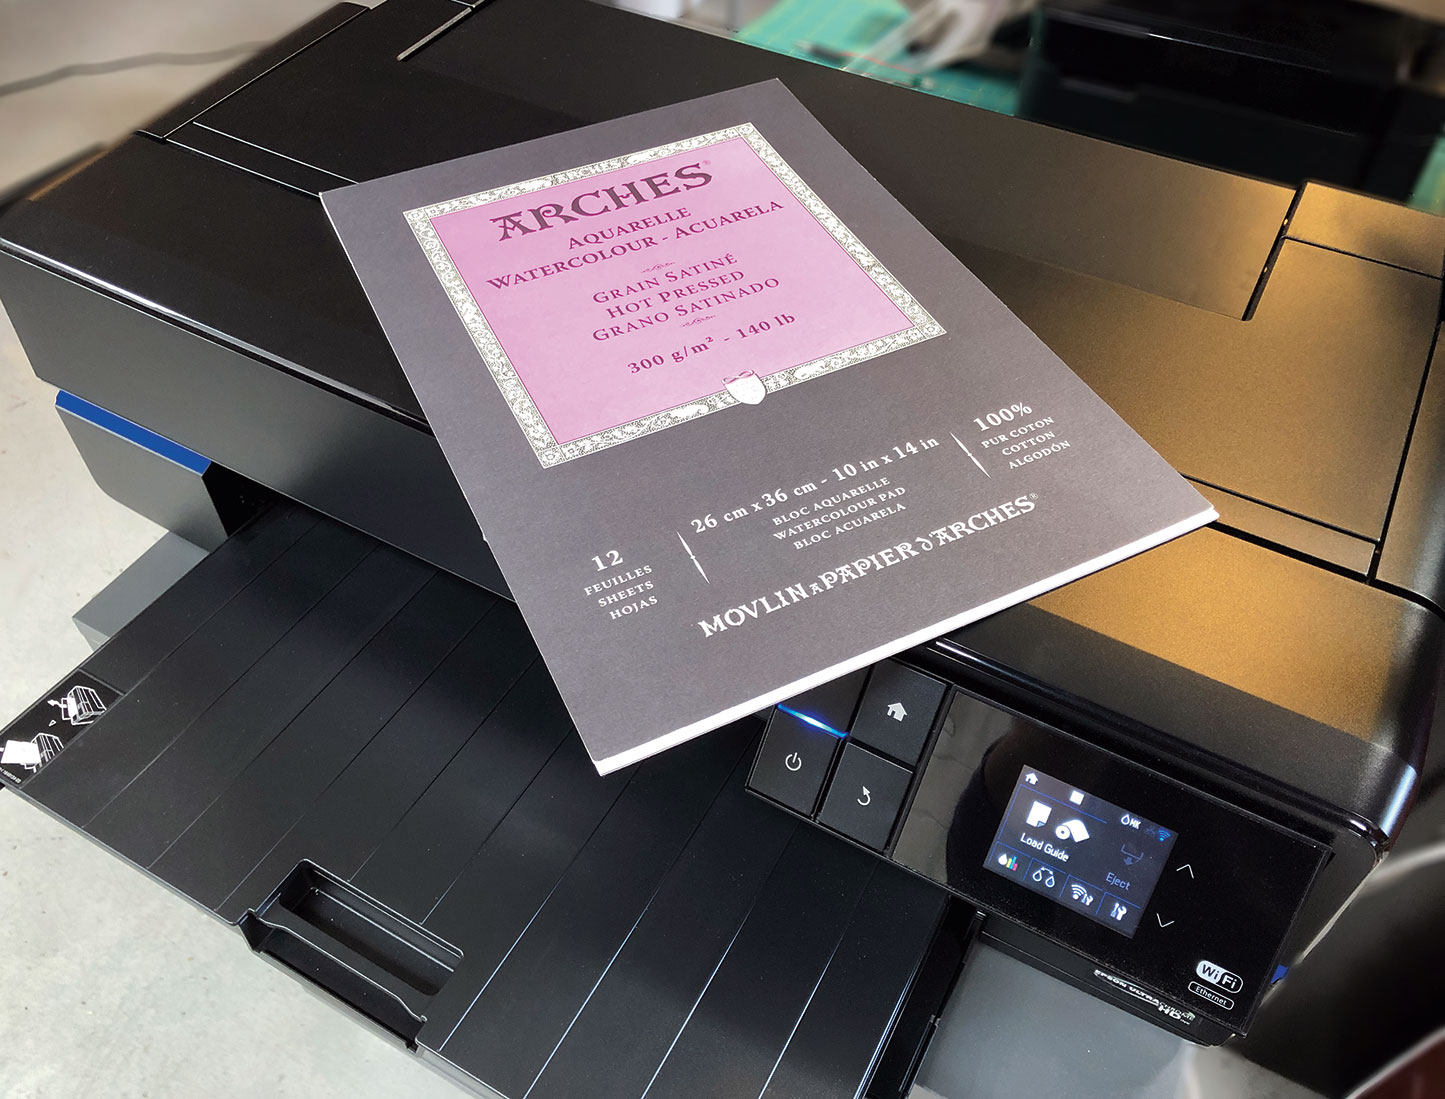
I use an Epson SureColor P800 to print my line-work on to watercolour paper. This printer uses archival pigment-based inks that are waterproof. I load and set my printer's settings to watercolour paper, and then press Print.
09. Make use of watercolour test swatches
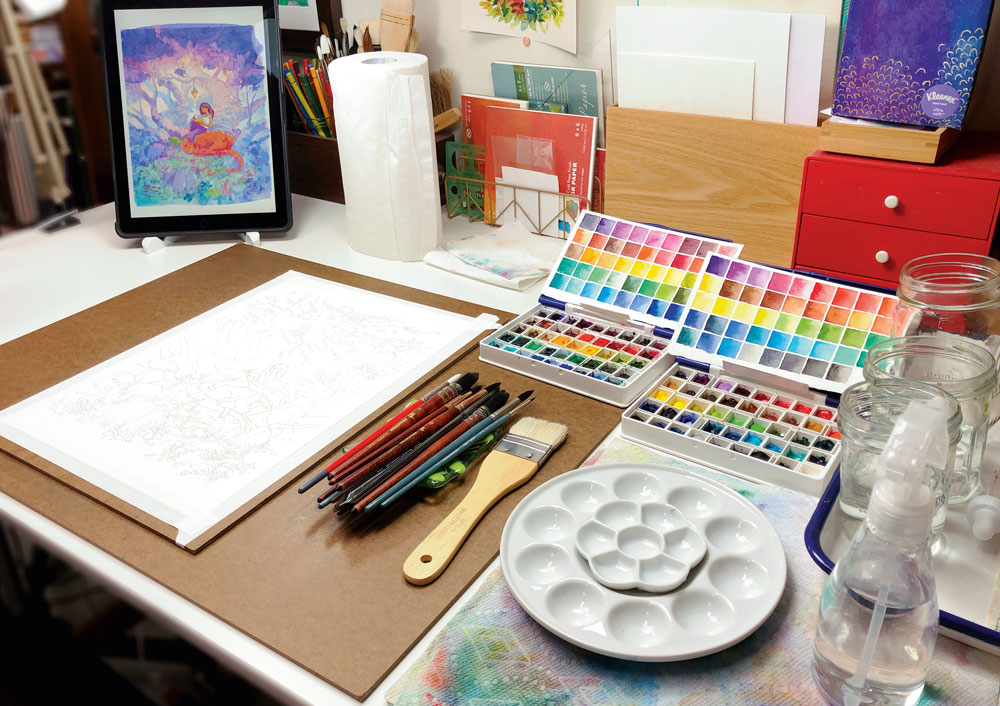
Before I dive into painting I always set up my painting area with a few test swatches of paint. Often I allow my watercolours to mix on the painting, and so knowing which paints I want to use beforehand saves time.
10. Apply the first wash of watercolour
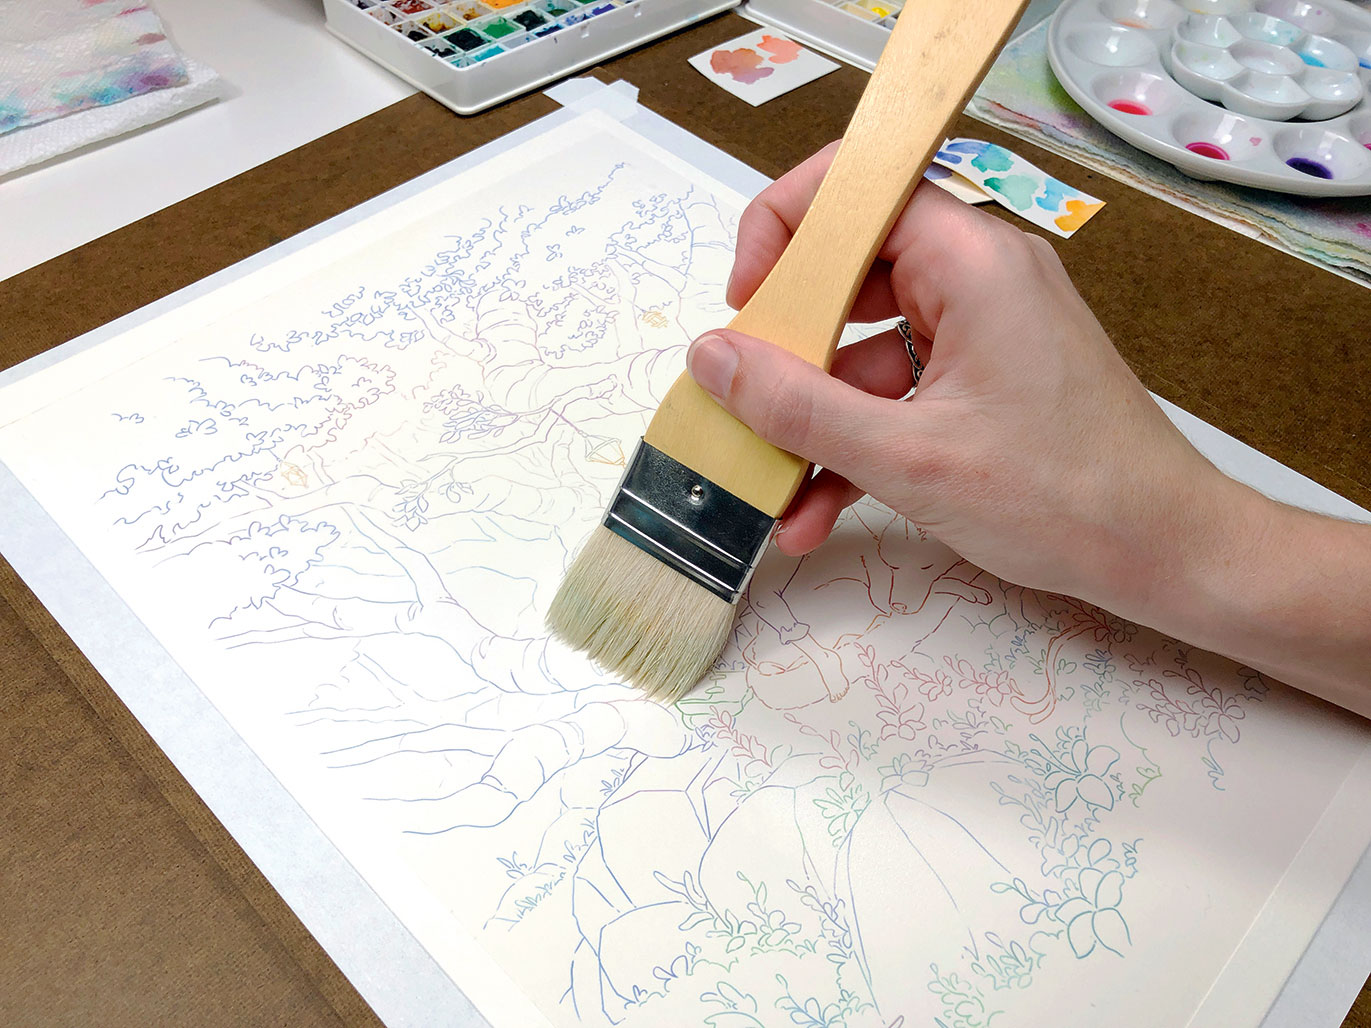
I tape down my paper to a piece of hardboard using artists' tape. To create this first wash I wet the entire paper so that it's damp but not puddling, shimmery at an angle. Starting at the top, I use a large brush to begin large gradients of colour.
11. Avoid muddy colours
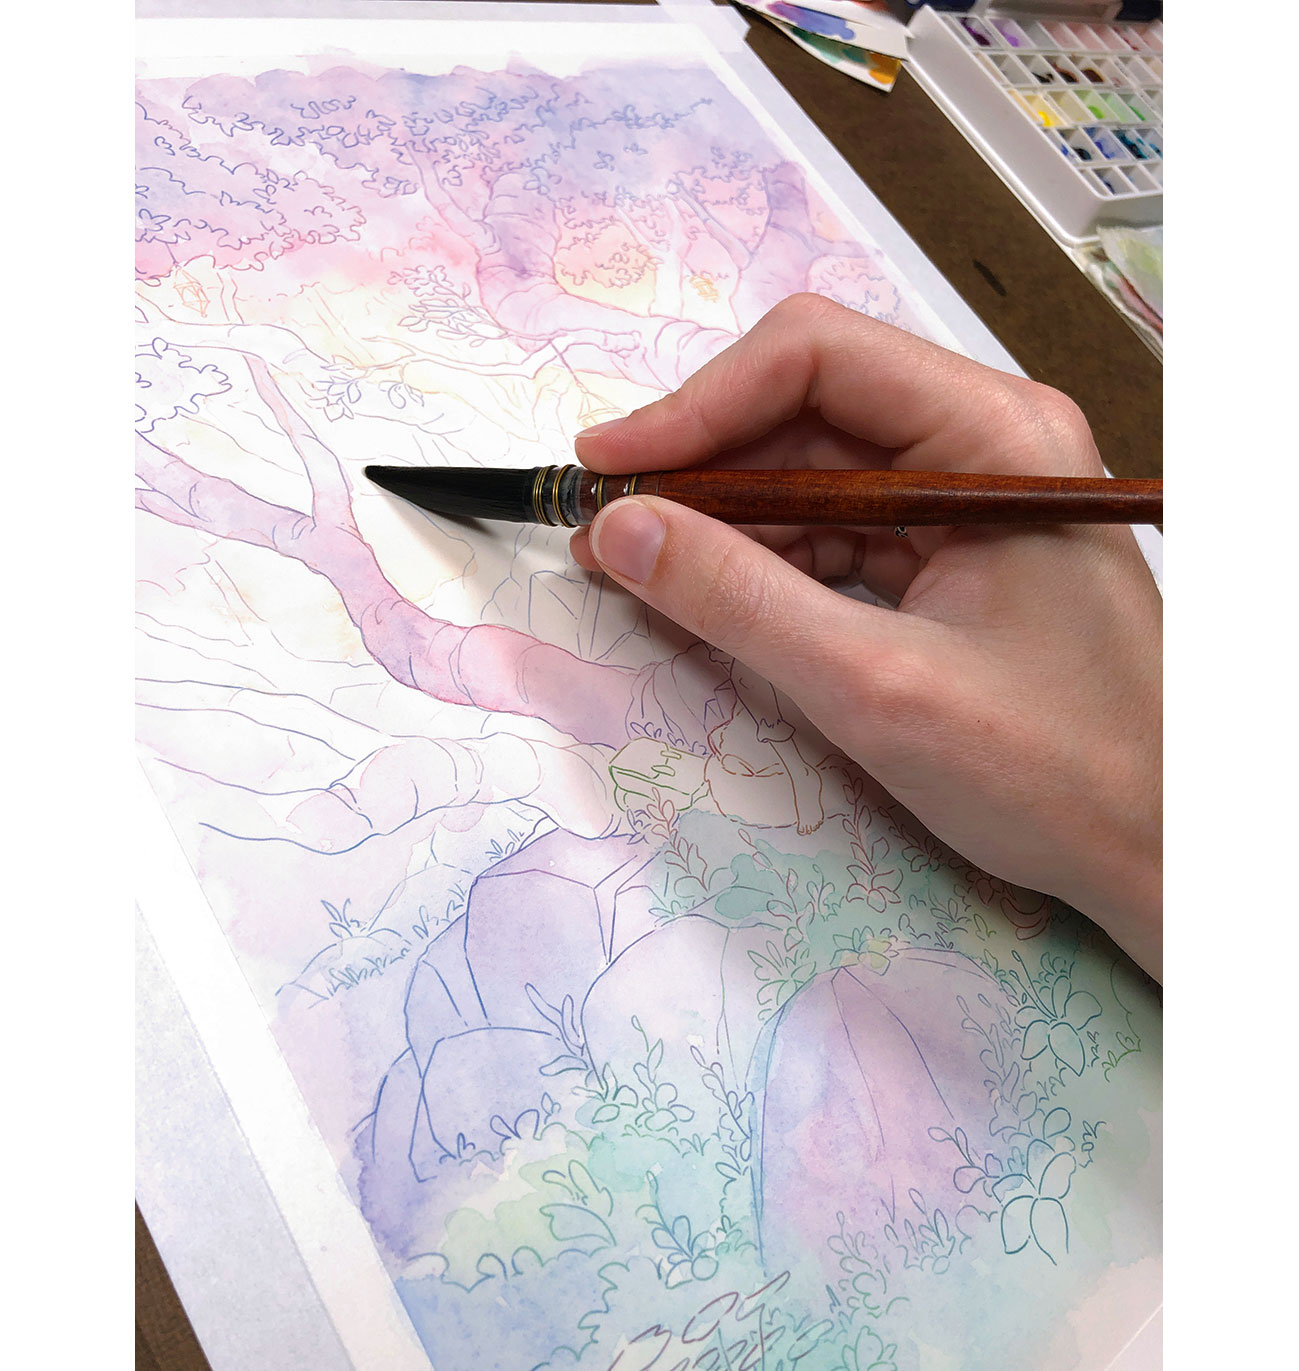
To prevent muddy colours I make sure that I'm not layering too many different ones over each another. Having a colour guide is useful in building these up with intention from the very beginning.
12. Keep things fresh
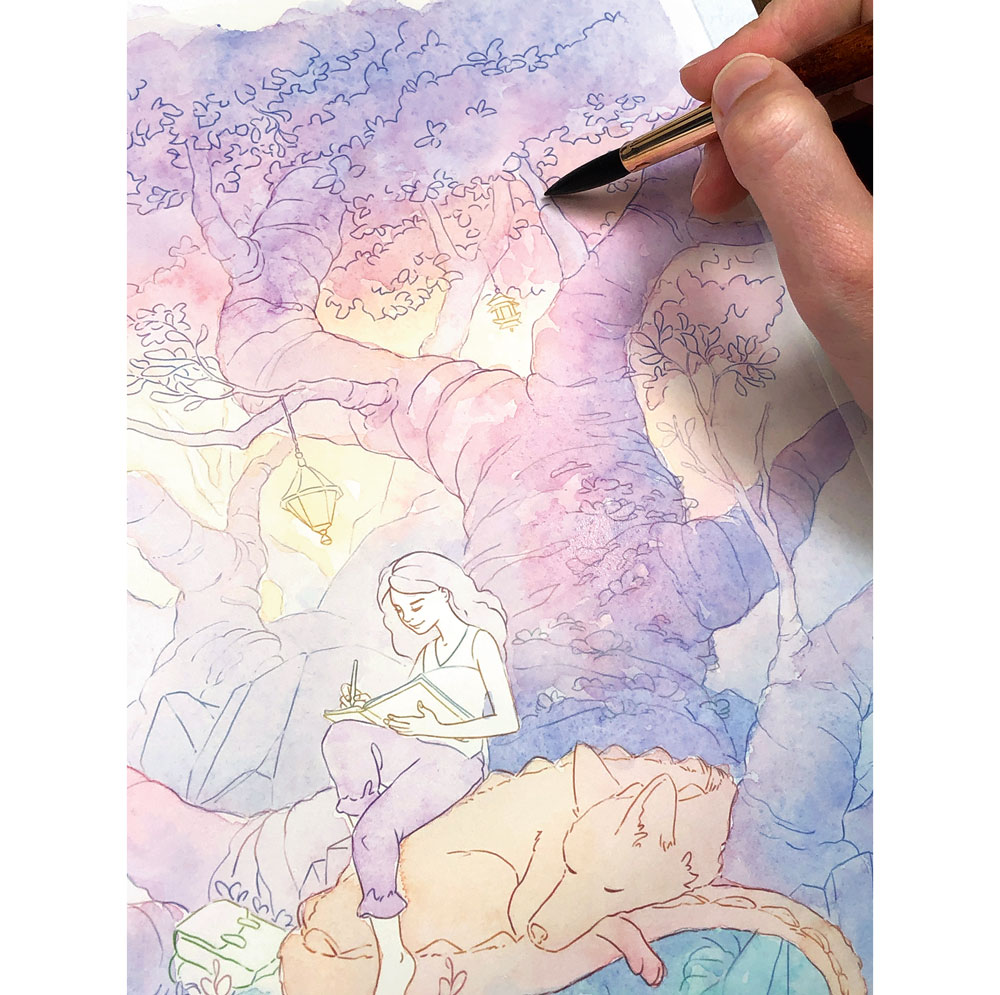
In general, I try to work using between three and six layers of paint. I've found that this keeps my painting fresh and not overworked. I make sure to let each layer dry completely before adding new paint on top.
13. Establish texture layers
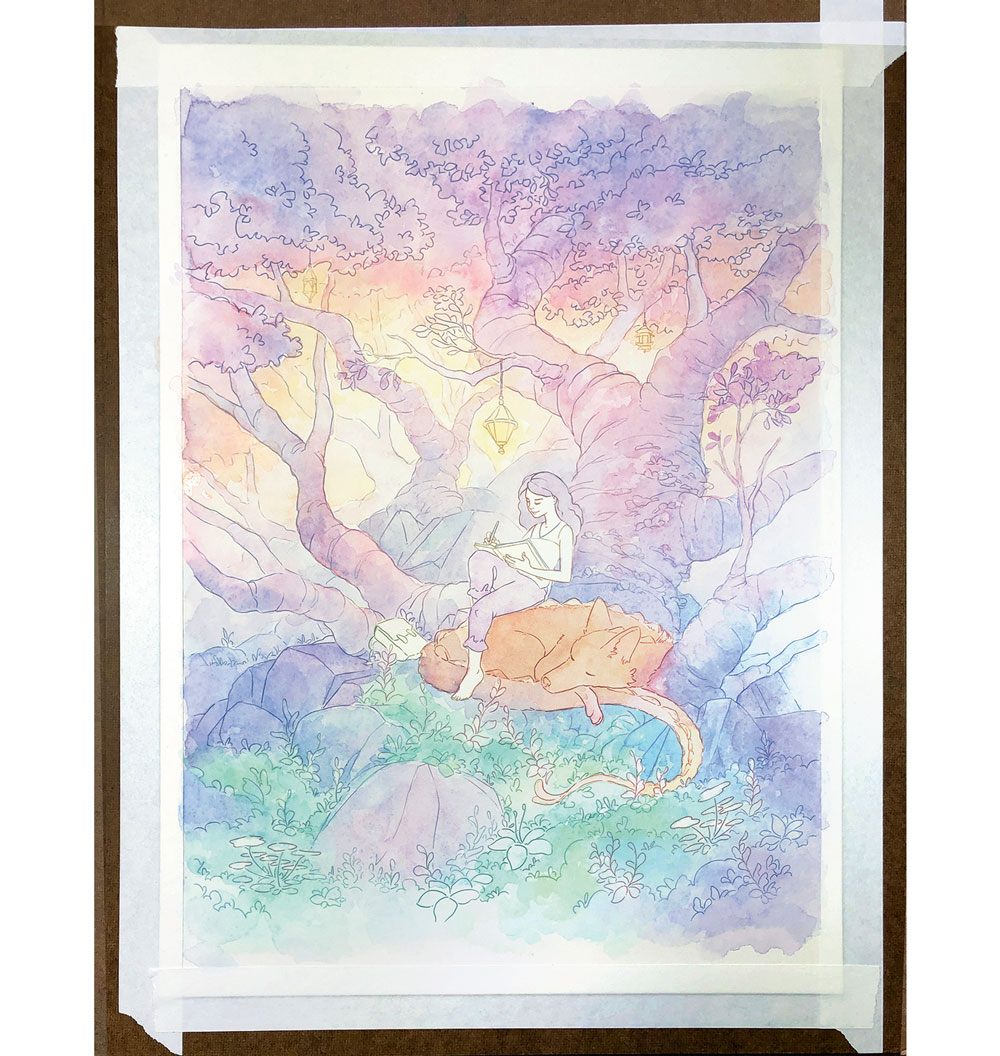
My middle layers of paint establish the vibrant colours and textures within the painting. I build up the colours that I established in those first washes with a round brush and gentle gradients. Combining two colours is my favourite way to work with watercolour.
14. Lay down the final watercolour layers
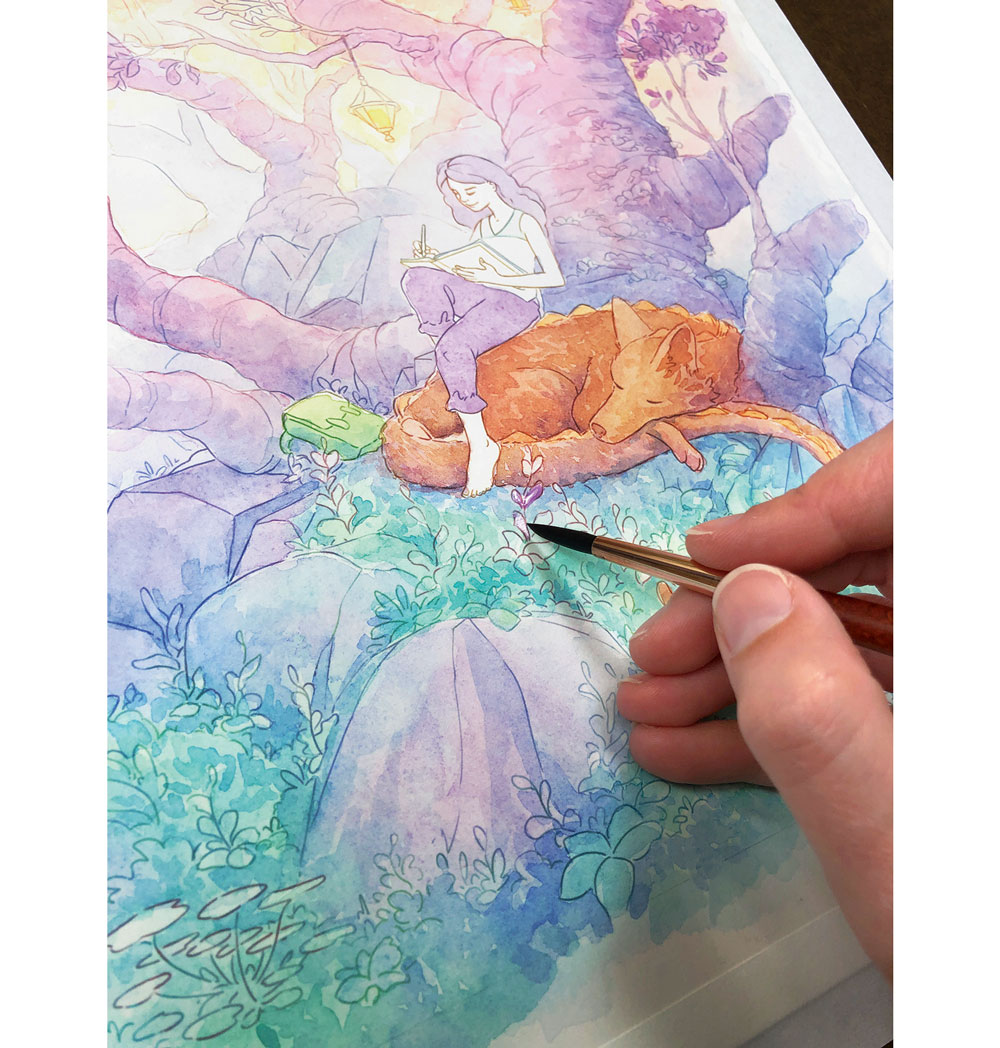
The final pass involves adding in my deepest shadows and any pops of colour that haven't been added yet. This is often where I'll work on any small areas that have a unique colour I've not used yet, such as my character's clothing.
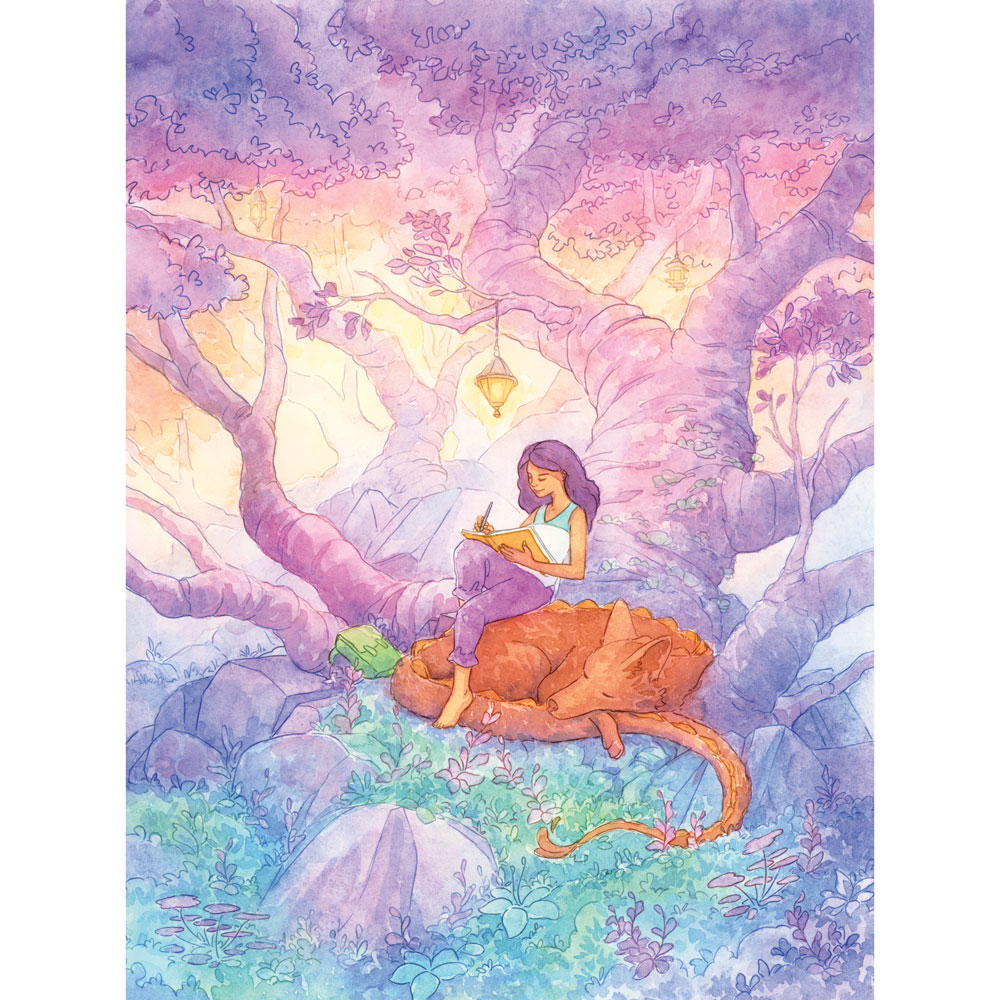
This article was originally published in issue 181 of ImagineFX, the world's best-selling magazine for digital artists. Buy issue 181 or subscribe to ImagineFX.
Read more:
Sign up to Creative Bloq's daily newsletter, which brings you the latest news and inspiration from the worlds of art, design and technology.
Naomi is an artist and author whose work leans towards adventure and fantasy themes, influenced by a childhood spent in Indonesia. She’s working on an illustrated novel set in a tropical world filled with magic.
