Paint a mischievous hare in watercolour
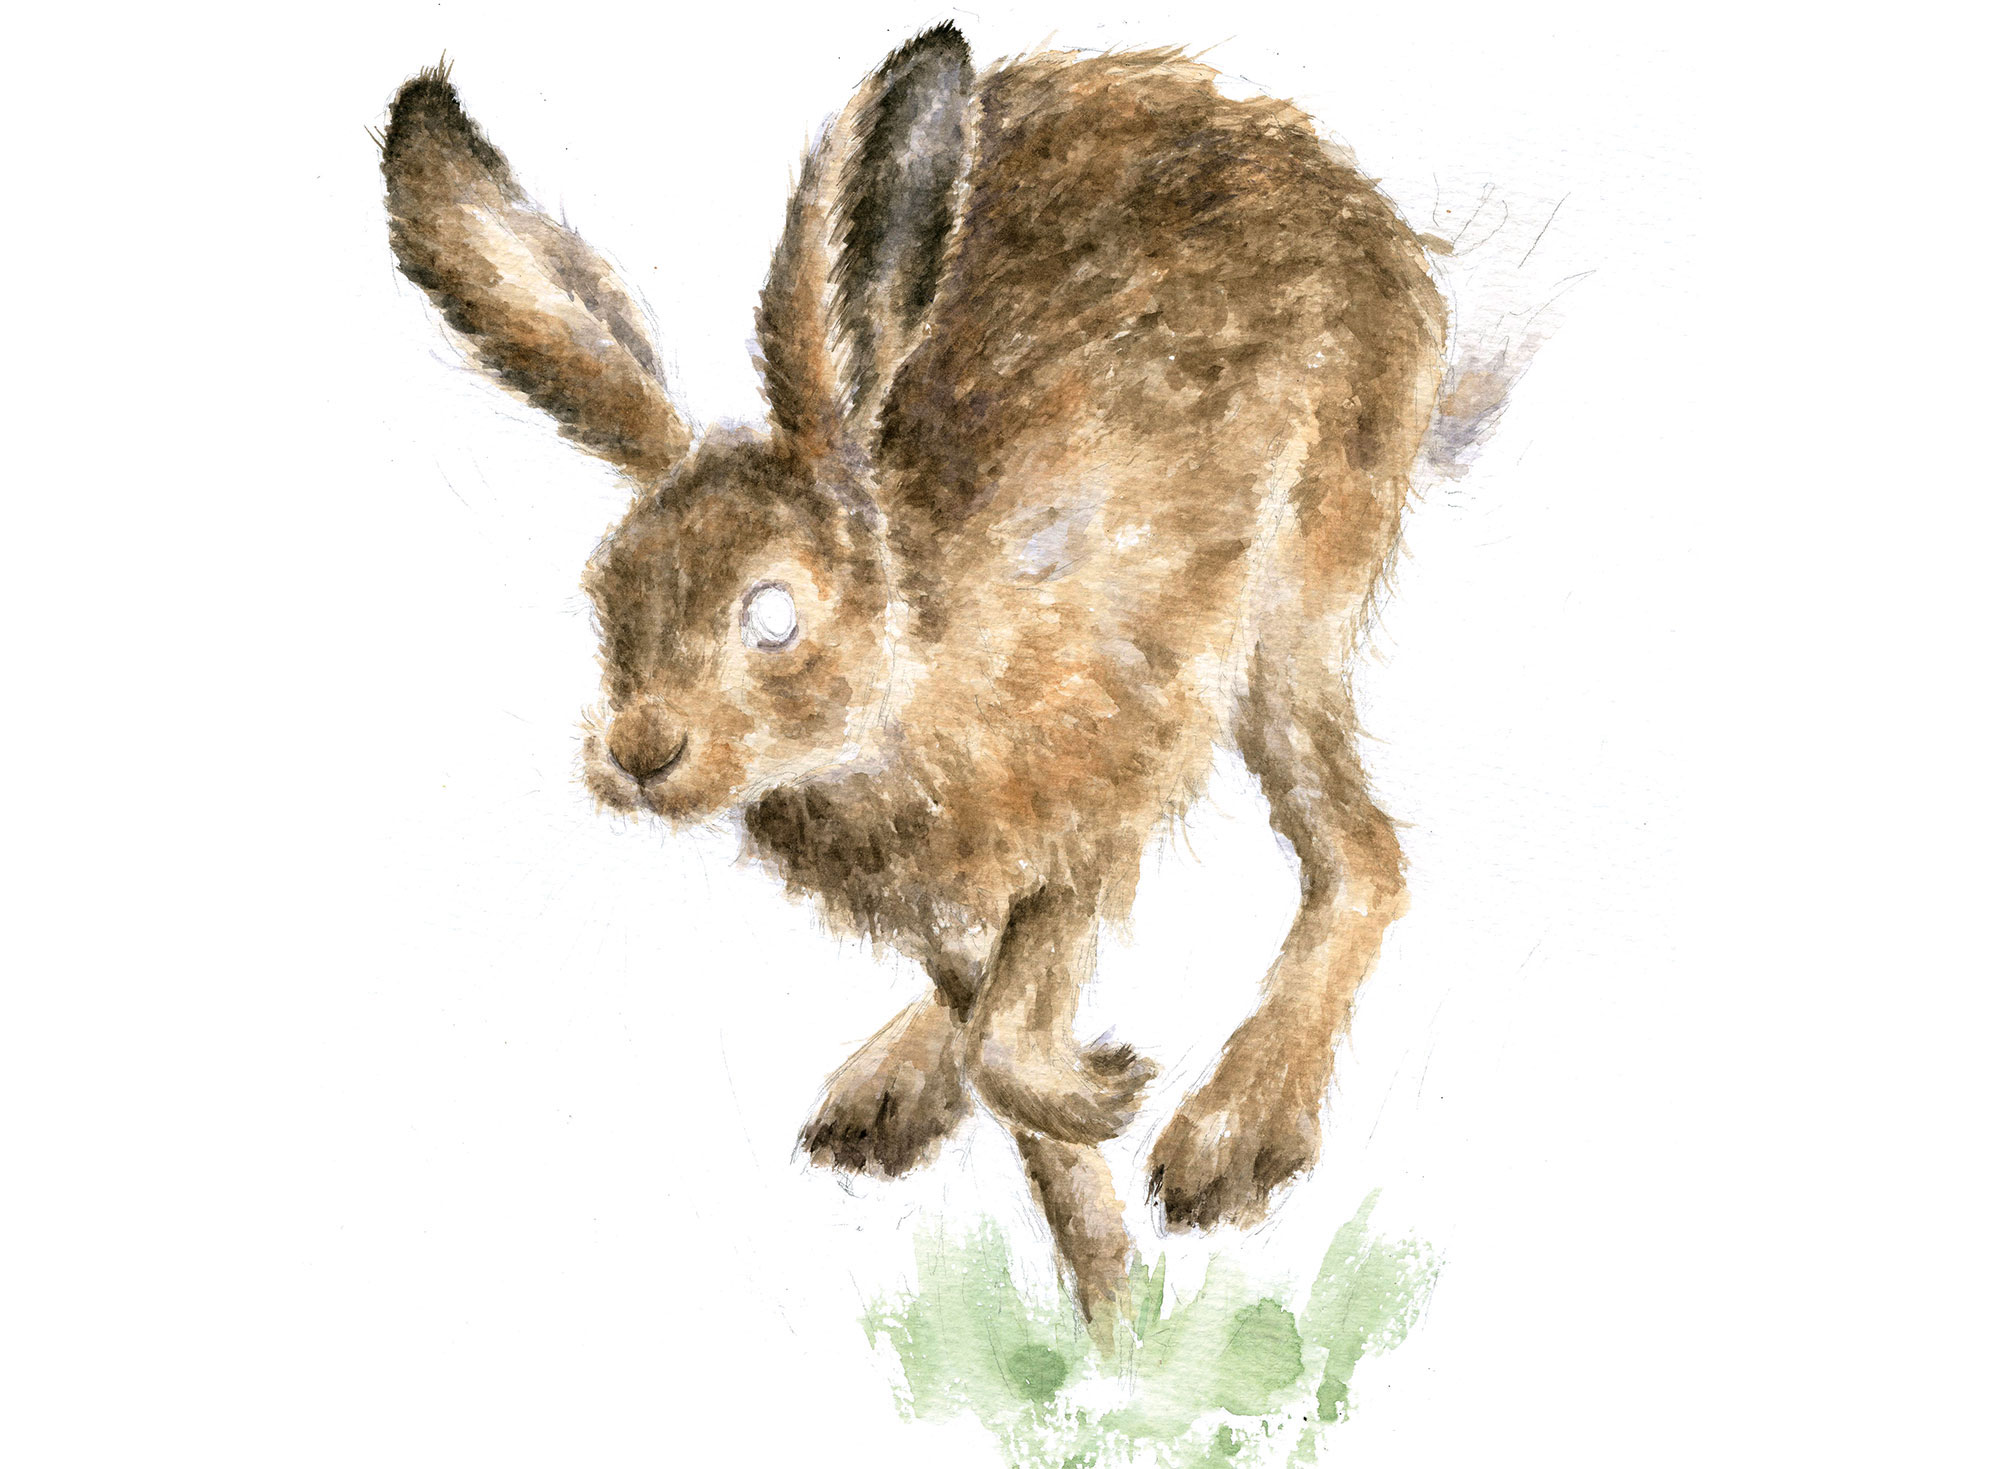
Capture a hare on the run with these tips from a globally renowned wildlife illustrator.
Having studied zoology, animals and wildlife have always been a great passion for me and I never tire of painting them. We’re lucky enough to live in the Lincolnshire countryside and have limitless inspiration right on the doorstep.
In this tutorial, I’m going to offer a step-by-step guide to painting a running hare. In it, I’ll share some advice for how to draw animals as well as plenty of watercolour techniques to help you bring them to life.
I must have painted hundreds of hares over the years and it’s a real passion for me. Each painting unveils a new character, which reveals itself as the painting progresses – I always find it an exciting process.
You'll need the following materials for this tutorial (check out our best watercolour paints and best watercolour paper guides for all you'll need to get started):
- Winsor & Newton Professional Watercolours
- Winsor & Newton Classic Watercolour paper (300gsm cold press)
- Winsor & Newton Sceptre Gold synthetic brushes
- Winsor & Newton Artists Watercolour sable brush (00-16)
01. Make a sketch
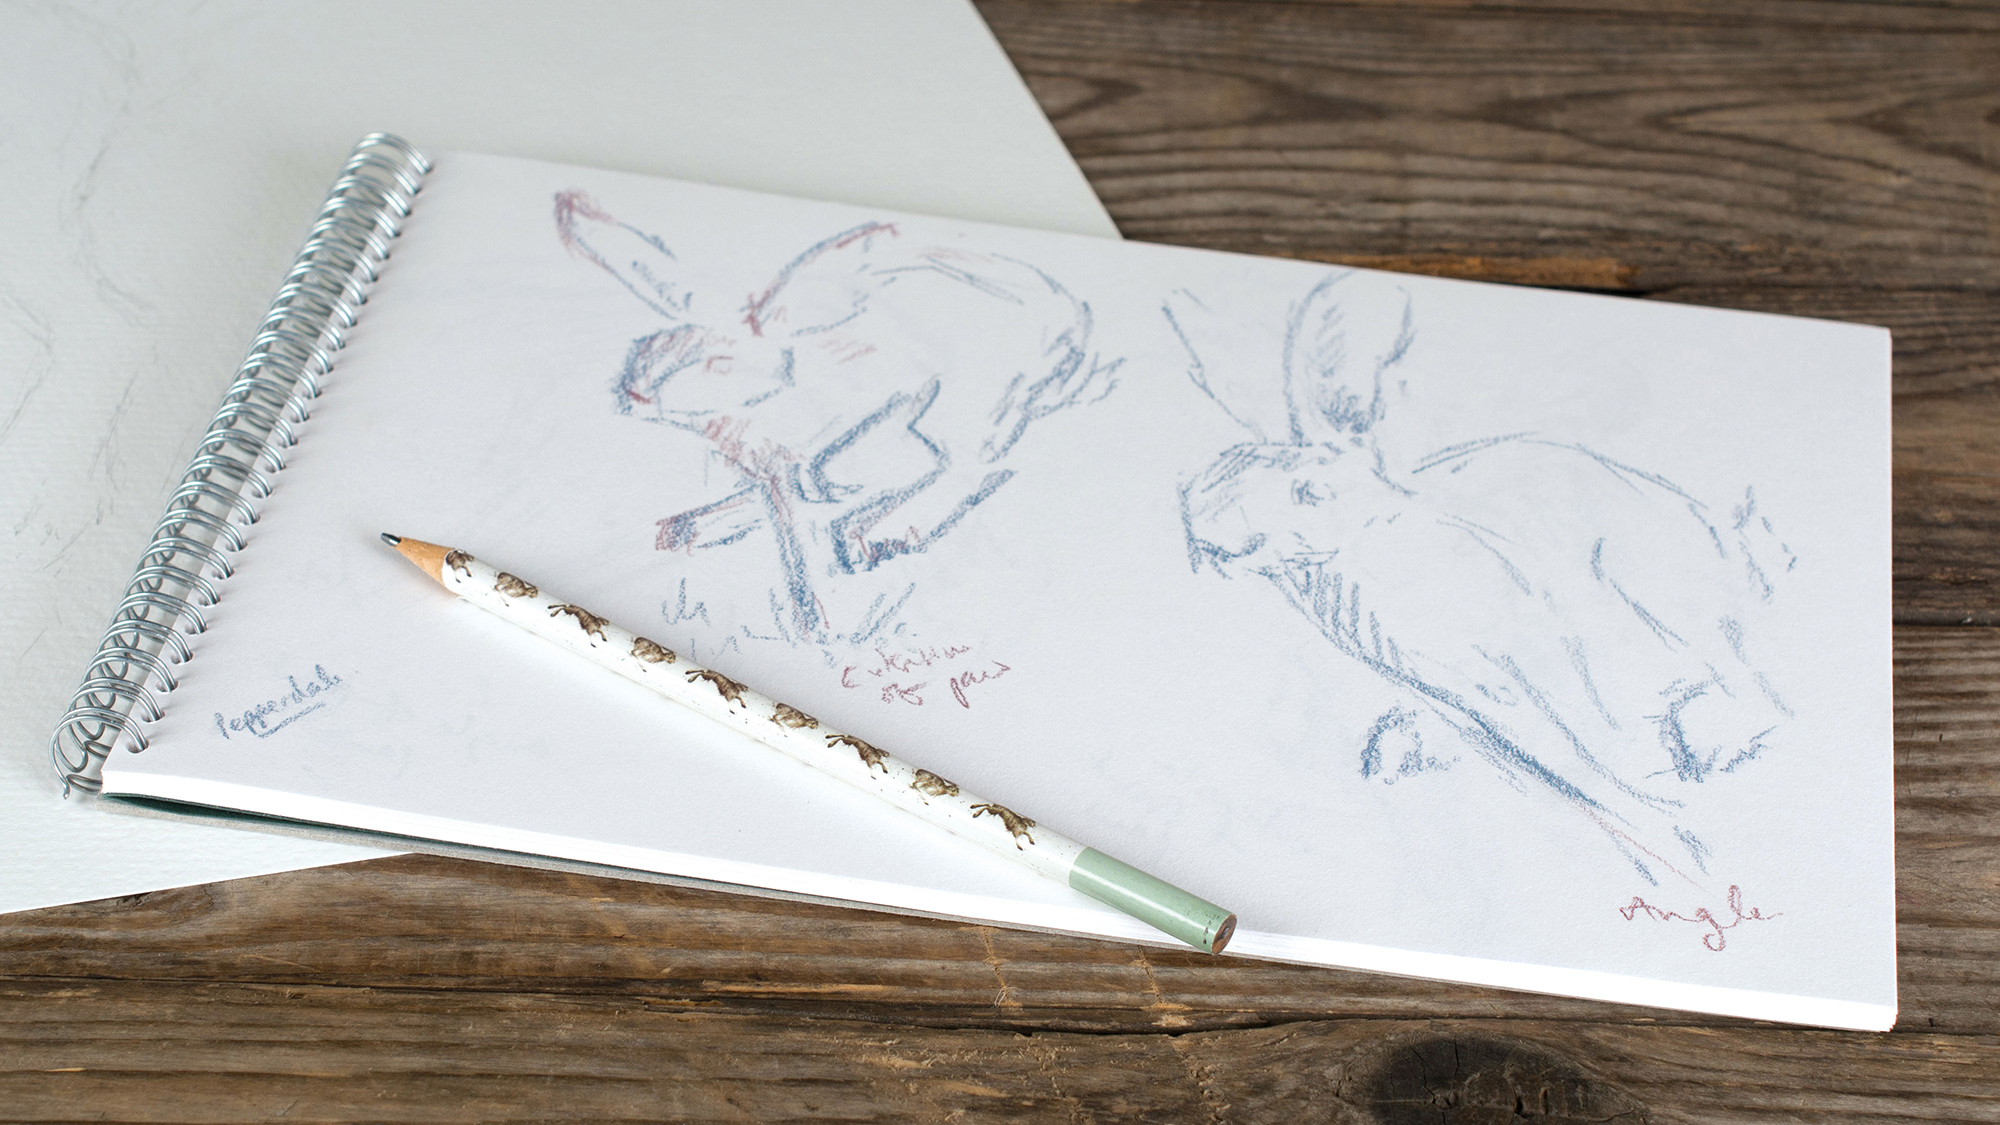
Starting with a blank sheet of paper can seem pretty daunting, and the first marks can often feel the hardest. I want to paint a running hare, and getting a sense movement and energy into a piece of work is quite challenging.
I’ve started with some quick pastel sketches – this approach is useful for experimenting with different compositions and poses. My sketching tips are to avoid parallel lines and introduce as much contrast as possible in the lighting and colour palette to stop the final piece feeling too calm.
02. Create the outlines
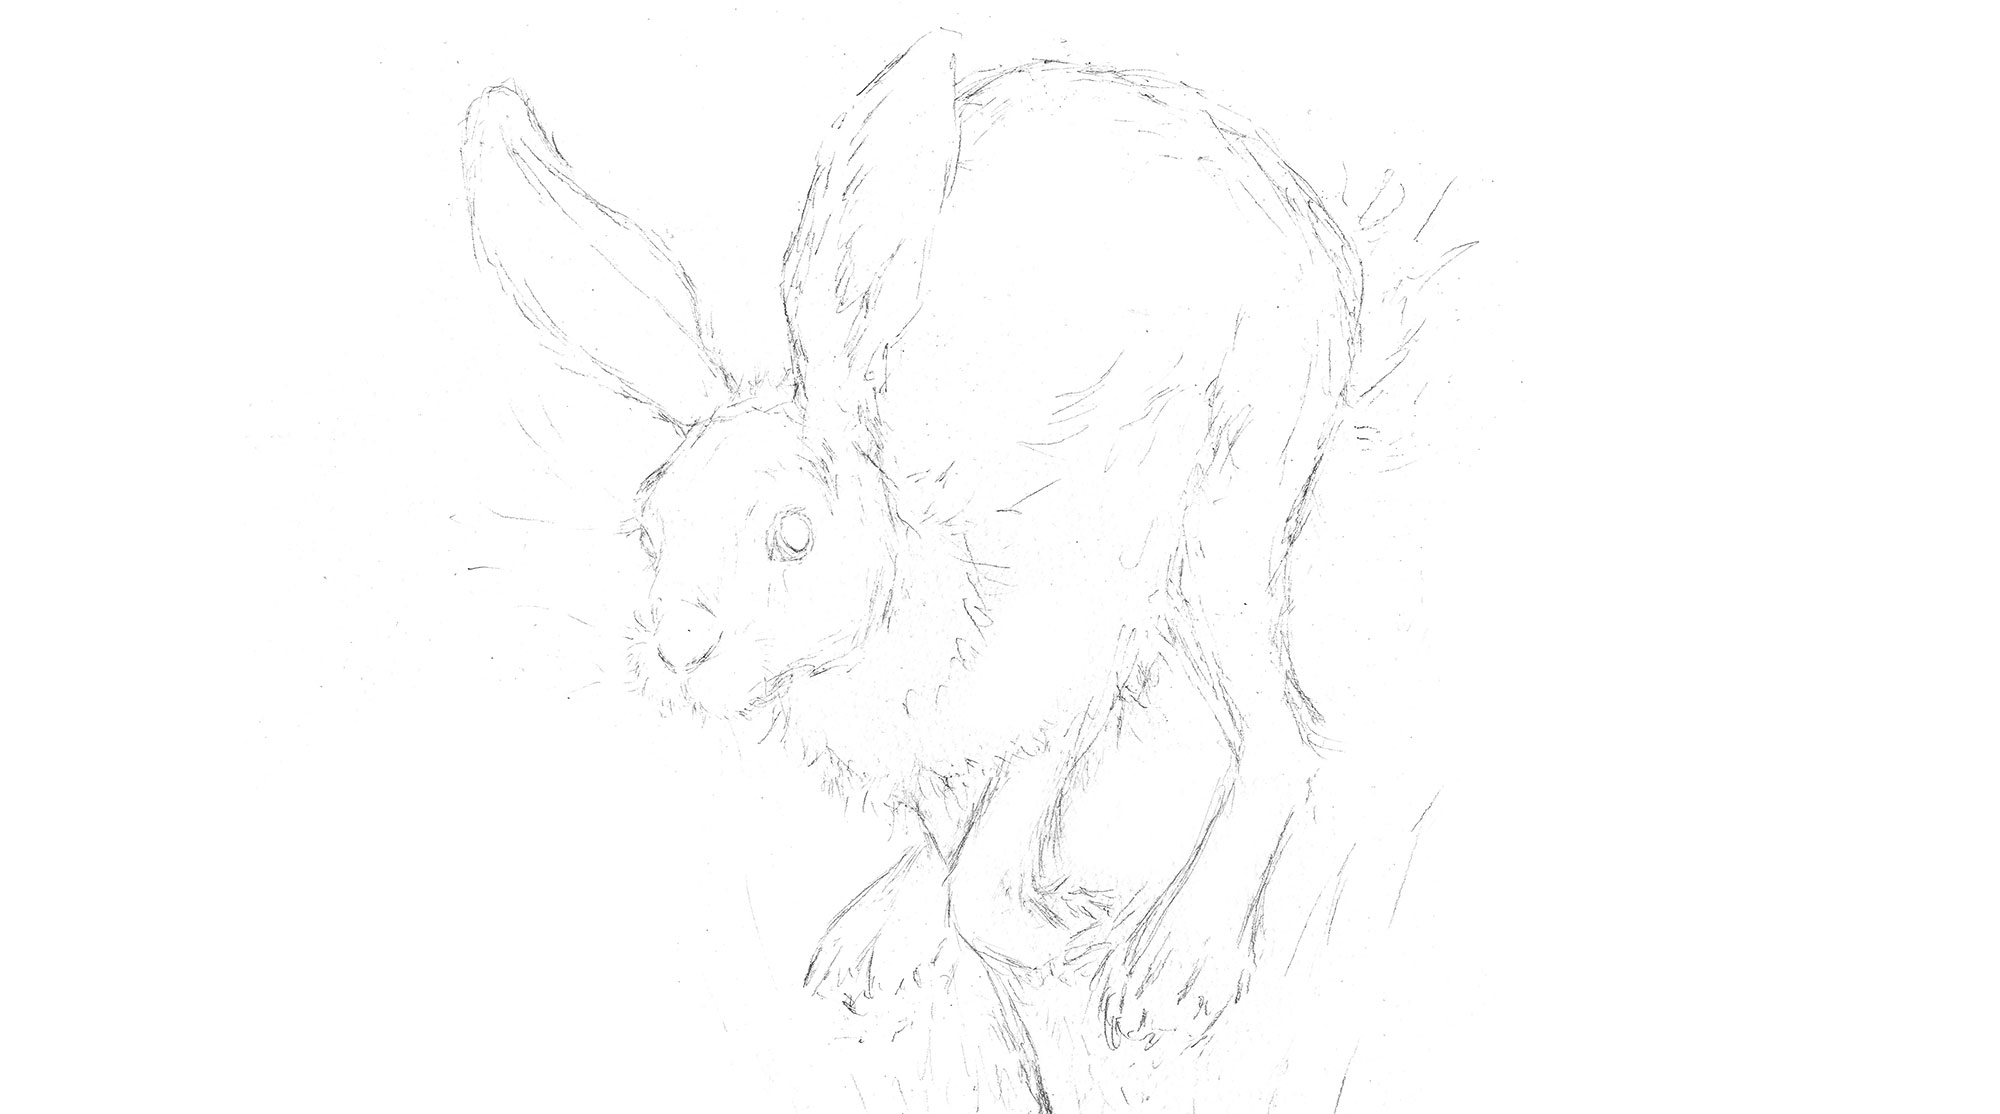
The sketching stage takes a while. I keep changing things, and then leaving it for a few hours before coming back to reassess. For me, it’s really crucial to get the elements right at this stage to save a lot of wasted time later on.
Daily design news, reviews, how-tos and more, as picked by the editors.
Once I have a composition I'm happy with, I move out of my sketchbook and create an initial drawing in HB pencil. For my final piece I'm using Winsor & Newton Classic watercolour paper (300gsm, cold press). This paper has a nice toothy texture and handles the paints well.
03. Put down the first wash
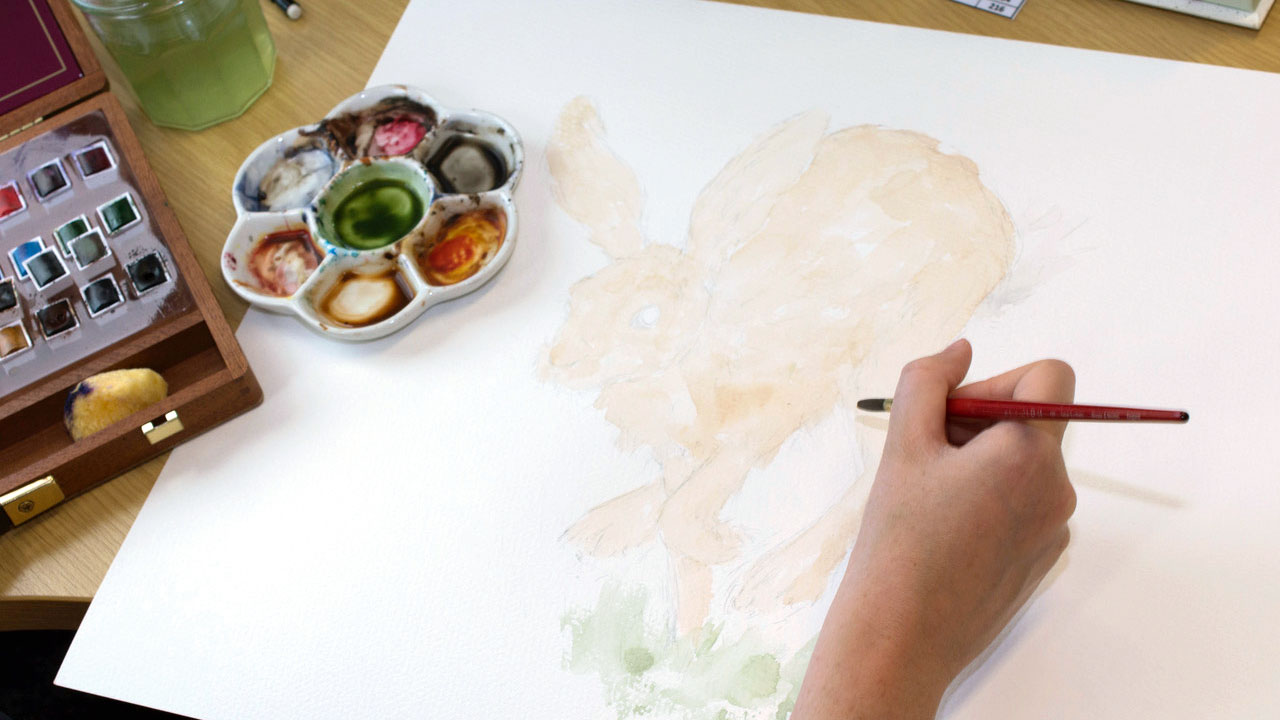
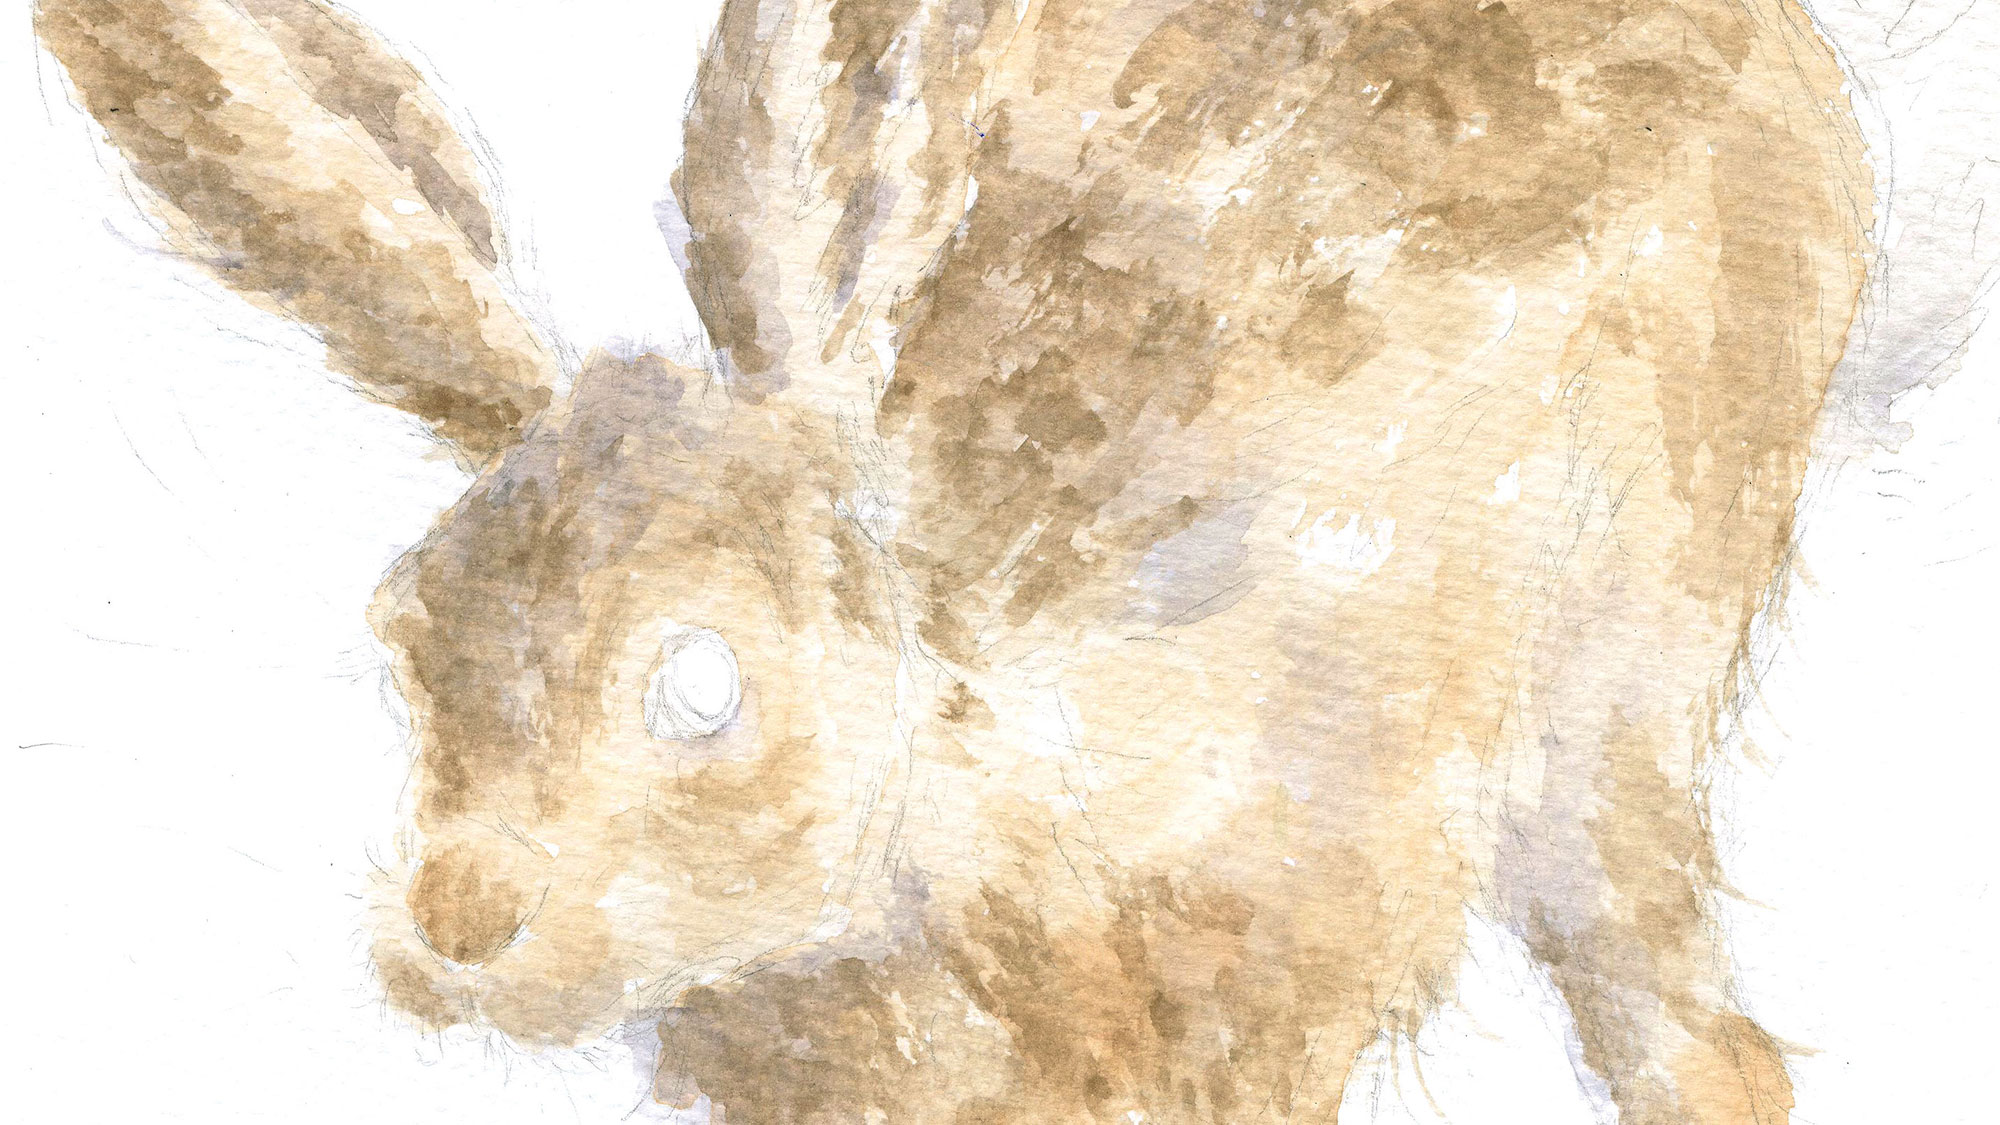
I’m giving the painting its first wash using a mix consisting of Burnt Sienna and Yellow Ochre, along with a touch of red. I want the red to show through subsequent layers of paint and provide the painting with a warm base. I tend to use pans rather than tubes of paint, because I find them more convenient. Because I'm just putting down a wash at this point, Ill use a large brush – perhaps size 16.
One of the key points of this stage is to eliminate any white in the painting that will not remain white in the finished piece. In this case, the only white of the paper will be the glint in the hare’s eye and a little patch on the tail.
04. Find the shadows
The next stage is to establish the light source and work out where the shadows will fall. This instantly starts to give the hare some form and make him look three dimensional. I’m using violet, French Ultramarine and a tiny bit of Burnt Umber. This mix contrasts well with the warm wash and introduces a cooler element.
05. Start work on the fur
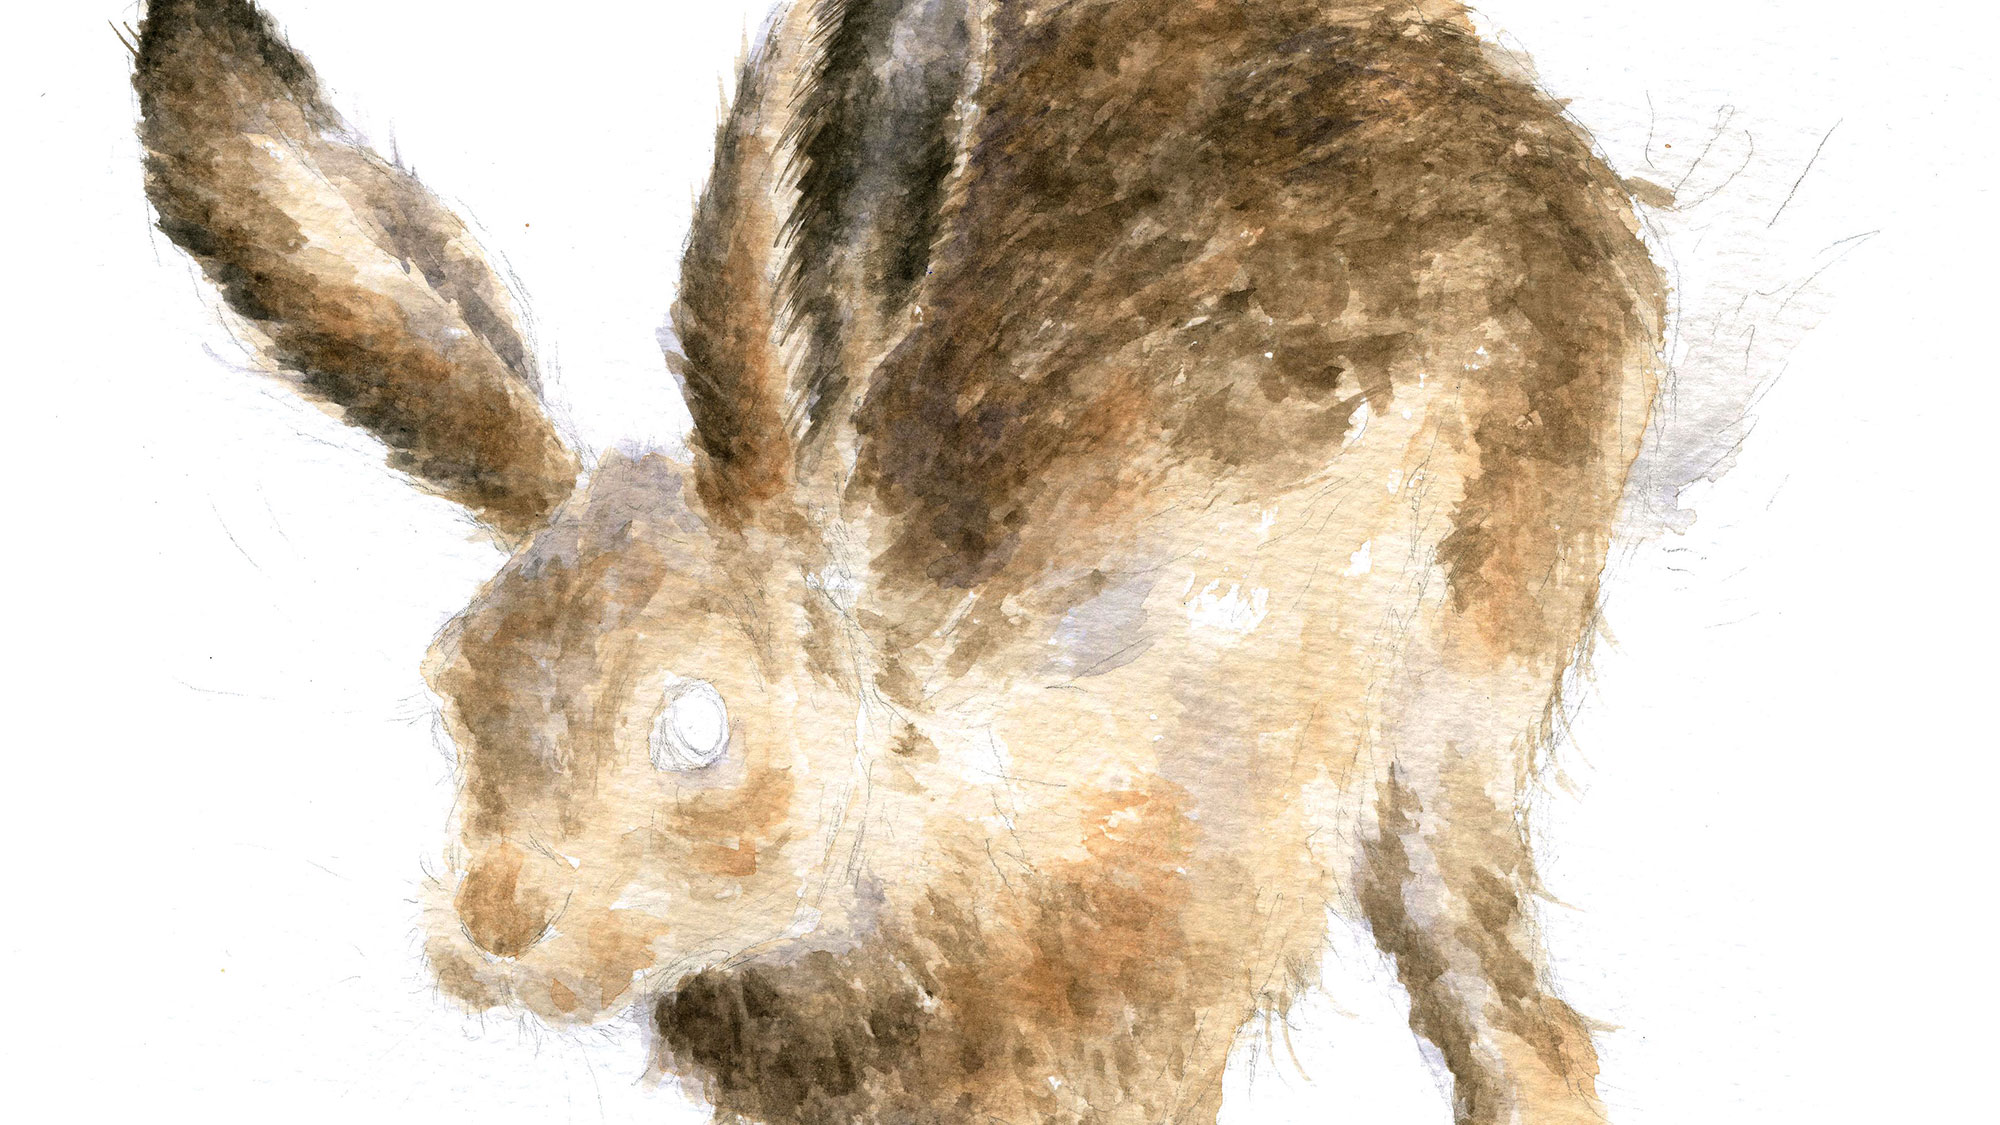
Now I want to build up the areas of shadow while introducing the appearance of fur. With watercolour, I like to give the impression of fur rather than painting each individual hair. For this effect, it helps to use a dryer brush, in contrast to the wet washes we’ve been using up to this point. I’m still working fairly quickly across the whole painting here, rather than focusing on a small area – this helps me build it up with consistency.
06. Move on to the ears
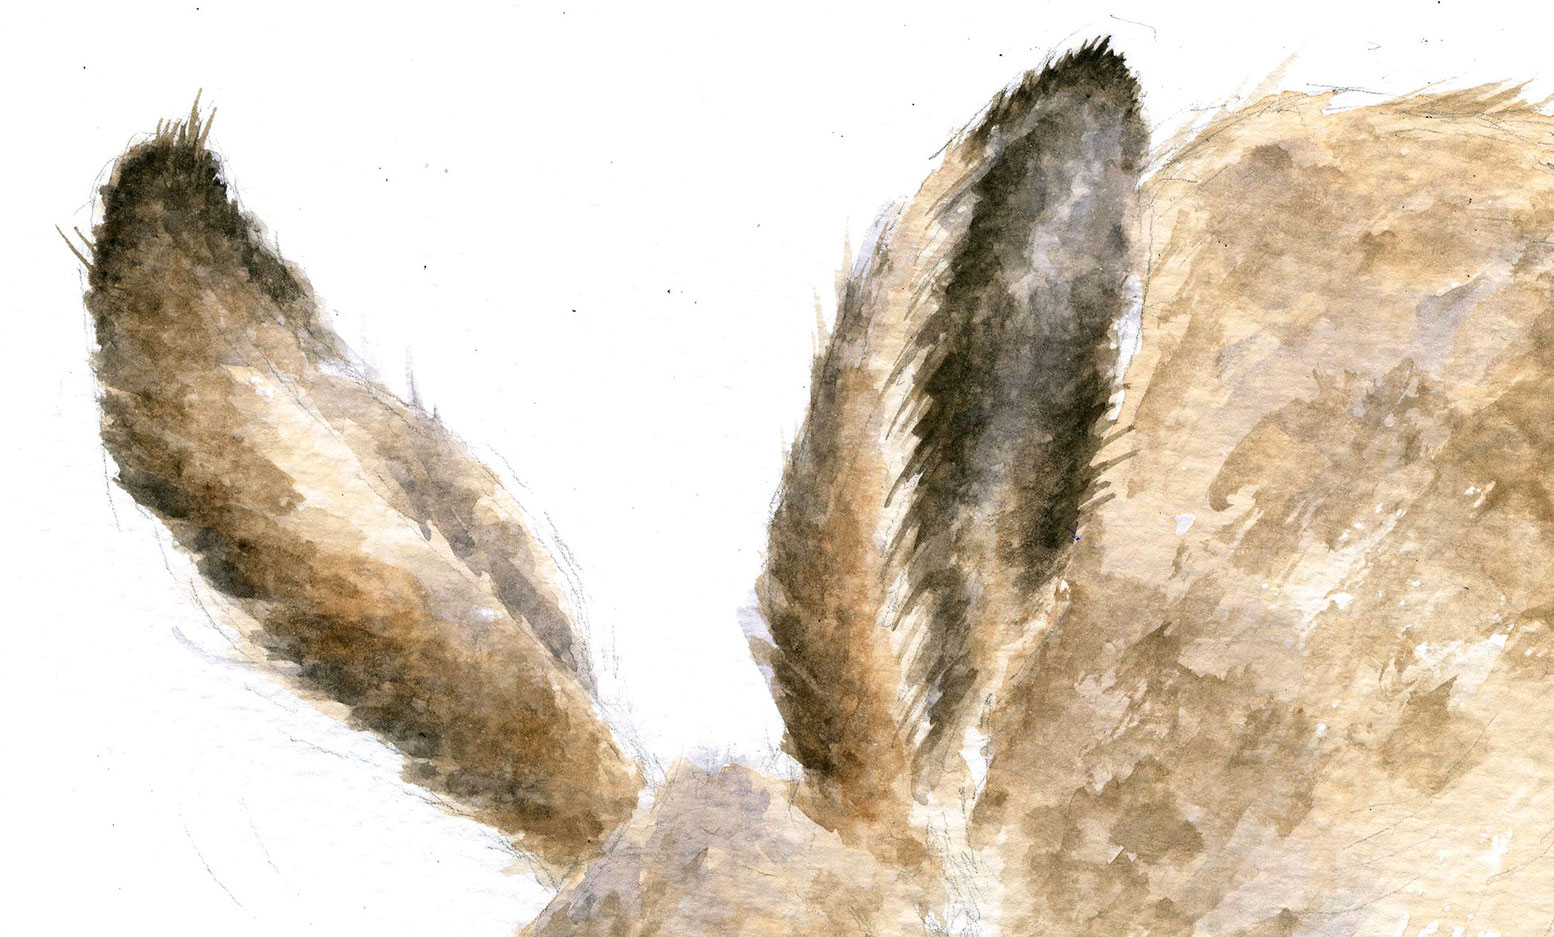
For some reason, when painting hares and rabbits, I always start with the ears when it comes to focusing on the detail. I think it’s because you get a good range of colour and light contrast within the ears due to the way they fold, creating a deep shadow in the centre.
Hares' ears also have lots of colour variation. Their black tips act as a good benchmark for the rest of the work – you can ask yourself 'is the shadow on the foot as dark as the shadow on the ear' etc, it helps to make the final piece coherent.
For more detailed work like this, I'll move to a much smaller brush (I go right down to 00 for the very fine details). Because I go through a lot of brushes, especially the finer grades, I tend to use synthetic sable brushes. These are an excellent alternative to standard sable, and less expensive.
07. Develop the fur
I now add layer upon layer of fur. There is a huge variety of colour within fur and building up the layers helps to make it look more realistic. I’m sticking with oranges, purples and browns and always being mindful of where the shadows are and where the light would be hitting the animal.
08. Take a break
The form is really starting to take shape now and I’m happy with the way the fur is looking. I like to take a bit of a break at this point and come back to the painting with fresh eyes. It’s a good time to view it through a mirror, which will help reveal any areas needing a bit more attention.
09. Check the shading
Make sure the balance of the piece is working, and the darkest and lightest areas are in the right place. It’s really important to make the final piece coherent and ensure the whole range of shading, from white to black, has been used in all the right places. Adjust the warm and cool highlights to make sure there is good colour contrast as well.
10. Focus on the eyes
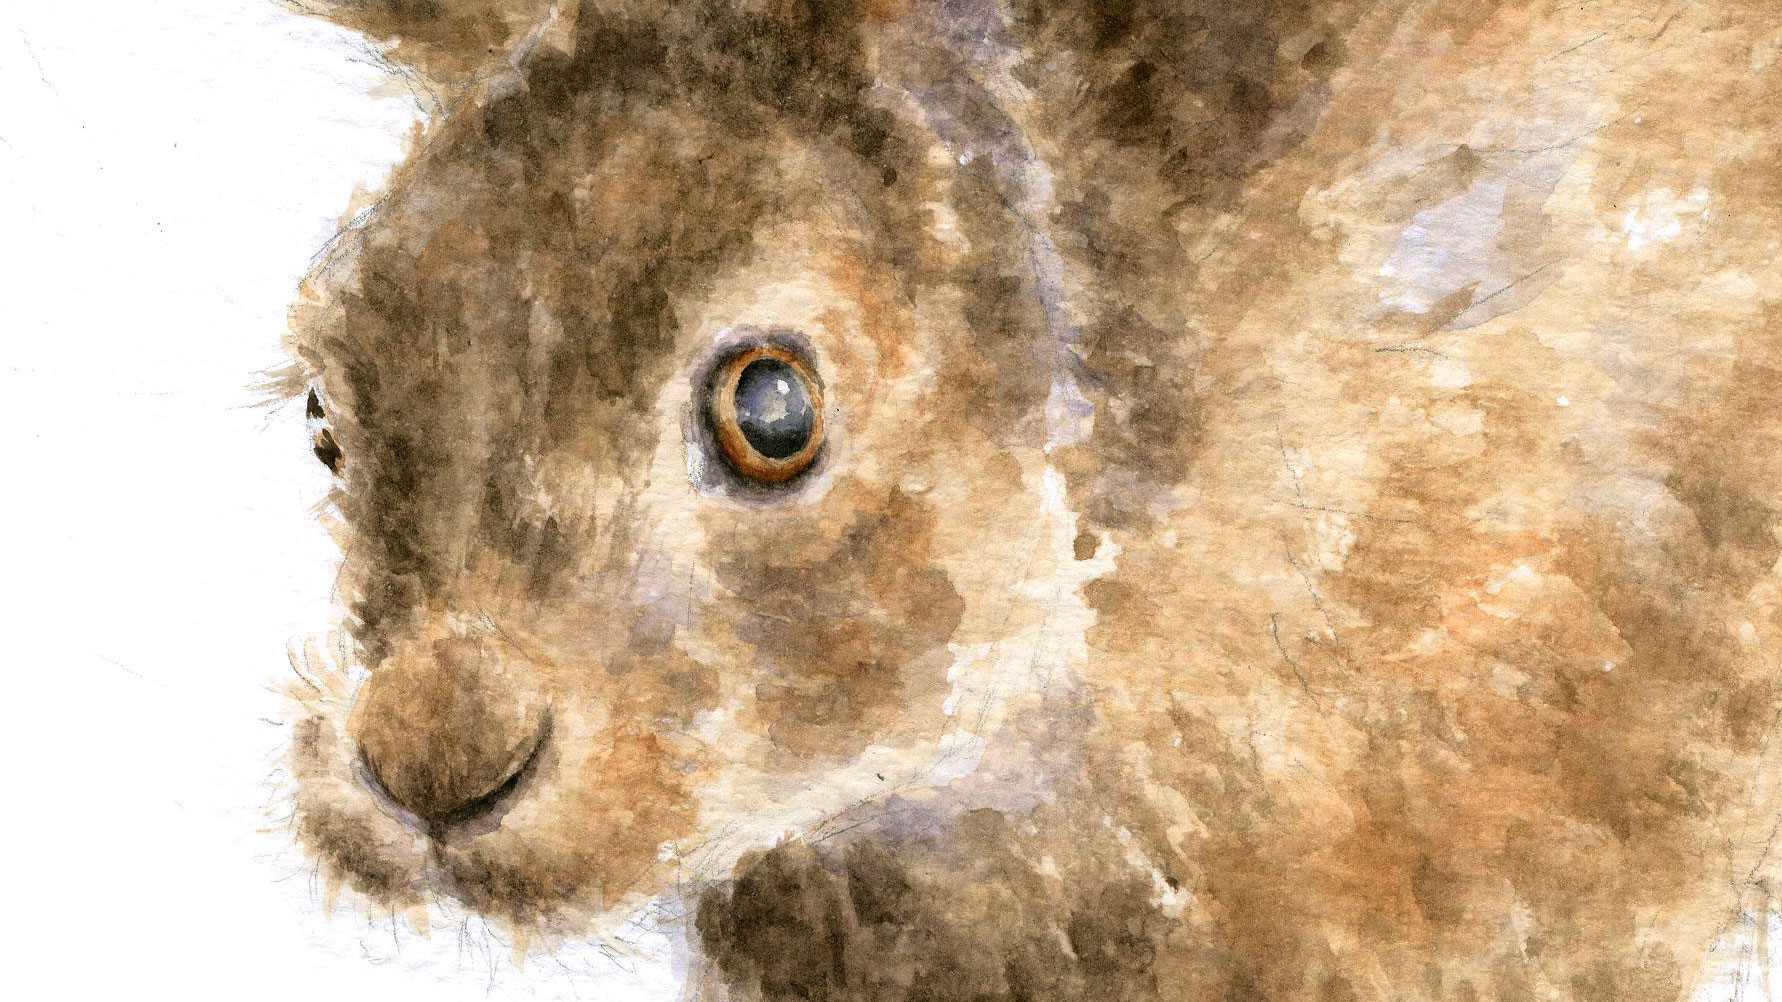
Often the most daunting part, the eyes, can make or break a piece and really give the subject its character and personality. This painting is of a lively brown hare, full of energy and mischief. The eyes must reflect this. I spend quite a bit of time building up the shading, and the whole colour palette and tonal range is used within this small space! I think this is key to a successful eye – the very lightest and very darkest part of the painting exist right next to one another.
11. Add some finishing touches
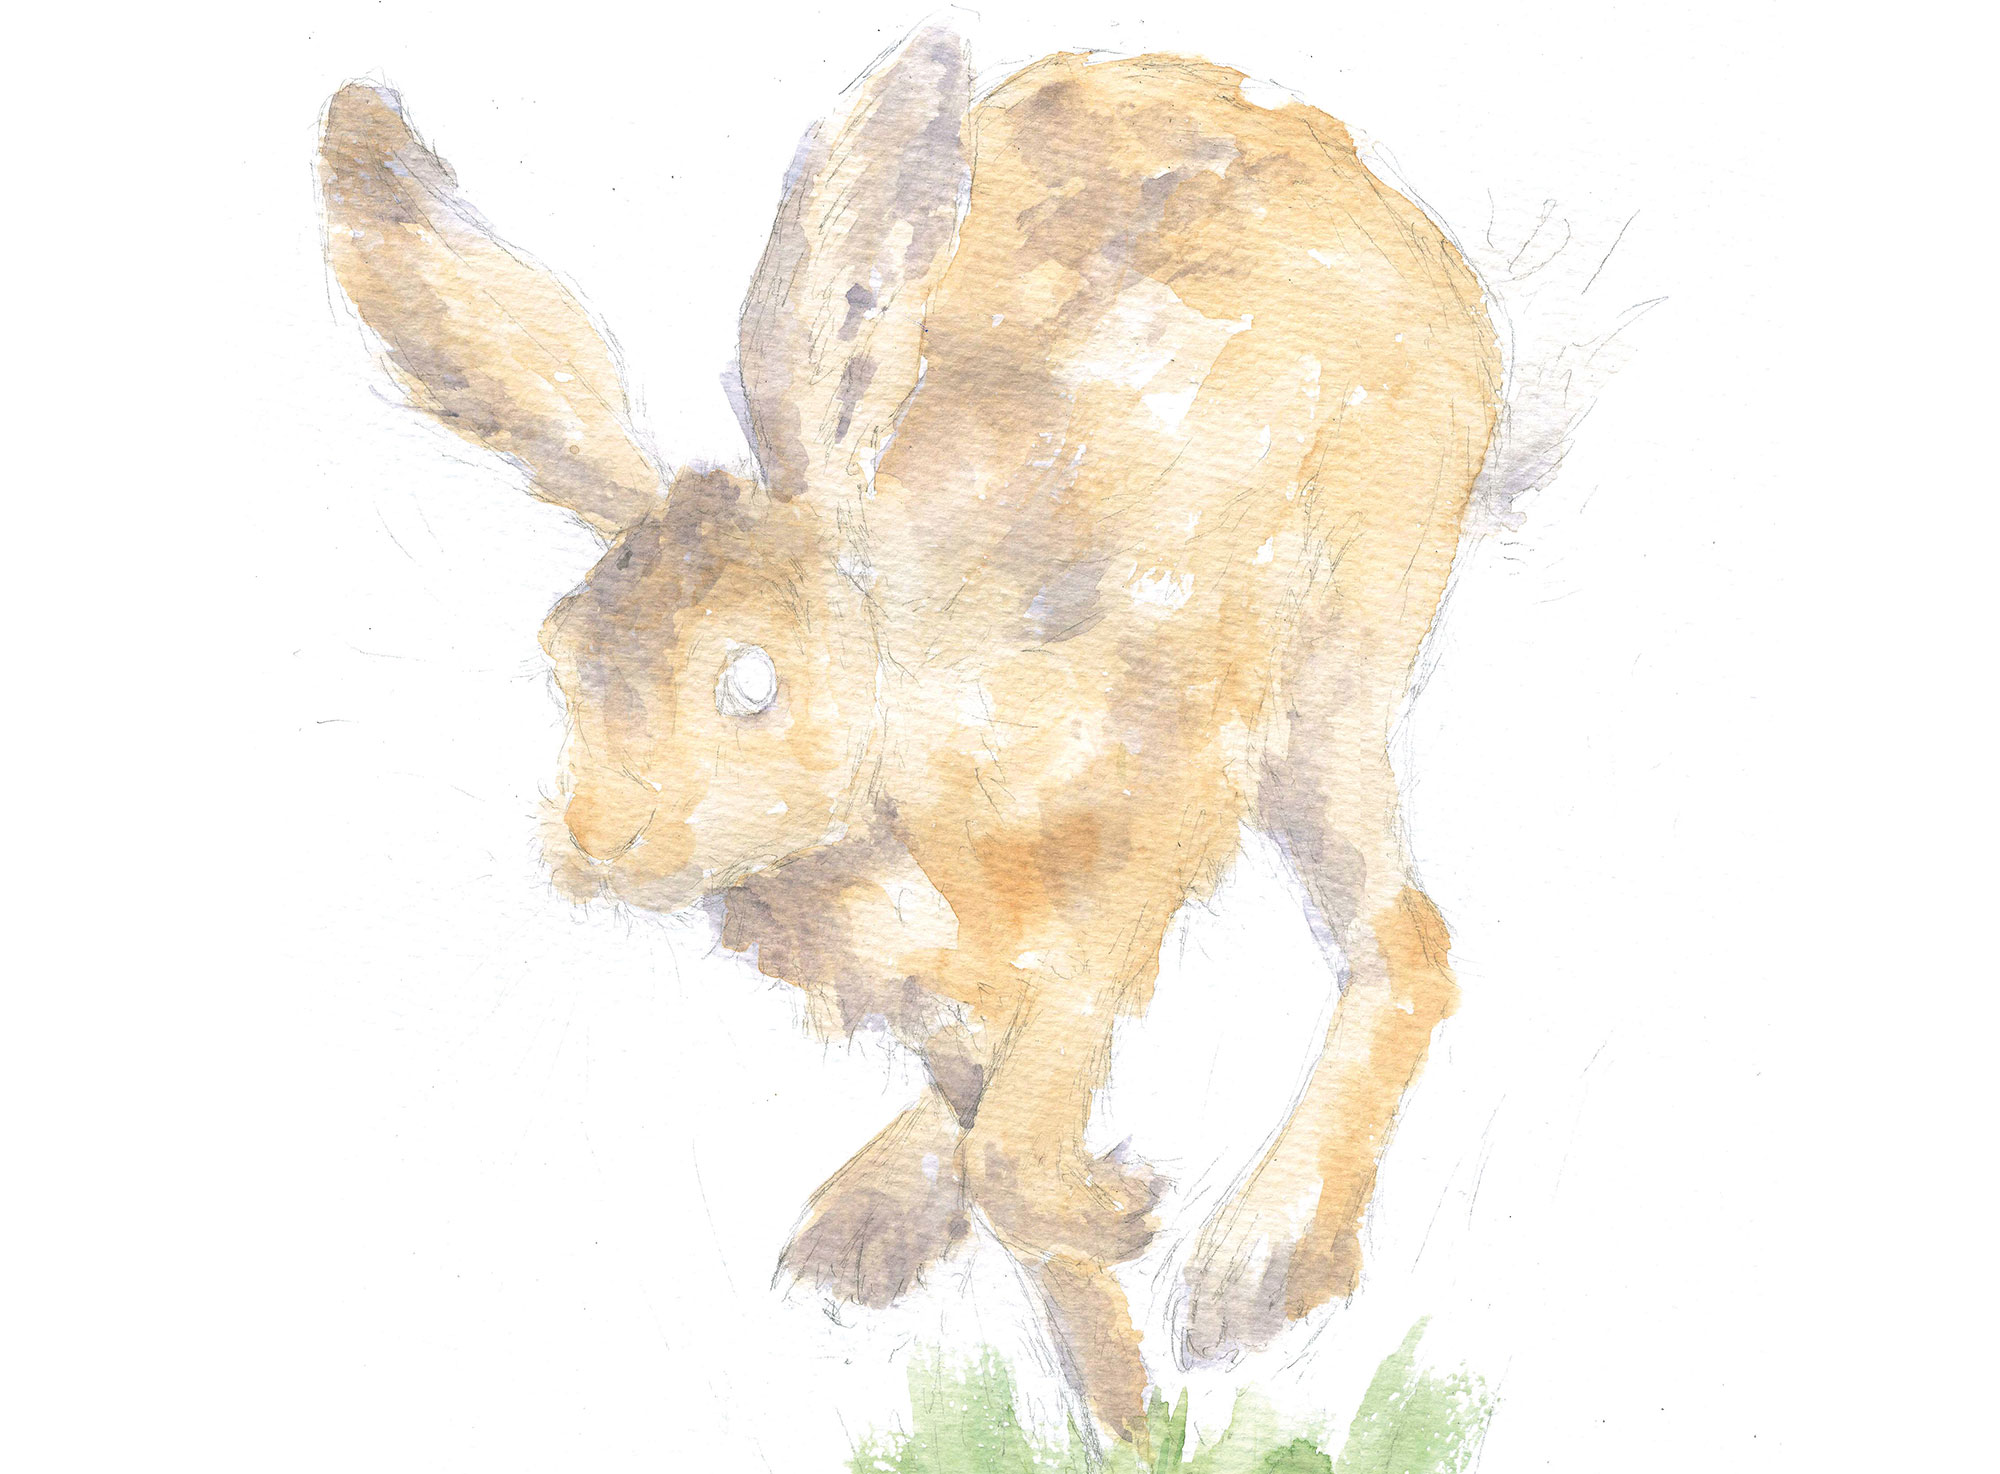
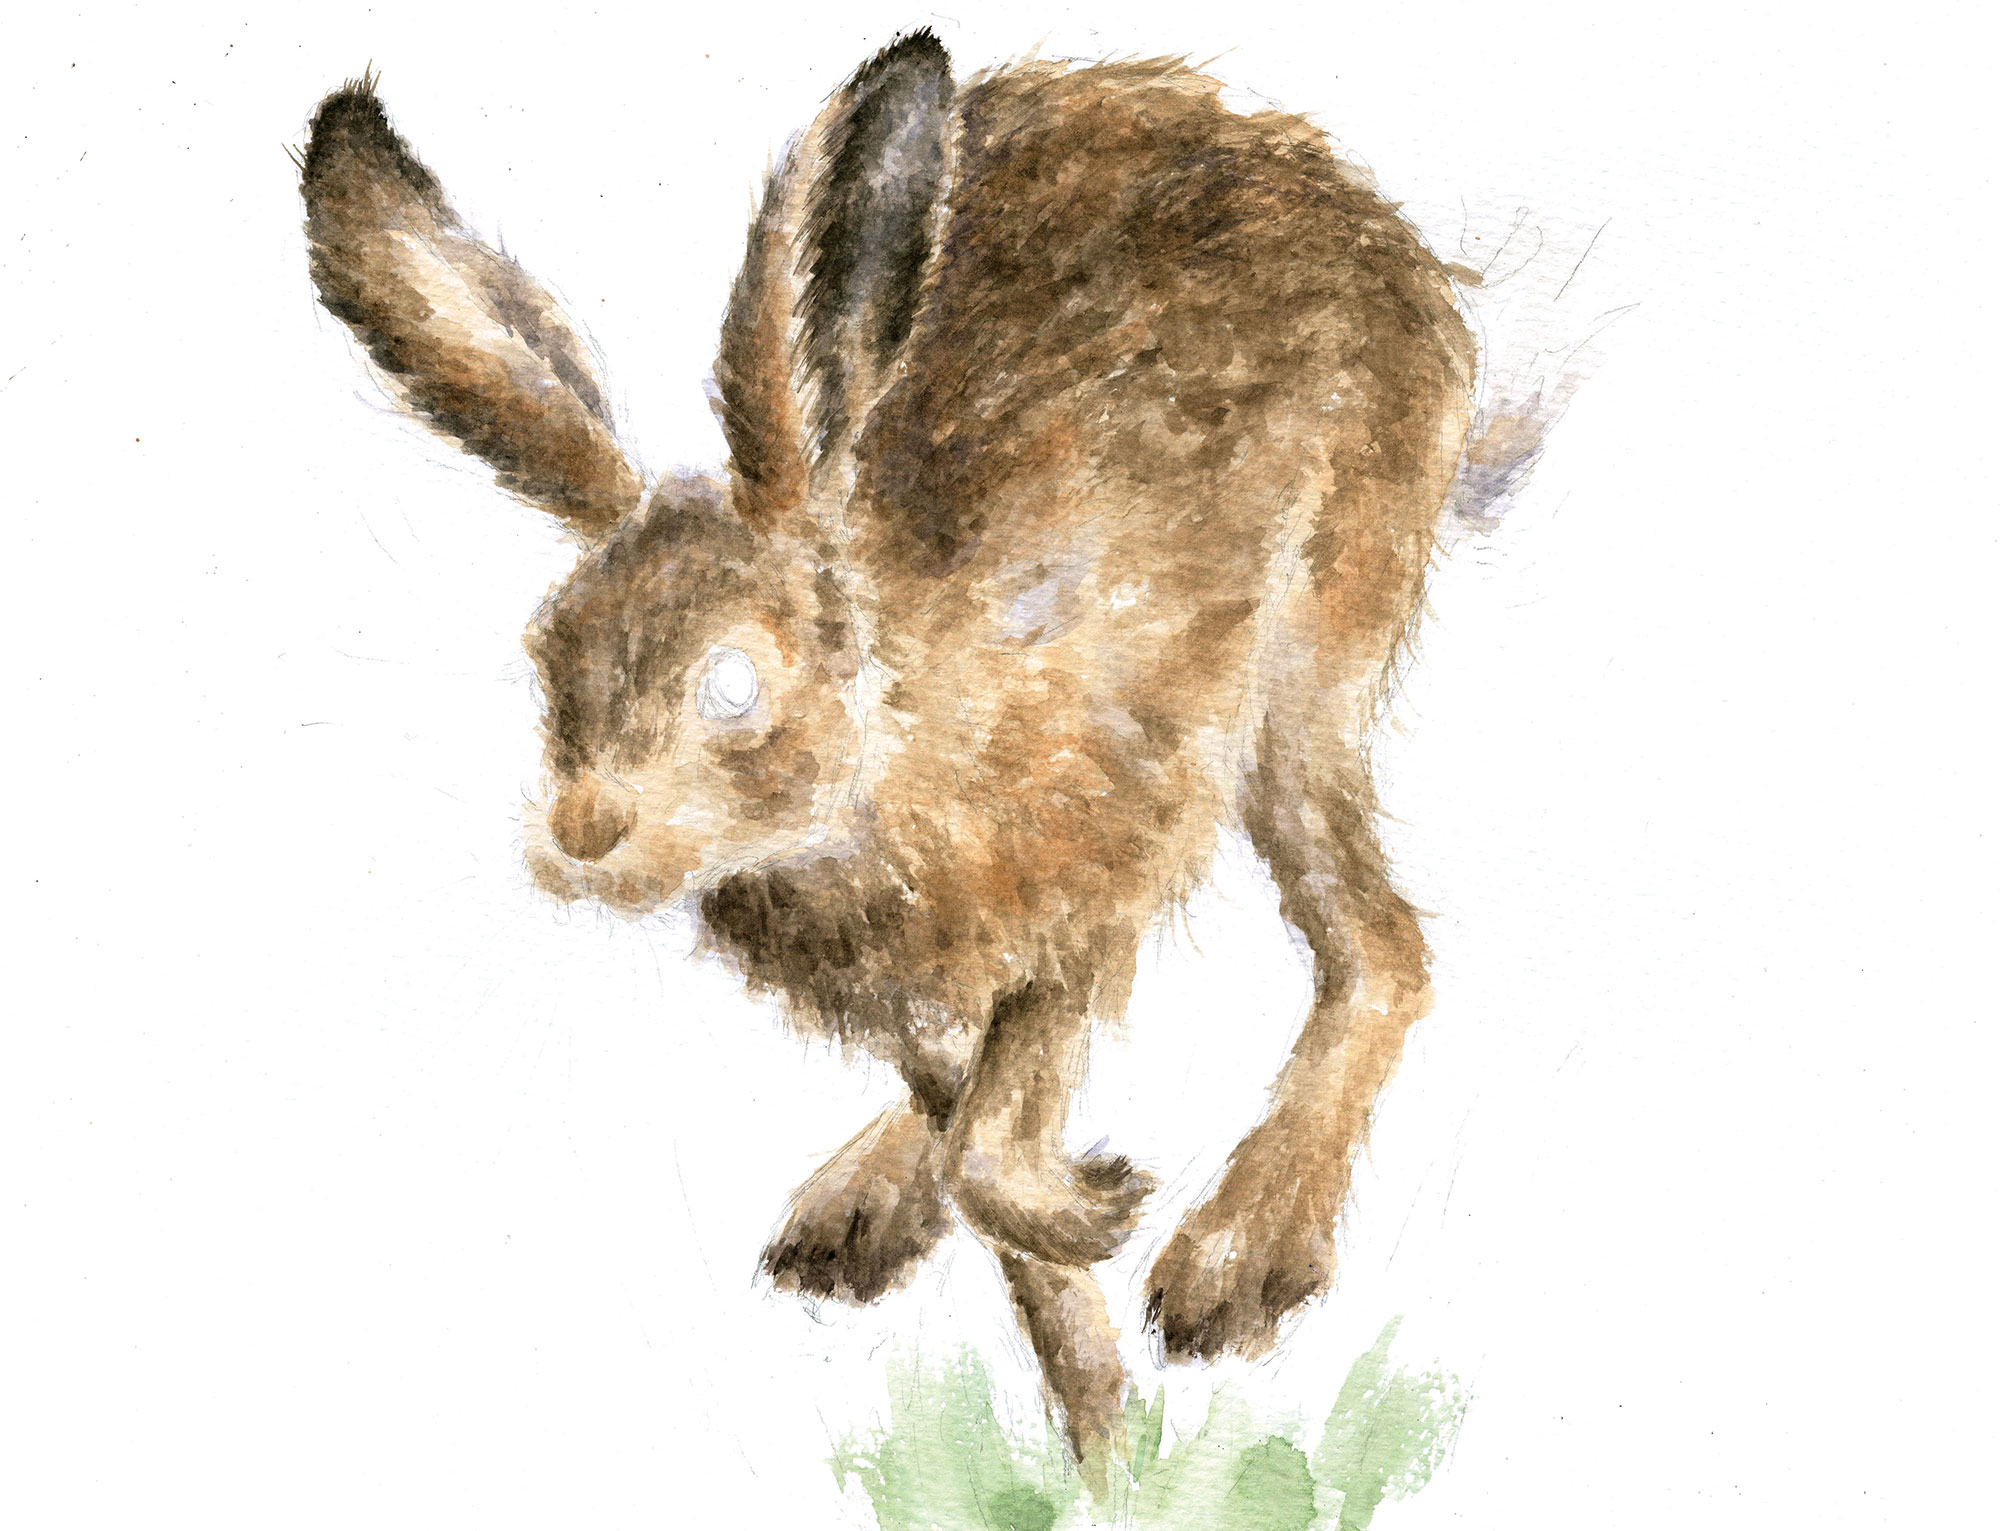
Nearly there now – I just need to make the final tweaks to the shading, and add the whiskers. I also include some splatters, which help to amplify the movement and energy of the piece. I focus these around the back feet, as if he is kicking up mud as he goes along.
It was my original intention to paint more detail in the grass at the bottom, but on reflection I don’t think it needs it. I like the way it sits there like a full stop at the end of the outstretched foot, anchoring the painting nicely.
Read more:
