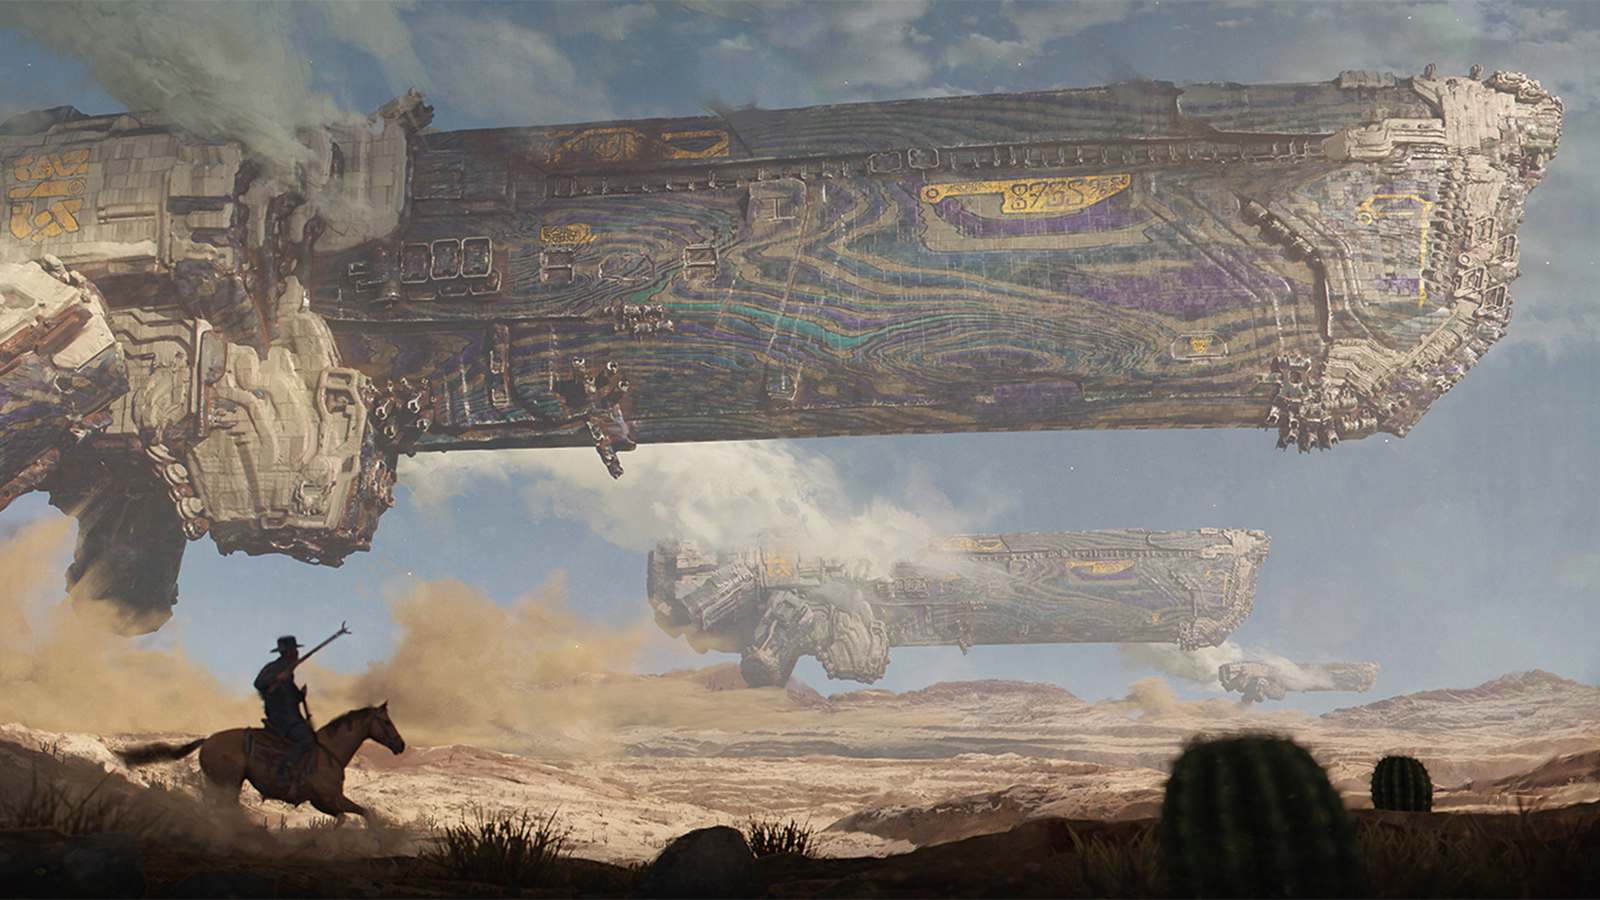
Unreal Engine 5: how to level up your characters

Sign up to Creative Bloq's daily newsletter, which brings you the latest news and inspiration from the worlds of art, design and technology.
You are now subscribed
Your newsletter sign-up was successful
Want to add more newsletters?
Unreal Engine 5 is the latest update for Epic Game's epic real-time game engine. The new version comes packed with a host of cutting edge new features for 3D artists to create with. Ray-traced lighting, strand-based hair capabilities, a new editor and enhanced real-time rendering capabilities open up exciting new possibilities for character design. In this insightful article character artist, J Hill will share his top tips for improving your character designs with Unreal Engine 5. If you're in need of inspiration for your next character design then check out these incredible examples of 3D art.
Hill created this awe-inspiring character, FLEX, to have some fun whilst trying out some of the new features in Unreal Engine 5. "I wanted to have some fun creating something high quality that I wouldn't be able to make otherwise," he told us, "I set out to make a sci-fi girl with robotic arms and fun colours to play around with a different style and workflow than I'm used to. I love the cyberpunk genre because it's so open to interpretations and styles."
Many fans are now using Unreal Engine 5 to make demos and tinker with concepts, such as the fan-made Mario game made in Unreal Engine 5. But for now, let's hear from Hill himself as he reveals the creative process behind FLEX and gives his top six tips for character design in Unreal Engine 5.
Article continues below01. Grab MetaHuman assets
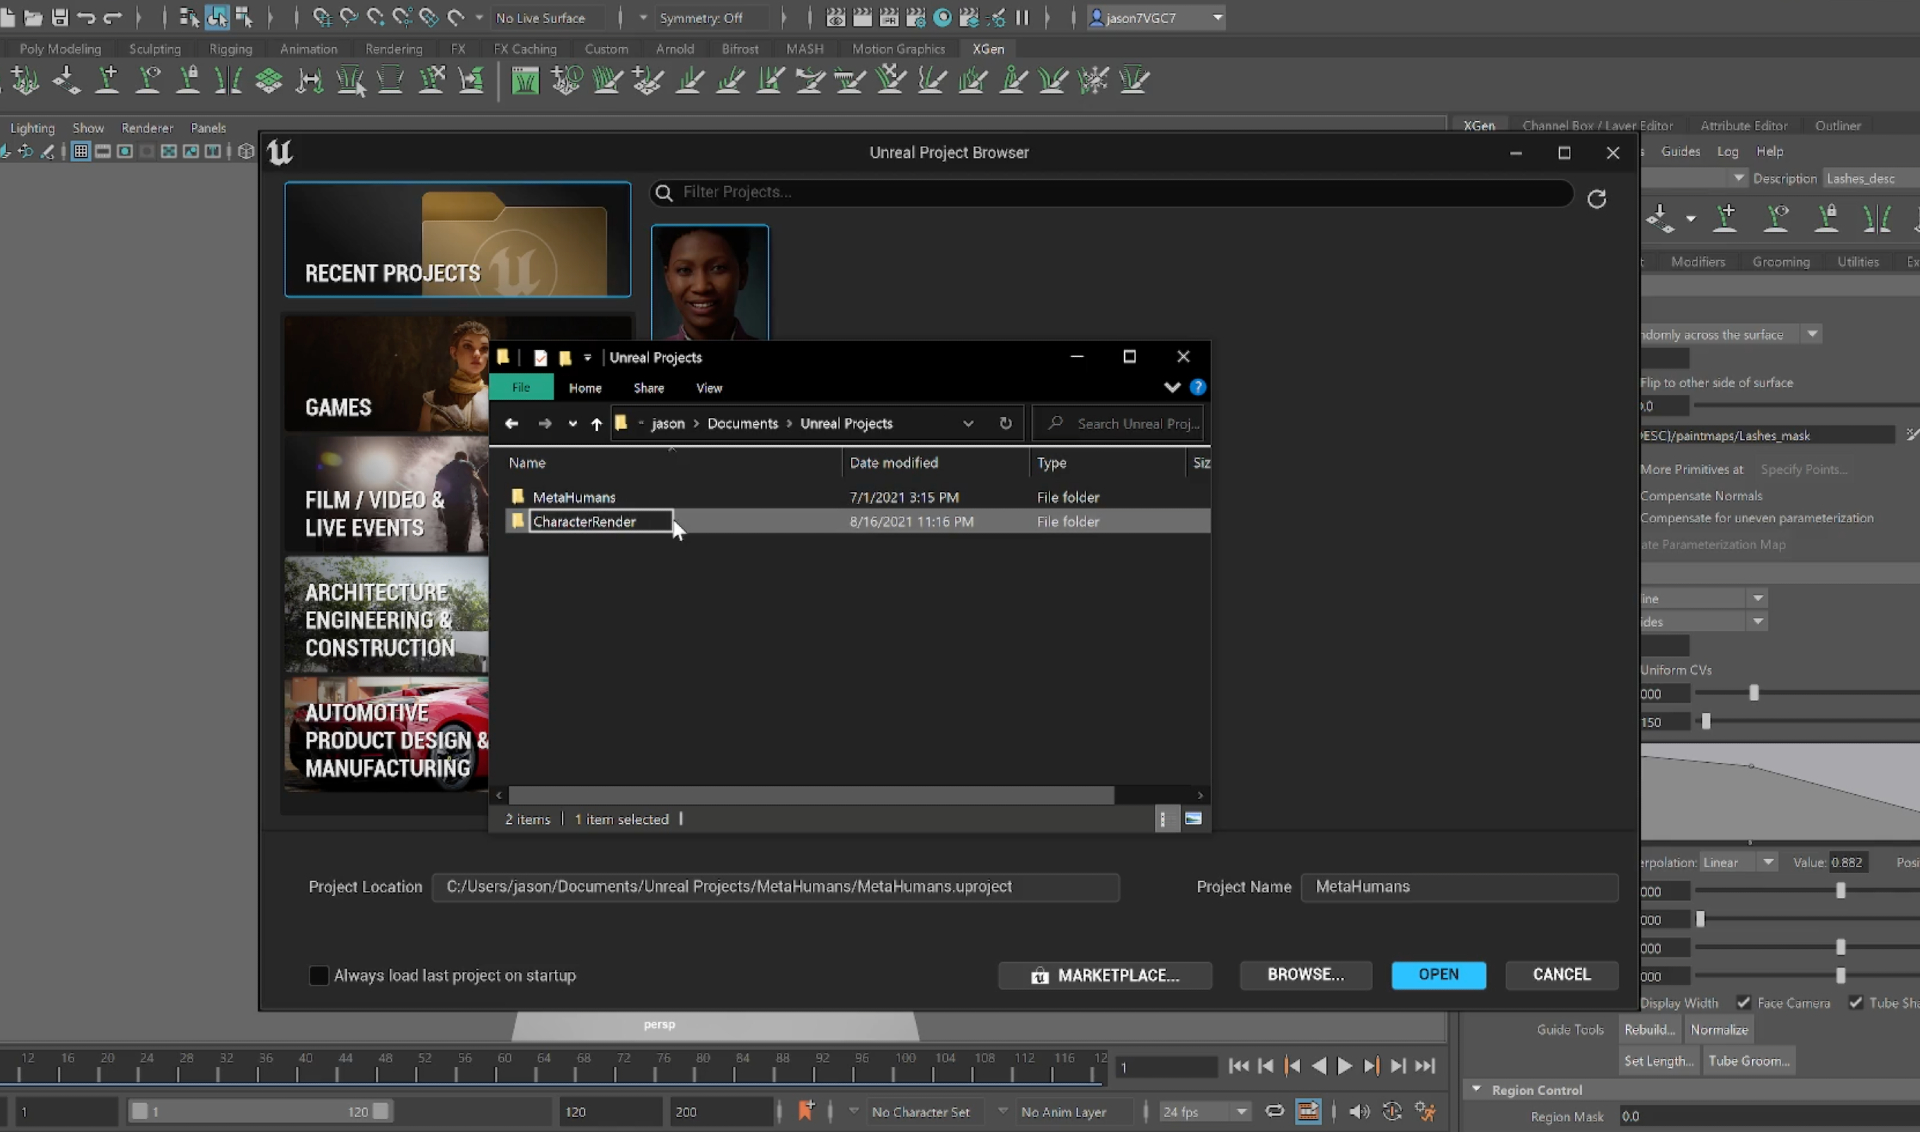
MetaHuman assets are an amazing resource from Epic Games and they're free to use. For what I do there isn't a need to make everything from scratch, especially when the best quality is out there for free already. I started by downloading MetaHuman Creator from the marketplace and duplicating it locally so I could start with everything and turn it into my own scene. Raytracing wasn't set up, however, so that is something I would have benefitted from by starting from a template, but it wasn't hard to enable those features.
02. Export hair to Unreal Engine
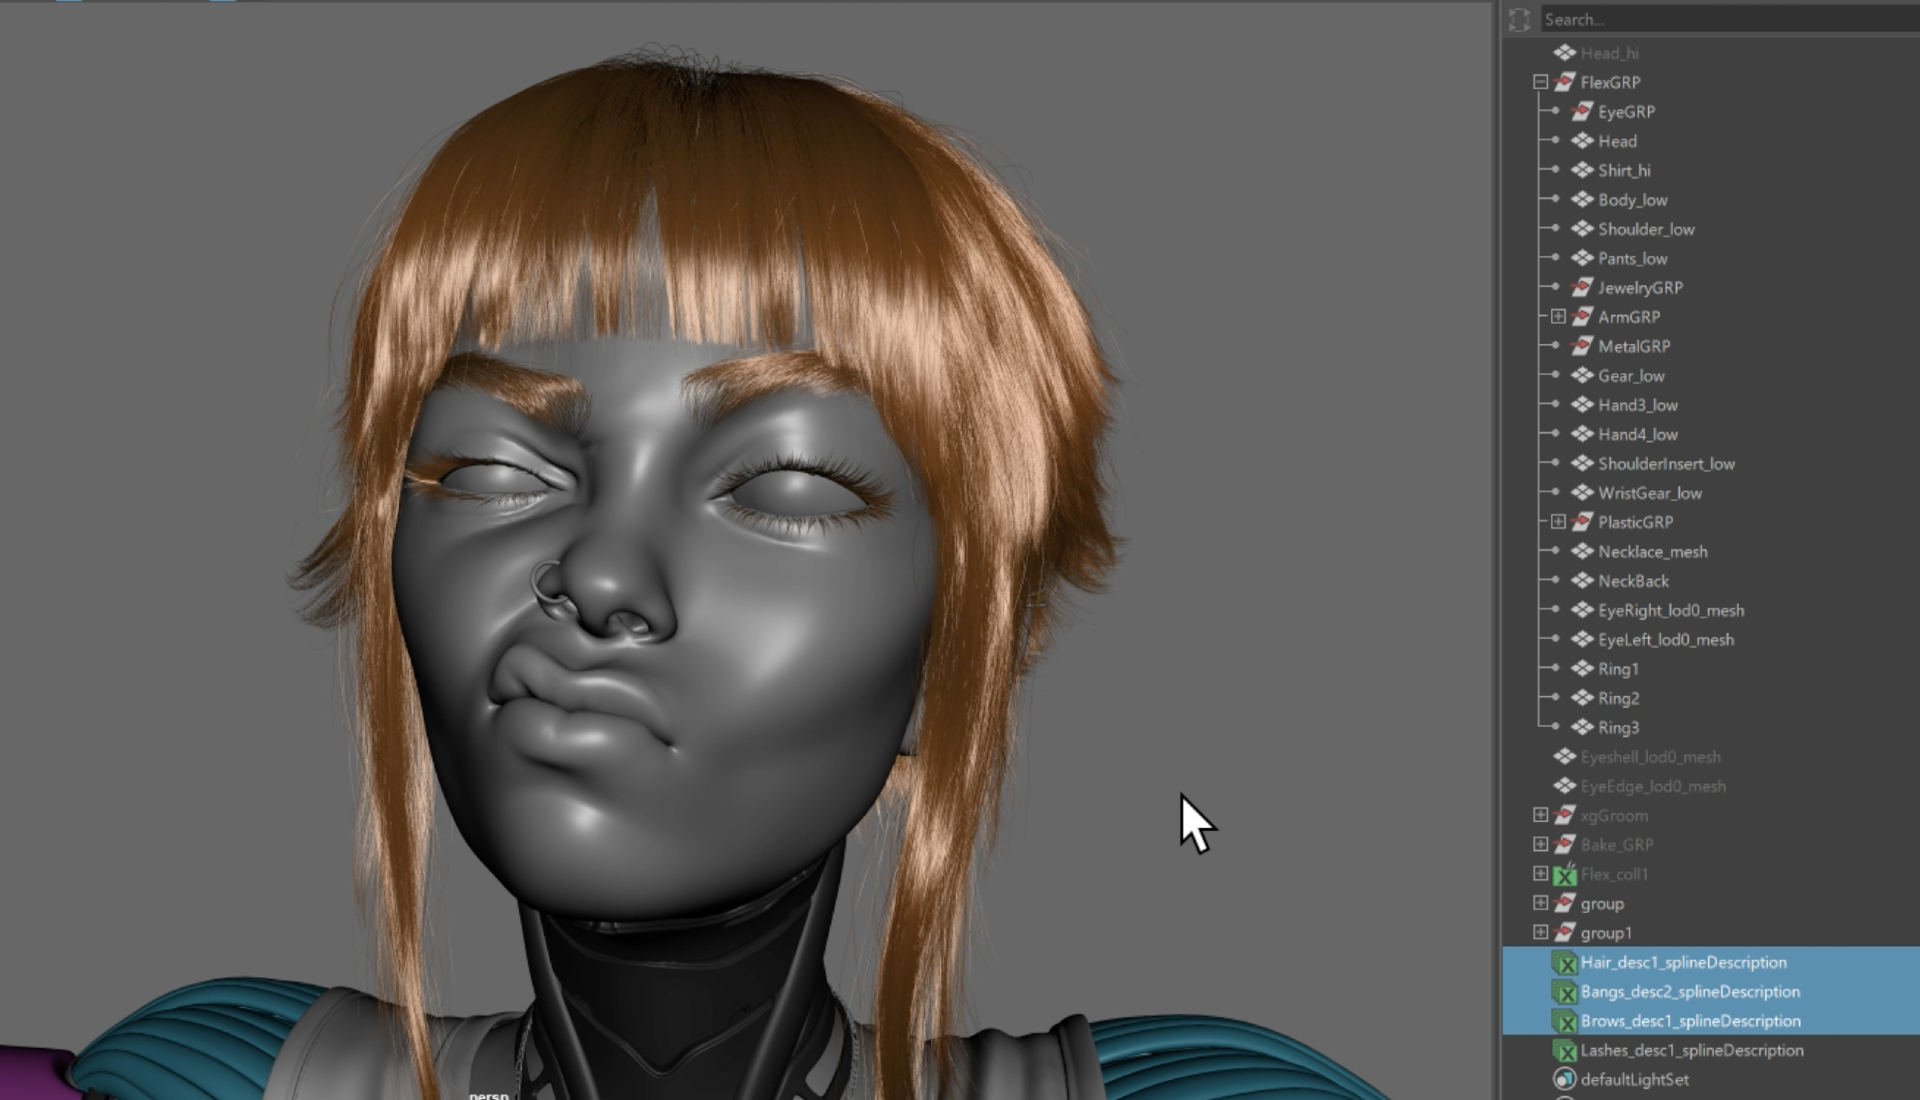
Rendering the hair in real-time was one of the main features I was looking forward to trying in Unreal Engine 5. I created my groom as I normally would, then exported it to Unreal Engine. I converted it to an Interactive Groom which enabled me to export it as a .abc cache. Getting the curves into the engine did not disappoint. Seeing actual hair strands is so much better than cards.
03. Experiment with hair materials
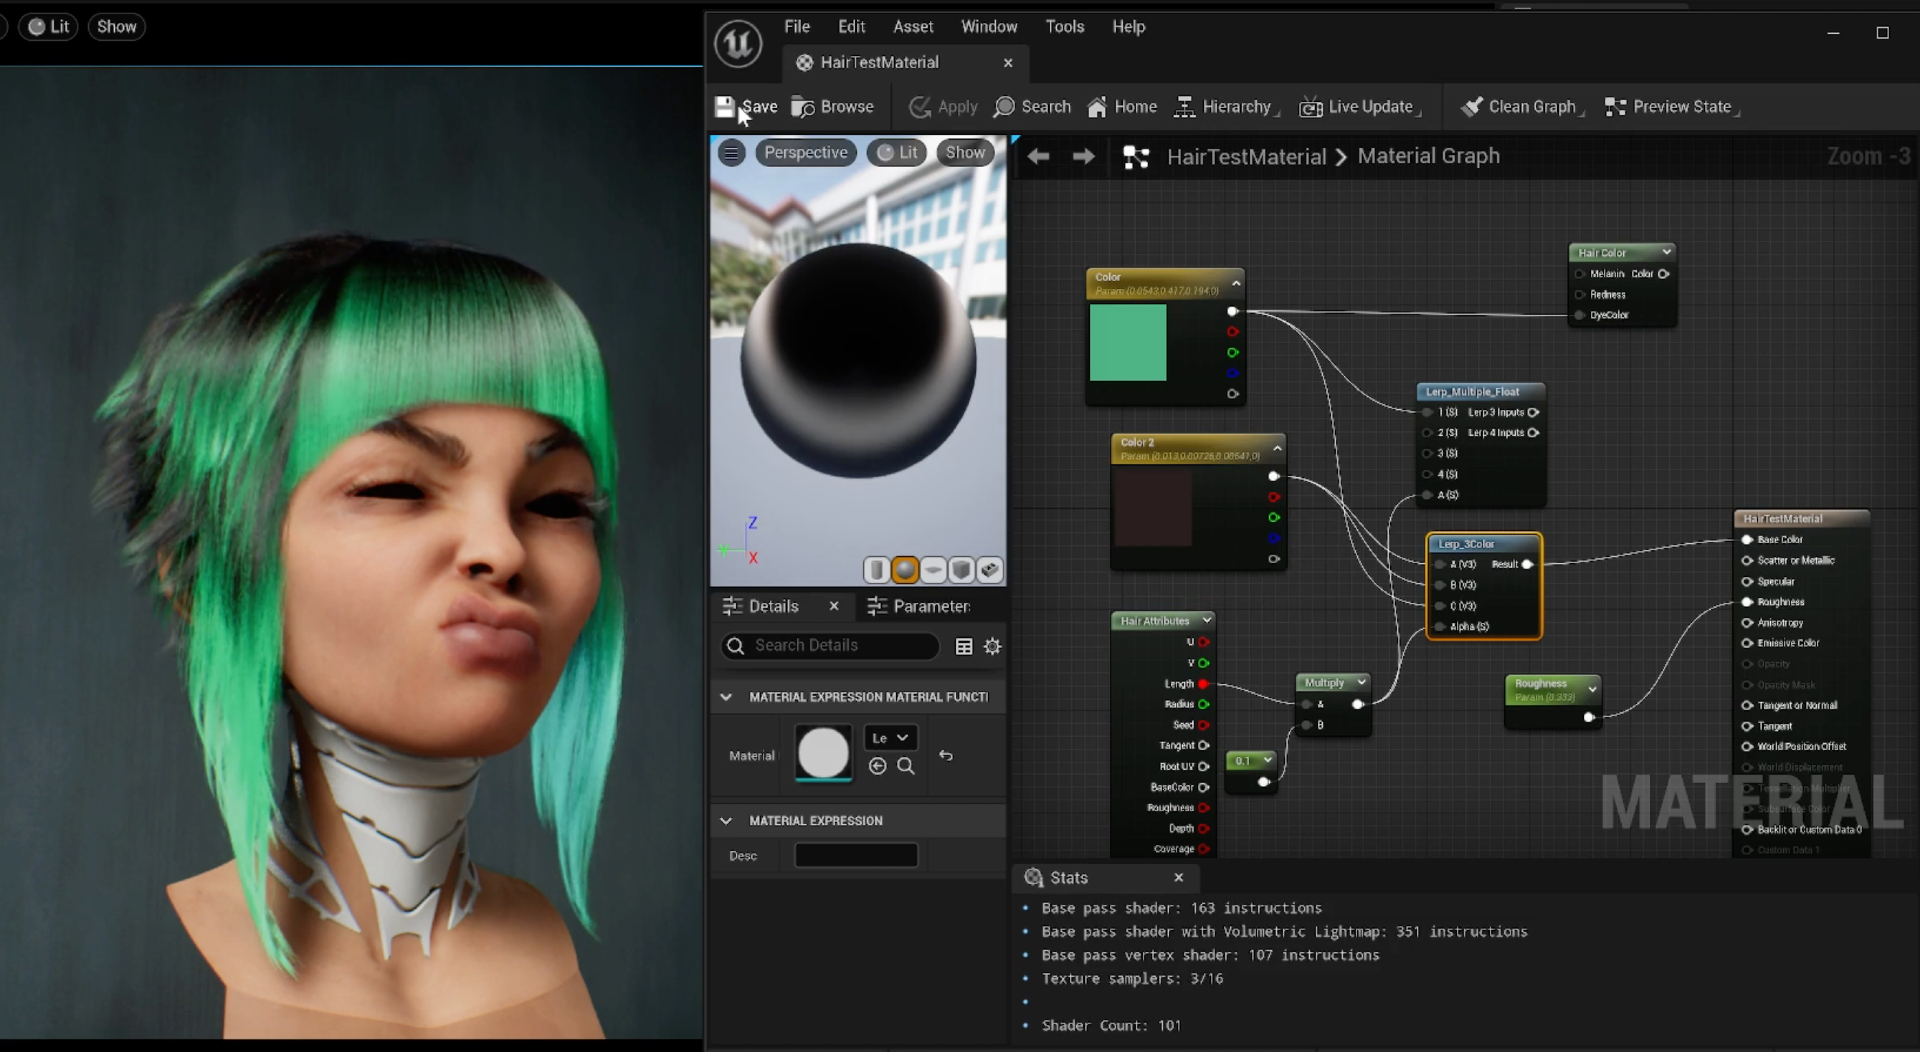
Once I started playing around in the Material Graph to make my hair material, I found the Hair Attributes node, which is a new node specifically made to use with strand-based hair. It allowed me to make a root to tip gradient, so by Lerp-ing a couple of colours I was able to achieve a pretty cool look with a relatively simple setup.
04. Steal the eyes
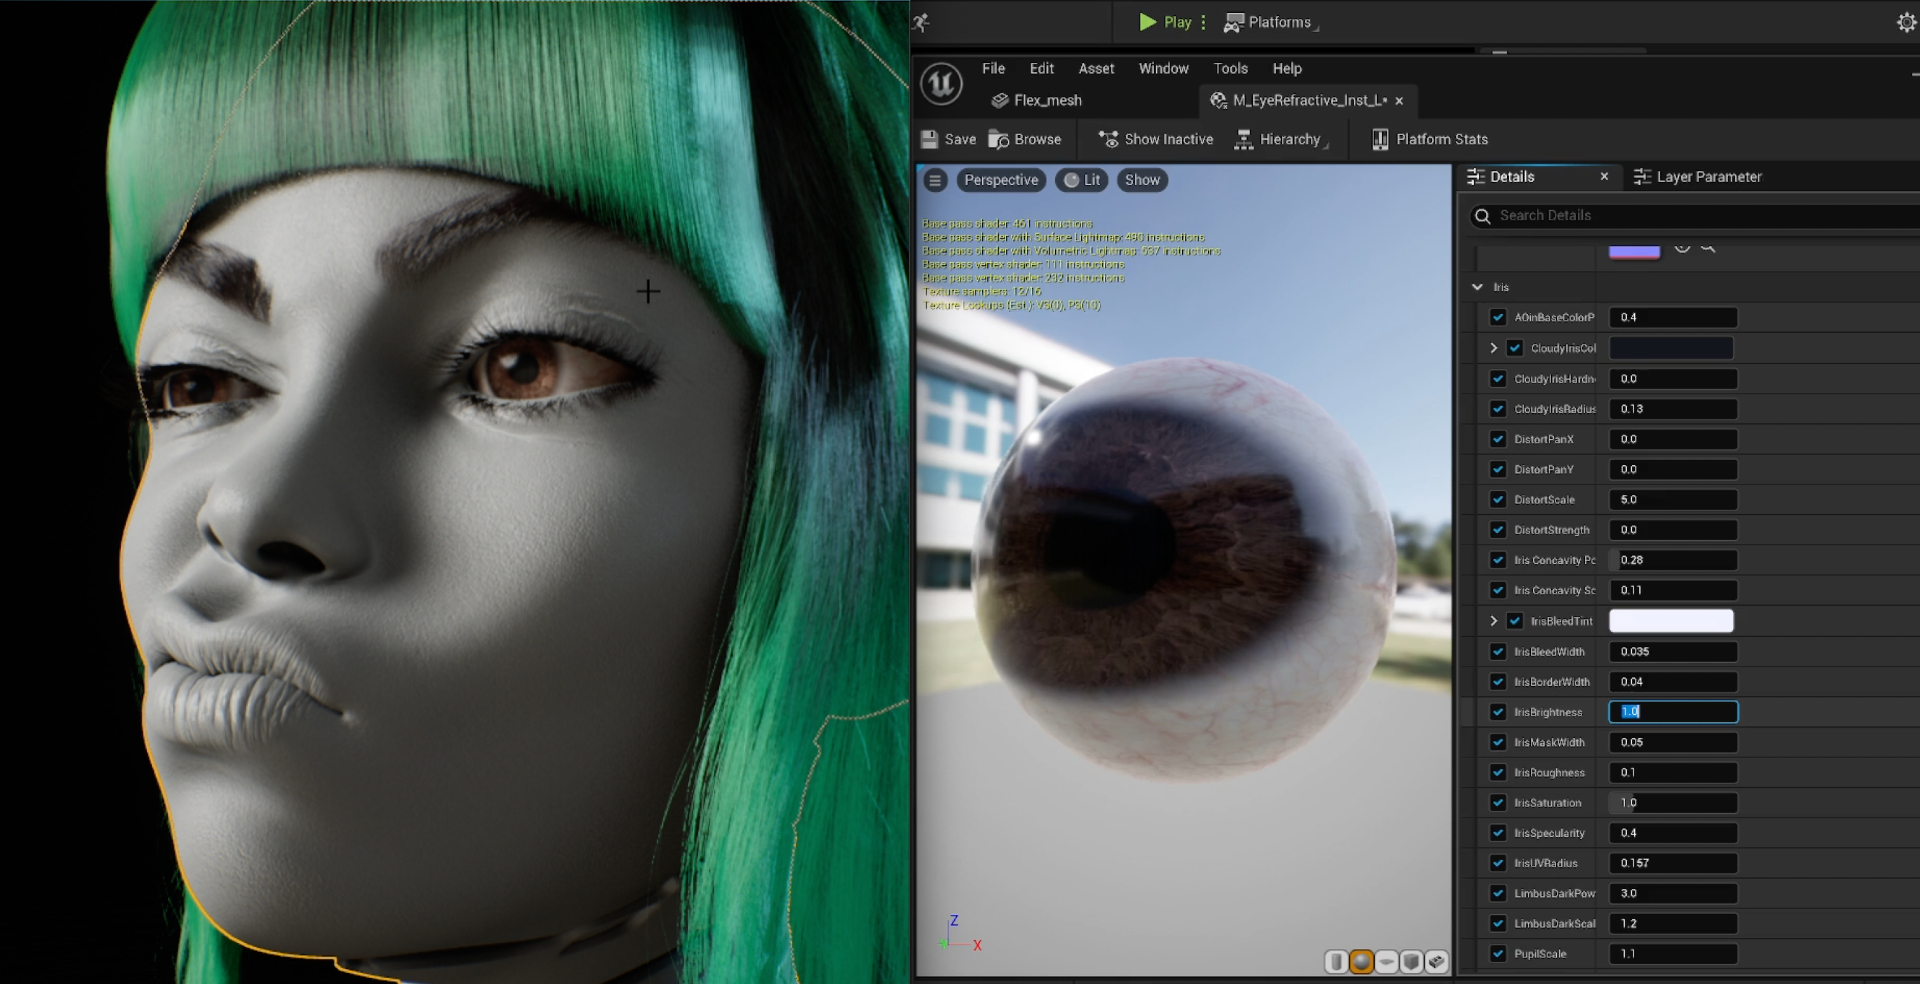
Eyes are always important for a character and can be difficult to get looking good in real-time rendering. Unreal Engine has had a great Eye Material for some time now with a ton of features, and they actually encourage people to use it in their projects and games. Some of the features are hardcoded into the engine now so the material expects a certain UV layout and models. So, I just ripped the meshes from a MetaHuman file to be sure I had everything that worked.
05. Master the materials
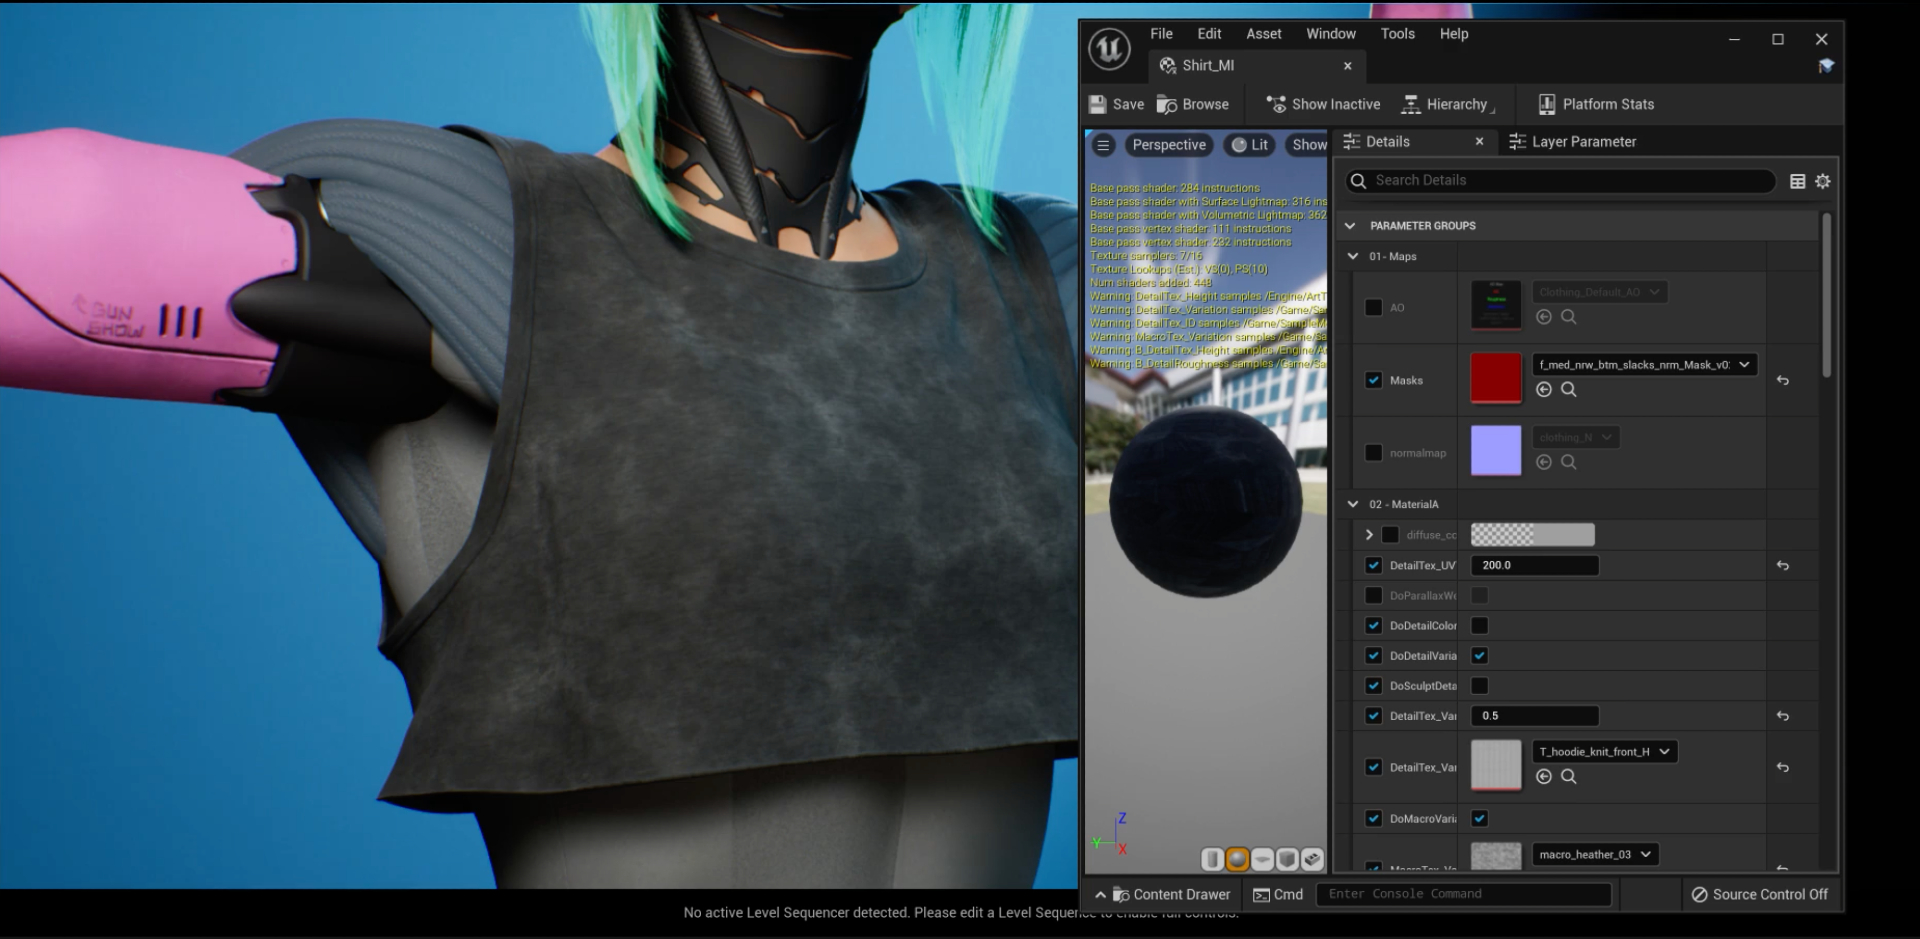
In Unreal Engine you need to have or make master materials to be able to create Instances that you can apply to models. By using the skin and cloth materials from the MetaHuman Creator, all of the work creating the network for the features I wanted had already been done. It was just a matter of figuring out what kind of textures I was looking for, or what features to turn off. My material needs were fairly simple – the micro weave and fuzziness on the cloth were some of the key elements I was after.
06. Use Movie Render Queue
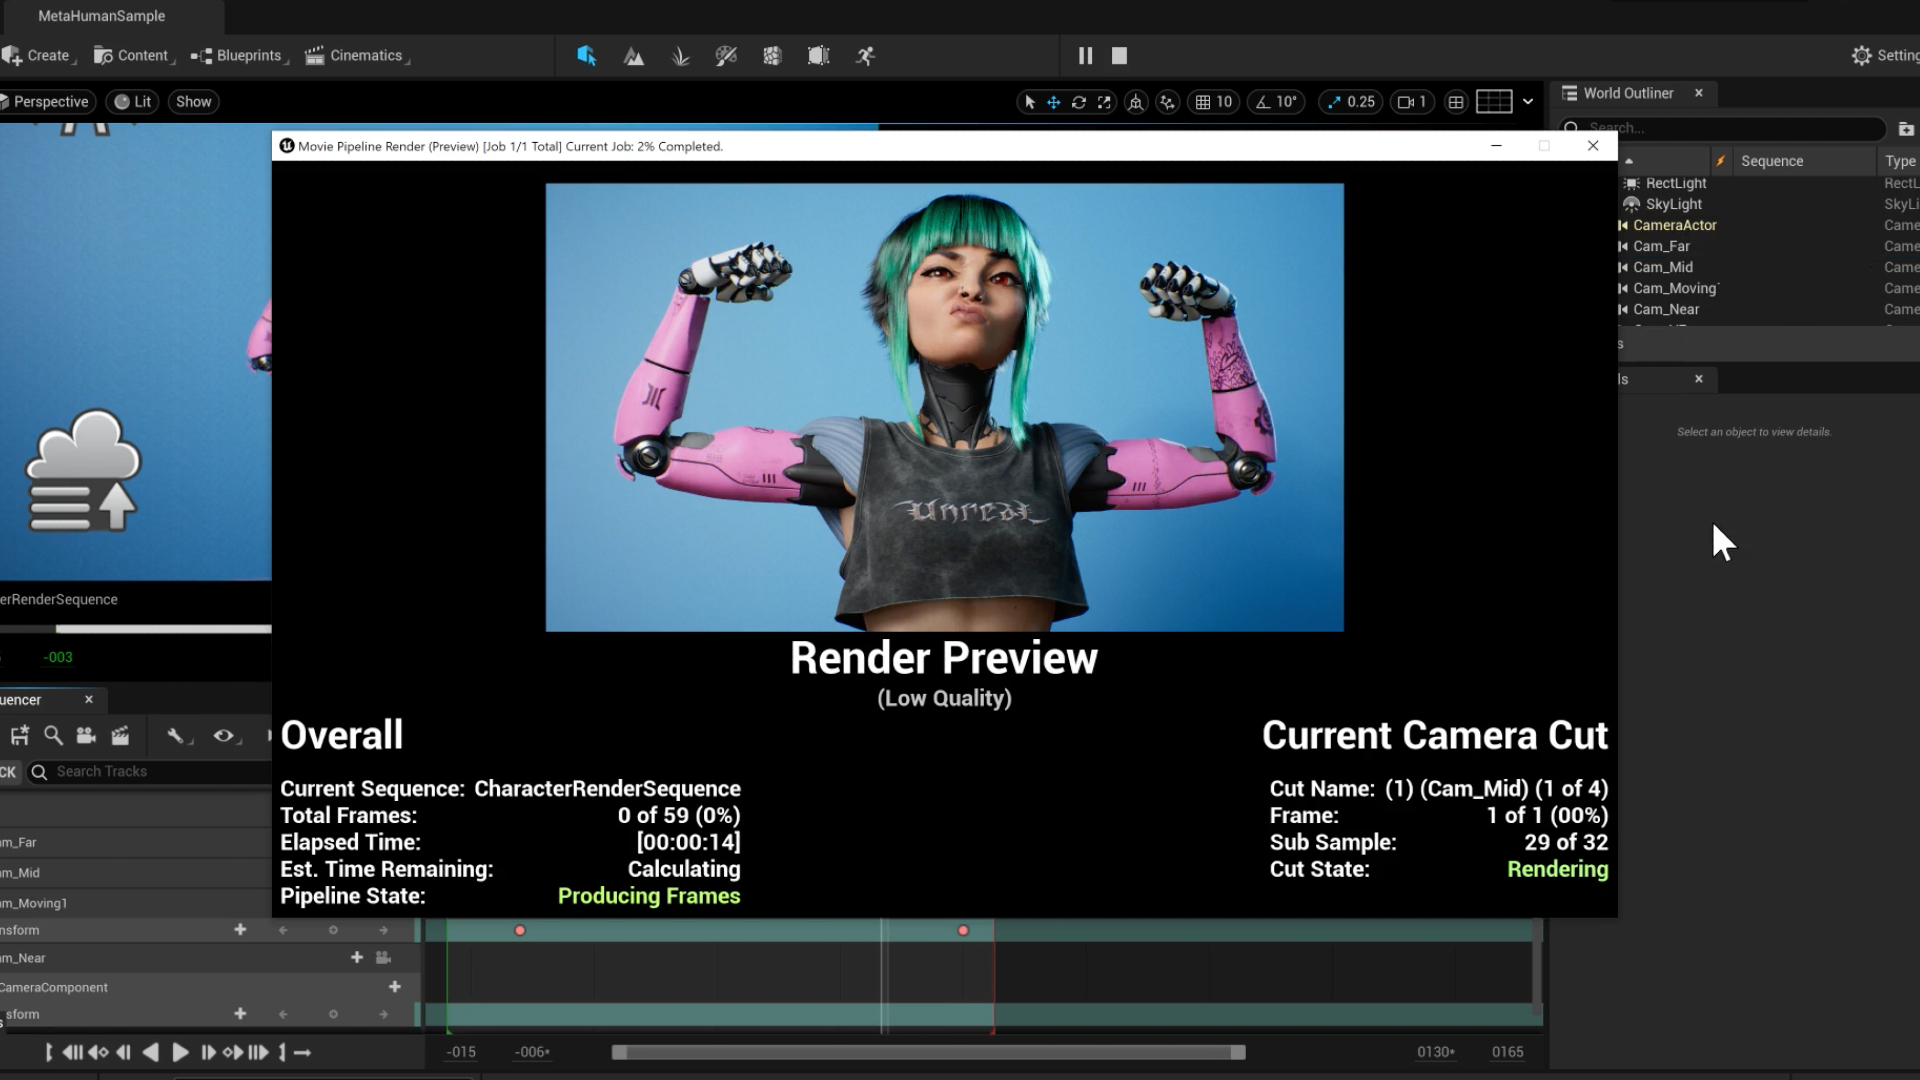
This was my first time utilising the Movie Render Queue plugin, which enabled me to render out large images and movies with various file formats, resolutions, and super-sampled anti-aliasing. The plugin has a lot of features, and I could create large and clean images that I wouldn’t have been able to otherwise. I even used it to render out the 8K version of FLEX for this article.
This article was originally published in 3D World, the world's best-selling magazine for CG artists. Subscribe to 3D World.
Related articles:
- How to create striking Zelda fan art in 3D
- Your favourite video game characters reimagined
- Metahuman Creator: How to build a realistic CG human
Sign up to Creative Bloq's daily newsletter, which brings you the latest news and inspiration from the worlds of art, design and technology.
J Hill is a character artist. He's been working in video games for ten years and has been making art with computers for as long as he can remember.

