Anatomy part 2: sculpting the masses
In the second instalment of Dan Crossland’s anatomy tutorial, he focuses on sculpting the limbs.
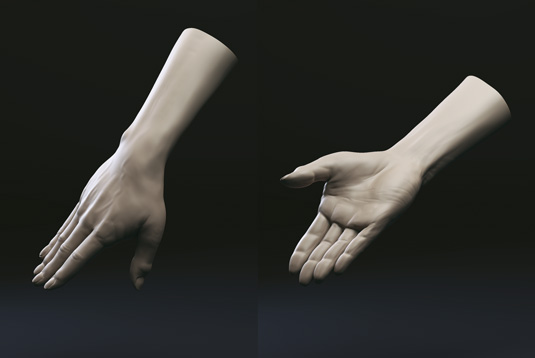
In this series we will dissect the process of sculpting a character for 3D modelling. In this second instalment of the tutorial, we will outline general workflow rather than focusing on the specifics of anatomical naming, as that is a whole section in itself that would require more time and space than we have here.
My main focus for this tutorial is to show you my workflows; you can delve deeper into specifics at your leisure. The human form is so complex and full of subtleties that it will take dedication and consistent study to master. You'll come to master the forms in time, and the more you sculpt the better and clearer it all becomes. However it's difficult to convey without confusing the process.
In the first tutorial we worked on developing the whole form and focused our attention on the torso. With the main trunk established, we will now pay attention to developing the écorché version, starting with the other side of the torso, establishing the arms and hands, then the legs and feet.
Article continues below01. Start with the hand
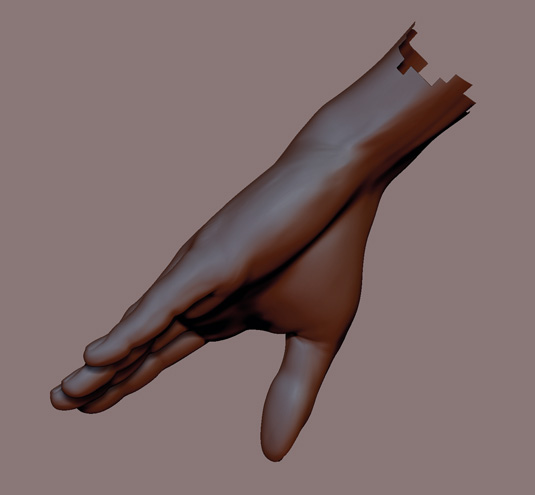
The hand is very complex and can take time to develop, but following some simple rules will ensure success and avoid the typical cylindrical fingers that can look unrealistic.
First I pose the finger geometry into the position I want for the figure. I block in the bony landmarks, the knuckles and joints – these give us indications of length and proportions to base the block in sculpt on.
02. Shape the fingers
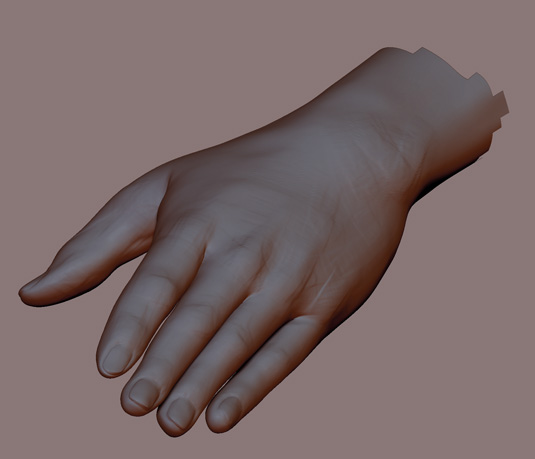
I look at the three teardrop muscle masses of the hand. I like to flatten the fingers on the top and bottom – adding this flatness early brings us closer to realism and aids the progress of nuanced shapes.
I move over the whole hand, bringing shapes and forms to life with a very low powered Standard brush. However I don't linger too long on details as I want an overall gesture and feel to the hand.
Sign up to Creative Bloq's daily newsletter, which brings you the latest news and inspiration from the worlds of art, design and technology.
03. The wrist
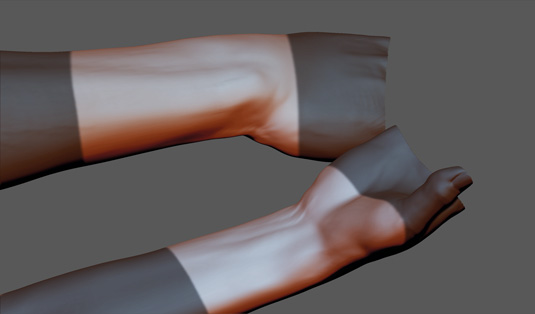
Continuing from the hand sculpting, I tie this into the wrist and start on shaping this area in earnest. I first block in the bony mass of the ulna at its base where it meets the hand, then continue to define the tendons on the inside of the wrist.
I usually square off the sides a little at this stage too, and then, using a Standard brush, I mark the bony edges of the wrist going into the forearm.
04. The forearm
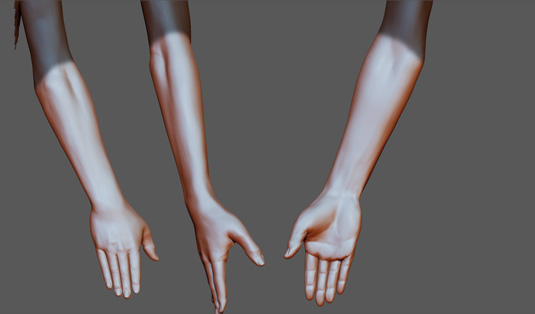
I start the forearm by sculpting the elbow, then radiate the strokes out towards the forearm to find the form – the orientation of the elbow is so important to the position of the muscles and how they intersect at the elbow and wrap towards the ulna.
I continue to define the individual muscles. In the female form they can be quite subtle, so take care. I like to drop back to lower levels, give it another smooth pass and work back up again.
05. The upper arm
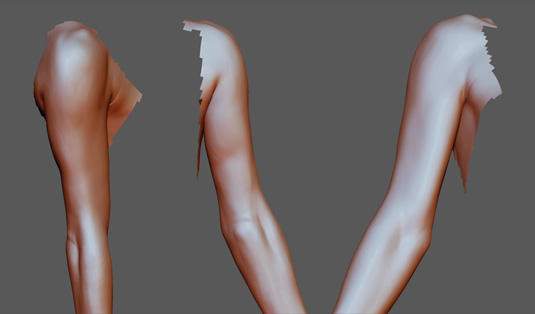
I like to start by cutting in the separation of the bicep on the inside using a small brush and cutting in the placement. Sometimes I will create a morph target so I can erase areas that aren't working well. I also create some polygroups as the arms will be down.
I continually turn the model and work forms from every angle, paying attention to the tricep shape, the bicep head and the tendons, which add realism as they connect to the forearm.
06. The shoulder
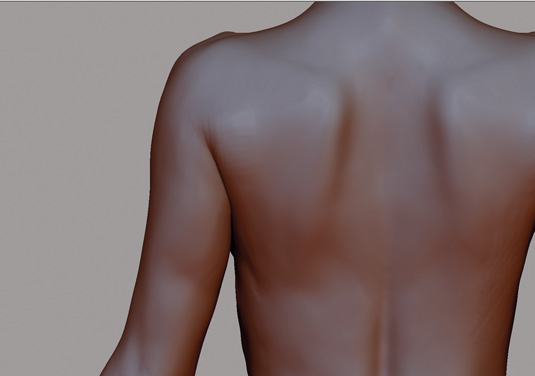
The is one of the most complex areas to sculpt, but devising simple shapes aids the process. Think in terms of triangles. Start at the spine of the scapula (to which the deltoid muscle is attached) and the trapezius muscle, which forms that diagonal shoulder line coming out of the neck.
If one looks closely, there is an angle break. This area is so subtle that you have to pay close attention to the shapes that meet and form the mass of the shoulder.
07. Start on the foot
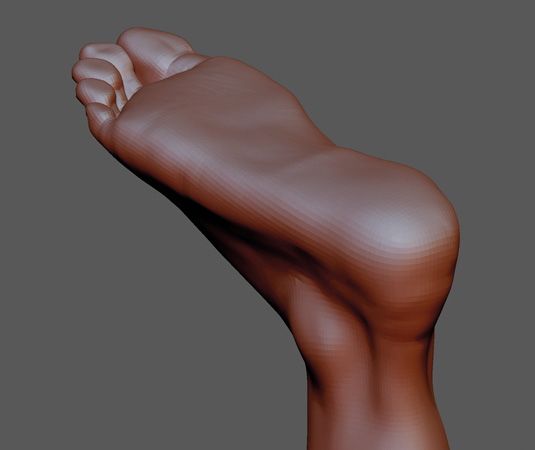
I first like to define the overall gesture and character of the foot, and then move on to working on the weight and refining the positioning, which relates back to the rhythm and the attitude of the model.
I do this at level 0 first and then start to gently work my way through the subdivision levels. I define the ball of the foot and the arch of the foot with a larger Move tool.
08. Getting the shape right
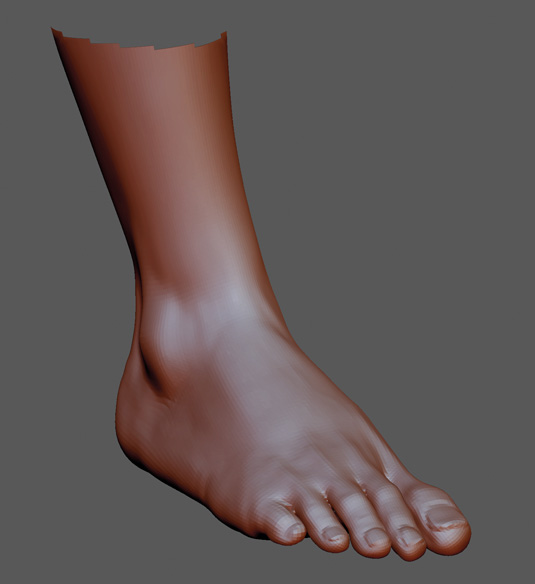
Next I focus on the tendons and the bony masses. When sculpting them, check the angles and the curve of the nails from the front as this indicates the roundness or curvature of the toes.
I just need to hint at the nails and carve those in but I don’t need to overwork it as this will be for 3D print. It's important to know your end goal and what details will be retained – in this case, it's more important to get the overall shape and attitude right.
09. Work on the pelvis
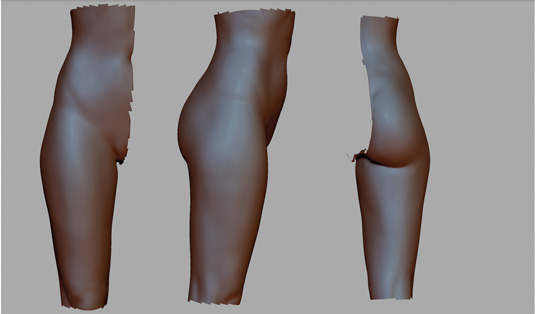
Getting the pelvic area right is key when sculpting the female form. Closely measuring the width of the shoulders to the width of the hips and defining the gluteal fat pads will give us a realistic representation.
If we render them properly, the fat pads in the inner thigh and outer thigh are key parts of defining the shape around the pelvis and buttocks.
10. Sculpting the upper leg
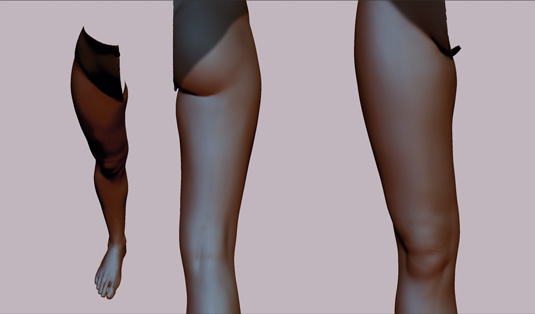
For the upper leg, start by sculpting in the main masses, paying attention to how the leg is offset from the knee and then wraps into the back of the calf.
Using the silhouette to guide the placement of the knee, I cut in definition with smaller brush sizes then go back to define overall positioning with larger brushes and the Mode brush, cutting the calf into the back of the hamstring.
11. Focus on the lower leg
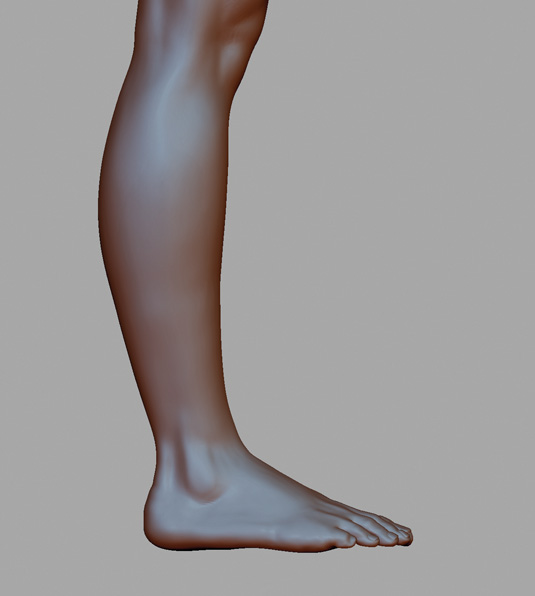
The lower leg adds so much life to a sculpt. Everyone's legs are different in real life and there are lots of variations, but I've found that if we only use conventional and academic examples to sculpt legs, we miss the opportunities that life presents us with.
So I found a model that had a slightly more interesting curve in the calf and used that as an opportunity to add life to the character – something most learning aid écorchés won't offer.
12. Importance of knees
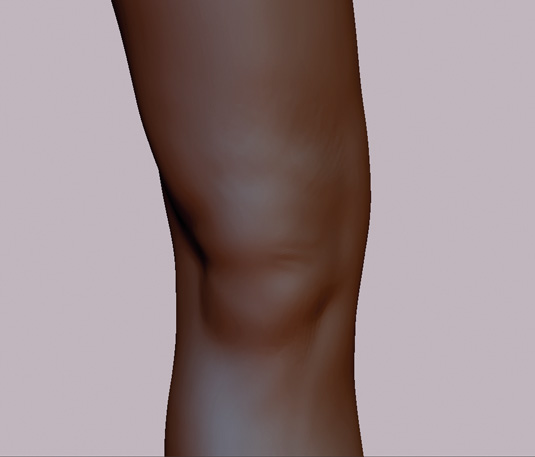
I see so many overworked knees in digital sculpting – it's a difficult area to get right, and hitting the specific forms can be tricky. For now I rough in the knee in a basic way and then work on the shin bone: this will give me more information on the position of the knee, and working on another area gives me a break so I can have fresh eyes when I move back to it.
13. Overall refinement pass
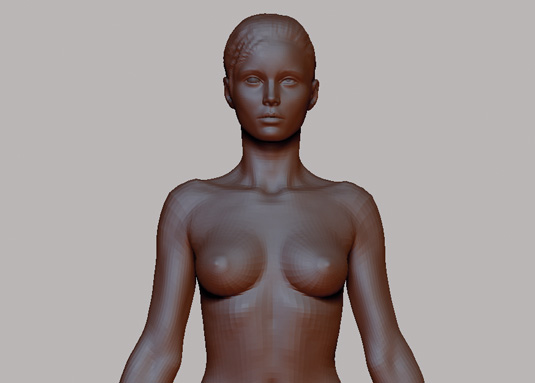
I defined polygroups earlier; now I go back in and look in detail at the masses, making a precise surface. My general technique is to drop down to a lower level and smooth the area a little, then dial the detail up again and use Clay Tubes to break up the surface.
I use a low power at 2 or 3 to block in the volumes of each form – following muscle direction and sculpting the correct volume, and bringing shapes to a standard I’m happy with.
14. Setting up for detail
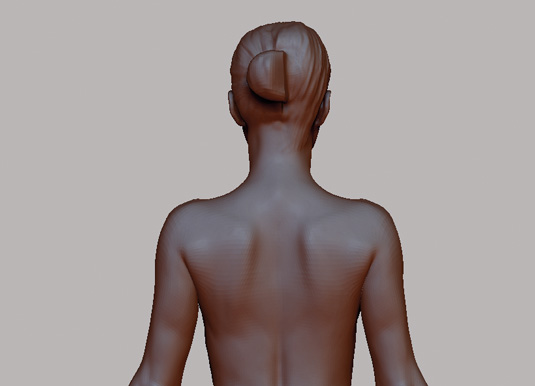
After getting the correct undulations and shape, the Clay Tubes marks are gently erased with a little smoothing. This leaves you with a defined surface, ready for pores and super high frequency details safe in the knowledge your base can take it.
I won't add pores to this model, but I will add a slight noise and some superficial veins to add realism as this will read well under lighting.
Words: Dan Crossland
With a background in fine arts, Dan Crossland has worked in the video games industry for 10 years and is a senior character artist at Ninja Theory. This article originally appeared in 3D World issue 181.

The Creative Bloq team is made up of a group of art and design enthusiasts, and has changed and evolved since Creative Bloq began back in 2012. The current website team consists of eight full-time members of staff: Editor Georgia Coggan, Deputy Editor Rosie Hilder, Ecommerce Editor Beren Neale, Senior News Editor Daniel Piper, Editor, Digital Art and 3D Ian Dean, Tech Reviews Editor Erlingur Einarsson, Ecommerce Writer Beth Nicholls and Staff Writer Natalie Fear, as well as a roster of freelancers from around the world. The ImagineFX magazine team also pitch in, ensuring that content from leading digital art publication ImagineFX is represented on Creative Bloq.
