Anatomy part 1: Sculpting the torso
Learn the core skills to sculpt accurate figures in the first part of this anatomy series from Ninja Theory’s Dan Crossland.
Sign up to Creative Bloq's daily newsletter, which brings you the latest news and inspiration from the worlds of art, design and technology.
You are now subscribed
Your newsletter sign-up was successful
Want to add more newsletters?
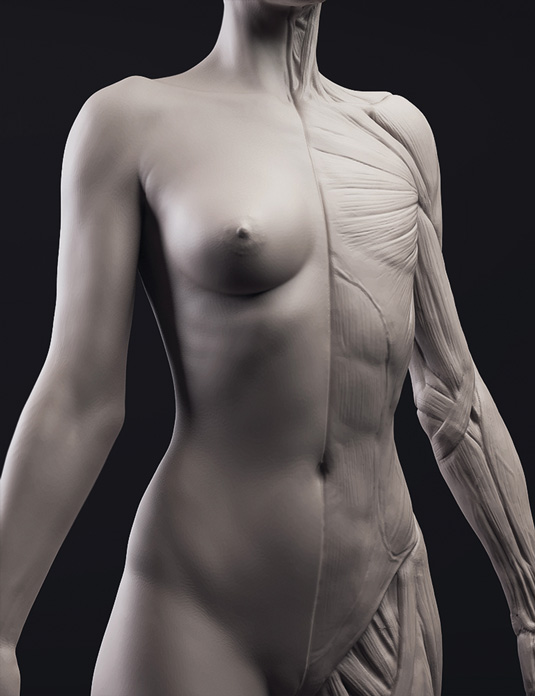
Over the course of this tutorial series, we will look at dissecting the process of sculpting a character for 3D print. In the coming tutorials I'll cover blocking in the model using a ZSphere base mesh, honing in on separate area's of the figure to give each one our attention.
I'll discuss refining the figure before detailing, adding veins and so forth, then briefly touch on posing the figure; to add feeling to the form and rhythms; to make our figure look natural. Lastly we'll set up a watertight file for 3D print.
Here, in part one of my anatomy series, I will cover gathering reference for the model, as this is the most important part when it comes to reproducing an écorché figure, before we look at how to roughly block in the torso. We will look at achieving smooth surfaces and accurate sculpting.
Article continues below01. Make a ZSphere rig
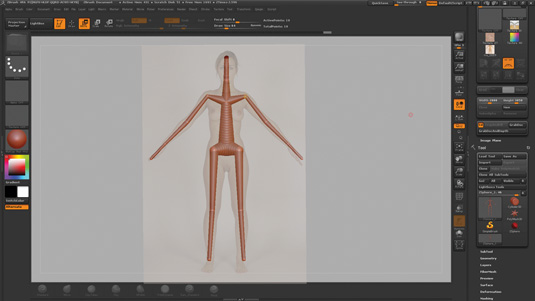
For the character's basic sculpt begin by making a biped with ZSpheres. The ZSphere rig will make our lives super easy when it comes to making base meshes to sculpt on. This is the quickest method I have found – it frees you early on to experiment with a basic mesh, plus you can place the points exactly at the key bone positions so you know the proportions are pretty much locked in early on.
02. Choose reference
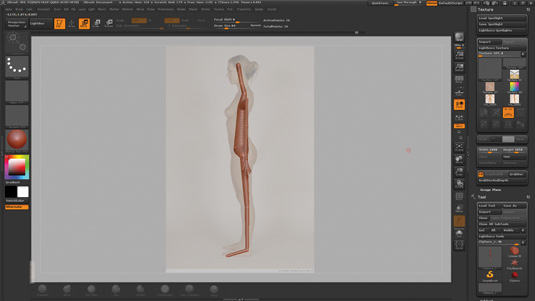
Later we'll use ZRemesher to create a clean topology that will hold the details more economically. Spotlight is used to load in some reference images – these particular images are from 3DSK – I chose this model because her proportions are nice, and we can clearly see muscle groups and the bony landmarks. I am going for a generic representation of a female, so I chose a model of average height and weight.
03. Add the main masses
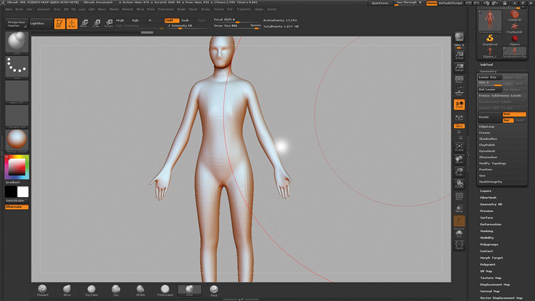
Once you're happy with the general dimensions used from the ZSphere rig, start making a new adaptive skin, which will give a very basic quaded mesh on which we will work. Looking at the references, loosely block-in the figure, focusing on the main shapes. Only use one level of subdivision at this stage, as you don't want to get bogged down with unessential information.
04. The bigger picture
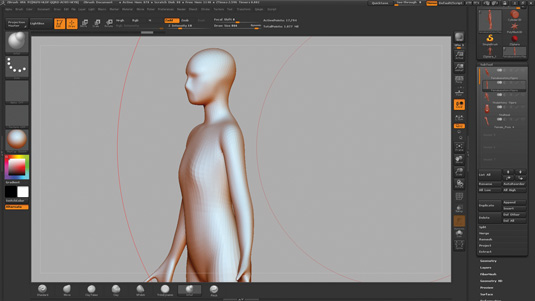
I will go over all the body at this stage before focusing on the torso later. This gives me a good grounding and feel to the figure as I work. Doing this also helps you to hint at the pose to give the character the correct weight and balance. I find that by working over the entire figure at the early stages I get a good feel for the direction I'm headed.
Sign up to Creative Bloq's daily newsletter, which brings you the latest news and inspiration from the worlds of art, design and technology.
05. Rough in the forms
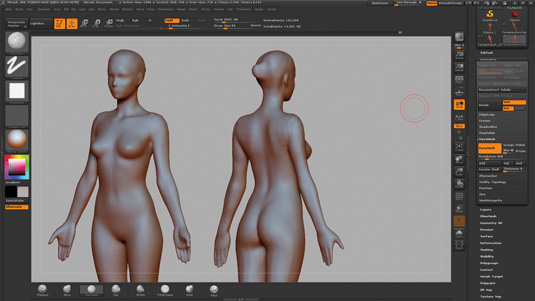
Aim to block in only the major forms giving a strong foundation to ensure our success later. Keep your strokes light but precise, look at the form directions and flow, and make marks that respect these directions. Work the whole model lightly and hint at areas and muscle groups. Work with Symmetry turned on and resist the urge to divide the mesh, we are focused on large shapes and their placement.
06. Use the bone landmarks
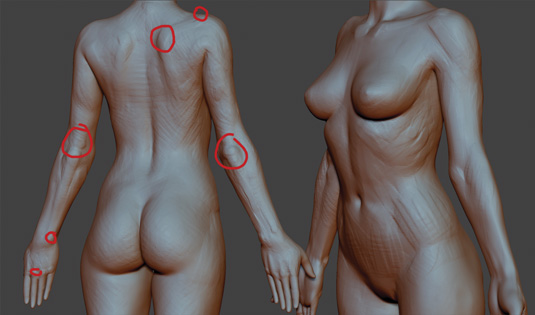
Pay close attention to the bone landmarks and their construction. The areas where the bones are closest to the skin gives us a lot of information about how we should sculpt those areas to keep them realistic.
Exaggerate areas such as the clavicle, the hip bone, the patella and the elbow on the model, so they are always in the back of your mind. Later we will blend them as we constantly work over the figure, adjusting our work in the previous session.
07. Check the angles
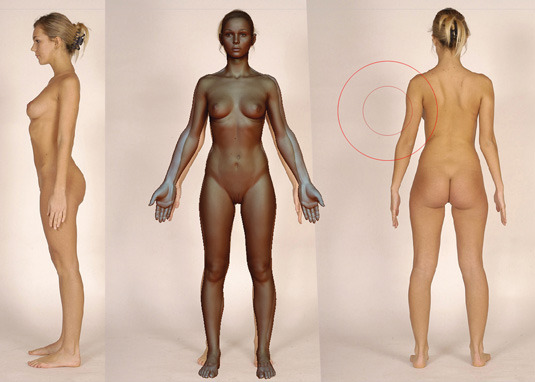
Constantly check all views to give you a good read of the figure and to see how one muscle intersects with another. Don't think about the écorché just yet, for now we only need to know where the placement of the muscles are as per our reference.
The aim is to produce a natural-looking sculpt and following the reference will ensure our success, before moving to the muscle groups. The écorché can be made later from the placements made to the figure here.
08. Using photo reference
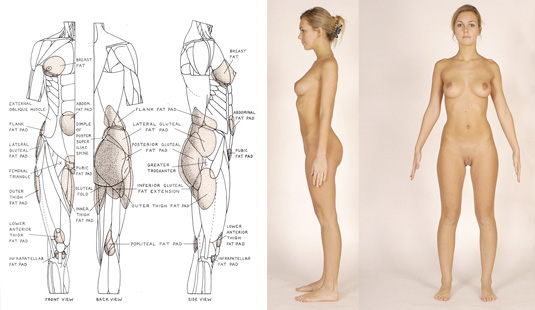
I used 3DSK photo as a source, the female figure I chose has the correct height and weight, with the right amount of body fat for use in this exercise. I sculpt in accordance with the figure, paying close attention to the shape around the hip and thigh area to instil a good feeling of feminism. These forms are vague on photos and it’s easy to get lost in the undulations on a contour, for now keep it rough.
09. Add another subdivision
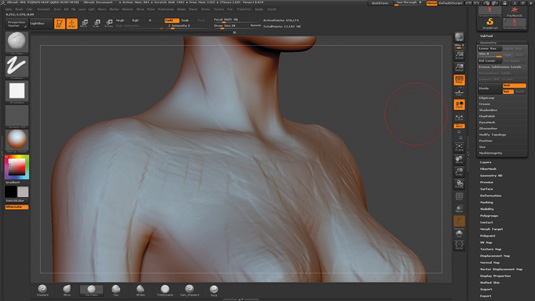
At this stage everything is in place and there's a good basic form coming through the model, so now is a great time to give our model another level of subdivision to refine some muscle groups.
I generally work until I can't get any more out of the current level, at which point I subdivide. That way you have no overpowering masses of polys to pull around. It helps to avoid blobby surfaces that can occur when a model is overworked at too high a subdivision level.
10. Shape the head
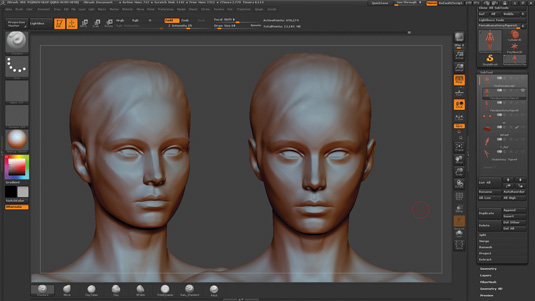
Simplifying the head and face into basic masses makes it easier to find the model's attitude. By focusing on the broad masses we will setup the model for refinement later on. Also, by having basic facial forms sculpted in at this stage you can make an emotional connection to the model, and I feel this actually affects your decisions in the sculpt.
11. Focus on the torso
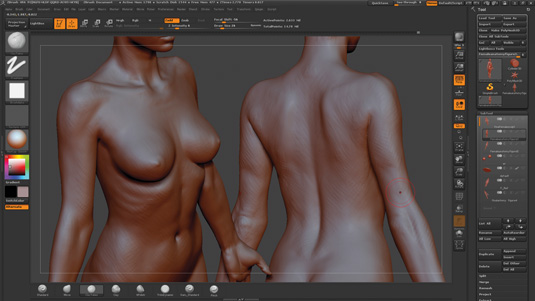
This is a complex area to work on as everything hangs from this main trunk. Reference images will only take you so far, you really have to study anatomy reference books to understanding of what's going on under the skin to give your characters life.
So we will use the muscle chart from Step 8 as a guide to block the muscle in, quite forcefully at first, as this will also be our base for the écorché side of the figure, so we should save some time.
12. Rhythms and forms
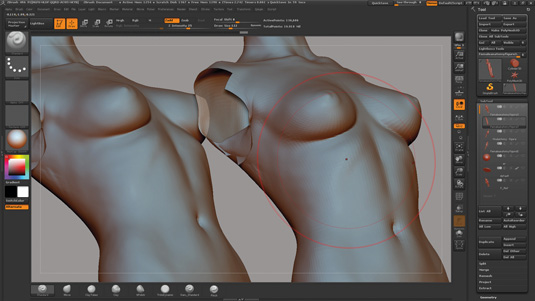
Try not to focus on minor details. Carefully examine ways to add to the overall attitude of the model, its posture and pose. Gradually develop your forms over the entire torso. Once you are happy with the large masses, start to look at the secondary shapes included within those masses.
This is a process of self correction, as we get closer to a realistic surface we need to adjust the overall shapes at a lower level if we spot parts that feel incorrect.
13. Check the silhouette
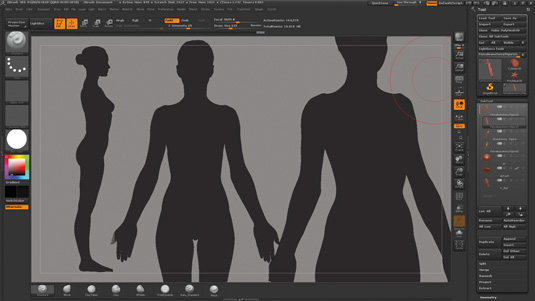
Finally, check the silhouette of the torso to look for opportunities you might have missed to add more life into the character. I constantly check with my anatomy reference to make sure I’m not mindlessly sculpting a surface.
I am looking for the relationships between the outline and the inner muscle, the way one wraps around another and folds over another. This is one of the hardest things to grasp with digital sculpting, but with practice it starts to make sense
Words: Dan Crossland
With a background in fine arts, Dan Crossland discovered digital sculpting seven years ago and finds it the most immediate method of transferring drawing skills to digital. Dan has worked in the video games industry for 10 years and is a senior character artist at Ninja Theory. This article originally appeared in 3D World issue 180.

The Creative Bloq team is made up of a group of art and design enthusiasts, and has changed and evolved since Creative Bloq began back in 2012. The current website team consists of eight full-time members of staff: Editor Georgia Coggan, Deputy Editor Rosie Hilder, Ecommerce Editor Beren Neale, Senior News Editor Daniel Piper, Editor, Digital Art and 3D Ian Dean, Tech Reviews Editor Erlingur Einarsson, Ecommerce Writer Beth Nicholls and Staff Writer Natalie Fear, as well as a roster of freelancers from around the world. The ImagineFX magazine team also pitch in, ensuring that content from leading digital art publication ImagineFX is represented on Creative Bloq.
