How to light and shade materials in a 3D scene
Digital artist Lorenzo Zitta uses his Gold Skull render to reveal how to shed light on a scene.

When working with accurate and realistic lighting and reflections, I like to use LightWave: the Surface Editor and its fast rendering speed make it the perfect tool.
I created this image, Gold Skull, to test the lighting and reflections on materials, to give me accurate control over the shine and reflections on surfaces. I wanted to give the environment a gothic atmosphere by placing a golden skull on a marble floor. To make the image more interesting, I added some antique gold coins, which fall from above using LightWave's Bullet Dynamics.
LightWave 11.6 offers you the choice of nine types of lights – even more if you install external plug-ins – making a very flexible tool to set up accurate lighting. I lit the scene with a simple set of lights helped by a HDRI environment.
The three light types are as follows: An area light is used as the main light source on for the model. This gives the skull volume and realistically casts shadows across the whole scene. I also use a linear light, as this helps to enhance the specular and bump effects on the skull. Finally I use a spotlight as a fill light to give the scene depth.
- Download the source files for this tutorial here
Creating the skull scene
01. Bullet dynamics
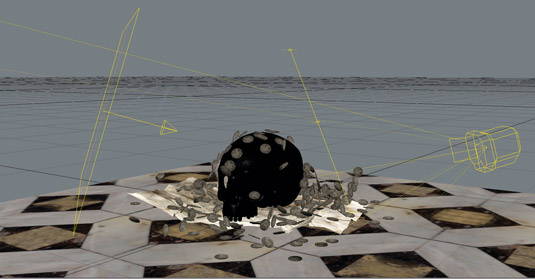
Use the native physics simulator in LightWave to add the coins. I place them above the skull, then let the software drop the coins in a random and natural way.
02. Metal matters
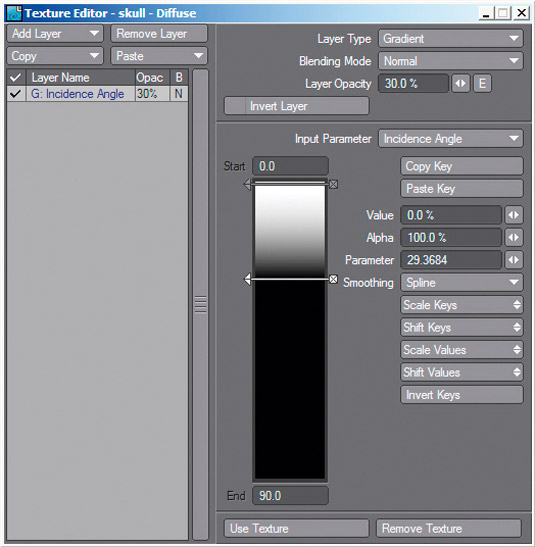
The metal elements are created with the Surface Editor controls. I achieve a good result with the help of images, bump gradients and displacement.
03. PSD export
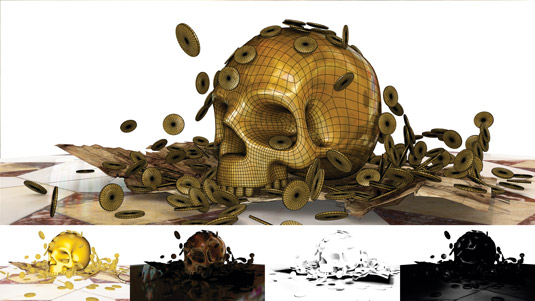
I use PSD Export to create the necessary layers to improve the final image. I finish the work in Photoshop, adding the church background and volumetric lights.
Daily design news, reviews, how-tos and more, as picked by the editors.
Words: Lorenzo Zitta
Italian digital artist and freelance graphics designer, Lorenzo Zitta has won numerous awards for his photography and CGI. This article originally appeared in 3D World issue 181.

The Creative Bloq team is made up of a group of art and design enthusiasts, and has changed and evolved since Creative Bloq began back in 2012. The current website team consists of eight full-time members of staff: Editor Georgia Coggan, Deputy Editor Rosie Hilder, Ecommerce Editor Beren Neale, Senior News Editor Daniel Piper, Editor, Digital Art and 3D Ian Dean, Tech Reviews Editor Erlingur Einarsson, Ecommerce Writer Beth Nicholls and Staff Writer Natalie Fear, as well as a roster of freelancers from around the world. The ImagineFX magazine team also pitch in, ensuring that content from leading digital art publication ImagineFX is represented on Creative Bloq.
