Tips for texturing hard surface models
We explain how to achieve smooth texturing using Substance Designer and Painter.
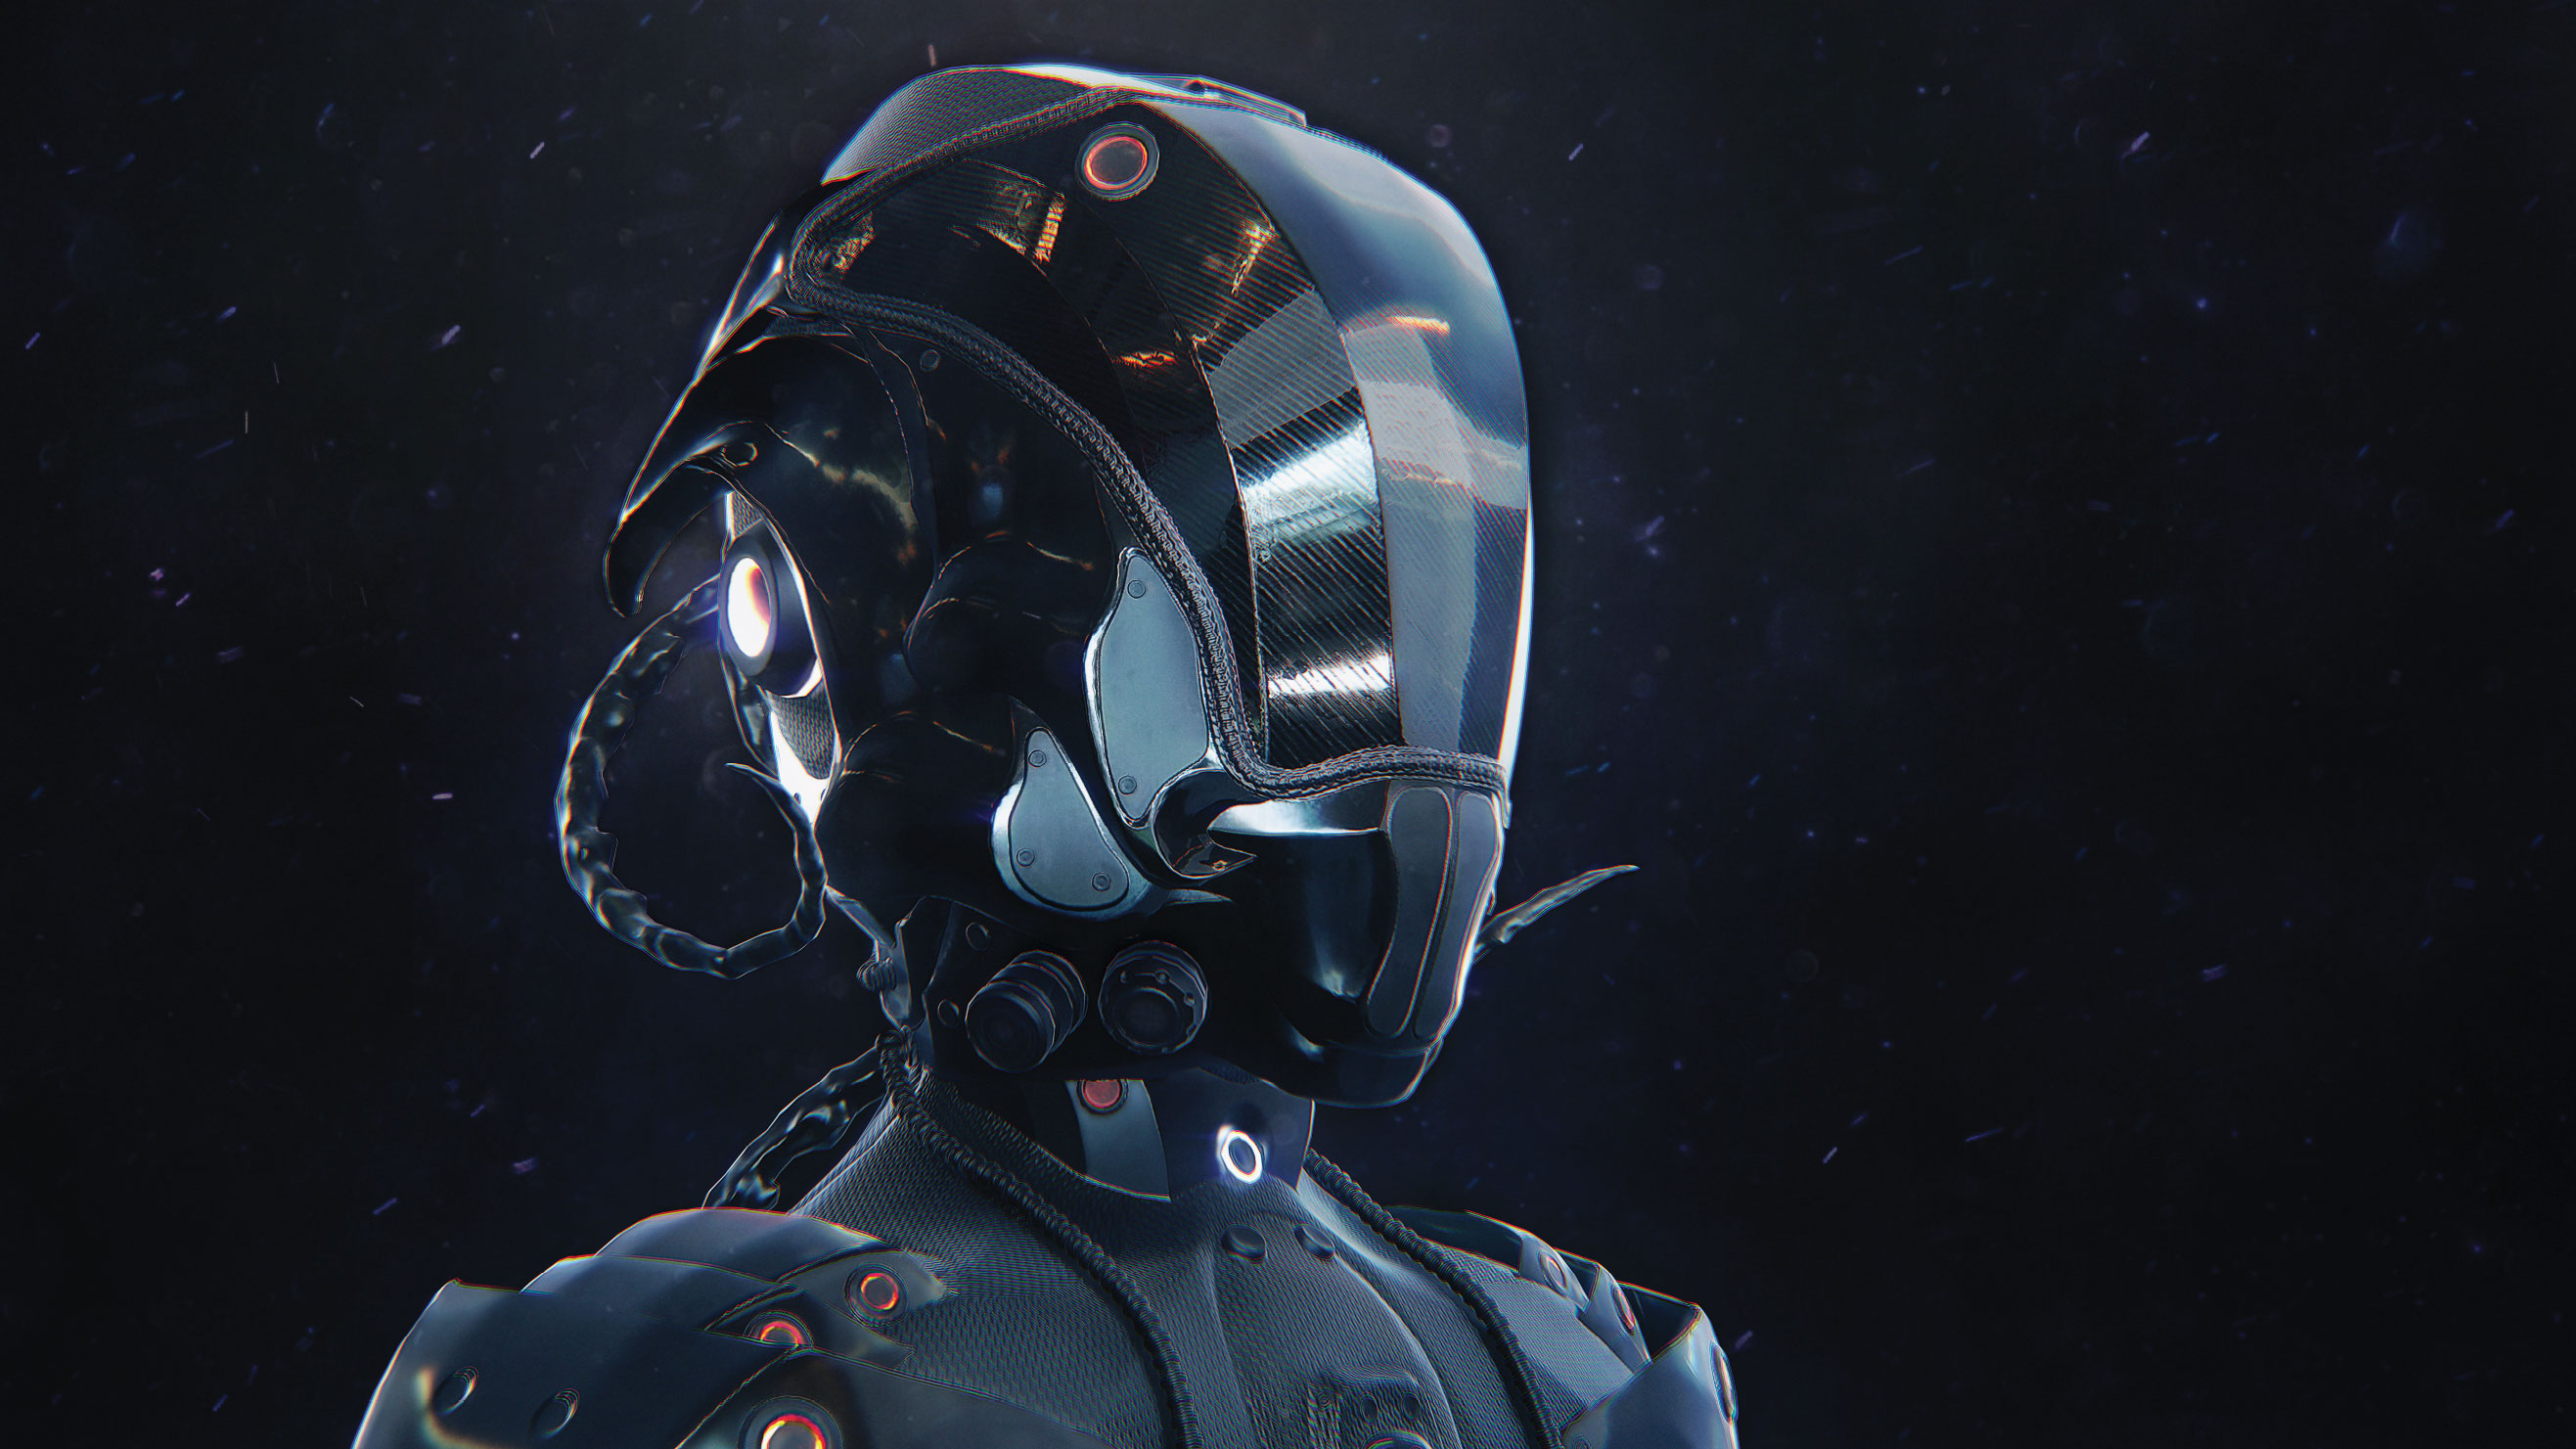
A vital part of creating convincing and show-stopping 3D art is nailing the texturing. Hard surface 3D models are nice to texture as they can come with a large variety of materials and some used/weathered effects on them, which let you imagine the functionality and story of the object. In order to get a smooth texturing workflow you have to take several things into account.
The first thing is to prepare your UVs for baking. This way you'll be sure to get accurate results by reproducing all the details from your high-poly mesh on your low-poly version.
Define your smoothing groups according to your UV seams in order to avoid issues; visible lines in the Normal map for example, created by hard edges/smoothing groups transitions in the mesh.
In order to get a smooth texturing workflow you have to take several things into account
If you have identical parts with overlap in your UV, do an offset (of one unit) on the duplicated ones to bypass them during the baking. This way you'll preserve the optimisation and get a correct result during the baking process.
In Substance Designer/Painter use the Match by Name option for the baking. This will use the meshes' names to give a perfect correspondence between your low and high poly. It's always useful whether it is a character or a weapon you are doing.
Use mesh information through baked maps. For example ID maps quickly create masks for the different parts; use it as an additional map in a Substance Painter project, or as a source for a Multi-Material Blend node in Substance Designer. Use Ambient Occlusion to localise some dirt in the concave areas of the mesh. You can damage exposed areas (borders) by using Curvature to create some paint peeling, cracks and scratches.
Add life in your textures by creating small scratches and relief imperfections. Don't forget to always be coherent with the material type (its real-life properties). Adapt it. For example, if you add dirt to the part/context, you'll not add the same type if it's a fuel tank, a weapon barrel, or a part subject to frictions.
Daily design news, reviews, how-tos and more, as picked by the editors.
It can be really subtle; the amount and intensity can vary with the style, but when possible it will make the result more believable.
Four steps to a textured hard surface model
01. Bake different maps
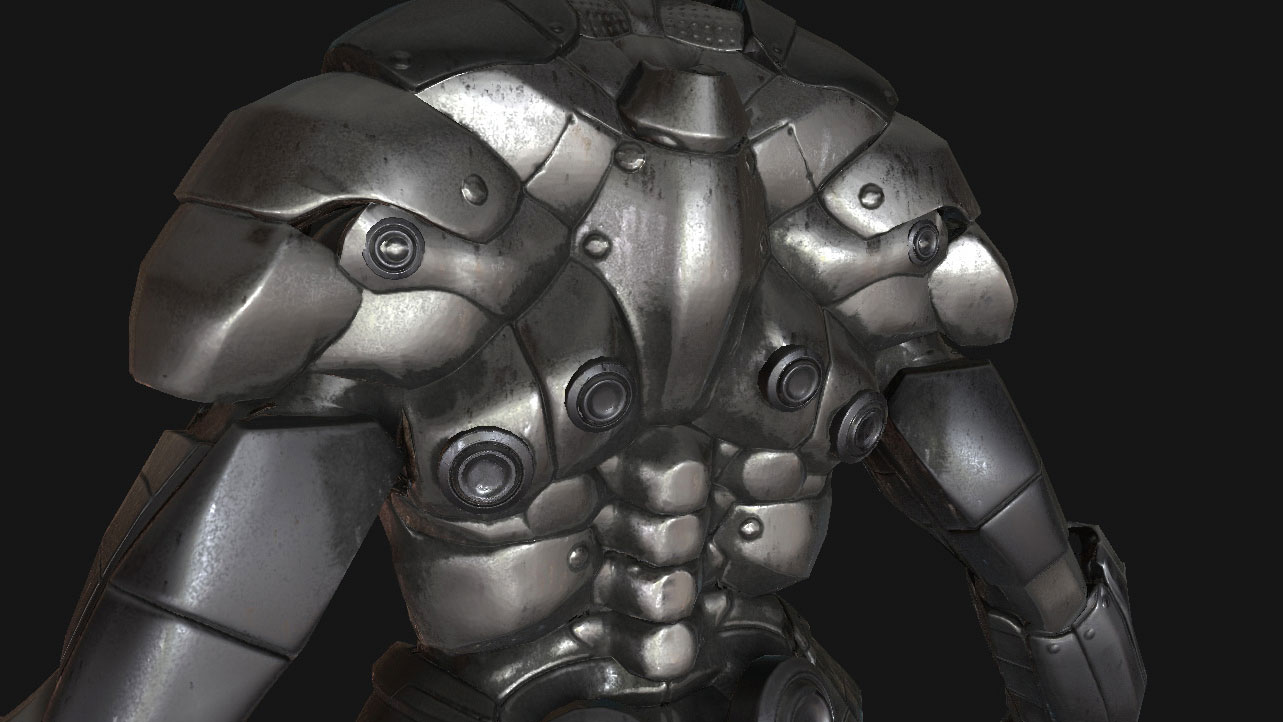
By baking different maps, you're able to get information for your mesh without having to paint/create them from scratch in the textures. In Substance Designer use filters from the Mesh Adaptive category of the Library and fill with baked information. In Substance Painter, add a generator on your layer mask by right-clicking on it. This will automatically use your document's additional maps to parametrise the effect.
02. Add diversity to your model
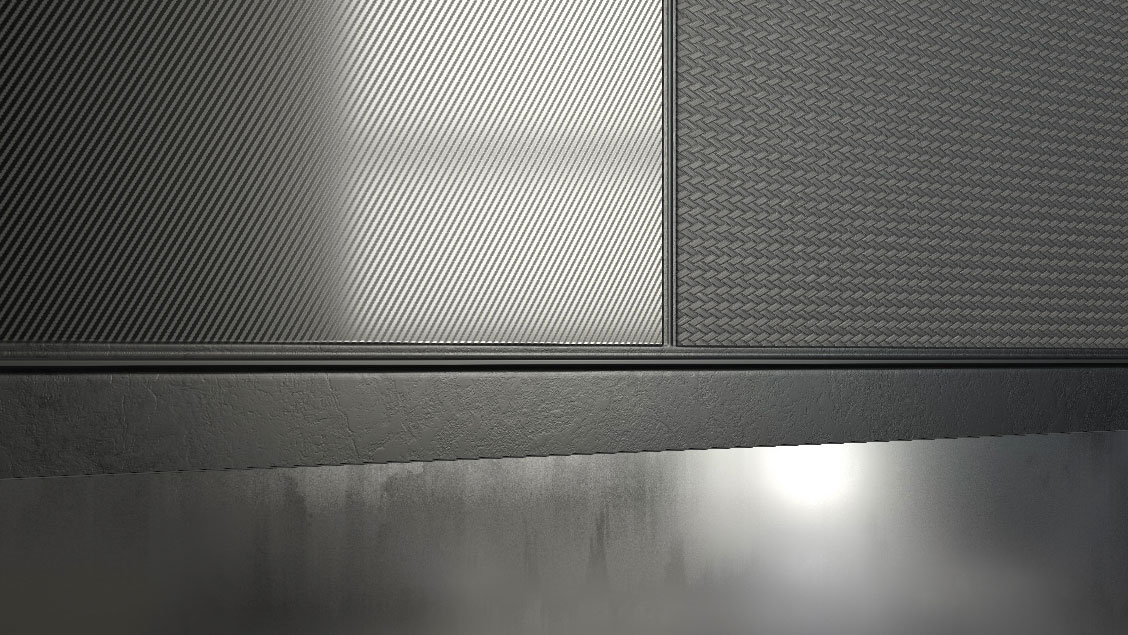
Add some contrast/diversity – it doesn't necessarily mean you have to use different colours, it can be variations in your materials. Alternating with plastic/metal/painted metal/glass parts will make each material (and your model) more appealing. Even for similar materials, if two parts use plastic, they can also be different if the parts haven't got the same purpose.
03. Make materials believable
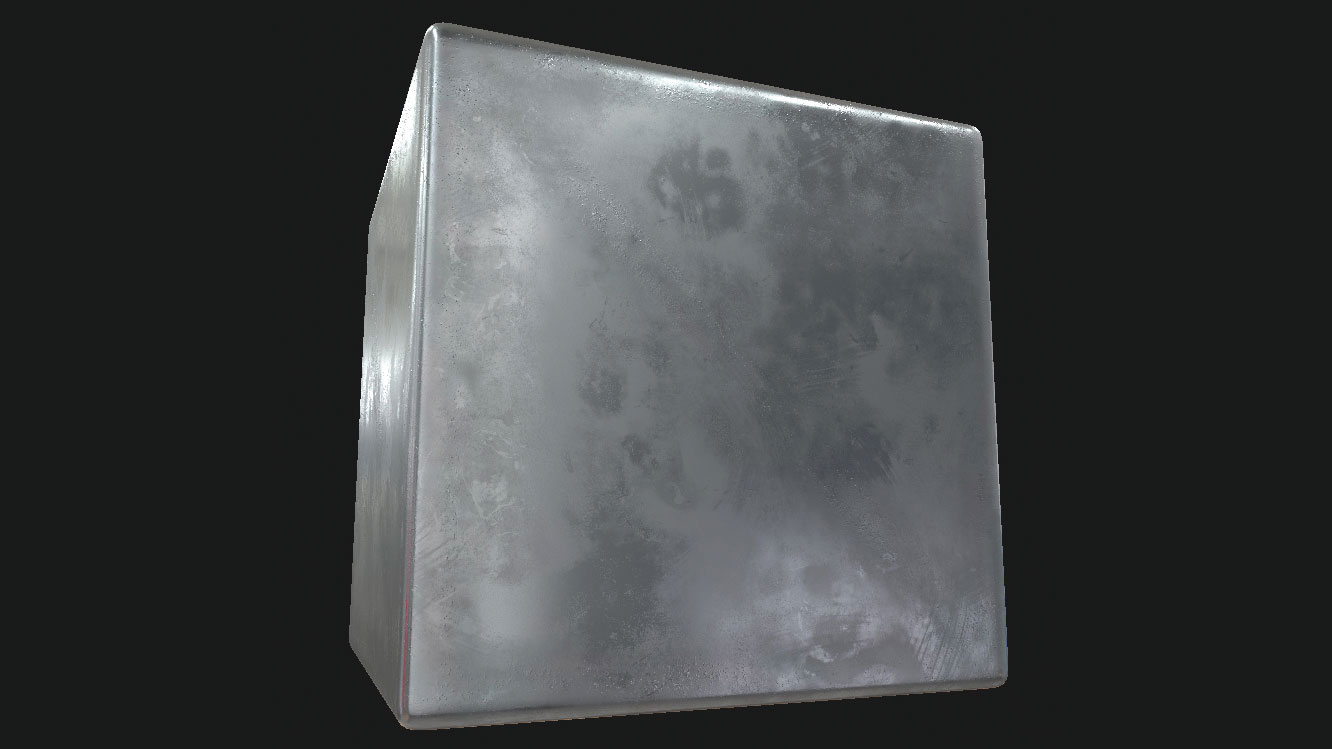
Use the Grunge maps in Substance Designer or Substance Painter in order to quickly create interesting variations on the material's reflection. By adding some higher roughness values you are able to quickly achieve more believable materials by adding some life to them. They can then also help you to get colour variations.
04. Create your own tools
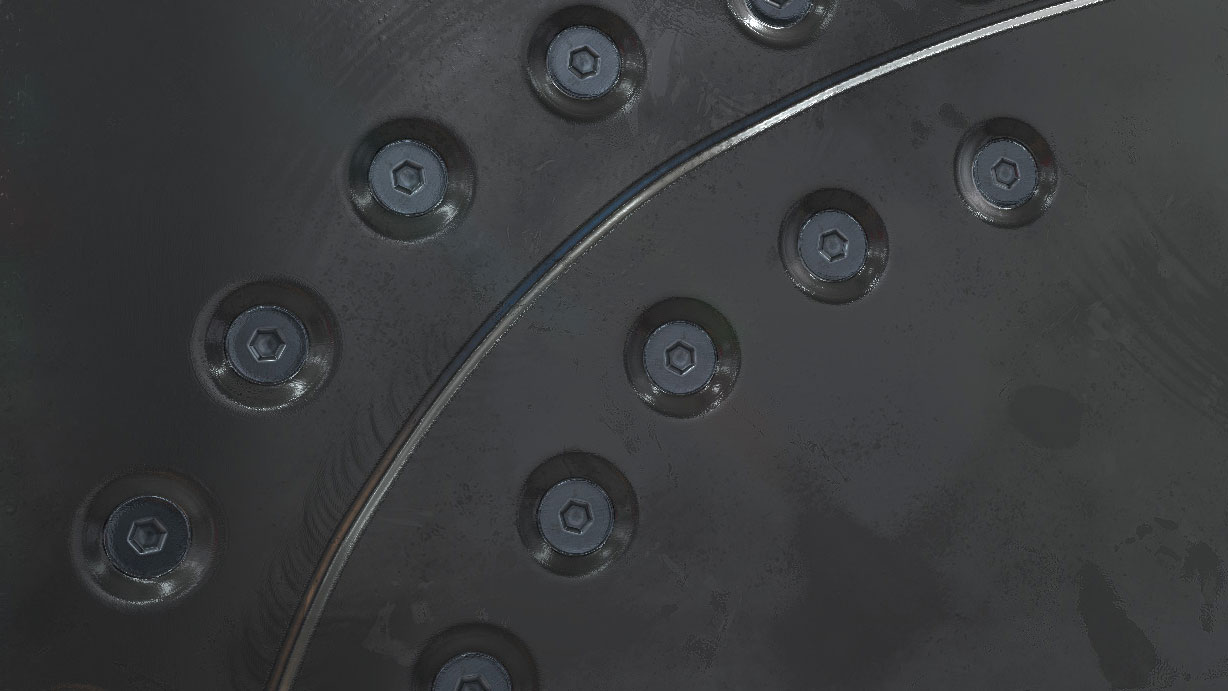
Use Substance Painter tools to quickly paint details like bolts on all the channels at the same time (Albedo, Normal). By creating your own tools with custom alphas, you can quickly add nice details. By doing them directly in textures, you'll not have to paint over your baked normal and will be sure to get something perfectly coherent without having to paint several times the same element on different maps.
This article originally appeared in 3D World issue 206. Buy it here.
