6 tips for creating realistic 3D trees
See how Blender's new plugin, The Grove, allows users to grow true-to-nature trees.
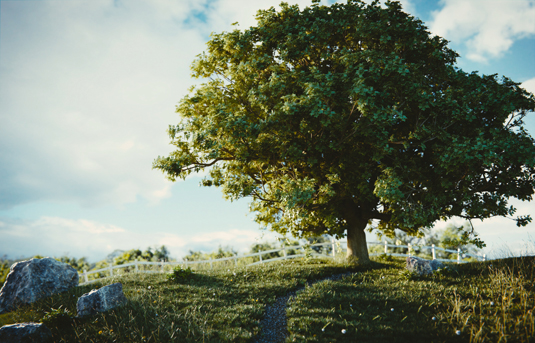
Instead of modelling trees, The Grove enables you to grow trees with an element of photorealism. It sounds simple enough – and it is. The new 3d art plug- in for Blender creates trees by simulating their growth. It speeds up their year-by-year development; first growing new twigs, then bending branches under the added weight, and before growing another year, pruning shaded and weak branches.
The Grove is a simulation-based algorithm that evolves true-to- nature trees, with good results at every year of a tree's life – from sapling to hero trees. However, best of all is that it’s easy, fast and incredibly fun to play with.
In this tutorial I'll show you how to get started with The Grove. We'll begin by picking a preset, repeatedly clicking the Simulate button, and watching nature take its course. You'll witness branches grow, branches bend, and branches disappear by pruning – all done for you automatically.
Article continues belowThe Grove is easy, fast and incredibly fun to play with
A tree's shape depends on its DNA, the hormones that flow through its branches, and last but not least, how it looks depends on its environment. These three things give you control in a very natural way.
The simulation-based approach of The Grove means that it evolves natural trees, year after year, in order to achieve unrivalled results. You can also take control by tweaking the many parameters to get the character you're after in your own tree.
In this tutorial I am going to give examples on how to grow trees in every shape that you can imagine. You are going to learn how to set up an environment to attract, deflect or stop new growth; avoid buildings, simulate a dominant wind direction and create topiaries.
For all the assets you need go to creativebloq.com/vault/3dw205
Sign up to Creative Bloq's daily newsletter, which brings you the latest news and inspiration from the worlds of art, design and technology.
01. Create a basic grove
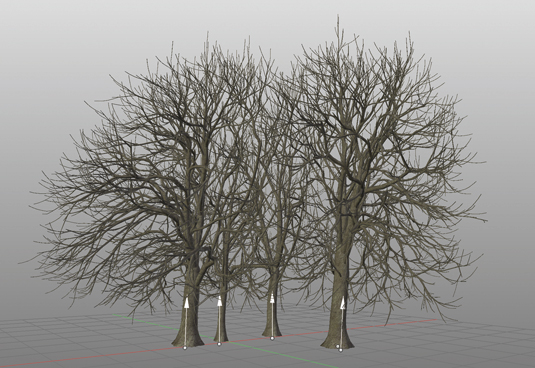
Here we're going to create beautiful combined crown shapes when we grow several trees together. Place and rotate one or more Empty objects to tell The Grove where to start growing trees. Next, select your Empty objects and go to Add>Mesh>The Grove, and start growing.
The trees interact with each other and the space they exist in. As they grow they prune each other and with age they will form a natural group similar to those you see in nature.
02. Flow and grow
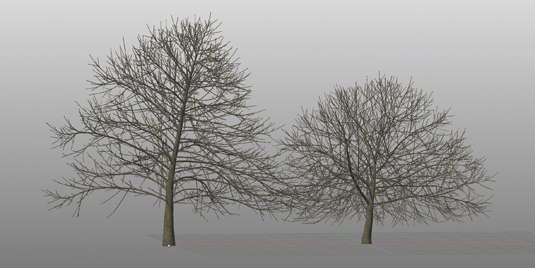
The crown shape a tree evolves into is also dependent on hormones flowing through the branching structure. Favour main over side branches with Favor Current. Boost crown growth over lower branches with Favor Crown. Negative values create heavy side branches and a less apparent main trunk.
The Branching Loss parameter controls the inefficiency of a branching point – reducing growth power for each successive branching generation – to fill the crown in a shrub-like fashion.
03. Controlling the bend
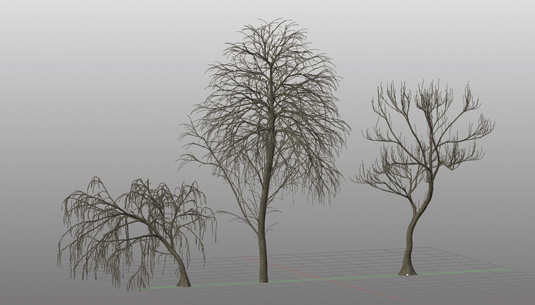
Branch Weight controls the bending of branches under their own weight, and this can be used in order to create weeping trees. Bending at each node increases with the amount of nodes it carries and decreases with branch thickness and branch verticality. As branches grow in width, they strengthen and limit bending.
You can also affect the bend of a tree by altering the Leaf Weight controls; heavy leaves cause thin twigs to droop, while strong twigs tend to bend up to the sky.
04. Create Topiaries
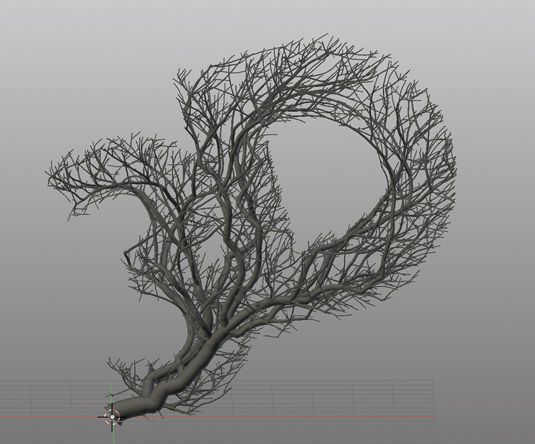
Use an environment object to attract, deflect or block new growth. An environment object will affect tree growth by blocking growth, attracting growth or deflecting growth.
Use combinations of these effects to make your tree avoid a building, grow towards a light source, or grow within a topiary shape. Use the preset Topiary as a starting point, then experiment and get creative.
05. Build branches
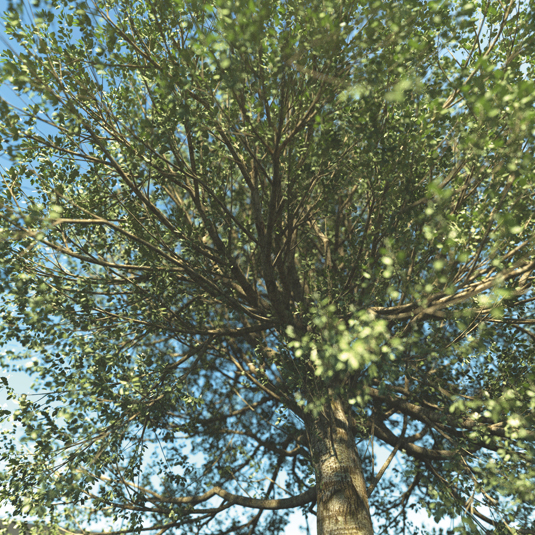
After simulation, create a curves or mesh model of the branches. Start with a Tip Thickness matching with the twig's thickness, for a smooth transition. Then add character to the branches using the Branching Thickness Exponent. The trunk will seamlessly disappear into the crown. Use the polygon reduction tools for a lightweight mesh.
06. Distribute twigs
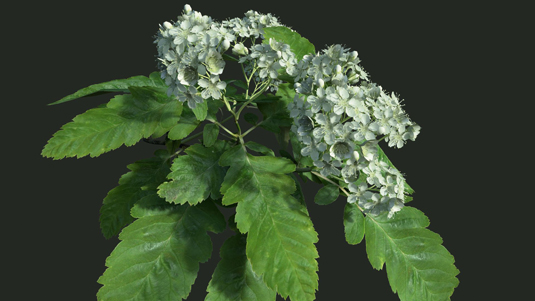
Twigs take over the last growth state by distributing linked copies of modelled twigs, duplicated along branches and placed in orientation to the sky. Using a small, modelled twig model will save huge amounts of memory and means you can also model fruit and so forth.
Twigs are placed and rotated automatically so long as you make sure your leaf or twig object points to the right when in top view. Press Ctrl+A to apply size and rotation.
This article was originally published in 3D World magazine issue 205
