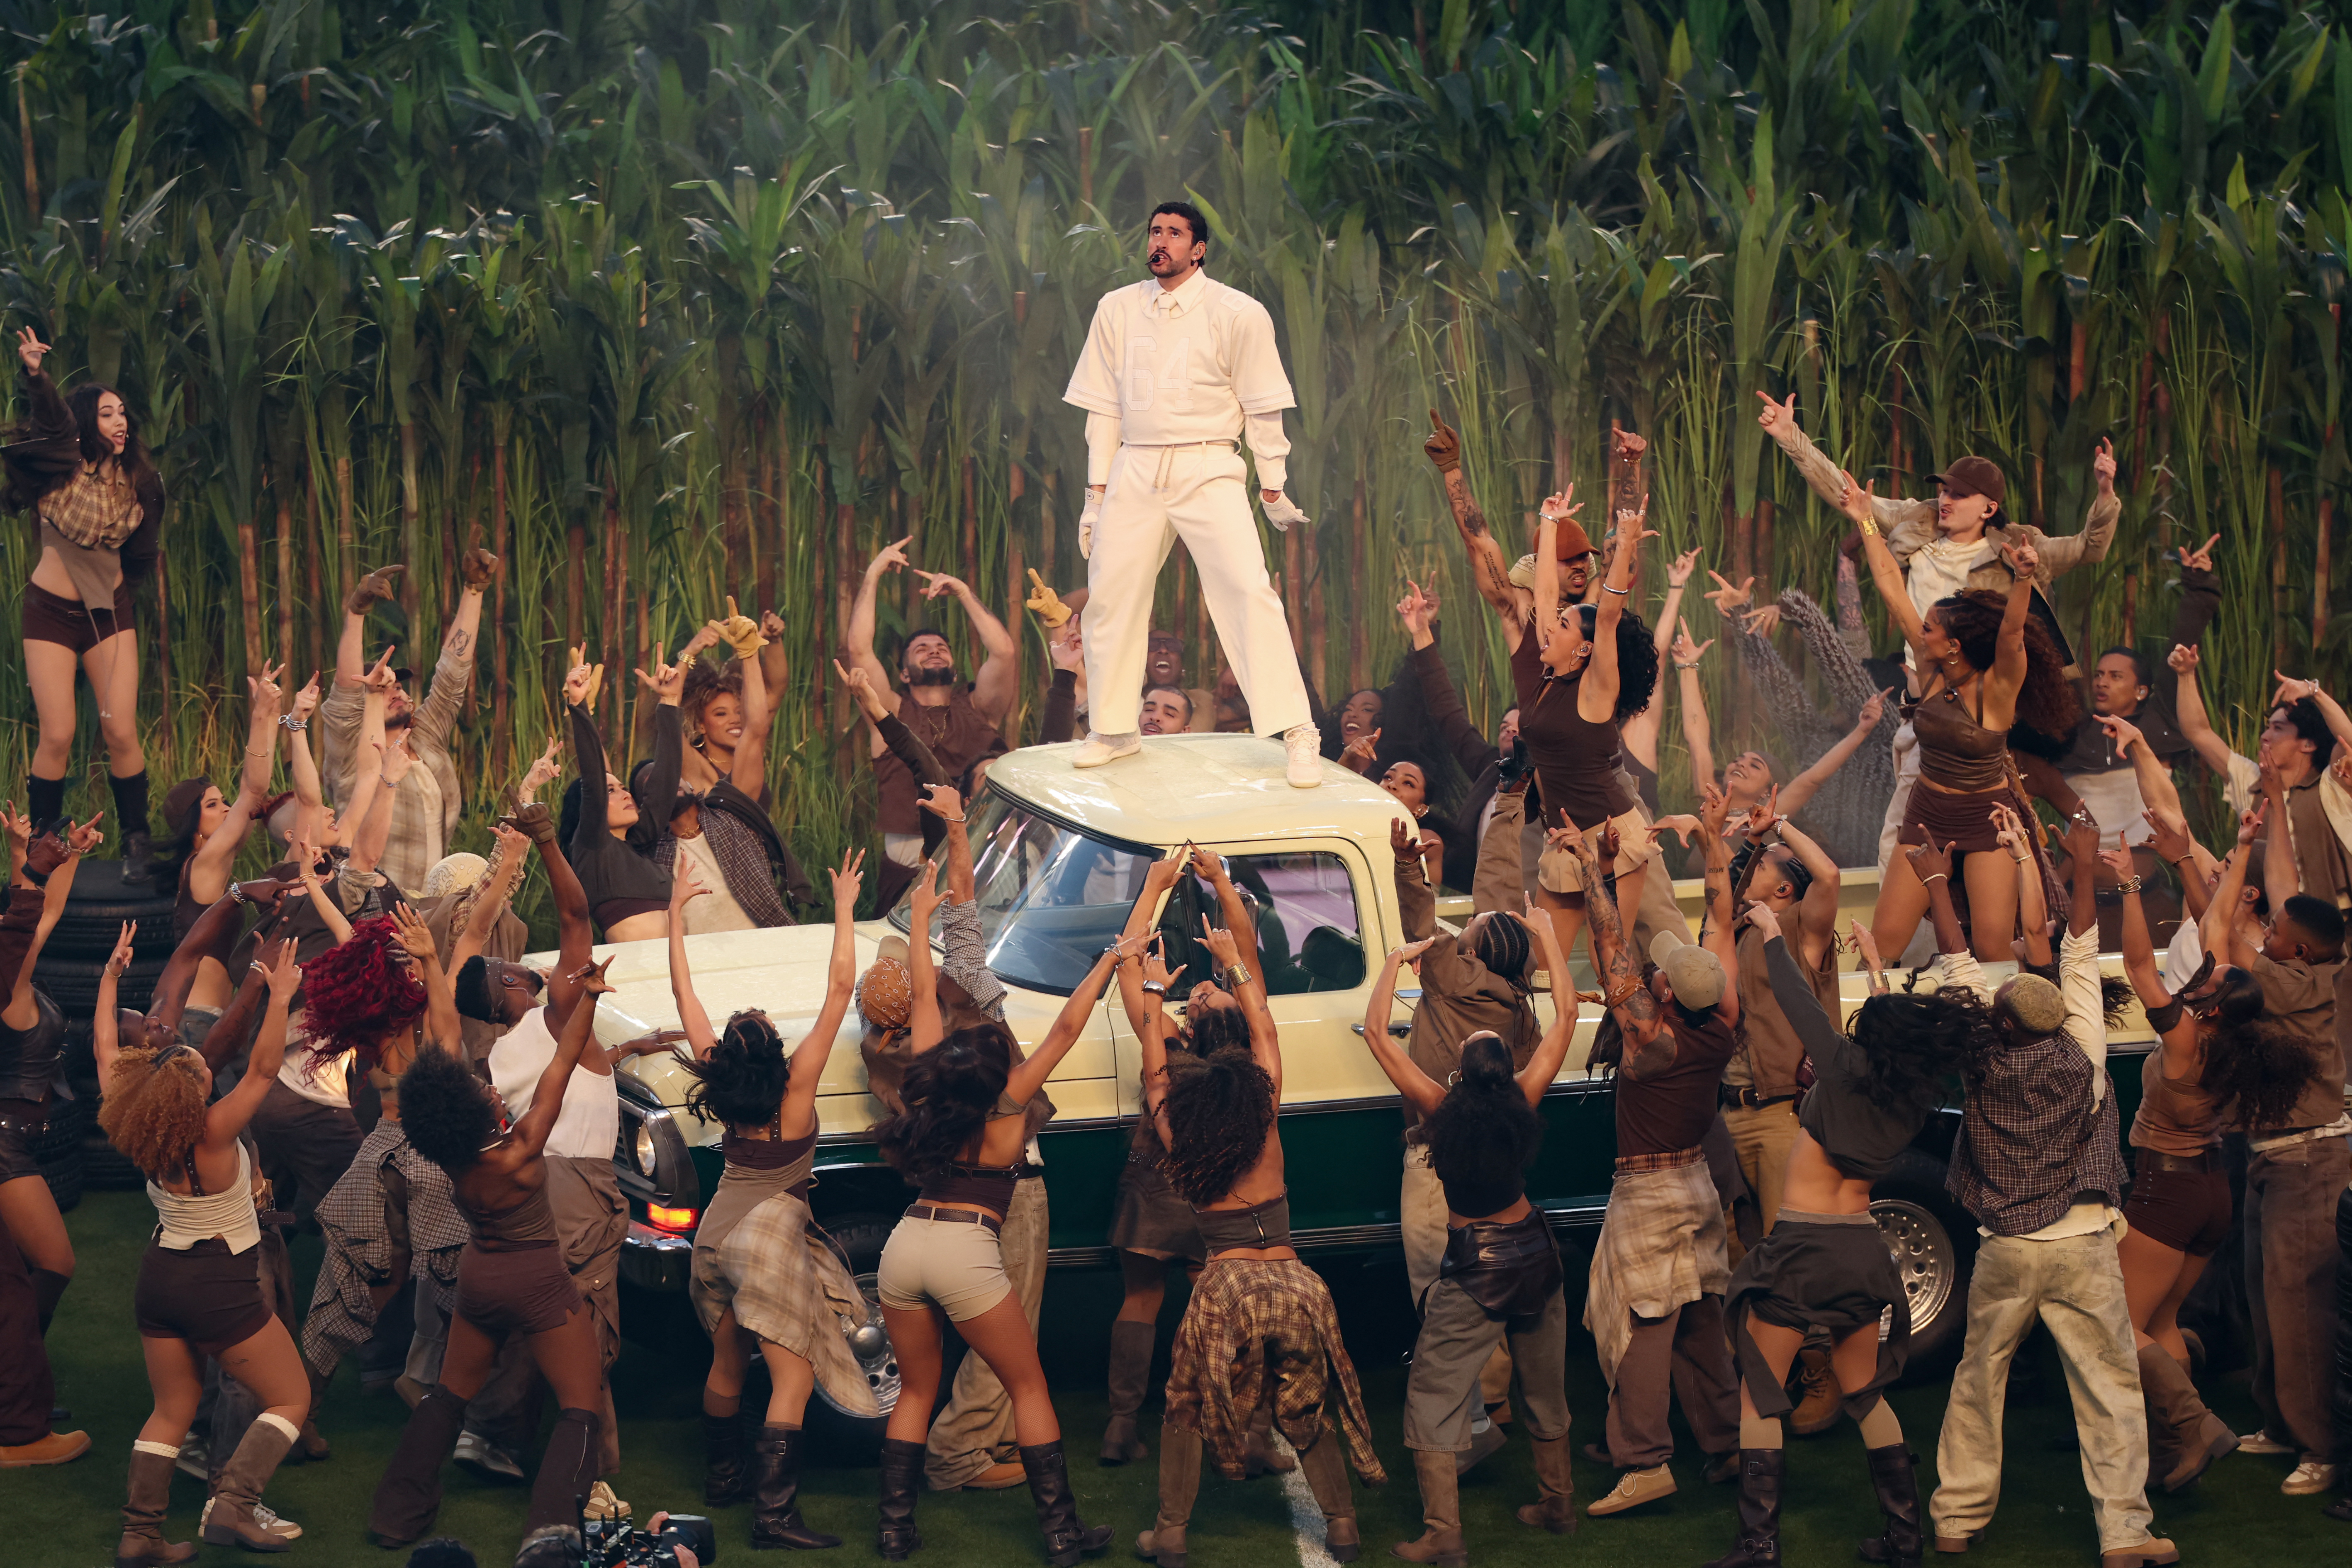
Create stunning watercolour fire effects
Discover how to paint a watercolour fire and create light, warmth and reflection.
Sign up to Creative Bloq's daily newsletter, which brings you the latest news and inspiration from the worlds of art, design and technology.
You are now subscribed
Your newsletter sign-up was successful
Want to add more newsletters?

Five times a week
CreativeBloq
Sign up to Creative Bloq's daily newsletter, which brings you the latest news and inspiration from the worlds of art, design and technology.

Once a week
By Design
Sign up to Creative Bloq's daily newsletter, which brings you the latest news and inspiration from the worlds of art, design and technology.

Once a week
State of the Art
Sign up to Creative Bloq's daily newsletter, which brings you the latest news and inspiration from the worlds of art, design and technology.

Seasonal (around events)
Brand Impact Awards
Sign up to Creative Bloq's daily newsletter, which brings you the latest news and inspiration from the worlds of art, design and technology.
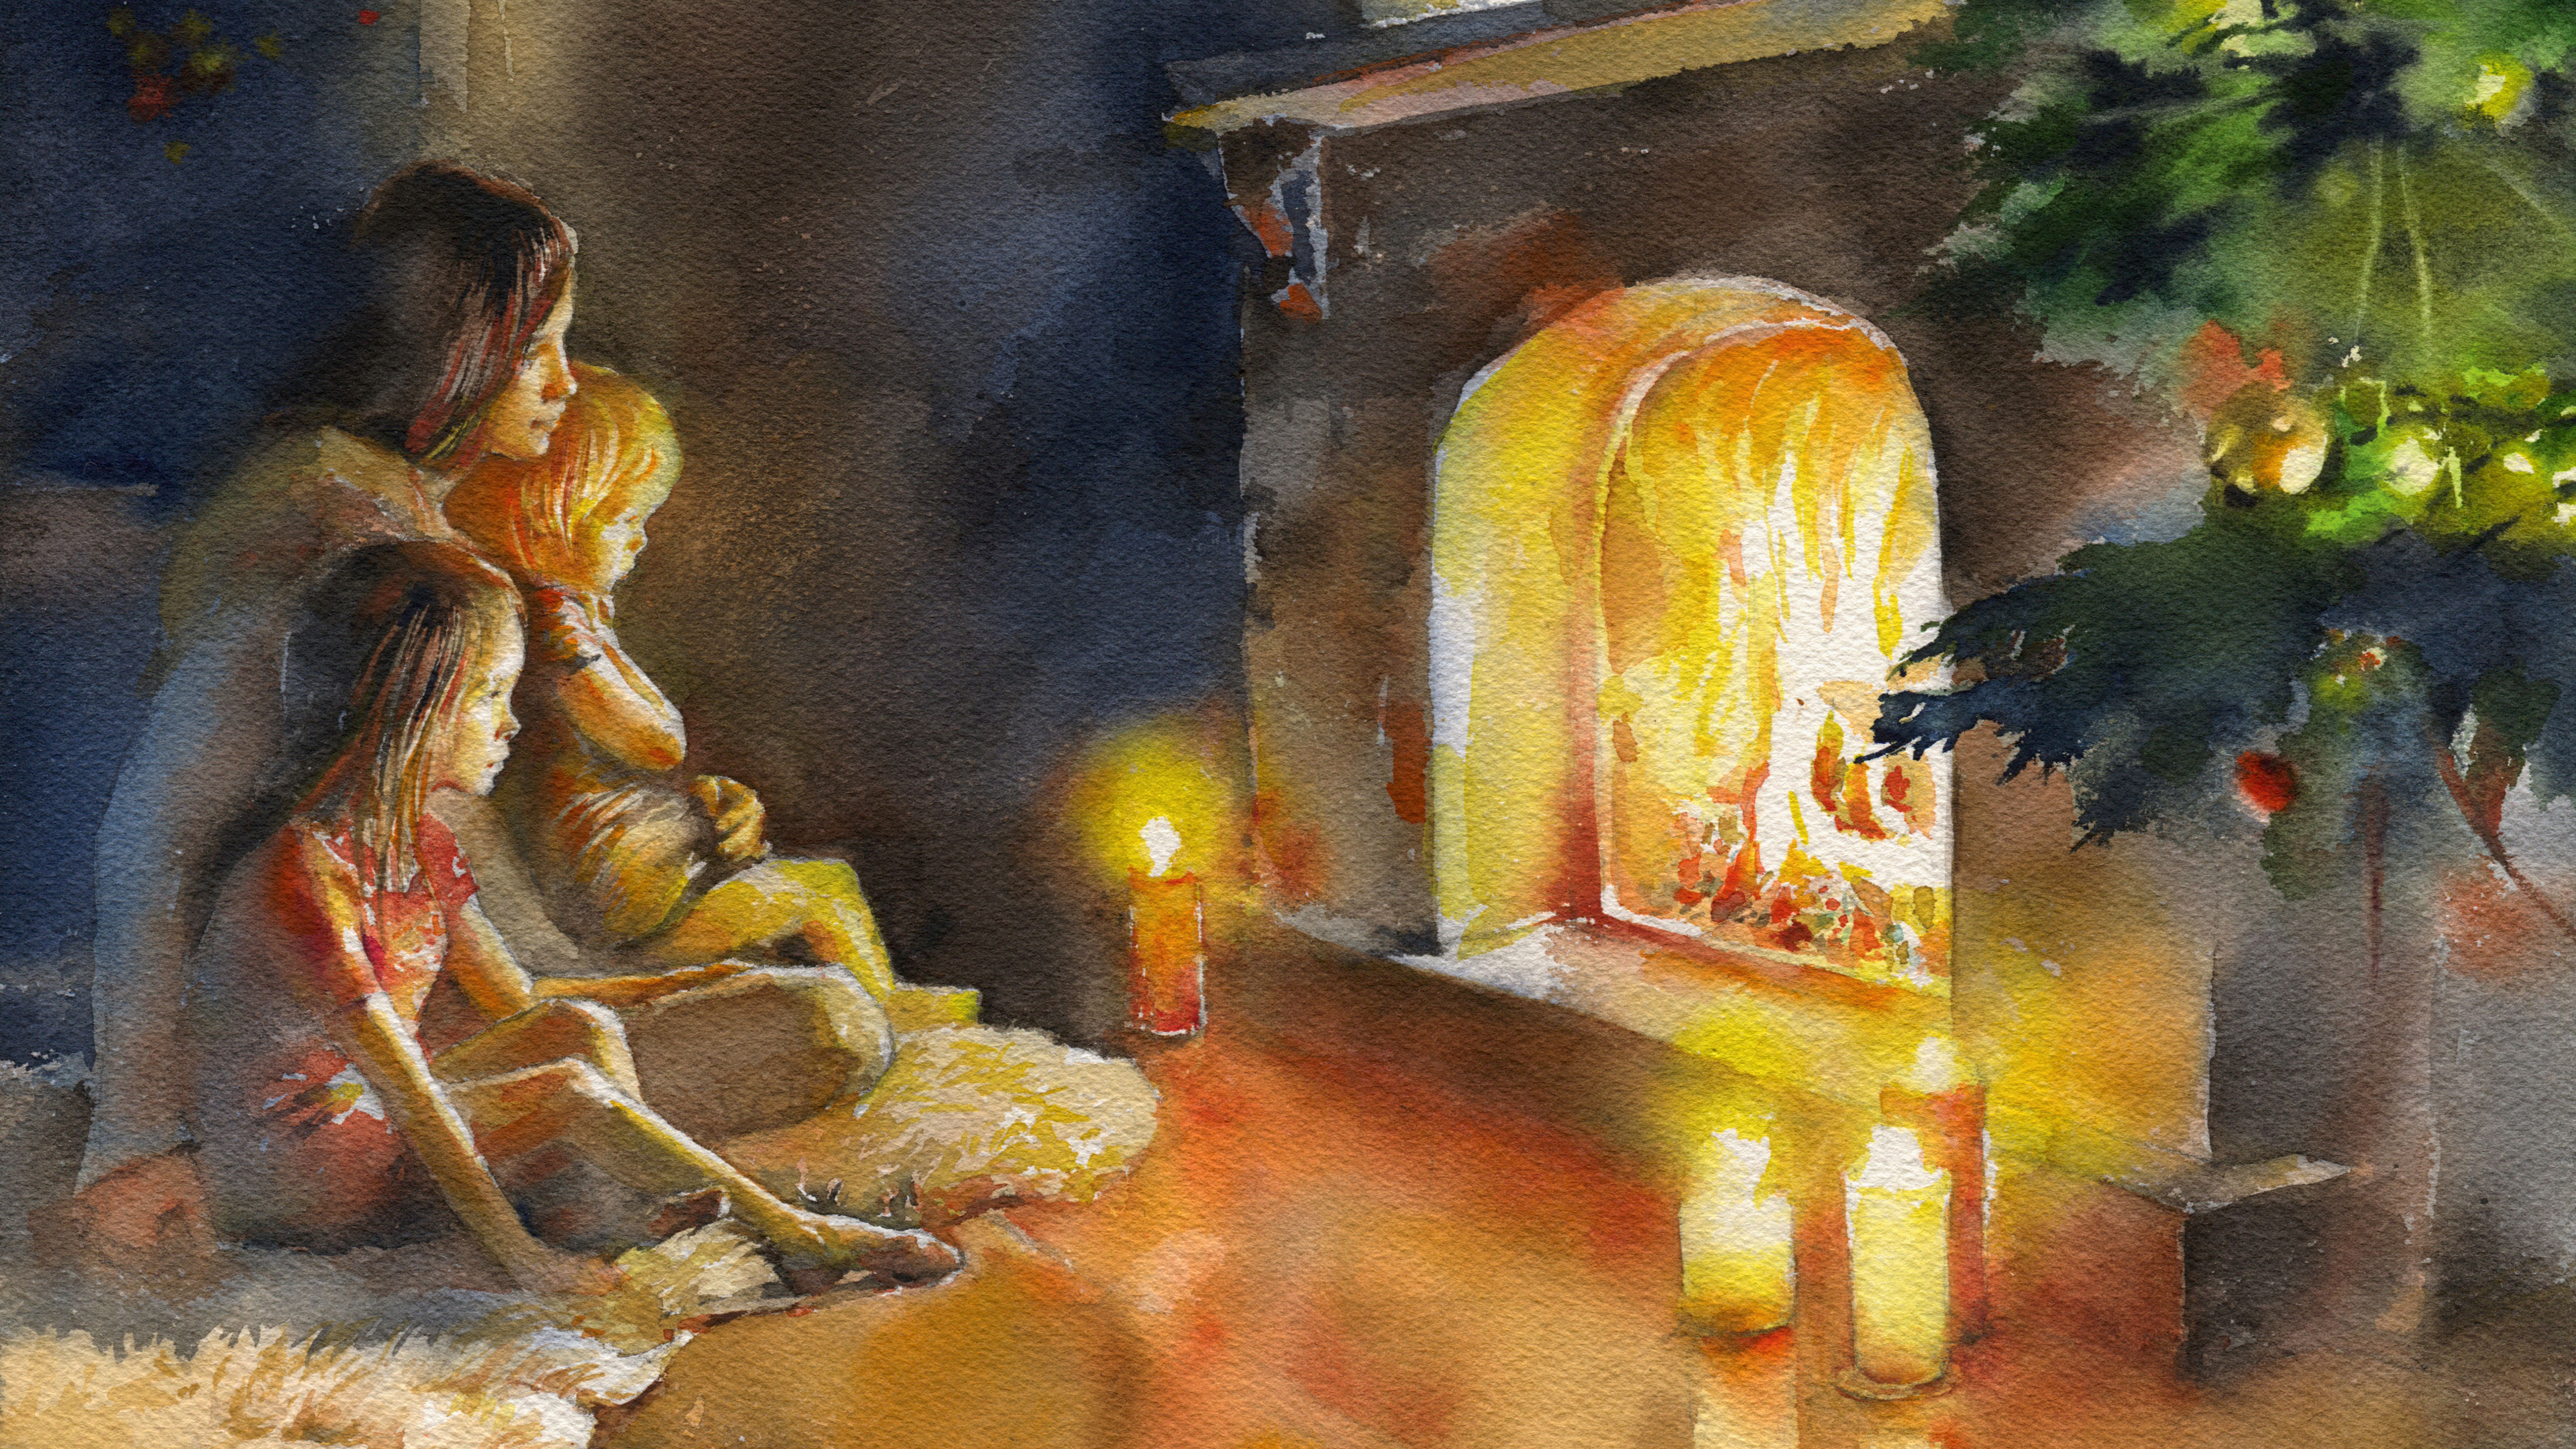
If you want to learn how to create stunning watercolour fire effects, you're in the right place. The play of light from flames, the mystery of shadows and the reflections of fire on transfixed faces are the main goals of this masterclass, created by Olga Sternyk.
Composition is the most important part of a painting. This picture is composed of location, people, big areas of light and shadow, and the play of contrasts. Sternyk's aim is to focus the attention of the viewer onto the faces of the people and the light of the fire.
The rest of the painting will only be detailed slightly to portray the cold surroundings. The fireside is the main focal point of the composition, with the family being the secondary focal point. The candles will create small additional light sources and reflect onto the wooden floor to create a sense of warmth.
Sternyck has used a few reference photos here. There's a photo of the family near the fireplace, a separate photo of a fireplace that she preferred, and lastly a separate detailed photo of fire. If you feel that any details in your reference photo are unnecessary, just ignore them. For new kit, head over to the best watercolour paints guide, and be sure to check out the best watercolour paper, too. Or, for now, read on for Sternyk's expert tutorial.
01. Start sketching
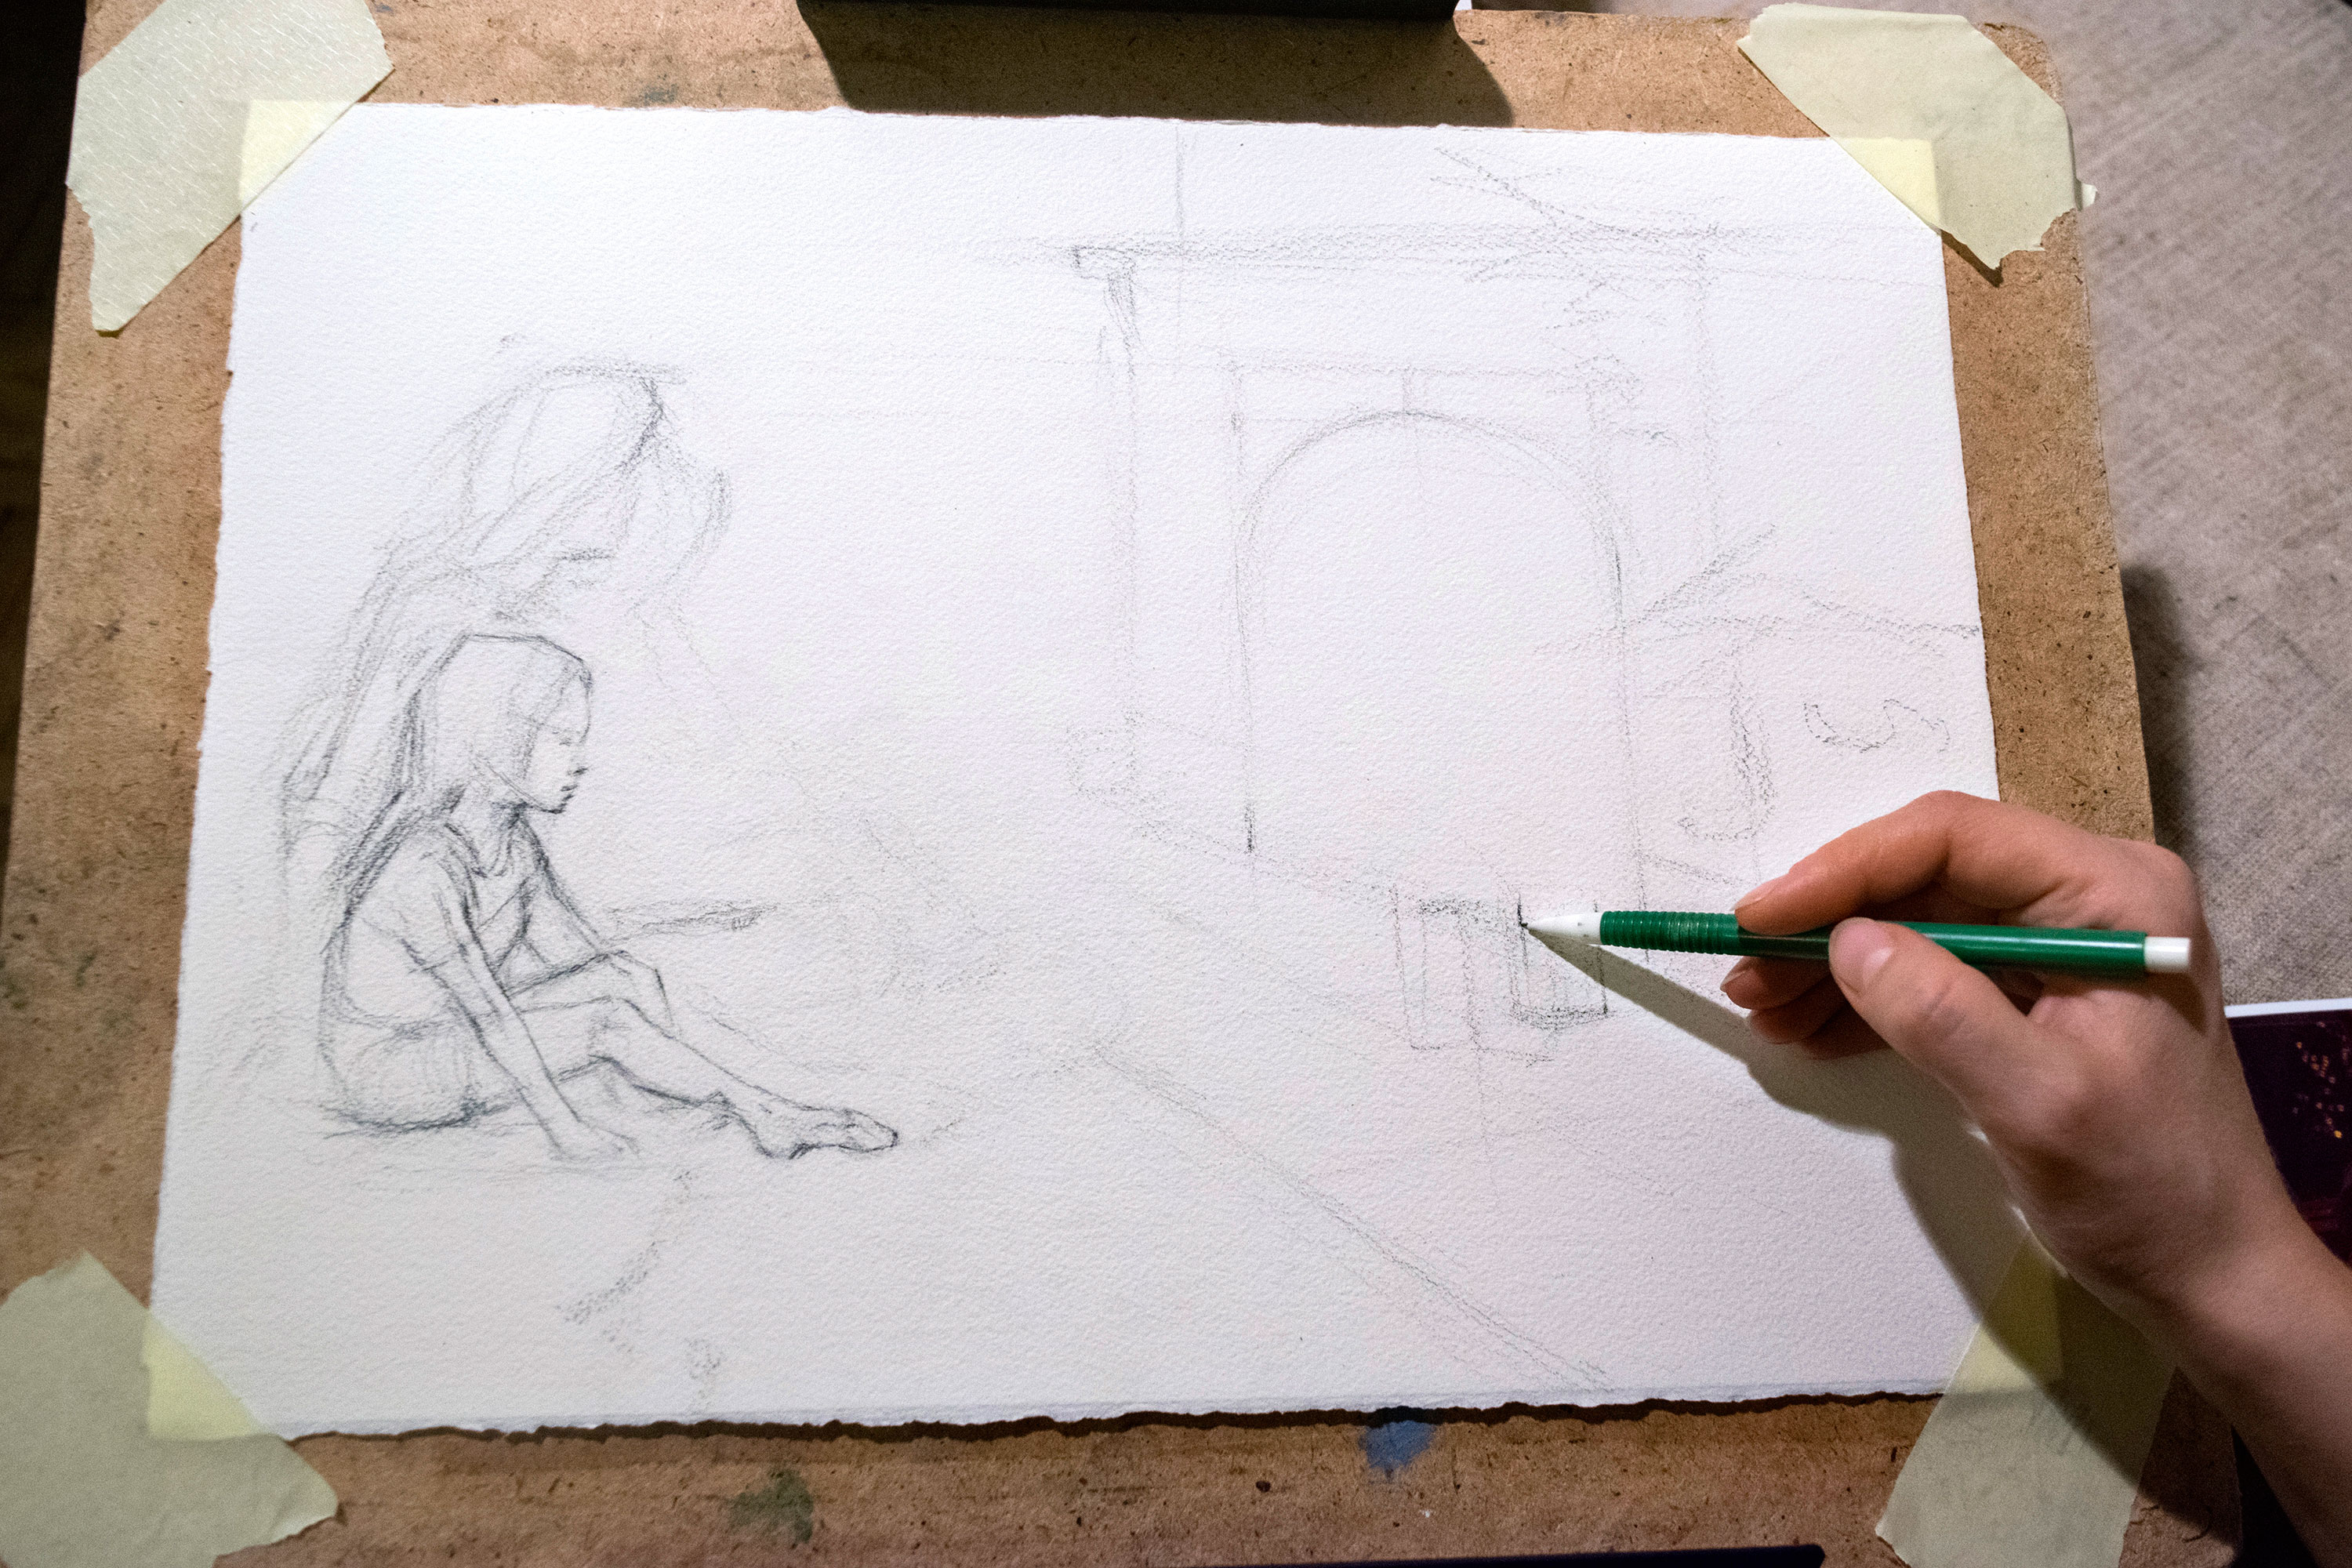
First, I attach my paper to the board with masking tape. If you like, you can grid up your photo, but I prefer measuring by eye. I sketch the fireplace, then find the correct place for the family. I check the proportions of the figures, especially the girl, who is on a front plane. I can now move onto the additional details.
02. Prepare the palette and paper
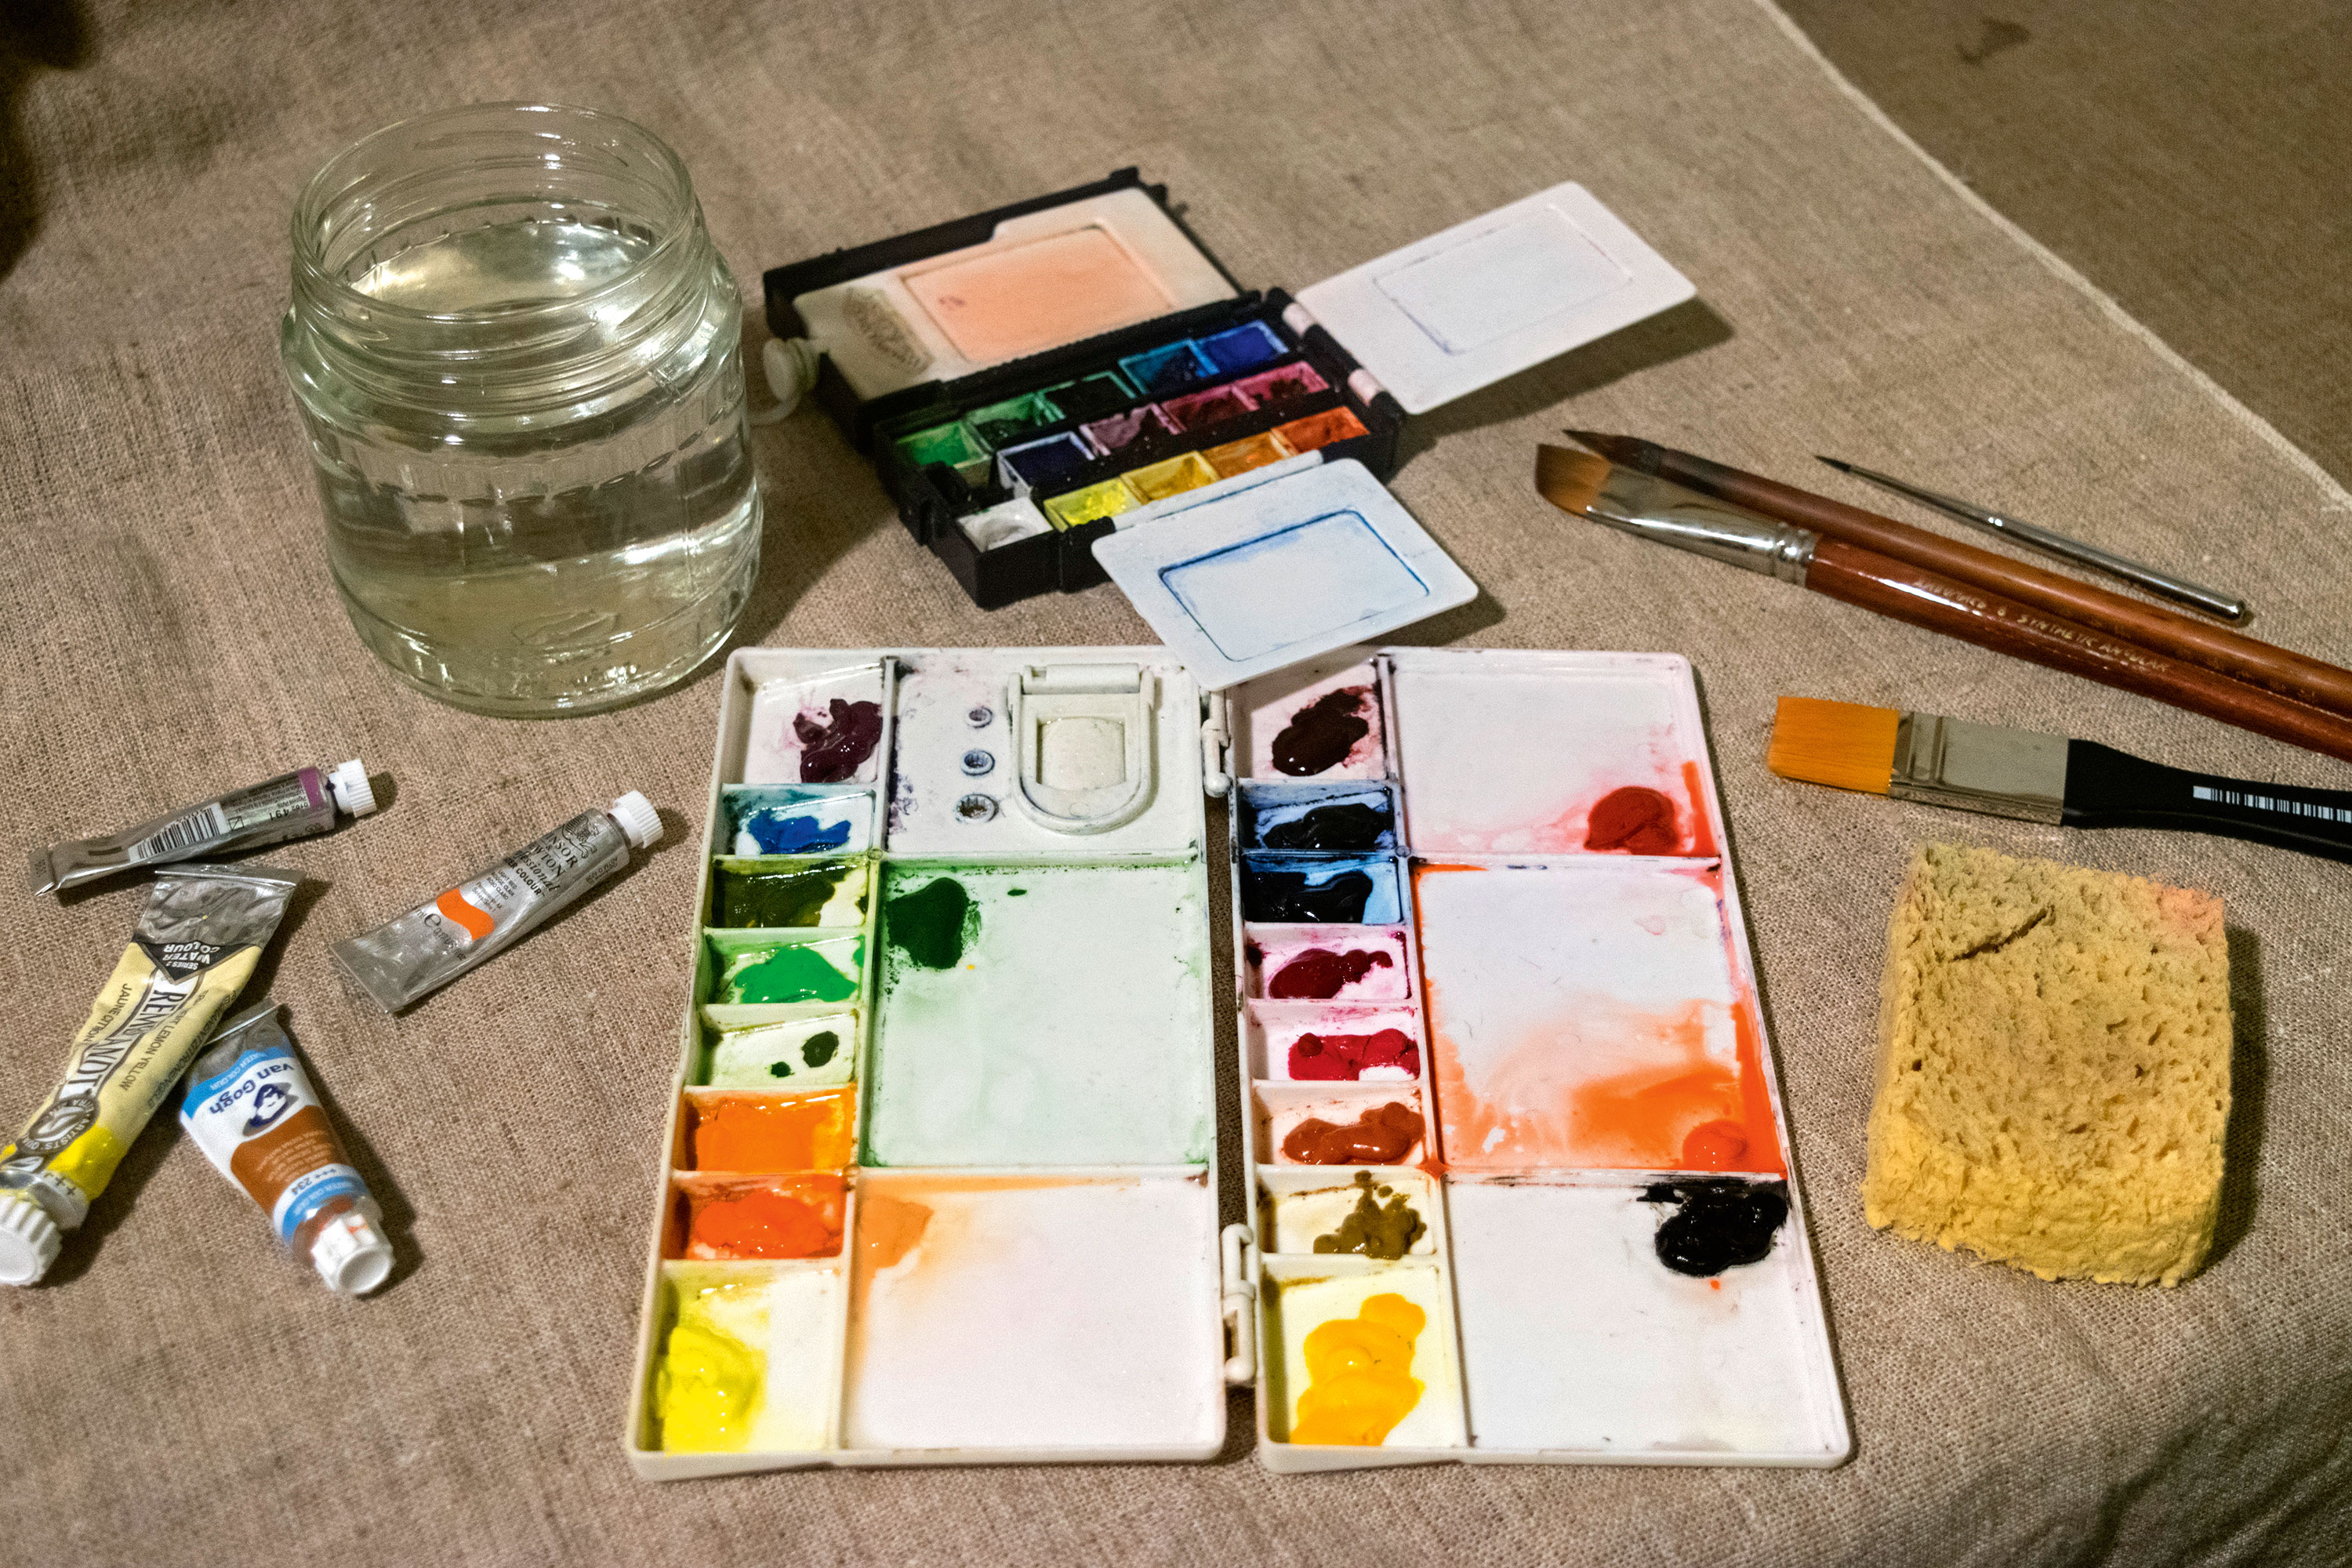
I place my paints on a plastic palette. If they get dry, I wet them with water from a small spray bottle. The same goes for the paints in pans. I then wet my paper on both sides and place it flat onto some glass. It will sit tight until it gets dry. Once dry, I wet the edges of paper from the back.
03. Painting shadows
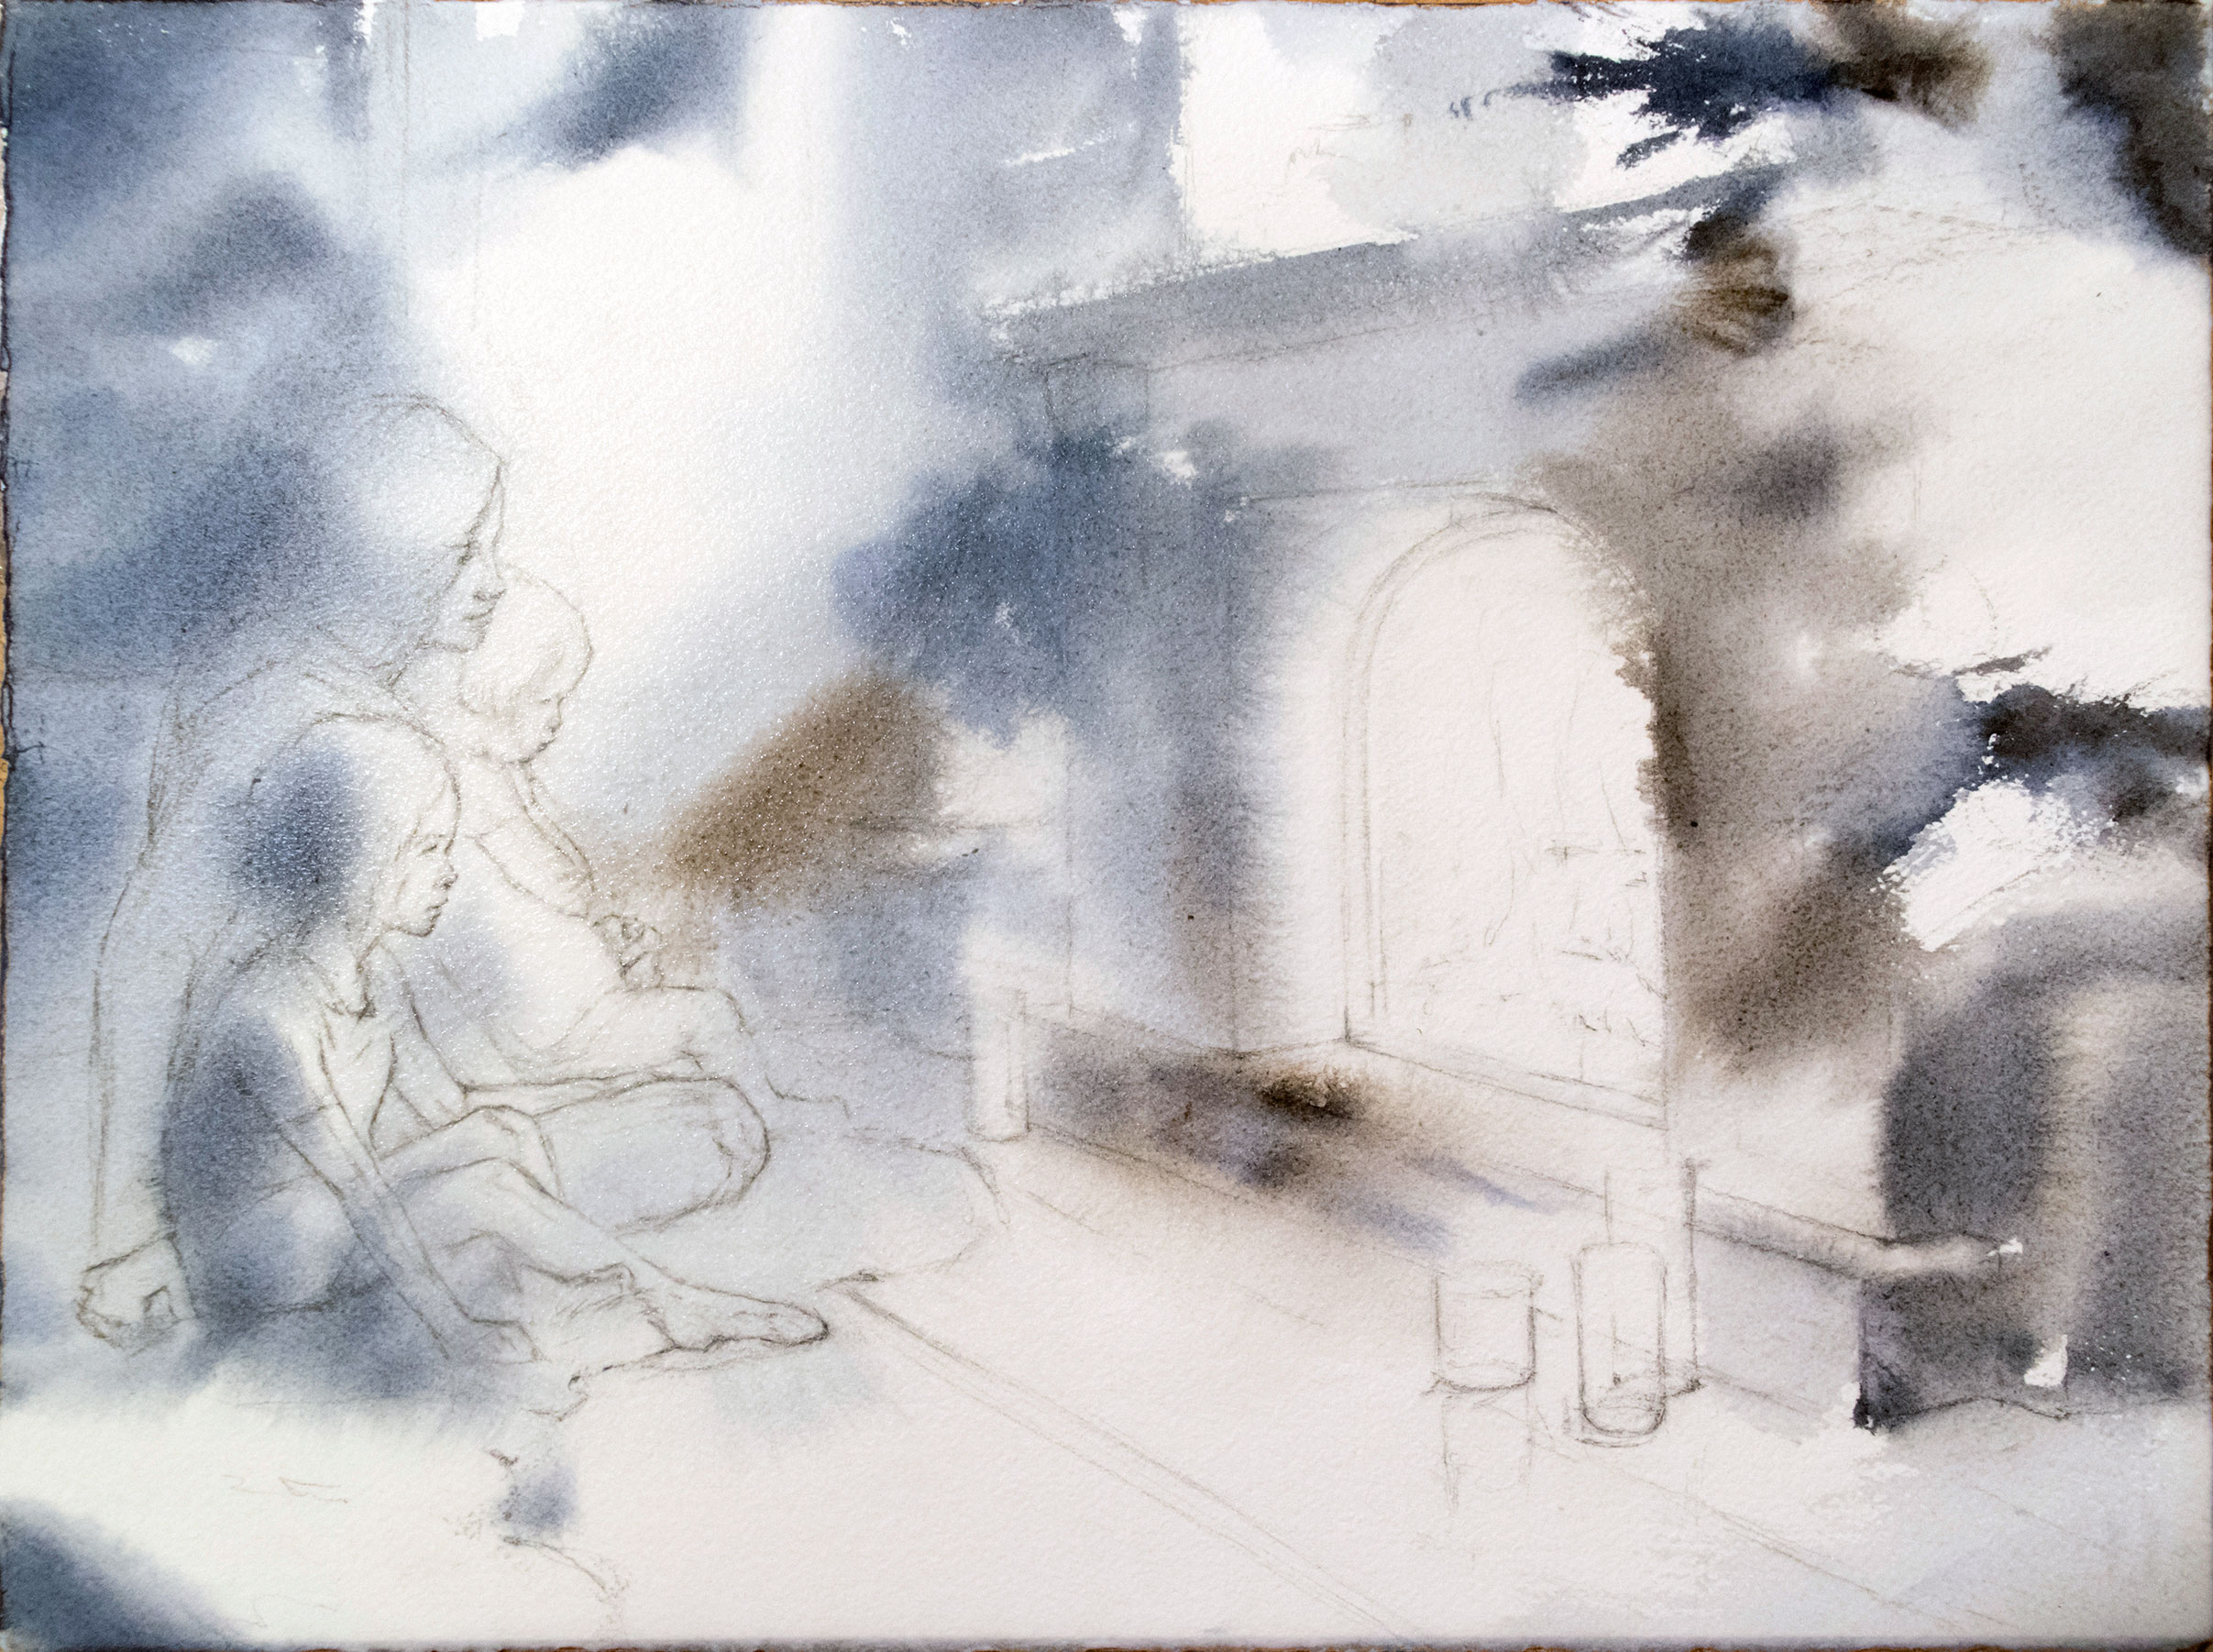
I apply the main colour to create the shadows. The paper is wet so the paint behaves very nicely – colour flows in every direction creating great shapes. This wet-on-wet technique looks good when paper has natural torn edges. This is why I don’t tape the paper down at this stage, in case it damages my nice natural edges.
Sign up to Creative Bloq's daily newsletter, which brings you the latest news and inspiration from the worlds of art, design and technology.
04. Adding colour
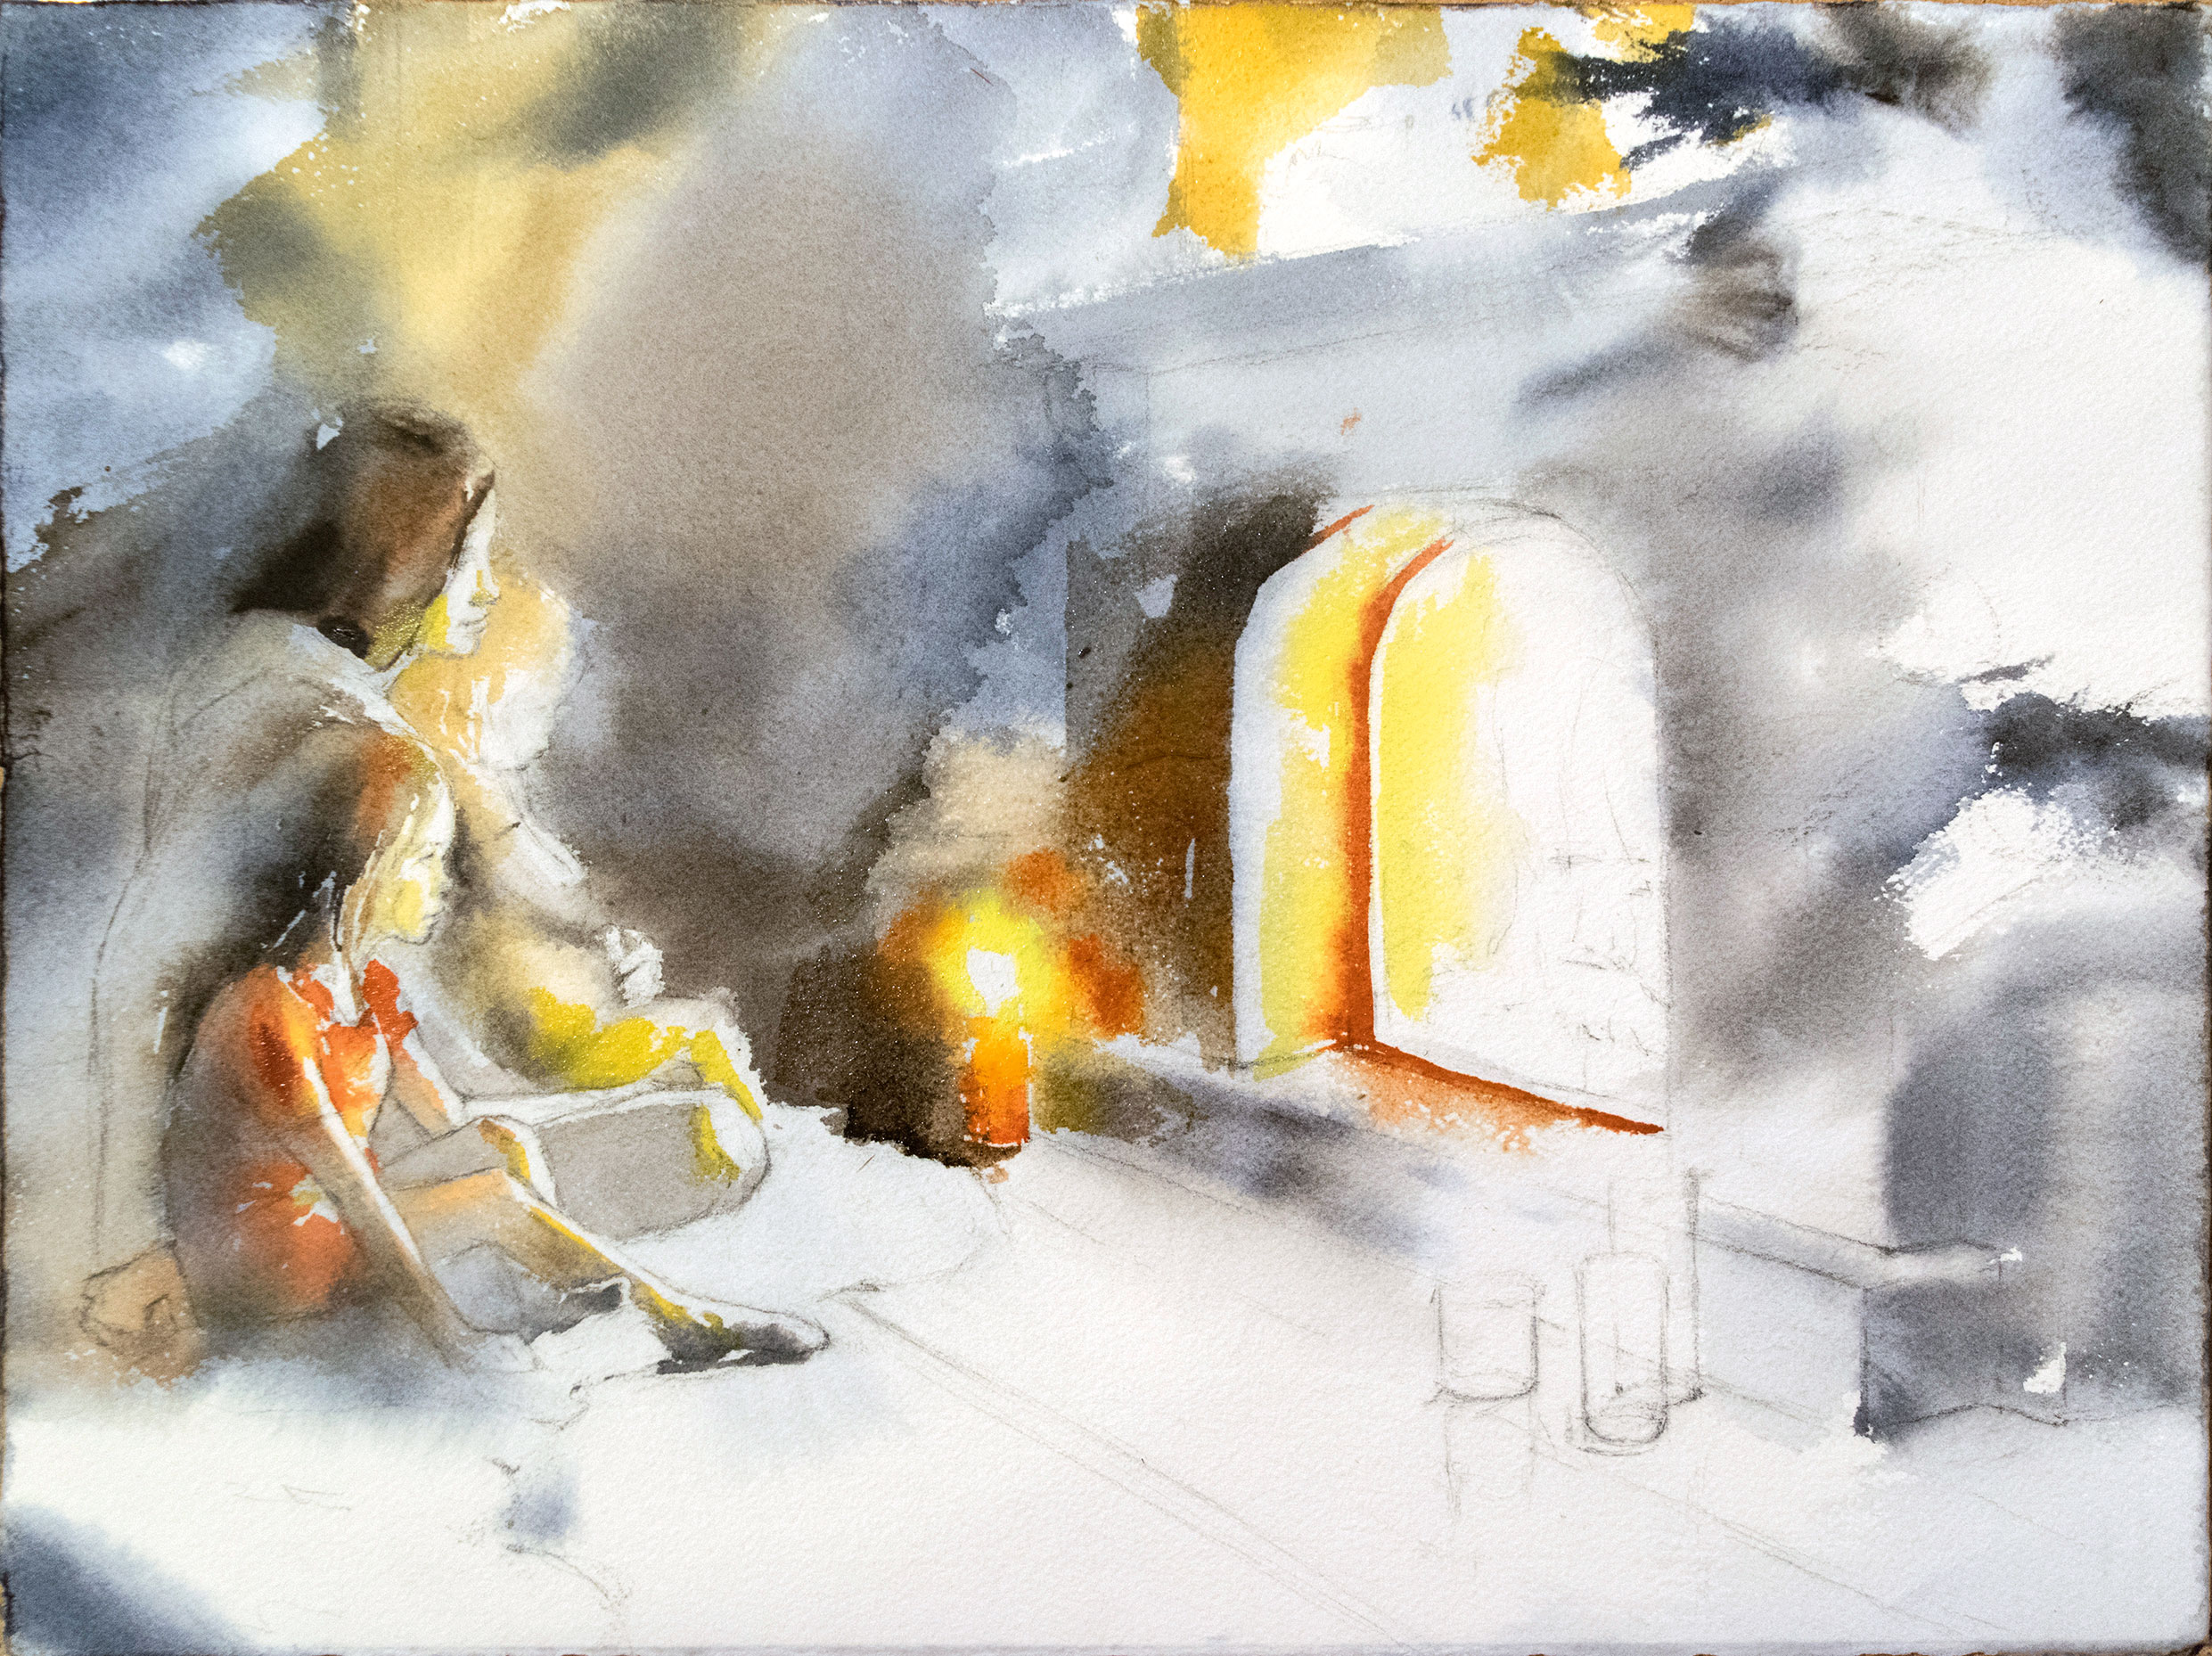
It’s now time to add in the main areas of tone. Here, the intention is to split shadow and light. Because the paper is still very wet, the paint is flowing nicely. We're now starting to get a lovely strong sense of the scene.
05. Fixing mistakes
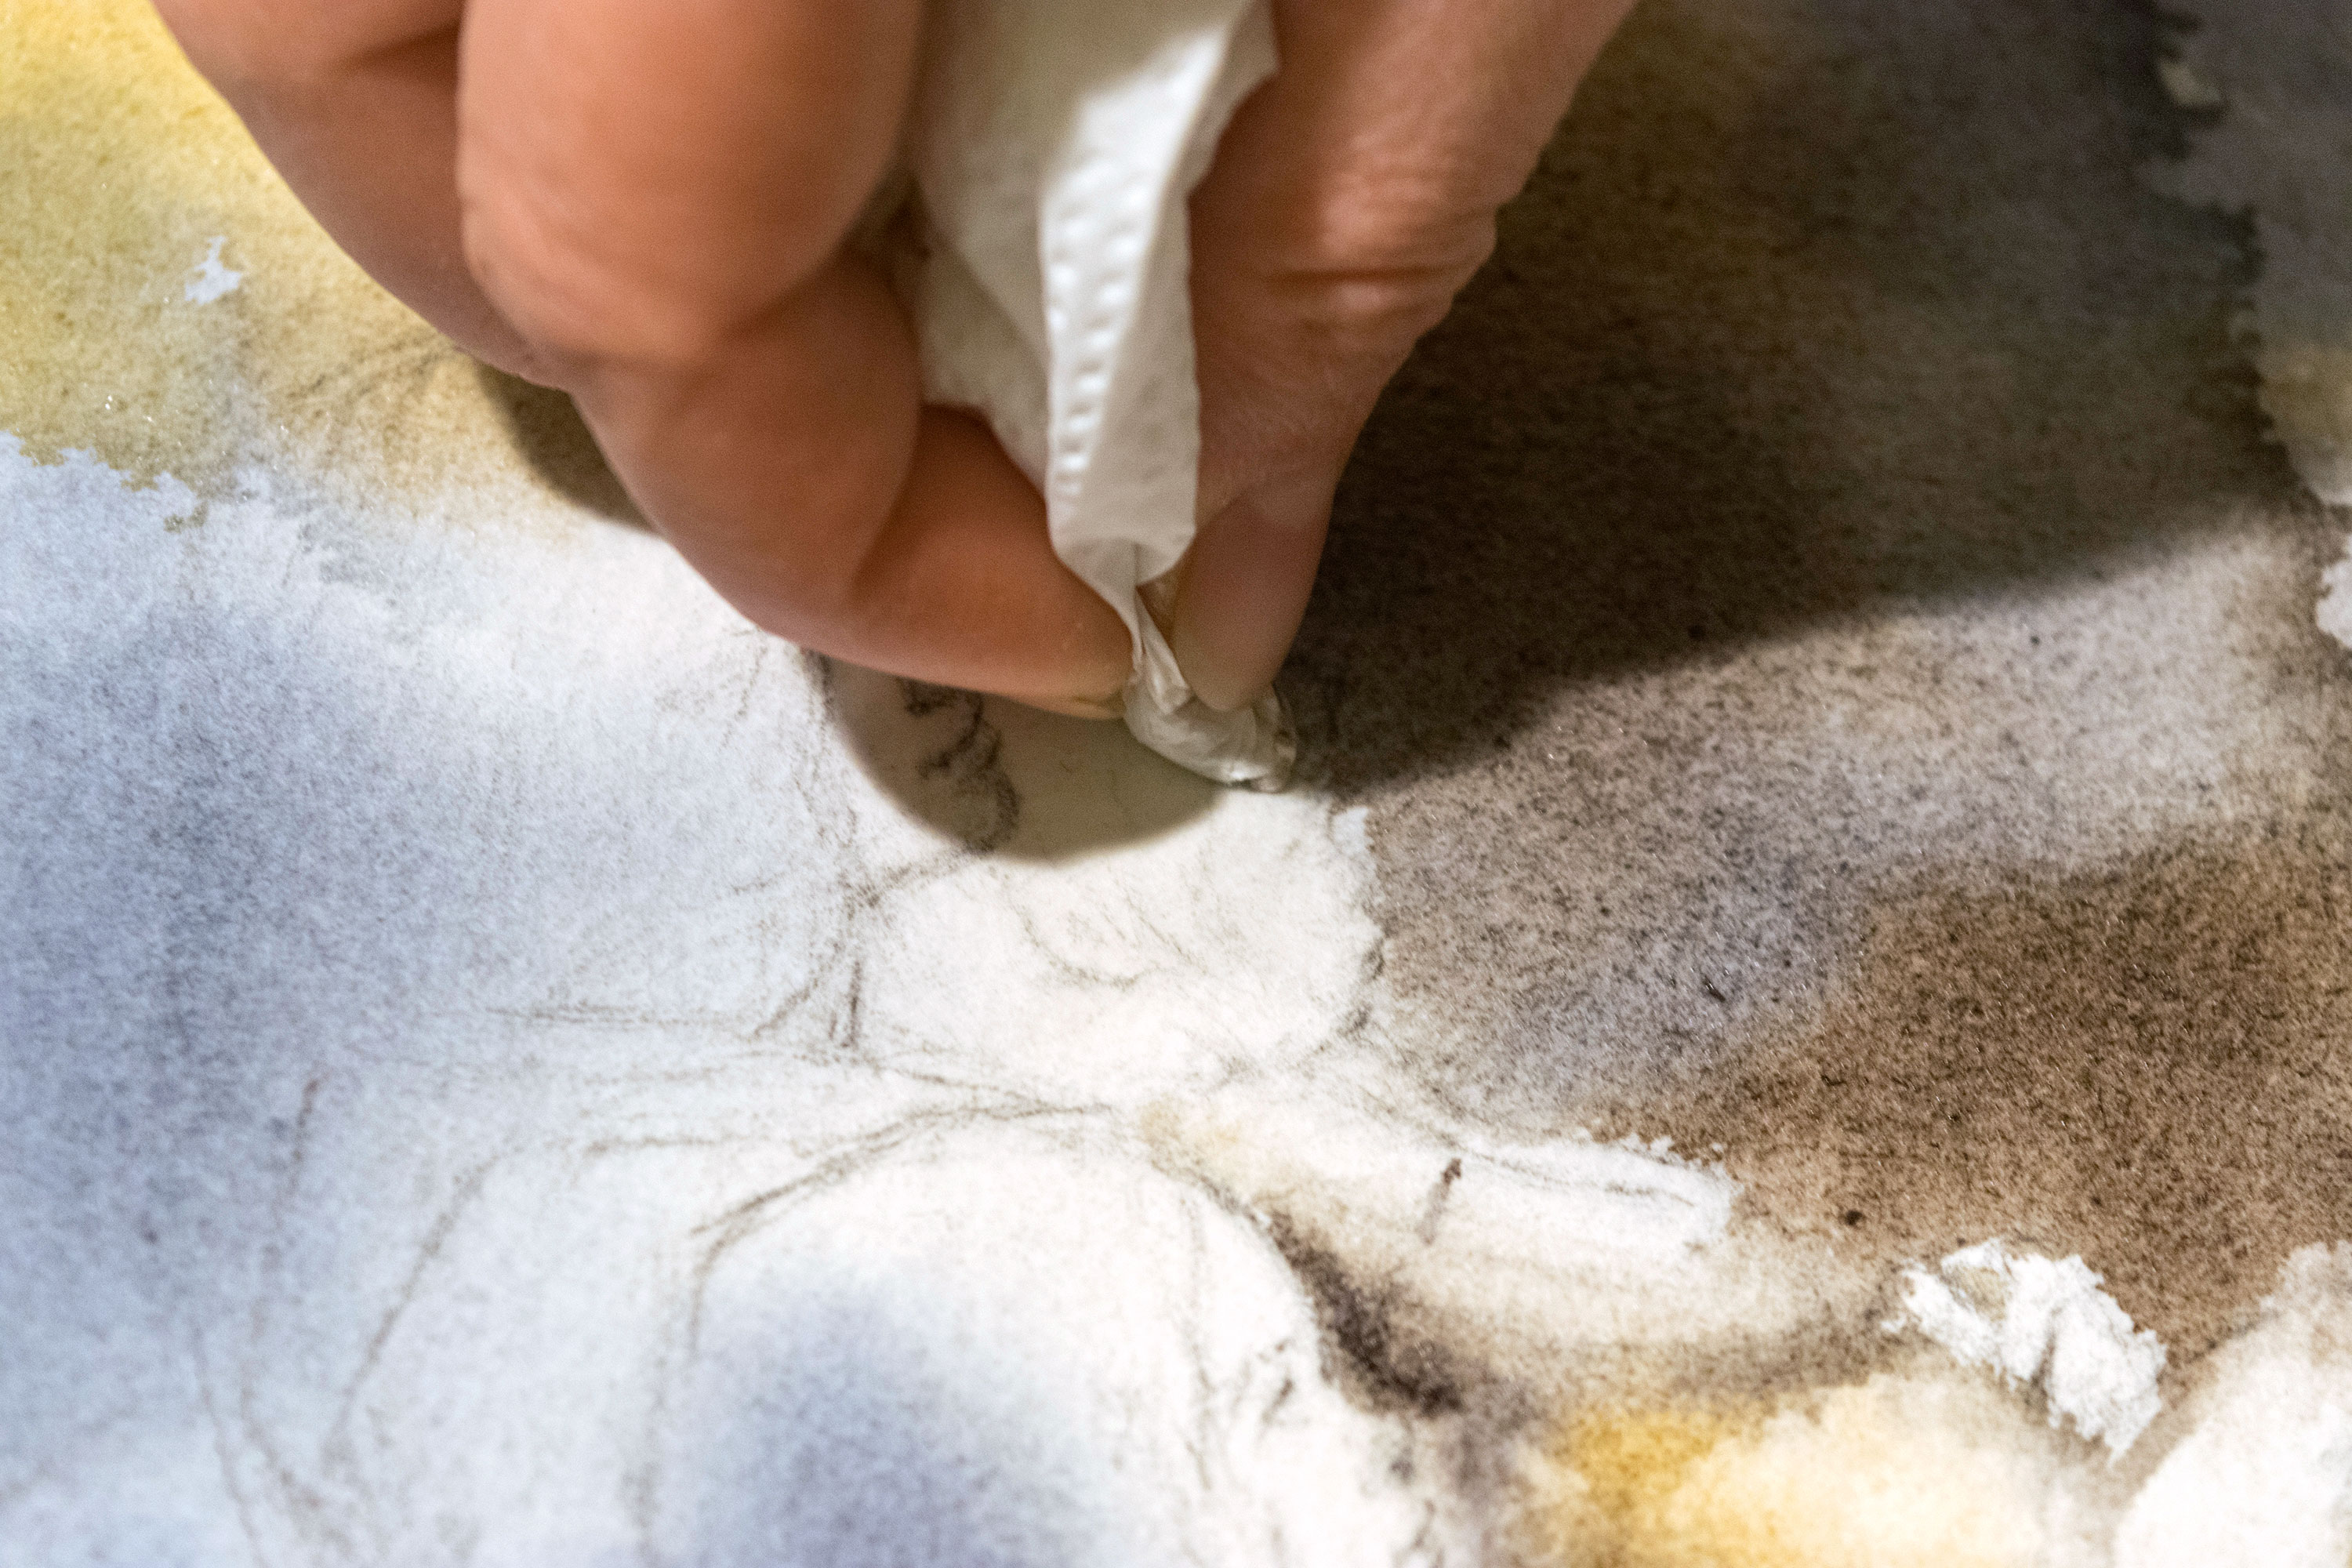
With this technique, it’s easy to remove unnecessary paint while things are still wet. I squeeze out any excess water from my brush with my fingers, then use the brush to absorb any unwanted paint on the paper. You can also use a clean wet sponge or paper towel.
06. The fire is white
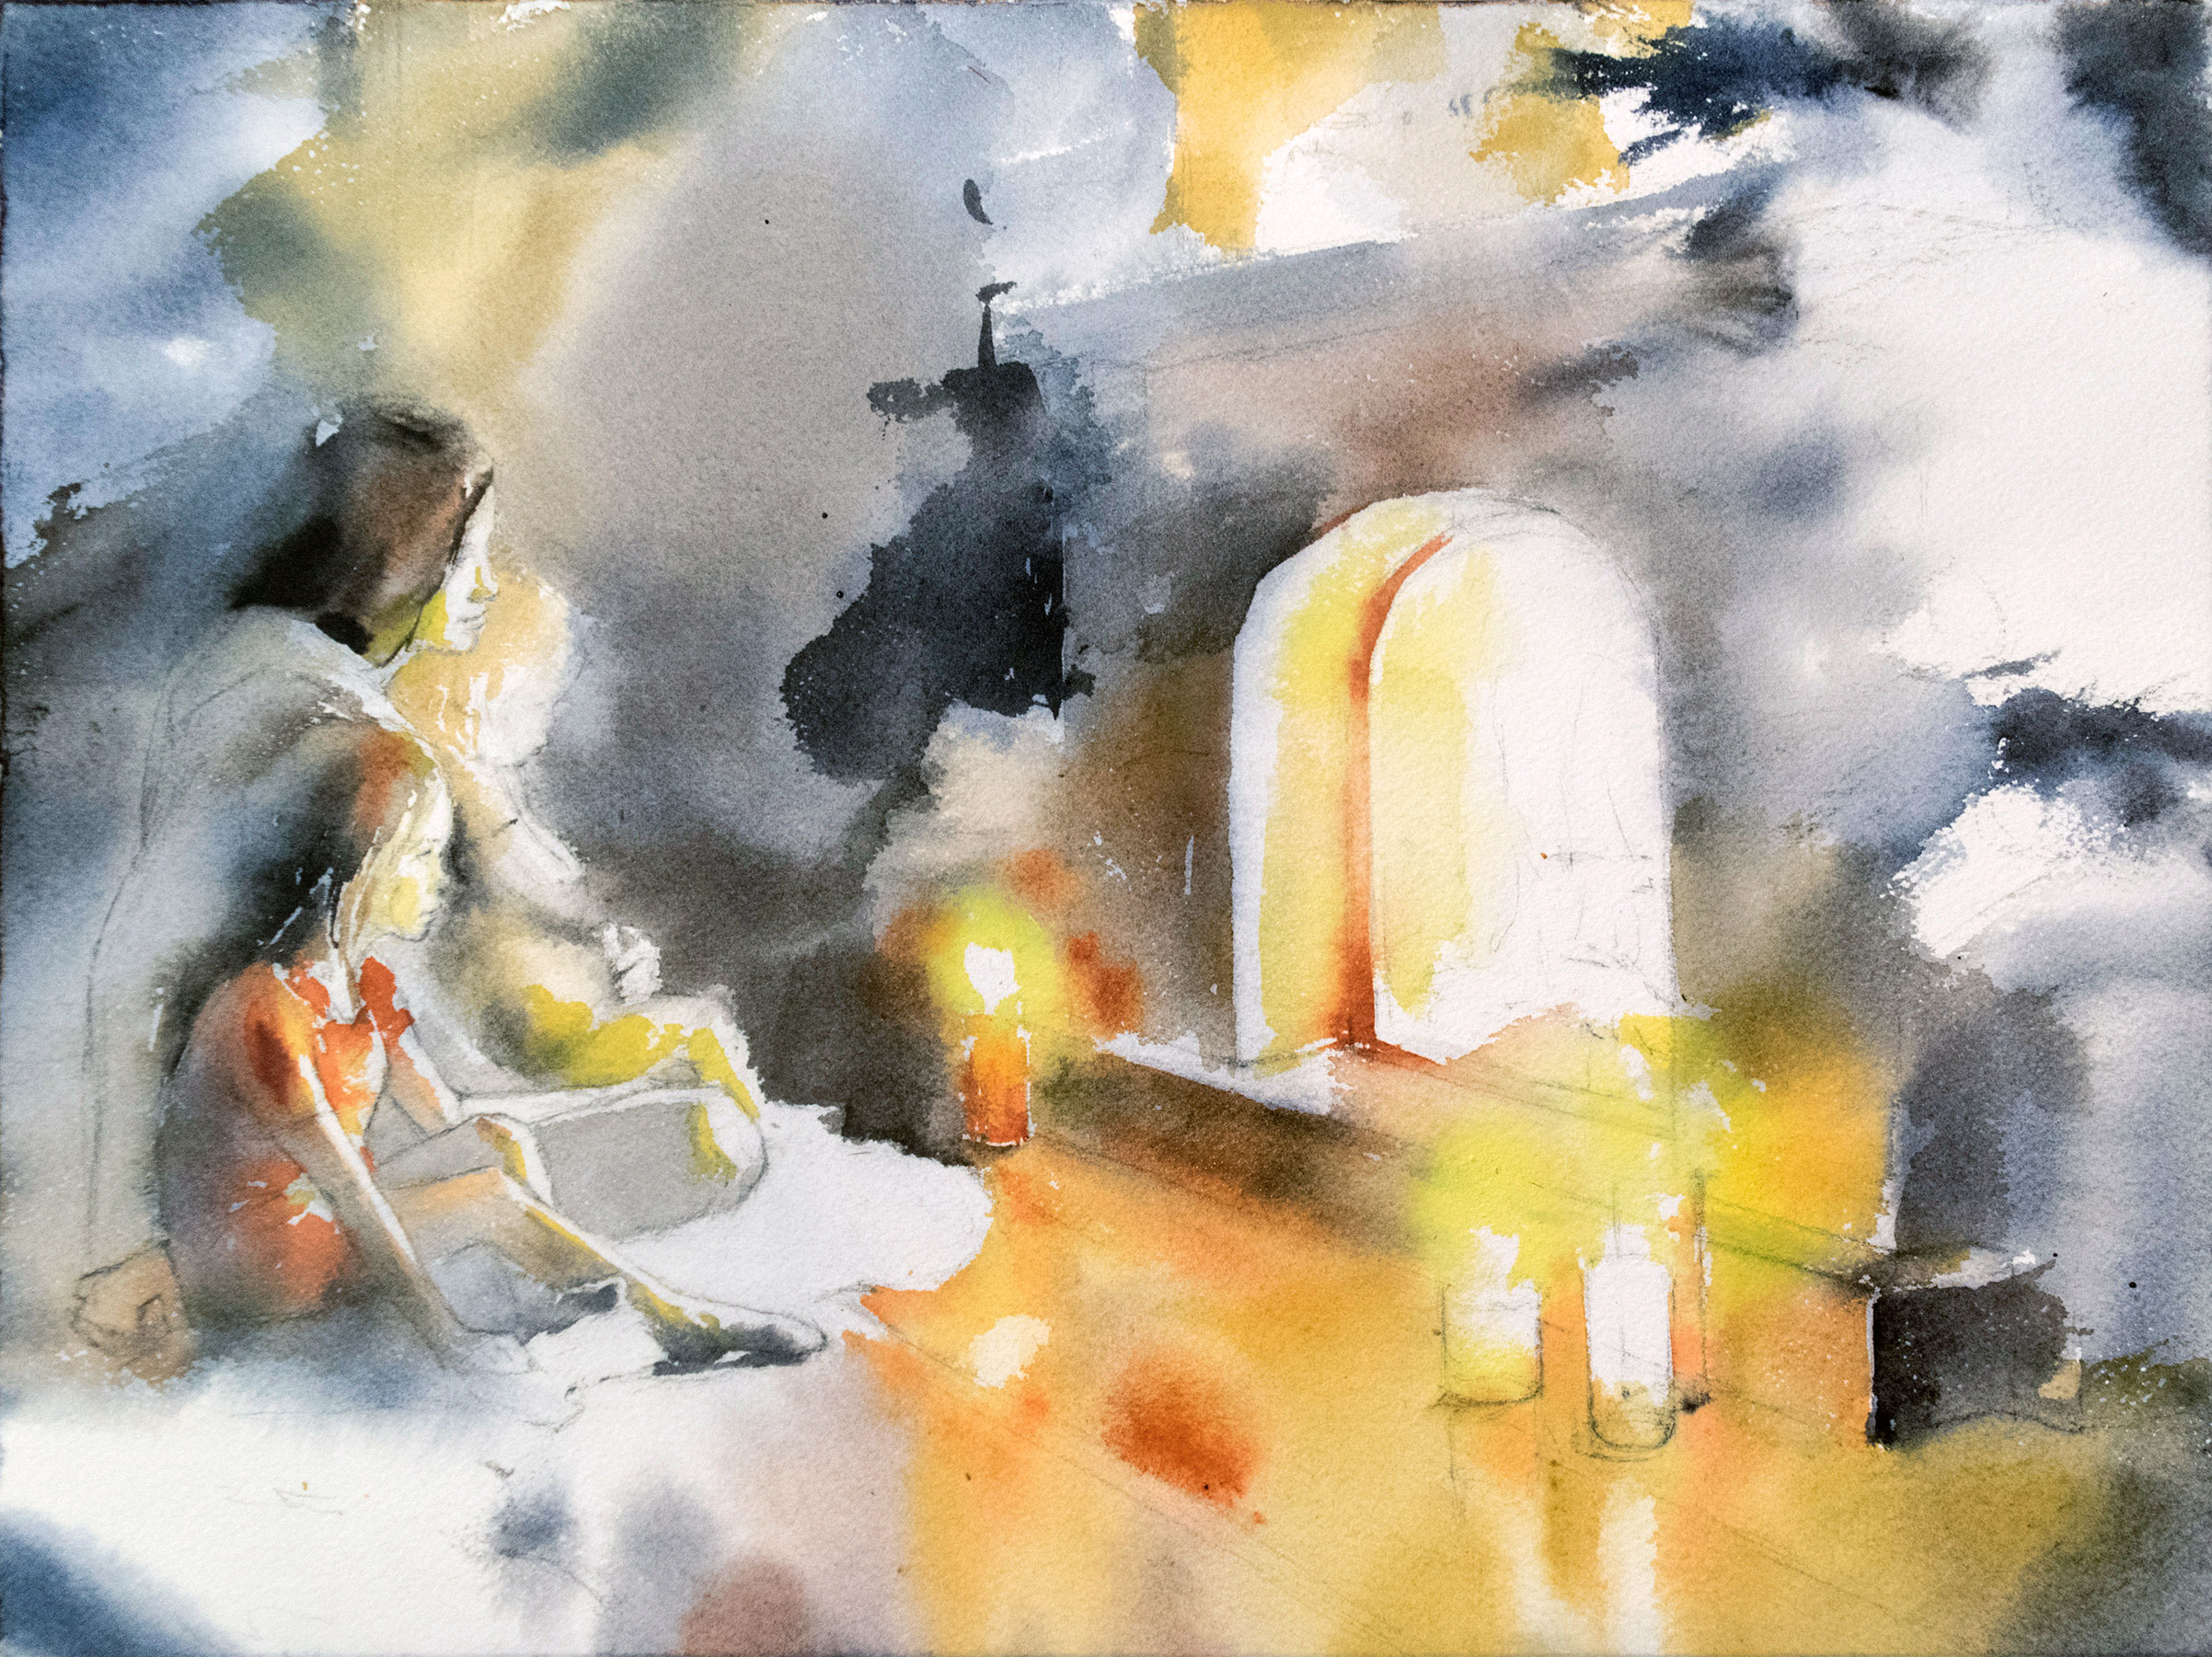
Now it’s time to paint the fire. White paper will always be brighter than any paint, so I often use it to show the brightest spots, such as the fire here. It requires some planning to keep these spots clean from the beginning. I create the flame as a gradient starting with white paper, then Lemon Yellow, Cadmium Orange, Light Red, Sepia, and Payne’s Grey paint, in that order.
07. Working on shadows
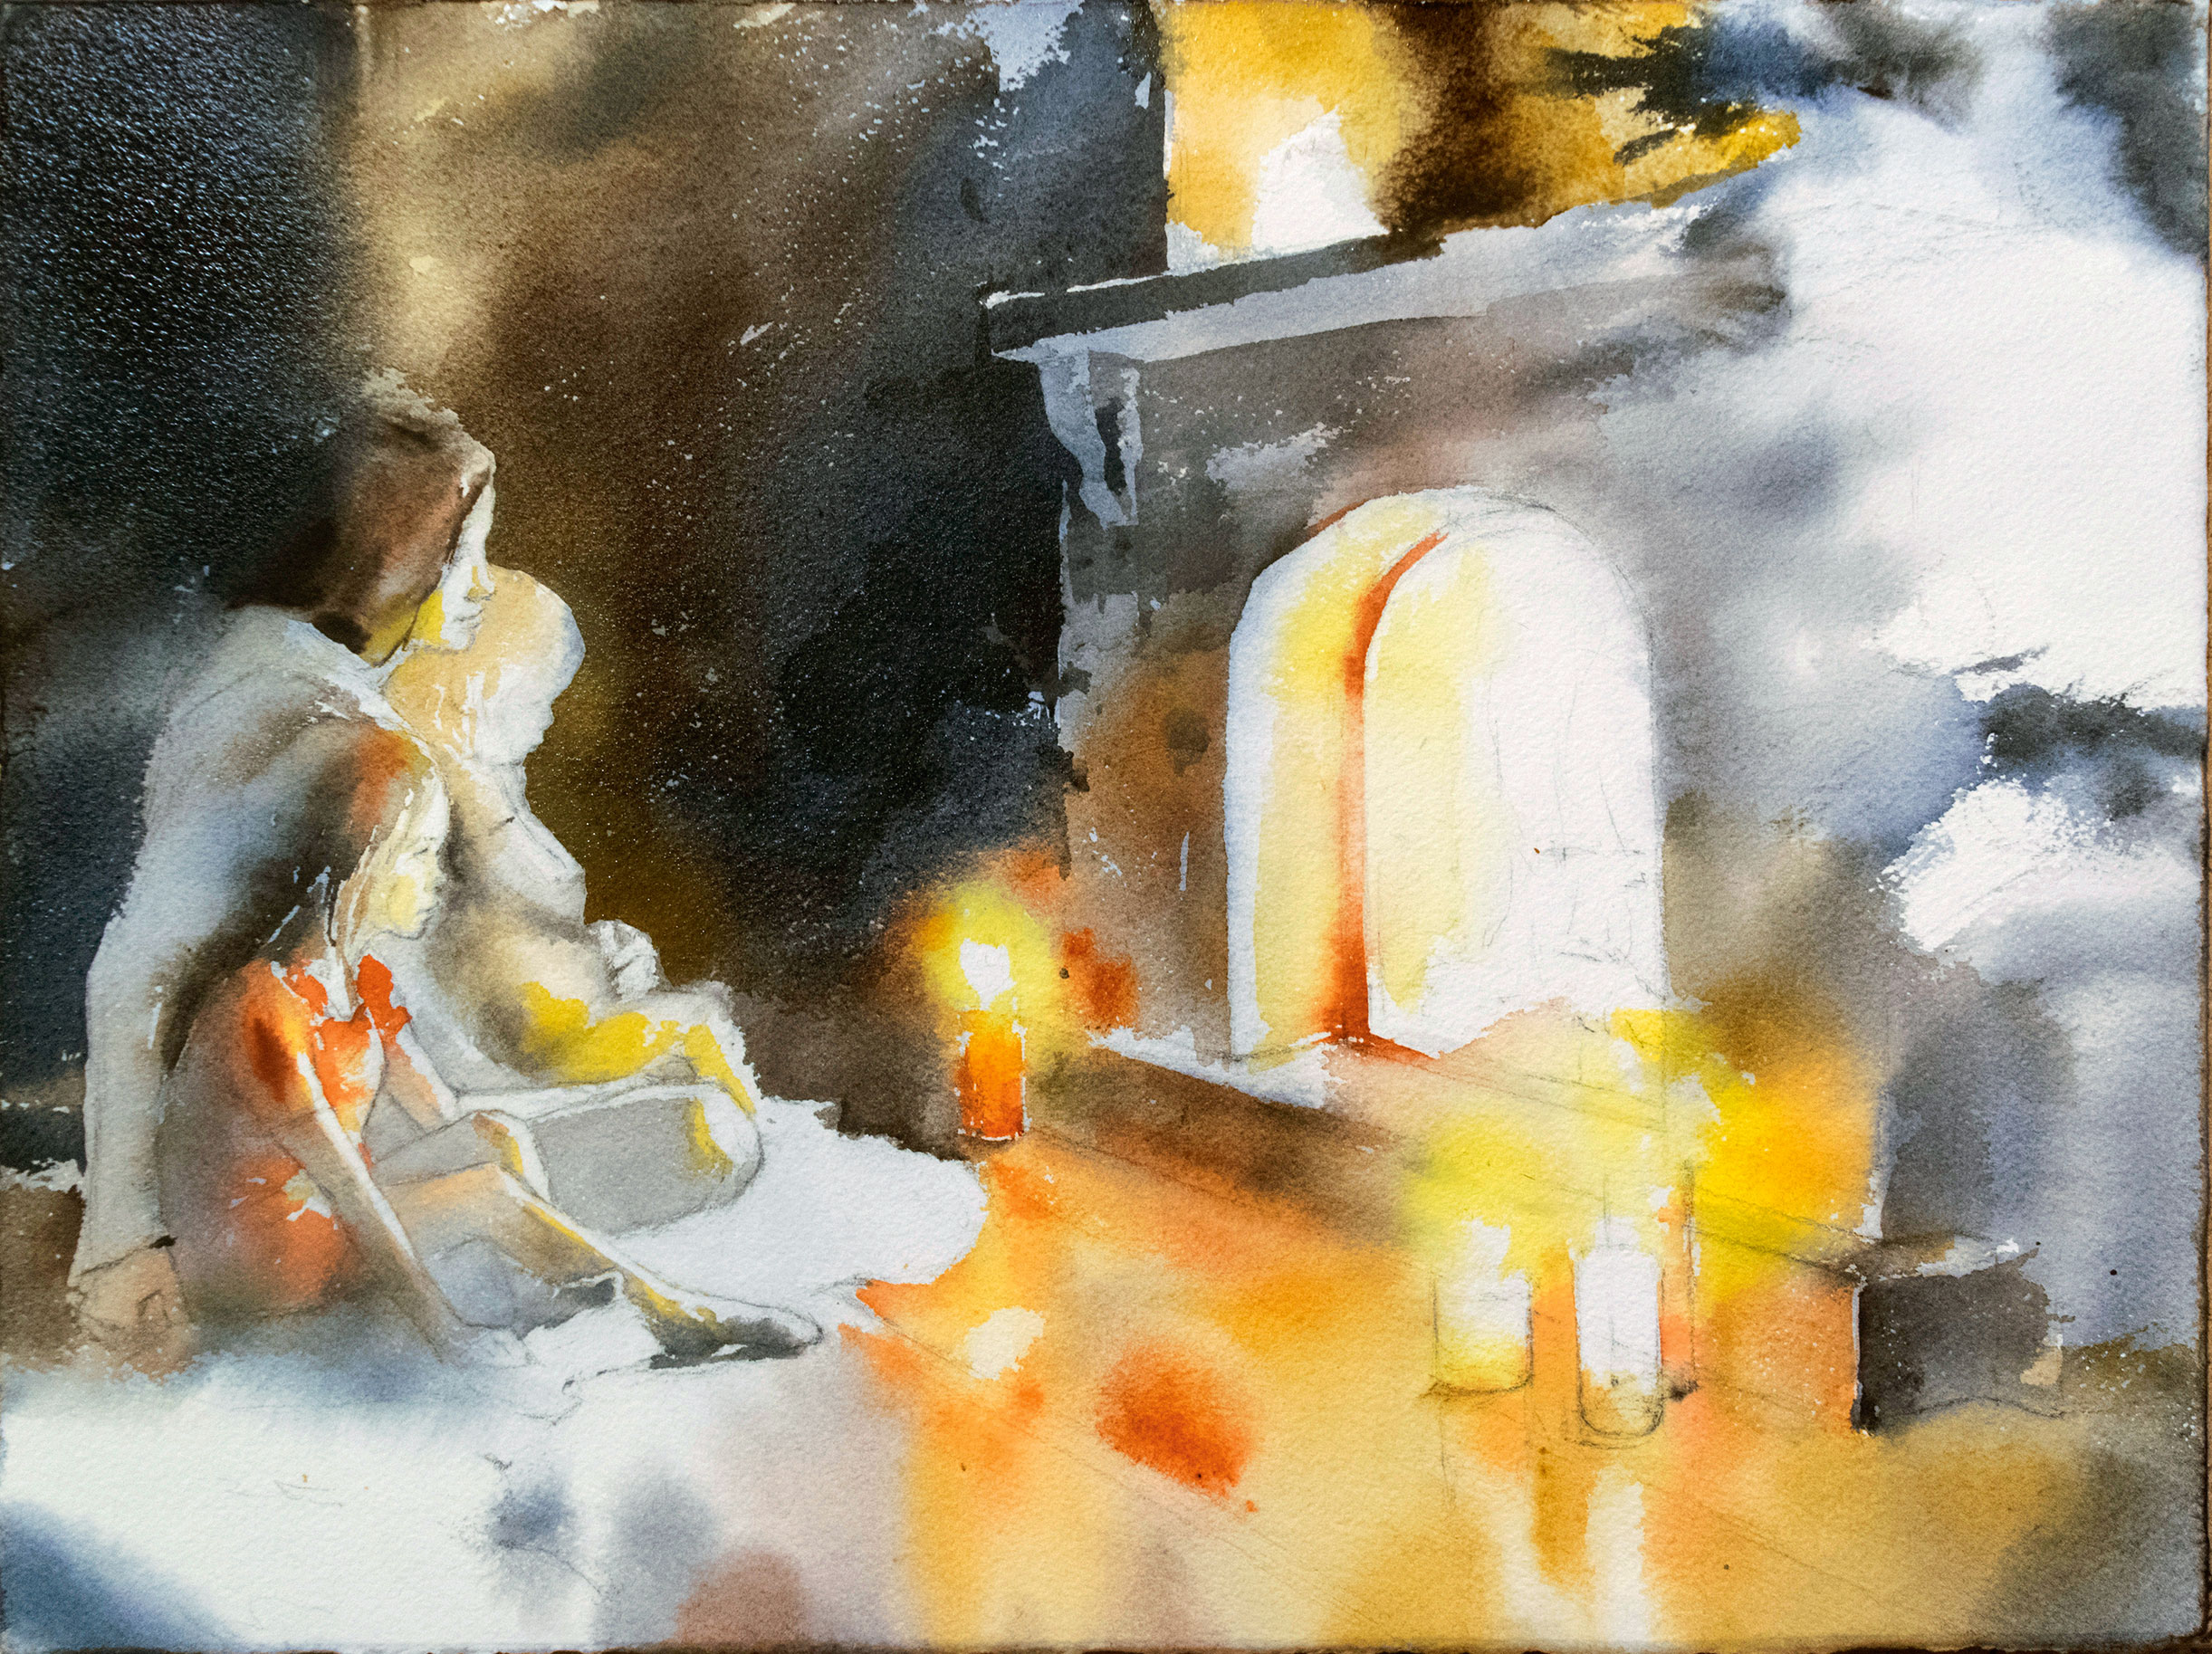
Wet-on-wet works great for shadows too. To add depth to the room, I paint cold shadows to create an opposite to the warm orange flames. I use a mix of Indigo and Payne’s Grey. It gives a huge contrast and the fire looks much brighter already. If the paper becomes dry at the edge, just wet it again using the water spray.
08. Christmas tree
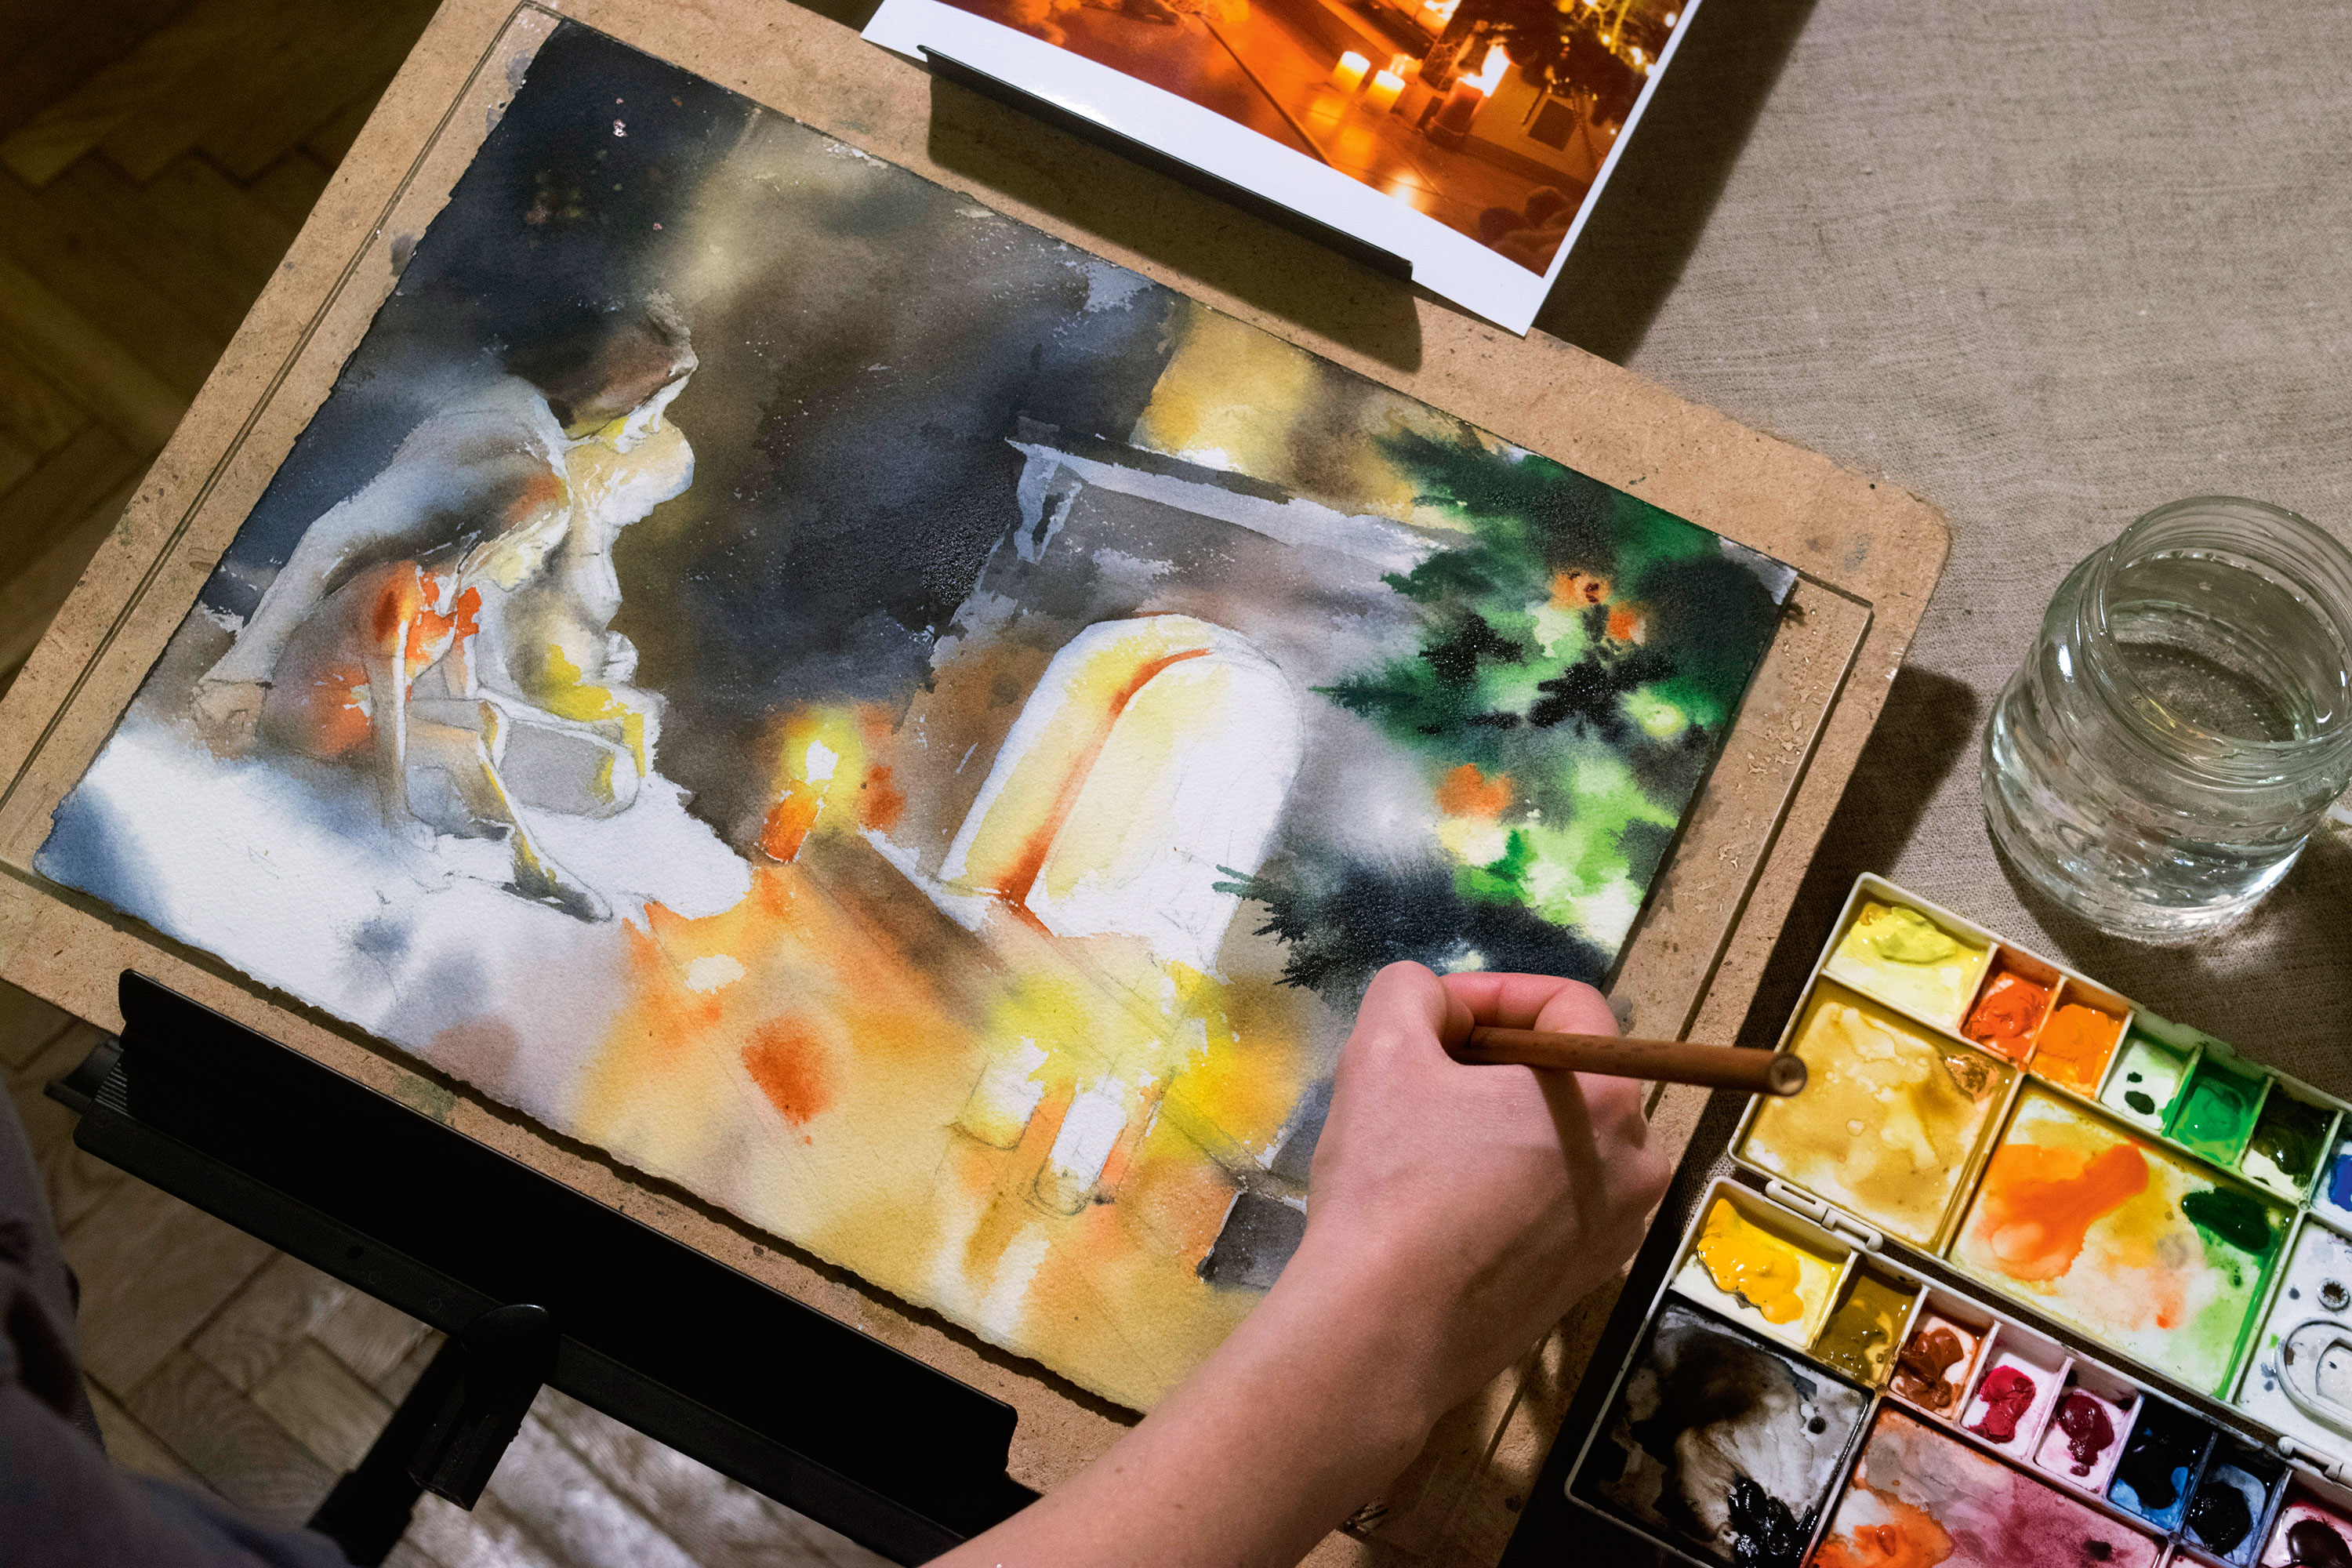
I paint the tree and add tiny reflections in the window on the left. I use wet-on-wet for the branches and remove the dark paint to form the baubles, using a piece of paper towel. There’s no need to add intricate details so close to the border of painting, as it will only distract the viewer from the centre of composition – rough spots for the baubles are enough.
09. More detail
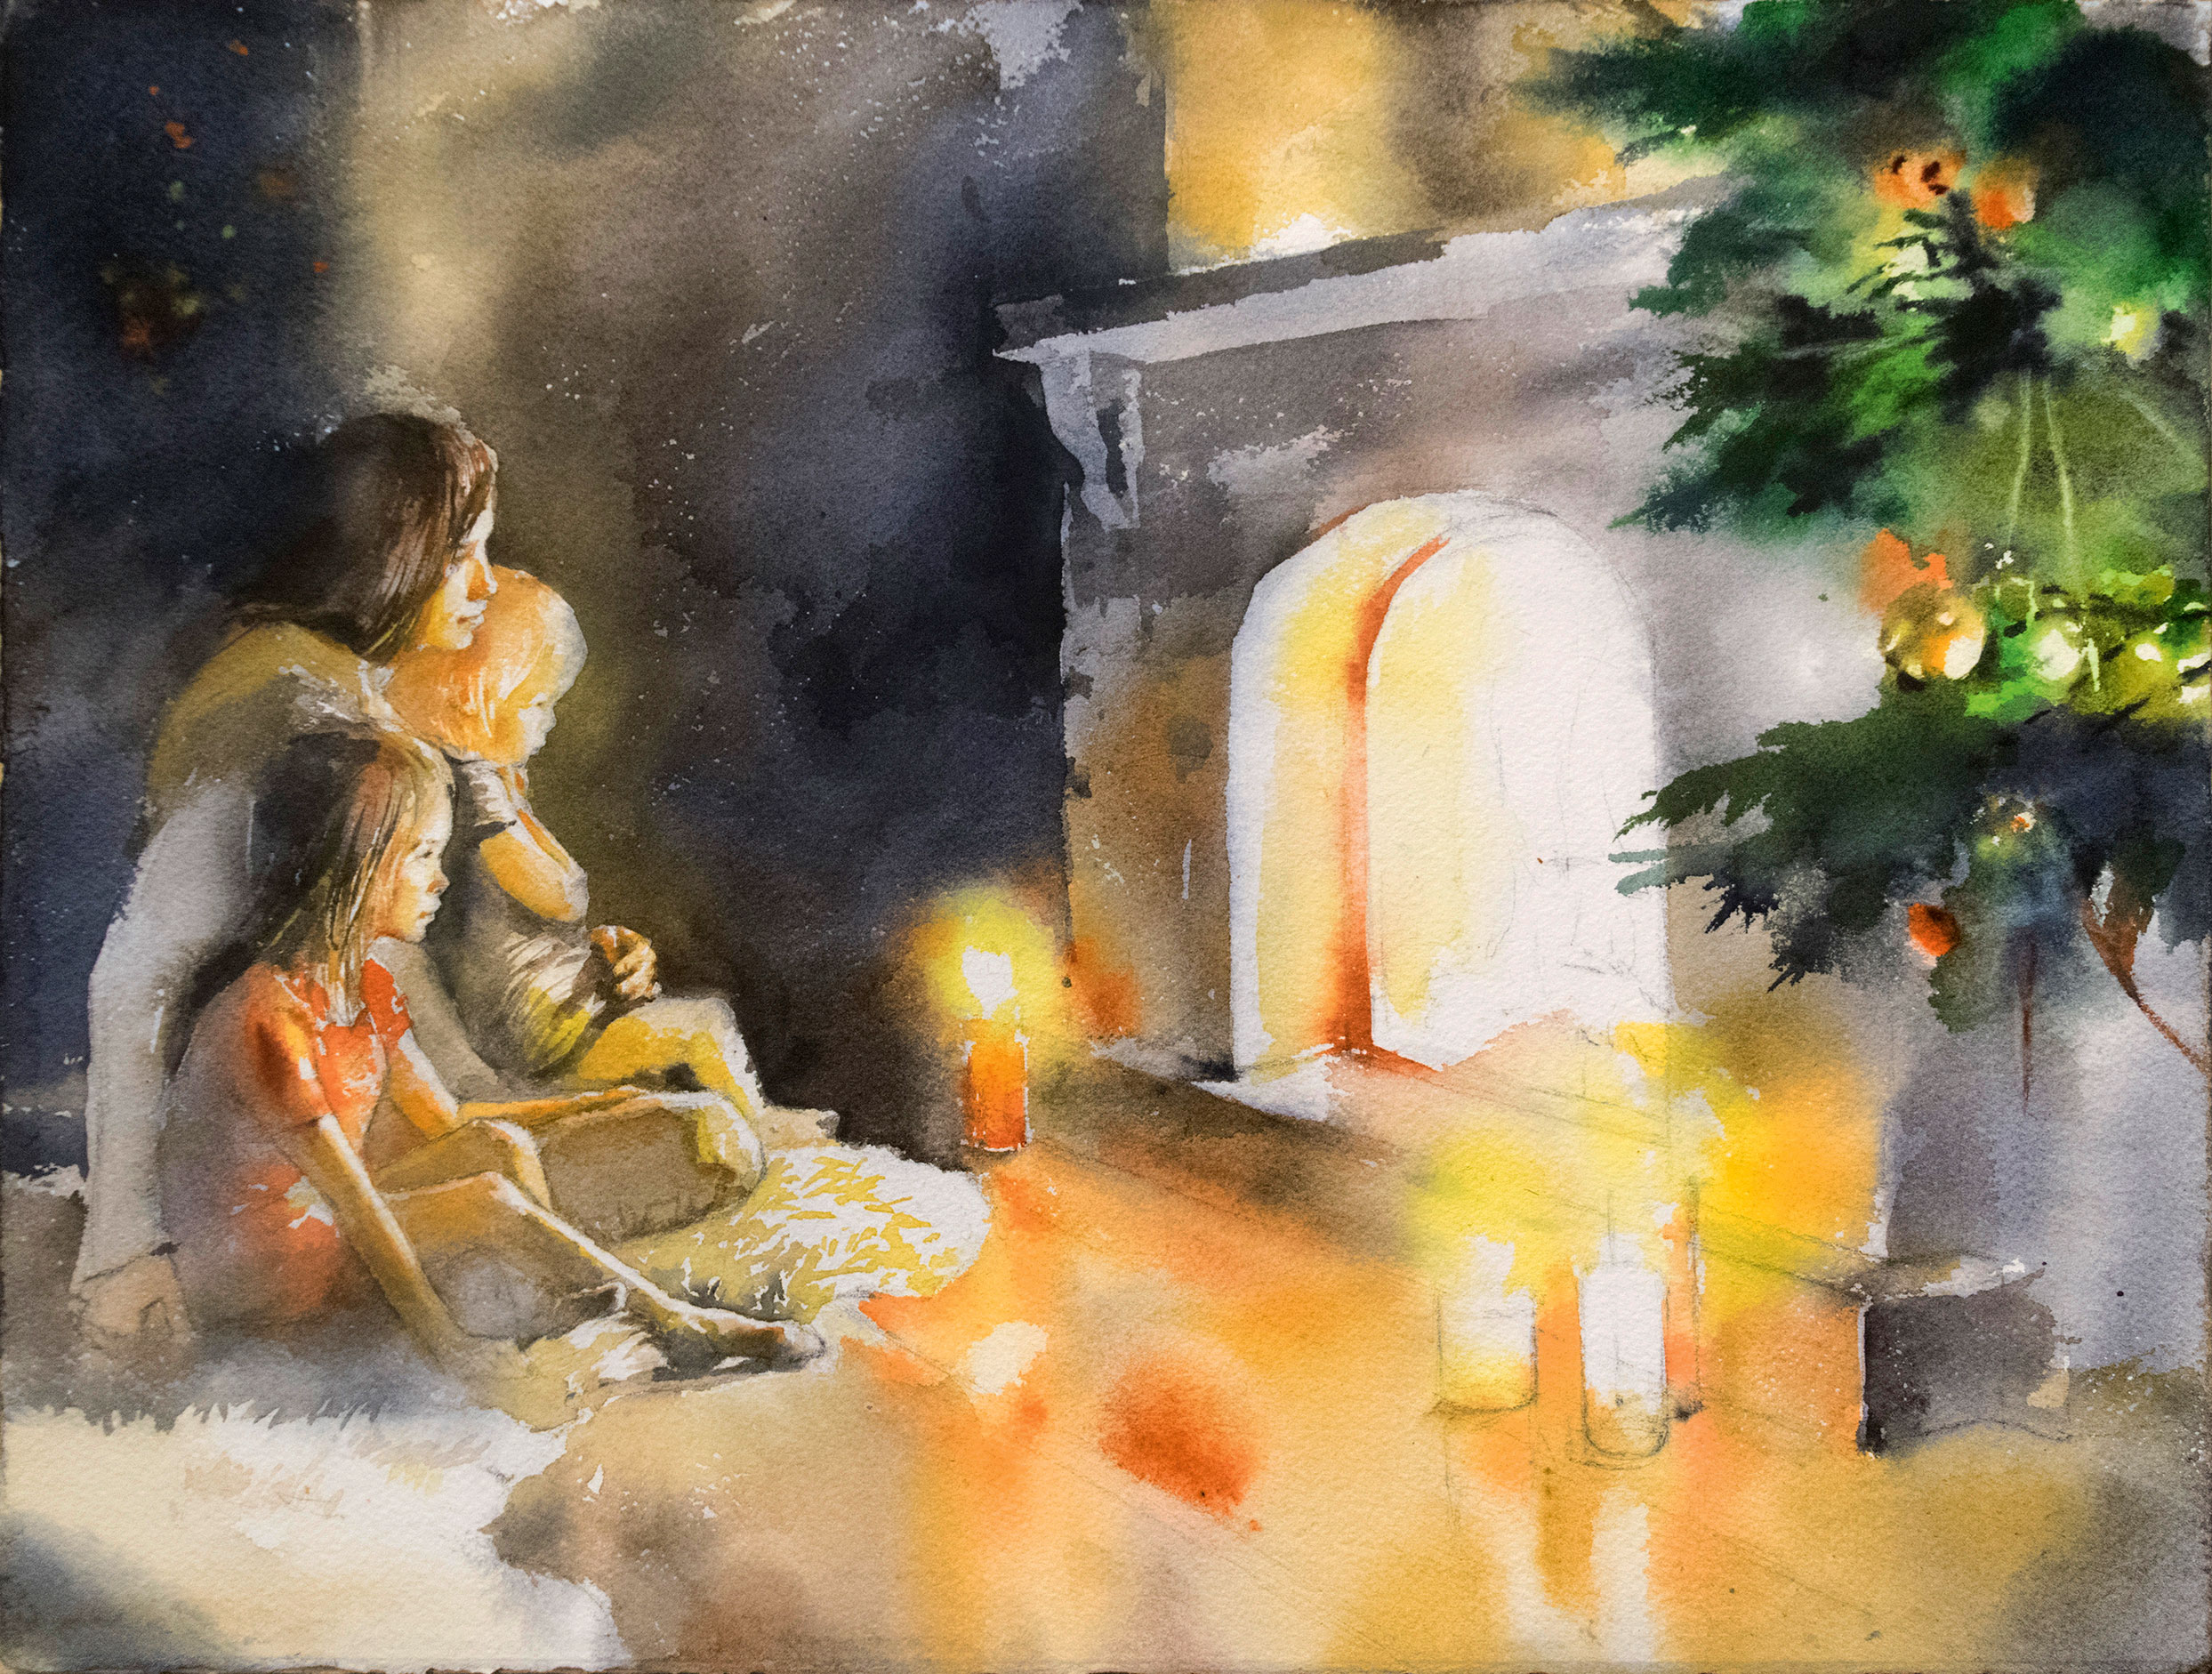
I can now start adding in new tones. First, I add light to the faces. Because it's produced by fire, I use very warm tones of red, orange and yellow. These are the same colours as the textured rug, which I paint with a very thin brush. White paper plus orange fur gives us a white rug illuminated by direct fire.
10. Detailing fire and reflections
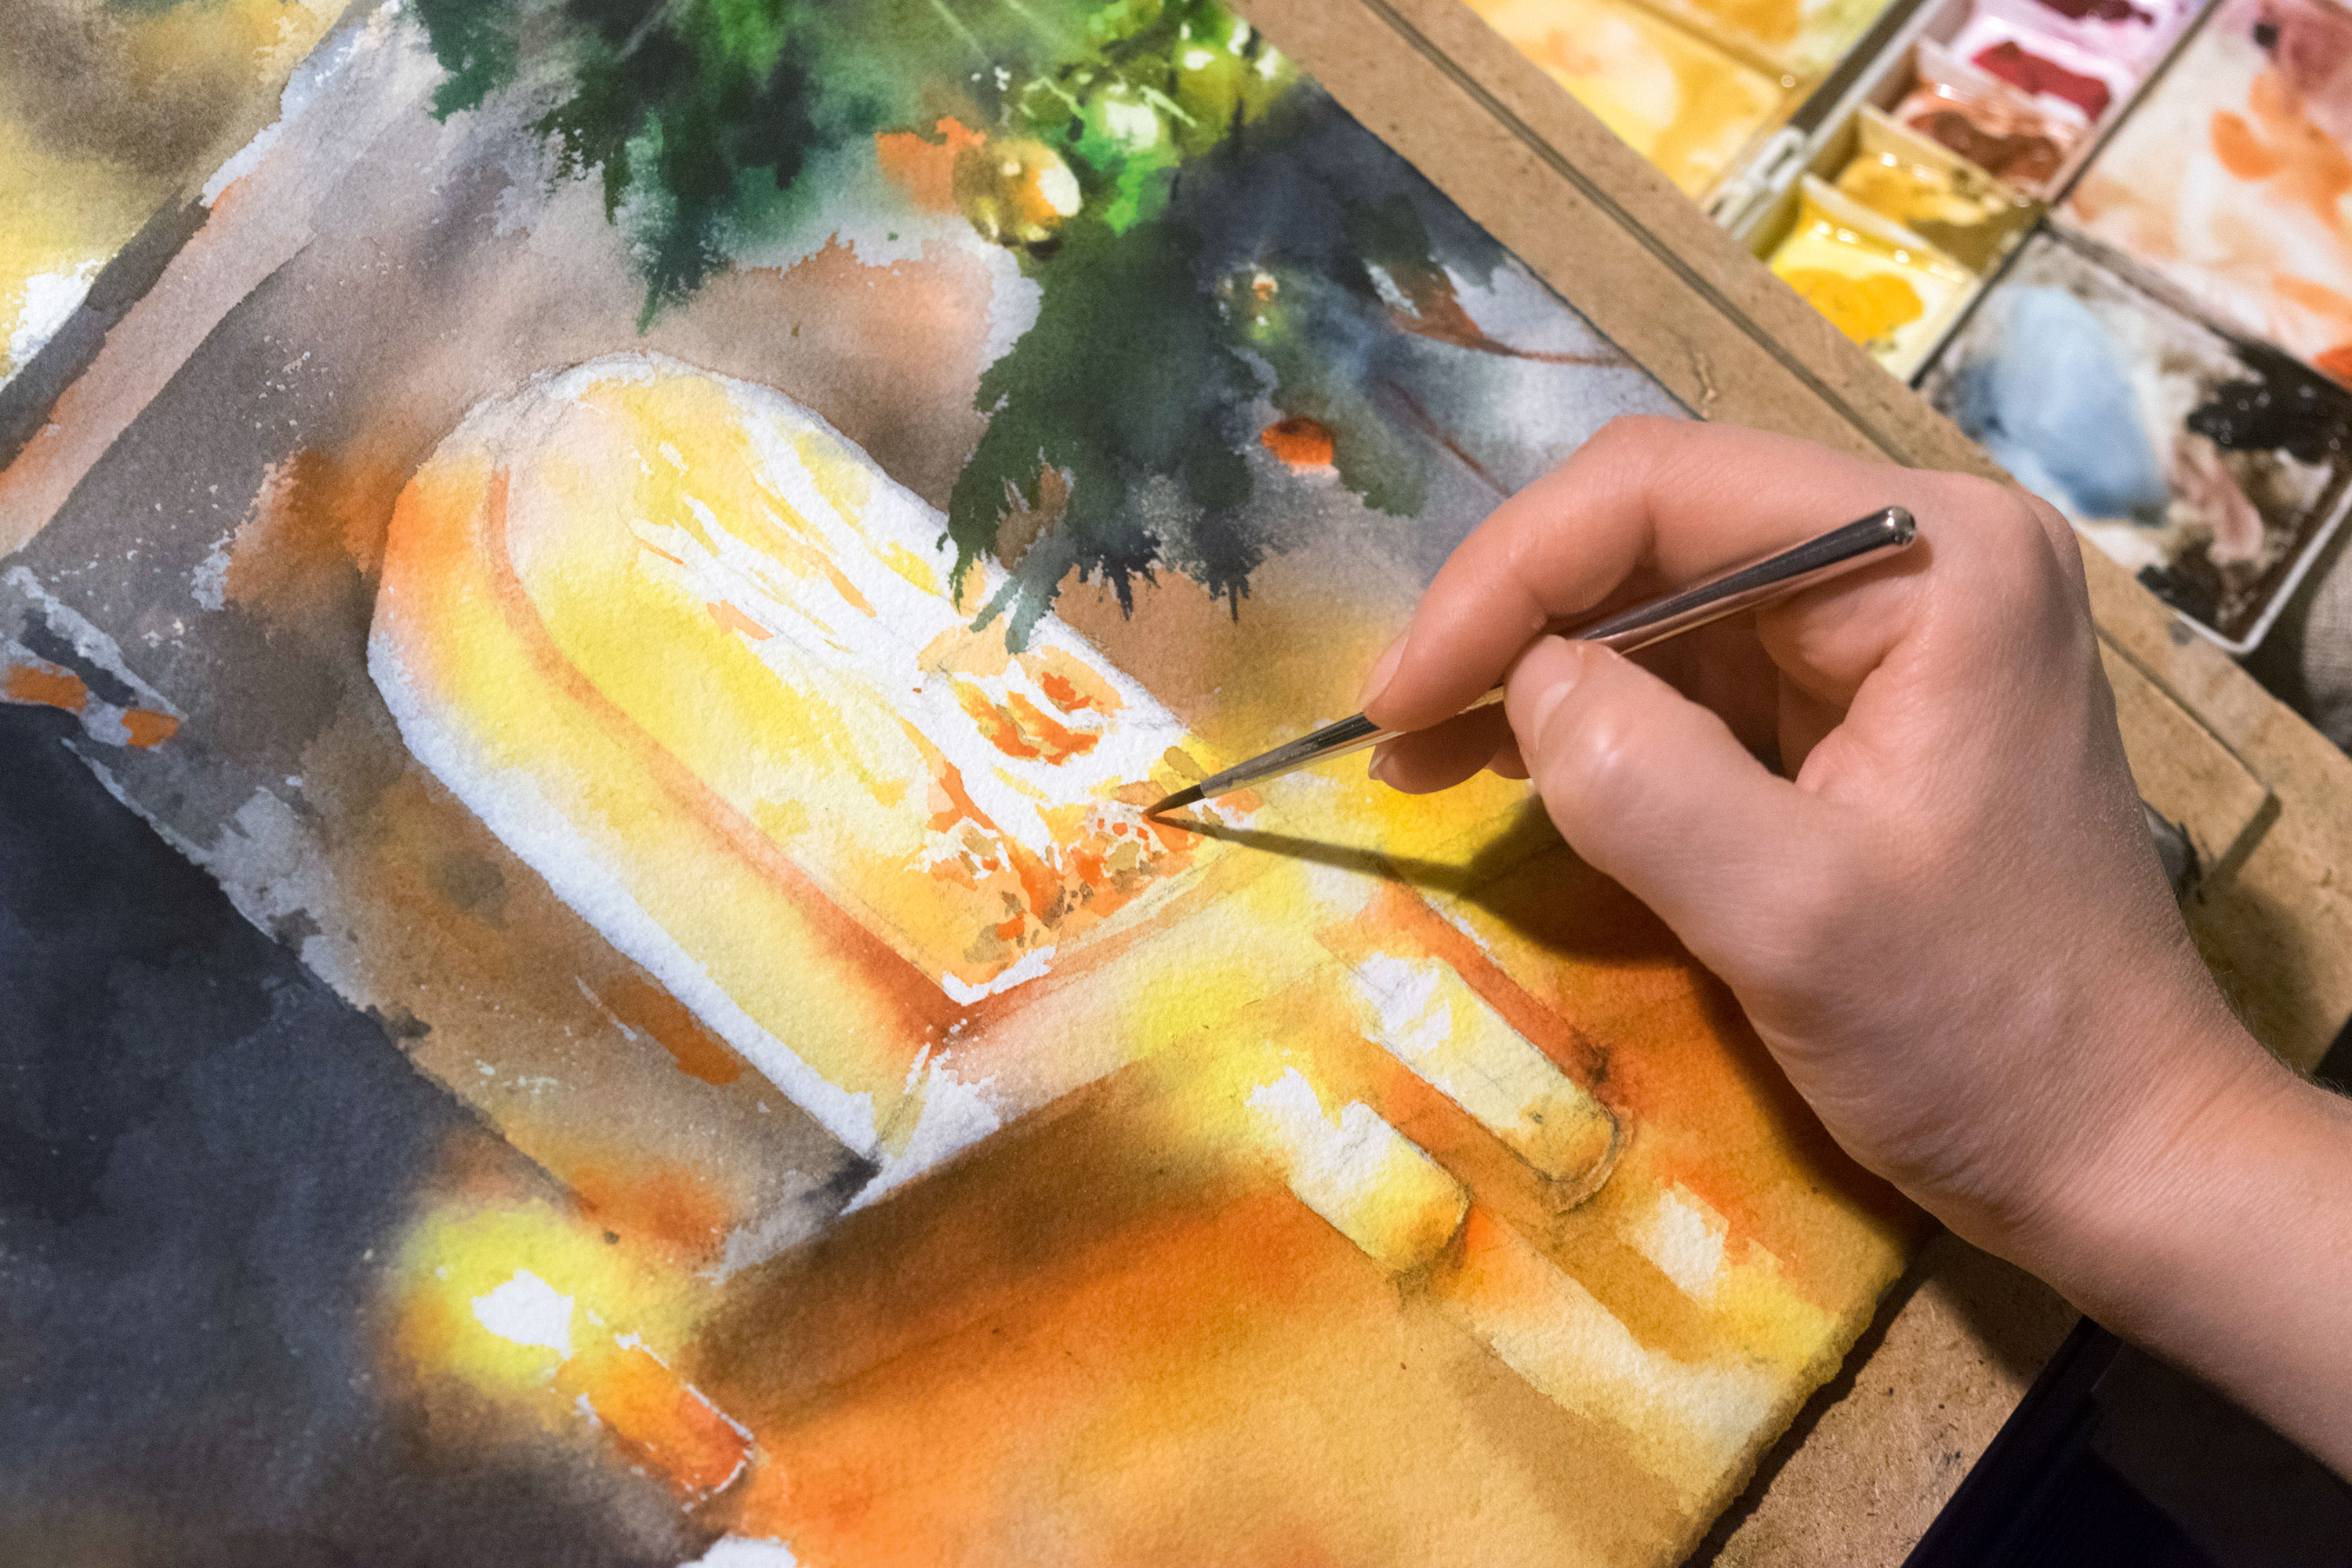
I added the candles when I painted the fire, so now I just need to refine them to include the reflection. I also add small details and work on the fire a bit more. By now, I’m painting on dry paper, which makes it easier for detailing. I use my smallest brush here. My painting is now done.
11. Flattening the painting
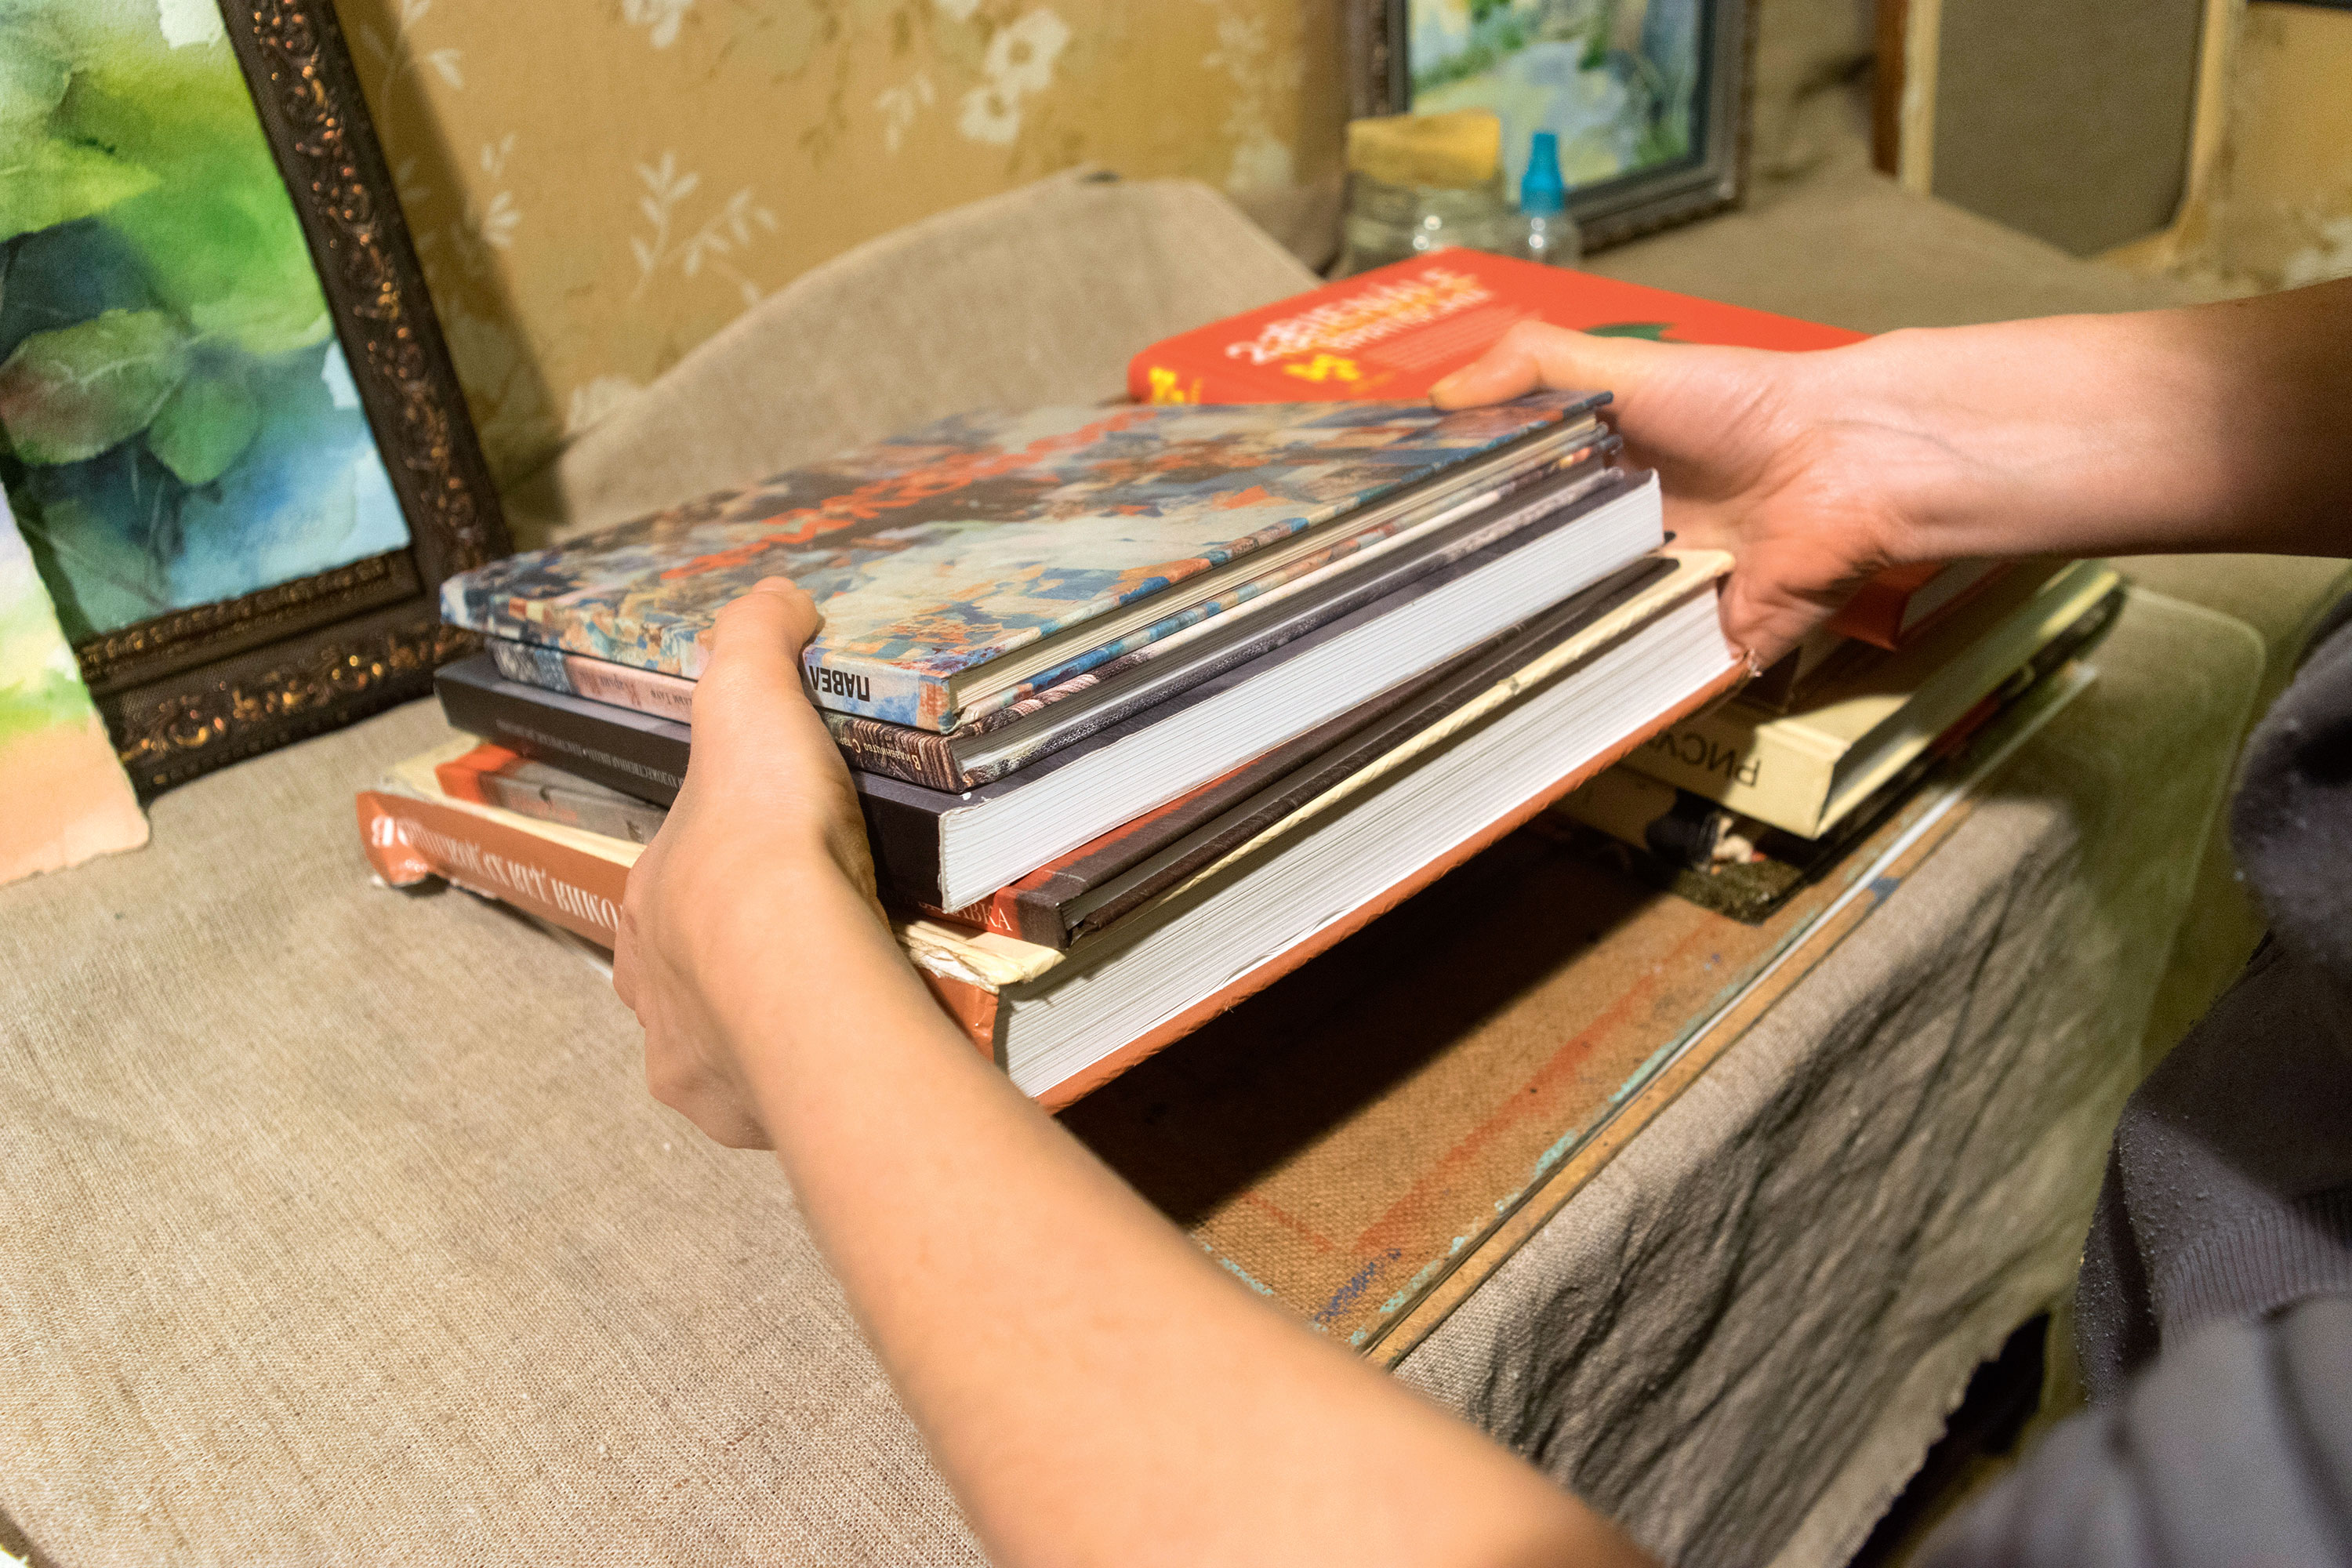
The paper becomes more wrinkled as it dries, making it unsuitable for framing. So, I wet the back of the painting with a sponge and leave it for 15-20 minutes. I then spray it with water, until it becomes flatter. I can now remove any excess water with a paper towel. After, I place the painting between clean cloth and cover it with hardboard. I place some heavy books on top to act as a weight.
12. Ready to frame
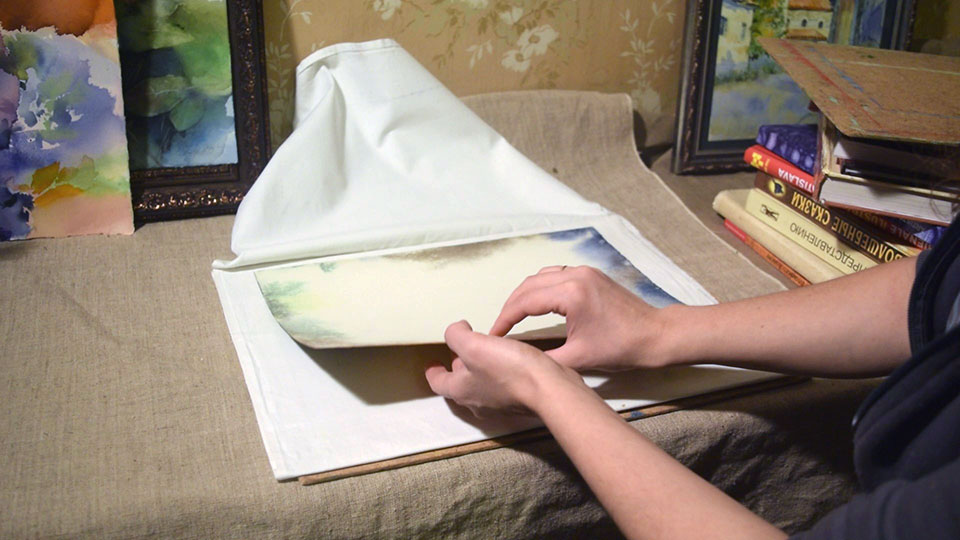
I leave the painting under the books for a whole day, then remove it. It's now dry, flat and ready for framing.
Related articles:
- How to paint water in oils
- Oil painting techniques: Top tips to level up your painting
- Wet-on-wet oil painting technique: How to master it
- Georgia CogganEditor
