Master the wet-on-wet oil painting technique
Learn the wet-on-wet oil painting technique, also known as 'alla prima', with these 5 practical tips.
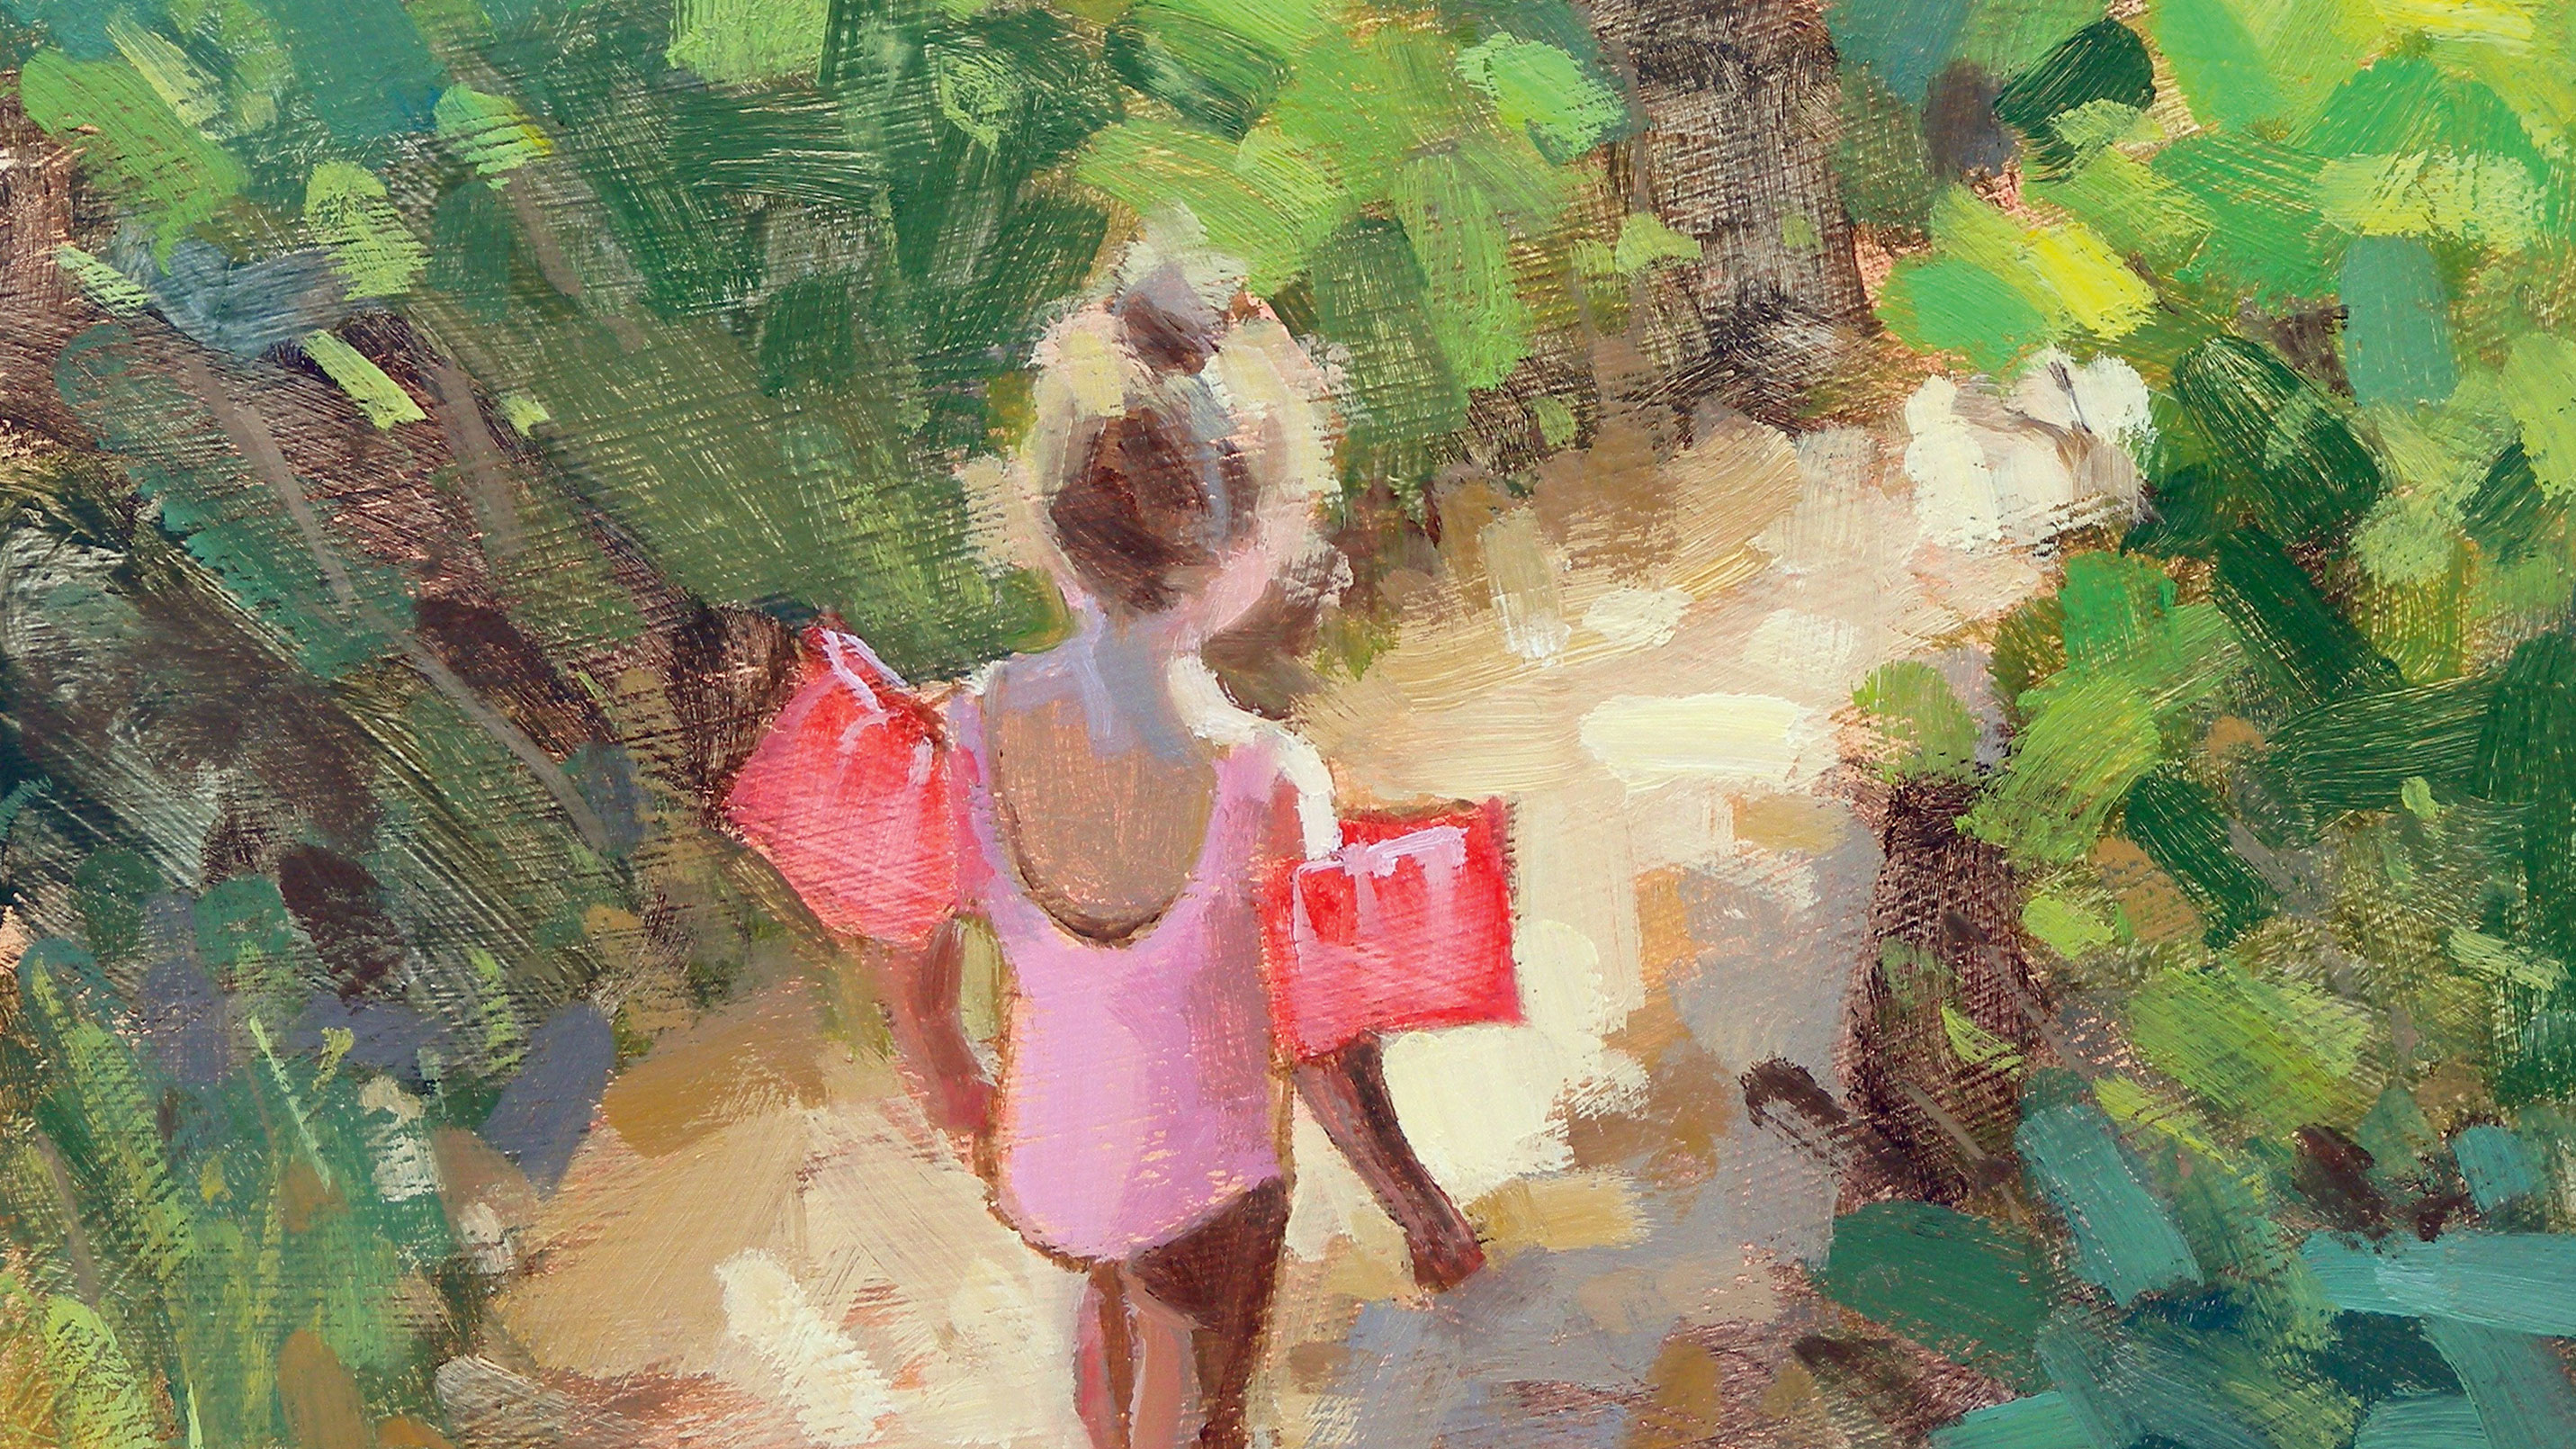
Getting the hang of the wet-on-wet oil painting technique is ideal for embracing the nature of oil paints. Also known as ‘alla prima’ , there is something about the medium that is so generous. Its fluid, glossy, rich texture enables you to make thick brushstrokes, which can be spread and layered with so much satisfaction.
Sometimes called ‘direct painting’, alla prima is all about being spontaneous and making rapid decisions, as the goal is to produce a painting in one go (often in one setting), without letting any layers dry.
- Oil paint
- Paintbrushes
- Canvas
- Pencil
- Ruler
If there’s one thing that painting wet-on-wet can teach us, it’s to be confident. There's no room for fiddling with the brush, no retouching dry layers, and no glazes to hide the mistakes – every brushstroke counts! All this means your kit must be up to scratch so ensure you've got the best oil paint supplies on the market before you start (and check out the materials we've found below, too).
Painting alla prima particularly suits working plein air, but you can still apply it to your studio work. In fact, it’s a great way to help add more freedom and spontaneity when working in this environment. In this workshop, we will work from a photo, but will attempt to capture the essence of the scene with the same energy and speed as if we were painting from life.
How to master the wet-on-wet oil painting technique
01. Lay down a base and initial sketch
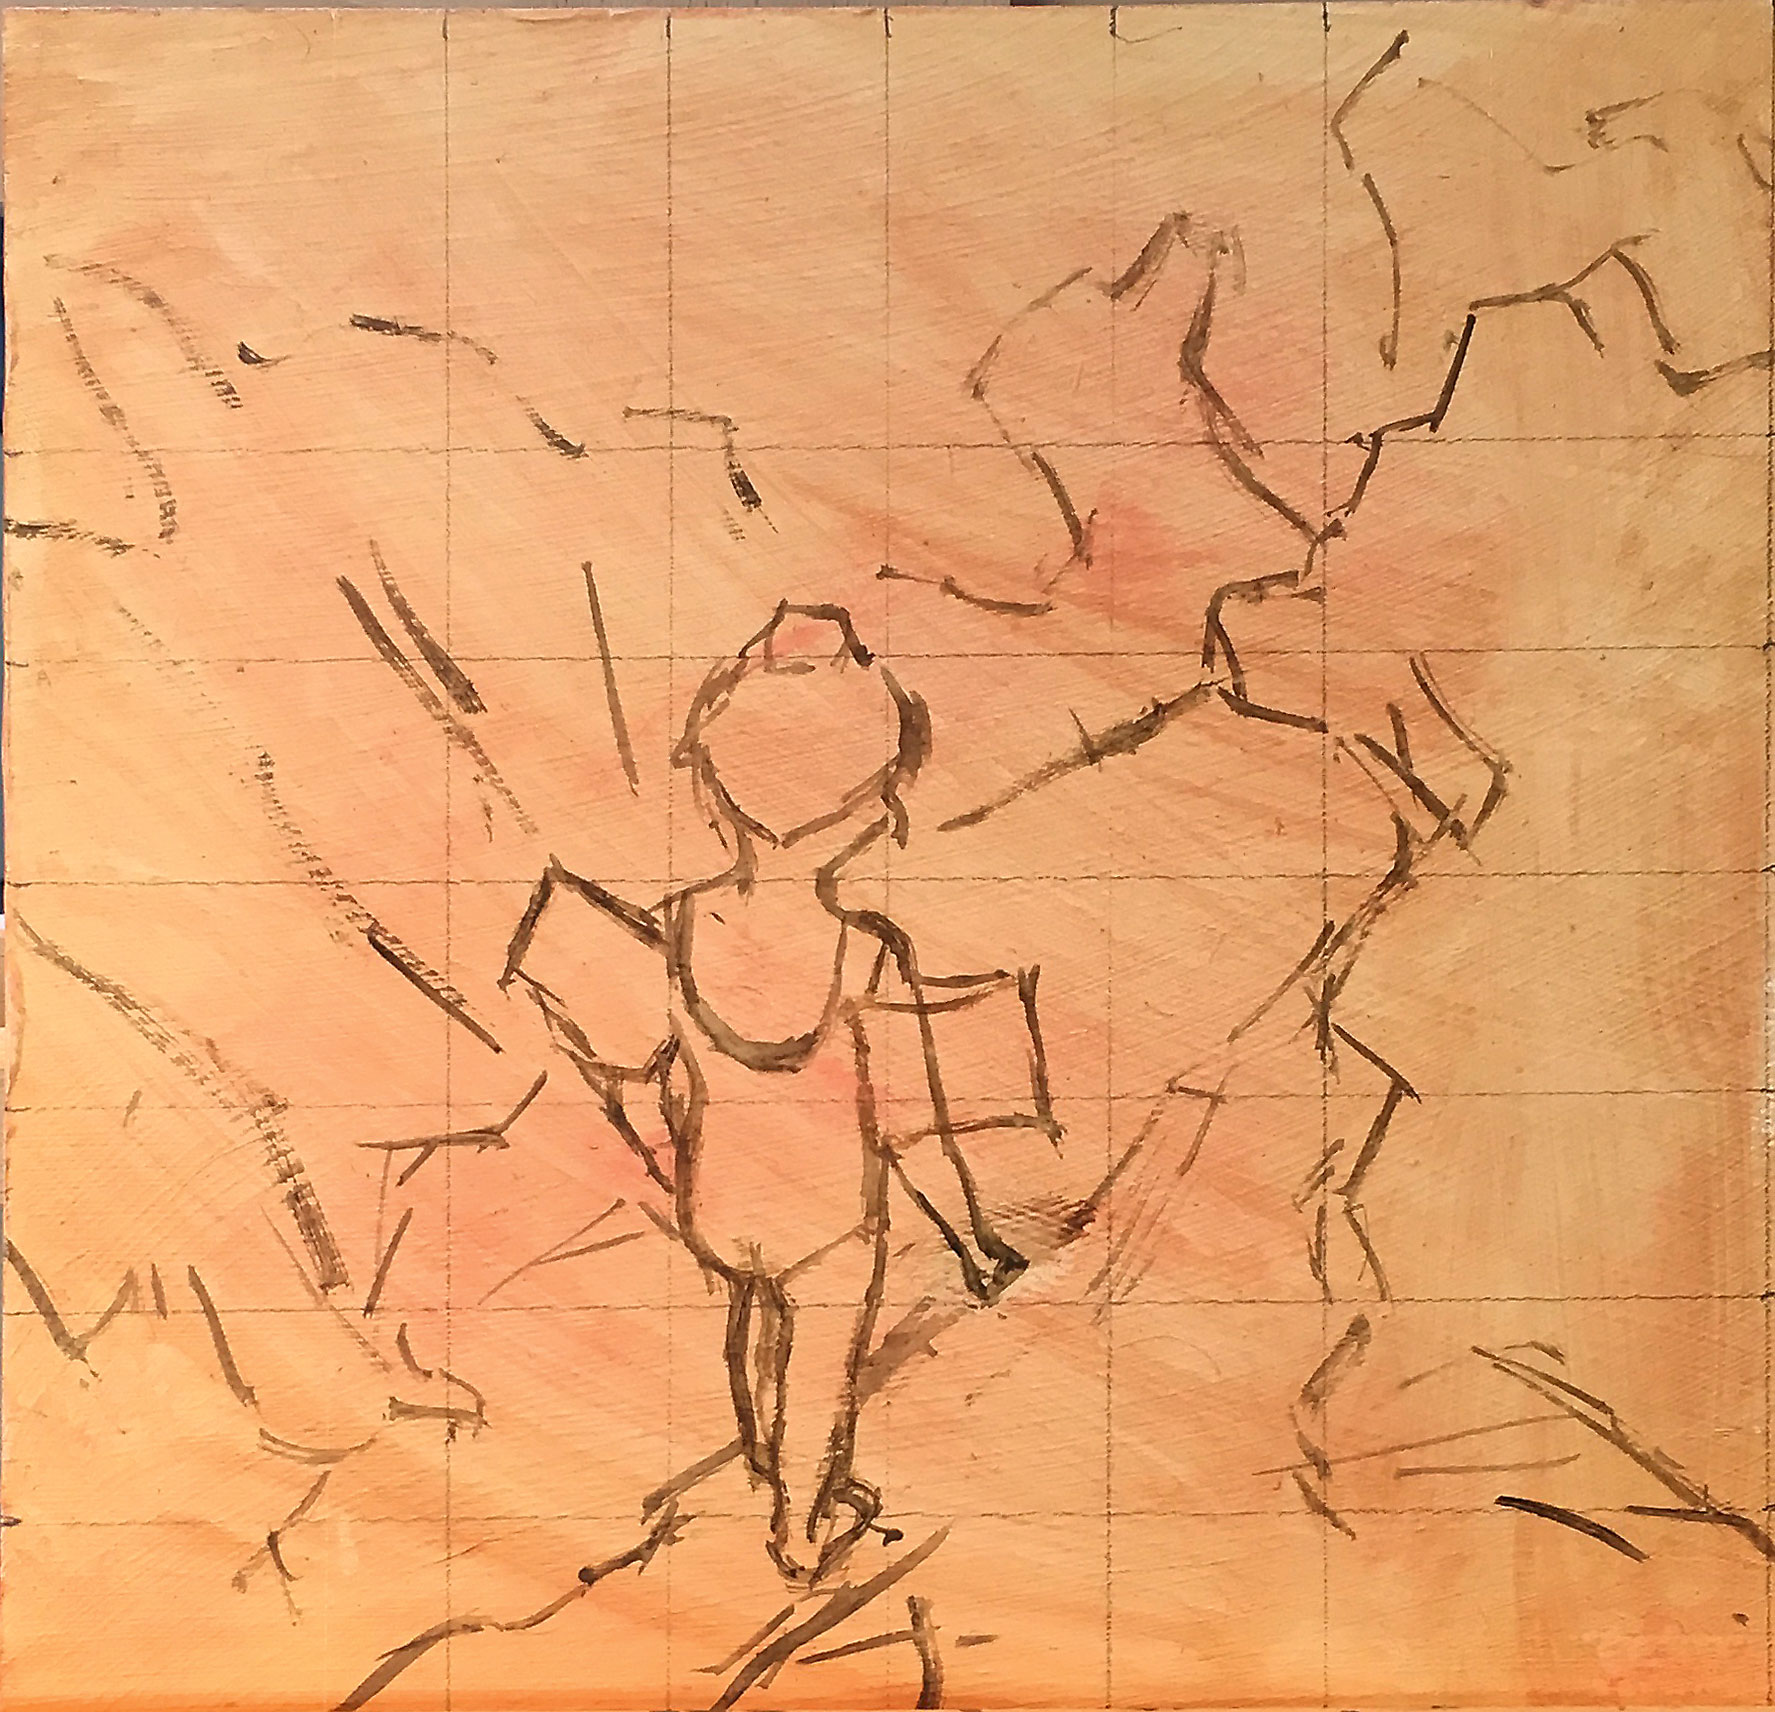
Adding a ground to your canvas will harmonise the colours in the final painting. Here, we’ve picked a warm colour to convey the hot summer’s day in the scene. It will also carry a warm feeling across the whole painting.
If you want to accurately transfer the image onto the canvas, you can lightly draw a grid onto the board and copy from a gridded version of the original photo, as we have done here. There’s no need to put details in at this point, it’s just about defining the main shapes. Need a new canvas? Check out the best oil paint canvas options around.
02. Block in one colour
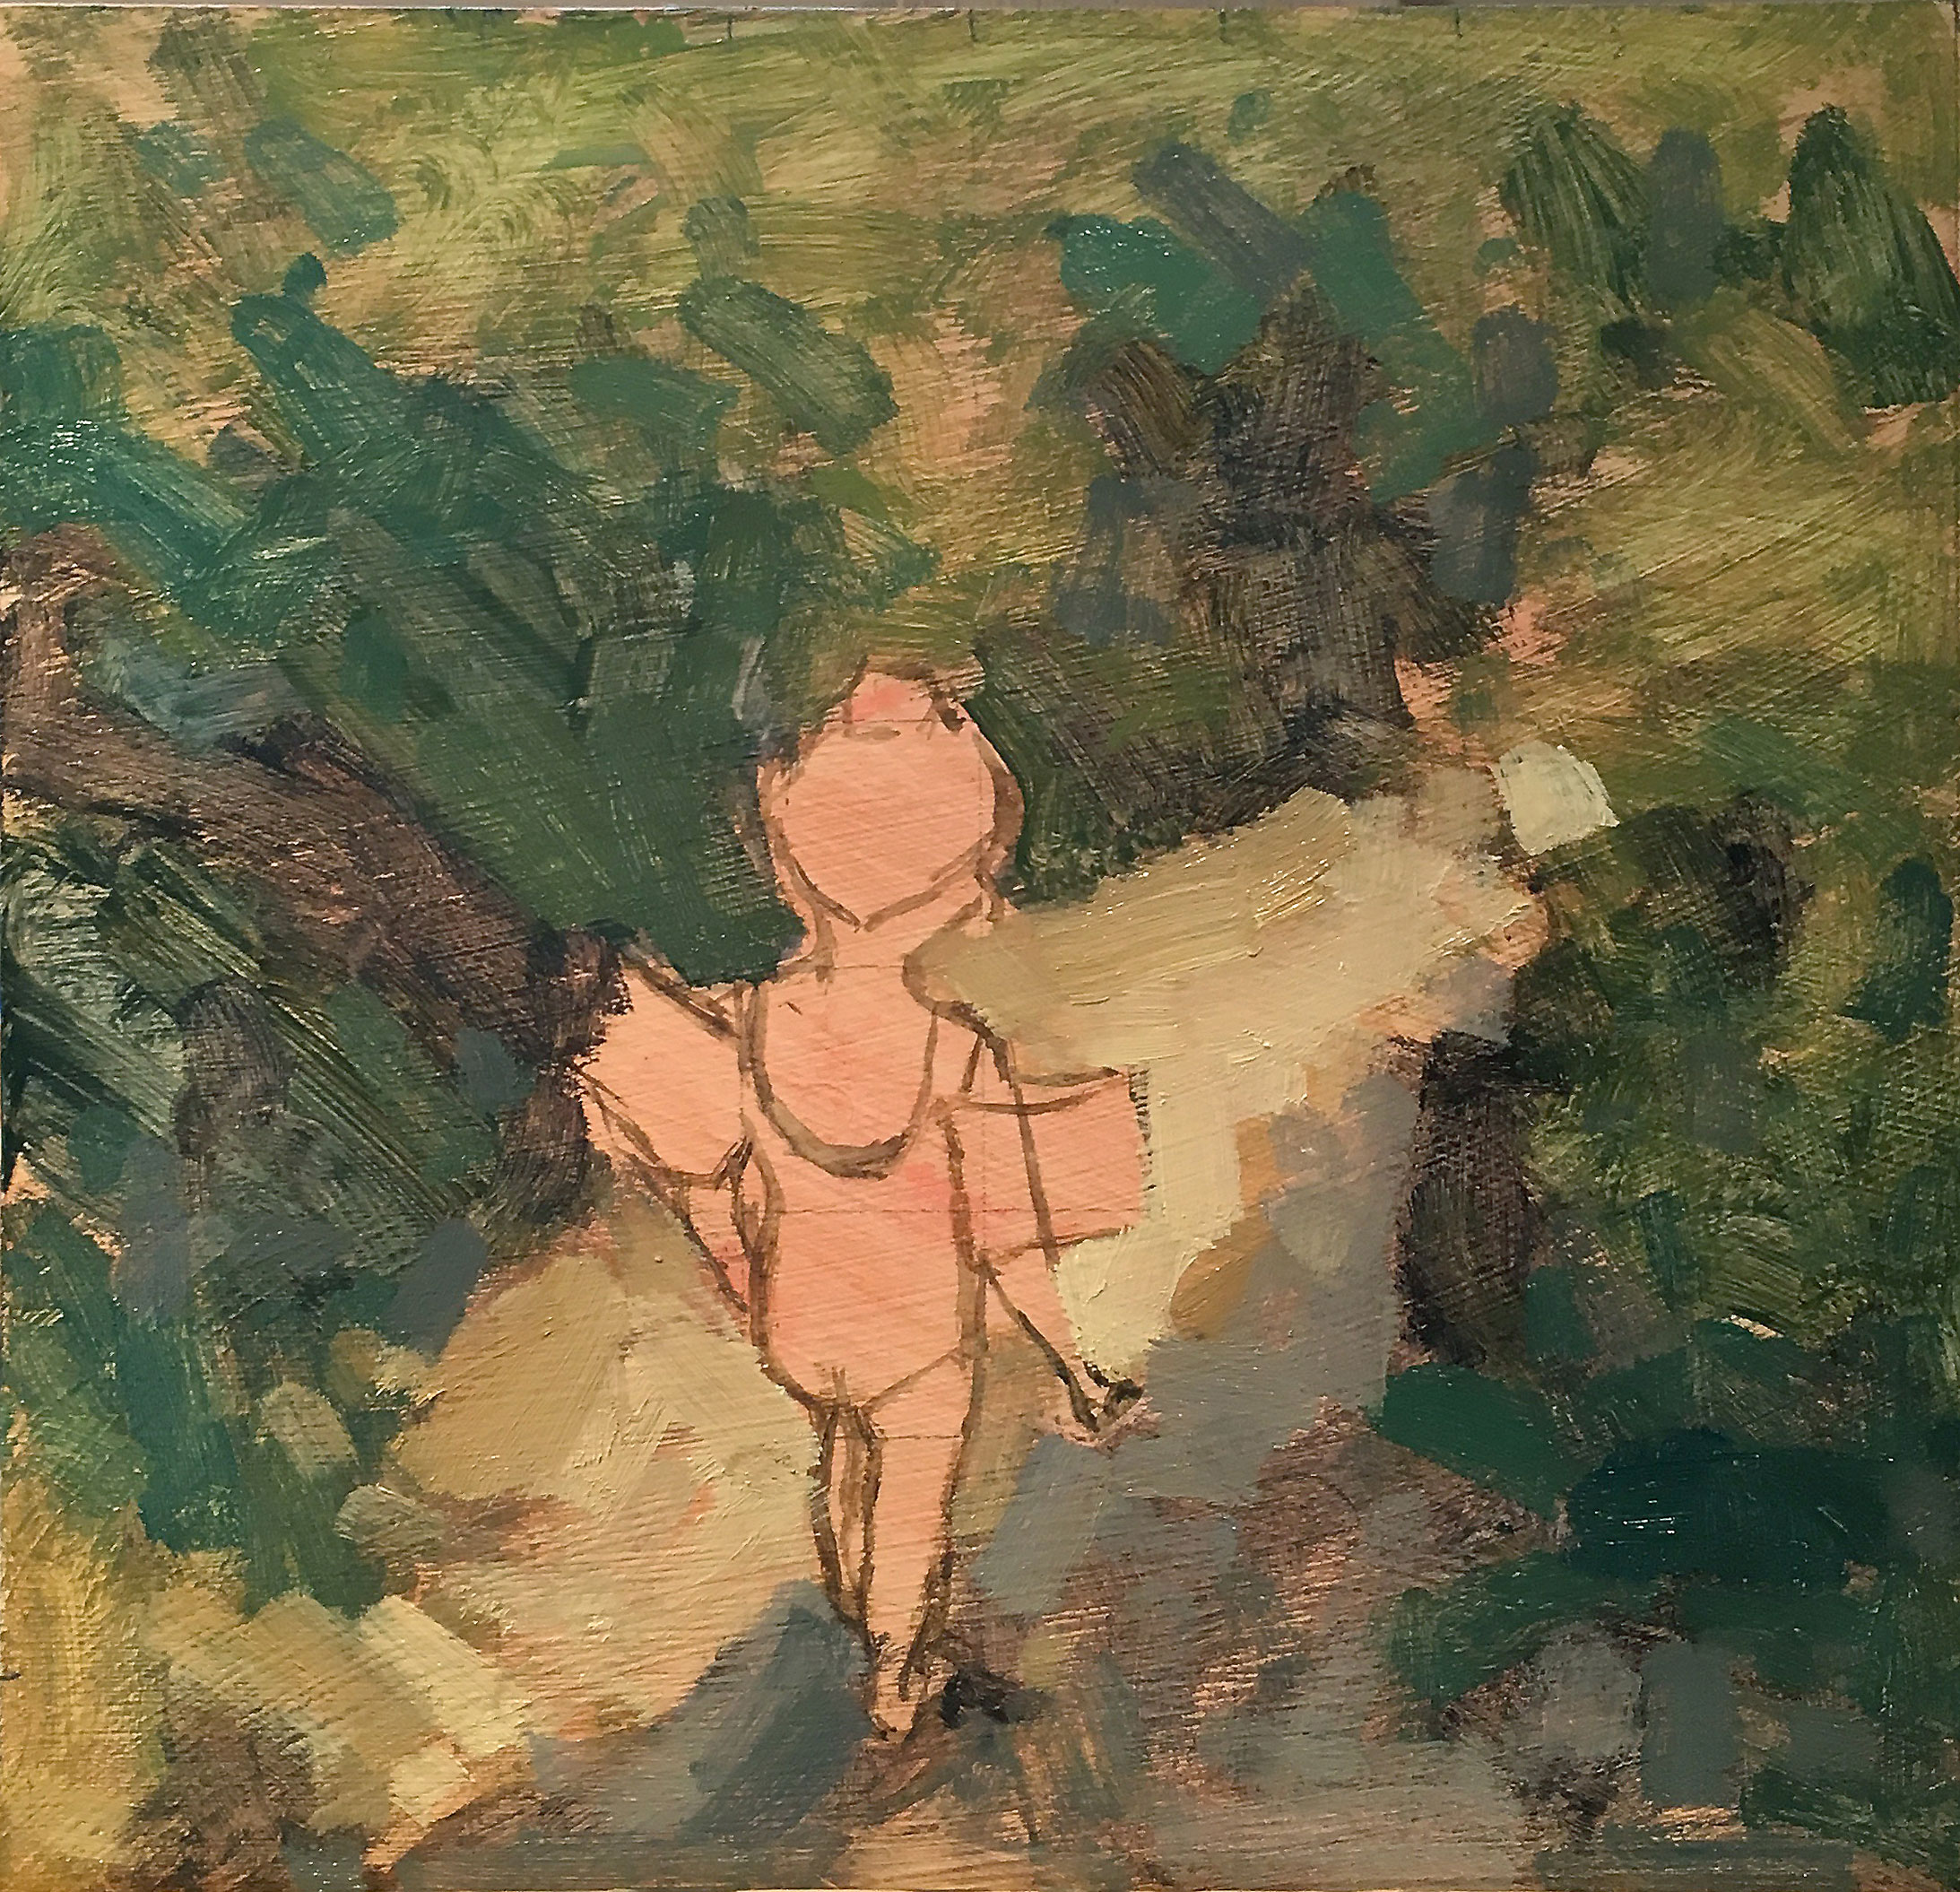
Fill the canvas with your mid-tone colours first – you’ll have the chance to add darker and lighter accents after. Start sculpting your painting with strong brushstrokes, to give an early sense of movement, composition and colour (and make sure you've got the best oil paints, of course).
The paint needs to be thin at this stage (diluted with turps or water). Use large brushes to start with, going smaller as you go more into more detail. Instead of working in small areas, try tackling one colour at a time across the whole canvas – here, we're working on all the greens in one go.
03. Define the shapes
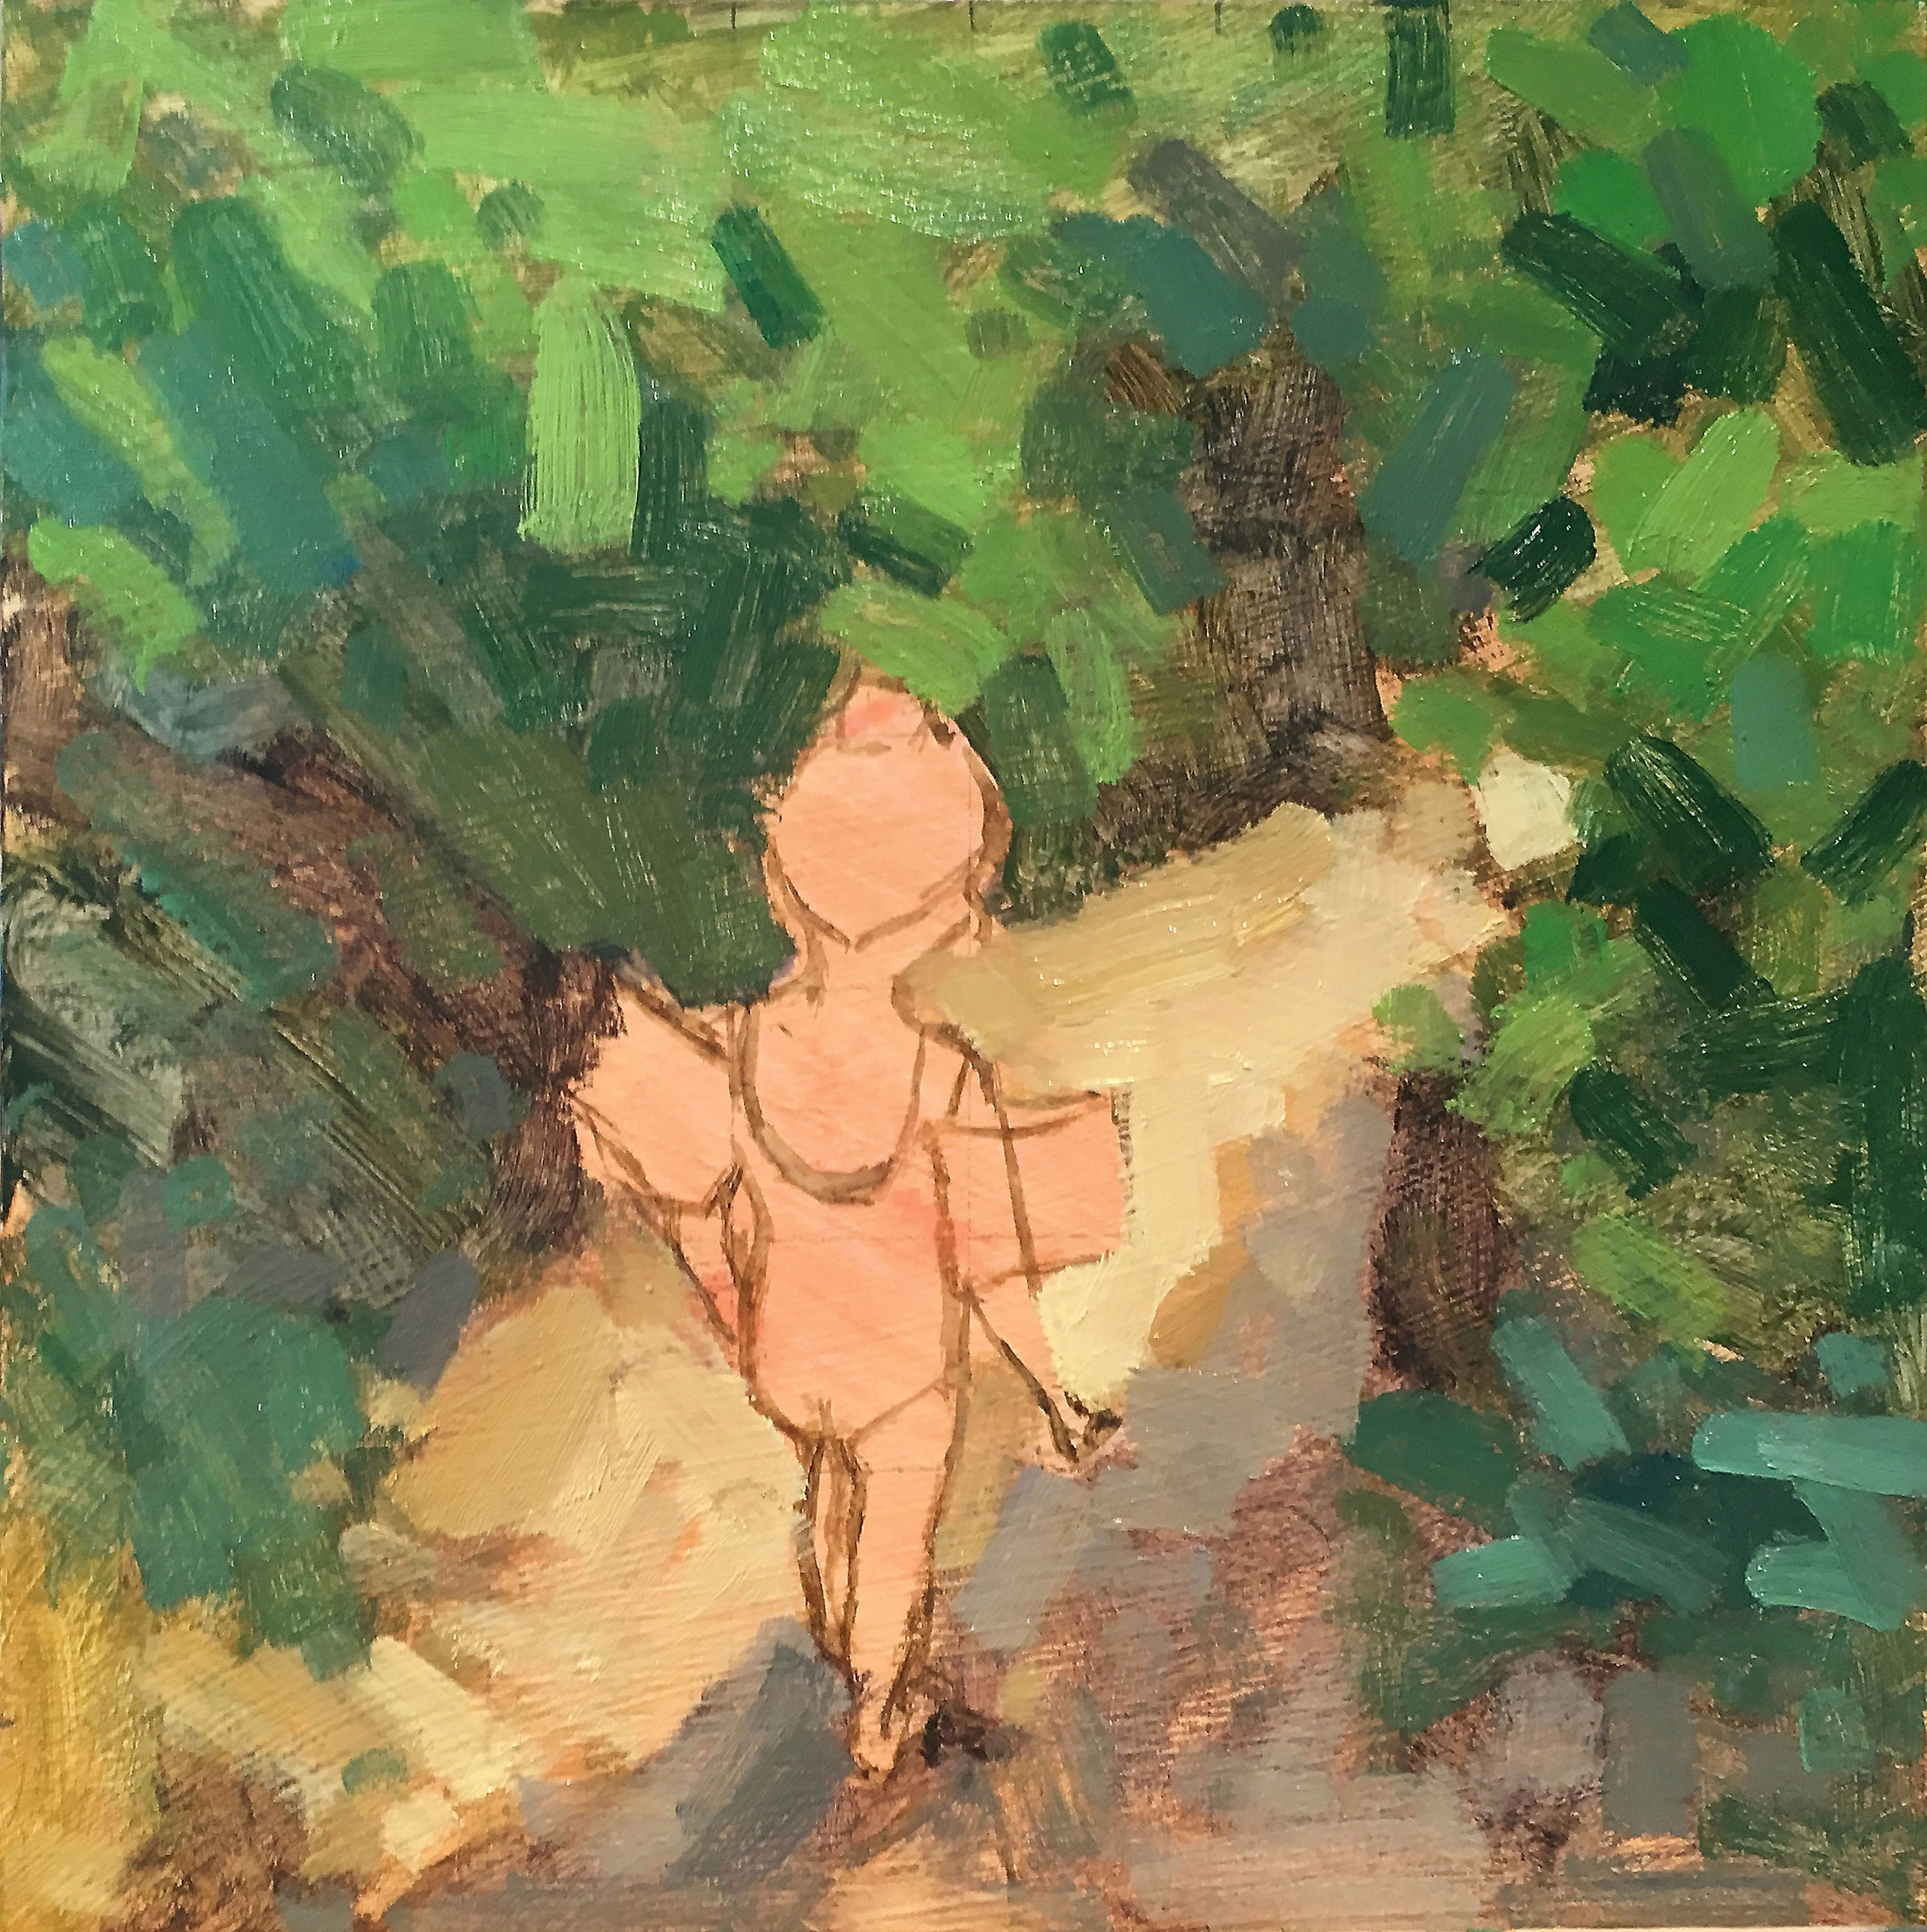
The chances are your diluted first marks will now look slightly faded, but now is the time to add some contrast to the scene. The paint can be used pure or with a medium, but it needs to be thicker than before.
The direction of the brushstrokes is also important, as these marks will guide the eye and strengthen the composition. The marks at this stage are often the heart and soul of the painting – they are bold enough to make a statement without being lost in the details.
04. Paint the subject
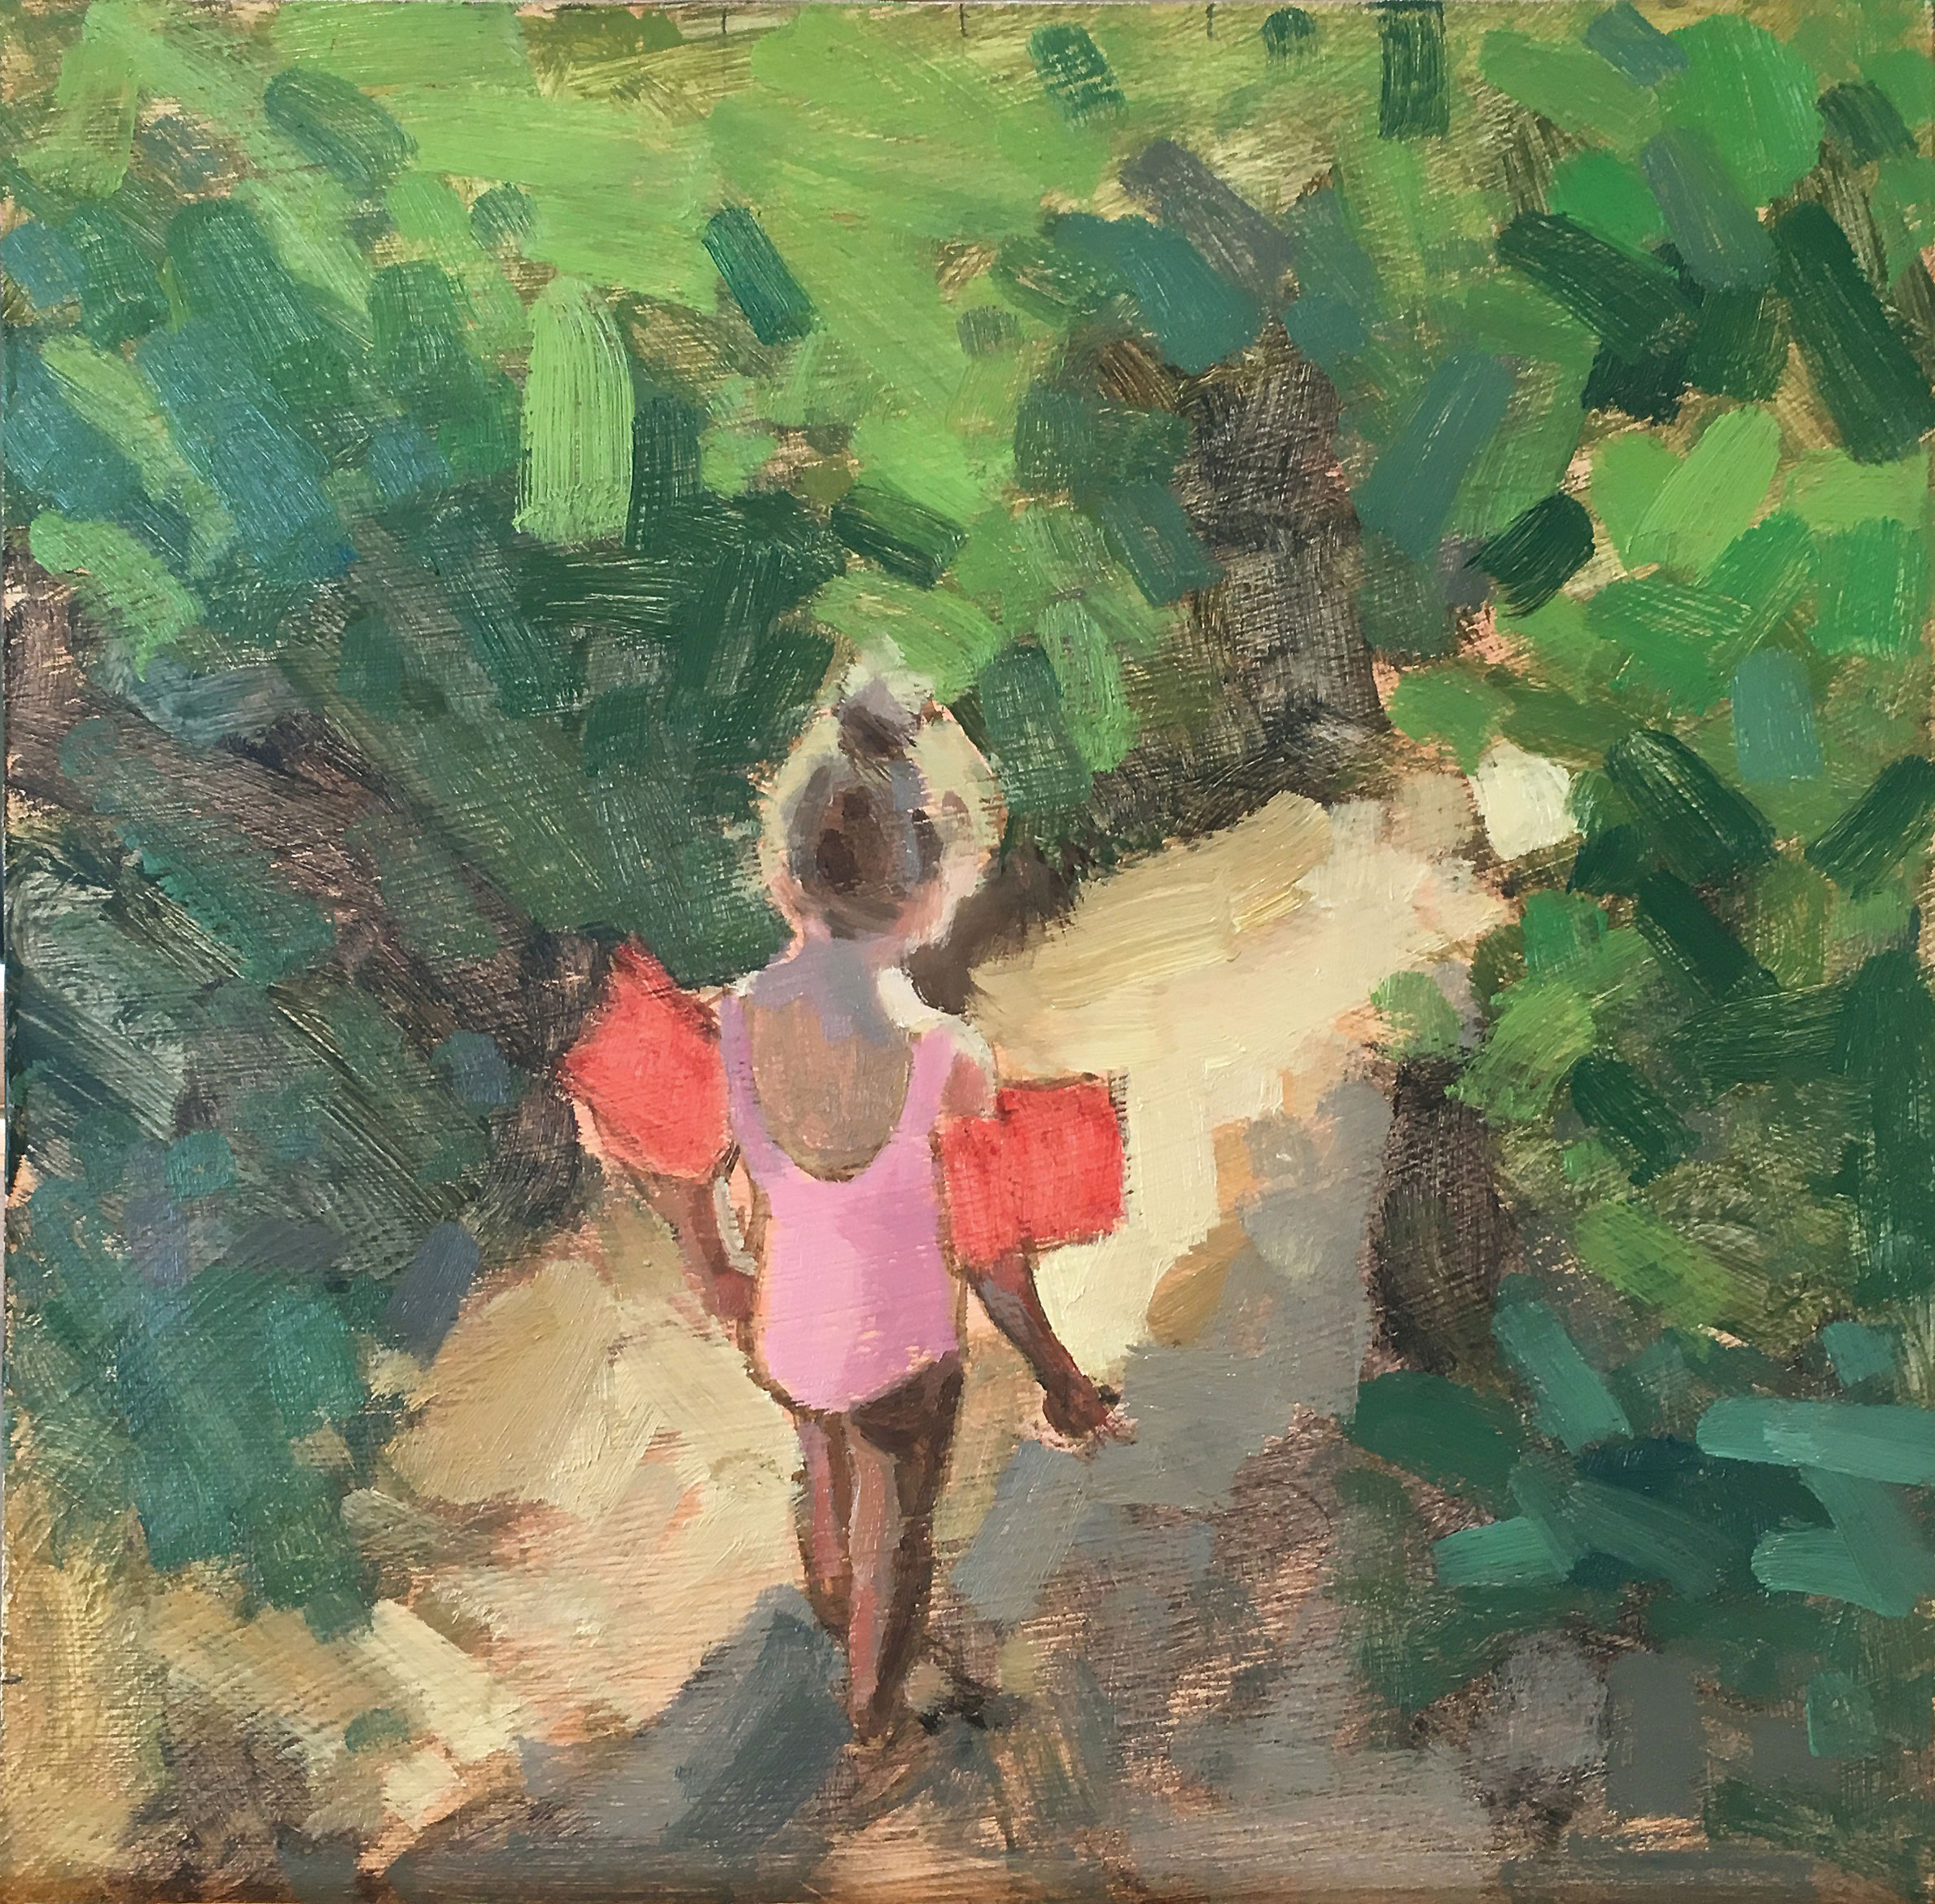
Painting characters can often be daunting or look a little rigid. To avoid this, try to forget you are painting a figure with limbs, and instead depict them as abstract shapes.
Make sure the figure fits into the rest of the painting in terms of tone and colour. A character will look awkward if it is cooler, warmer, lighter or darker than the rest of the painting! Make sure you are consistent with light across the canvas.
05. Add the final touches
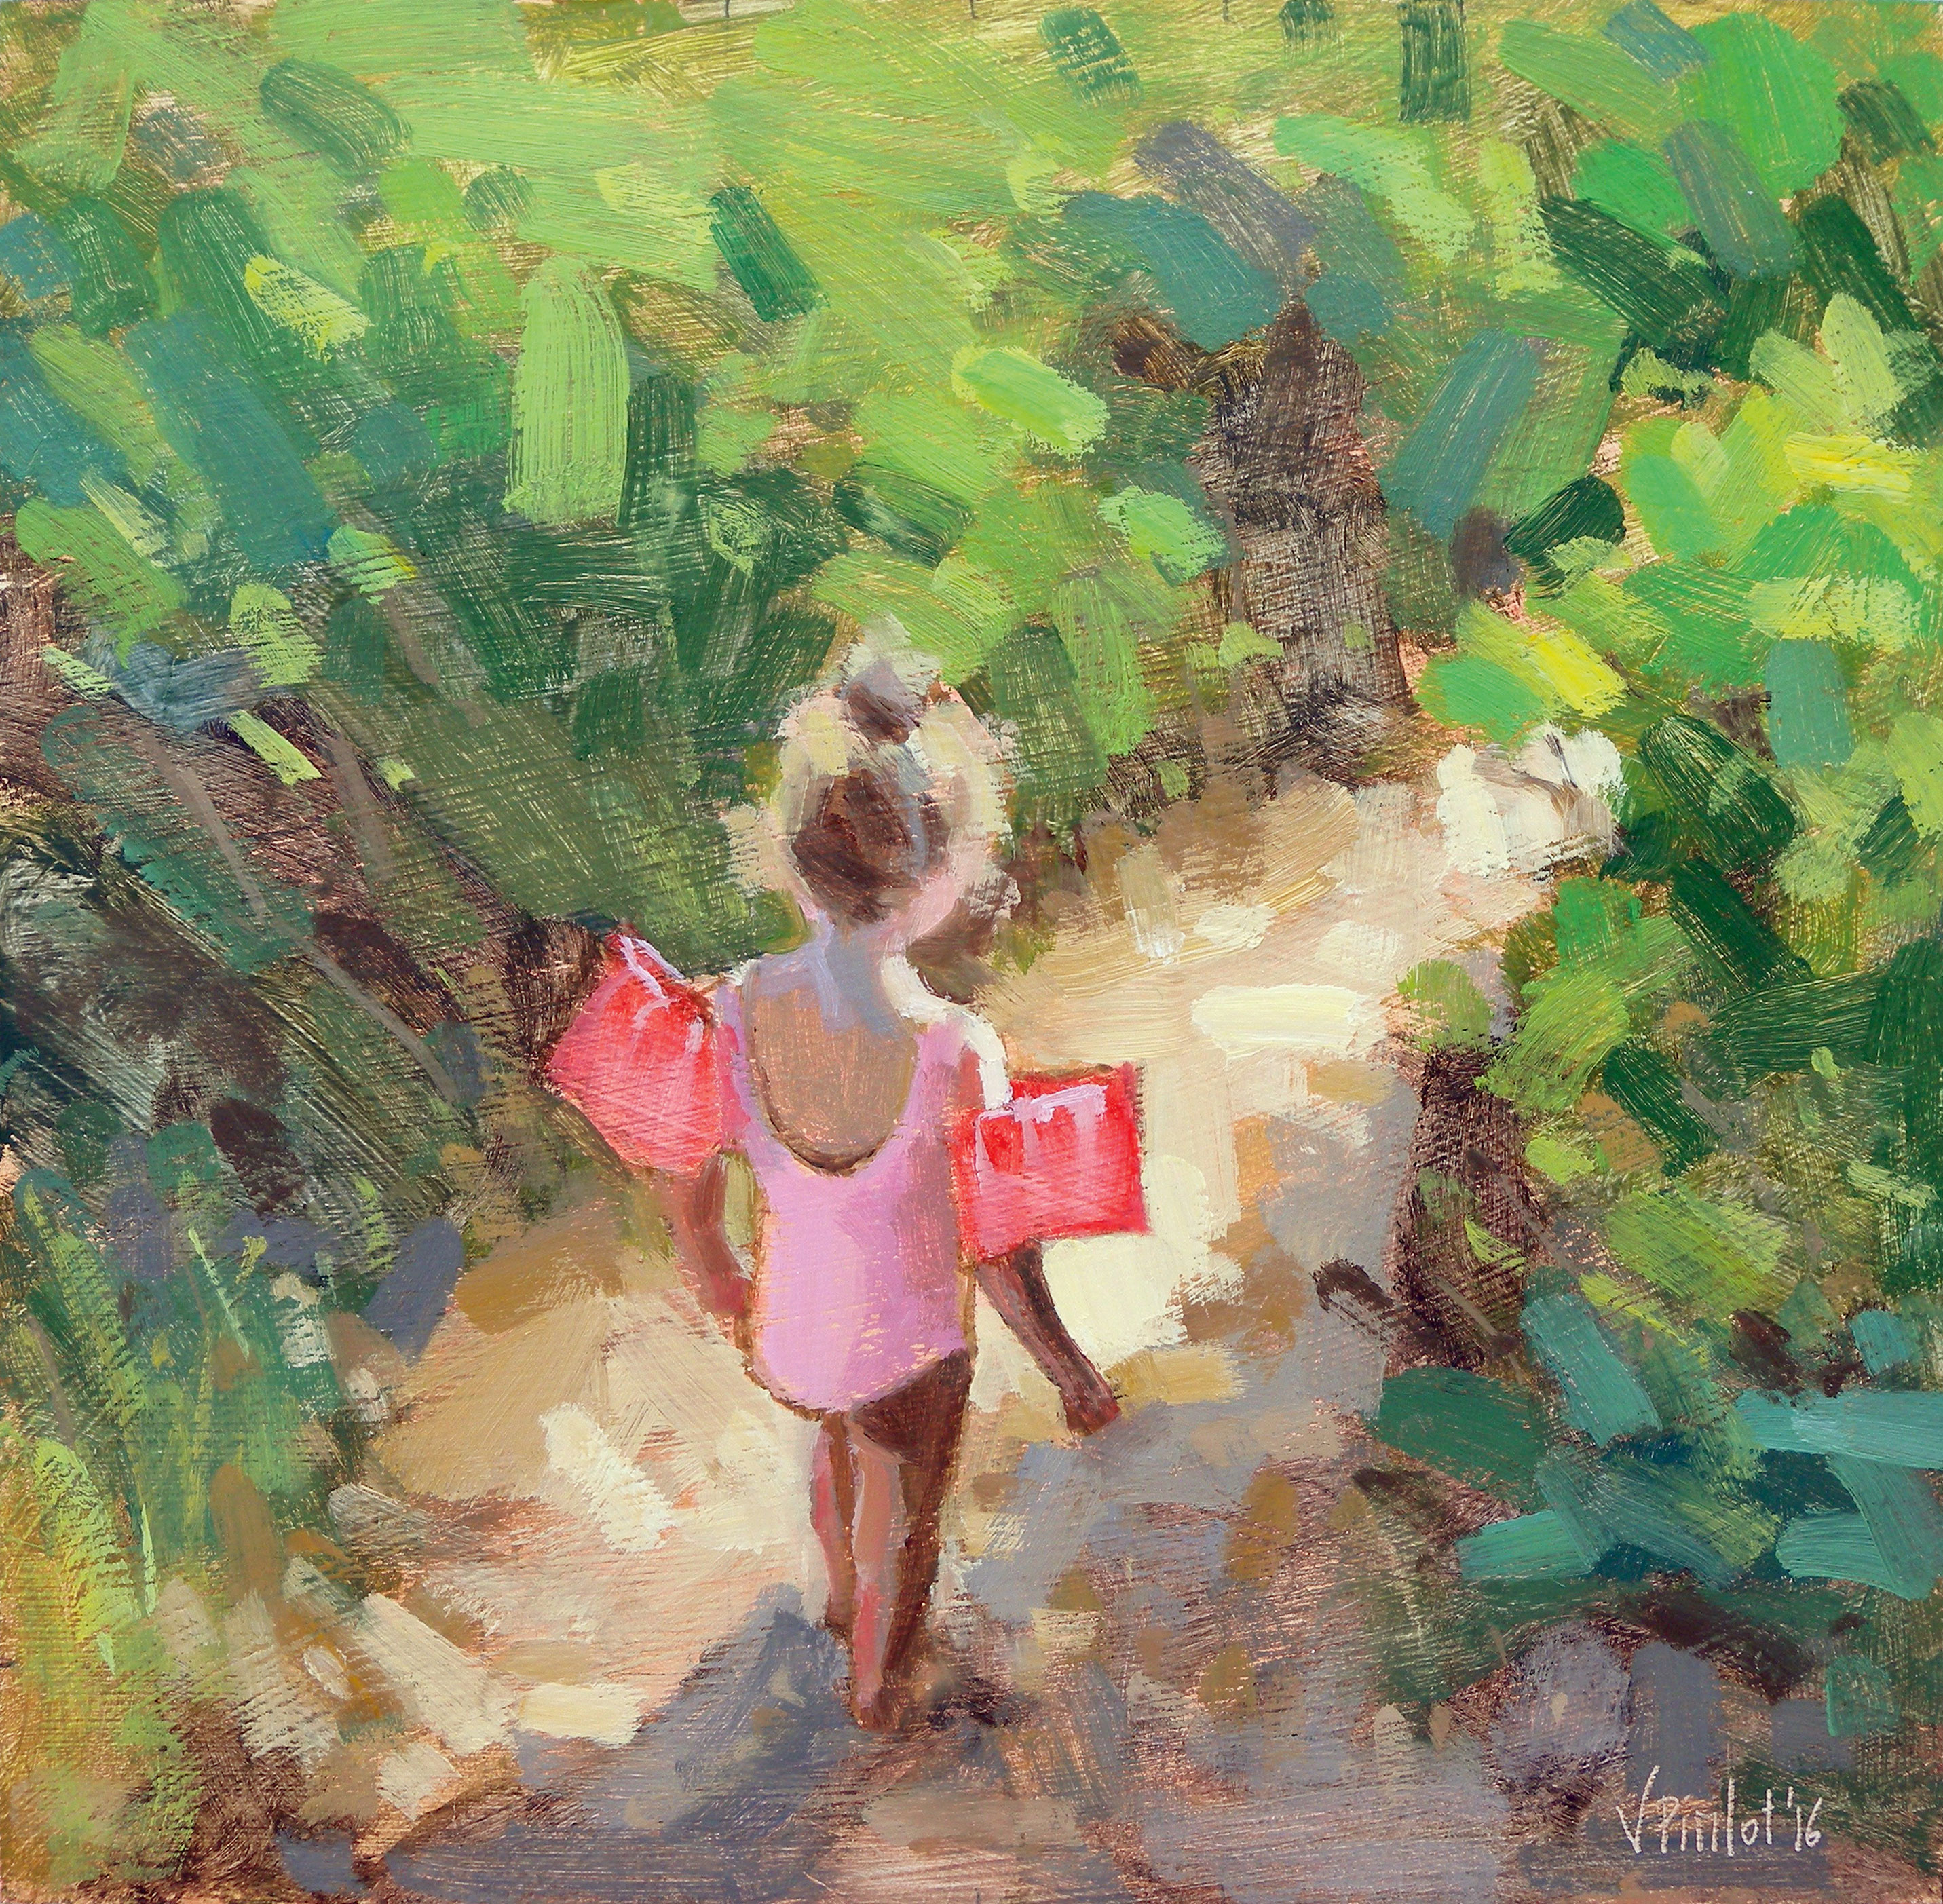
The painting is almost done and just needs final details and a bit more depth. This is the time to adjust any contrasts, such as adding some darker brushstrokes in the shades and highlights in the greens that will convey energy (and find all the gear you need to make it work in the best art supplies guide). Make sure the lines of the figure have been refined, and gaps have been filled across the painting.
When working wet-on-wet in oils, watch out for unwanted blending that can happen when adding details. Working alla prima often means having a spontaneous unpolished result – embrace it!
Read more:
- How to draw: Up your drawing skills with these tutorials
- Improve your brushstrokes in oils
- Paint water in oils: Create rippling reflections
Daily design news, reviews, how-tos and more, as picked by the editors.
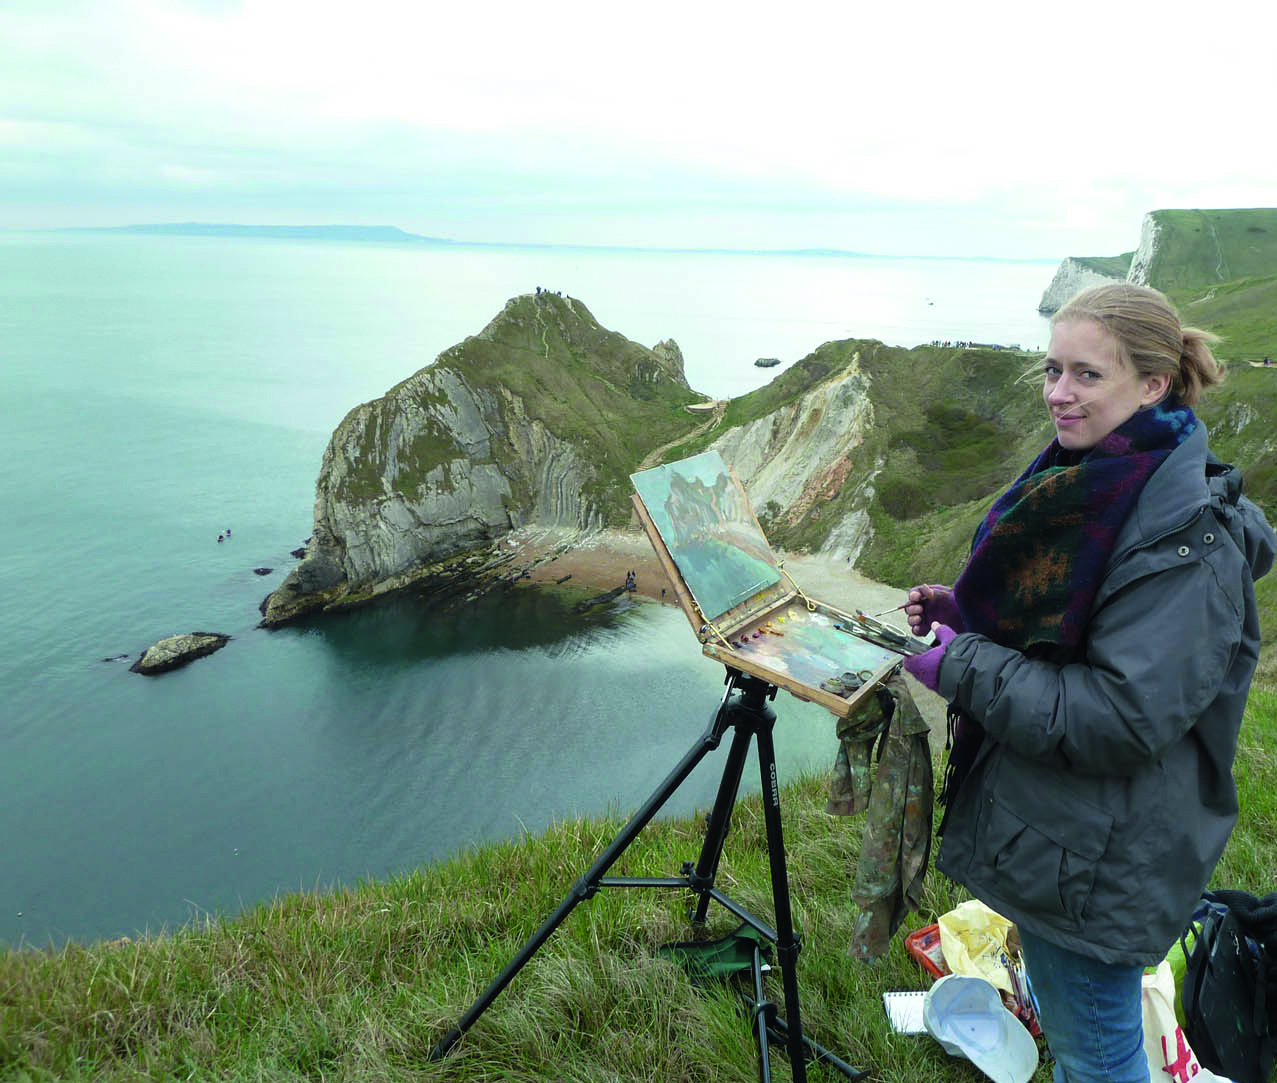
Originally from Belgium, Valérie has lived in the UK for the past 11 years. She works mainly in oils and enjoys working plein air.
- Georgia CogganEditor
