Get better at figure drawing
Peer over the shoulders of this fantasy artist and see how he draws from life without slavishly copying what he sees.
Sign up to Creative Bloq's daily newsletter, which brings you the latest news and inspiration from the worlds of art, design and technology.
You are now subscribed
Your newsletter sign-up was successful
Want to add more newsletters?

Five times a week
CreativeBloq
Sign up to Creative Bloq's daily newsletter, which brings you the latest news and inspiration from the worlds of art, design and technology.

Once a week
By Design
Sign up to Creative Bloq's daily newsletter, which brings you the latest news and inspiration from the worlds of art, design and technology.

Once a week
State of the Art
Sign up to Creative Bloq's daily newsletter, which brings you the latest news and inspiration from the worlds of art, design and technology.

Seasonal (around events)
Brand Impact Awards
Sign up to Creative Bloq's daily newsletter, which brings you the latest news and inspiration from the worlds of art, design and technology.
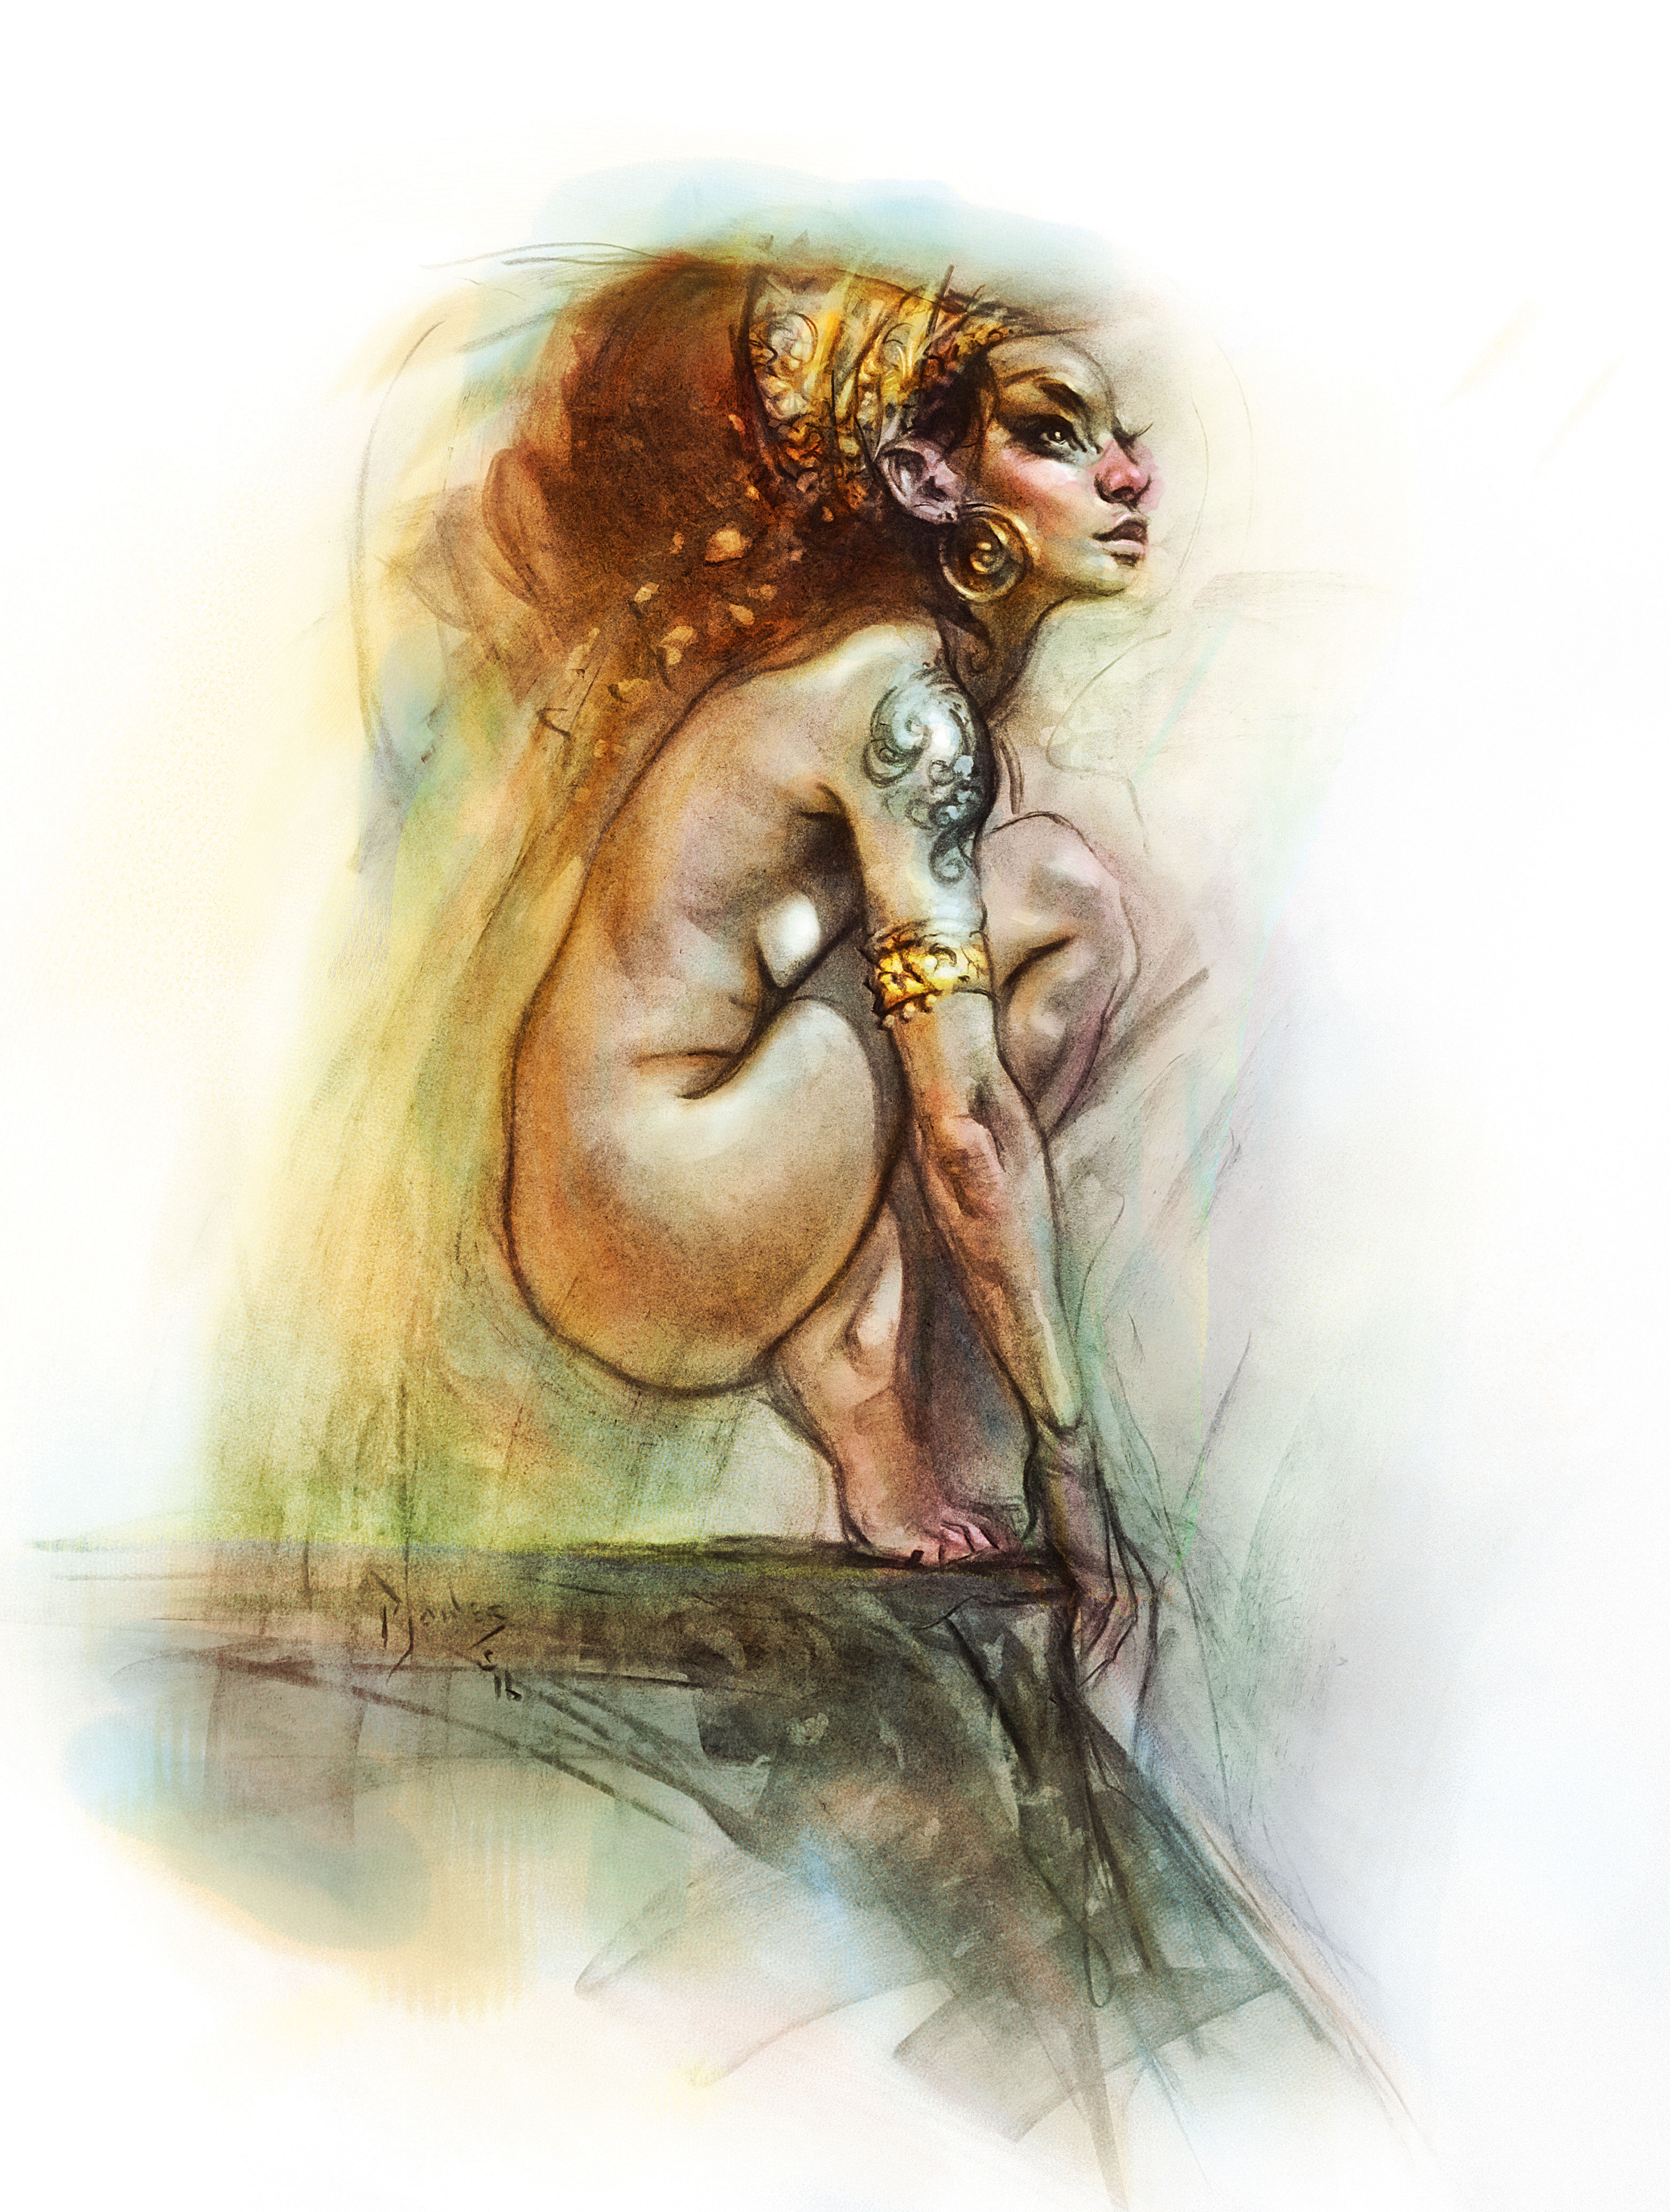
When I got the call from ImagineFX’s editor to draw a person – a life model – for the cover illustration, I was filled with energy and excitement. But the brief came with a hurdle: no nudity could grace the cover! I decided I would take on the challenge.
Normally, I teach life drawing at university, but for this commission I planned to record the stages live at my first private figure-drawing workshop. I also decided to work with classic butcher’s paper (newsprint) and charcoal.
Read on to find out how I created a figure drawing cover for ImagineFX issue #144.
01. Start drawing in charcoal
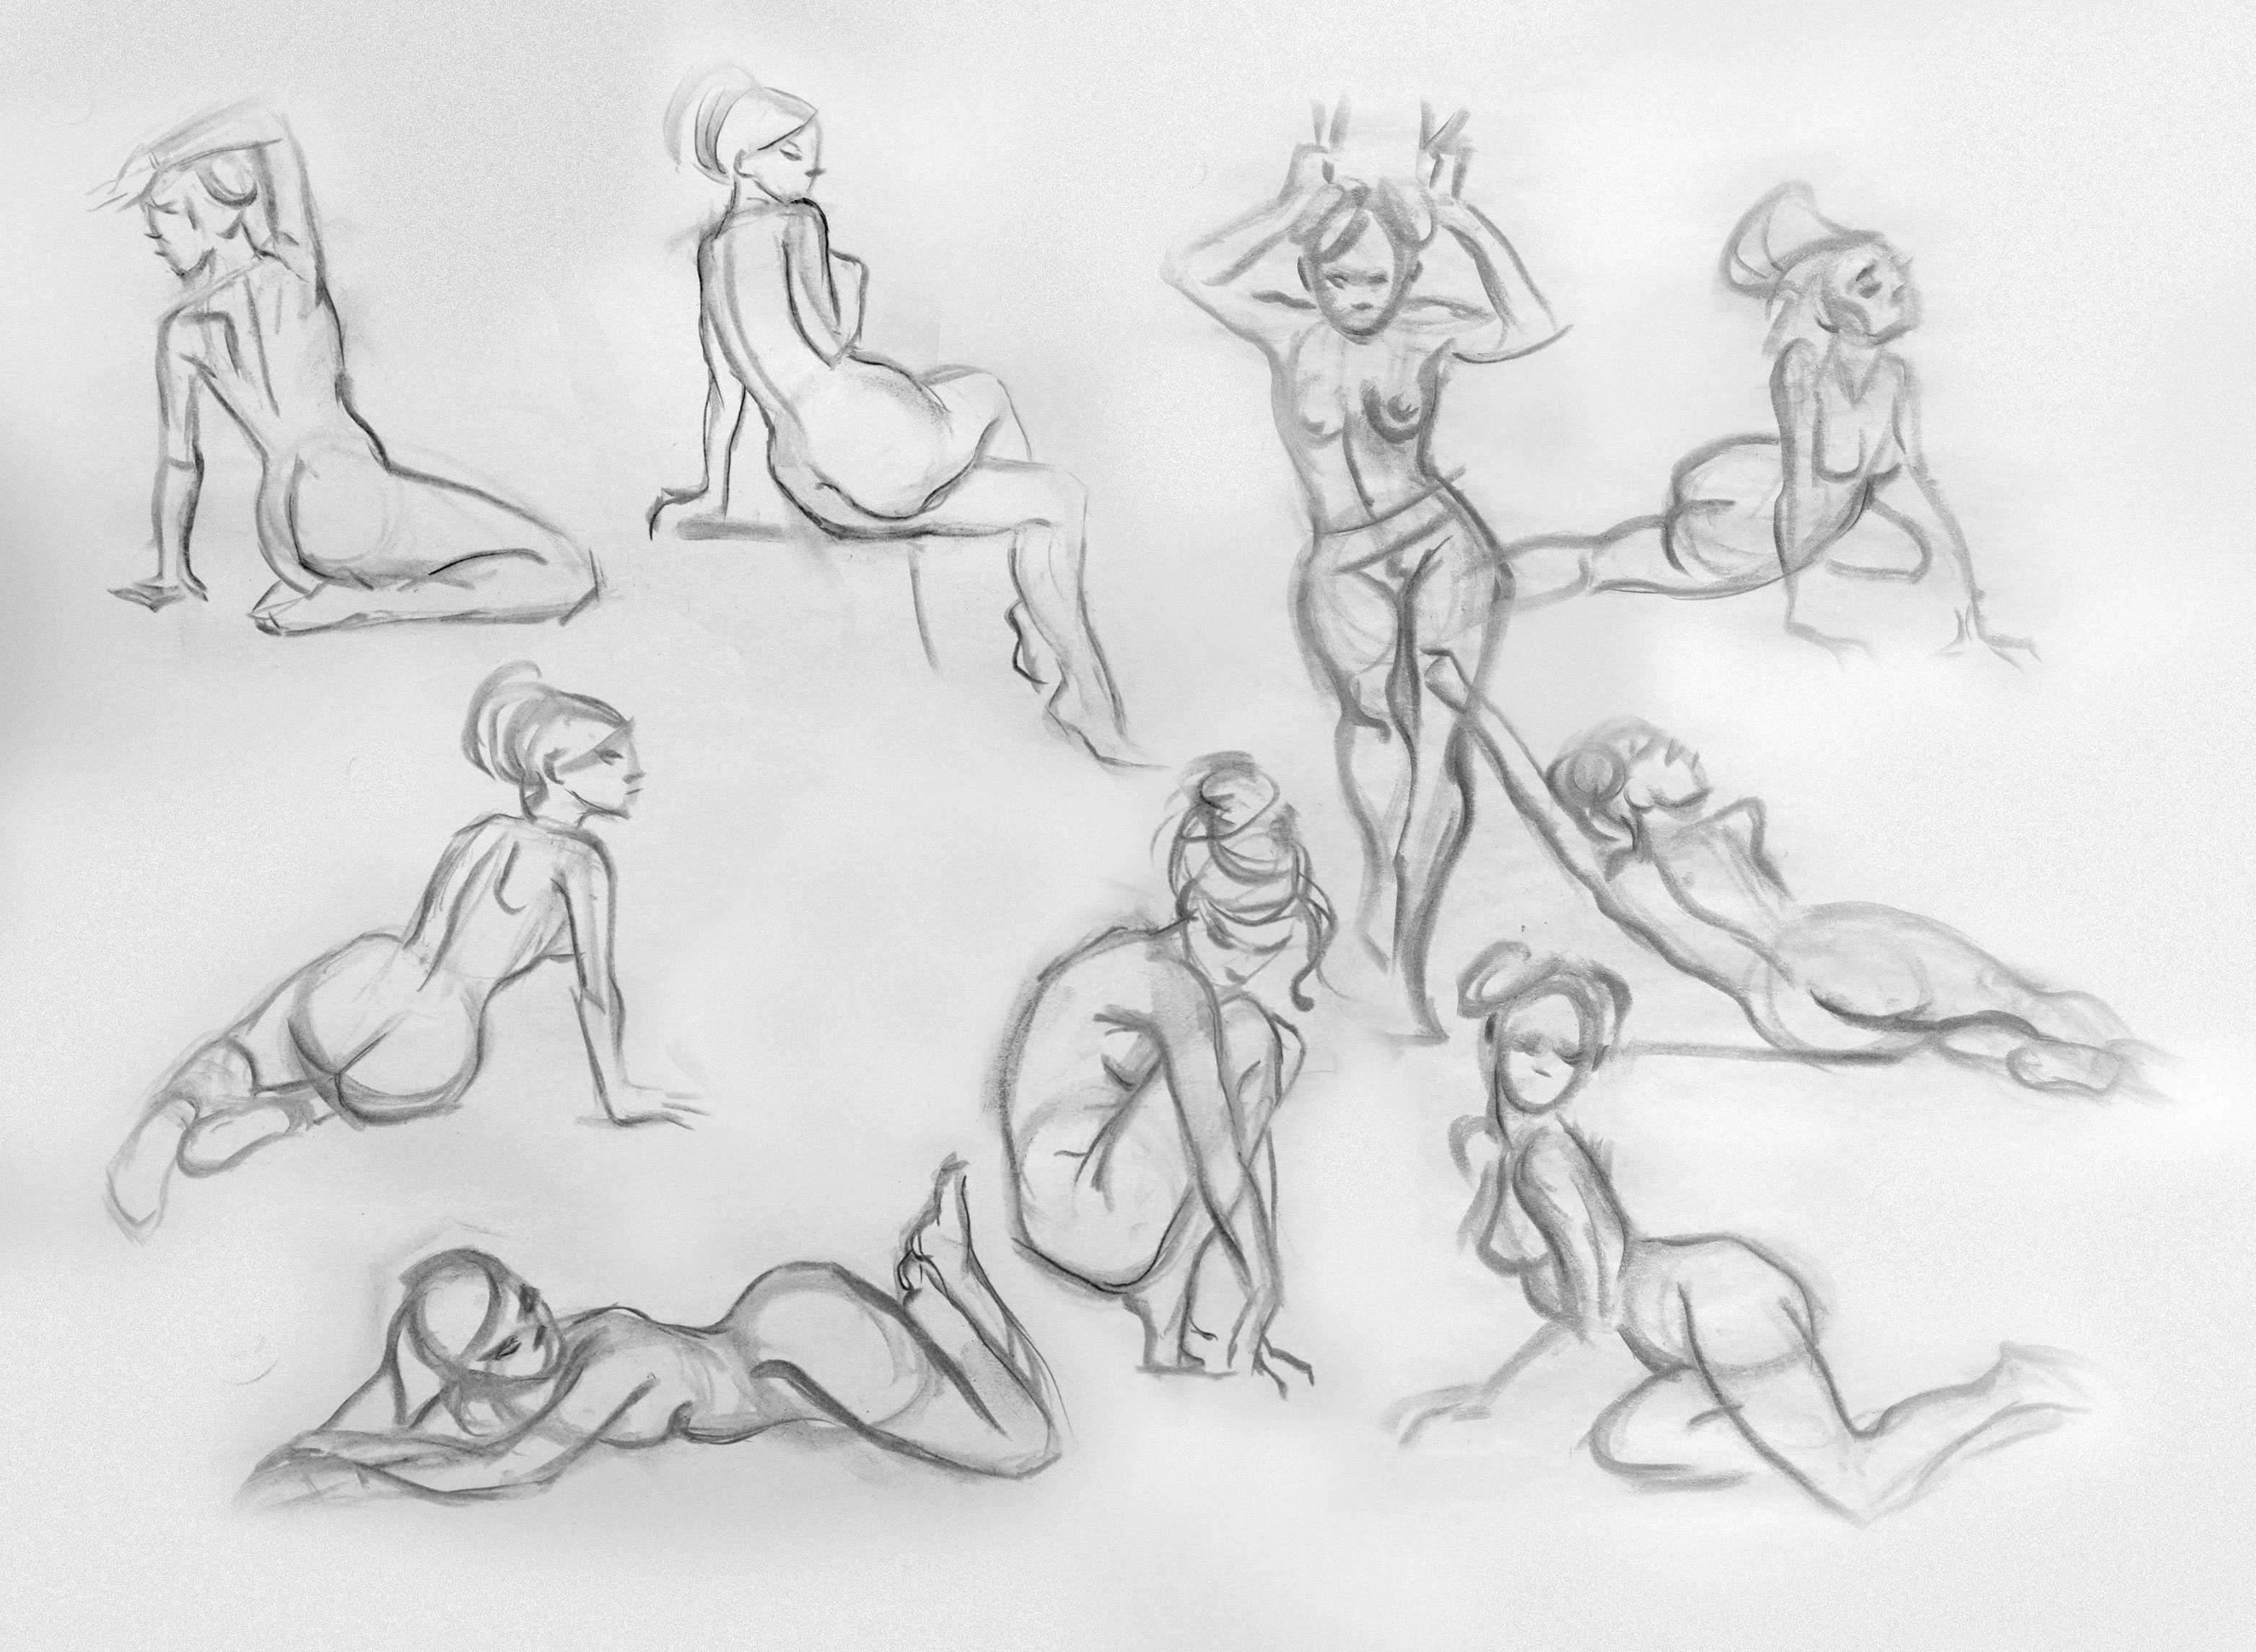
Time was tight for this particular commission, so I got scribbling right away. Above is a sample of some of the 22 quick charcoal poses I came up with, using a willow charcoal stick. I planned to add some ornaments to cover the more revealing poses, but they were still deemed too risqué for the cover. Eventually, the central figure was chosen, with a request to lift the head up.
02. Block in simple shapes
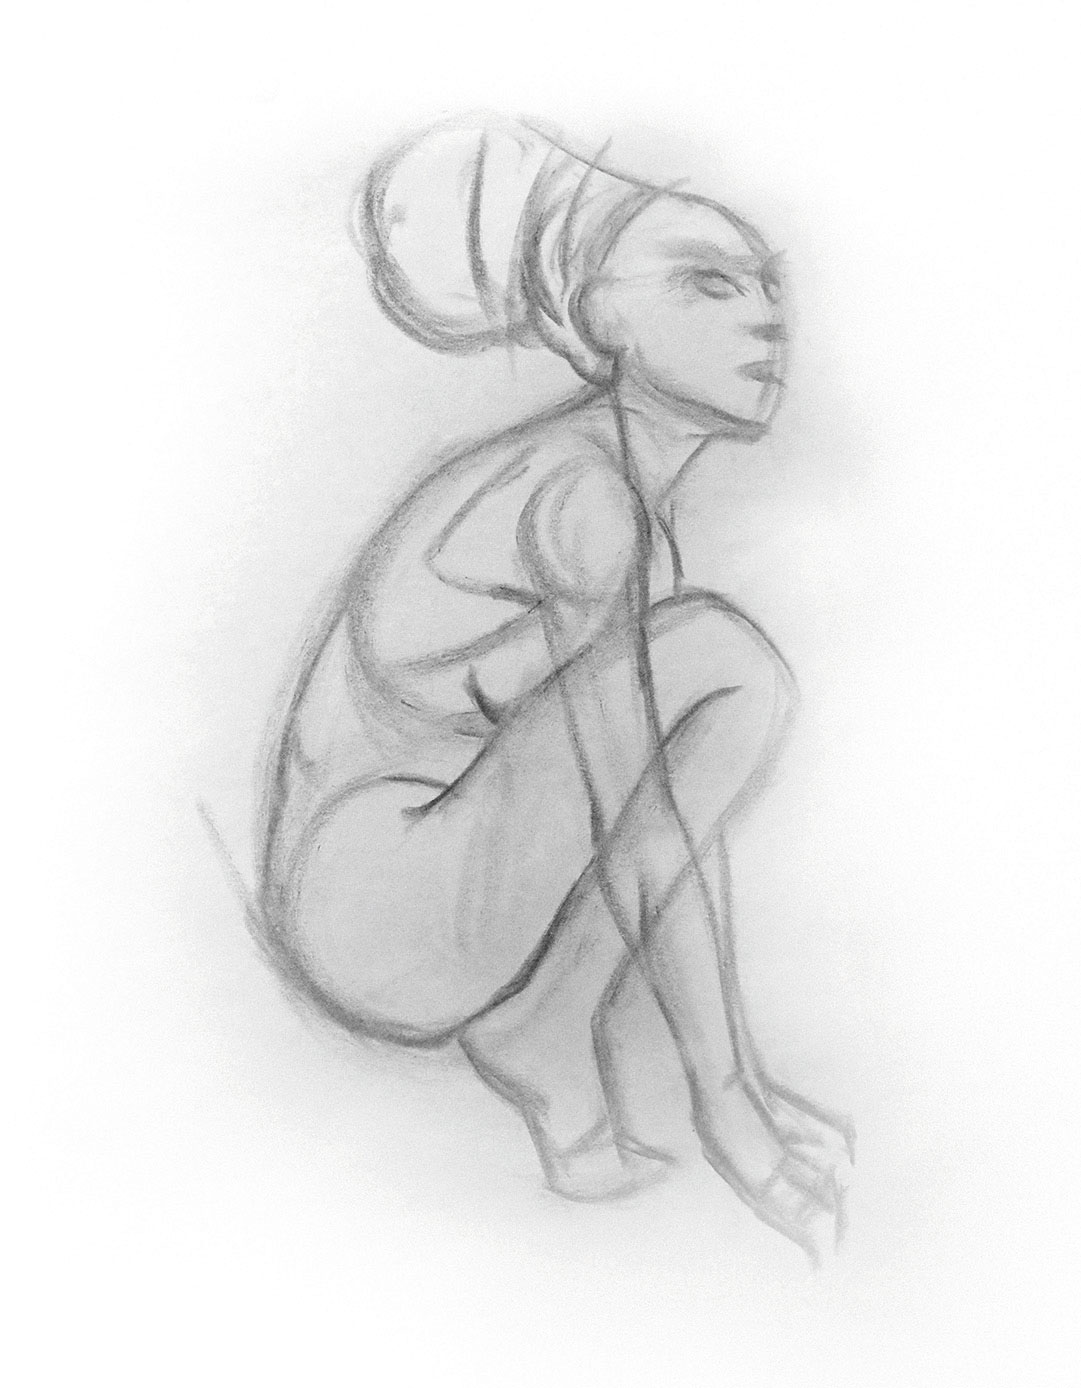
I had hired my go-to model and was all set, but on the day of the session she fell sick and was replaced last-minute by a model I’d never worked with before. These are the times an artist must dig deep for inner strength. I showed her the approved thumbnail, she struck the pose and I went to work blocking in the simple shapes with a willow charcoal stick.
03. Refer to human figure anatomy
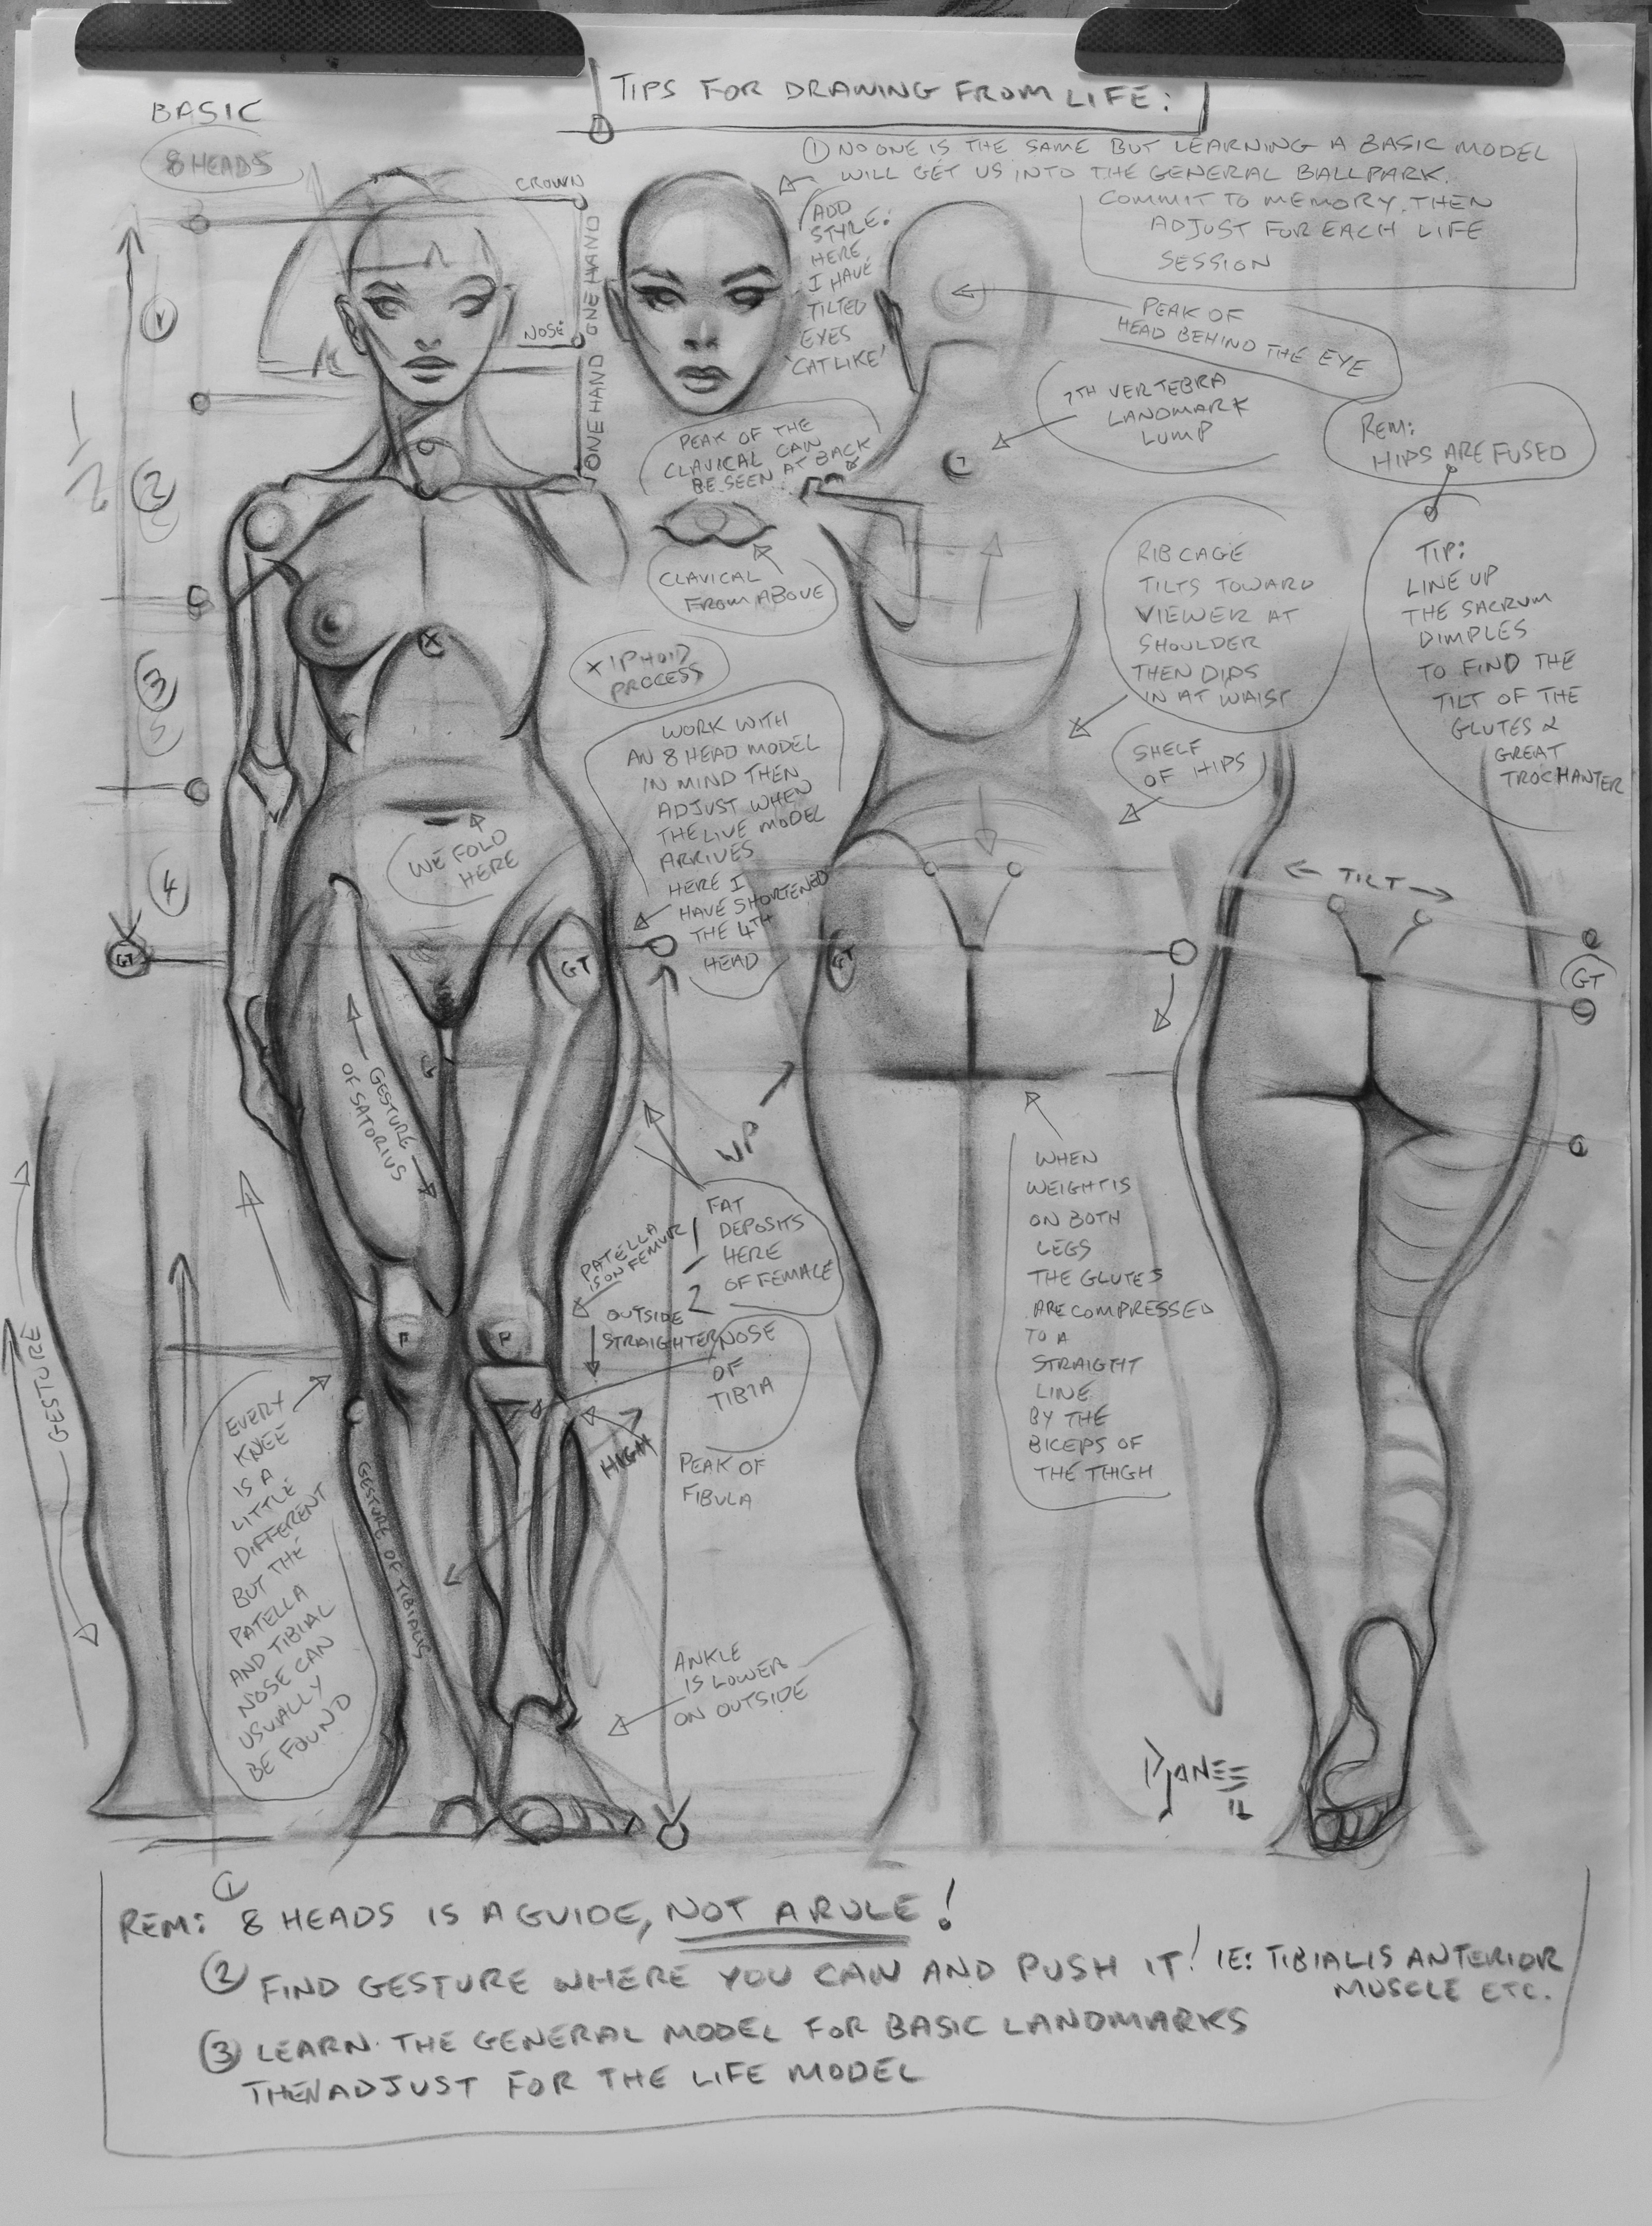
During the class, I was also teaching my students about the foundation of the figure. Above you can see a study sheet drawn live during the class, which not only helps the students understand my workings, but also keeps my anatomical knowledge fresh. My motto is: Learn this stuff off by heart, then bury it in your subconscious.
04. Use 'gestural hand' for expressive lines
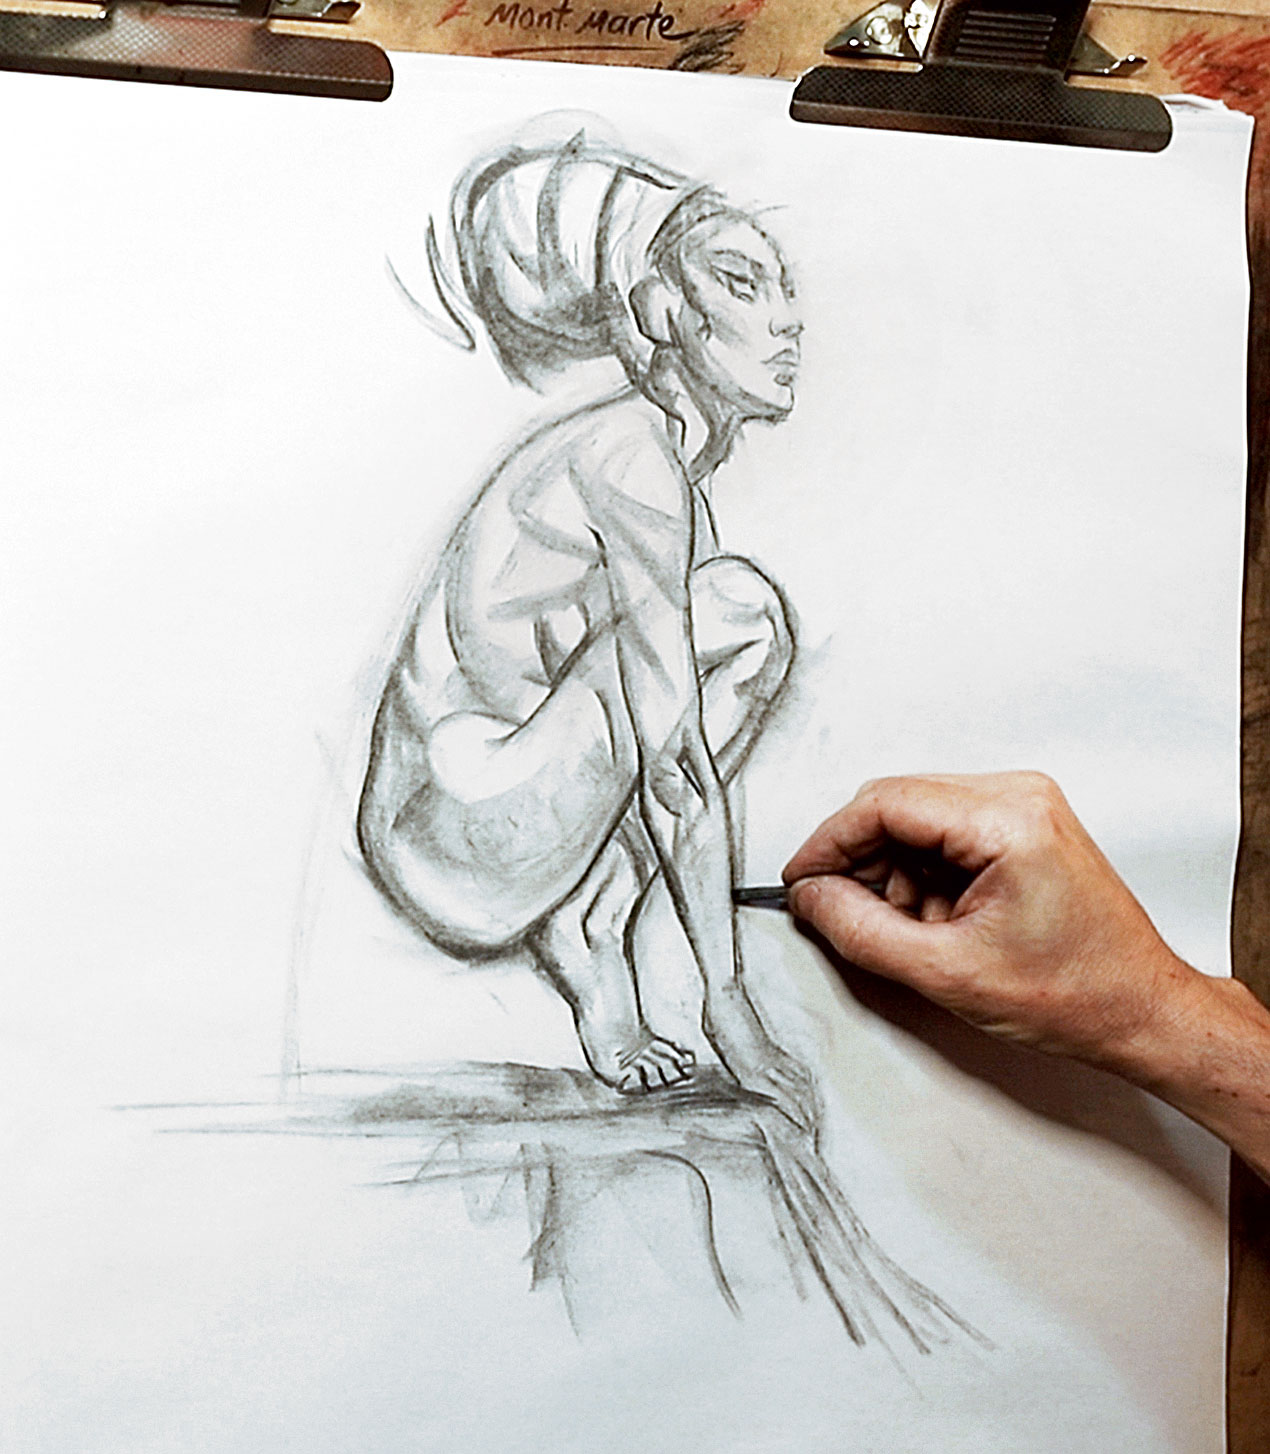
To create more expressive lines I used ‘gestural hand’. This is when you hold the sharpened willow charcoal stick underhand, rather than using the ‘detail hand’ we use for writing. This enables me to draw from the shoulder rather than the stiff confines of the wrist. At this point I was refining the simple shapes and using the broad side of the charcoal for bigger tones.
Sign up to Creative Bloq's daily newsletter, which brings you the latest news and inspiration from the worlds of art, design and technology.
05. Add solid lines with a charcoal pencil
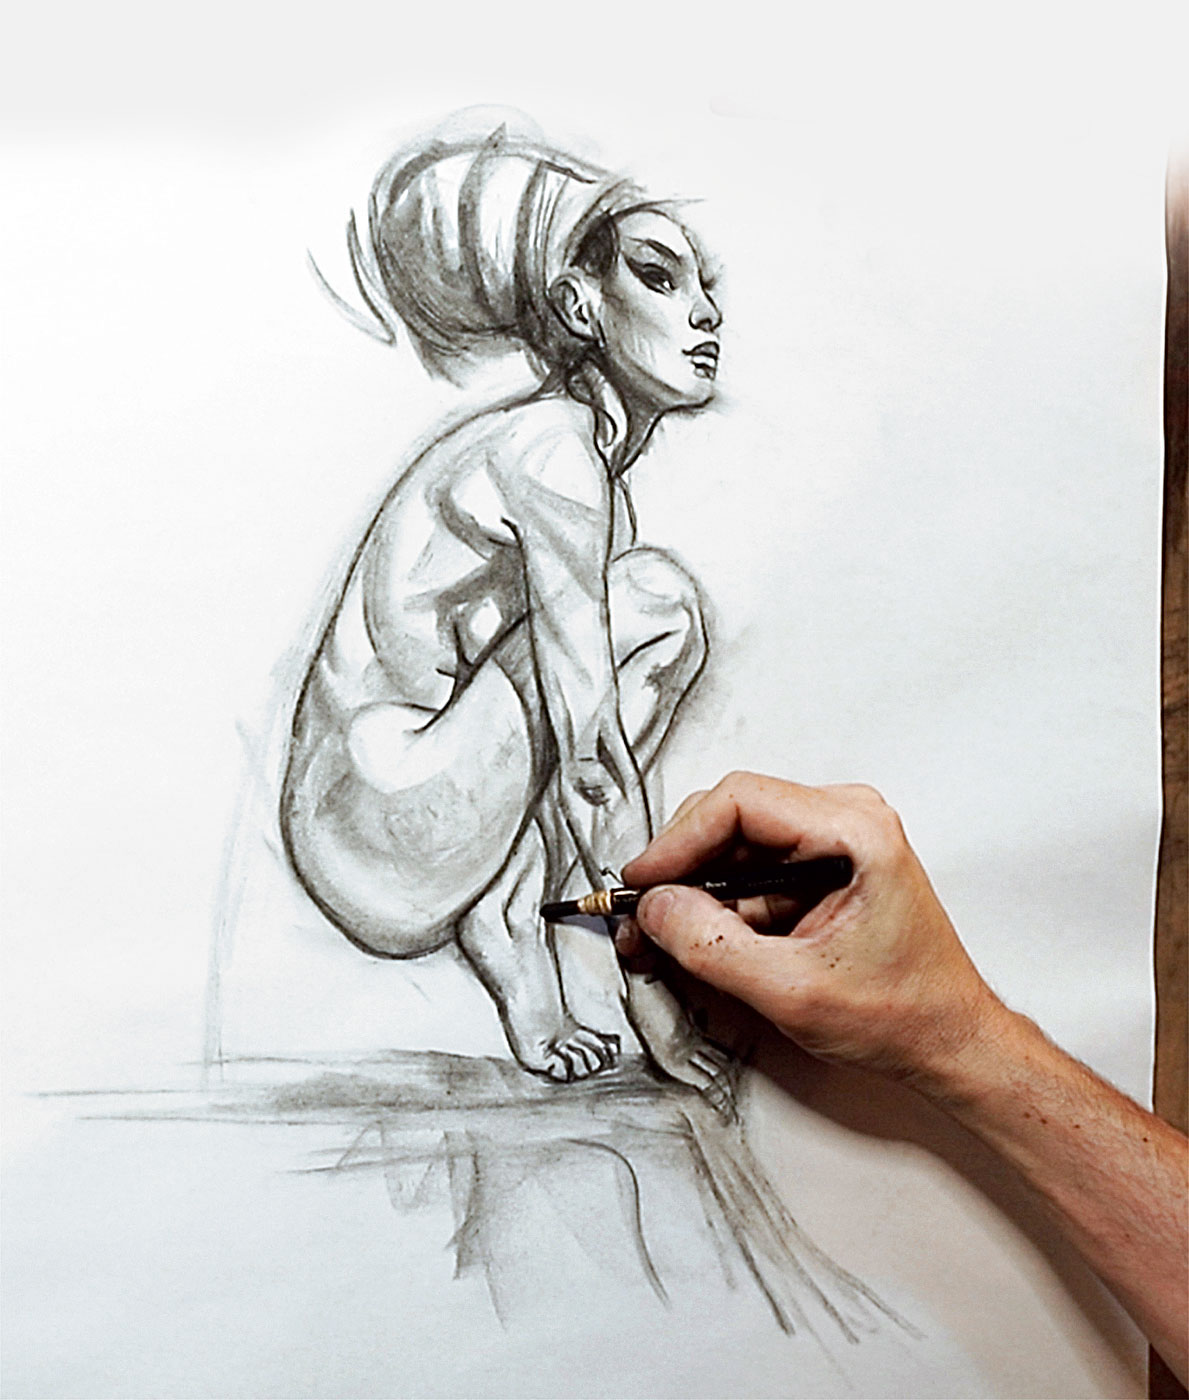
Once I had found my basic shapes and proportions, I began to draw more solid lines. I used a charcoal pencil alongside willow charcoal – it's just a more dense version of the same material. A graphite pencil it would have been too shiny and grey.
The pencil you can see in the image above is a ‘peel-off’ pencil that generally doesn’t need sharpening if you work big – you just peel the outer paper layer upward to reveal more of the point. It's very handy and clean to use.
06. Draw without copying
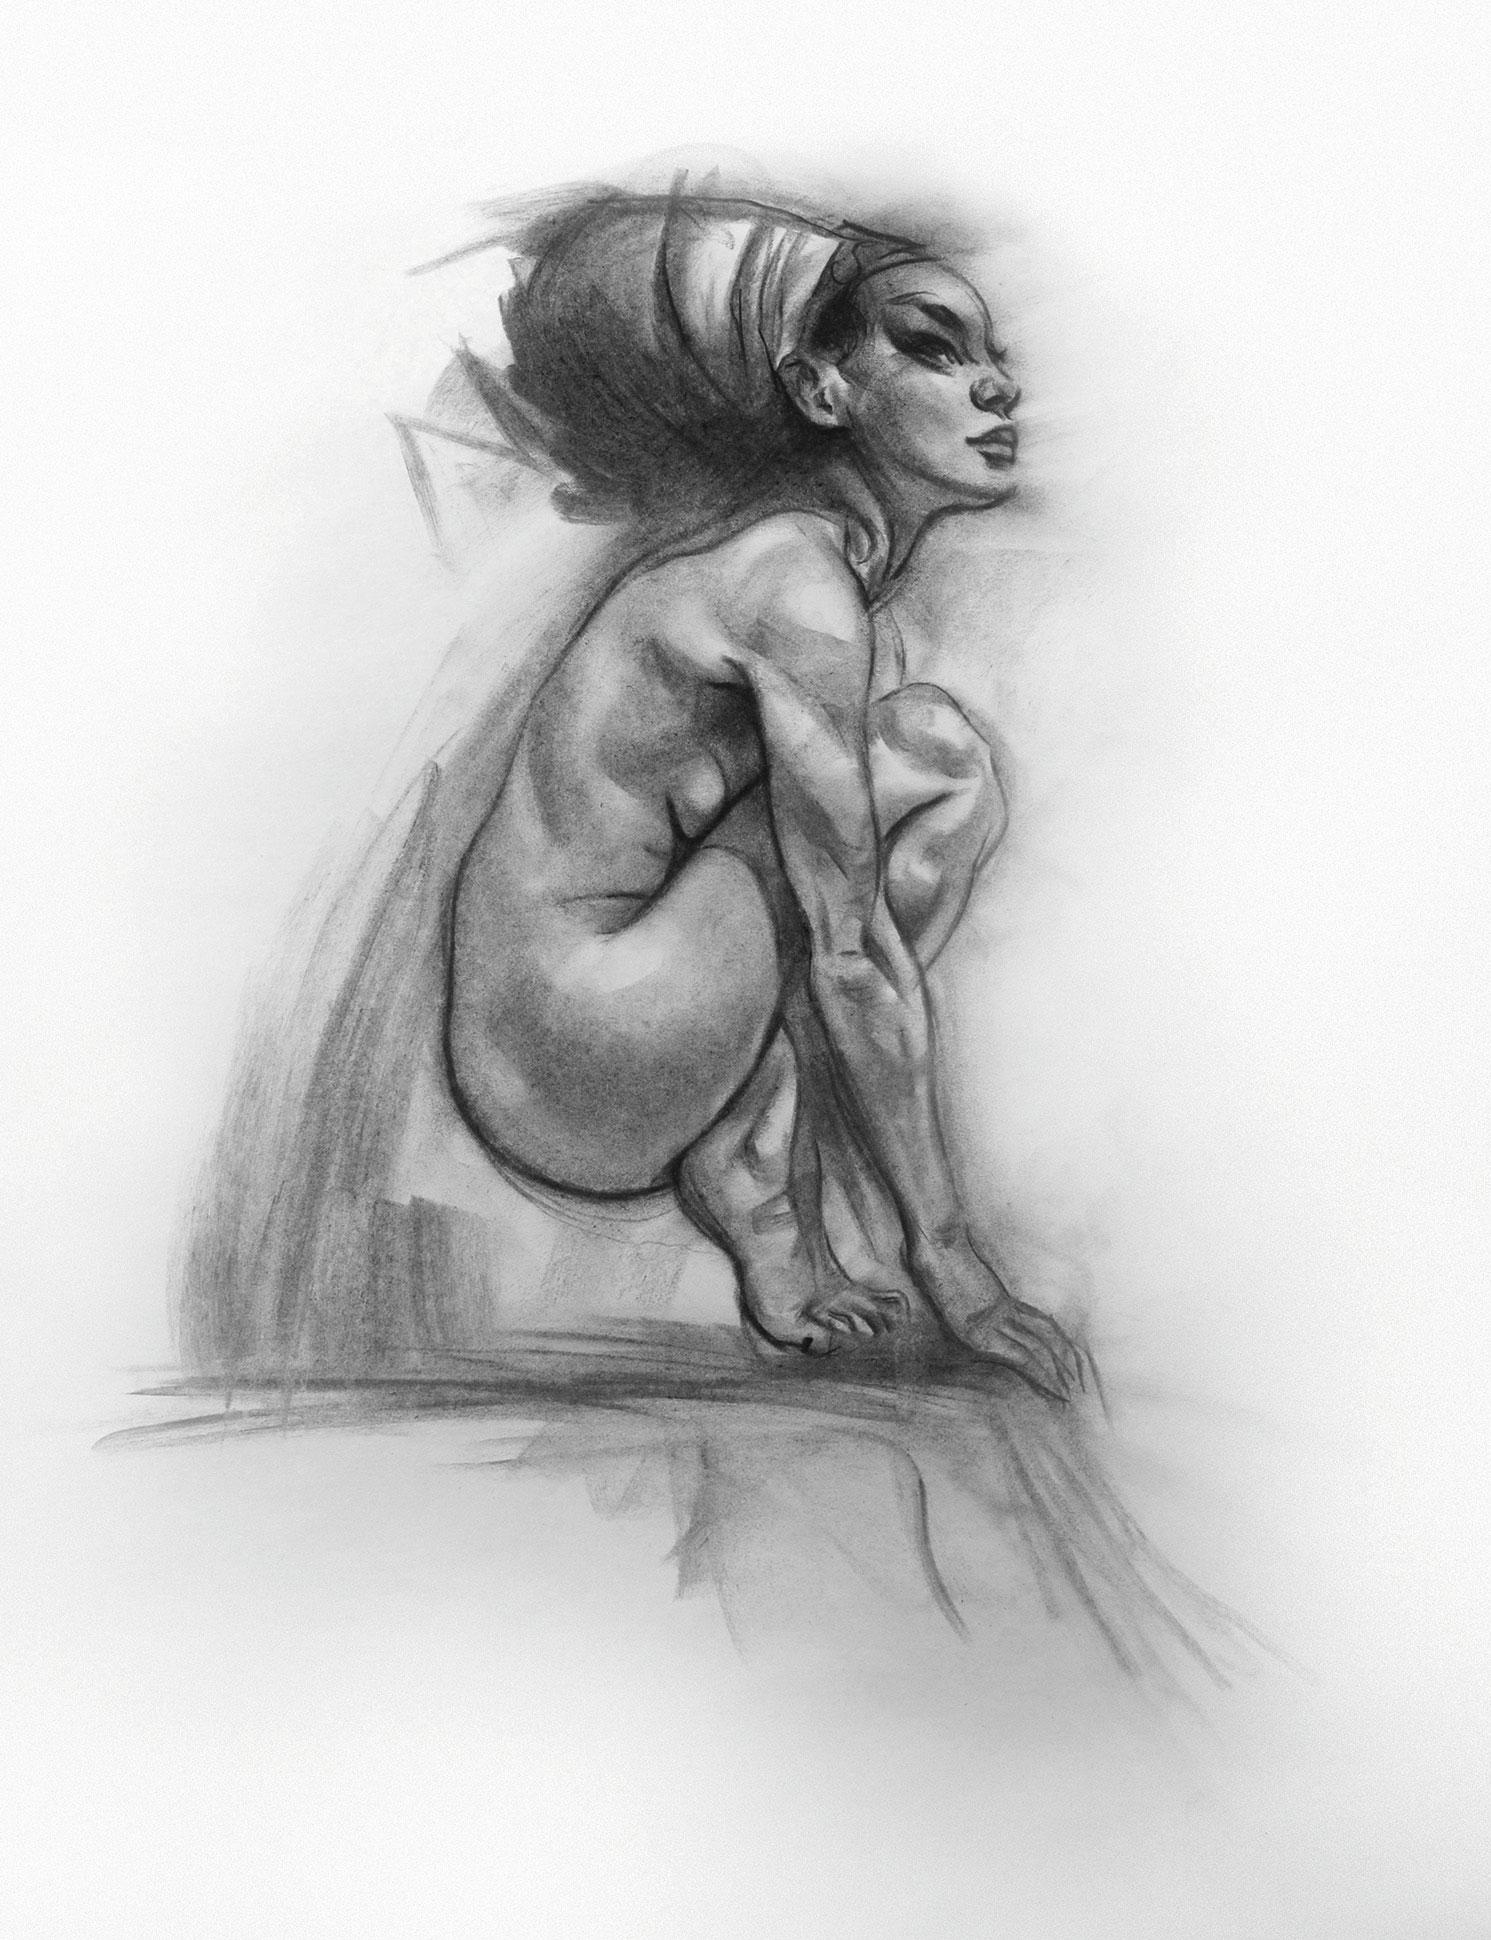
While the model was taking a break, I could work on the drawing without the old trap of copying exactly what’s in front of me. I used the time to rub into the charcoal shapes with my fingers, thumbs and a tissue. I also worked some broad gestural shapes into the background, to add movement to the figure.
07. Blend the connecting muscles
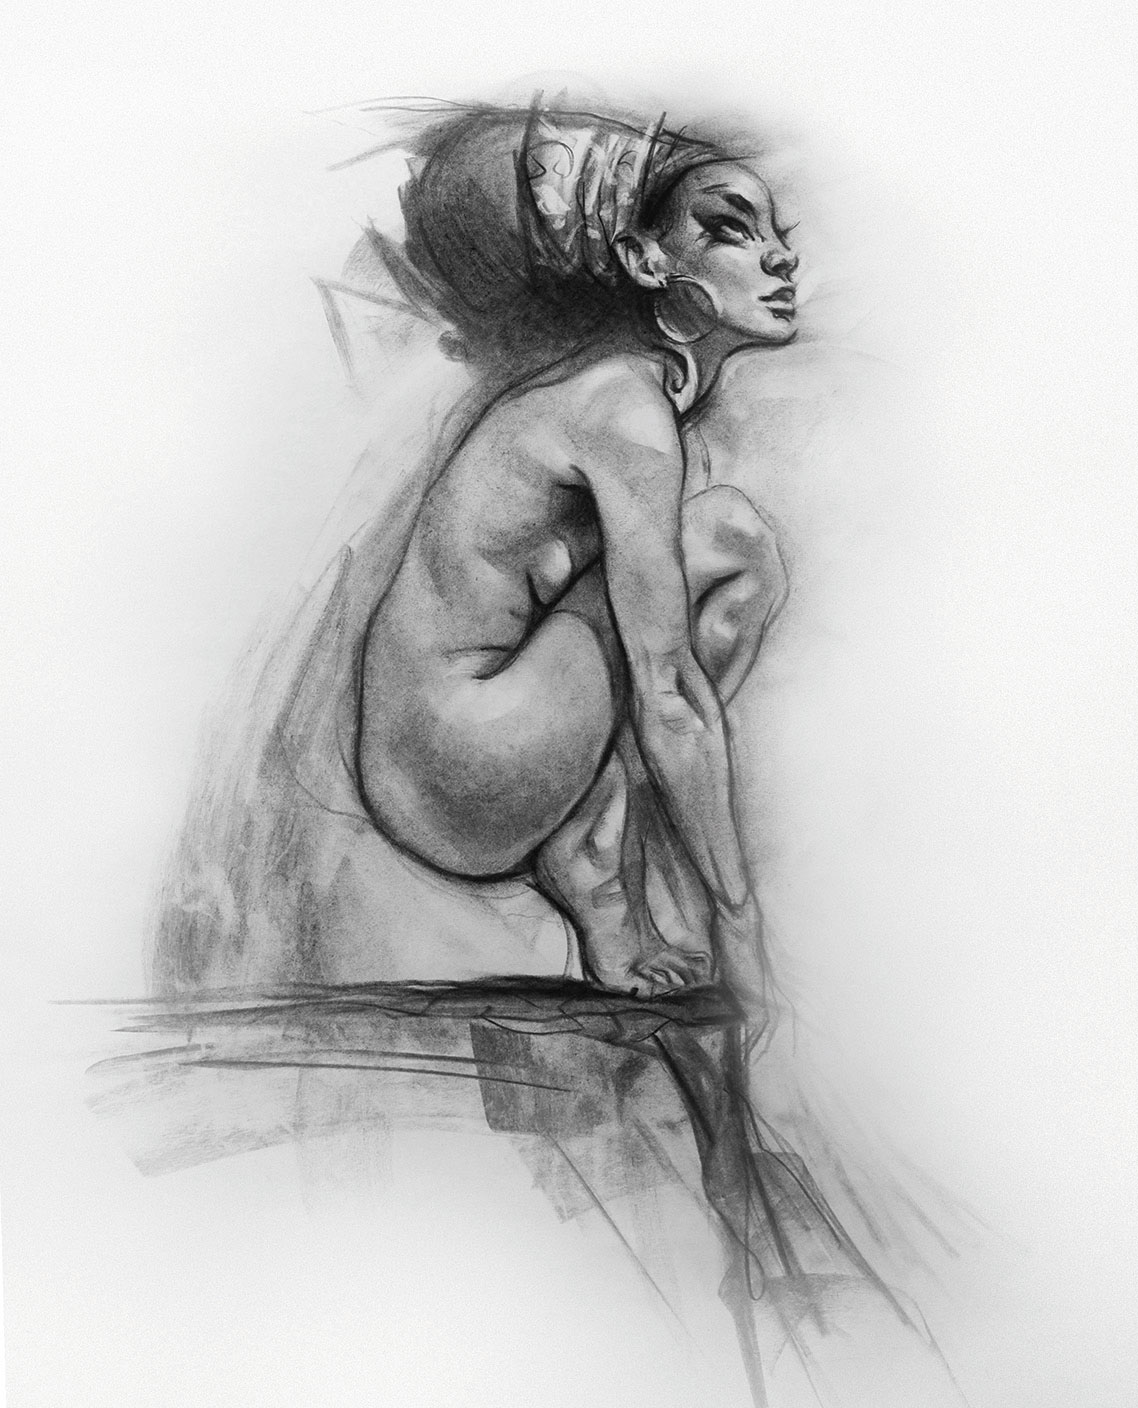
When the model returned, she asked if she could change her hand position for better balance. This was no problem because I rarely work on parts in detail and had barely sketched the hands. The thing with life drawing is that the model will shift slightly here and there. This isn’t entirely a bad thing, as it stops you from getting caught up in detail.
With the drawing almost done, I started to study and blend the connecting muscles. At this point I was starting to consider style by making the lines more gestural.
08. Add contrast
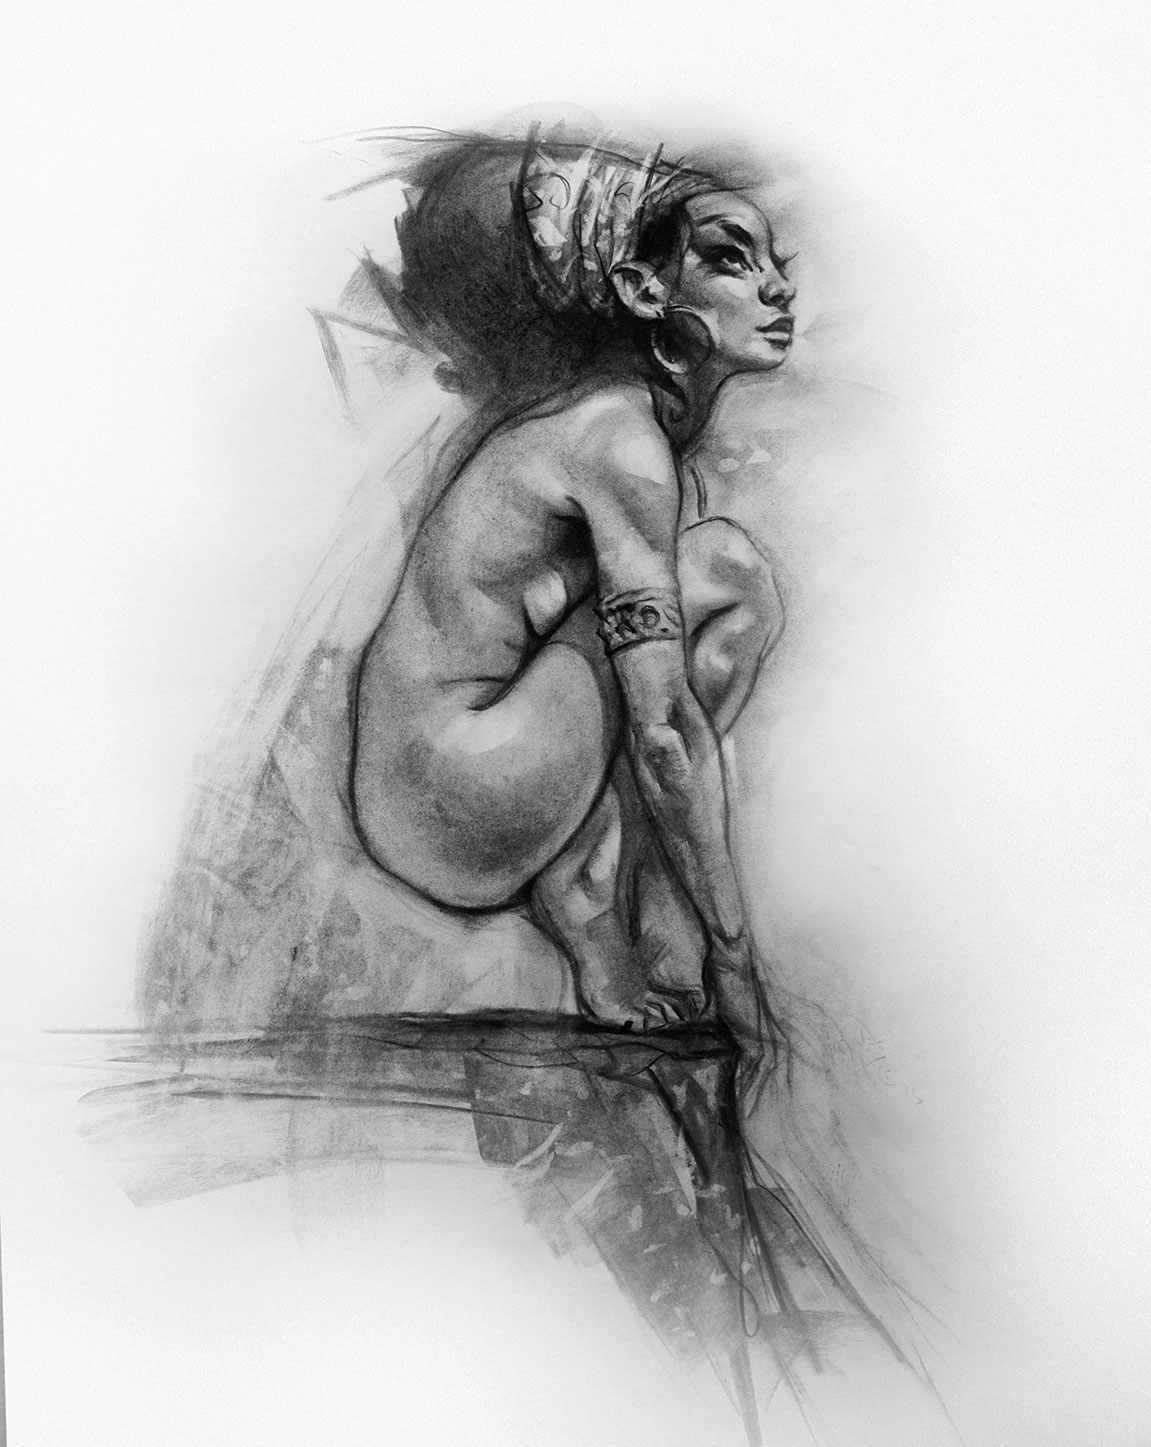
I added some texture to the background with crunched-up tissue, making the flesh appear softer by contrast. Contrast is something the eye always seeks, and we artists can add it as we please. The same goes for line: I placed thicker lines on the edge of the figure that was in shadow.
09. Pull out highlights with a kneaded eraser
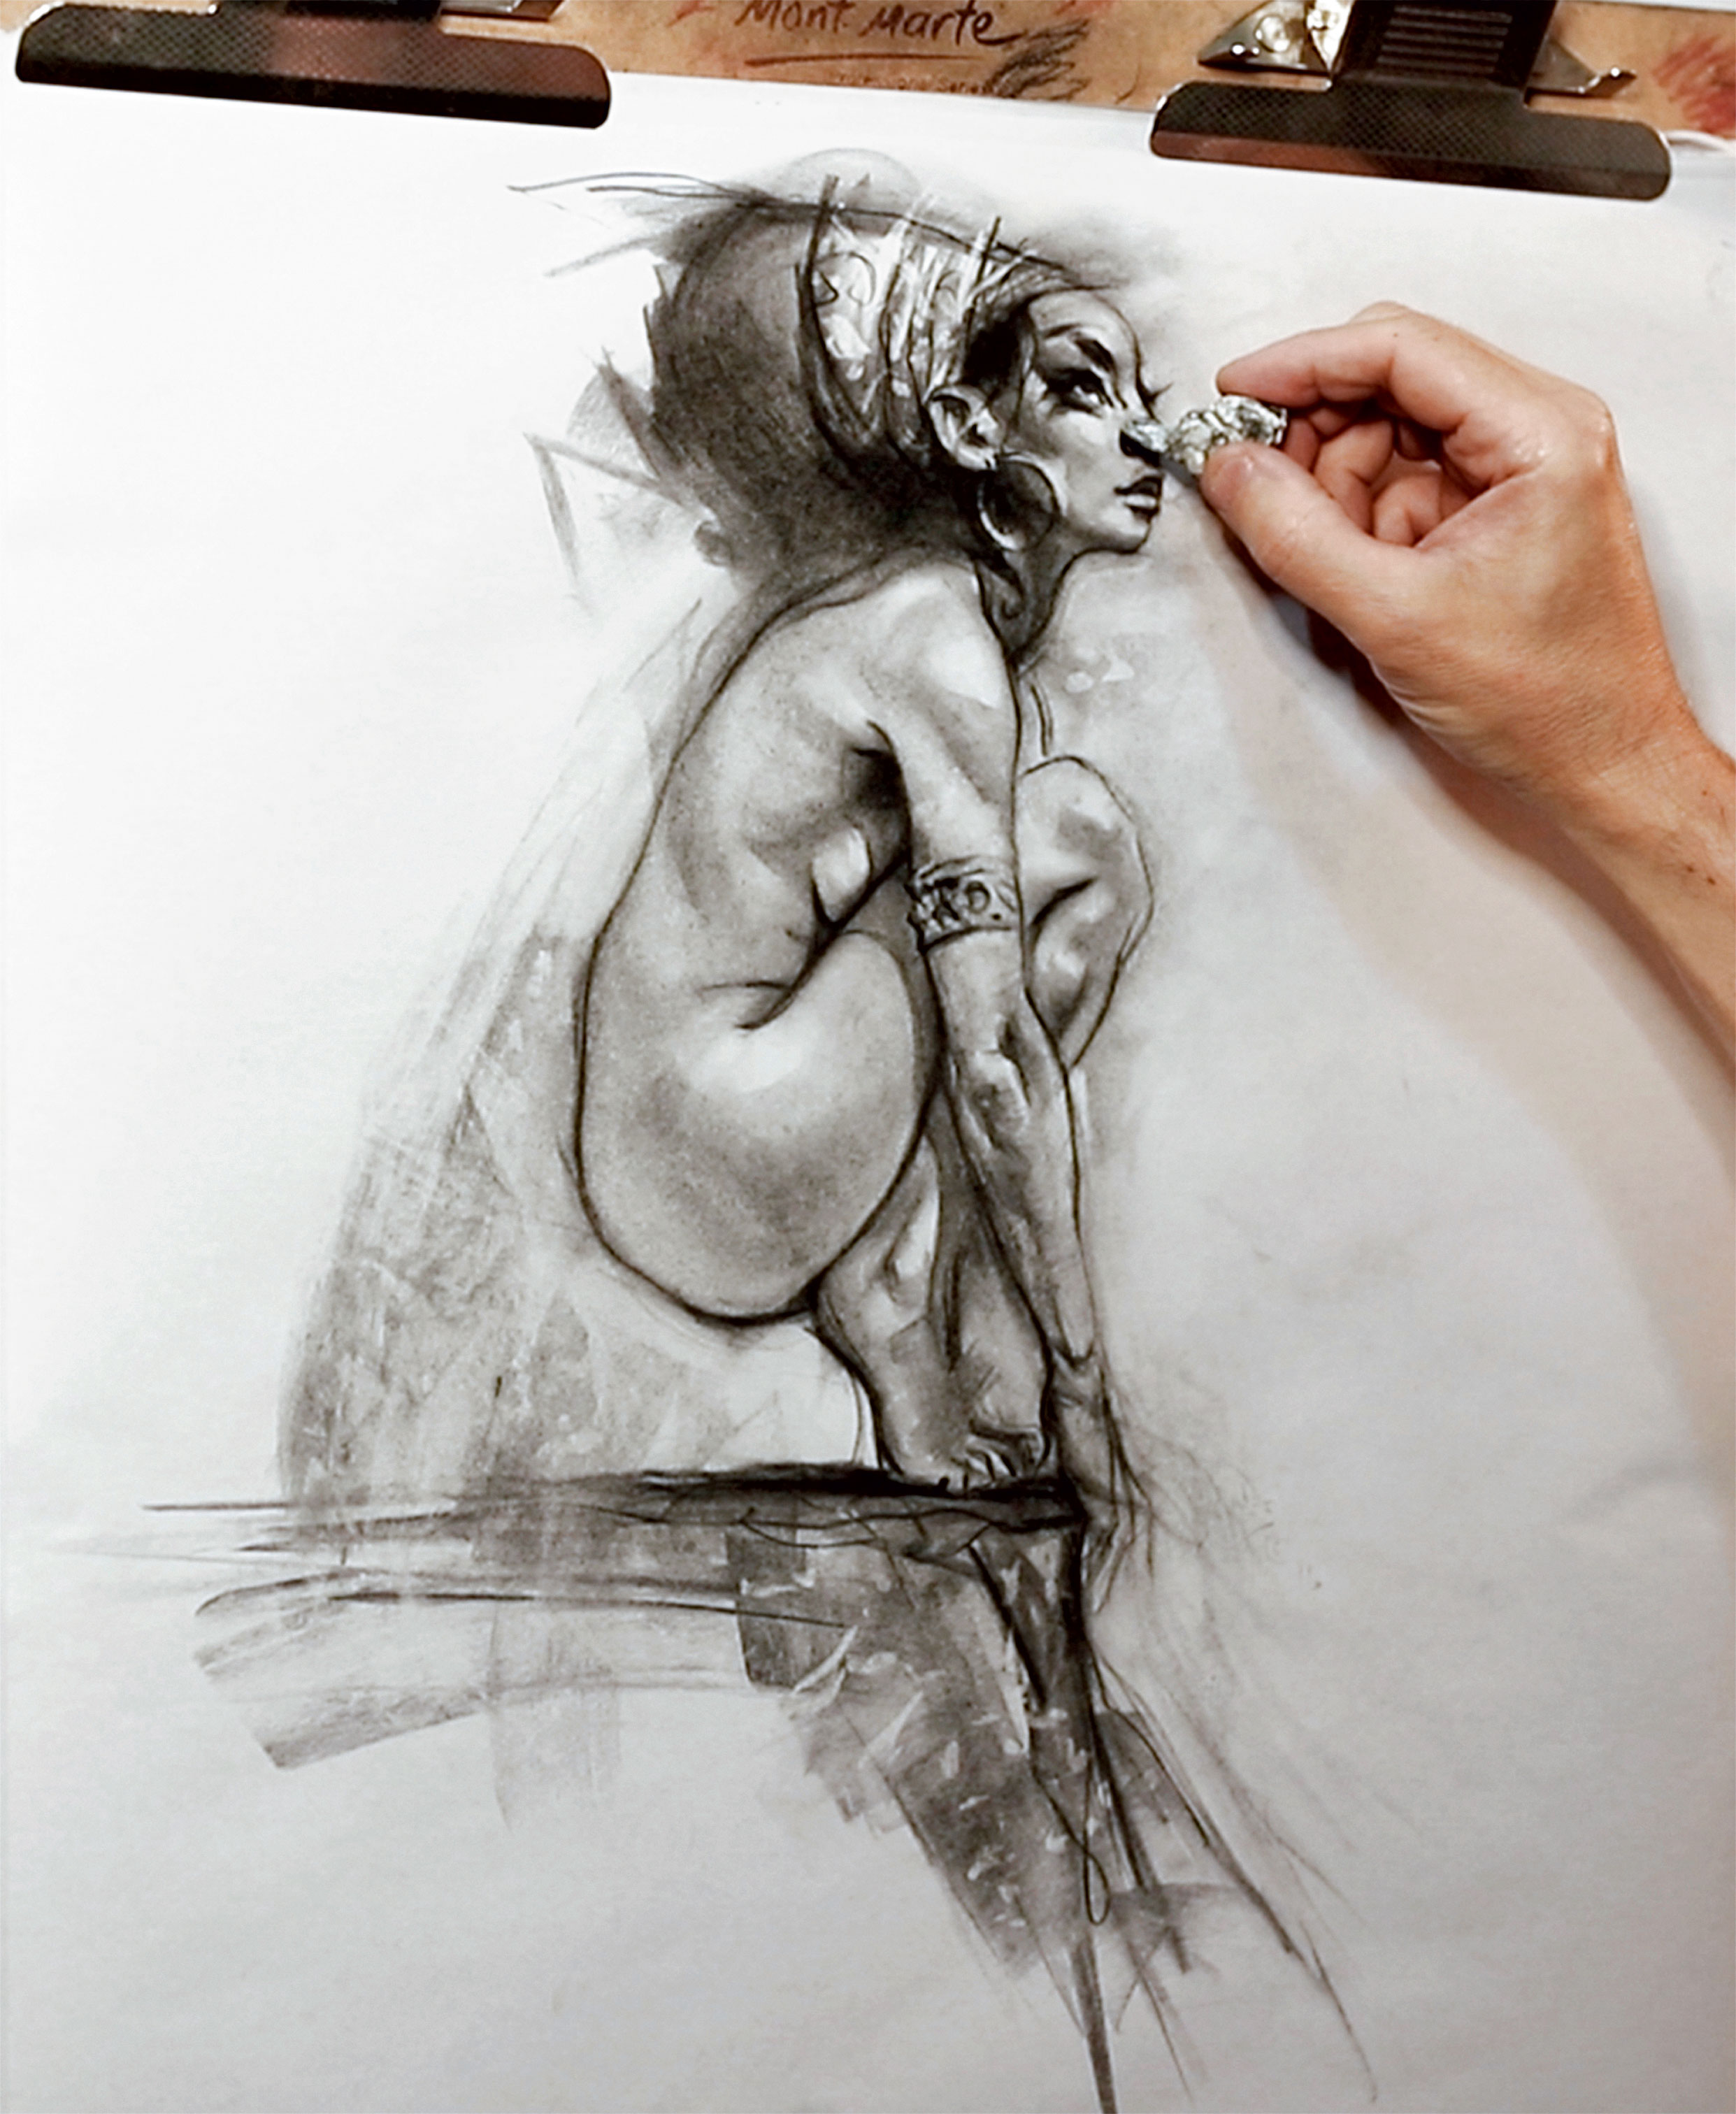
It was time to give the drawing some love. I used a kneaded eraser to pull out some highlights – kneaded erasers are terrific because you can shape them like putty (they’re sometimes sold as Putty Erasers).
Using the kneaded eraser also gave me the chance to carve into the neck and face to achieve the exotic look I wanted. At this stage the face no longer resembled the original life model at all.
10. Finish with an electric eraser
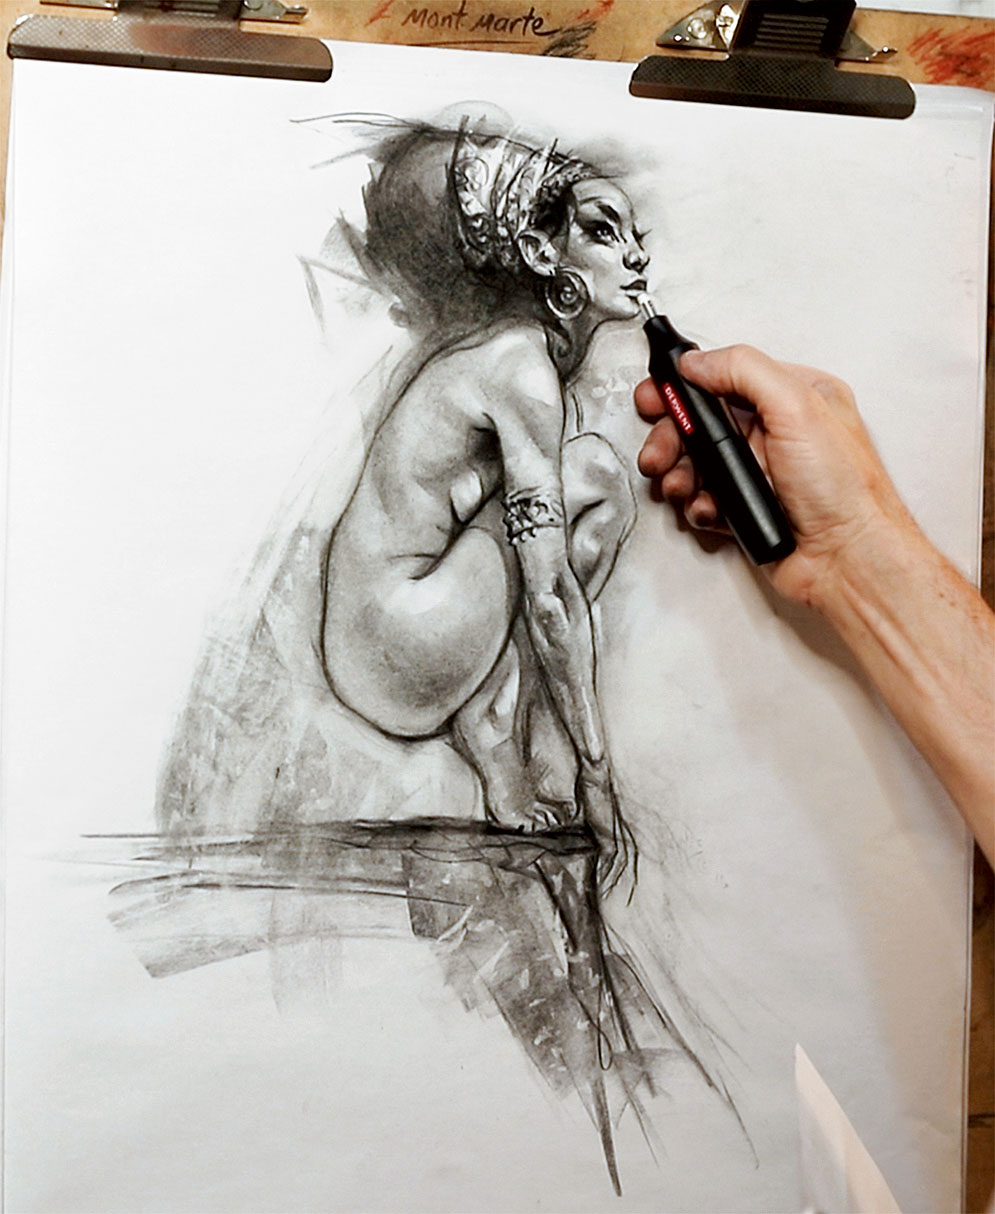
Finally, for those stubborn areas that were clinging on to the grey charcoal I used an electric eraser. This tool is more commonly used on professional illustration board, which can take all kinds of punishment, but with a light touch it can also work well with butcher’s paper.
This article was originally published in ImagineFX magazine issue 144. Buy it here.
Related articles:
Patrick J Jones is an artist, teacher and the author of Sci-fi & Fantasy Oil Painting Techniques, The Anatomy of Style and The Sci-fi & Fantasy Art of Patrick J Jones.
