Houdini software: Tips and tricks for Houdini 17.5
Get more from Houdini software with these tips for version 17.5.
Sign up to Creative Bloq's daily newsletter, which brings you the latest news and inspiration from the worlds of art, design and technology.
You are now subscribed
Your newsletter sign-up was successful
Want to add more newsletters?
Houdini software is a 3D animation program that's invaluable for 3D artists. We've got a set of tips and tricks to speed up the animation process and help to get great results, fast.
First up in this post are some general tips on using the new tools and functions found in Houdini 17.5, followed by a tutorial on creating hair in Houdini (jump straight to page 2 to create hair in Houdini, and follow the links opposite to jump straight to the section you're after).
Elsewhere on the site, our comprehensive review has our full verdict on Houdini 17 Banshee , and if you want to check out other 3D software, we also have a rundown of the best 3D modelling software around.
Article continues belowNew in H17.5
01. Condensation tool
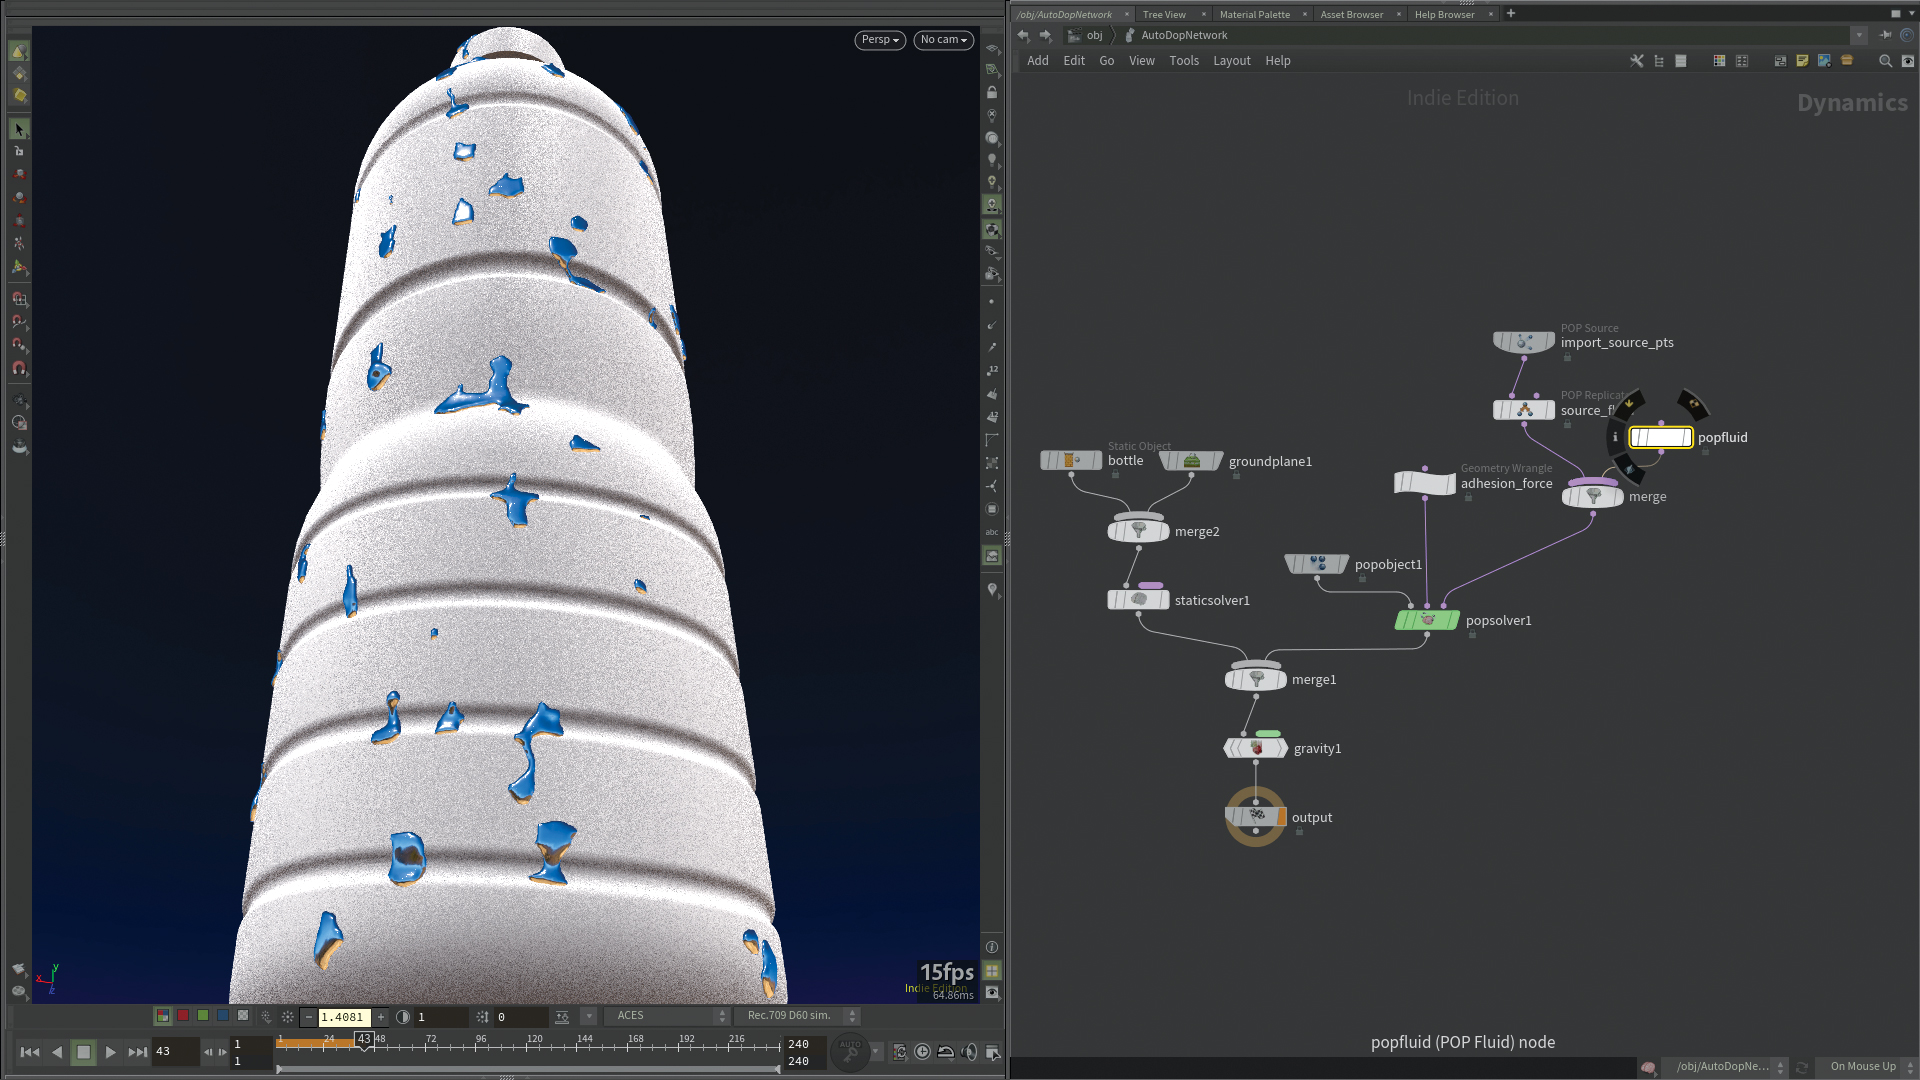
On the Particle Fluids shelf we can find the new Condensation tool. This creates the usual triple geo level node setup, one with the selected geometry which prepares it for the simulation, a DOP network with particle simulation, which uses the new POP fluid solver, introduced in the Whitewater tool in H17, and the output geometry which generates the continuous surface around the particles for rendering. So for now we are just a few clicks away to add the usual rolling droplets onto the glass for a beverage ad.
02. Measure 2.0

This is a revamped version of the original. Now we can use it on points, not just on primitives – there’s also many variations of measurement modes. It’s advised you check the documentation, as there are detailed descriptions and extra notes for every mode. We can use this node to drive shading effects from SOPs, rather than relying on render-time calculations, define selection groups or weights for procedural modelling, or prepare objects for simulations: separate parts, measure the volume of the parts, slope, curvature etc.
03. Viewpoint volume rendering
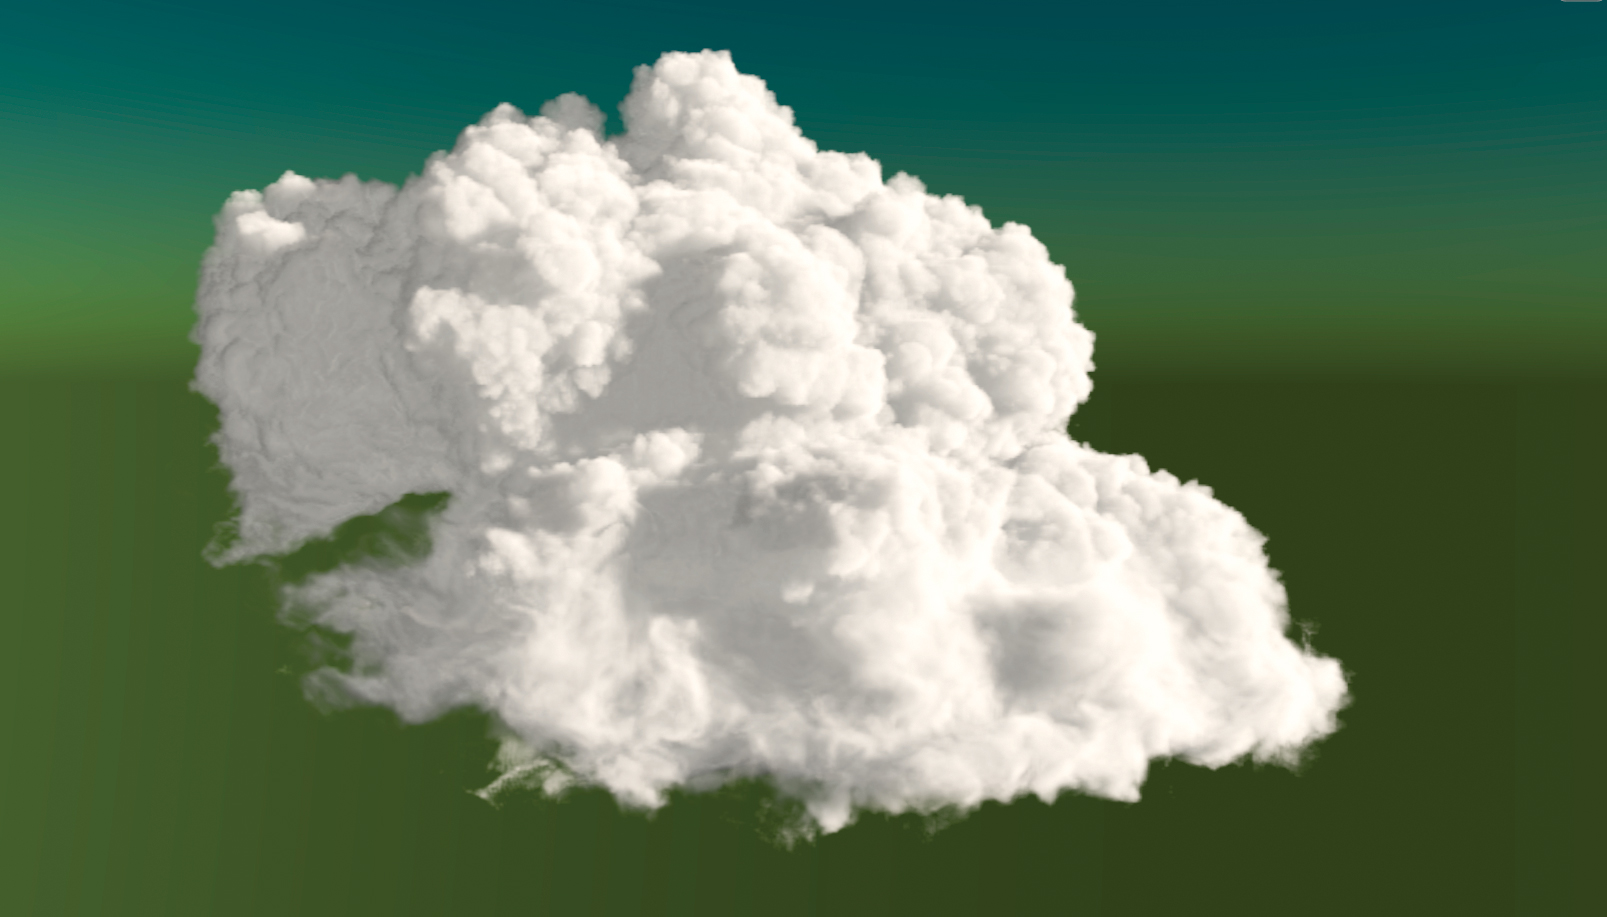
The display of the volumes in the viewport now use ray traced OpenGL shaders, thus the self-shadowing effects are pretty accurate.
However they still doesn’t use the parameters of the attached render material, so we need to use Volume Visualization for that. The shadow interactions with other objects are also missing. The work around is to convert the other geometry to volume, gain its density and combine with the main volume.
Sign up to Creative Bloq's daily newsletter, which brings you the latest news and inspiration from the worlds of art, design and technology.
04. Select output and visualize
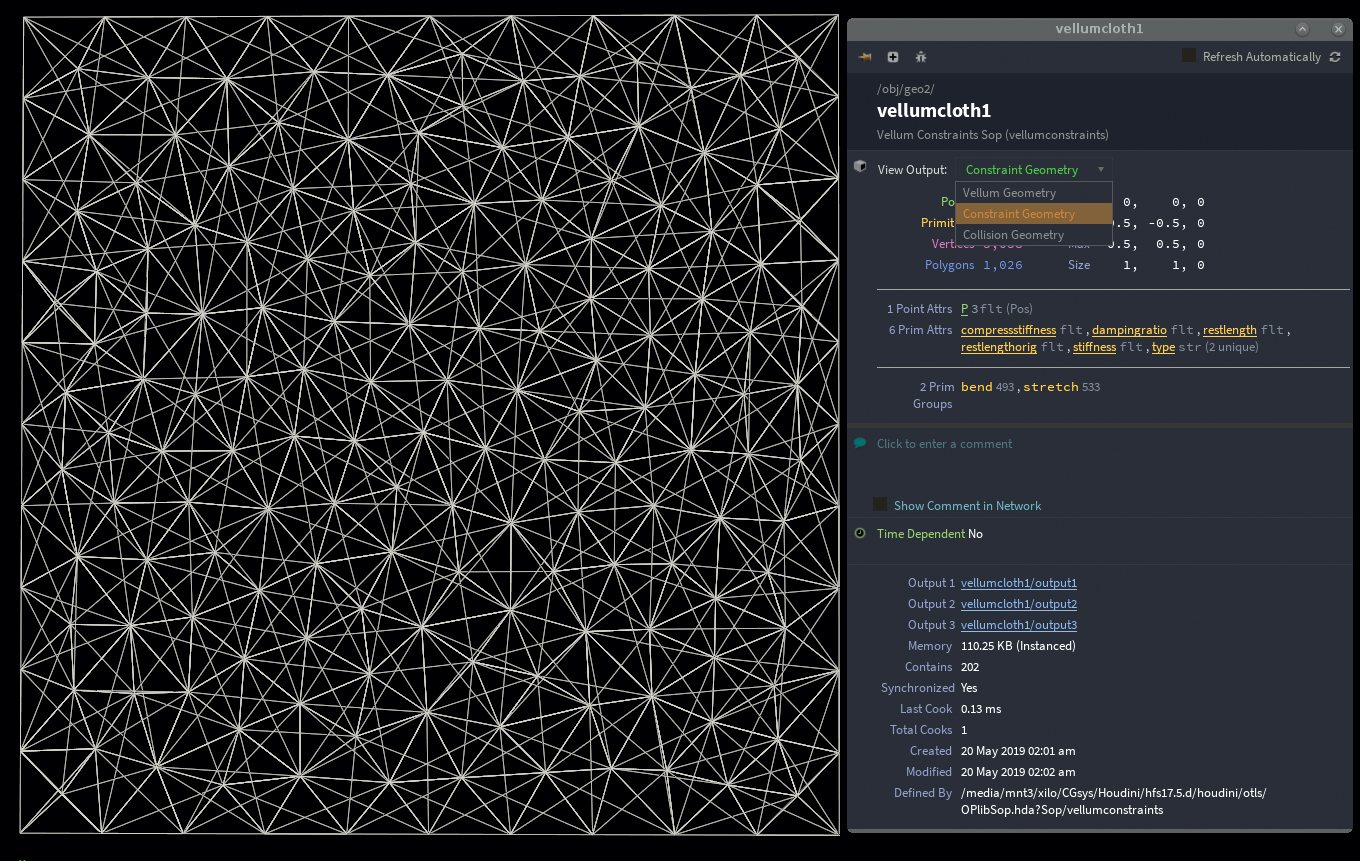
Using the middle mouse button on any input or output of a node displays the node info panel with the data related to the specific input or output. Pressing Ctrl while clicking keeps the panel open after release, where we can also choose the desired output. Here a click on any underlined attribute creates a quick scene level visualiser for that in the viewport, however we may tweak its type in the visualiser settings panel.
The right-click menu offers all the outputs for viewport display under the Flags/Output for View submenu, but clicking on any of them with the Shift+Ctrl+Alt brings up the items in the Hotkey Manager, so we don’t need to navigate to this submenu if we bind hotkeys for these.
05. SOPS 2.0
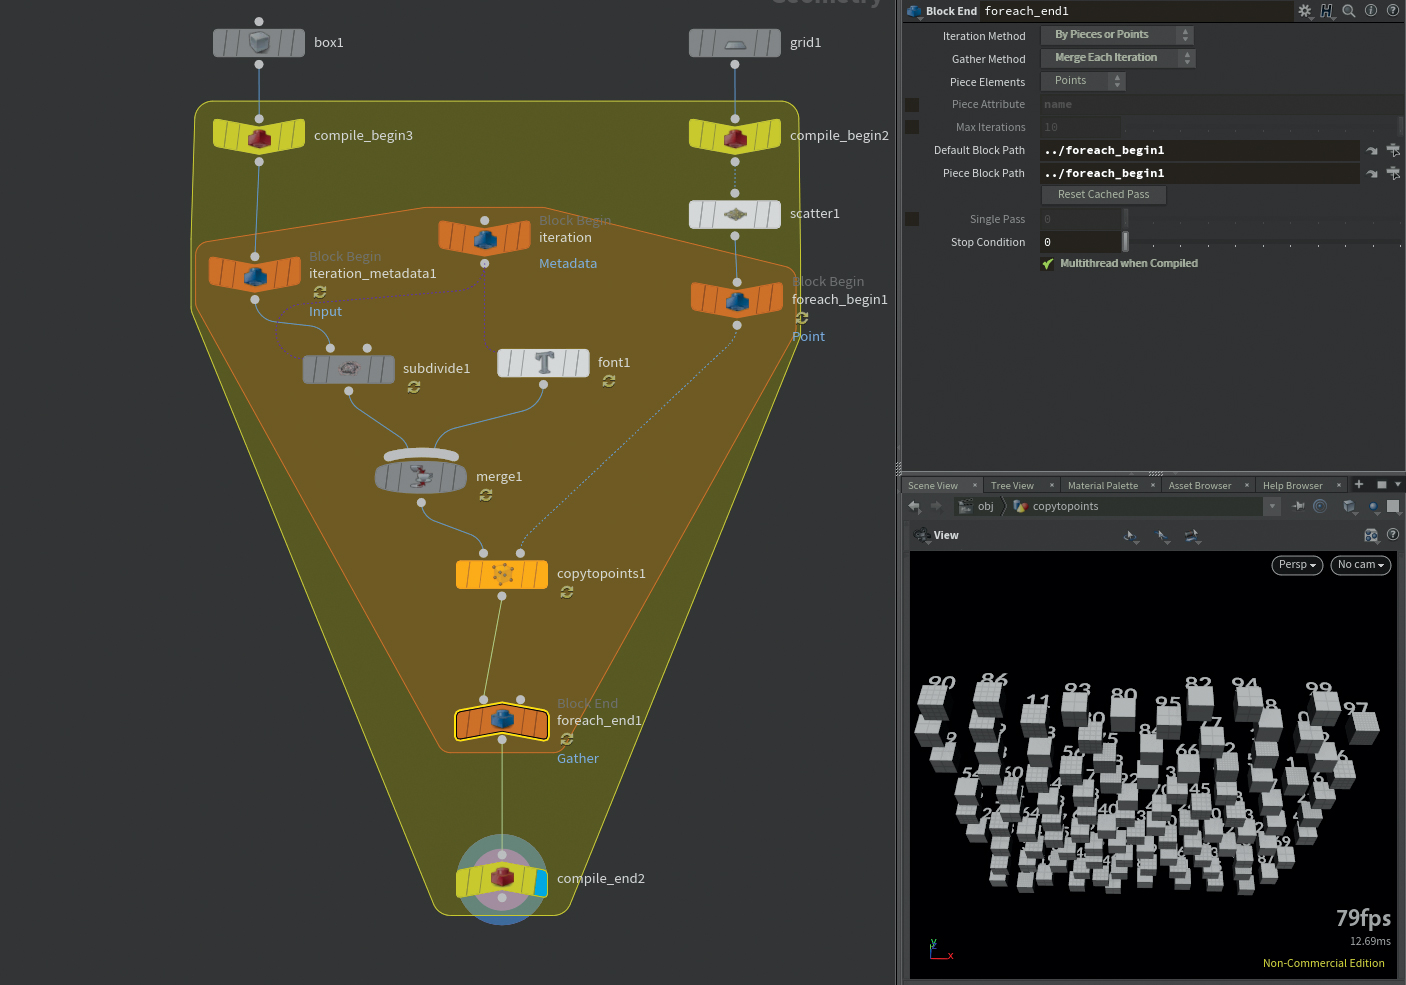
From H16, we can access the optimized and multi-threading based version of the SOP context by using compiled blocks, which is basically the optionally accessible SOP’s 2.0 environment. There are some restrictions and nodes which aren’t compatible with this yet, that’s why we should manually manage it. However in H17.5 there are additional compatible nodes such as File, Volume, and Cloud Light.
The most significant speed gain using compiled blocks is with for-each loops, but it’s still useful for others, because Houdini handles the nodes in a block as a single node, so the memory use especially with OpenCL nodes is more efficient. The Compiled Block in the Tab menu creates two nodes and is the easiest way to wire the last node of the original node chain to the bottom one (Block End Compile).
It automatically includes all the upstream nodes, so it may fail if there are nodes which aren’t compatible with it. The Non-compilable SOP Badge in the Network View Display Options flags all of these nodes with a crossed cog icon, so we can wire the top compile node (Block Begin Compile).
Game tools
06. AliceVision
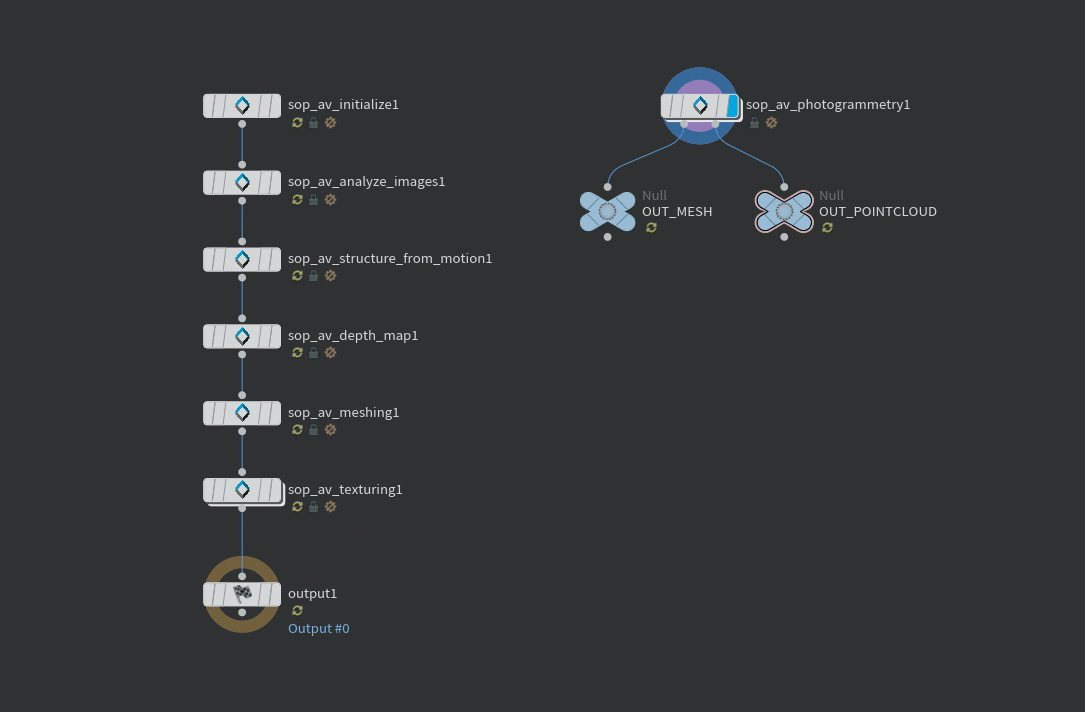
We can say that the price of Houdini includes an advanced and versatile photogrammetry module, as the AliceVision framework is open source and recently the developers of Game Tools implemented it as a toolset, for Linux as well. For further info, check the Resources page on my ArtStation site.
07. Physics painter
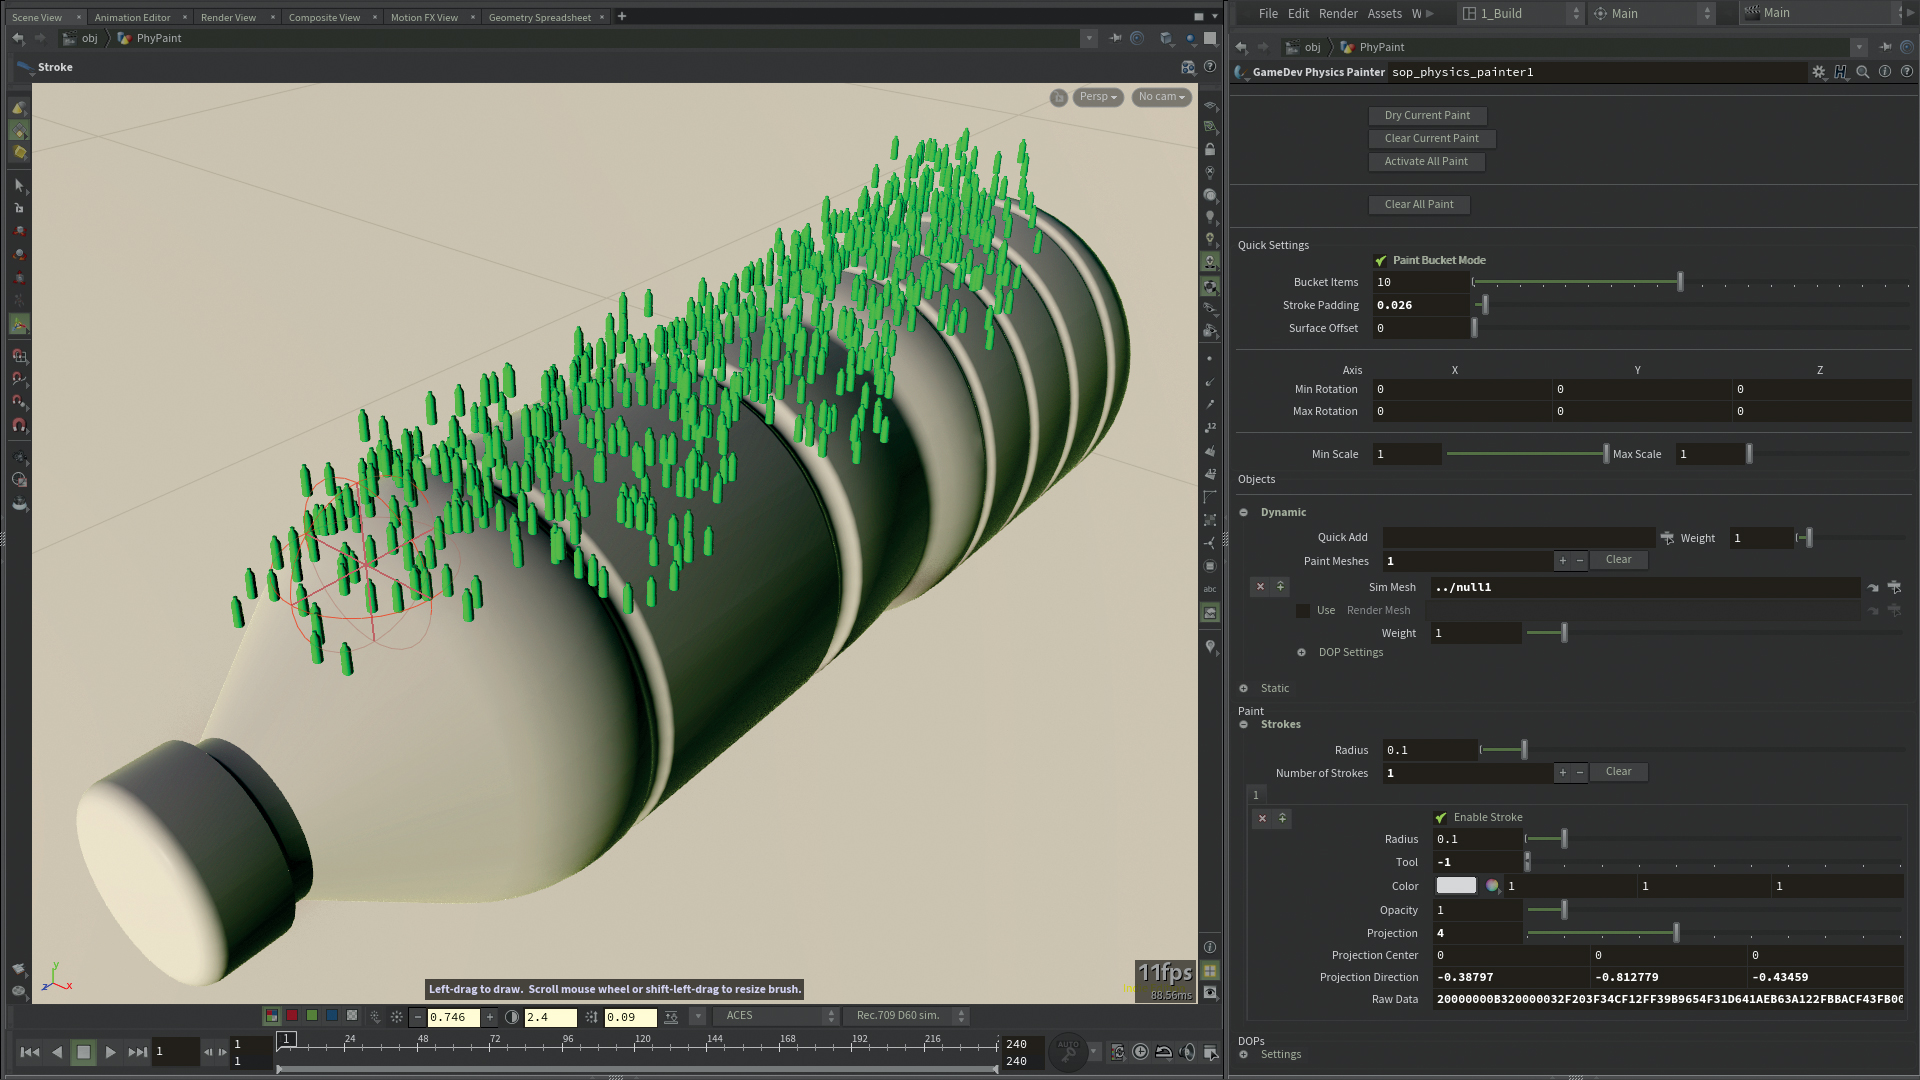
This tool can be very useful for layout artists, even for ones working in film and animation. As a versatile interactive scattering tool, we can populate the scene with arbitrary objects, much like how set dressers do their job. The input of this node is for the geometry on which we want to paint. The easiest way to pick the objects for the brush is selecting all of these SOP nodes and drag & drop to the Quick Add field in the Dynamic section of the physics painter parameter panel. It automatically creates slots for each of these geometries and we can also define higher resolution render meshes and dynamic properties here.
There are two modes of the brush in the viewport, one is the normal: as you draw the curve it lays down the objects piece by piece. We can activate the second mode with the Paint Bucket Mode toggle to spread the objects more rapidly. With our brush, the red sphere in the viewport represents the volume of the scattering. It can easily slow down the interaction, so it’s also possible to paint in normal mode and use this toggle occasionally to see the result.
08. Building generator
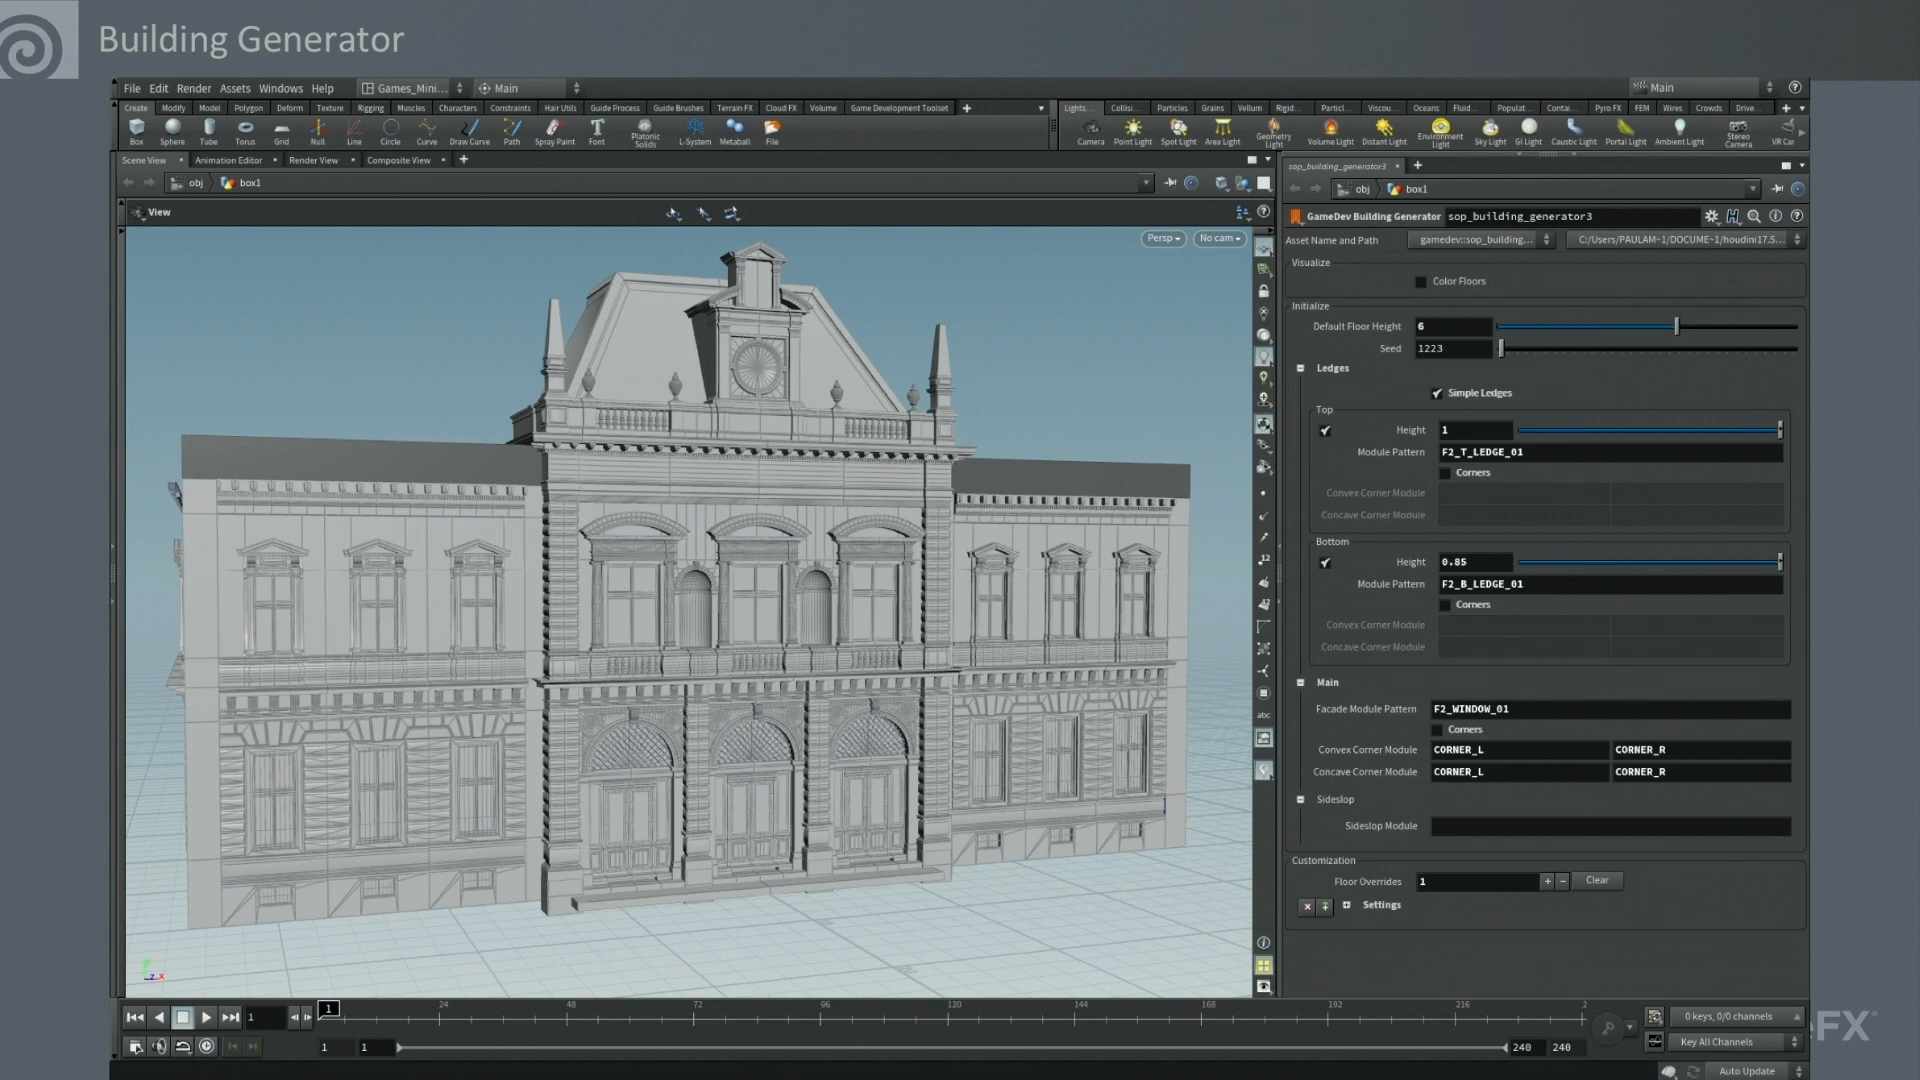
Luckily the developers of Game Tools added this very complex and much requested node to the toolset. It is a rule-based module system, we can feed our building part assets into it and use a base mesh as the floor plan of the building. Additionally with the Mapbox and OSM tools we can generate real world data based cities. Check the Resources page on my ArtStation site for further info.
09. Dirt Skirt and Voxelmesh
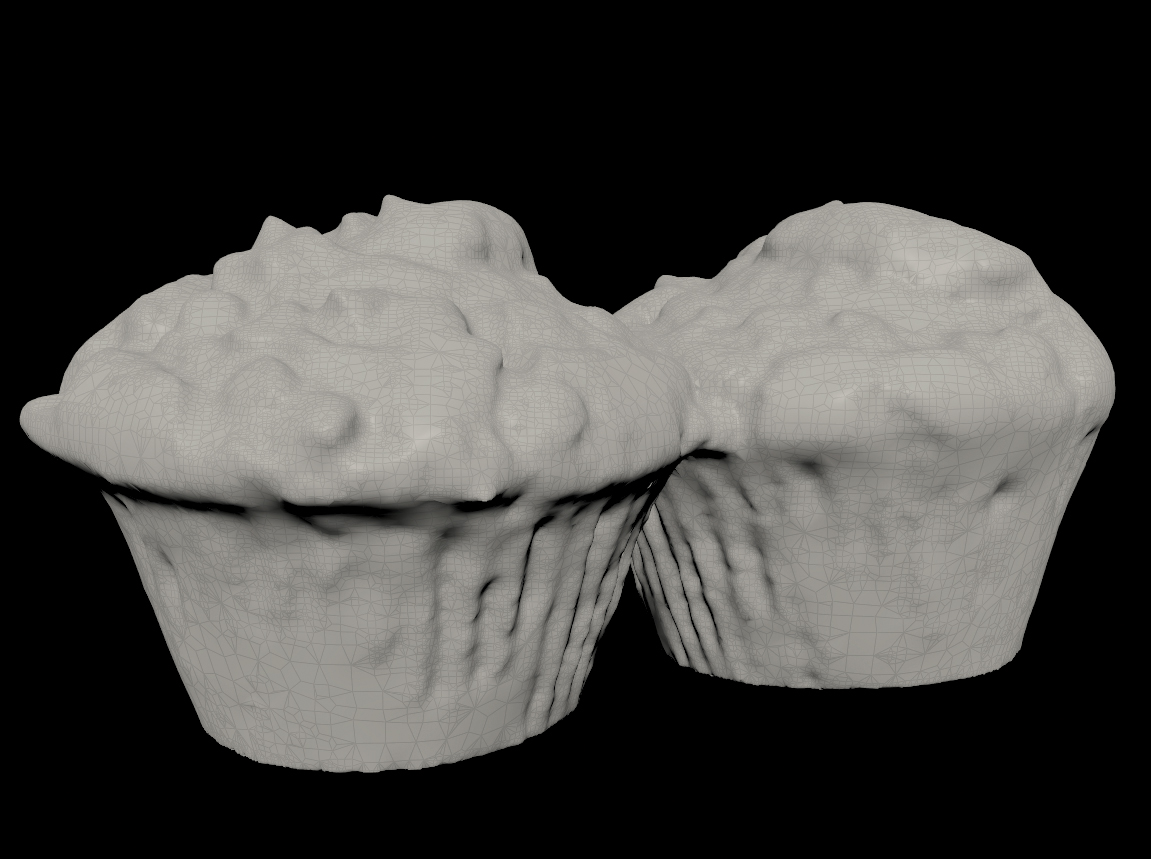
We can use any of these tools to melt together interpenetrating geometries. The Dirt Skirt node generates a connectivity geometry between the two input geometries. The Voxel Mesh node is a single node tool for the common VDB from Polygons > Convert VDB workflow, thus it is more versatile, an alternative to the boolean union tool and a good remesher. Switching on the Sharpen Features allows us to use this tool for hard surface modelling, as it avoids the otherwise voxelated sharp edges. The Adaptivity slider simplifies the geometry on the less detailed and flat areas.
10. Curve branches
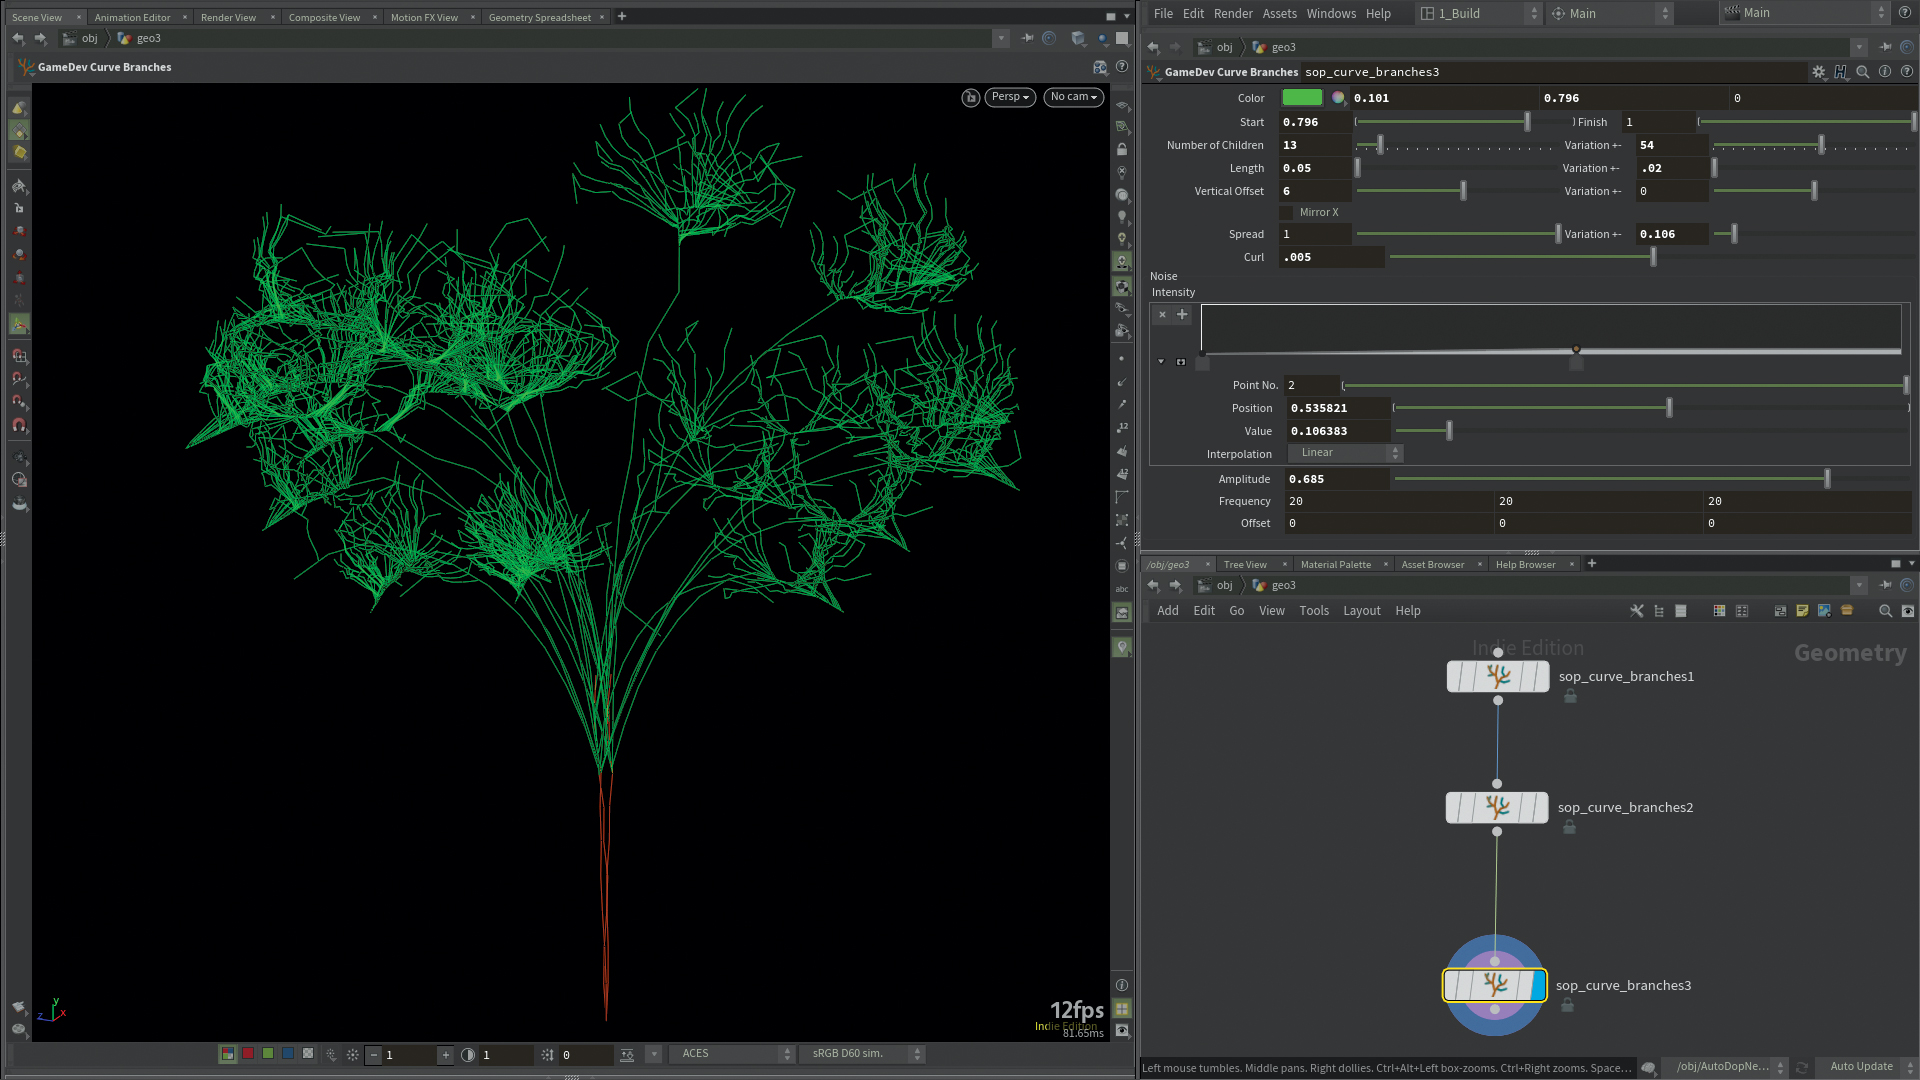
This node feels like a first attempt for a tool similar to Maya Paint Effects. Not at that complexity, but if we chain together multiple, copies of this node, each representing a level of the structure, we can even achieve tree-like geometries.
11. Thicken
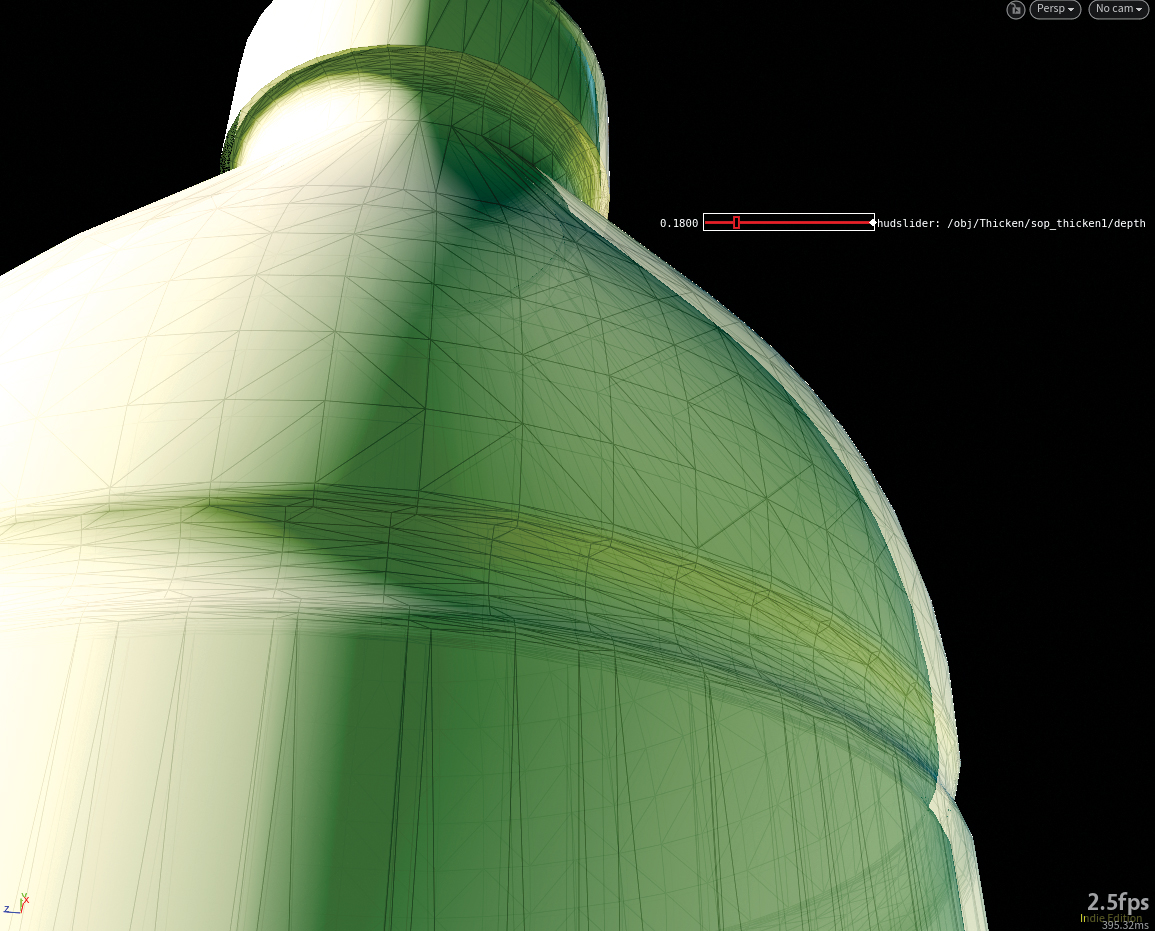
An easy tool for a simple task, as it adds thickness to a surface geometry. With this tailored version of PolyExtrude we can simply extrude all the faces of a geometry using a single slider, namely Depth, without getting lost amongst the other parameters.
12. Straighten and axis align
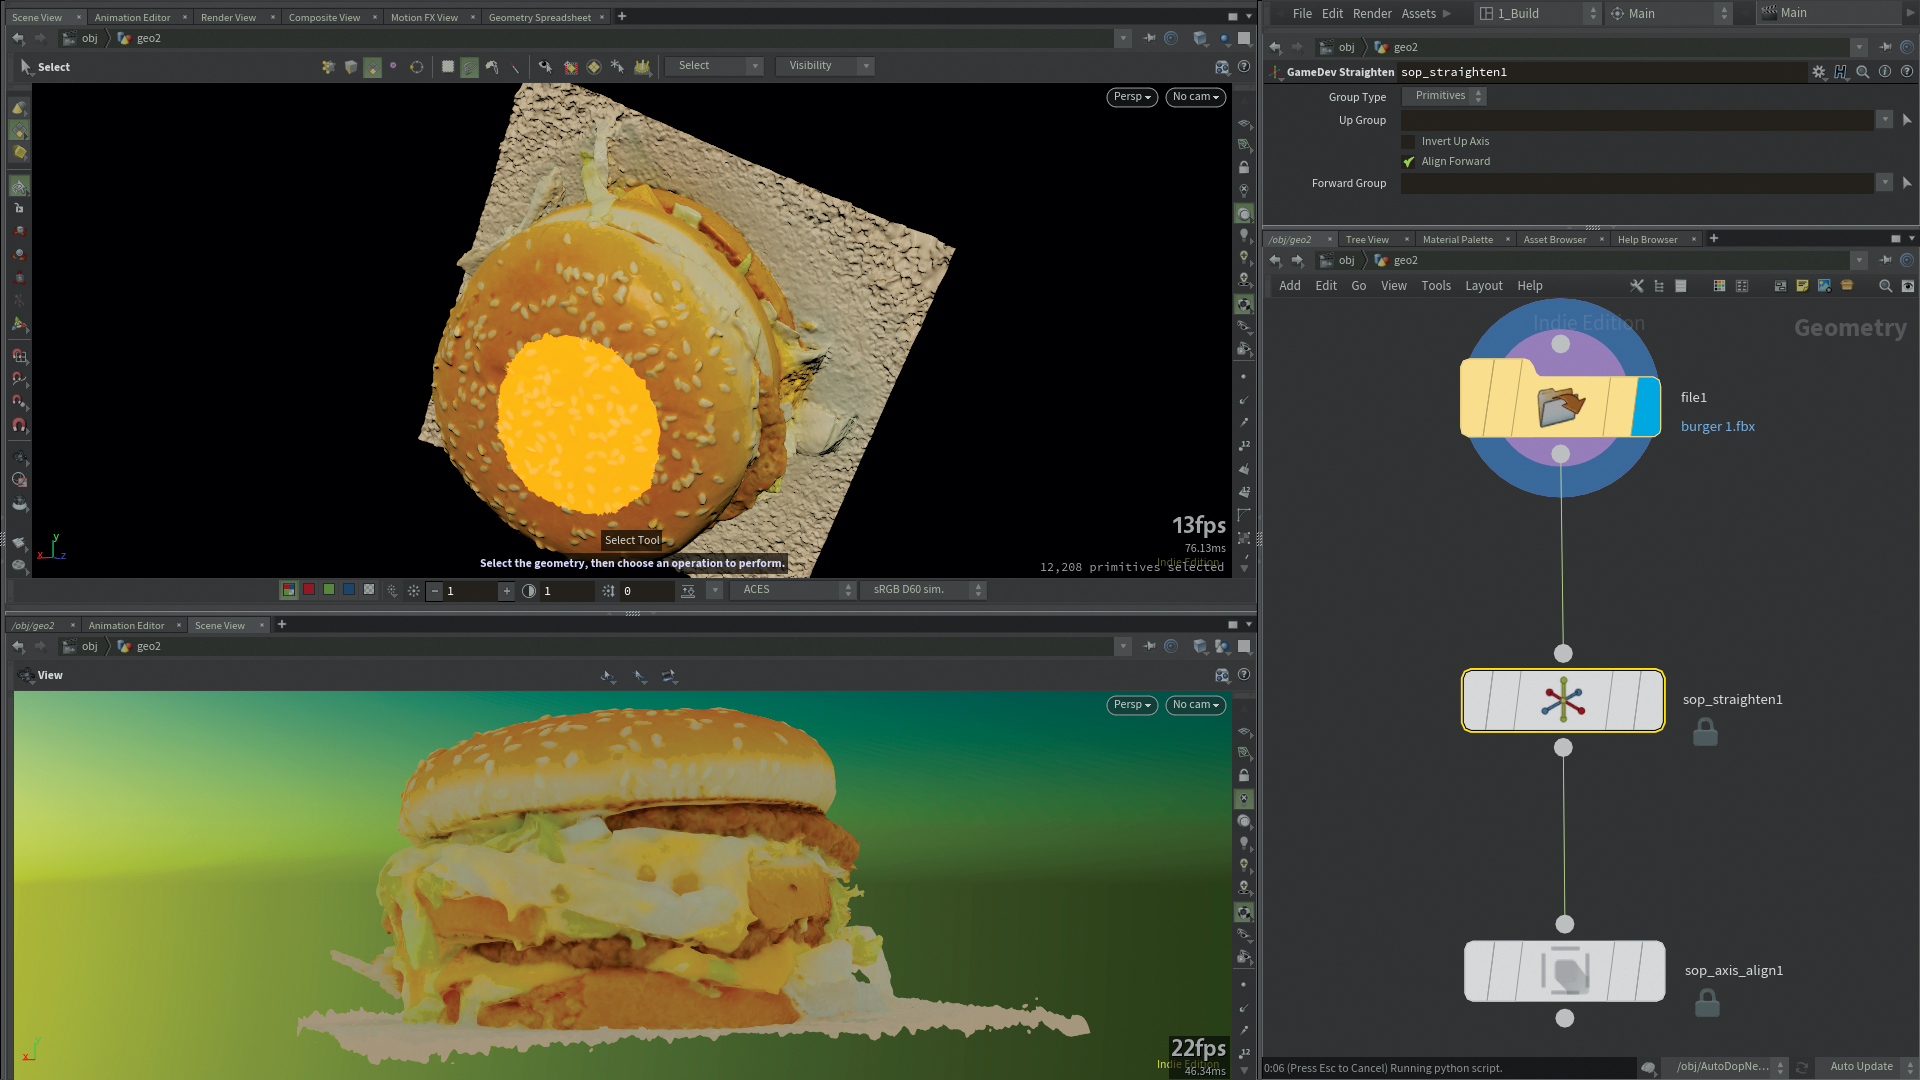
It’s a boring and time consuming task to manually align and rotate objects to a neutral pose, especially with photogrammetry ones. Luckily this task can be quick with these two Game Tools nodes. Firstly we orient the object with the Straighten node by selecting the desired upward and forward facing parts for the two input fields respectively. Then the Axis Align node brings the geometry to the origin and we can chose the actions for all three dimensions. The default setting is useful, as it lays down the object on the ground using its lowest part.
13. Quick material
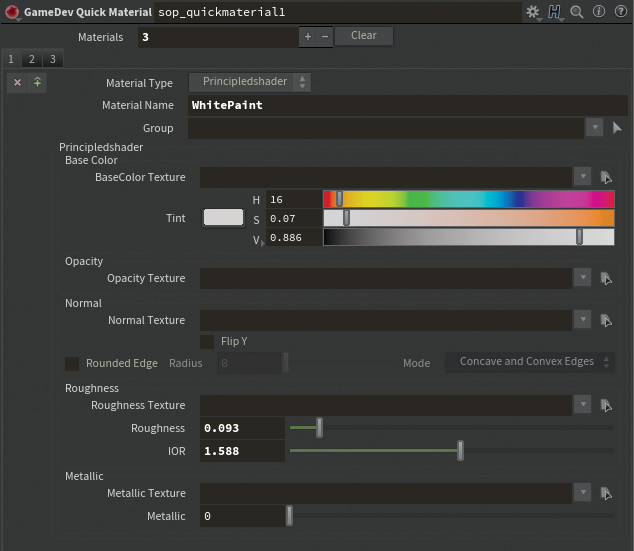
The advanced version of the original QuickShade node. We can quickly and effectively create and assign materials to objects or groups without leaving the SOP context, and access the basic parameters and texture inputs of the available material types: Principled Shader, GameDev PBR and Matcap.
Efficient interactions
14. Quick merge
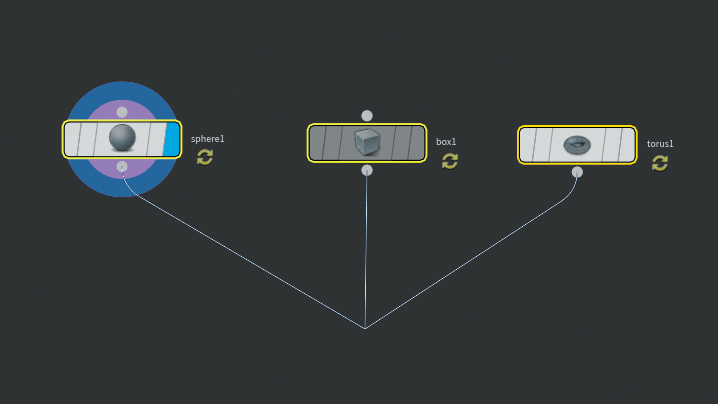
Select the nodes you want to merge, then Alt+drag down the output of any of them. If you press Ctrl rather than Alt, or just simply click with RMB, it will popup the tab menu, and you can choose other nodes with bulk input like Switch.
15. Viewport hotkeys
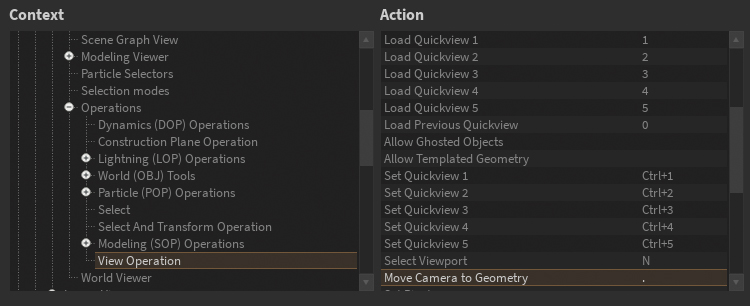
It’s worth opening the Hotkey Manager and checking the available actions under Houdini / Panes / Geometry Viewers / Operations / View Operation context. This is the secret place where we can add or modify all the Space+something keystrokes for the viewports, like Frame Selected (default shortcut: Space+F). So all the shortcuts here work just by holding Spacebar, or with the active View tool (left toolbar). Actually, we can change the Space to anything else, or add alternatives, which is the Volatile View Operation, directly in the Operations context.
There are some really useful shortcuts like the Cycle View Context and Toggle Local/World View Context. They affect the state of the view context switch, the second button from the right on the network controls bar above the viewport, so we can quickly hide/unhide/ ghost all other geometries except the ones in the active SOP context. The Move Camera to Geometry shortcut is also useful, as a kind of teleport function – the viewport camera jumps to the geometry element under the cursor.
16. Fullscreen mode
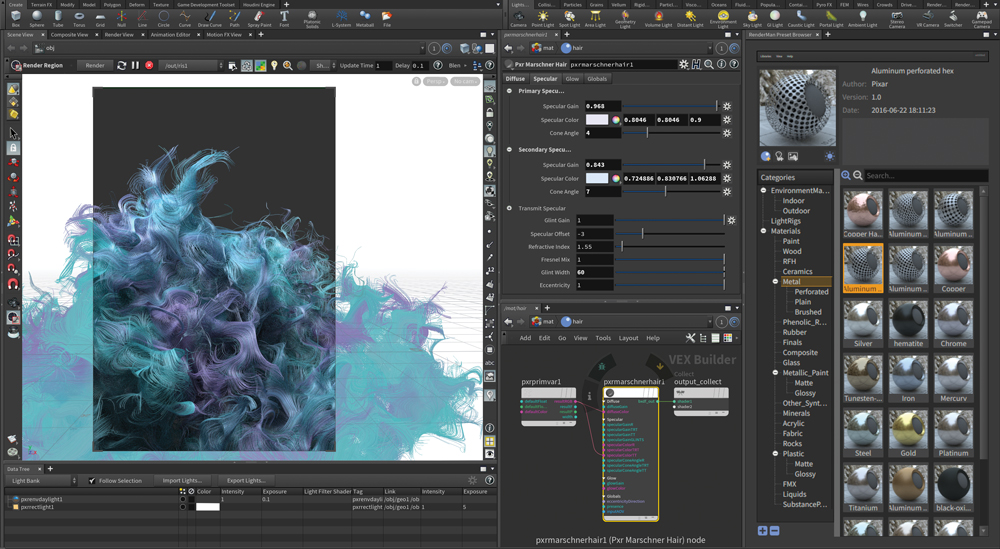
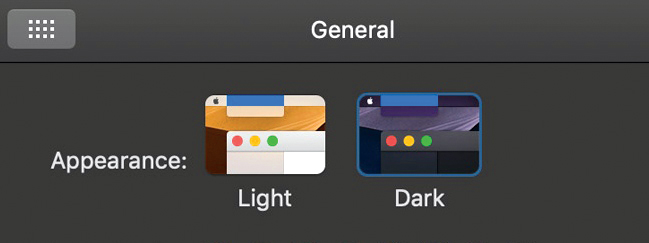
Usually a work session in Houdini takes a while, so most of the time we don’t need the interface elements of the operating system. On Linux it’s easy to go fullscreen, the KDE environment offers it in the titlebar’s right click menu. In the System Settings we can also bind shortcuts to any UI actions like this. In comparison customising the other two OS feel extremely restrictive, but at least after decades of user requests macOS finally ships with an optional Dark Mode. It matches with Houdini’s native colour scheme, thus the menubar at the top doesn’t feel like an interrogation lamp.
17. Nextgen Renderman for Houdini
You may find Mantra slow, laggy and memory consuming so it’s worth trying the new Renderman for Houdini (22.5+). It feels more cosily integrated with its state of the art interactivity. Do we need dedicated lighting/rendering softwares anymore?
Next page: How to create hair in Houdini
3D generalist alutaroma.com
