V-Ray for Nuke: 12 advanced techniques
Discover how to master the more advanced techniques for the lighting and compositing plug-in.
The majority of the V-Ray for Nuke nodes may feel familiar, allowing us to figure them out using logic and experience of standard Nuke nodes.
Understanding these should complete your introduction to the plug-in and put you in a good place to efficiently use V-Ray for Nuke on any 3D art project. Here I'll give you an intro to a selection of these nodes as well as some tips, so you feel comfortable using them. You don’t have to use V-Ray for Nuke primarily for rendering.
I've personally used the plug-in to enhance initial renders that I've been given. For instance, you can create your own fake fog, to give you volumetrics in the places you need it. I've even added rim lights which I’ve then added over the render that I’ve been given. Being able to adapt the plug-in to the way I work has made it incredibly powerful.
Article continues belowAs you use the plug-in more you'll want to understand how you can optimise your render times. The V-Ray Sample Rate AOV that we can get V-Ray for Nuke to kick out for us is incredibly useful when refining your render settings to get the render time down.
The AOV gives you a colour guide as to where you subdivisions are being used, so that you can decide if they are being used in the correct places and make decisions accordingly.
Ideally you don't want your AA (Antialiasing) being calculated on glossiness and shadows. In this article I'll also show you how to set this up.
01. Use the V-Ray dirt node
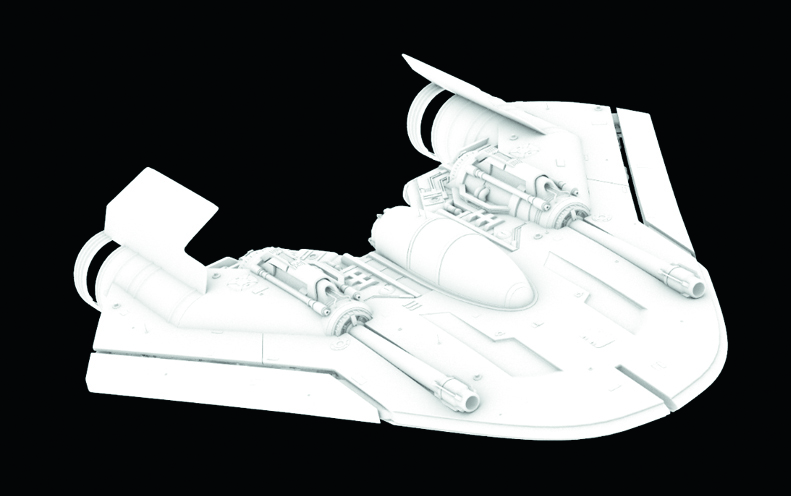
The VRayDirt node can be used in order to give you an Ambient Occlusion pass. Ambient Occlusion simulates the soft shadows that occur in the cracks and crevices of your 3D objects when indirect lighting is cast out. To do this press Tab and type VRayDirt. Press Enter.
Sign up to Creative Bloq's daily newsletter, which brings you the latest news and inspiration from the worlds of art, design and technology.
02. Adjust Ambient Occlusion
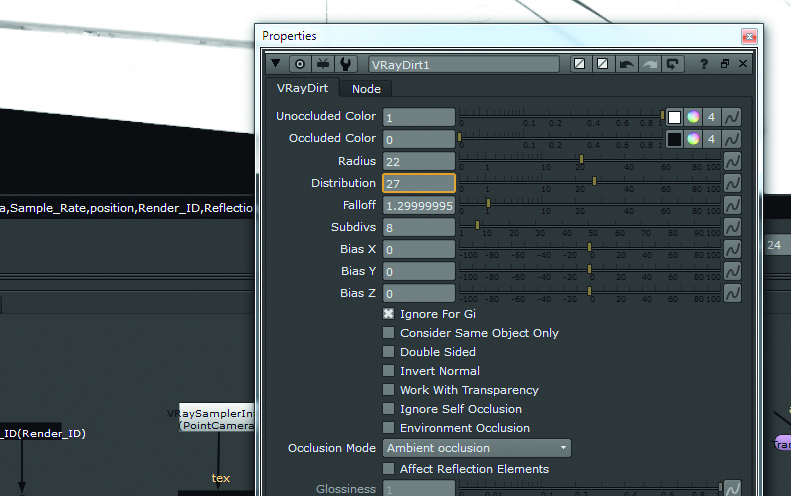
If you want to adjust your Ambient Occlusion, then dragging the Distribution slider on this node will increase how compact your area is, making the falloff less distributed over the model. I’ve known people who use this as a mask for moss or dirt.
03. Create a channel for your information
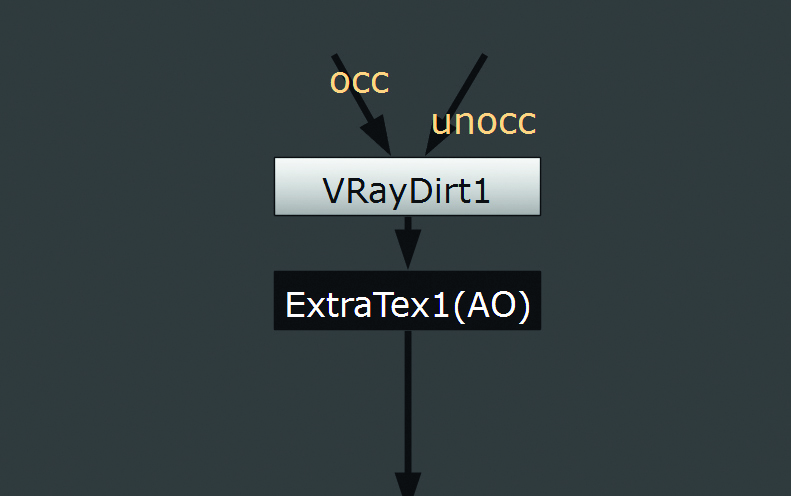
We now need to plug our VRayDirt node into a VRayRenderElement node set to ExtraTex in order to create a channel to hold our information. So press Tab and type VRayRenderElement to bring in the node and plug our VRayDirt node into this.
04. Use the V-Ray Material Preview node
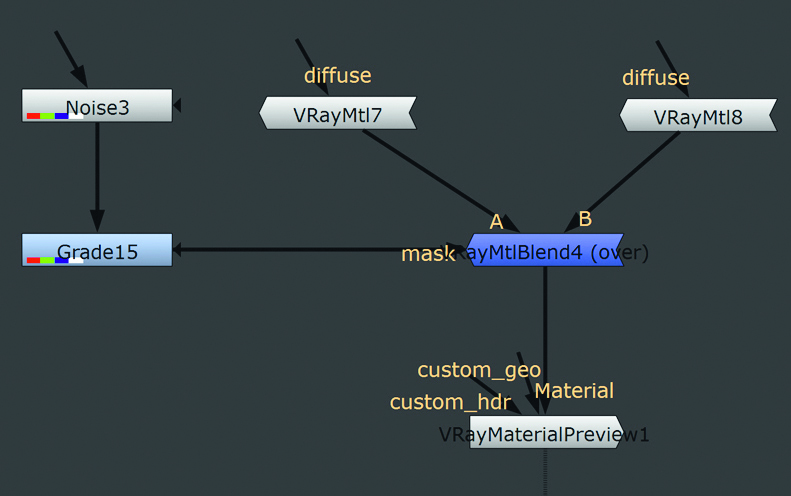
The VRayMaterialPreview node allows you to apply your shader to a sphere. This can be lit by lights of your choice or you can plug a HDRI in. If you’re going to use a HDRI to light your model, you should plug it into the VRayMaterialPreview Node to get an accurate look of how it will affect your material when applied to your model.
05. Other tips with the node
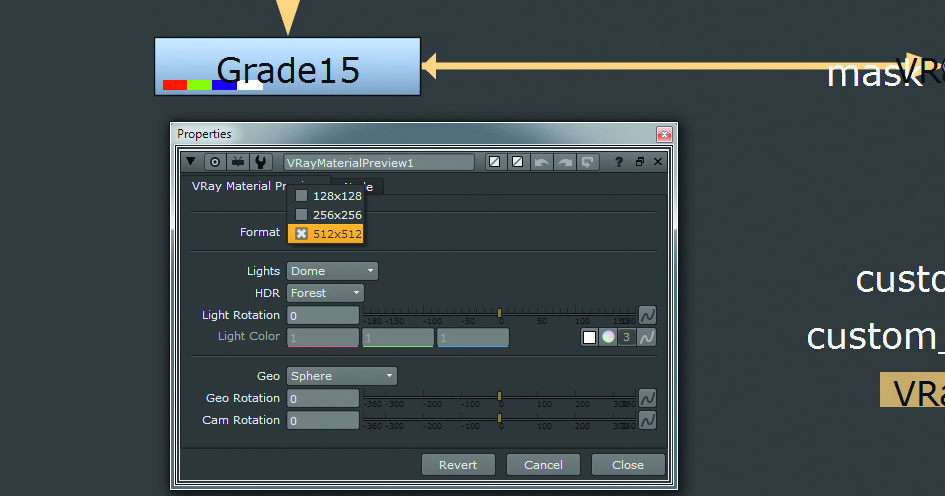
A few other useful things you can do in the node include adjusting the format in order to speed up your render times. I’ve found the most efficient way to do this is to get the looks of your material sorted at a low format, then when you think you’re there, whack the format up and refine some more. This allows you to work as efficiently as possible.
06. Use the V-Ray Mtl blend node
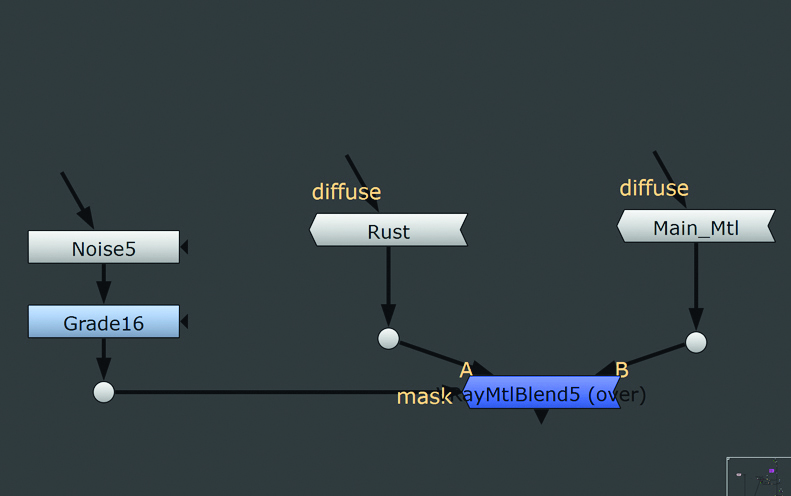
The VRayMtlBlend node lets you combine two materials, much like how a Merge node set to Over works with 2D elements. You also have access to a mask setting allowing you to mask off specific areas in order to reveal your bottom coat through the top. Your B pipe is the base and your A pipe is the coating.
07. Mask your V-Ray Mtl blend with AO
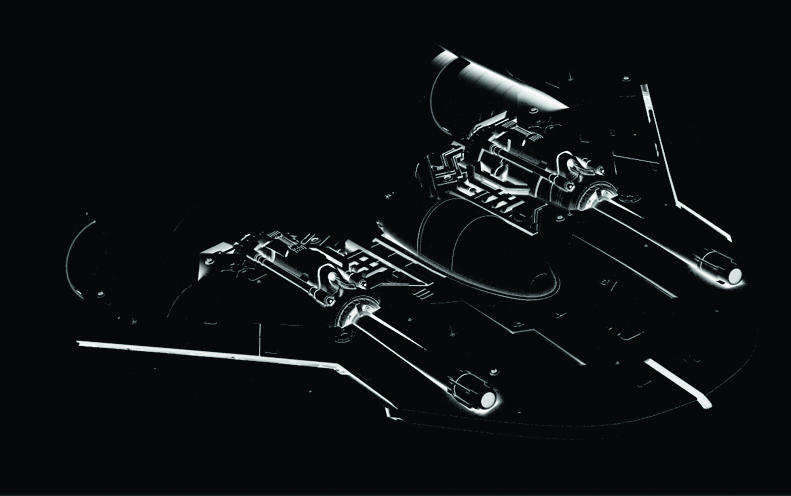
Since our Ambient Occlusion is just a mask for our edges, we can use this in other useful ways. You may want to bring through the other material just in tight crevices, such as getting dirt in the areas you would expect to see it. We can do this by masking our Blended Material pass with our AO pass.
08. Confine your rust material
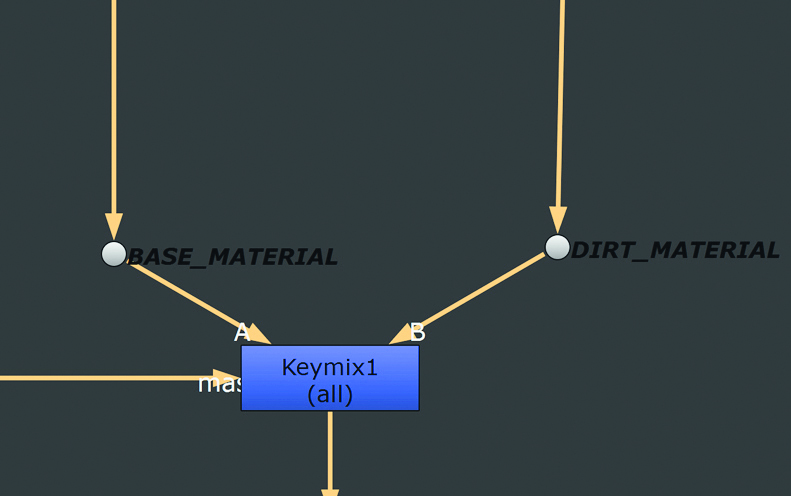
Shuffle out your AO pass into your alpha channel – we are going to use this as a mask for a Keymix. We now need to Keymix this pass with our main material. To do this, shuffle out both your materials and mask with your AO. We now have our rust material being confined only to our crevices.
09. V-Ray Sample Rate AOV
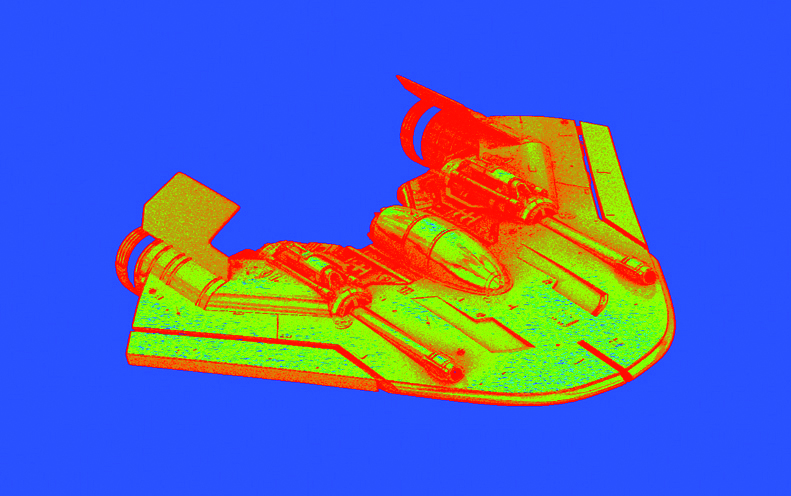
The VRaySampleRate AOV gives you a colour representation of what’s being subdivided. Red represents you maximum sample per pixel setting in AA and blue represents your minimum sample per pixel. Ideally you want your maximum samples on your edges.
10. Experiment with subdivisions
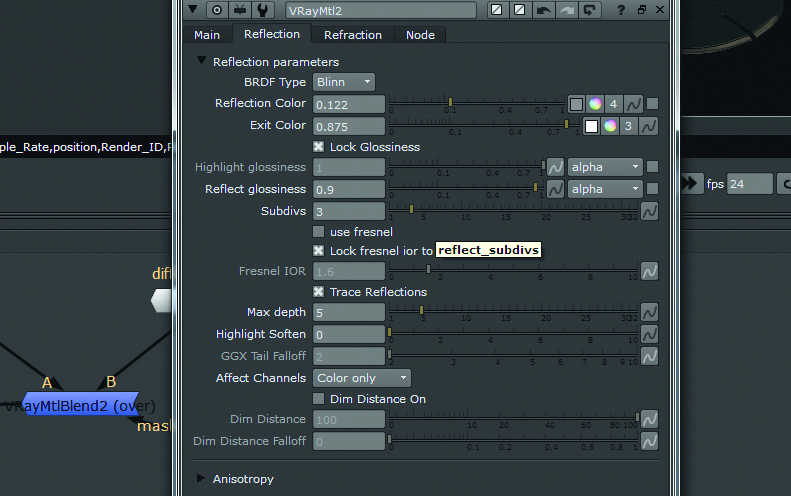
You can often fix where your AA is being done where it shouldn’t by experimenting with upping your subdivisions in your lights. As well as increasing your material subdivisons, you should look at each AOV and find which one is giving you the noise. Keep flicking between your VRaySampleRate pass and your other passes to see if the noise has improved.
11. V-Ray fog node

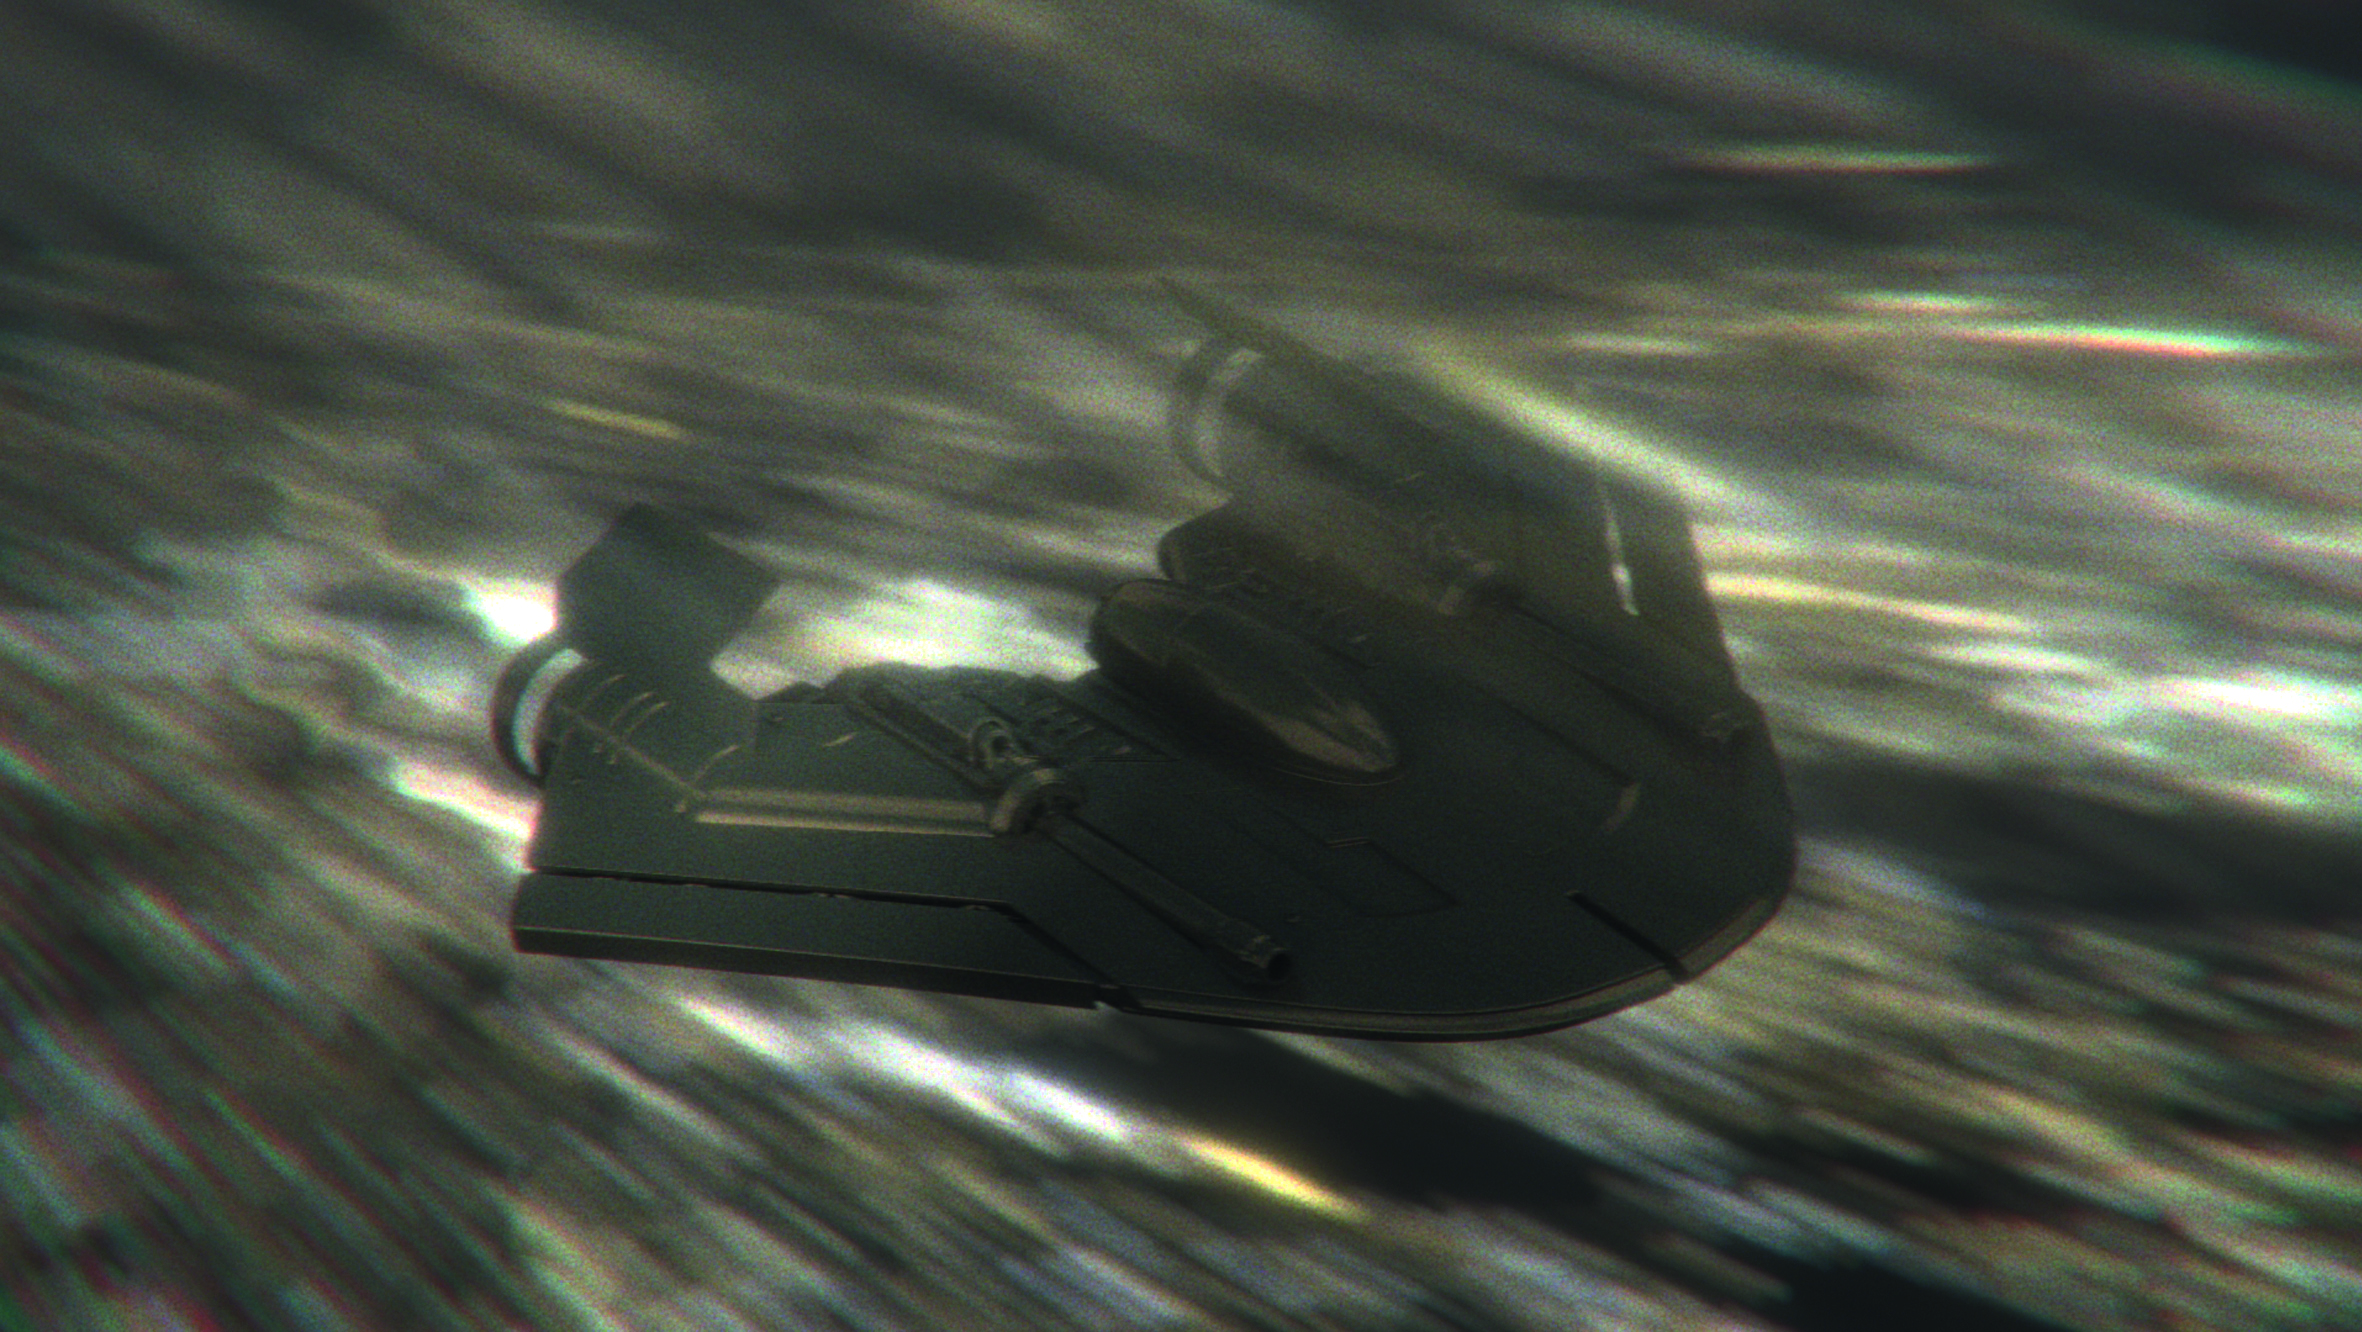
I had a low poly version of the object so I could position it within the fog, then apply my fog layer to the initial render. Fog Density is a multiplier to the Fog Distance; the larger this distance number, the more transparent the fog. If you have a distance of 750 and density of 0.5 your actual value will be 375. In the spaceship composition I’ve used this node to give it the look of moving through the atmosphere.
12. Managing the fog effect
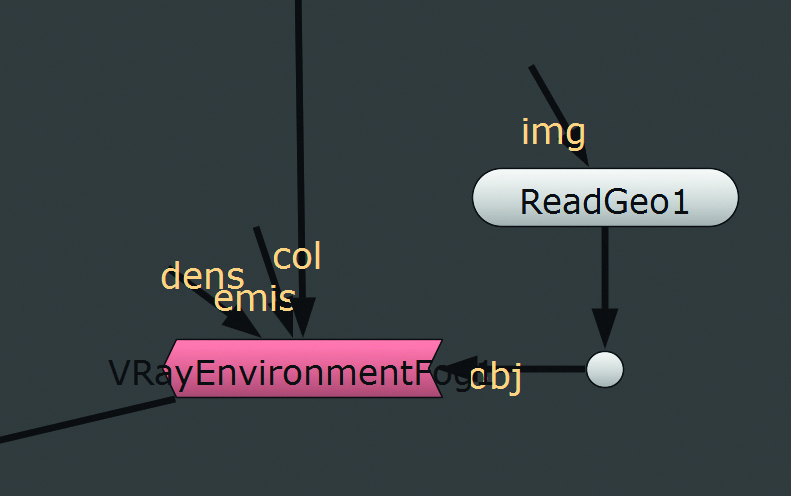
You can contain this fog effect within geometry by using a ReadGeo node to bring in an obj and plugging it into the obj input of your VRayEnvironmentFog node. Your fog effect will now be contained within this read in geometry. It takes a fair bit of nudging sliders in order to get the exact look you want, but it's something I've found I'm using more and more now I have access to it.
This article was originally published in 3D World magazine issue 208. Buy it here.
