Create a simple iPad splash screen with Photoshop CS6
Luke O’Neill shows you how to quickly animate a splash screen for iPad in Photoshop CS6
Sign up to Creative Bloq's daily newsletter, which brings you the latest news and inspiration from the worlds of art, design and technology.
You are now subscribed
Your newsletter sign-up was successful
Want to add more newsletters?
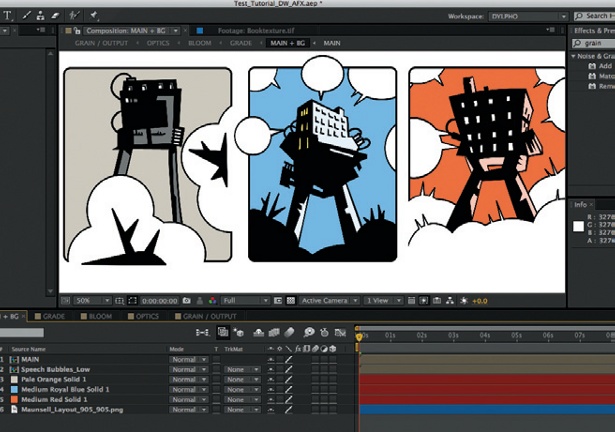
06 Now take the timeline back to 00:00 and paste your logo into the document on the top layer, ensuring that it is white on a square background the same size as our central square. Move it into position in the centre to cover the white square, and set its blending mode to Lighten. Now, if you play back the animation, it should appear as if the logo is being swiped in by the yellow graphic. This technique forms the basis of this tutorial.
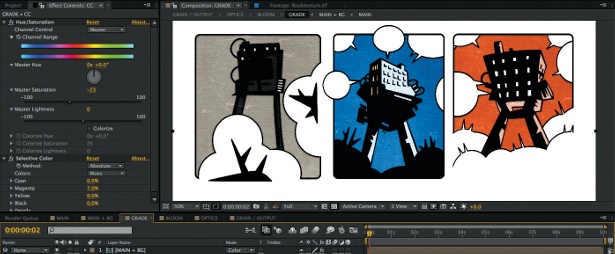
07 Next take the timeline back to 01:00 when the yellow swipes fully into view, and on a new layer create a cyan diagonal shape from a selection of the negative space surrounding the yellow graphic. Now repeat the earlier process of having the shape swipe in and out, creating another black selection within the square so that it swipes in with the cyan layer. You can alter the timings slightly so that it swipes in faster.
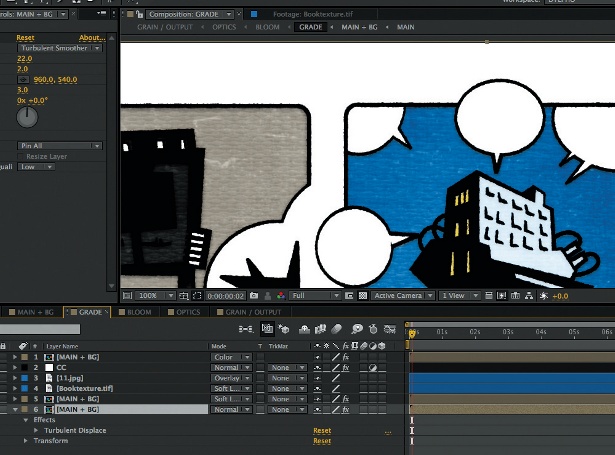
08 Now, to add an extra dimension to the piece, create some black and white parallel strips (these I created quickly in Illustrator) and paste them into your document, lining them up so they sit exactly in line with the cyan graphic once it has swiped in. Move the layer’s position on the timeline so that it only appears after the cyan graphic has swiped in, creating a reveal effect.
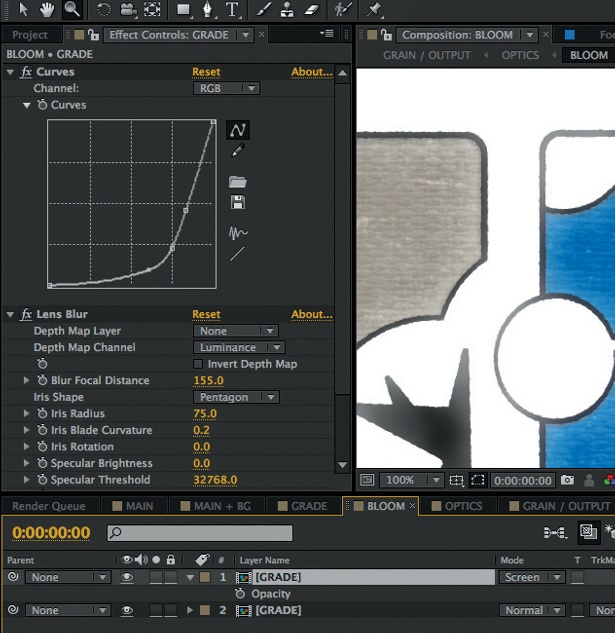
09 Move the original spots on another second, moving them around the square again. Now we want to create a fade out to white effect around the central logo. Make a selection from the square layer, invert it and fill a new layer at the top of the stack with white. Next, create a new opacity keyframe at 02:00 and turn the layer’s opacity to zero.
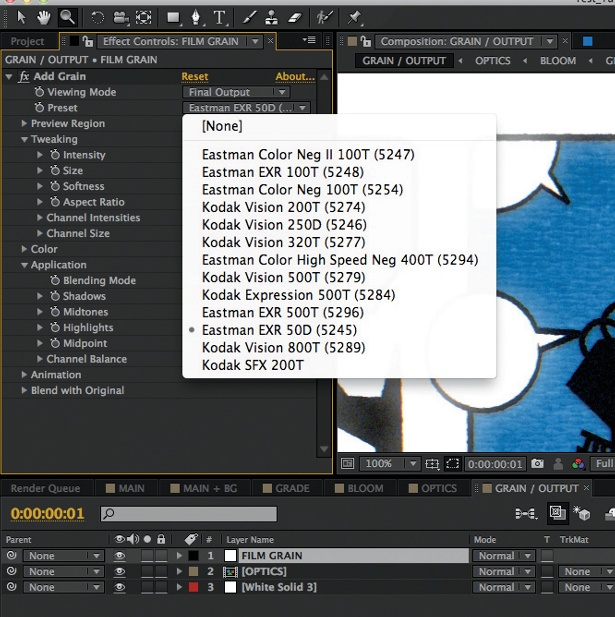
10 At 03:00 add another opacity keyframe and turn the layer’s opacity to 100% so that the area around the logo fades out to white as the spots reach their final destination. These are the basics, so feel free to add as many different layers of animation as you please. I chose to add a vertical swipe within the yellow graphic, and also animated the apostrophe within my logo. The potential is only limited by your imagination.
Sign up to Creative Bloq's daily newsletter, which brings you the latest news and inspiration from the worlds of art, design and technology.

The Creative Bloq team is made up of a group of art and design enthusiasts, and has changed and evolved since Creative Bloq began back in 2012. The current website team consists of eight full-time members of staff: Editor Georgia Coggan, Deputy Editor Rosie Hilder, Ecommerce Editor Beren Neale, Senior News Editor Daniel Piper, Editor, Digital Art and 3D Ian Dean, Tech Reviews Editor Erlingur Einarsson, Ecommerce Writer Beth Nicholls and Staff Writer Natalie Fear, as well as a roster of freelancers from around the world. The ImagineFX magazine team also pitch in, ensuring that content from leading digital art publication ImagineFX is represented on Creative Bloq.
