Produce a portrait inspired by Billy and Hells
Ben Secret reveals how to combine the qualities of colour and black-and-white images into one shot
This is a simple workflow loosely inspired by the film-processing techniques of Berlin-based photographers Billy and Hells. Ideally you would start with a RAW image file and create two versions: a high-contrast black-and-white version with heavy shadows and defined highlights; and a much flatter colour version with smoother, cleaner tones.
These are then combined in Photoshop, resulting in an image that seems to simultaneously possess the qualities of both a black-and-white and a colour image. With your image split in this way, you can then perform more sophisticated tonal processes on the black-and-white layer in isolation, while easily retaining your perfect, flat colours. You can catch up with Billy and Hells’ portfolio here.
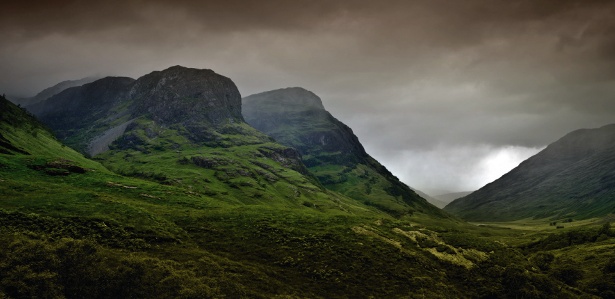
01 First load your RAW image file into Camera RAW. For your colour image keep the contrast low, and make sure the shadows and highlights are kept well within the histogram’s boundaries. This should give you a subdued and washed out look, so bring the saturation up a little, just to make sure there’s enough colour coming through in the skin tones. Now open this in Photoshop.
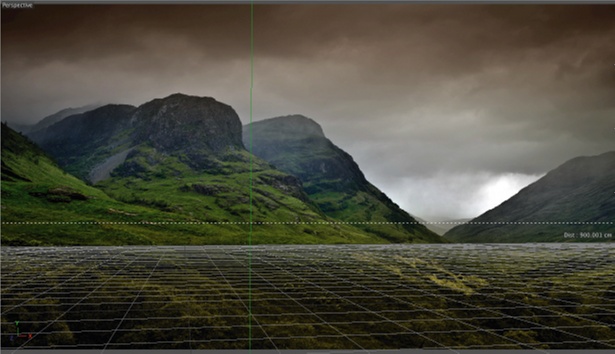
02 Load up the RAW image file again: we’re going to create the black-and-white version. In the HSL/Grayscale panel, select Convert to Grayscale. For this image we can have much more contrast, utilising the full range of the histogram. We can use the parametric or point tone curves, and the black and shadows sliders, to make sure we’ve got deep, contrasty – but not crushed – tones in the shadows.
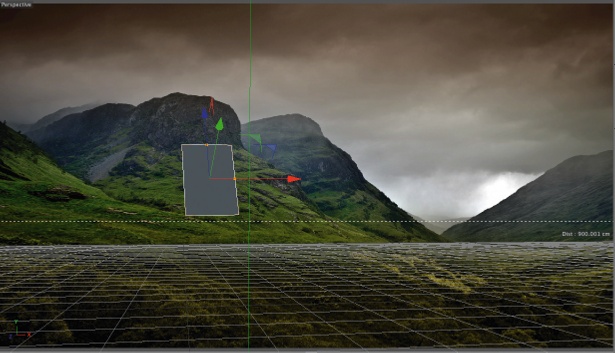
03 With your black-and-white image opened in Photoshop, copy your previous colour version and paste it in on the layer above. Change the blending mode to Color, and you should have a new, fullcolour version of your image. You can now adjust the colour layer’s opacity to control colour saturation. I’m adding a Curves layer below the colour layer so that I can darken the black-and-white layer a bit.
04 Now select your bottom black-and-white layer and duplicate it with Cmd/Ctrl+J. With the duplicated layer selected, go to Filters>Convert for Smart Filters. This enables you to apply the following effect nondestructively, so you can fine-tune it later: from the Blur sub-menu, select Gaussian Blur. Use a fairly large radius – mine is 60px, for an image that’s 1,200px wide.
05 Now change this layer’s blending mode to Overlay. Add an Invert adjustment layer and attach it to your blurred layer as a clipping mask, which you can do by selecting Create Clipping Mask from the Layers panel, or by Opt/Alt+clicking in between this layer and the layer below in the Layers panel. Now reduce the blurred layer’s opacity until you get the desired effect. I’m using an opacity of around 50%.
Master the art of studio portrait photography with Creative Bloq's tips.
Daily design news, reviews, how-tos and more, as picked by the editors.

The Creative Bloq team is made up of a group of art and design enthusiasts, and has changed and evolved since Creative Bloq began back in 2012. The current website team consists of eight full-time members of staff: Editor Georgia Coggan, Deputy Editor Rosie Hilder, Ecommerce Editor Beren Neale, Senior News Editor Daniel Piper, Editor, Digital Art and 3D Ian Dean, Tech Reviews Editor Erlingur Einarsson, Ecommerce Writer Beth Nicholls and Staff Writer Natalie Fear, as well as a roster of freelancers from around the world. The ImagineFX magazine team also pitch in, ensuring that content from leading digital art publication ImagineFX is represented on Creative Bloq.
