How to build an AR app
A step-by-step guide to creating a multi-marker augmented reality application using AR.js.
When creating your own AR experience, you will probably want the marker that you are using to either be branded to a client logo or customised in some way to reflect the nature of what your user is doing with the AR application. This is very easy to do.
The main part to make this work is downloading the pattern file, placing this within your project folder structure and referencing this in your JavaScript code. Here's a quick step-by-step guide.
01. Make the pattern
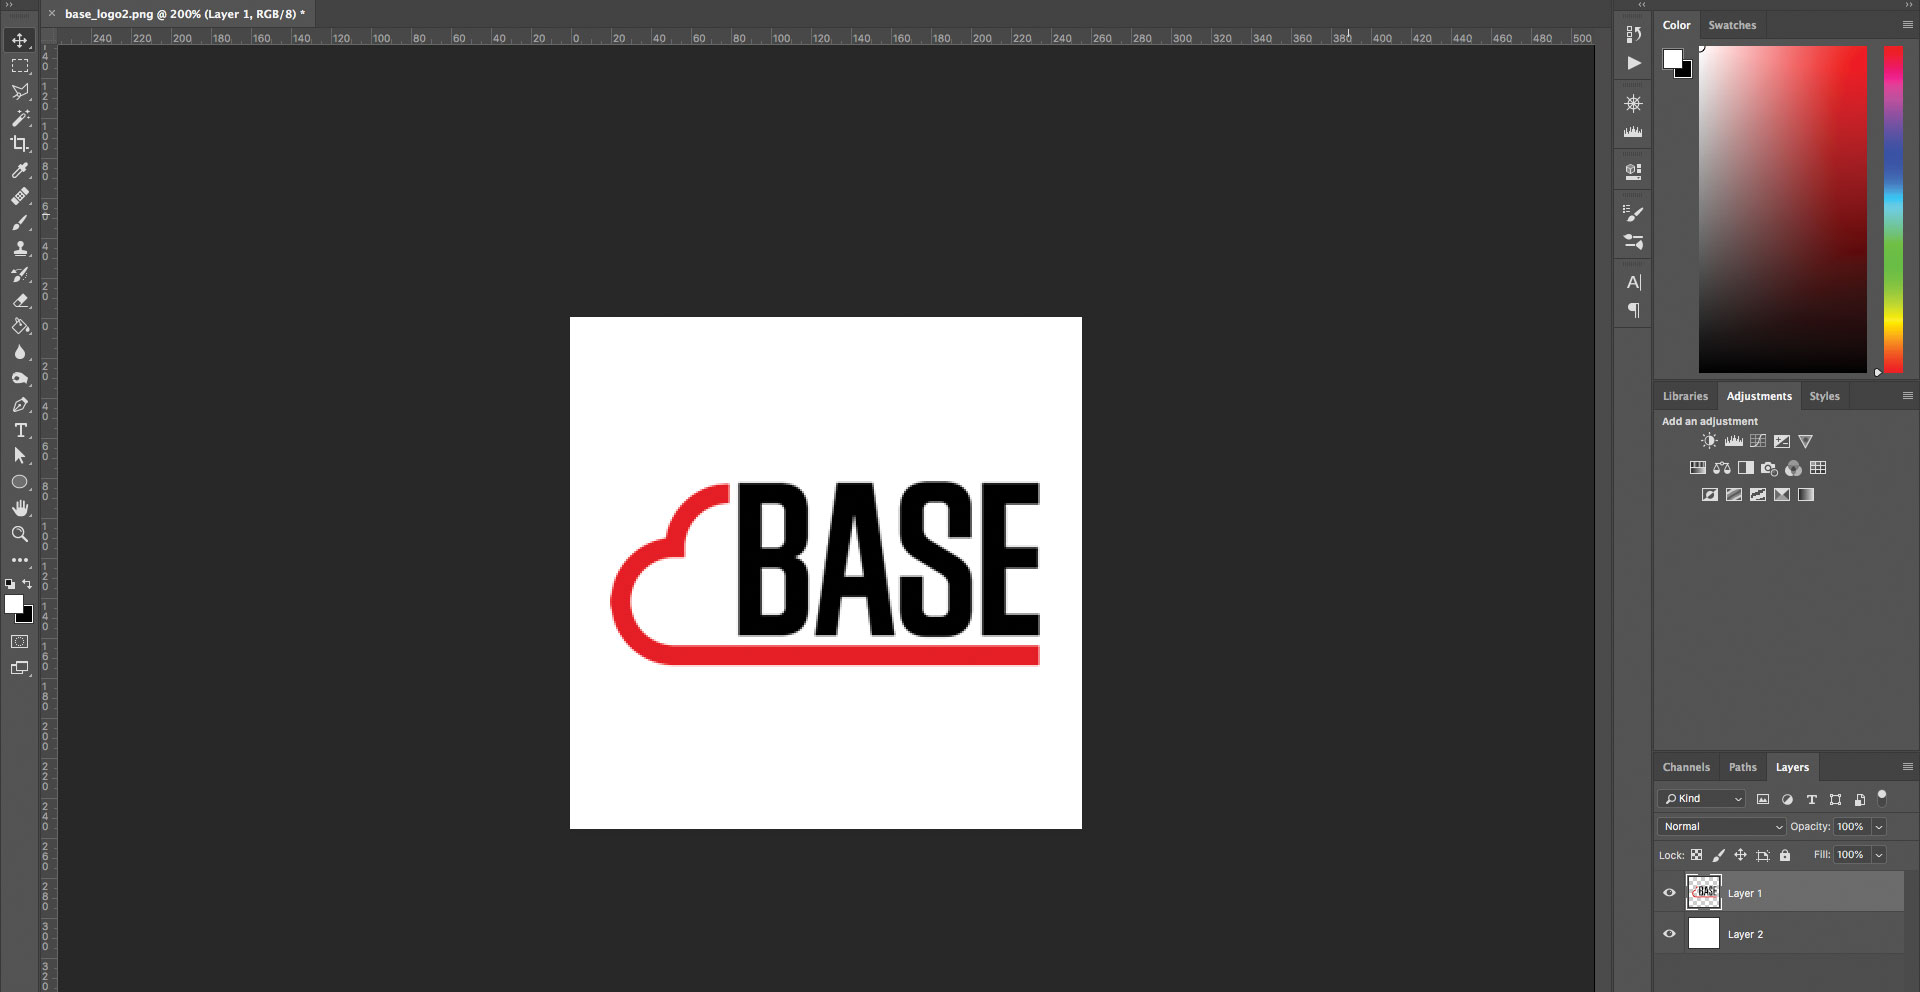
In your image editing application make a square image and ensure the background is set to white. Now create a custom shape on the screen. Make sure this is black as this is the easiest to be read. Save the file as a PNG as this will be uploaded to a website to convert into the pattern code.
02. Upload and download

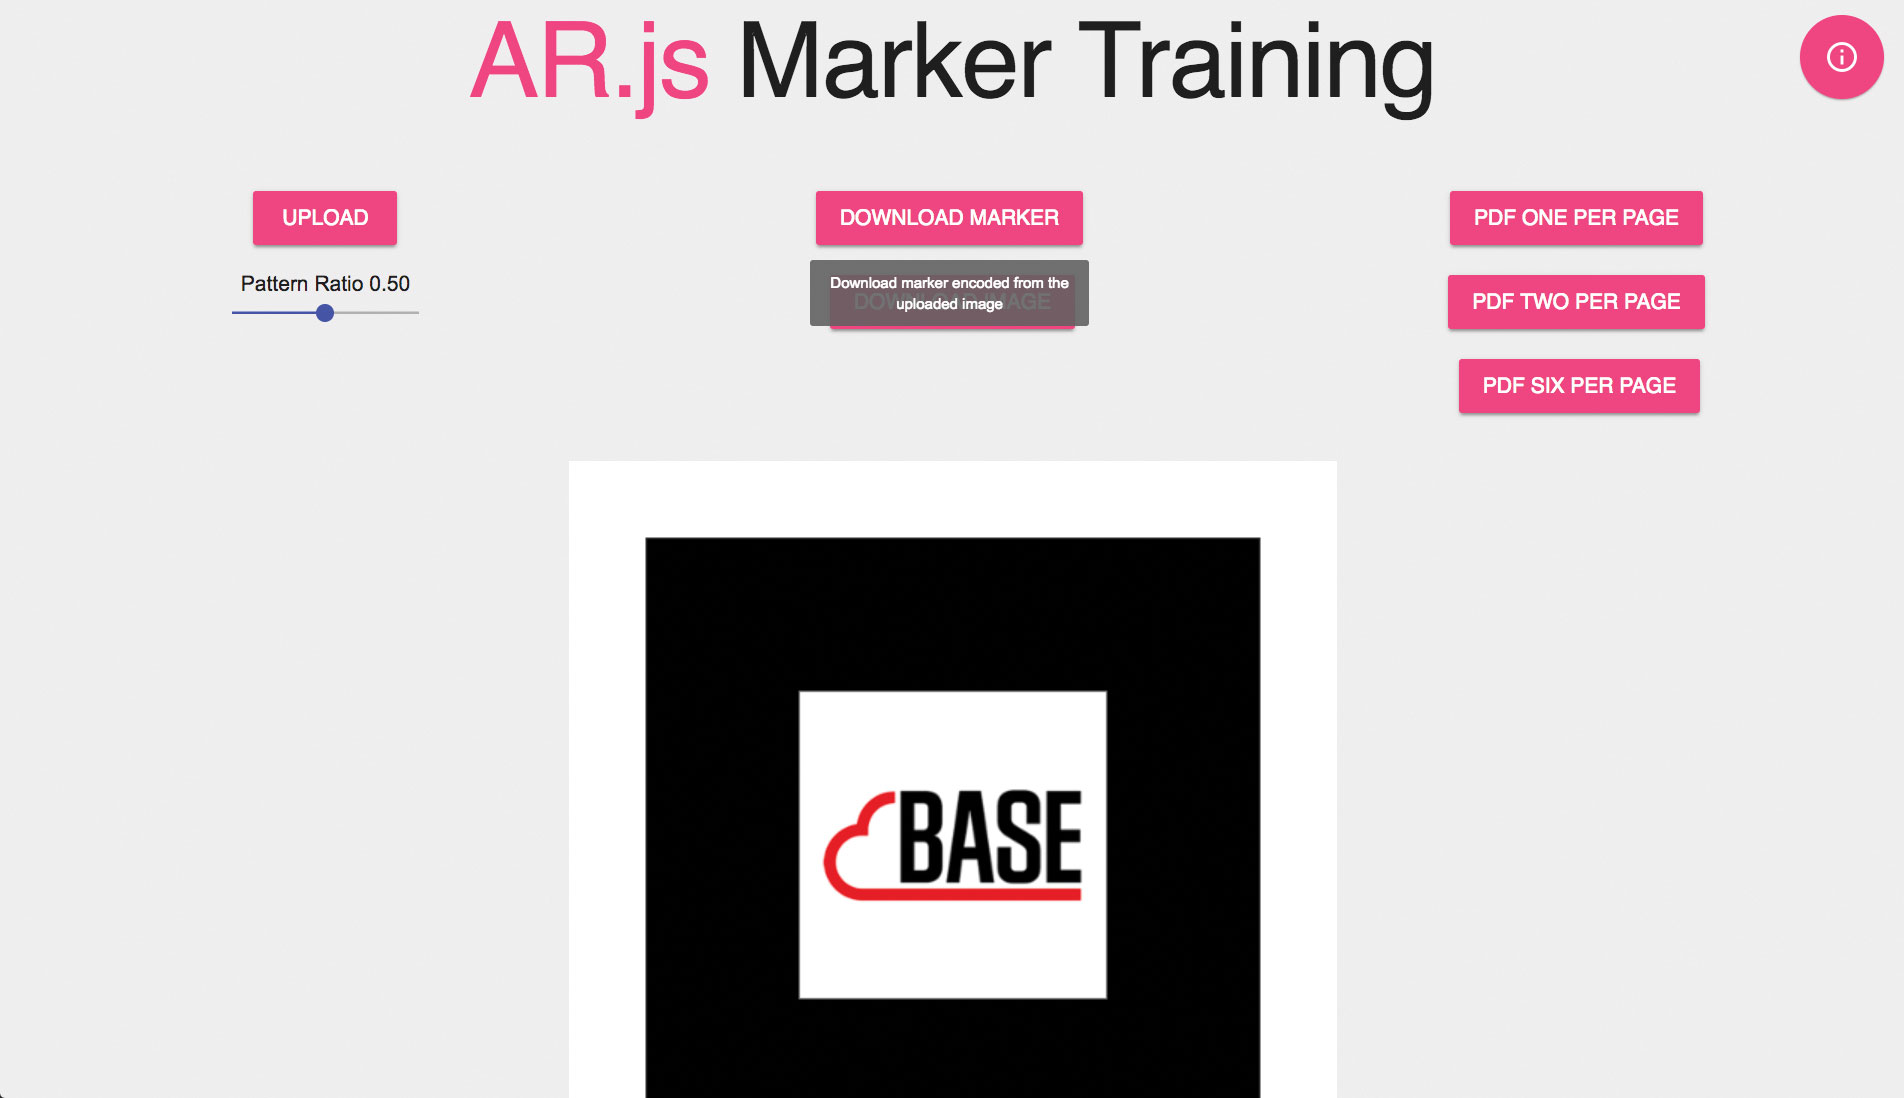
Go to the pattern marker training page and click the upload button. Your marker will appear on the screen. Click the download marker button to get the marker file for your code. Click the appropriate download PDF button to get a printable marker.
03. Place it in the code
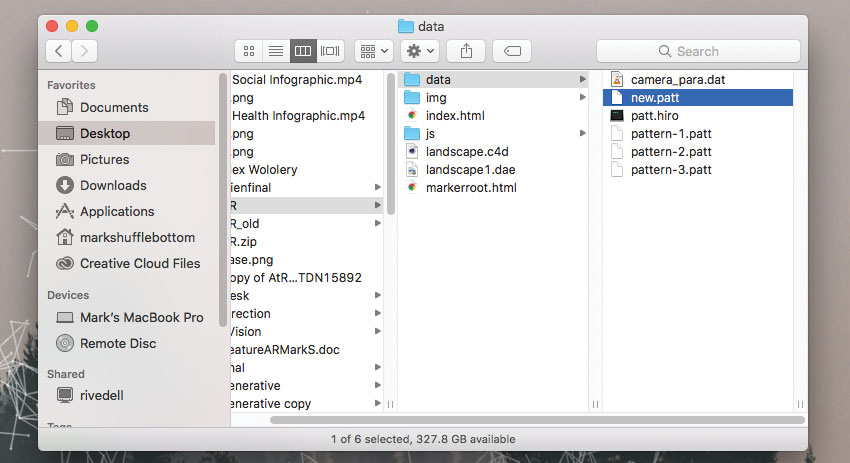
Place the downloaded pattern-marker.patt in the data folder. You can name it anything you like. Look in your code and change the line shown below to be the name of the pattern that you have downloaded. Now hold the PDF up to the camera to trigger the AR content to appear.
THREEx.ArMarkerControls(arToolkitContext, markerRoot, {
  type: 'pattern',
  patternUrl: THREEx.ArToolkitContext.baseURL + 'data/pattern-marker.patt',
  });
*********
This article was originally published in creative web design magazine Web Designer. Buy issue 274 or subscribe.
Read more:
Daily design news, reviews, how-tos and more, as picked by the editors.

Mark is a Professor of Interaction Design at Sheridan College of Advanced Learning near Toronto, Canada. Highlights from Mark's extensive industry practice include a top four (worldwide) downloaded game for the UK launch of the iPhone in December 2007. Mark created the title sequence for the BBC’s coverage of the African Cup of Nations. He has also exhibited an interactive art installation 'Tracier' at the Kube Gallery and has created numerous websites, apps, games and motion graphics work.


