Create a portal effect in Maya
Learn how to make a Dr Strange-style portal effect in Maya with this tutorial.
Sign up to Creative Bloq's daily newsletter, which brings you the latest news and inspiration from the worlds of art, design and technology.
You are now subscribed
Your newsletter sign-up was successful
Want to add more newsletters?
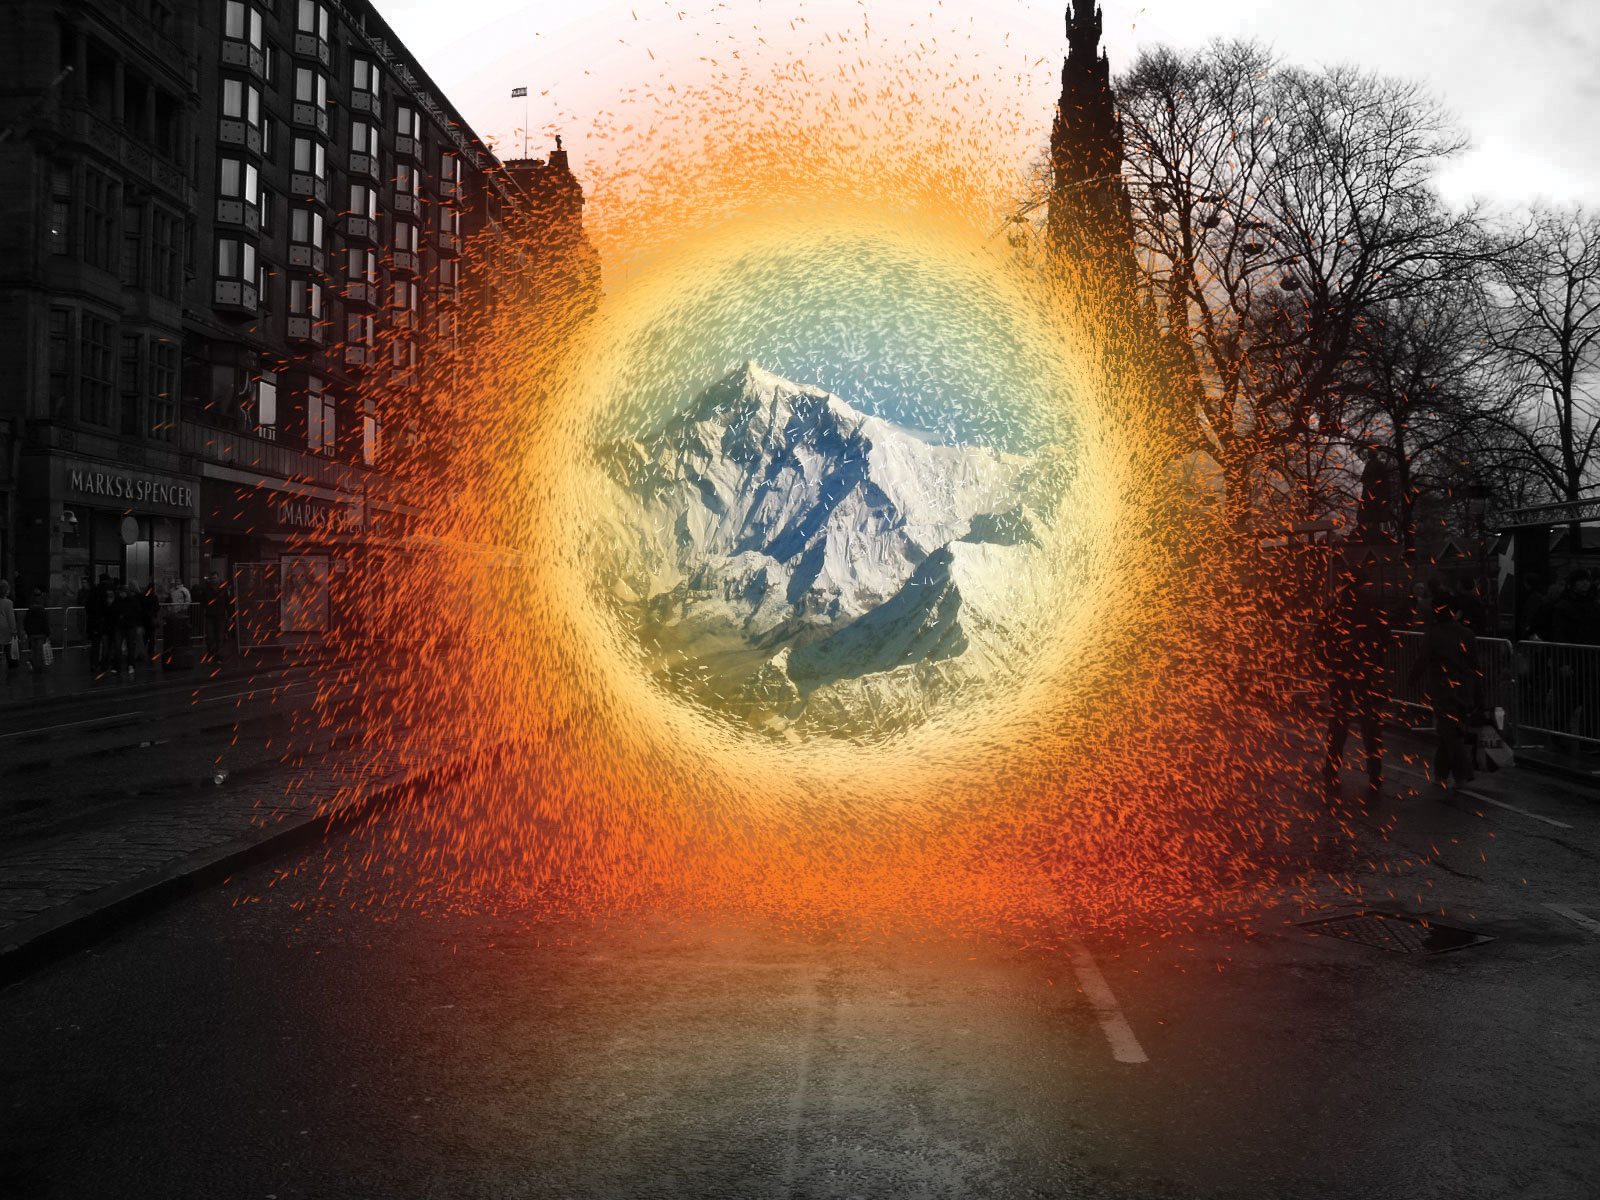
That portal effect in Dr Strange was very special. It was pretty much the only effect in the movie that didn’t lean more towards motion graphics than visual effects so, in this Maya tutorial, we’re going to recreate that amazing look. We’re going to start by talking about nParticles in Maya.
It’s hard to underestimate how amazing nParticles are, especially due to their Nucleus node, which brings all simulations on the same node, be it particles or cloth or anything else, into the same physical realm. This means the same rules and attributes of physics will apply to all of them, which is a thing of perfection.
We’re going to start by generating simple particles and setting up a working physics system, that is in the Nucleus node. Later, we’re going to change the particles to look and act like sparks, as seen in the movie. Then, we’re going to make the emitter orbit a point to create the same sort of portal that we saw in the movie.
Article continues belowWe’re also going to talk about instancing particles with custom geometry to replace them for an artistic or rendering reason. In addition to all of that, we’re going to cover orienting particles in the correct way. So enough of the talk, let’s get started…
01. Set up the scene
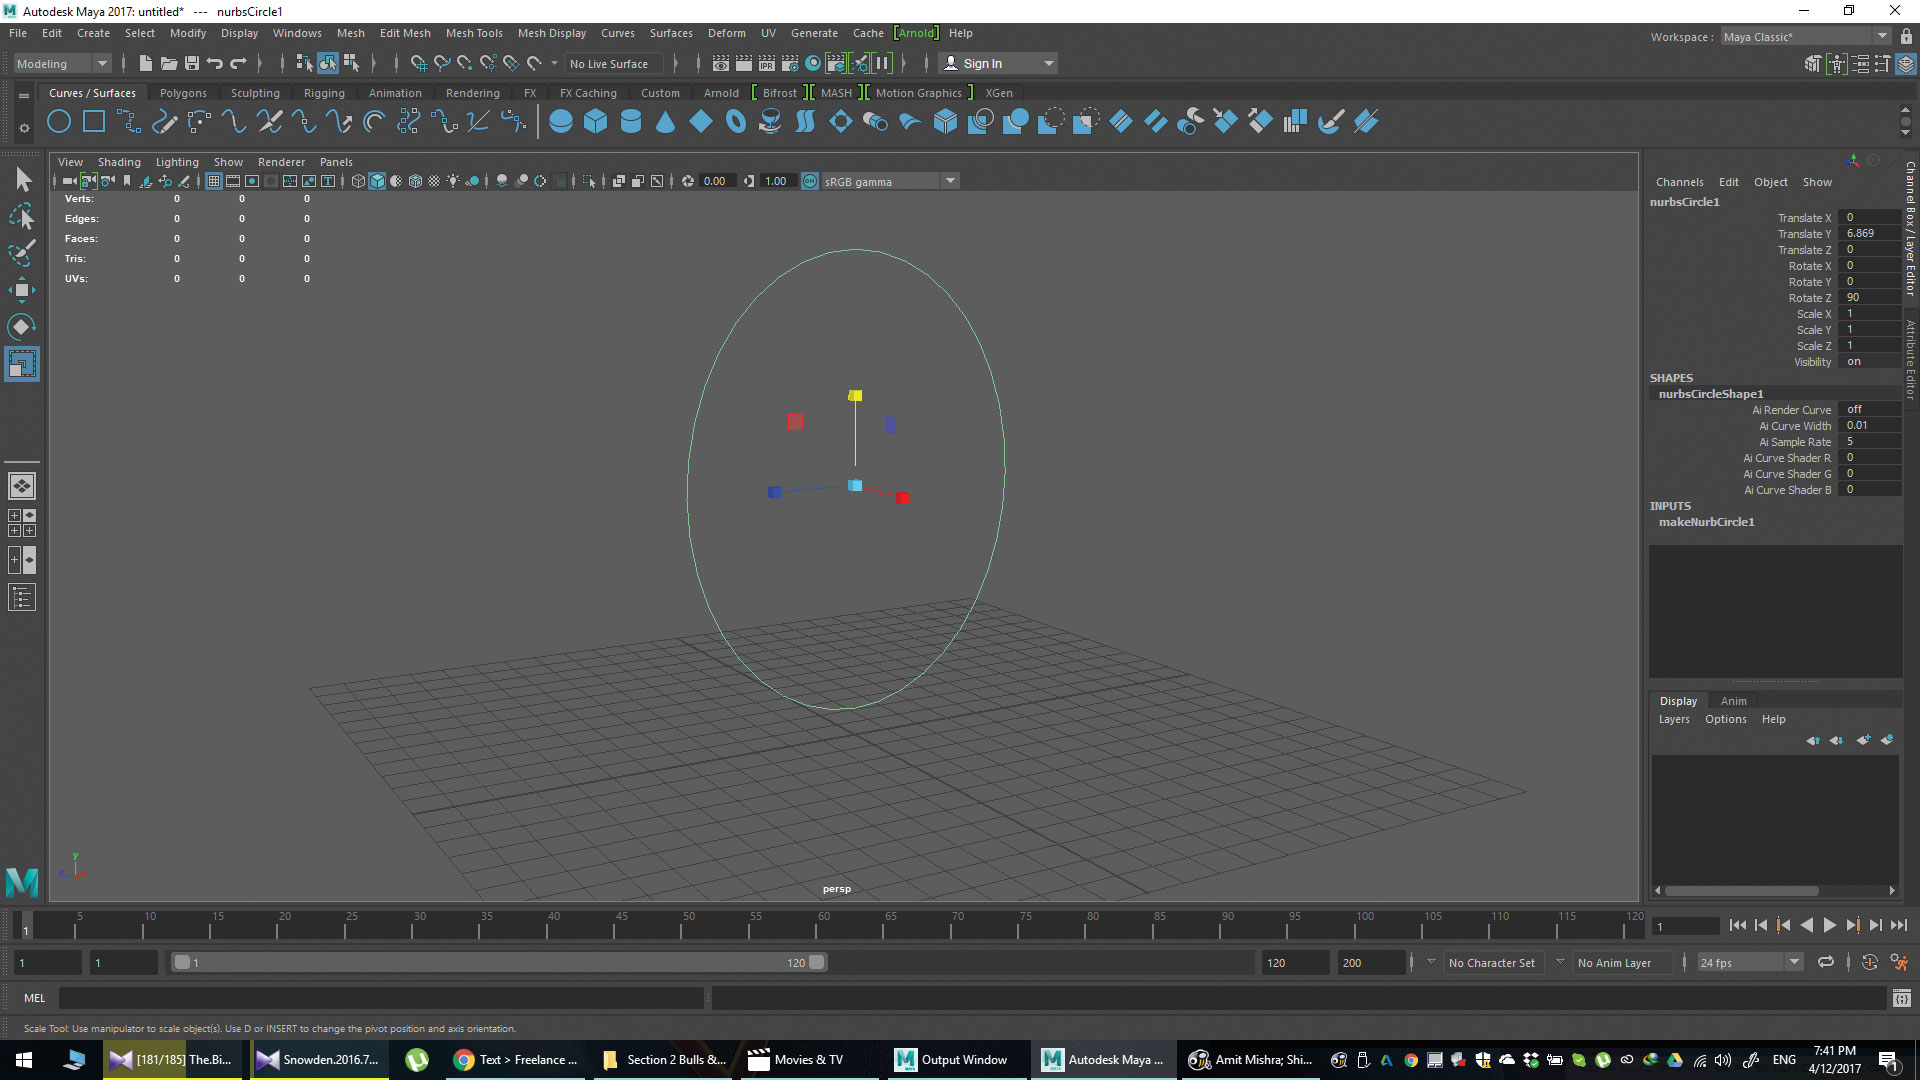
The first thing that we’re going to do is create a curved circle. Rotate it by 90 and increase the radius if you need to. This will later serve as a path for our particles to be generated from. Think of this as the shape of the portal. If you want to go really crazy, you can also do a polygon of some sorts, but that’s obviously not what they did in the movie.
02. Initial particles
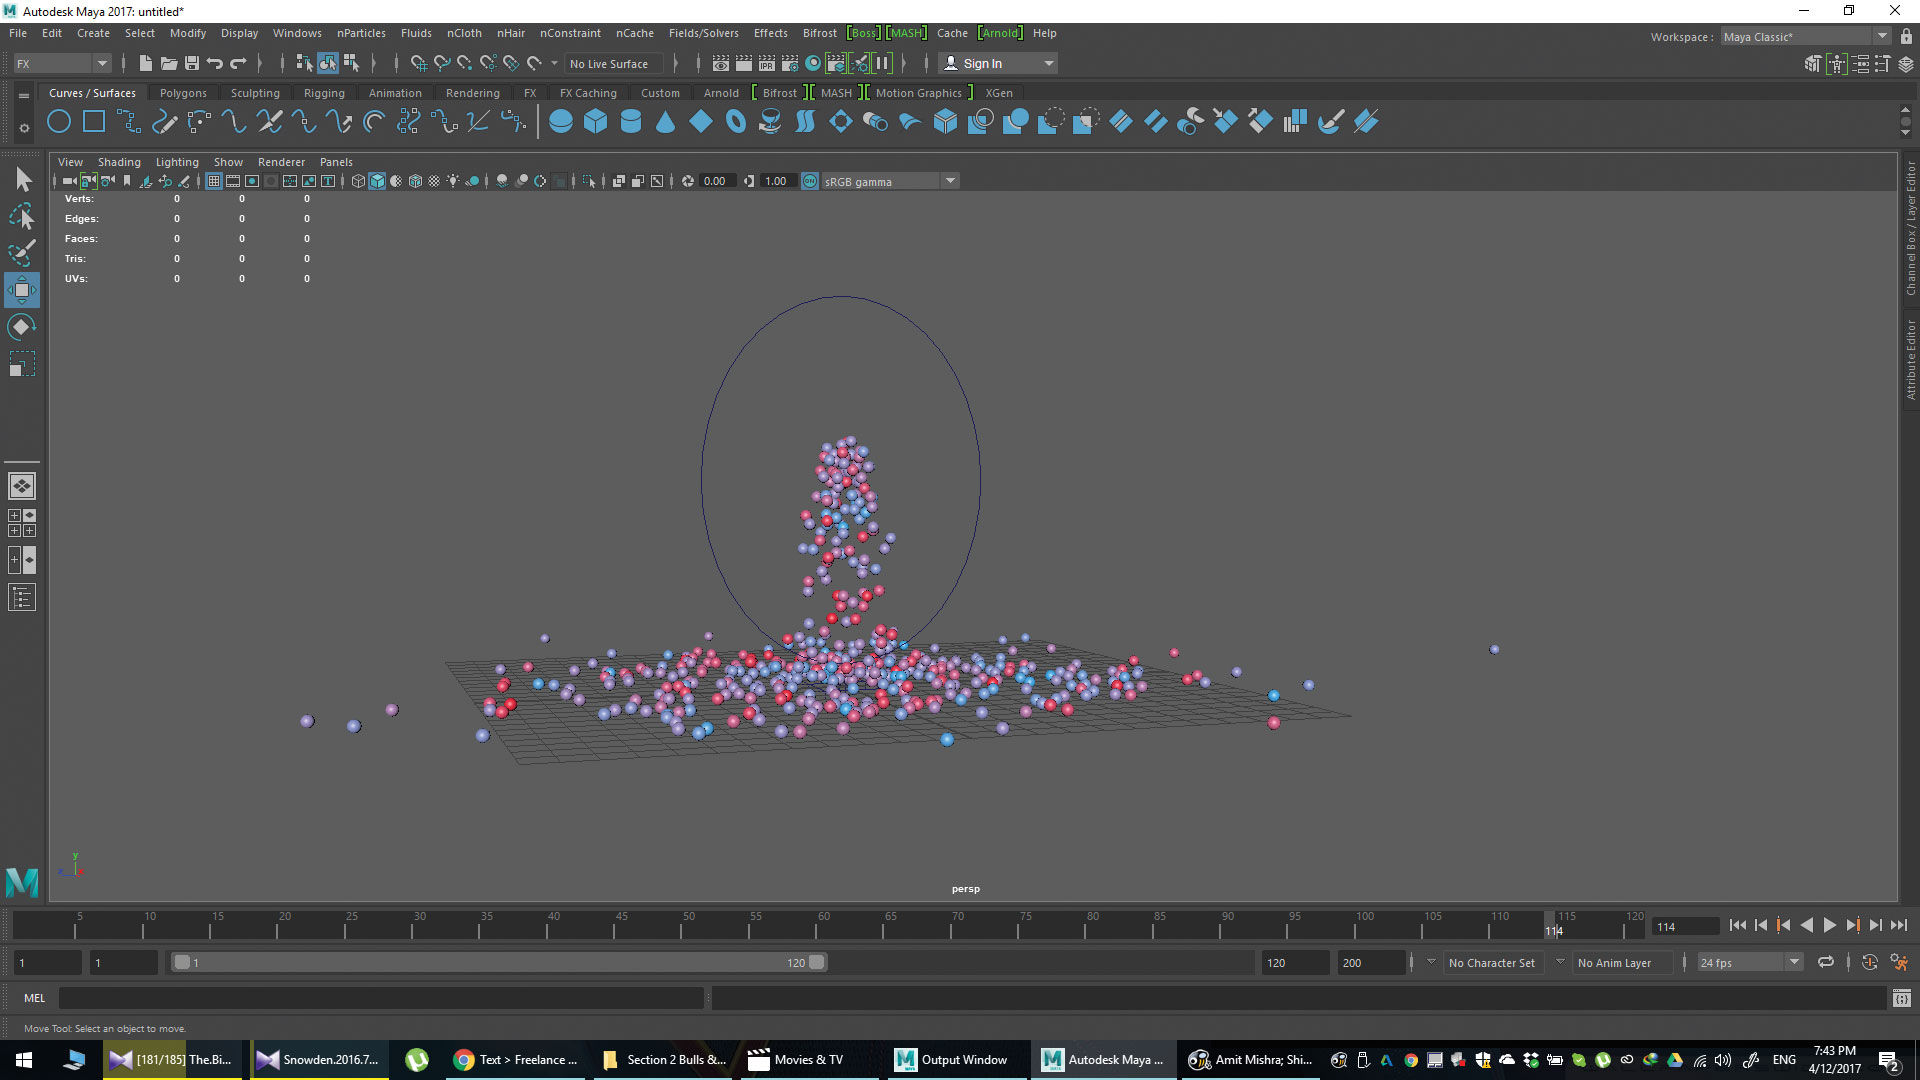
Change the interface module to FX in order to get access to the particles and dynamics-related menu bars. Go to the nParticle menu and select Create Emitter. Now you’ve got an initial emitter. Play around with the Nucleus node, and turn on the ground plane to get the particles to interact with the ground. Experiment with some other settings like the wind and gravity as well. This, however, isn’t the final particle setup so don’t worry about the look of the particles.
03. Motion path for the particles
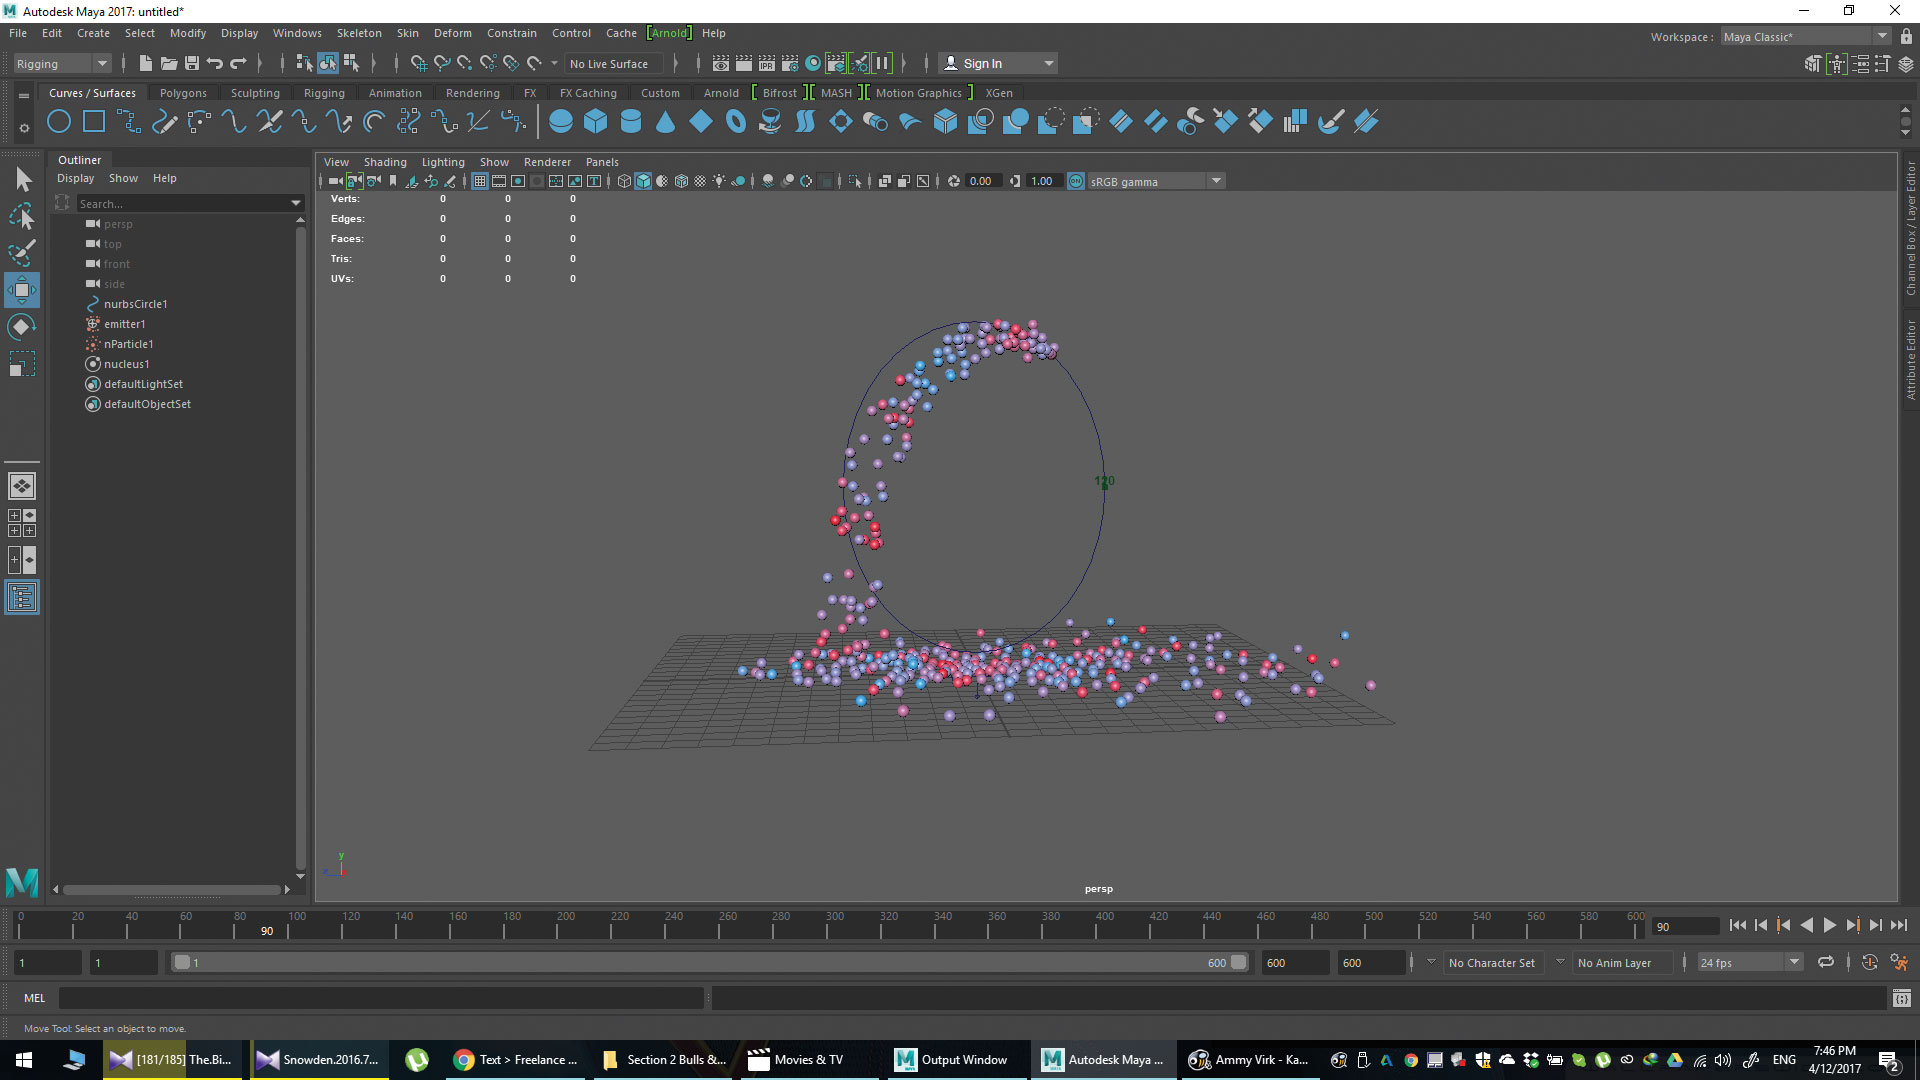
Change the interface module to Rigging. Select the emitter first, then the path, go to the Constraint menu, select Motion Paths and then Attach to Motion Path. This will give a single loop, which is a very good start but not what we want. So select the circle, now the motion path, and in the Channel Editor go the motionPath1 node and select the UValue. This is the position of your emitter at the current frame. Animate or use an expressions loop (like fast and forever).
Sign up to Creative Bloq's daily newsletter, which brings you the latest news and inspiration from the worlds of art, design and technology.
04. Create the sparks
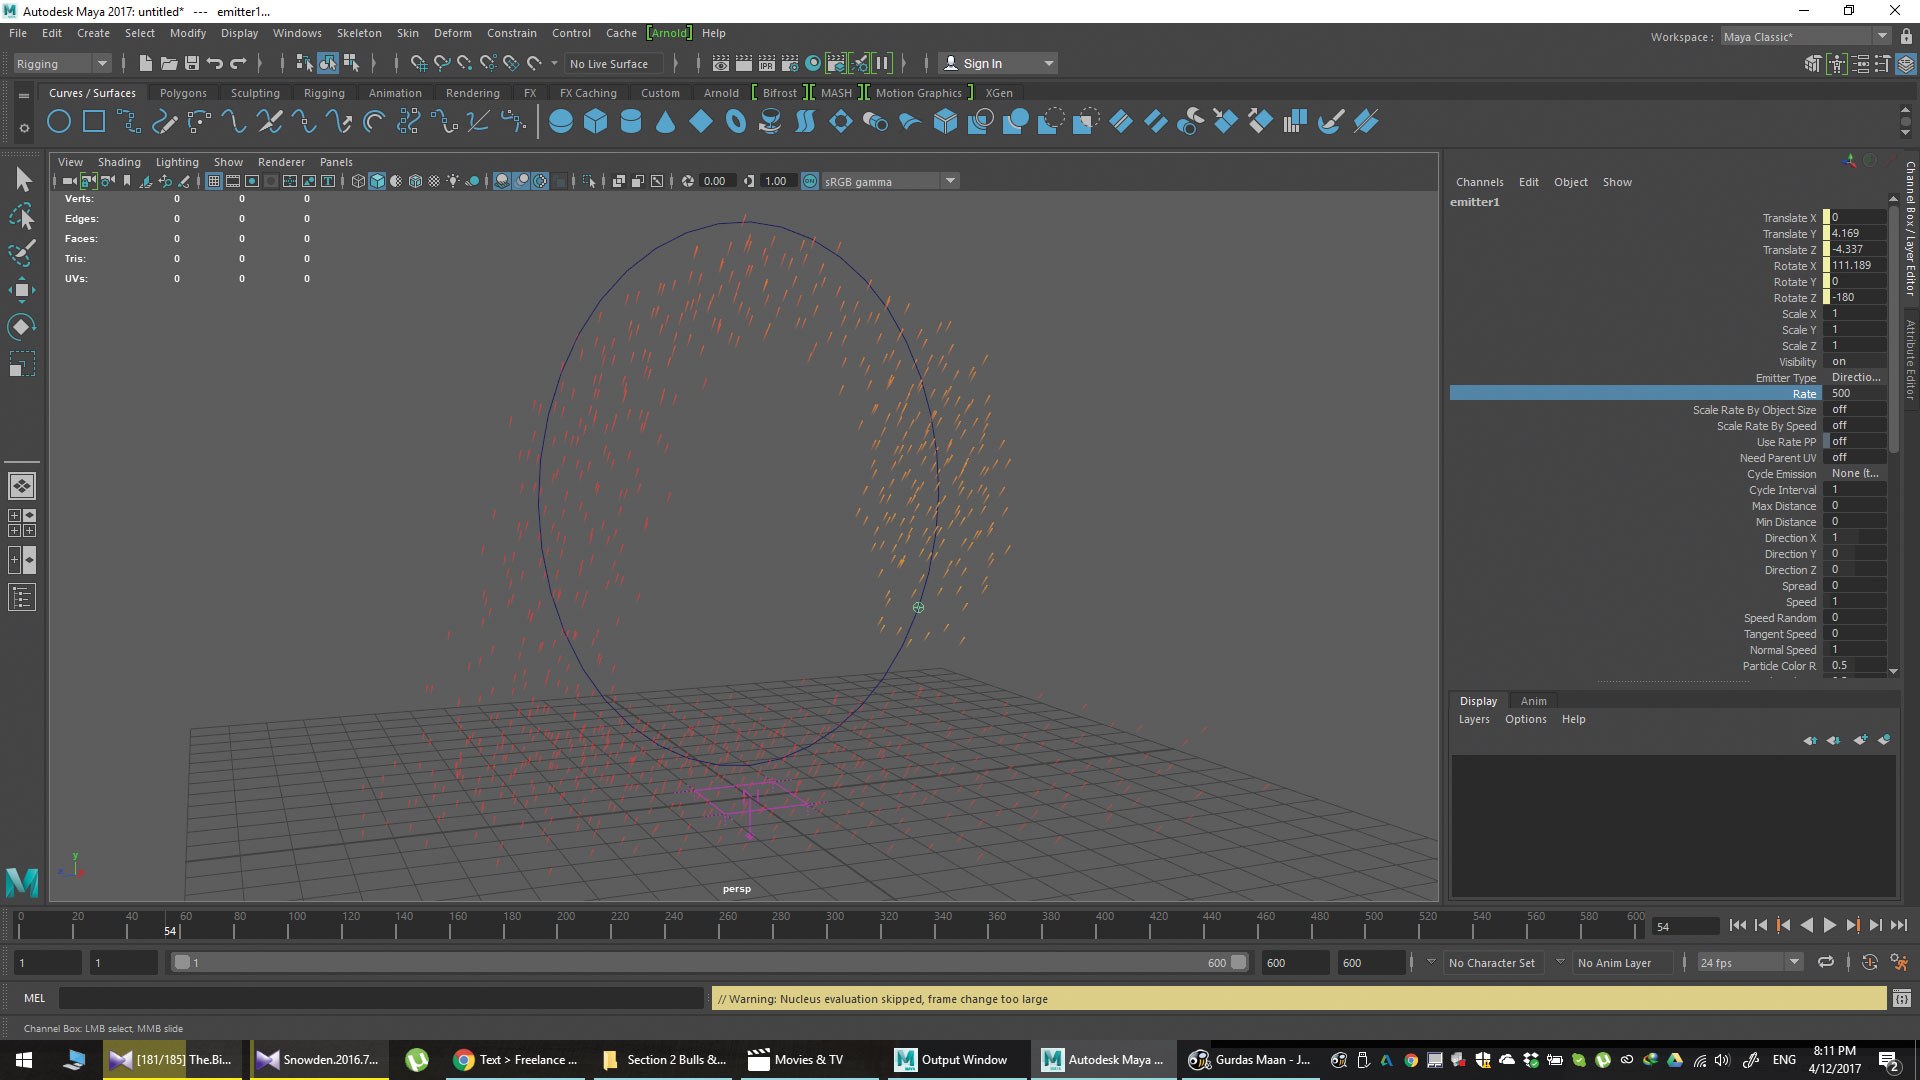
You should have an emitter emitting spheres while orbiting a circle. Click the emitter, in the Attribute Editor, go to nParticleShape node. Go to Shading, change the particle render type to Streak. You probably won’t see much difference until you change Line Width attribute. Below these are the colour settings. Change gradient to red-orange and the colour input to Age.
05. Reorientate the particles
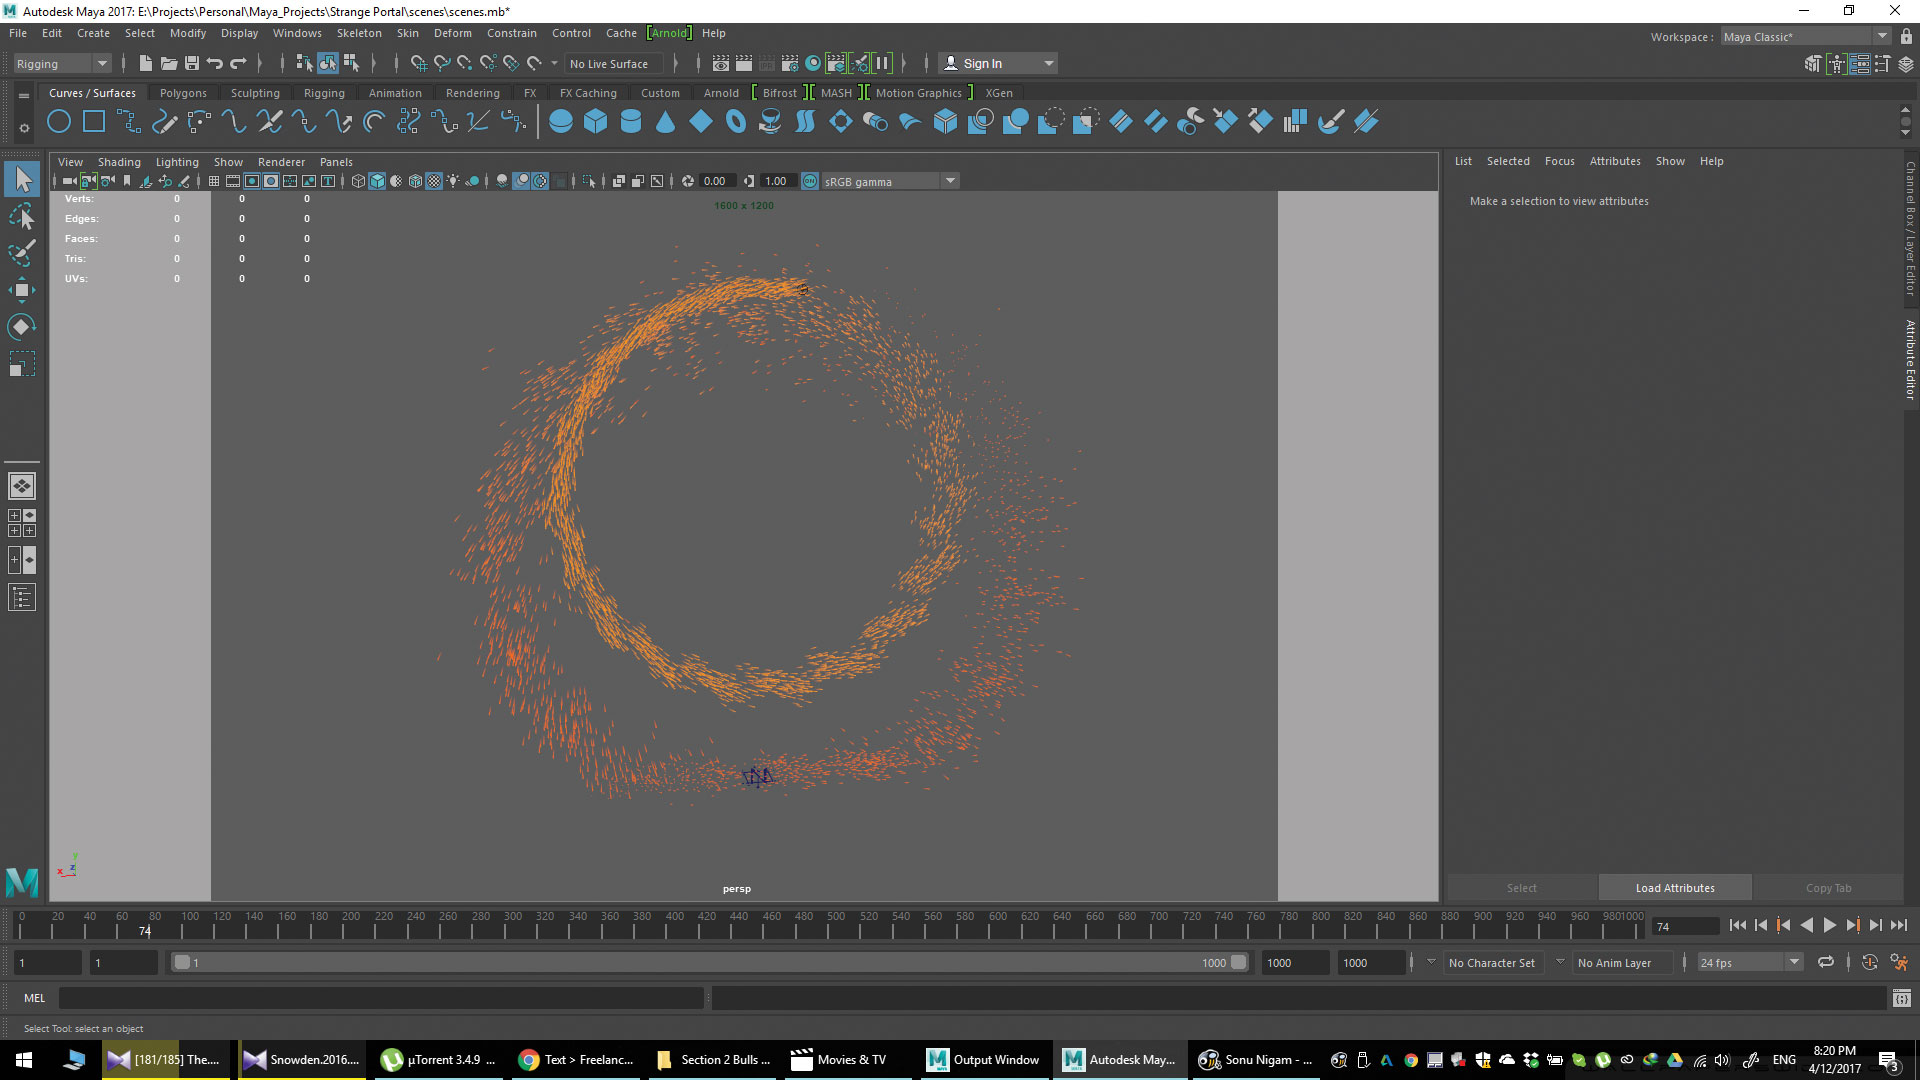
Also play with settings such as Lifespan and Opacity. Use these to make it look like sparks. At this point, you might have an issue – the particles aren’t generated in the right orientation. Use an expression on your emitter’s rotation (X or Z, based on your setup) and tie it to the UValue of the Motion path. 360 * UValue is the basic logic.
06. Play with physics
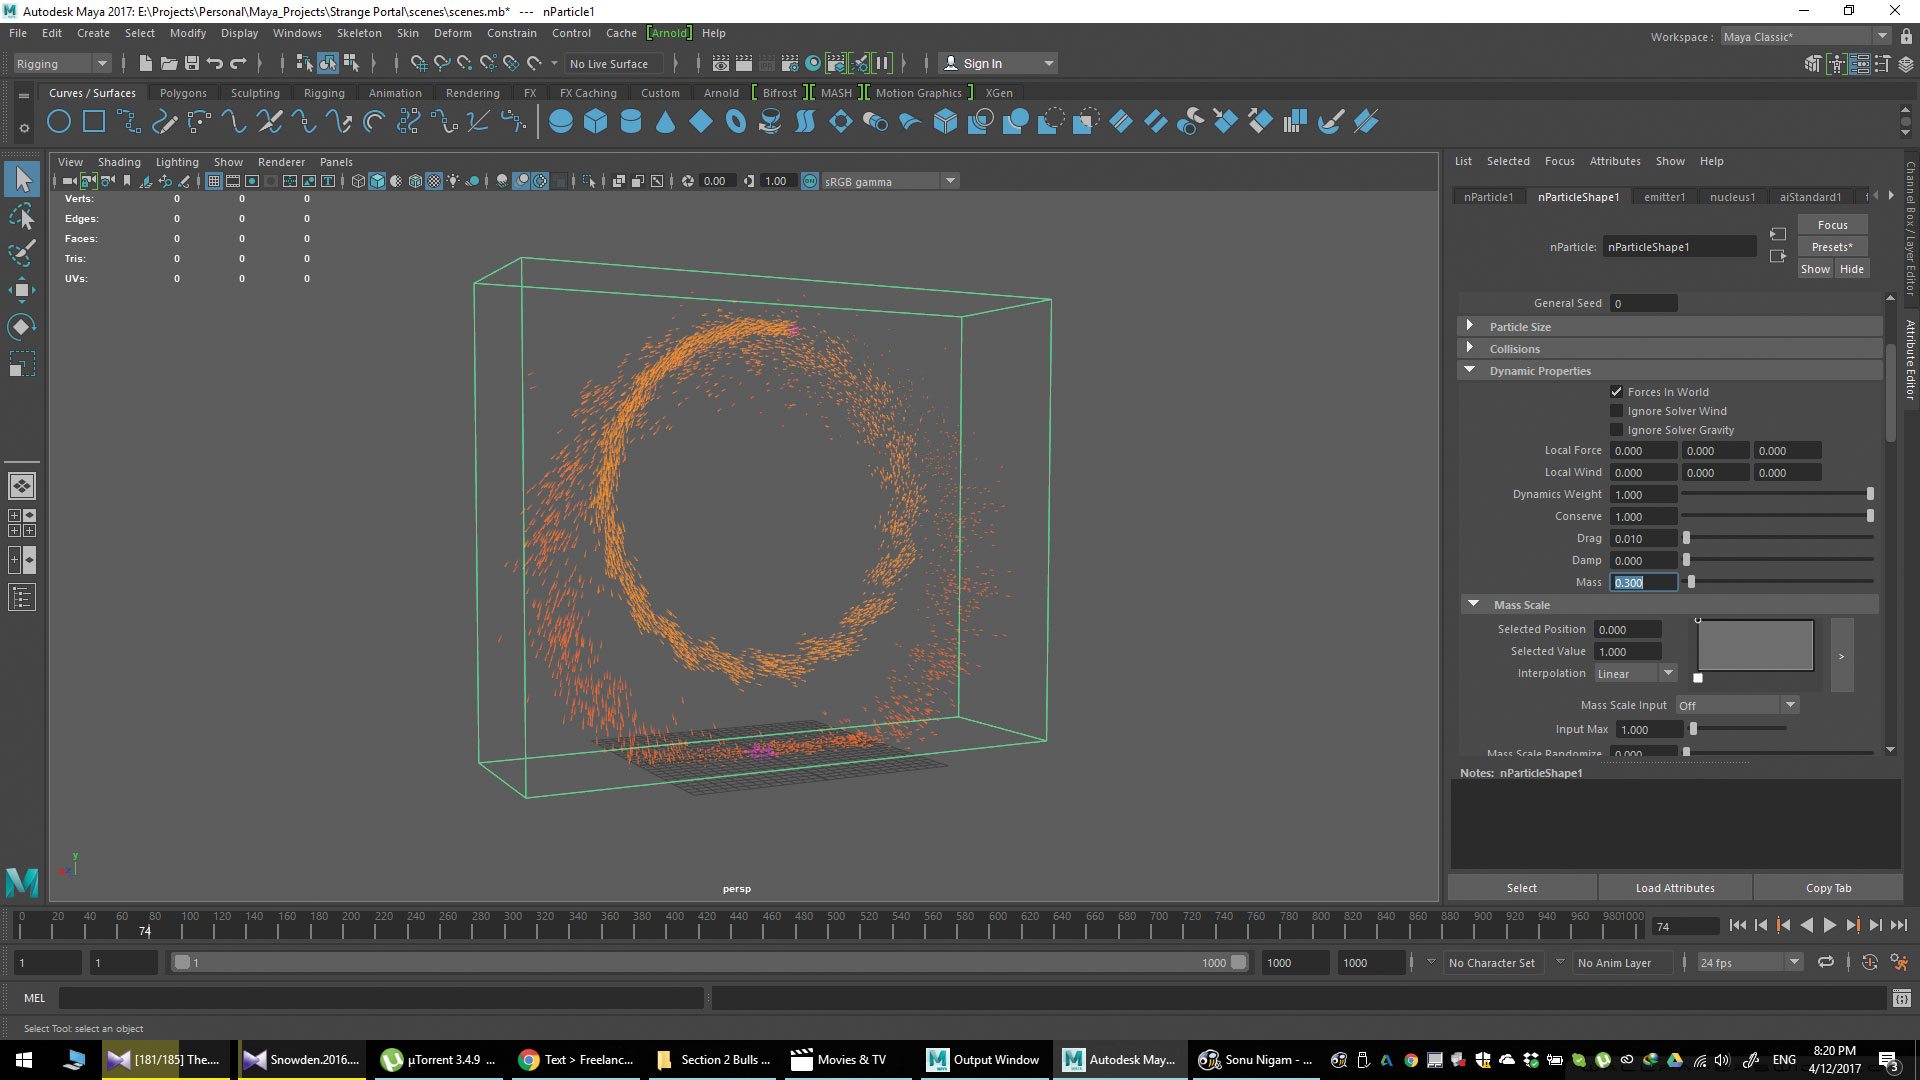
Things should be shaping up now. Let’s move to nParticleShape node and change Mass (0.3, in this case) under the Dynamic Properties tab. This should make your particles light so wind can displace them, the way real sparks behave. Move to the Nucleus node and under the Gravity and Wind tab, change the Wind Speed, Wind Direction and Wind Noise (2.747, all to 1, 50, in this case).
07. Duplicate the emitter
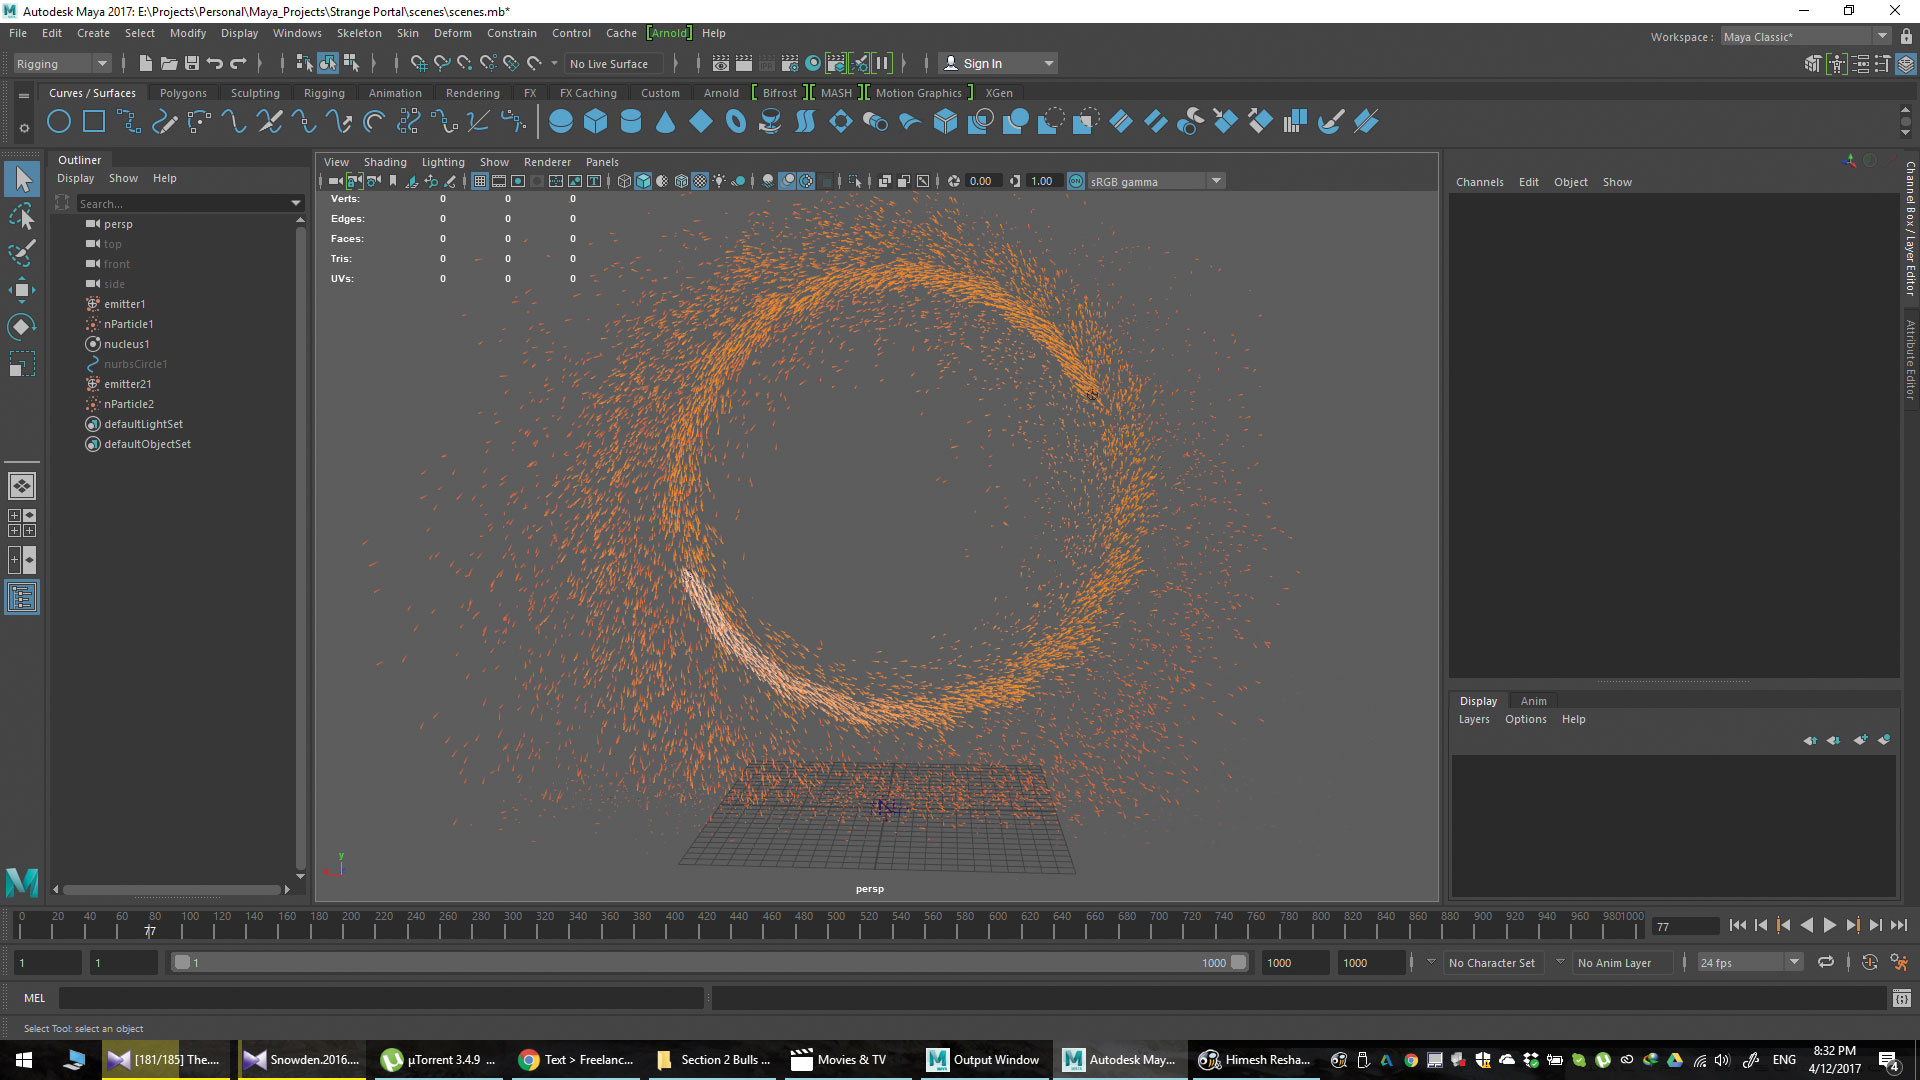
A single emitter, in this case, just wasn’t very effective, even if we bumped the particle rate all the way up to a high amount. So we decided to duplicate the emitters, which can be a bit tricky. Create a new emitter, it’ll ask for the nucleus node you want to use, give it the nucleus you have already. Now, to copy an attribute from the existing emitter, all you need is to select the node, click Presets in the top-right corner, save the preset and then load it to the new emitters.
08. Instancing the geometry
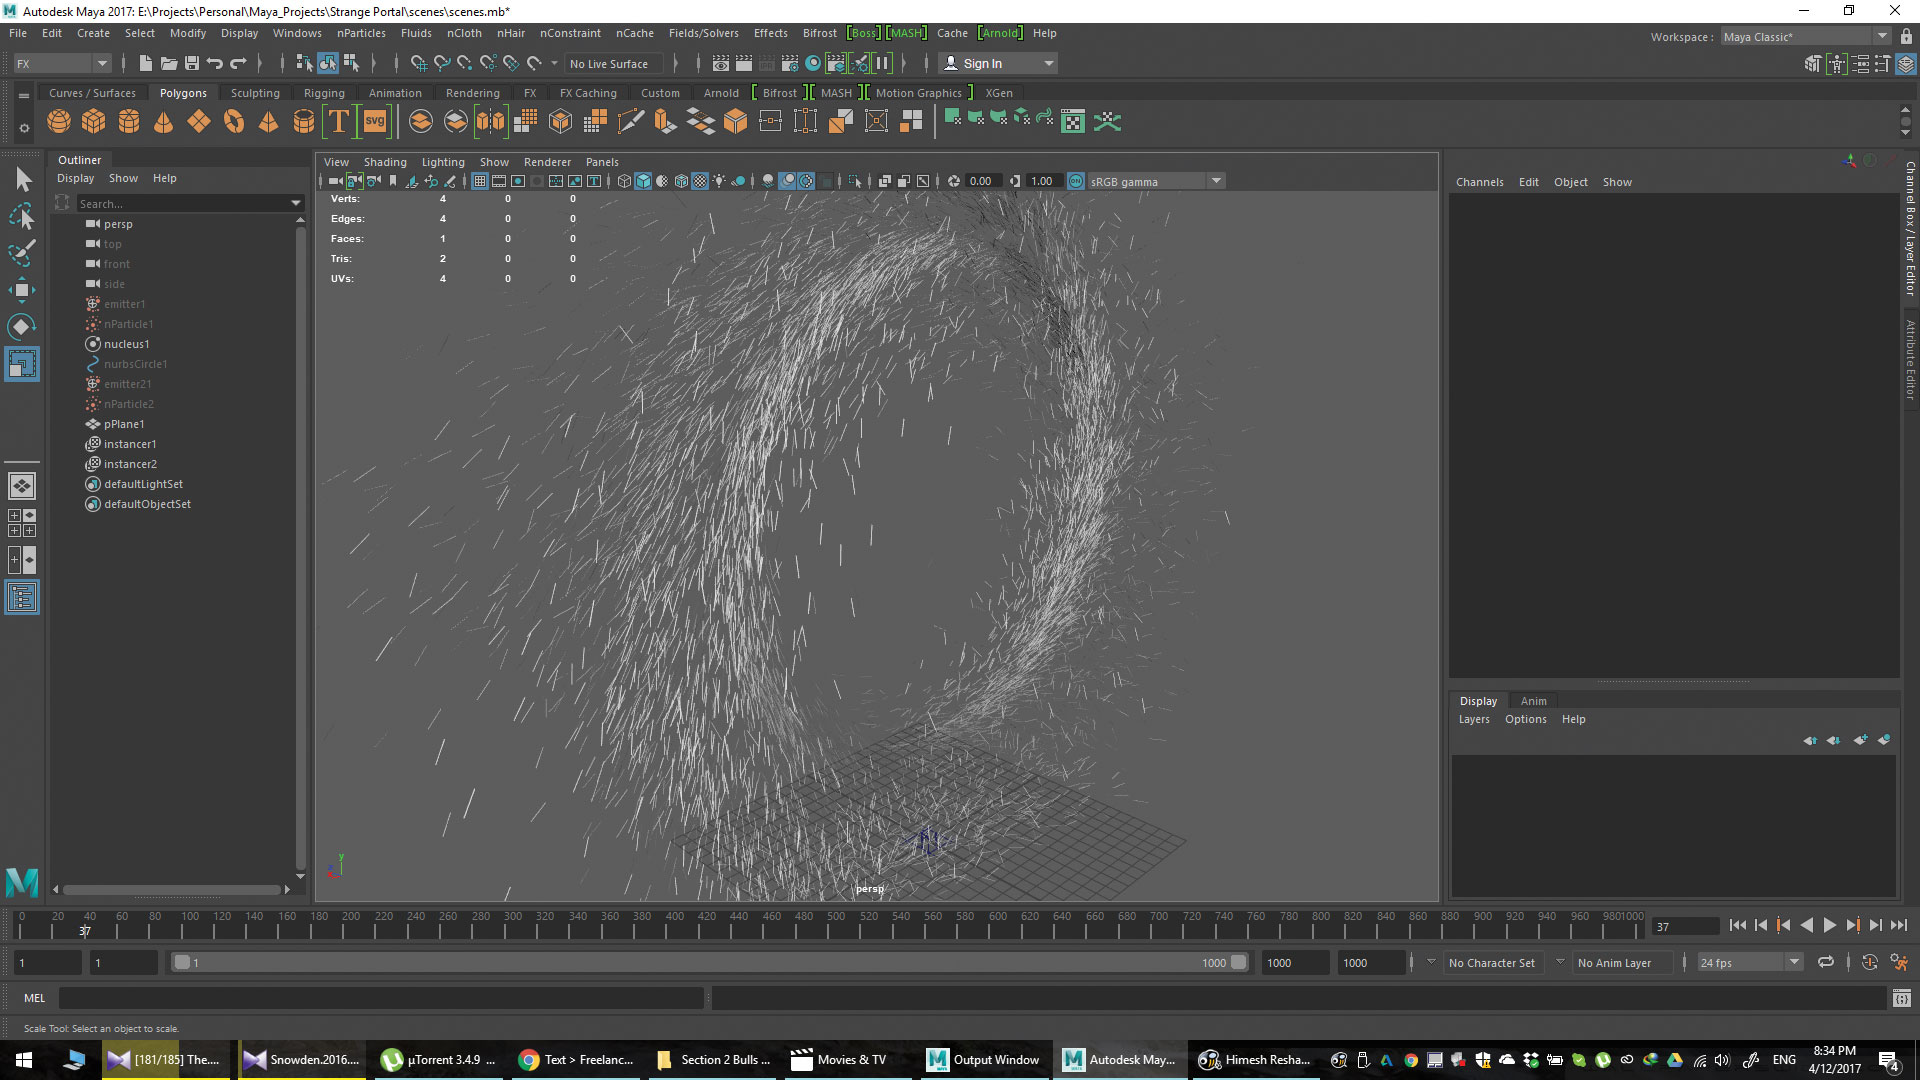
If you’re using Maya 2017, which ships with Arnold, you might’ve noticed it doesn’t work well with some nParticles. So you can either use another renderer or use geometry instancing. It’s a simple process. Just create a geometry, select it first and nParticleShape later and in the nParticles menu, select Instancer. This’ll take out the colouring effects but at least you’ll be able to render.
09. Rendering
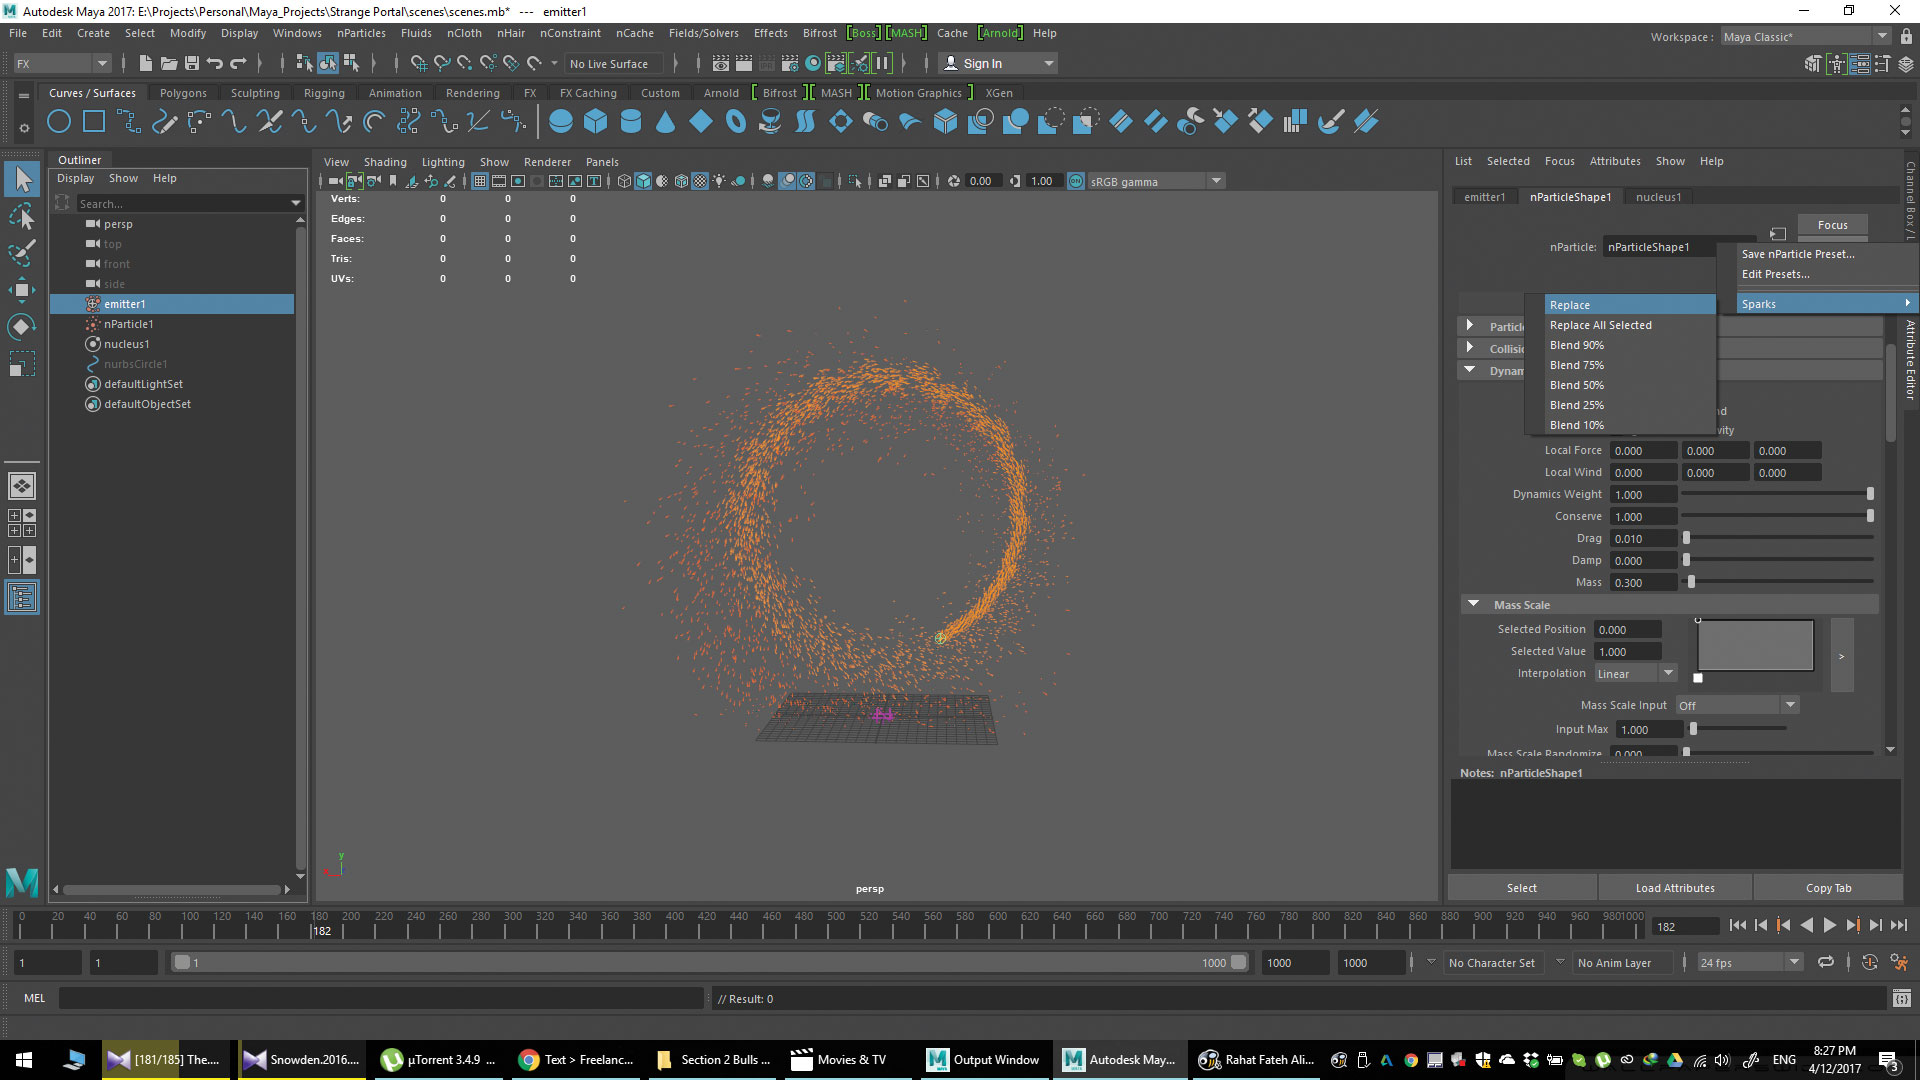
To render this out, we suggest using V-Ray. We got the best results from V-Ray but if it’s out of budget, to render just the particles, try and use Maya’s software renderer or any other built-in renderer. That is fine for just the particles and you can deal with the rest in post. You can’t render motion blur with just the particles so instance it before you do, or add it in post.
10. Compositing
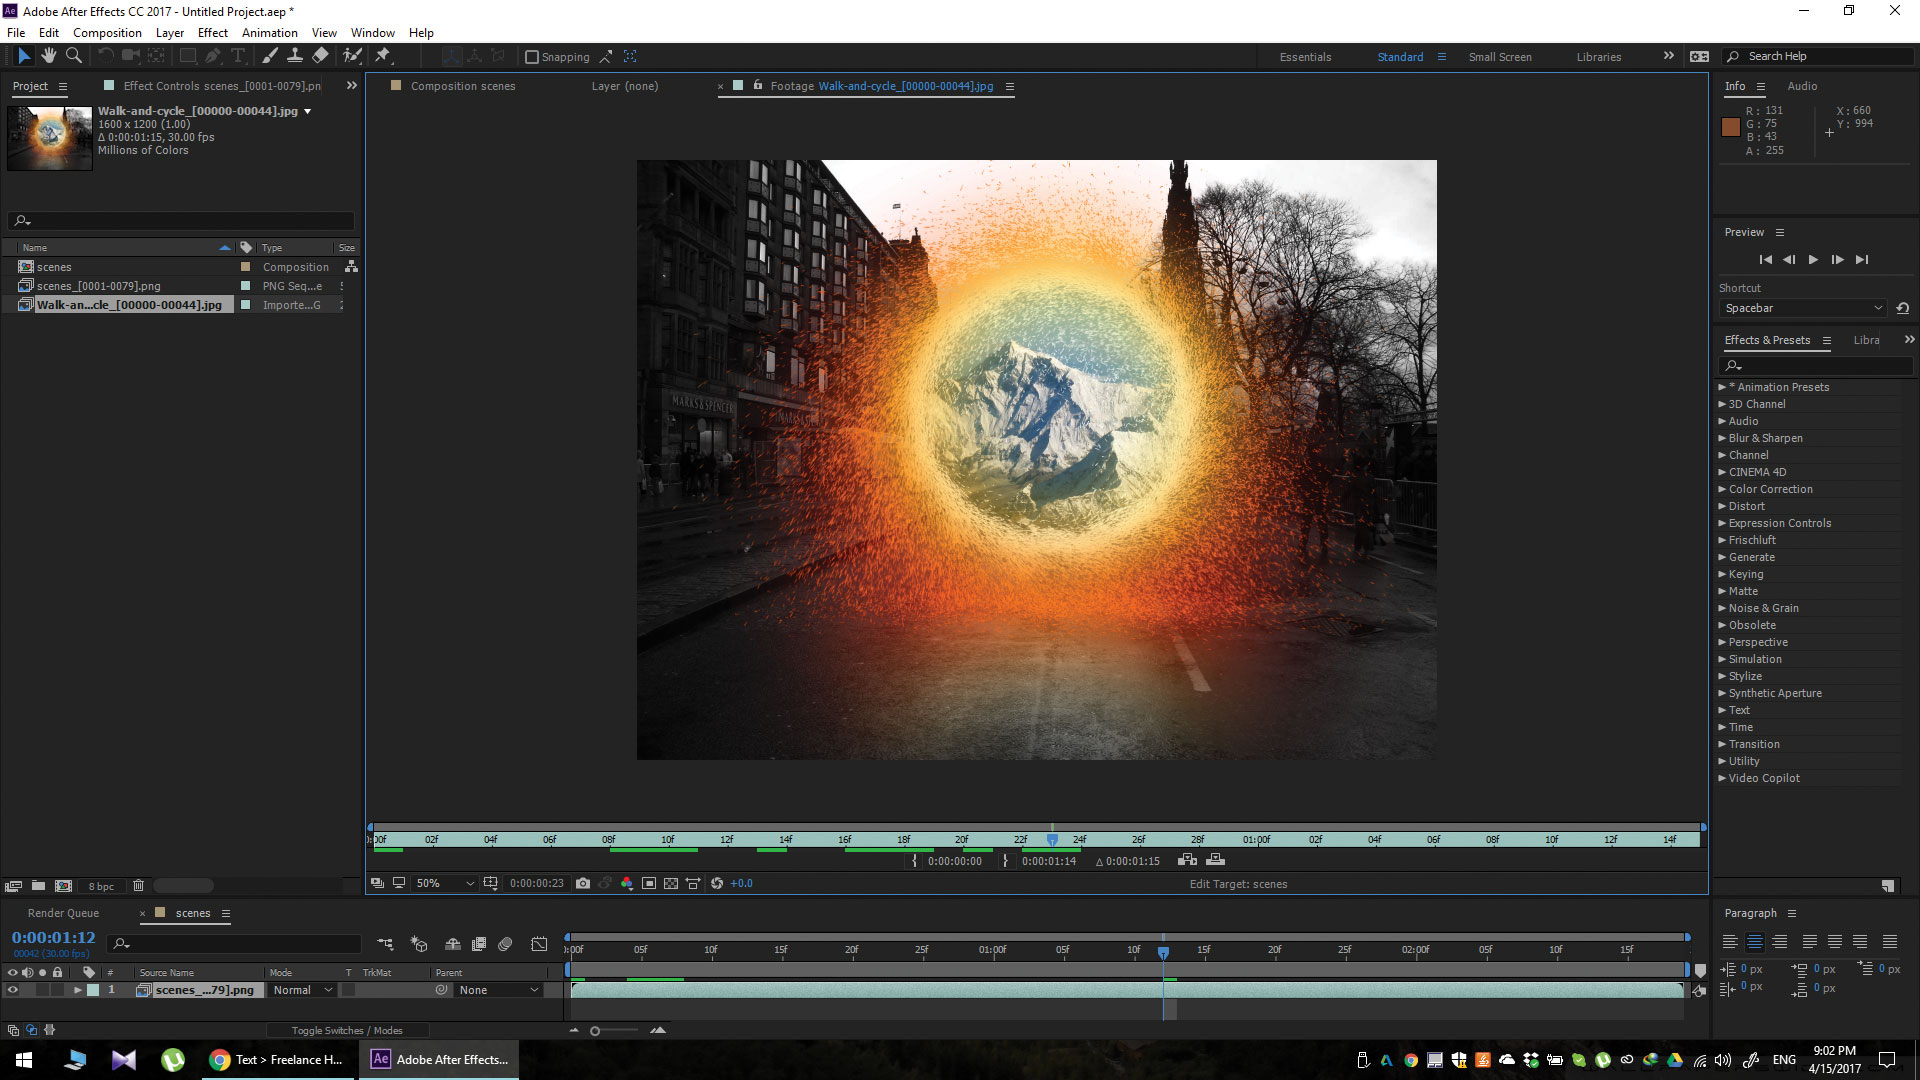
Compositing this is fairly simple. You only have to add some motion blur to the particles, some glow and roto on the footage inside the portal. We would suggest duplicating the portal. Make one on them white, using something like a choker to cut it on the edges and the other one orange and then adding a lot of glow on it with high radius. However, this might not work if you’re rendering using V-Ray.
This article originally appeared in 3D World issue 226. Buy it here.
Related articles:

A motion graphics and VFX artist from Pakistan with nine years' experience, Syawish loves motion graphics and making video tutorials.
