How to simulate explosions in Maya
Create explosive effects using Maya’s nParticles and FumeFX.
Sign up to Creative Bloq's daily newsletter, which brings you the latest news and inspiration from the worlds of art, design and technology.
You are now subscribed
Your newsletter sign-up was successful
Want to add more newsletters?
Explosions are a huge part of our entertainment, from video games to action films. However, most of the explosions you see on screens aren’t real.
There are a lot of things that go into simulating an explosion. You have to think about the units you’ll be using, and consider the fuel that’s supposedly igniting it. You also have to think about how high the impact will go, the colours that’ll show up and the directions it’ll travel in. All these things and many more combine to give you the perfect explosion that looks stunning on the screen.
In this tutorial, I'll show you how to craft a realistic explosion using Maya’s nParticles and FumeFX.
Article continues below01. Fire up FumeFX
FumeFX is easy to use with solid built-in tools. It has great interaction with V-Ray and other renderers, making it the go-to option for the industry in both production and video game design. The latest version claims that it works up to twice as fast as version 3.0, so it’s also a great solution for optimising your workflow.
02. Optimise the scene
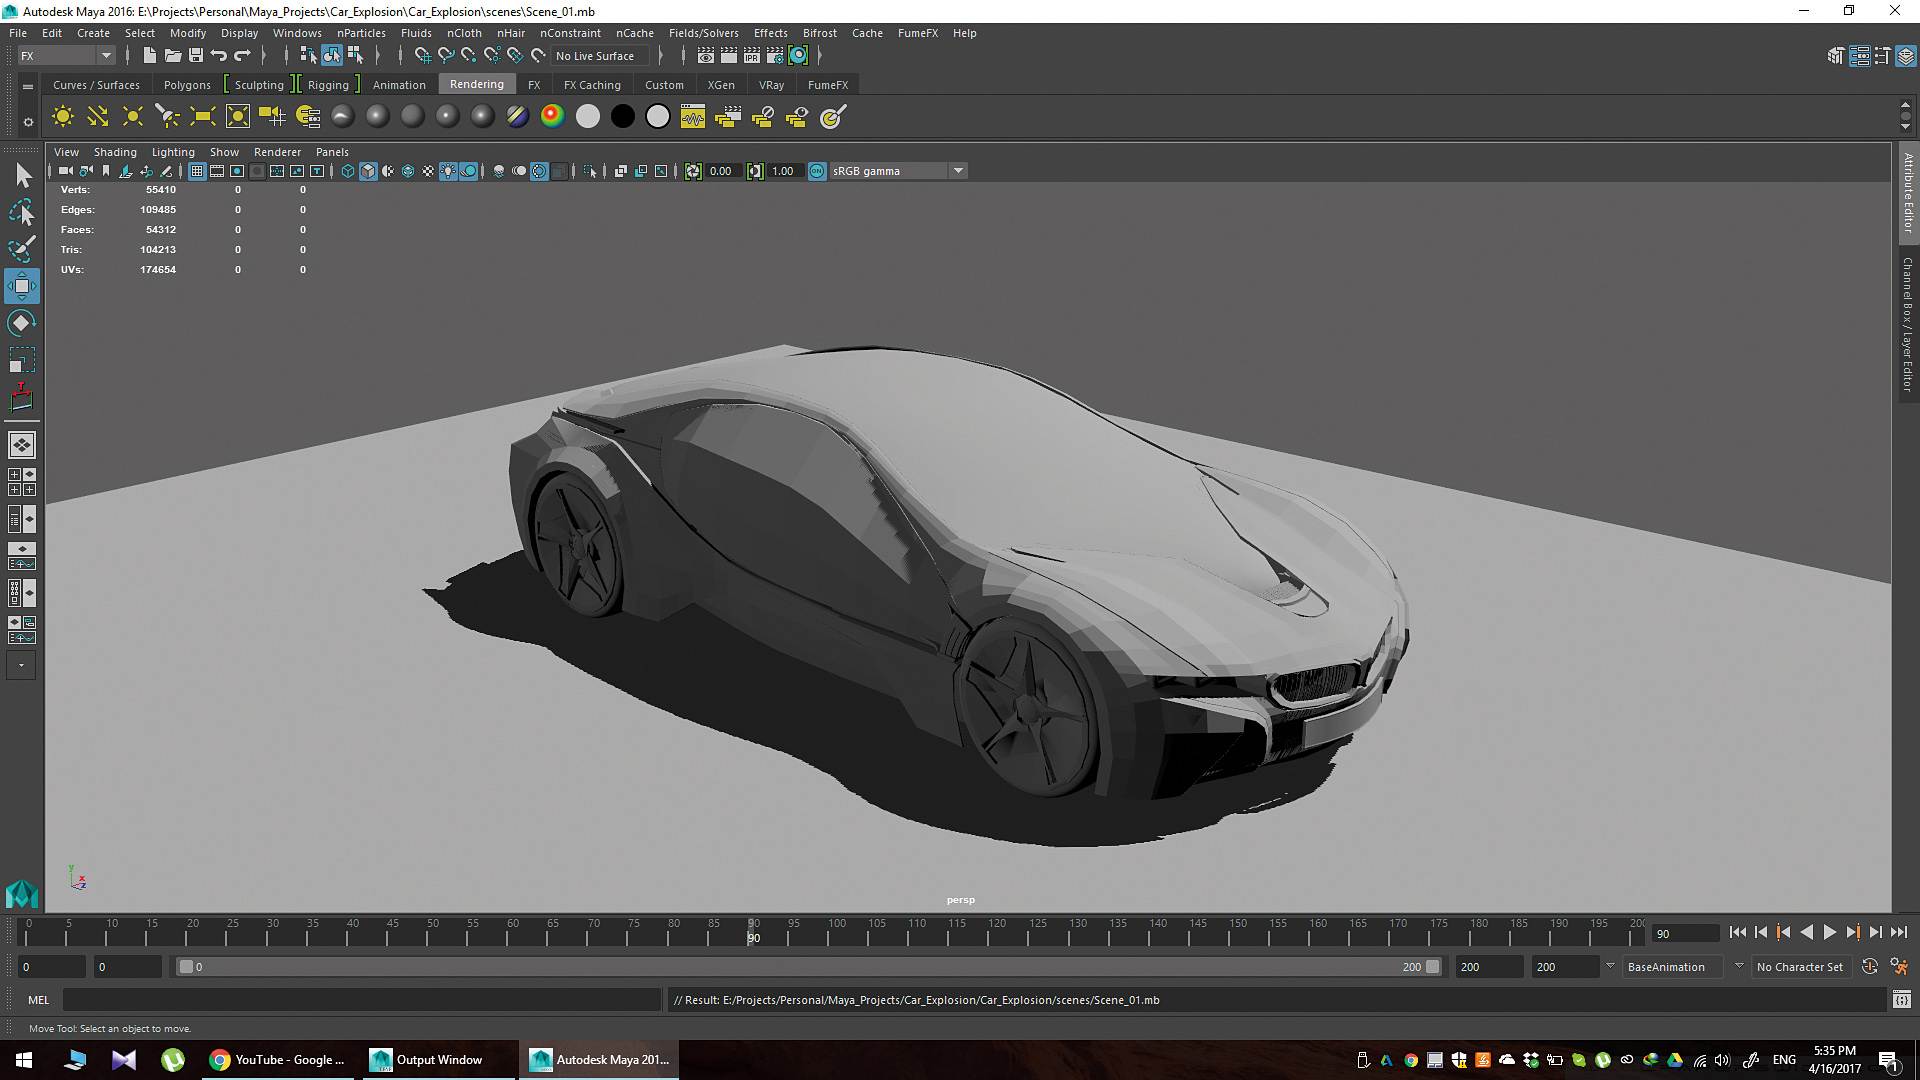
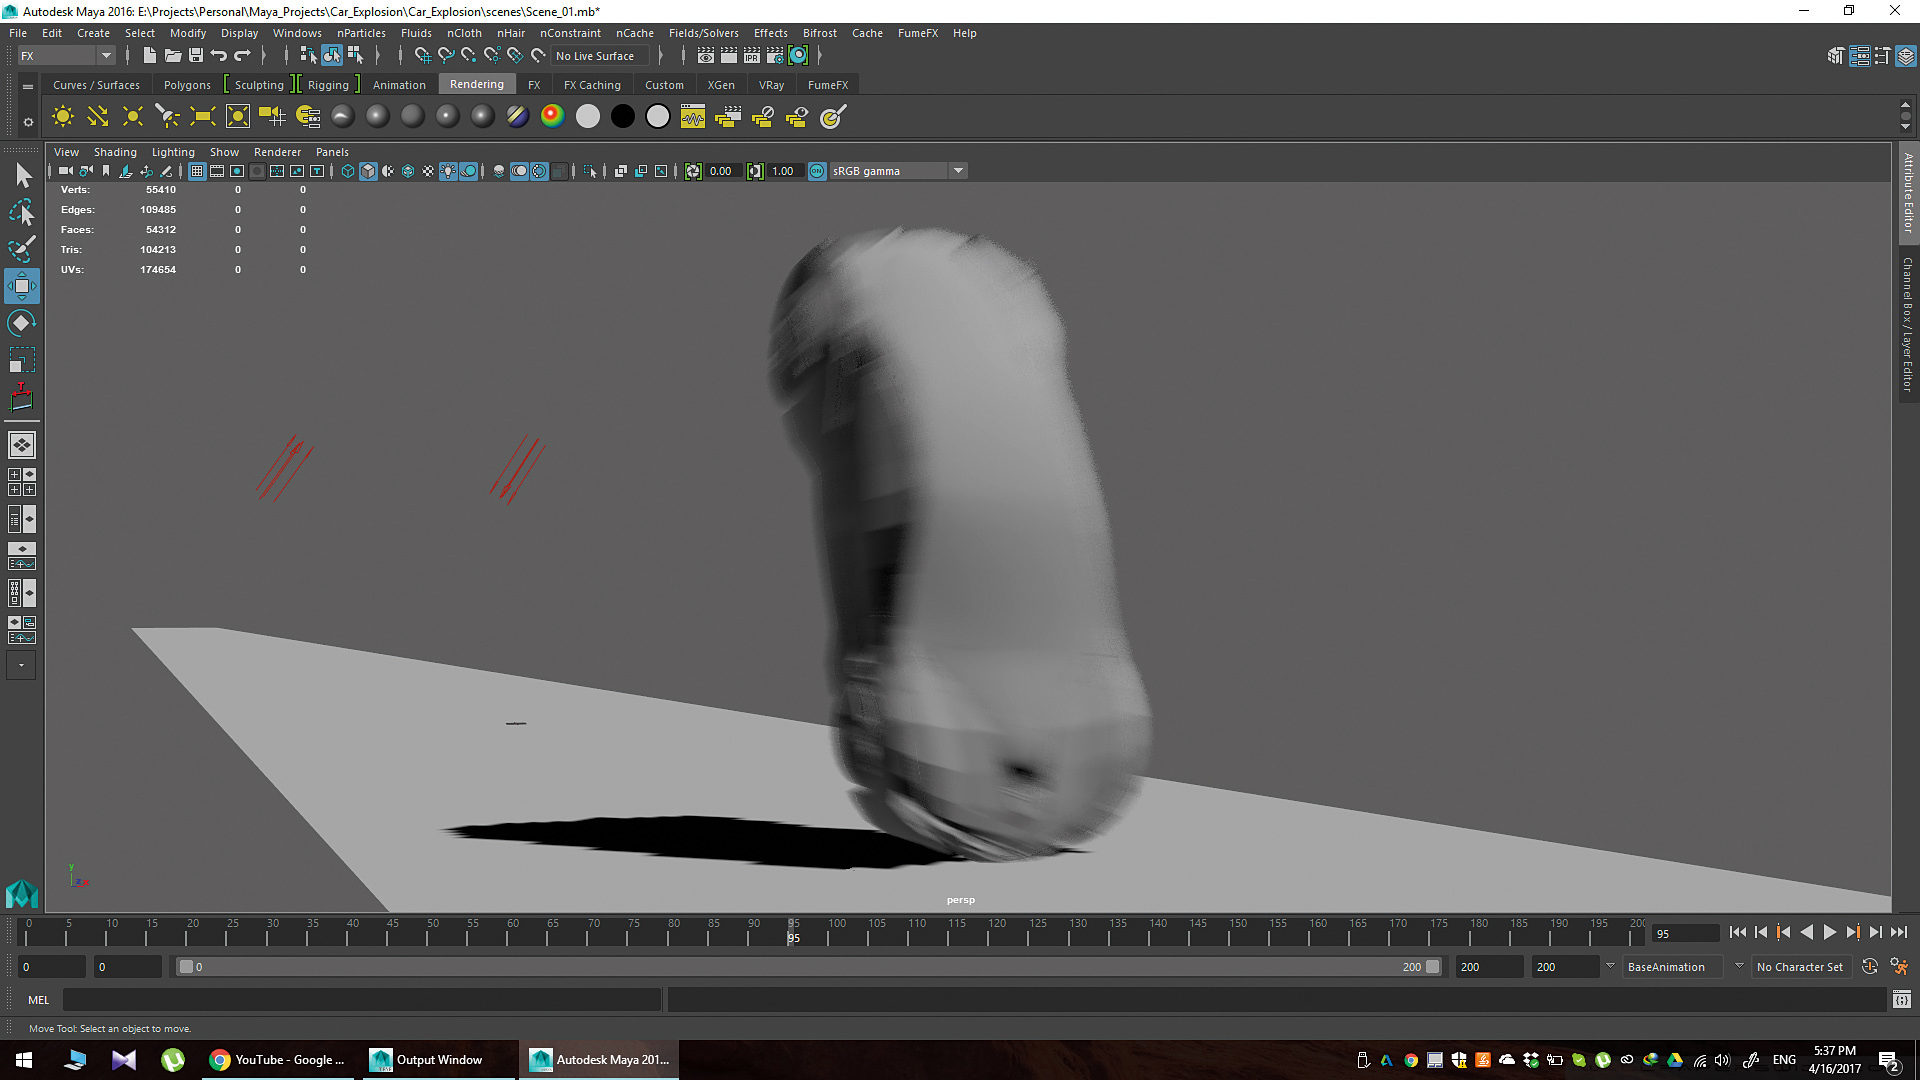
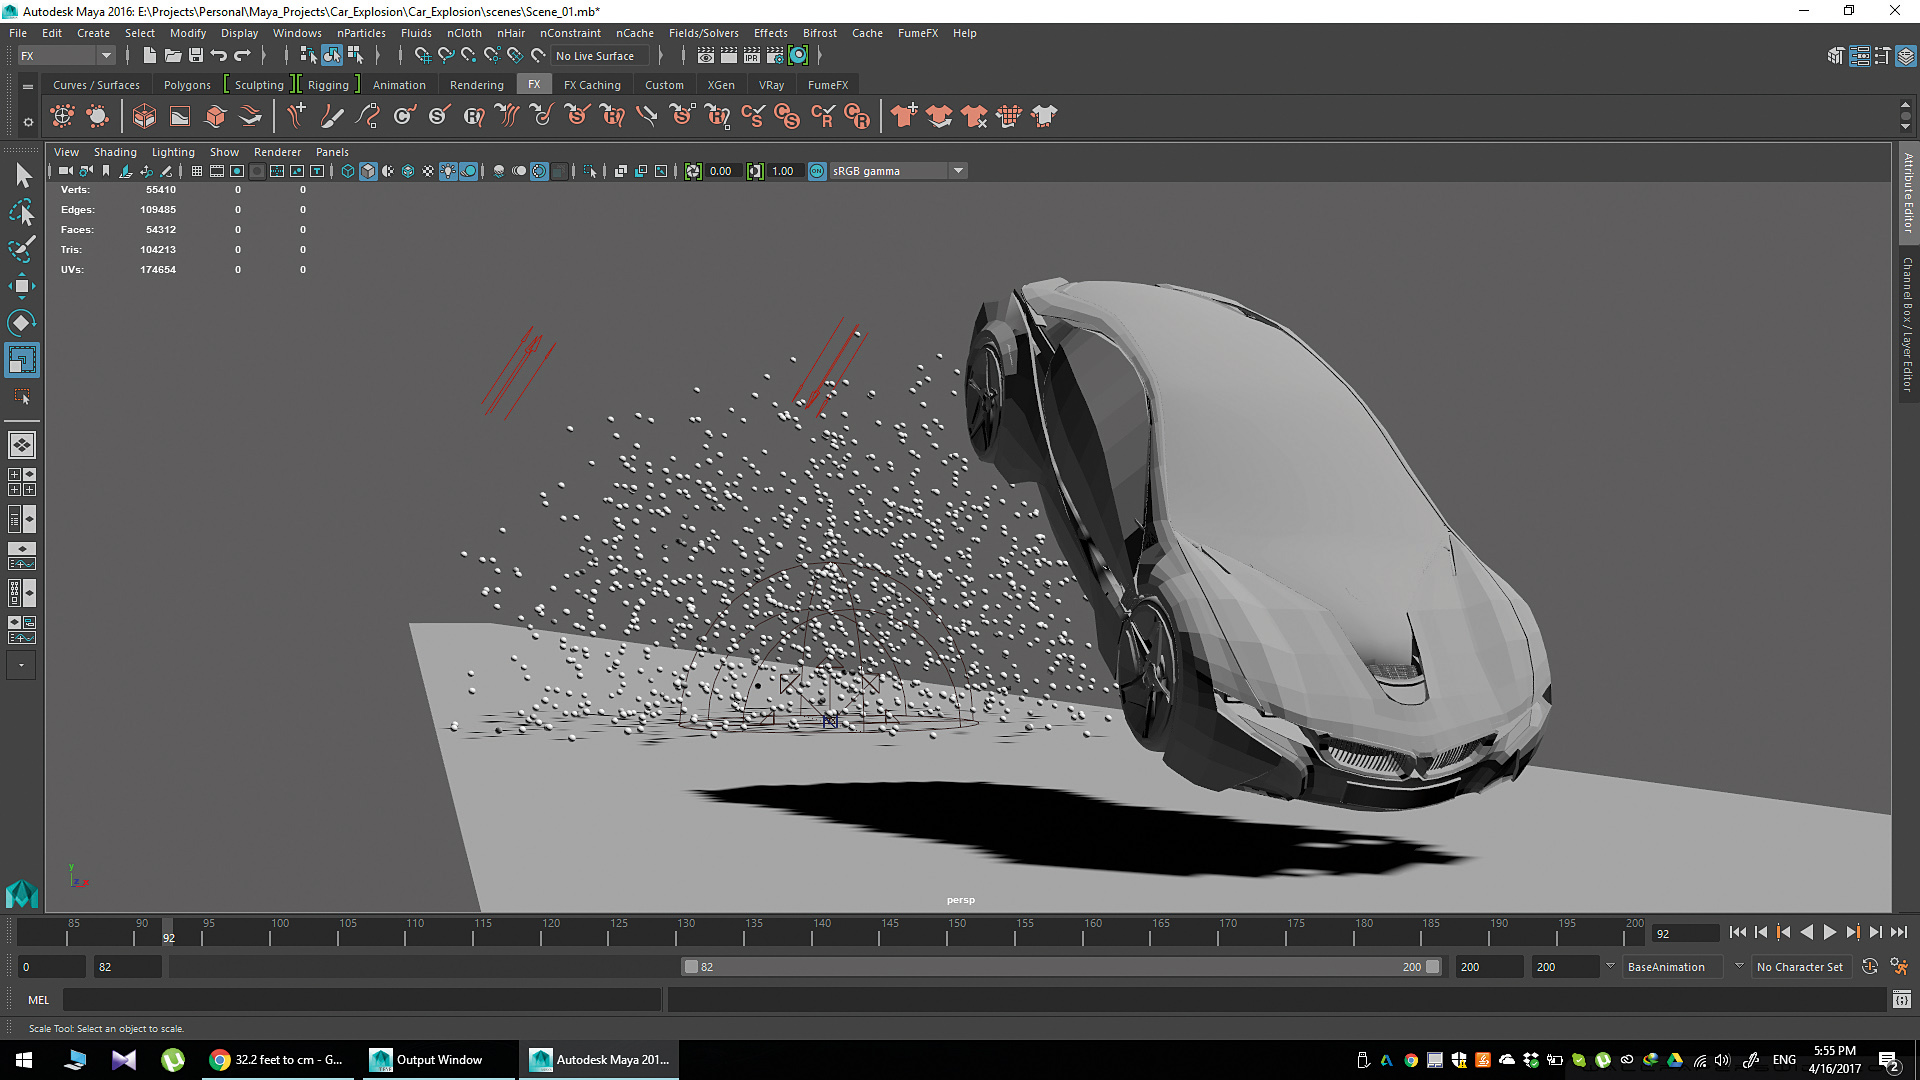
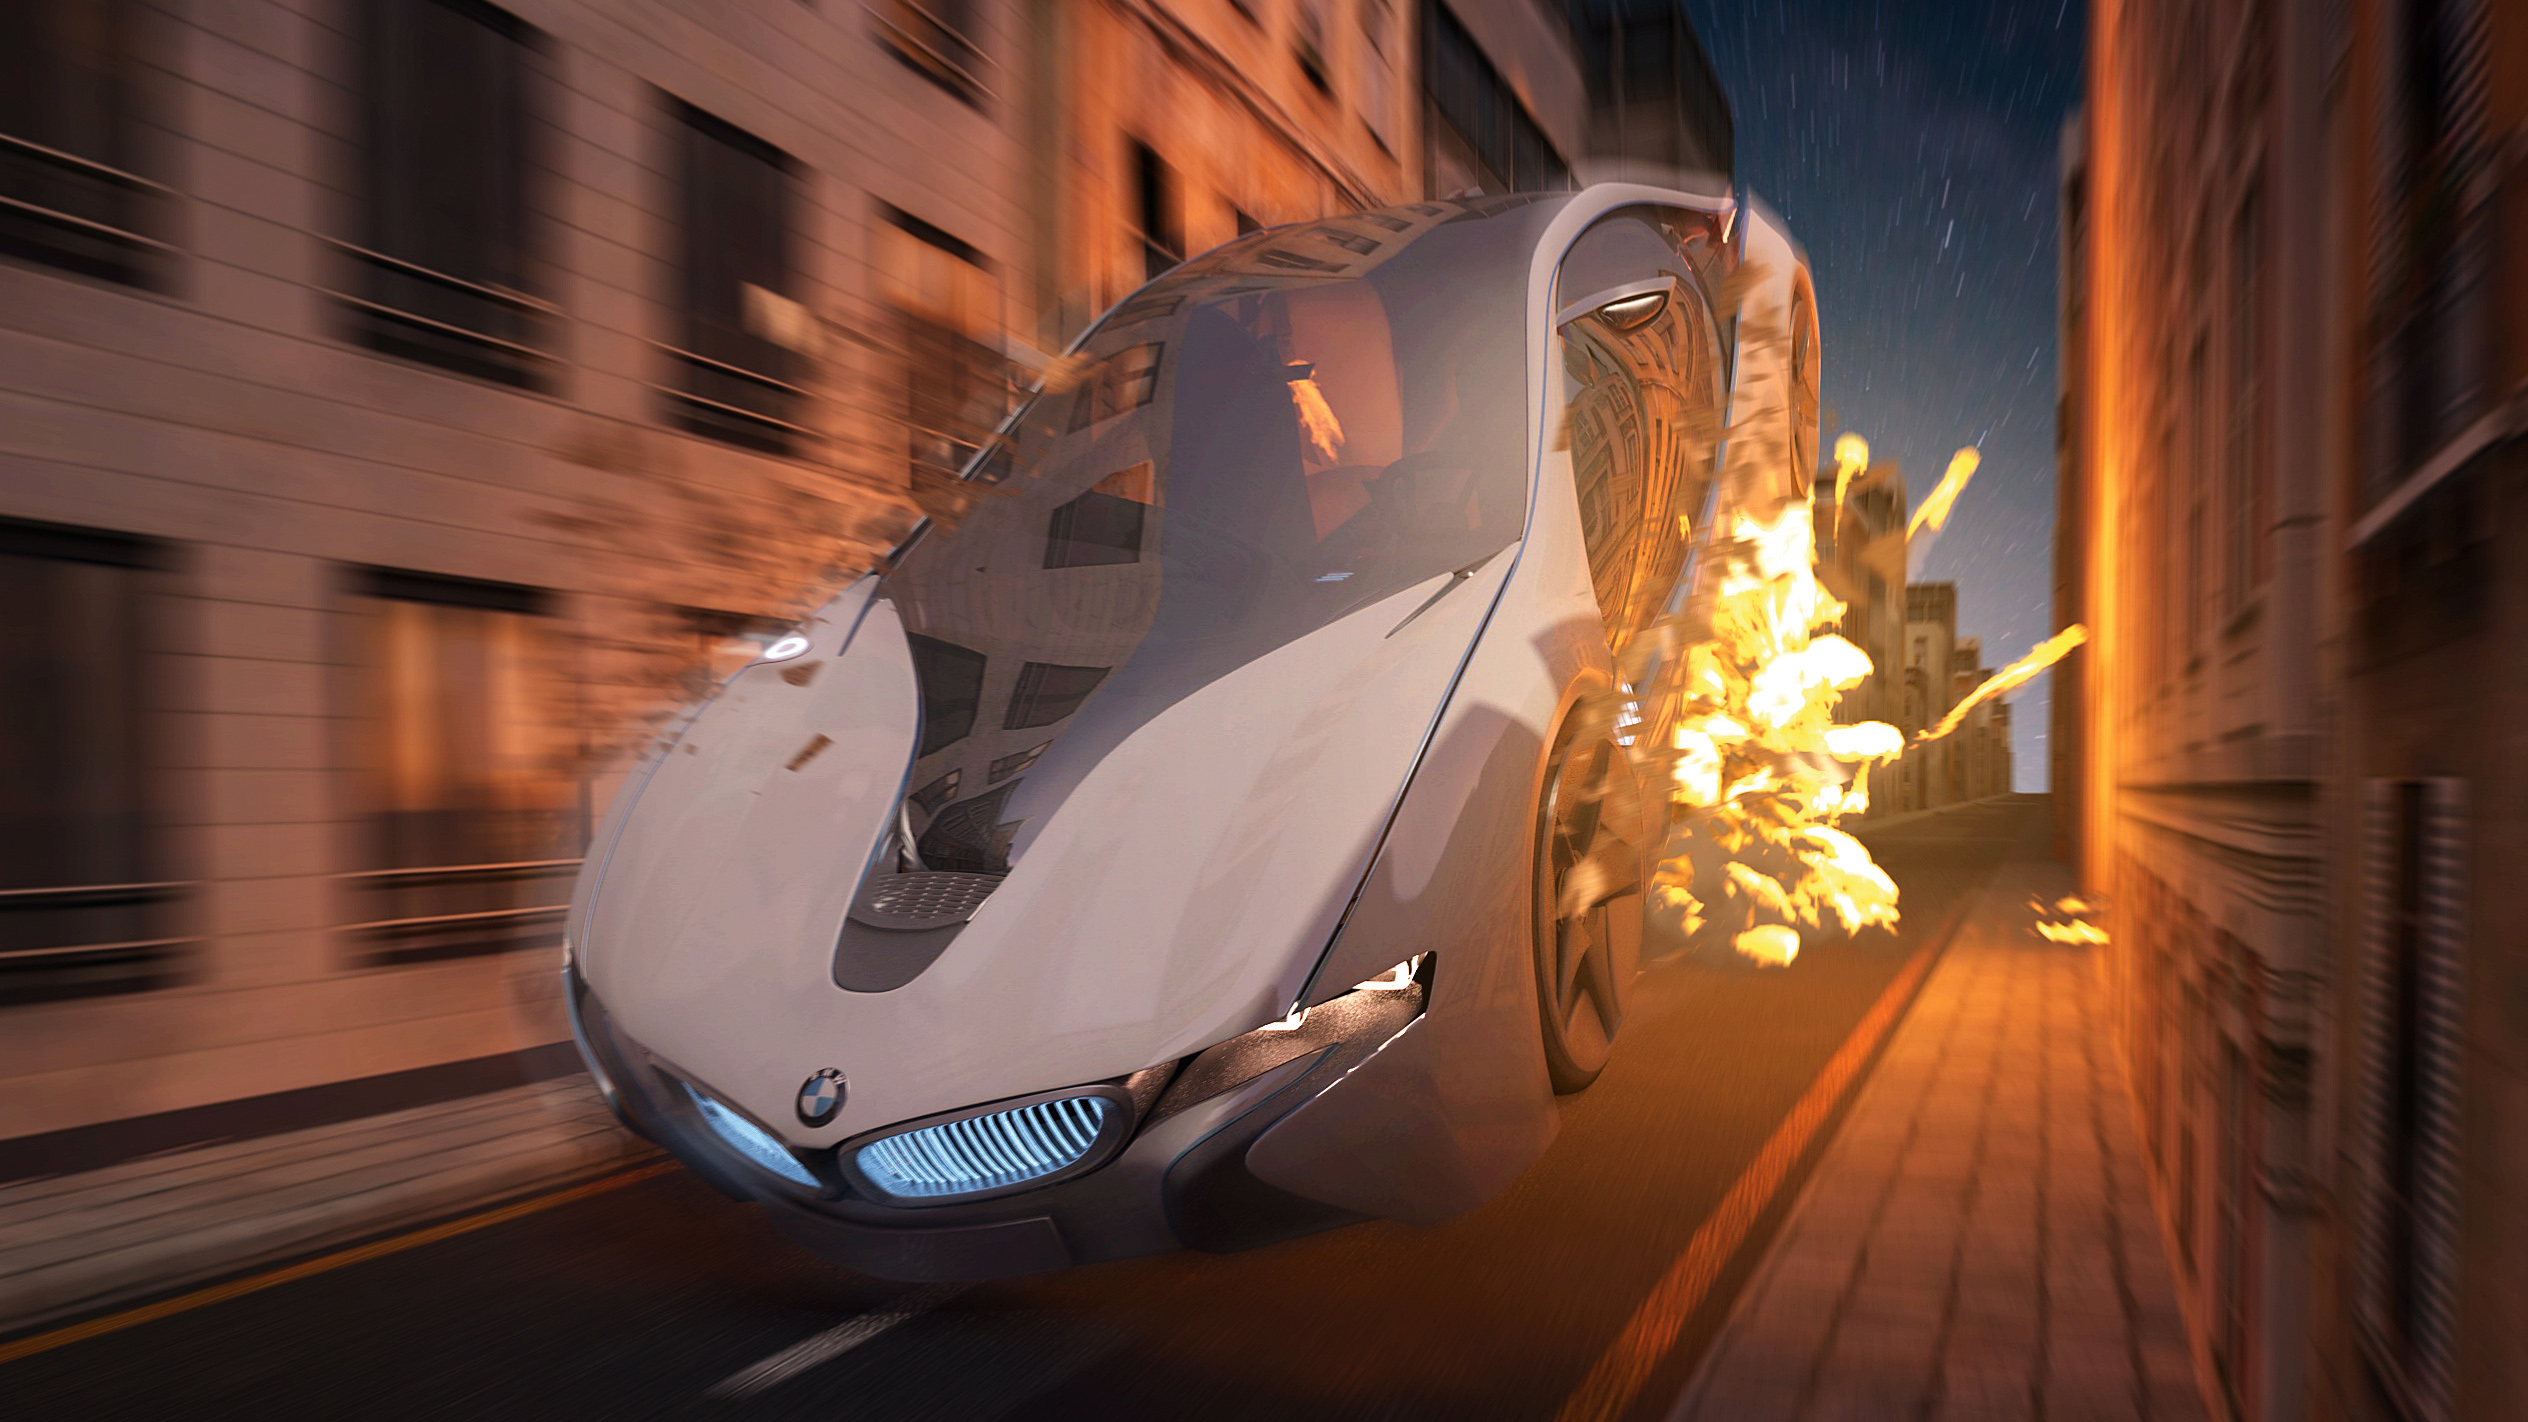
By having a car going towards the origin point to capture velocity, it can interact with particles at a high speed to make an explosion look realistic. If you want to do something similar, you should optimise your geometry. Make a low-res version of your geometry to use in the simulations, then later it can be replaced with a high-poly version when it comes to rendering.
03. Decide your scales
Before you get to any of the simulations, you must have a working set-up. You should decide on the unit you’ll be using. Centimetres are good but metres are even better for real-world scale. Use a scale reference, such as a human being, to make sure all of your simulations and objects are proportional. If the scale is off then it won’t look realistic.
04. Generate Particles
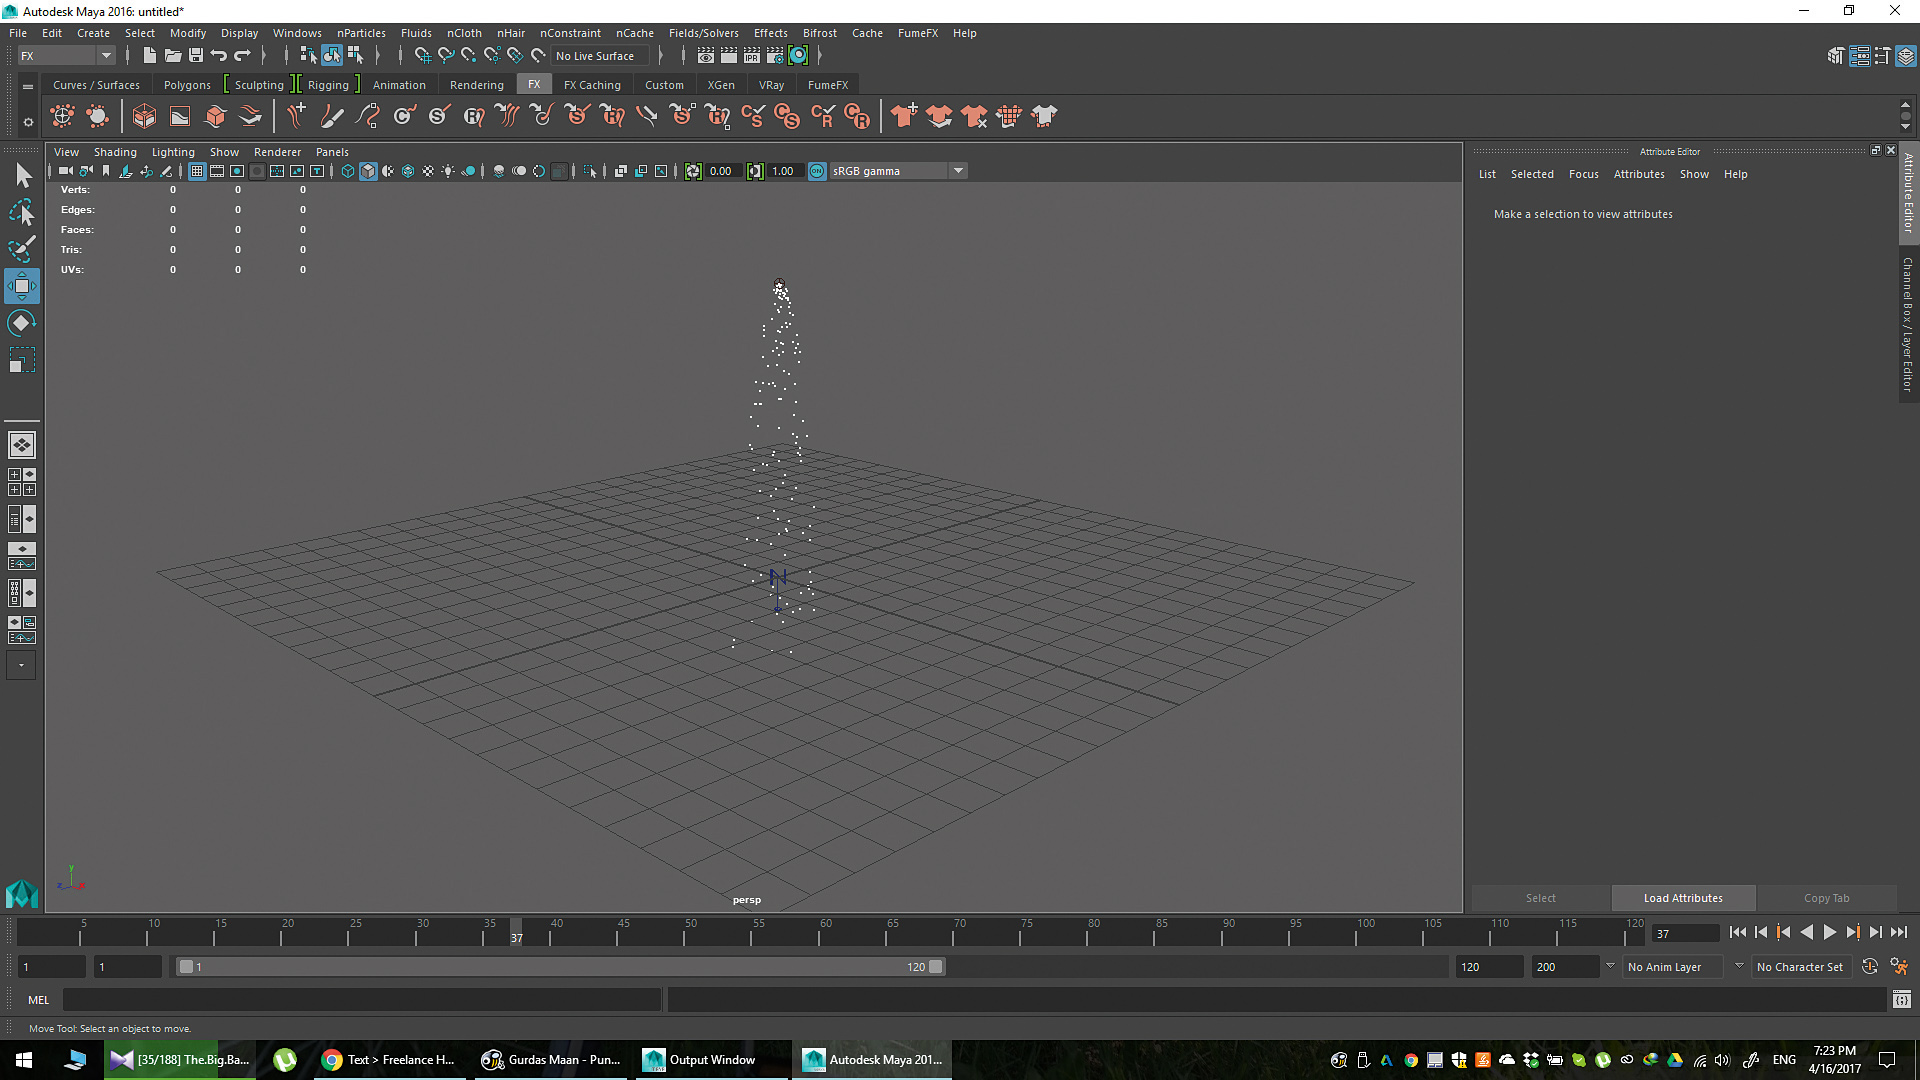
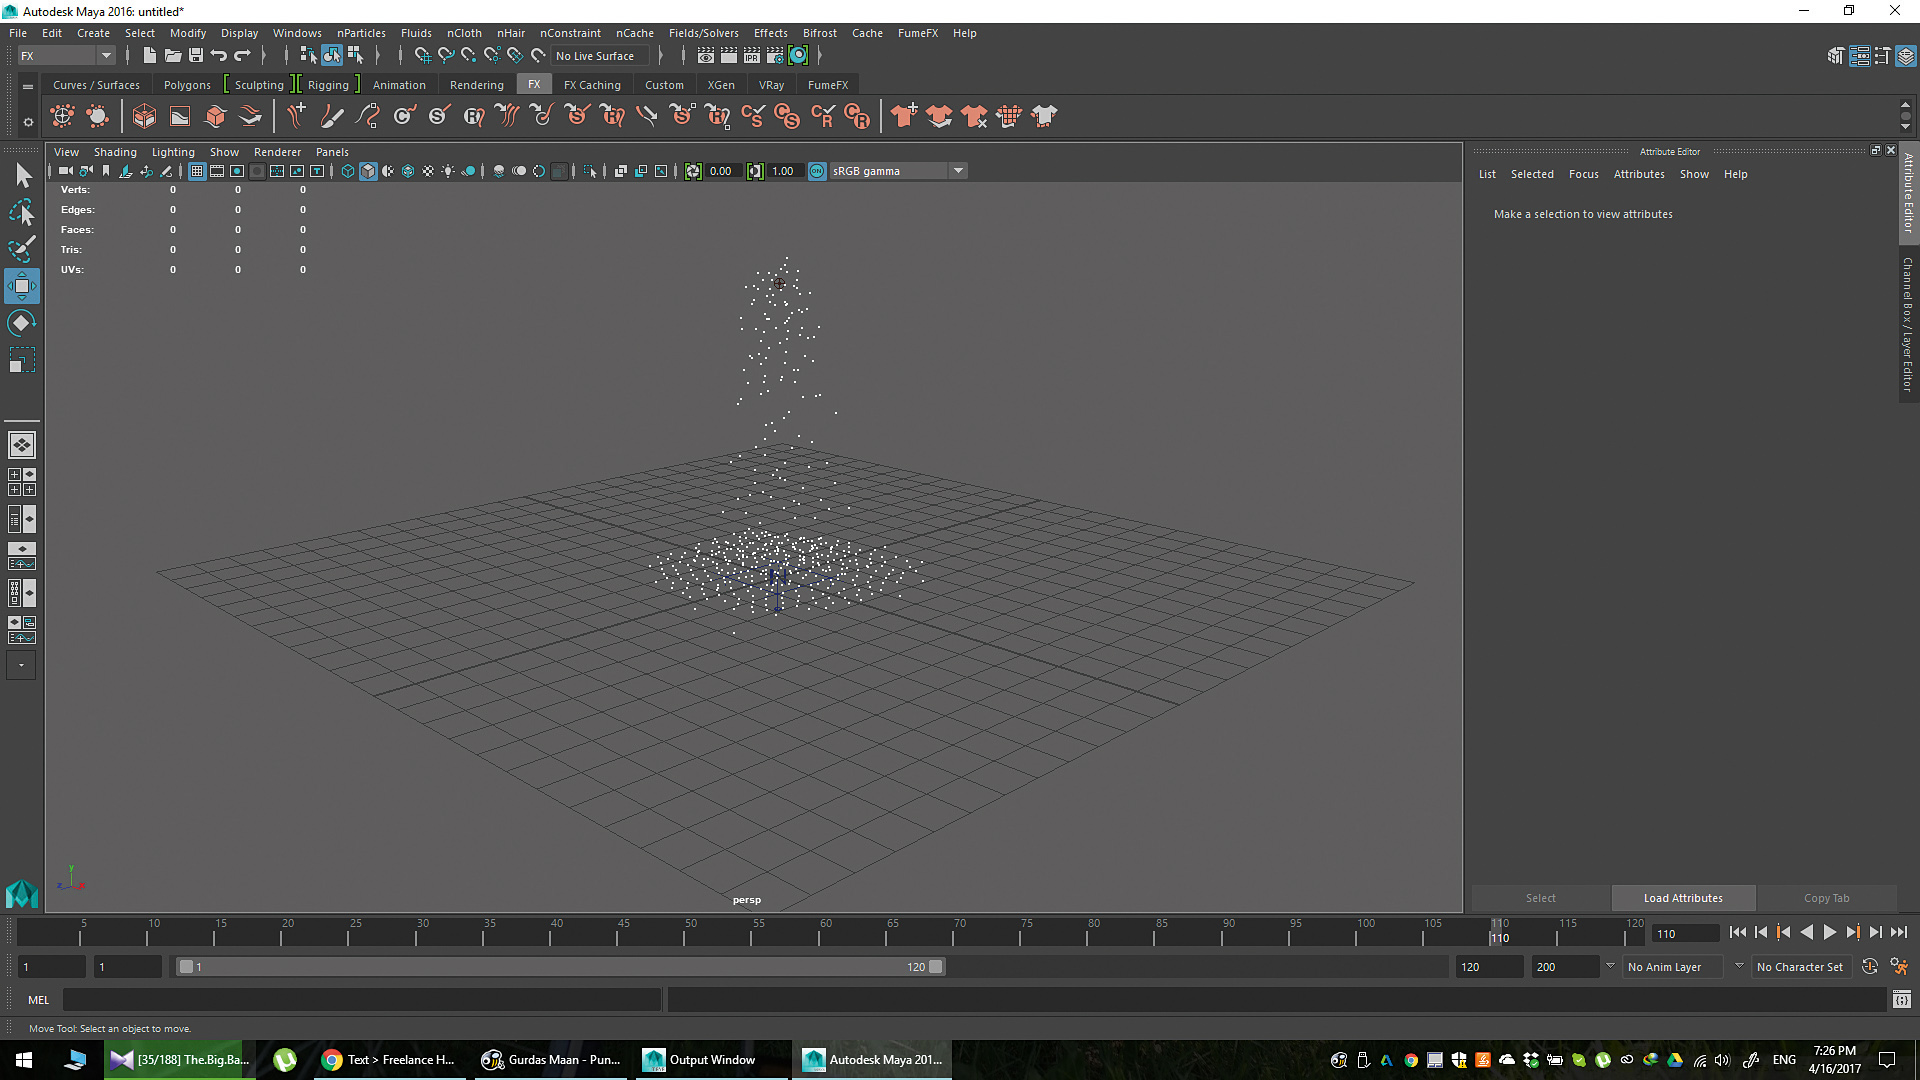
FumeFX needs something to burn – some sort of initial geometry that the fire of the explosion will come from. So, generate nParticles by changing Maya’s interface to the FX module, going to the nParticles menu and selecting Create Emitter. This gives you an Omni emitter to generate a point or sphere, depending on the version of Maya. These particles will be ignited later on.
Sign up to Creative Bloq's daily newsletter, which brings you the latest news and inspiration from the worlds of art, design and technology.
05. Ground Plane and Self Collision
Now you need to create an explosion from the particles. The first thing is to add a ground plane. Go to the Nucleus node and then Ground Plane. There, check the Use Plane option and it’ll add an infinite plane for the particles to interact with. Go to the nParticleShape node and under Collisions, make sure Self Collide is checked. You should have a stream of particles on the ground.
06. Change to Volume Emitter
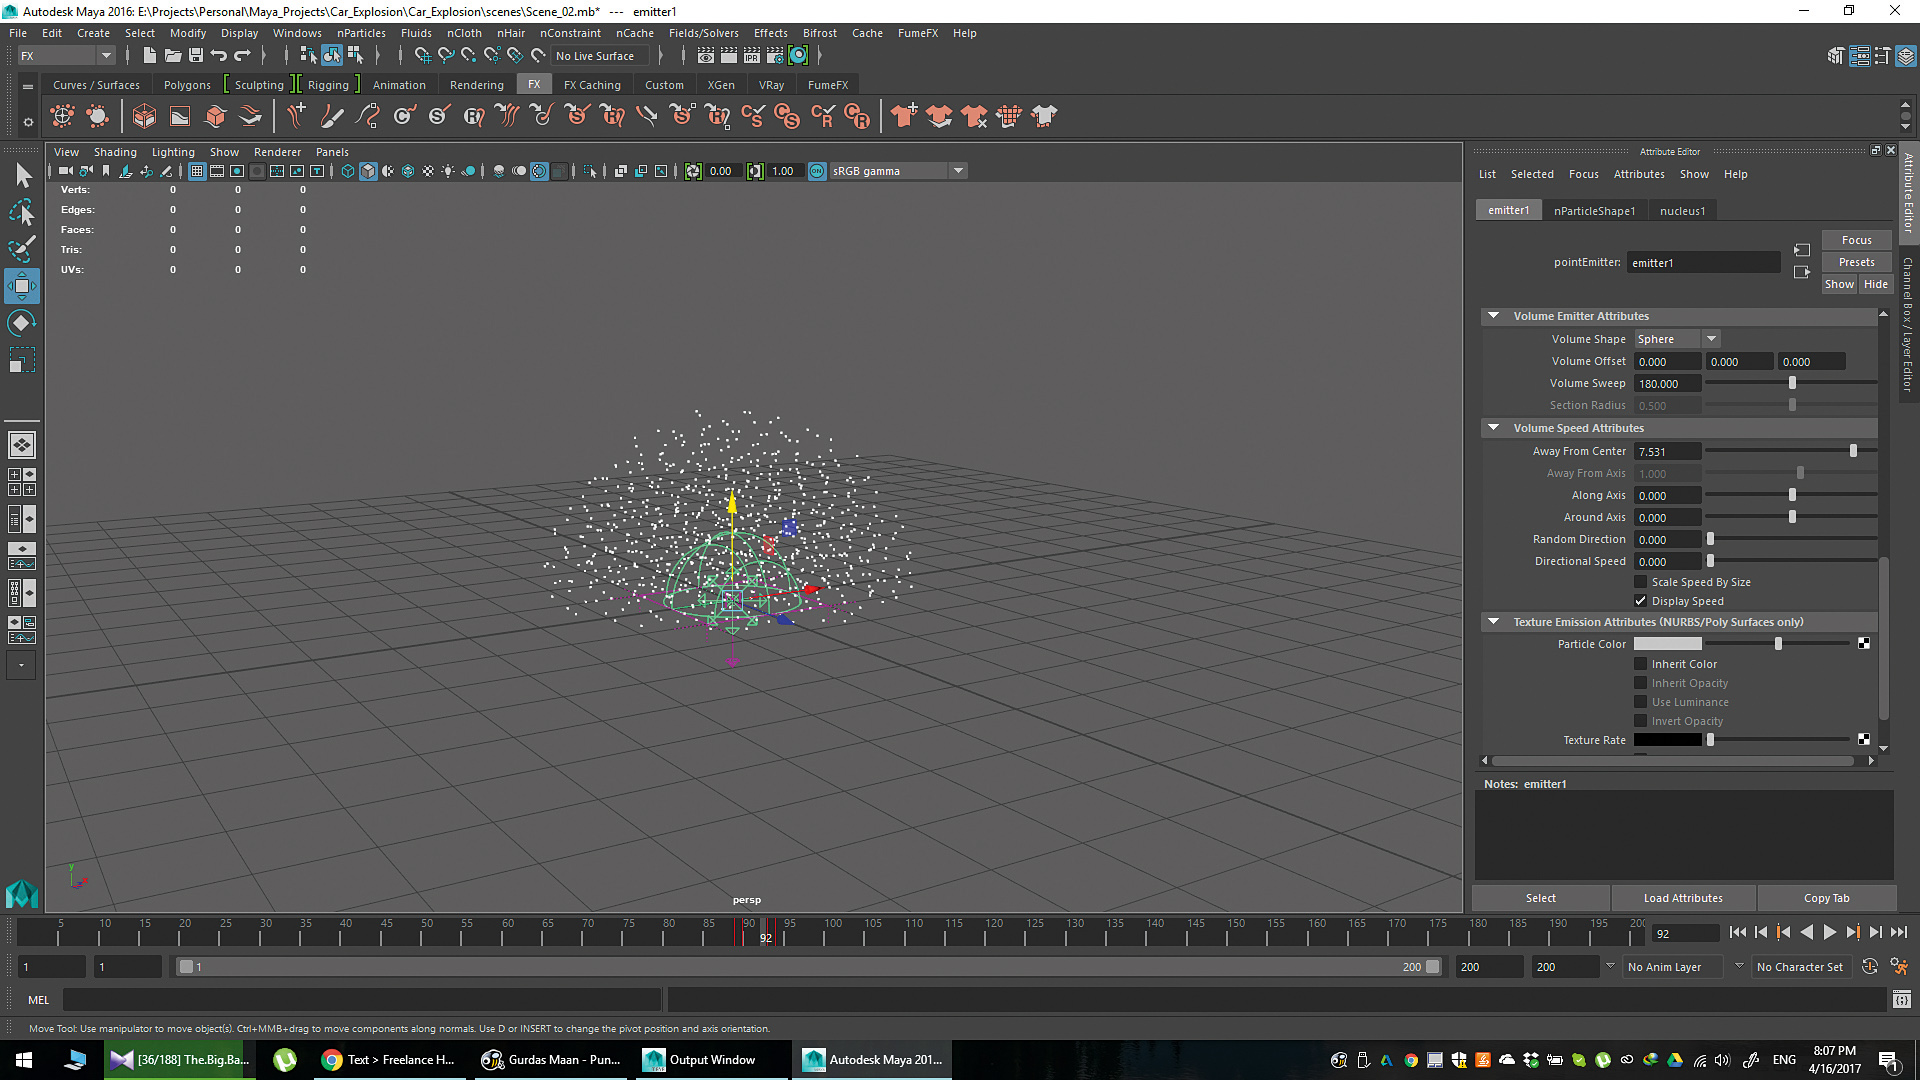
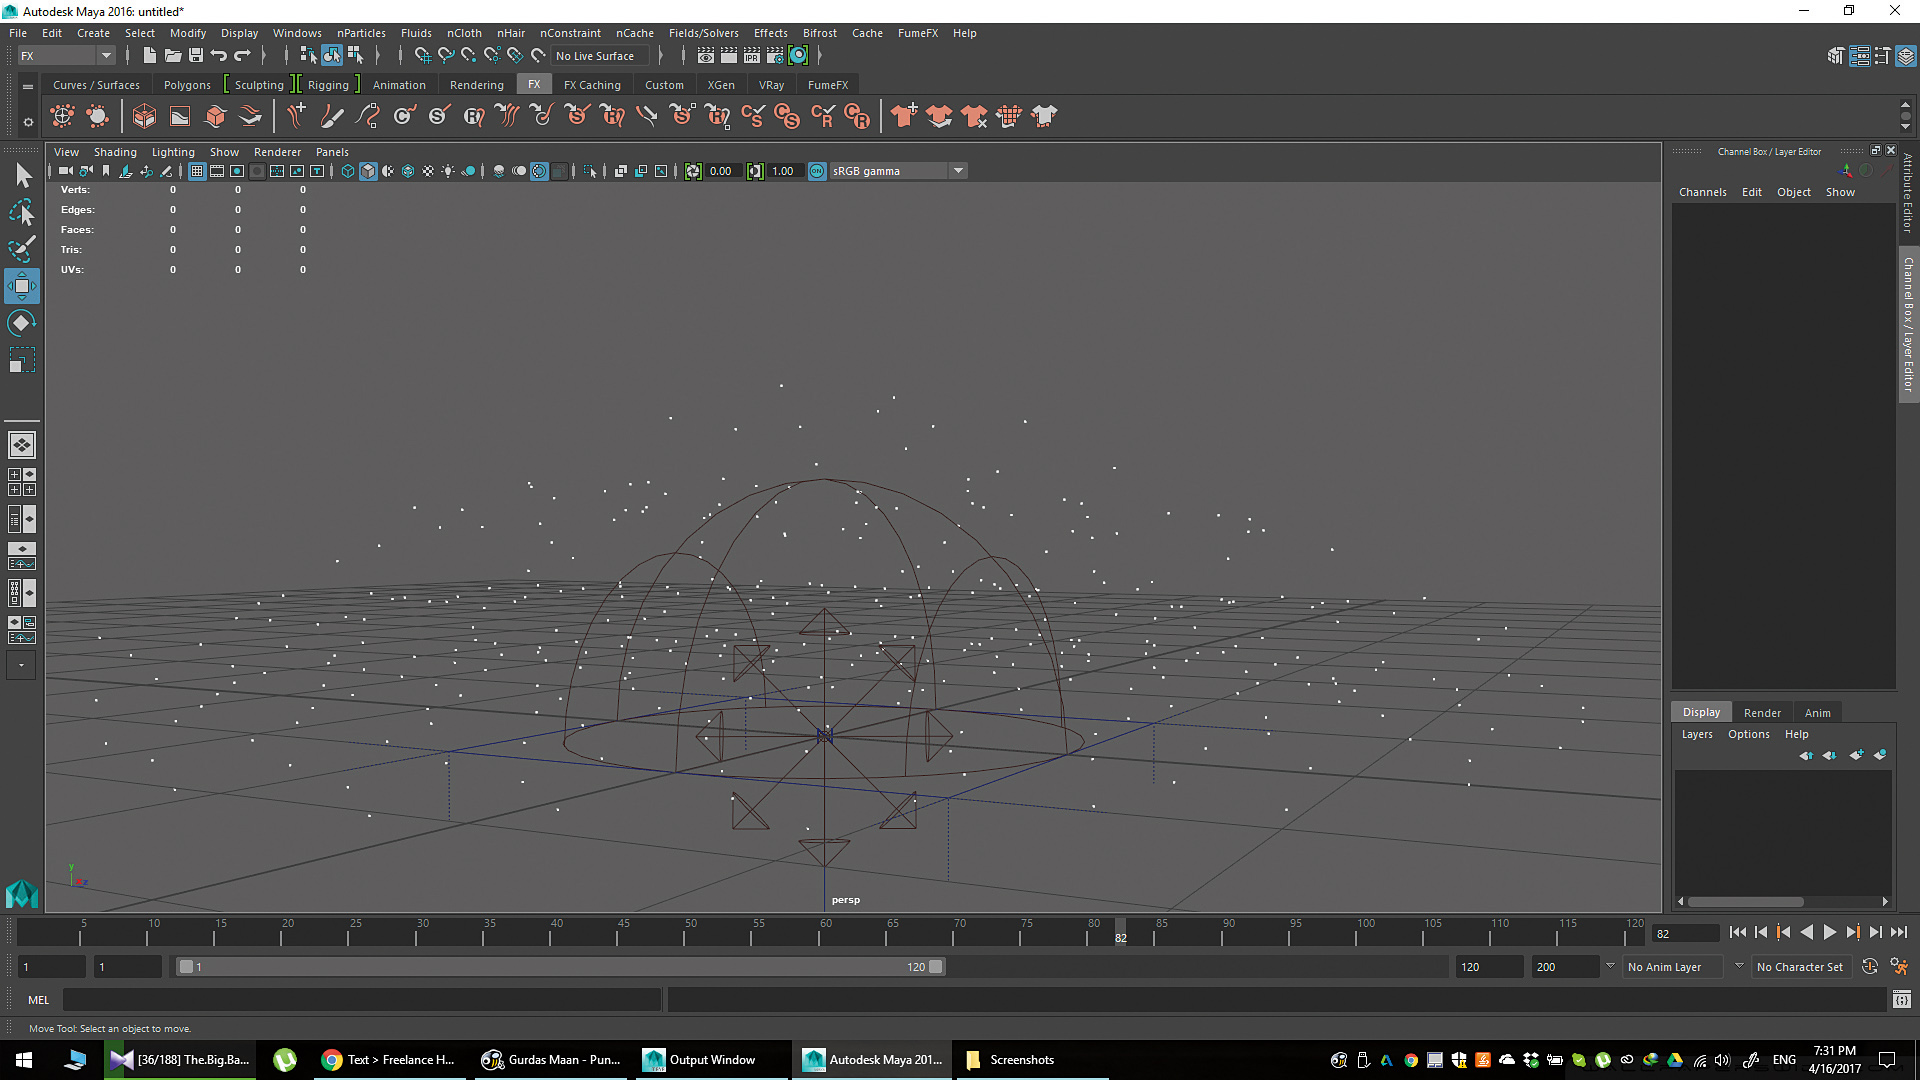
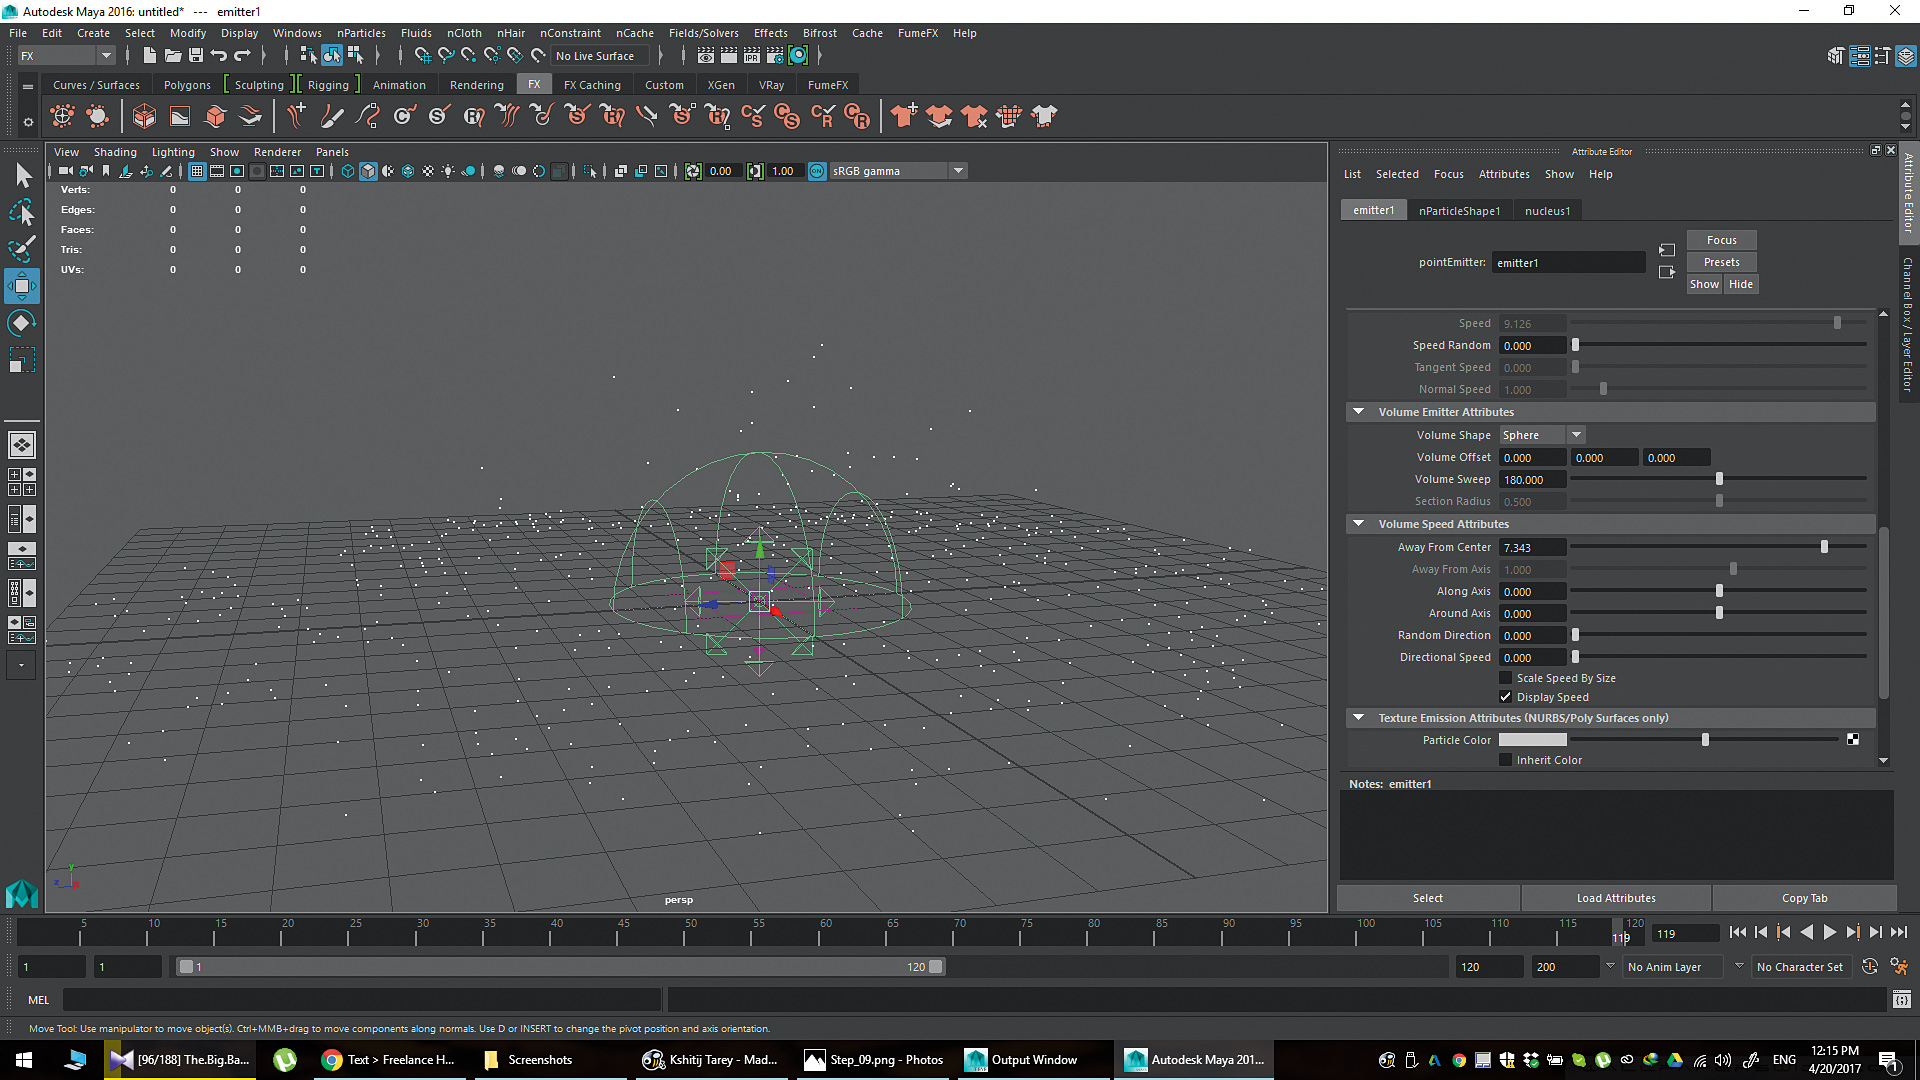
Go to the Emitter node and under Basic Emitter Attributes, change the Emitter Type to Volume. Afterwards, under Volume Emitter Attributes, change the Volume Shape to Sphere from Cube. Under the same tab, set the Volume Sweep to 180. You should have a hemisphere that’s emitting particles at 180 degrees.
Take the Emitter and rotate it to make sure that the flat side of it is parallel to the ground, where you can then place it. This will give you the basic ‘shape’ of the explosion as it interacts with the scene.
07. Set the Particle Rate
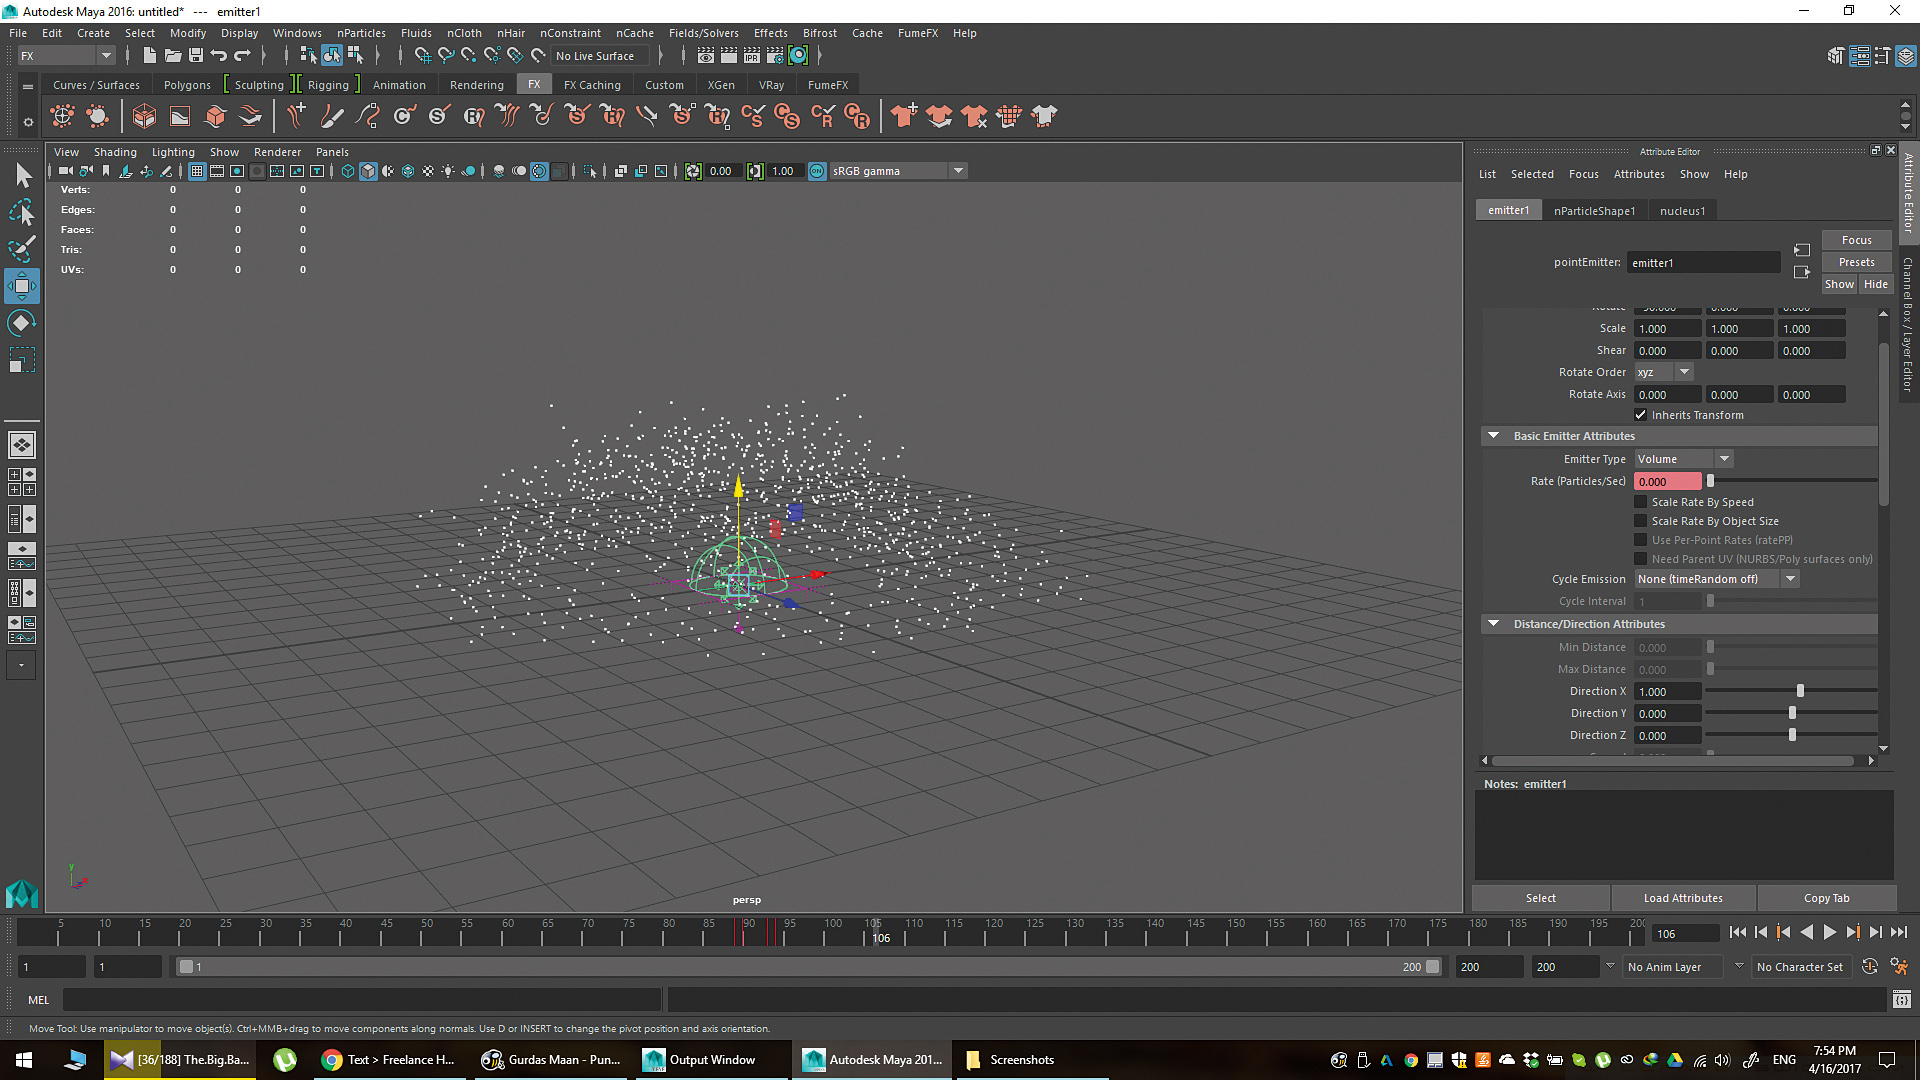
You should have a puddle of particles on the ground, being generated from the Volume Emitter. Let’s make some changes to the particles. Go to the Emitter and change the Rate to something high, like 6k to 10k. Don’t worry about the resource usage on your computer, you’ll only be emitting the particles for a frame or two. Go to the nParticleShape. Set the Particle Size to something comfortable that you can view easily. This will help you to gauge how your explosion is behaving within the scene.
08. Particle production
In the Emitter node, key in the Rate. Before the frame you want the explosion to happen, set the Rate to 0 to ensure that no particles are born before that frame. In the frame of the explosion, set to your desired Rate, for example, 6,000. Then set the following one or two frames to that same high rate.
09. Ending particle production
After you’ve started the explosion, you should have three keys. In the frame you want the explosion to end, set another key for 6,000 and set it to 0 in the next frame to make sure the particle production stops abruptly. You can also make the Emitter smaller or bigger to control the size of the explosion. This won’t affect the velocity of the particles, just the timeframe in which they begin, continue exploding, and abruptly stop.
10. Adjust the particles’ lifespan
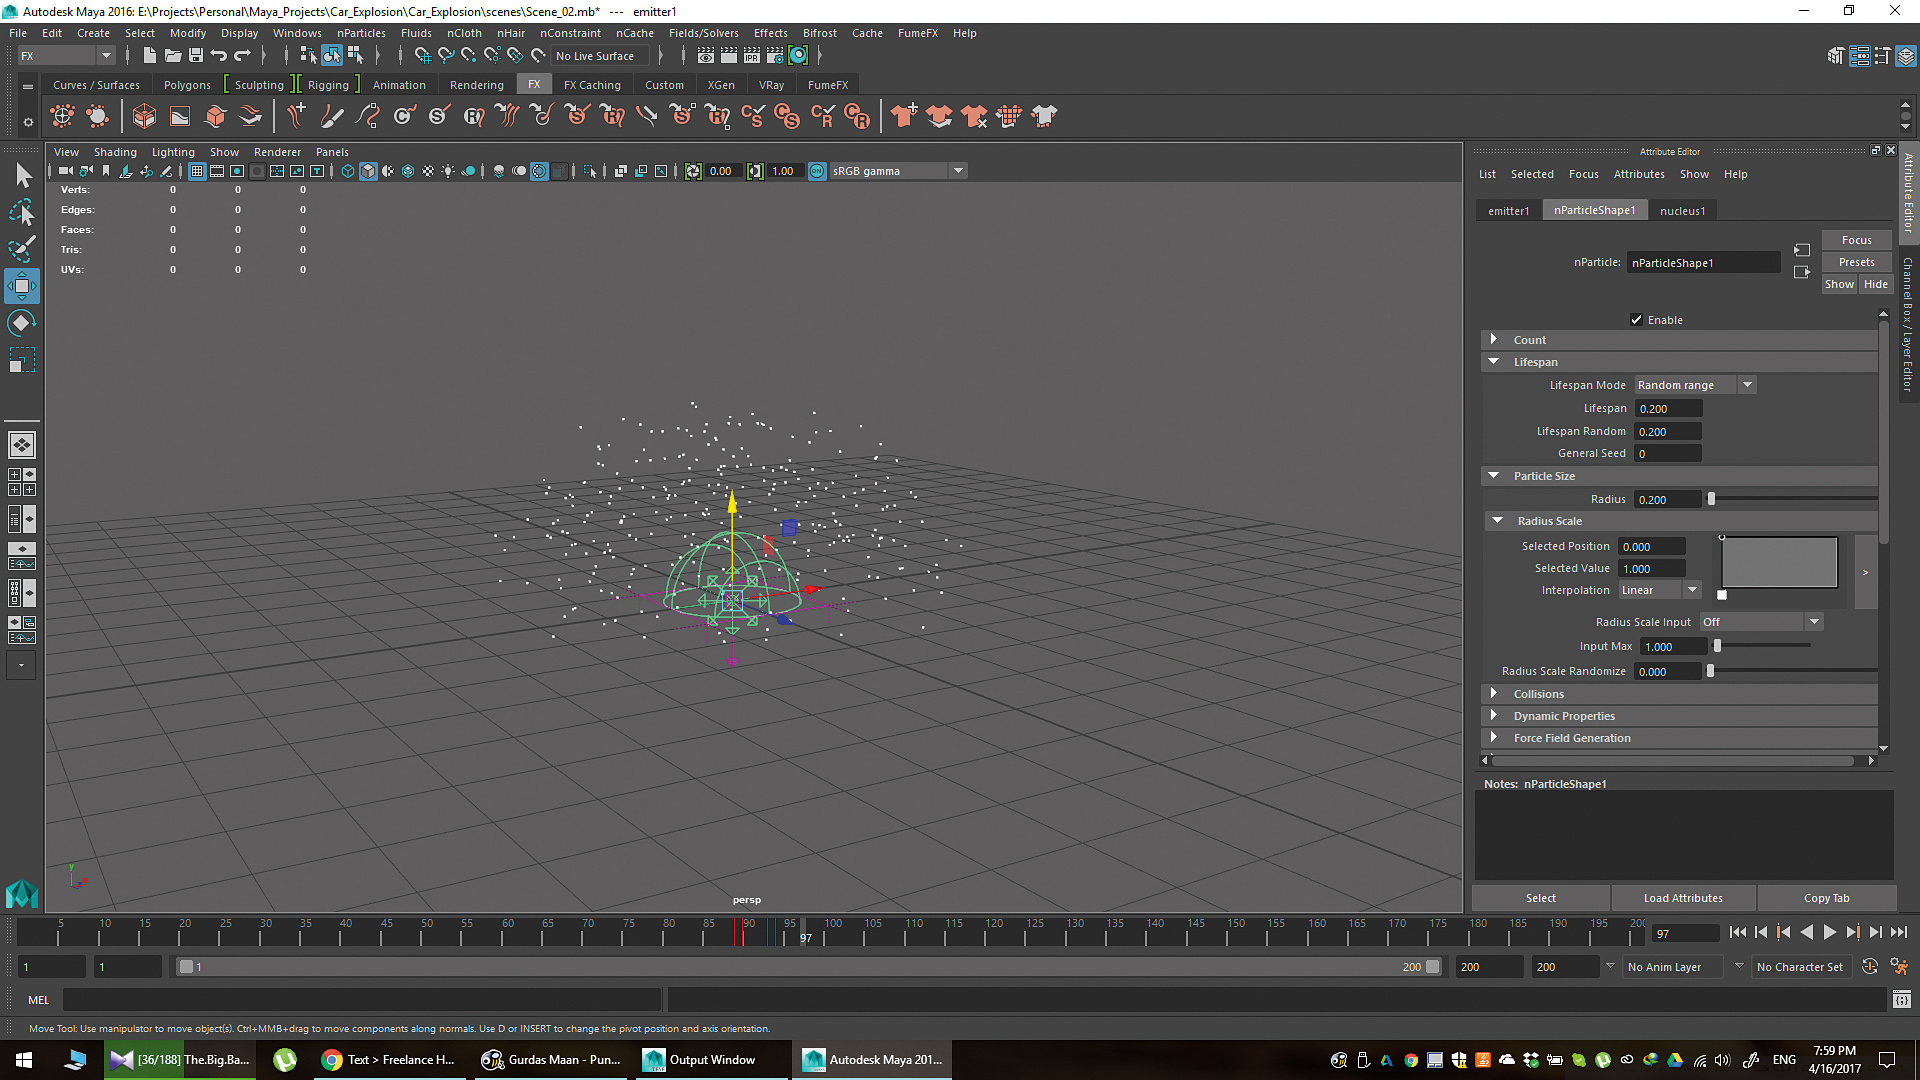
Go to the nParticleShape and under Lifespan, change the Lifespan mode to Random range. Set the Lifespan value to something like 0.2 or 0.3 and the Lifespan Random to a similar value. You can use your own values according to your settings – you want the particles to be generated, then stop, and start dying, but feel free to to tweak the timing.
11. Tweak particle velocity
You can’t make the particles slow down (move outwards slower) under the Basic Emitter Speed Attributes since the Speed attribute is greyed out, thanks to the Emitter type being set to Volume. So, to change the velocity, go to the Volume Speed Attributes tab and change Away from Center as required. Some particles should move at different speeds for added realism.
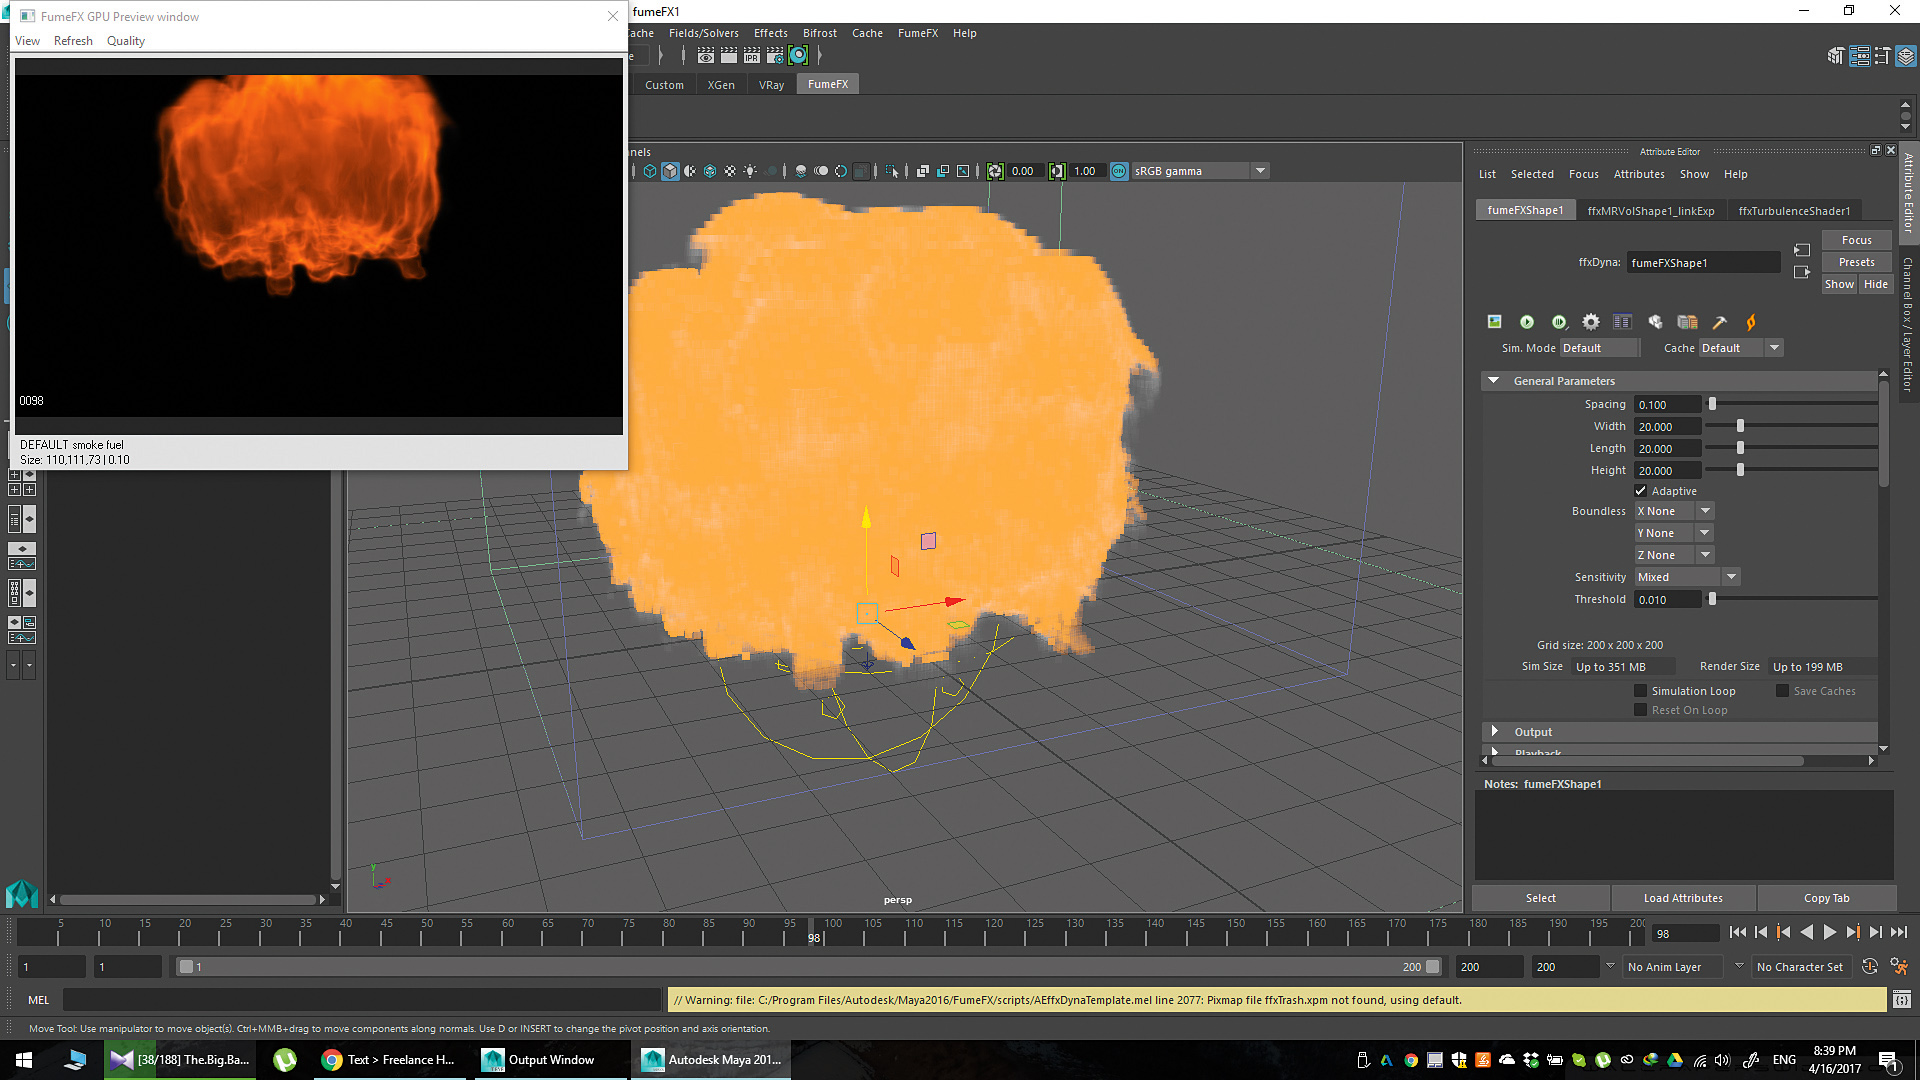
12. Create the FumeFX node
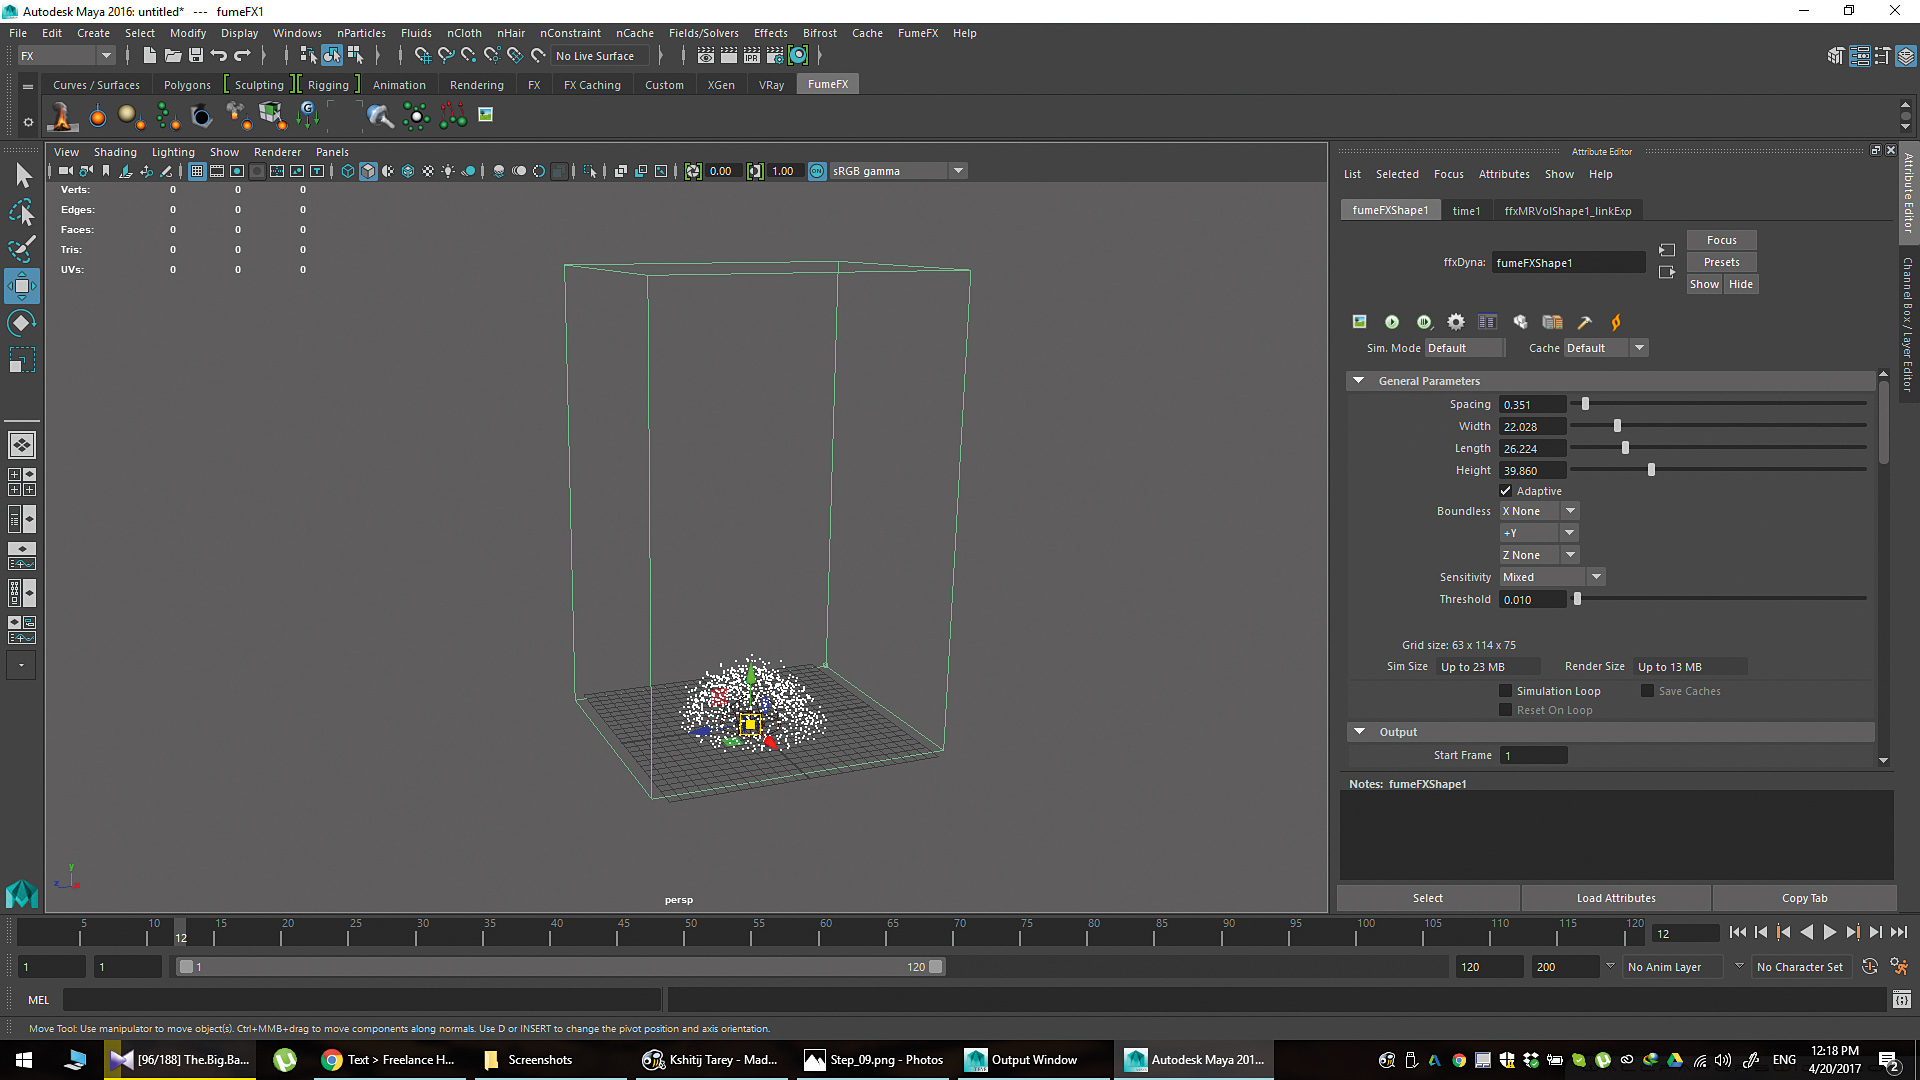
You should have a dome of particles being generated, spreading out and dying, some moving at different rates to others. Next, you can start simulation in FumeFX. Simply go to the FumeFX shelf and click the icon on the far left that’s called Create FumeFX node. A cube should appear in the scene. This is the working area of the simulation – the area where the simulations will be calculated.
13. Optimise the FumeFX node
Click the newly formed cube. You should be in the fumeFXShape node. First, set the Width, Length and Height to fix the explosion area better. Then you can focus on the Spacing. The lower the spacing, the better and more resource-heavy the simulation will be.
14. Further optimisation
The Boundless setting has an X, Y and Z setting. Change it to +Y to make sure the simulation goes as high as possible. In the same area, you’ll find the path where the simulation data will be saved, often in gigabytes. In the Viewport tab, you can also set whether or not to see the simulation in the viewport.
15. Particle source in FumeFX
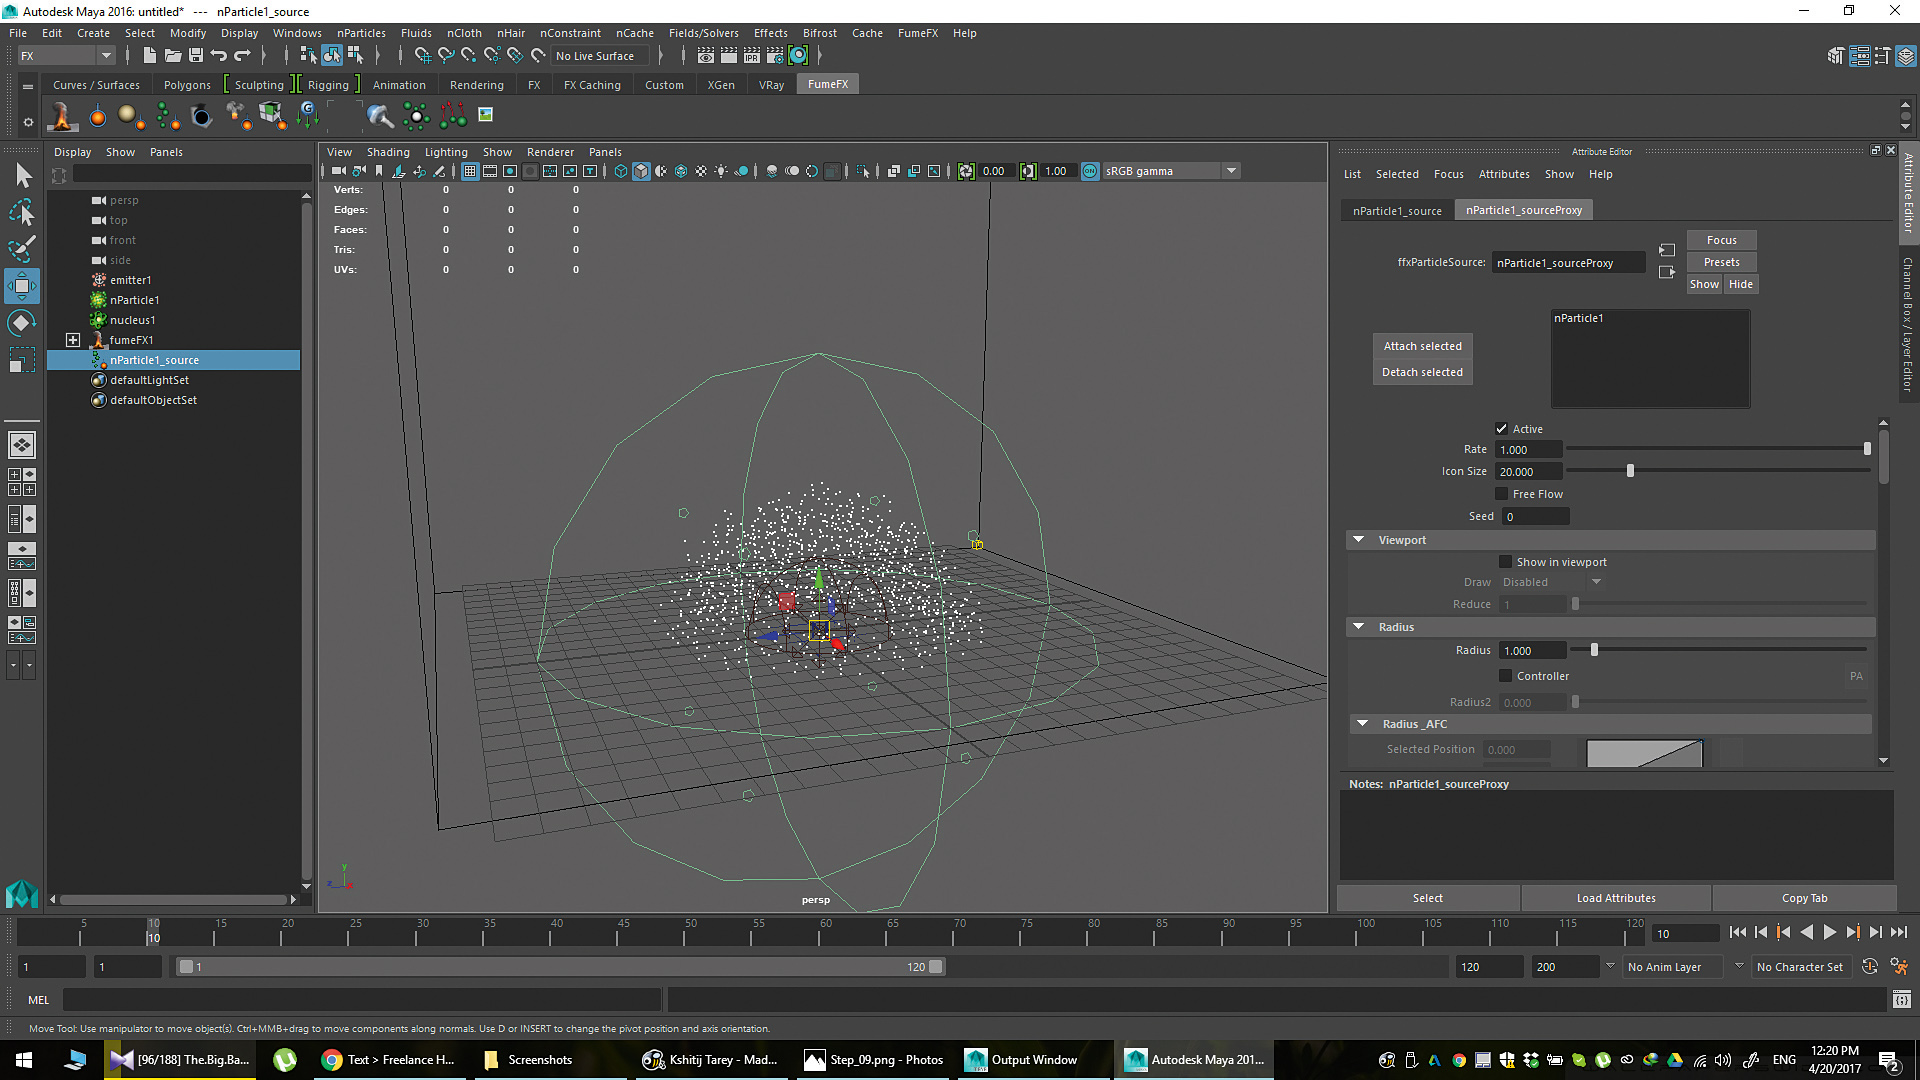
Now you can generate the first simulation. Make sure you have the FumeFX shelf selected and then, from the Outliner, select the nParticles object. With that selected, click up in the shelf to the fourth button from the left. You will have a new object in the Outliner that ends with ‘_source’. FumeFX now knows that these particles are to be ignited during the simulation.
Next page: Add turbulence and sparks, and finish up your explosion

A motion graphics and VFX artist from Pakistan with nine years' experience, Syawish loves motion graphics and making video tutorials.
