Create a WebGL 3D landing page
Use WebGL 3D and three.js to create a cinematic landing page.
Sign up to Creative Bloq's daily newsletter, which brings you the latest news and inspiration from the worlds of art, design and technology.
You are now subscribed
Your newsletter sign-up was successful
Want to add more newsletters?
Creating a WebGL 3D landing page is one way to make a great first impression with your audience. With WebGL, you can deliver high quality visual content right in the browser. You can do it without plugins or any special requirements. All modern browsers support WebGL, along with mobile devices and tablets. WebGL enables you to create incredible 3D scenes. It can power webVR experiences, manipulate video, render graphics shaders and much more.
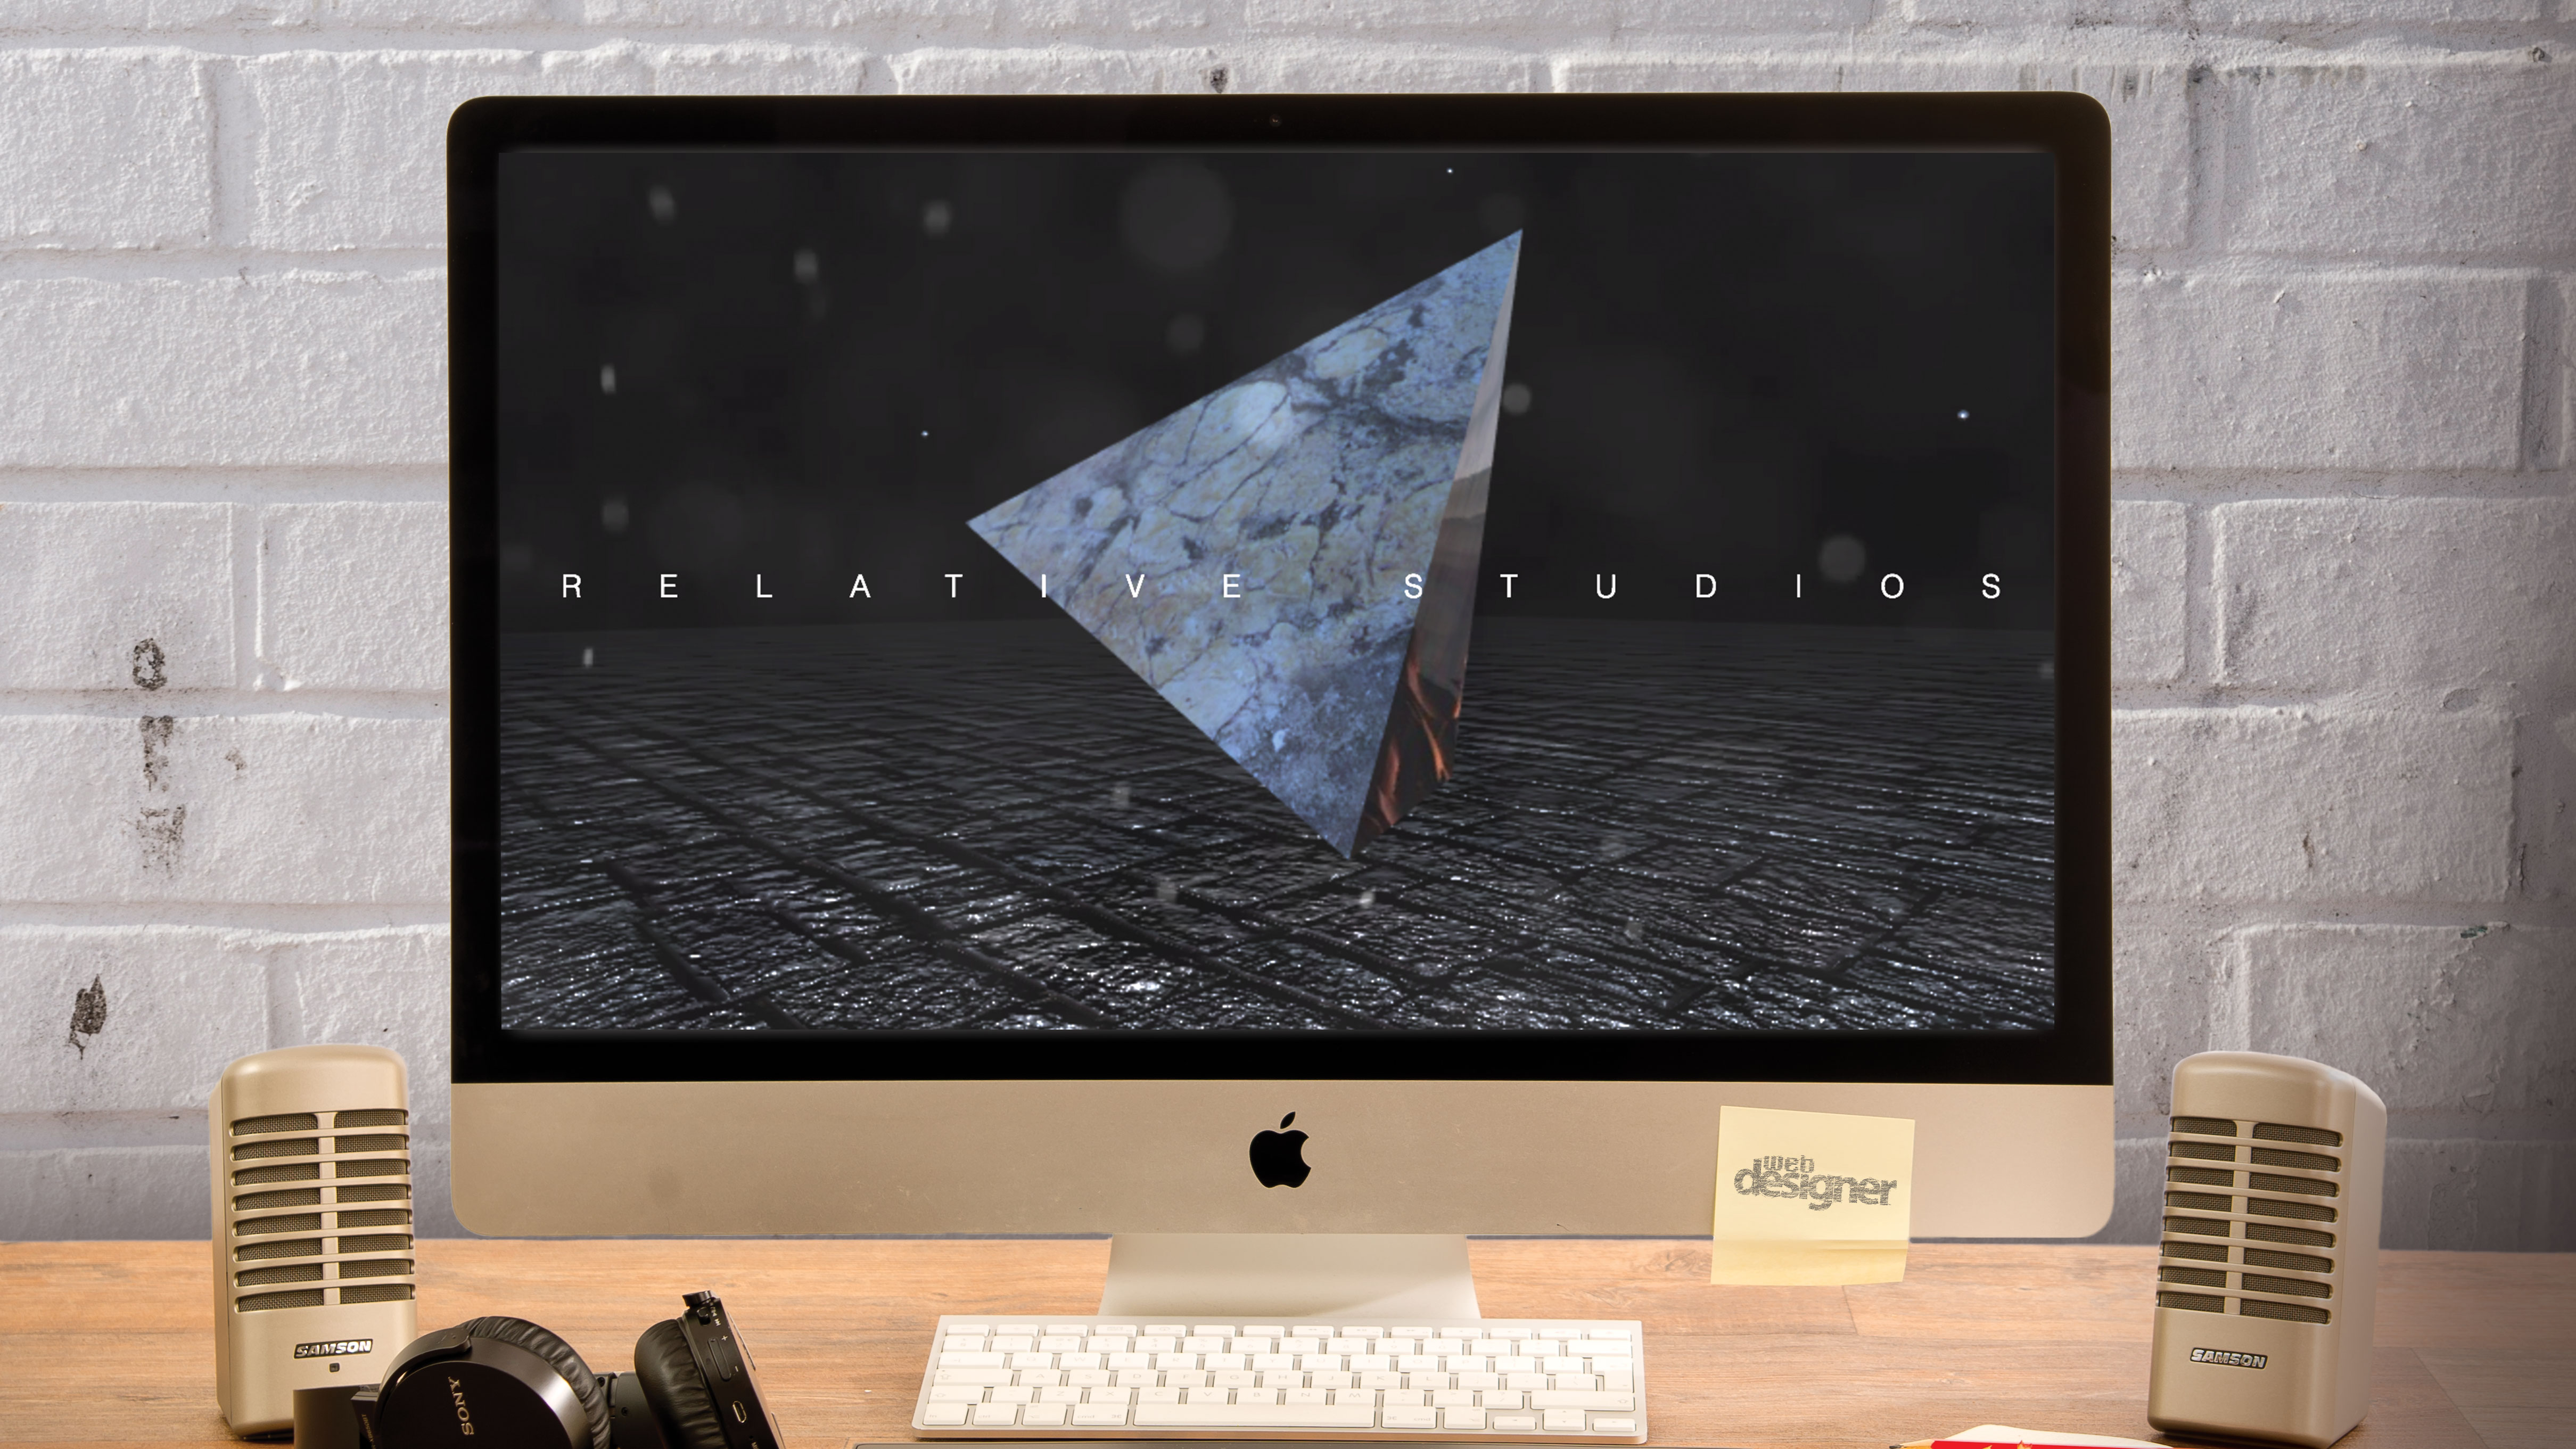
In this tutorial, you’ll be making a landing page for the fictional film studio, Relative Studios. The concept is dramatic and visually engaging, as a mysterious object reflects and rotates in response to mouse interaction. Particles whiz around it, changing colour as they move. You’ll work through each of the steps to create this interactive page, allowing you to generate your own for your projects (for further inspiration, see our post on the best landing pages).
You’ll use only the included features of Three.js, the powerful 3D rendering library for the web. You can use your own images as textures to make it unique. You’ll also learn about utilising meshes, lighting and textures to enhance surface detail, how to use environmental maps, and how to add layers for depth and interest.
Article continues belowThere should be more than enough to get started, and plenty to fuel your next projects.
Before you start, download the files for this tutorial.
01. Basic HTML setup
To begin, you need somewhere to see your 3D scene. Set up a basic HTML file and include a link to three.js. This can either be hosted externally or added from the three.js repository here:. Add some simple CSS to make the page full screen and remove any scroll bars. Save your file to your local webserver, so you can serve up the HTML when ready to test. Add the following code to get started.
<!DOCTYPE html>
<html>
<head>
	<title>Relative Studios</title>
	<script src=”libs/three.min.js”></script>
	<style>
		html, body { margin: 0; padding:0; overflow: hidden; }
	</style>
</head>
<body>
	<script>
		// 3D Code goes here
	</script>
</body>
</html>
02. Add global variants
You’ll need some variables for references throughout the rest of the code. Set those up now. This will include an array to hold particles, a 't' variable for your Tetrahedron, mouse, raycaster and lights.
Sign up to Creative Bloq's daily newsletter, which brings you the latest news and inspiration from the worlds of art, design and technology.
Inside your script tags, start by adding the following code.
// vars
var num=30;
var objects=[];
var raycaster = new THREE.Raycaster();
var mouse = new THREE.Vector2();
var light,t;
03. Add a scene, camera and render
We need to first add a scene which will contain all our objects. Then we add a camera that can move around within it, panning, tilting and moving as we need. The first attribute is the field of view. The second is the aspect ratio. You can also define the near and far clipping planes in the third and fourth attributes. Last, add the renderer, which handles drawing the scene to the canvas.
In the script tag add the following code.
// create camera
var camera = new THREE.PerspectiveCamera
( 65, window.innerWidth/window.innerHeight,
0.1, 1000 );
camera.position.set(0.0,0.0,5);
// create a scene
var scene = new THREE.Scene();

// create renderer
var renderer = new THREE.WebGLRenderer(
{antialias:true});
renderer.setSize( window.innerWidth, window.
innerHeight );
document.body.appendChild( renderer.domElement
);
04. Add a spotlight
Next, you need to add a light to the scene. Three.js comes with a variety of lights including point, directional, ambient and spotlights. Use a spotlight for this. It will give you position and directional properties, and allow you to cast shadows if you wish later.
Add the following code next to add the spotlight.
//Create a Spot light
light = new THREE.SpotLight( 0xccddff,.8 );
light.position.set(0,0,5);
scene.add( light );
05. Add an animation loop
An animation loop, sometimes called a 'render loop', is called ideally 60 times per second. Film runs at 24 frames per second (FPS) and this is fast enough to trick the eye into seeing constant motion without interruption. In computer animation, we aim for at least 30 FPS, but ideally 60FPS. This ensures very smooth visual performance even if frames are dropped periodically.
We bind this animation loop to the requestAnimationFrame function, which does two things. First, it ensures the browser is ready to render the next frame. It also means animations can pause rendering when the user is no longer viewing that browser tab,
Add this code to render the scene in an animation loop:
var animate = function () {
	requestAnimationFrame( animate );
	renderer.render(scene, camera);
};

// start animation loop
animate();
06. Load a ground texture
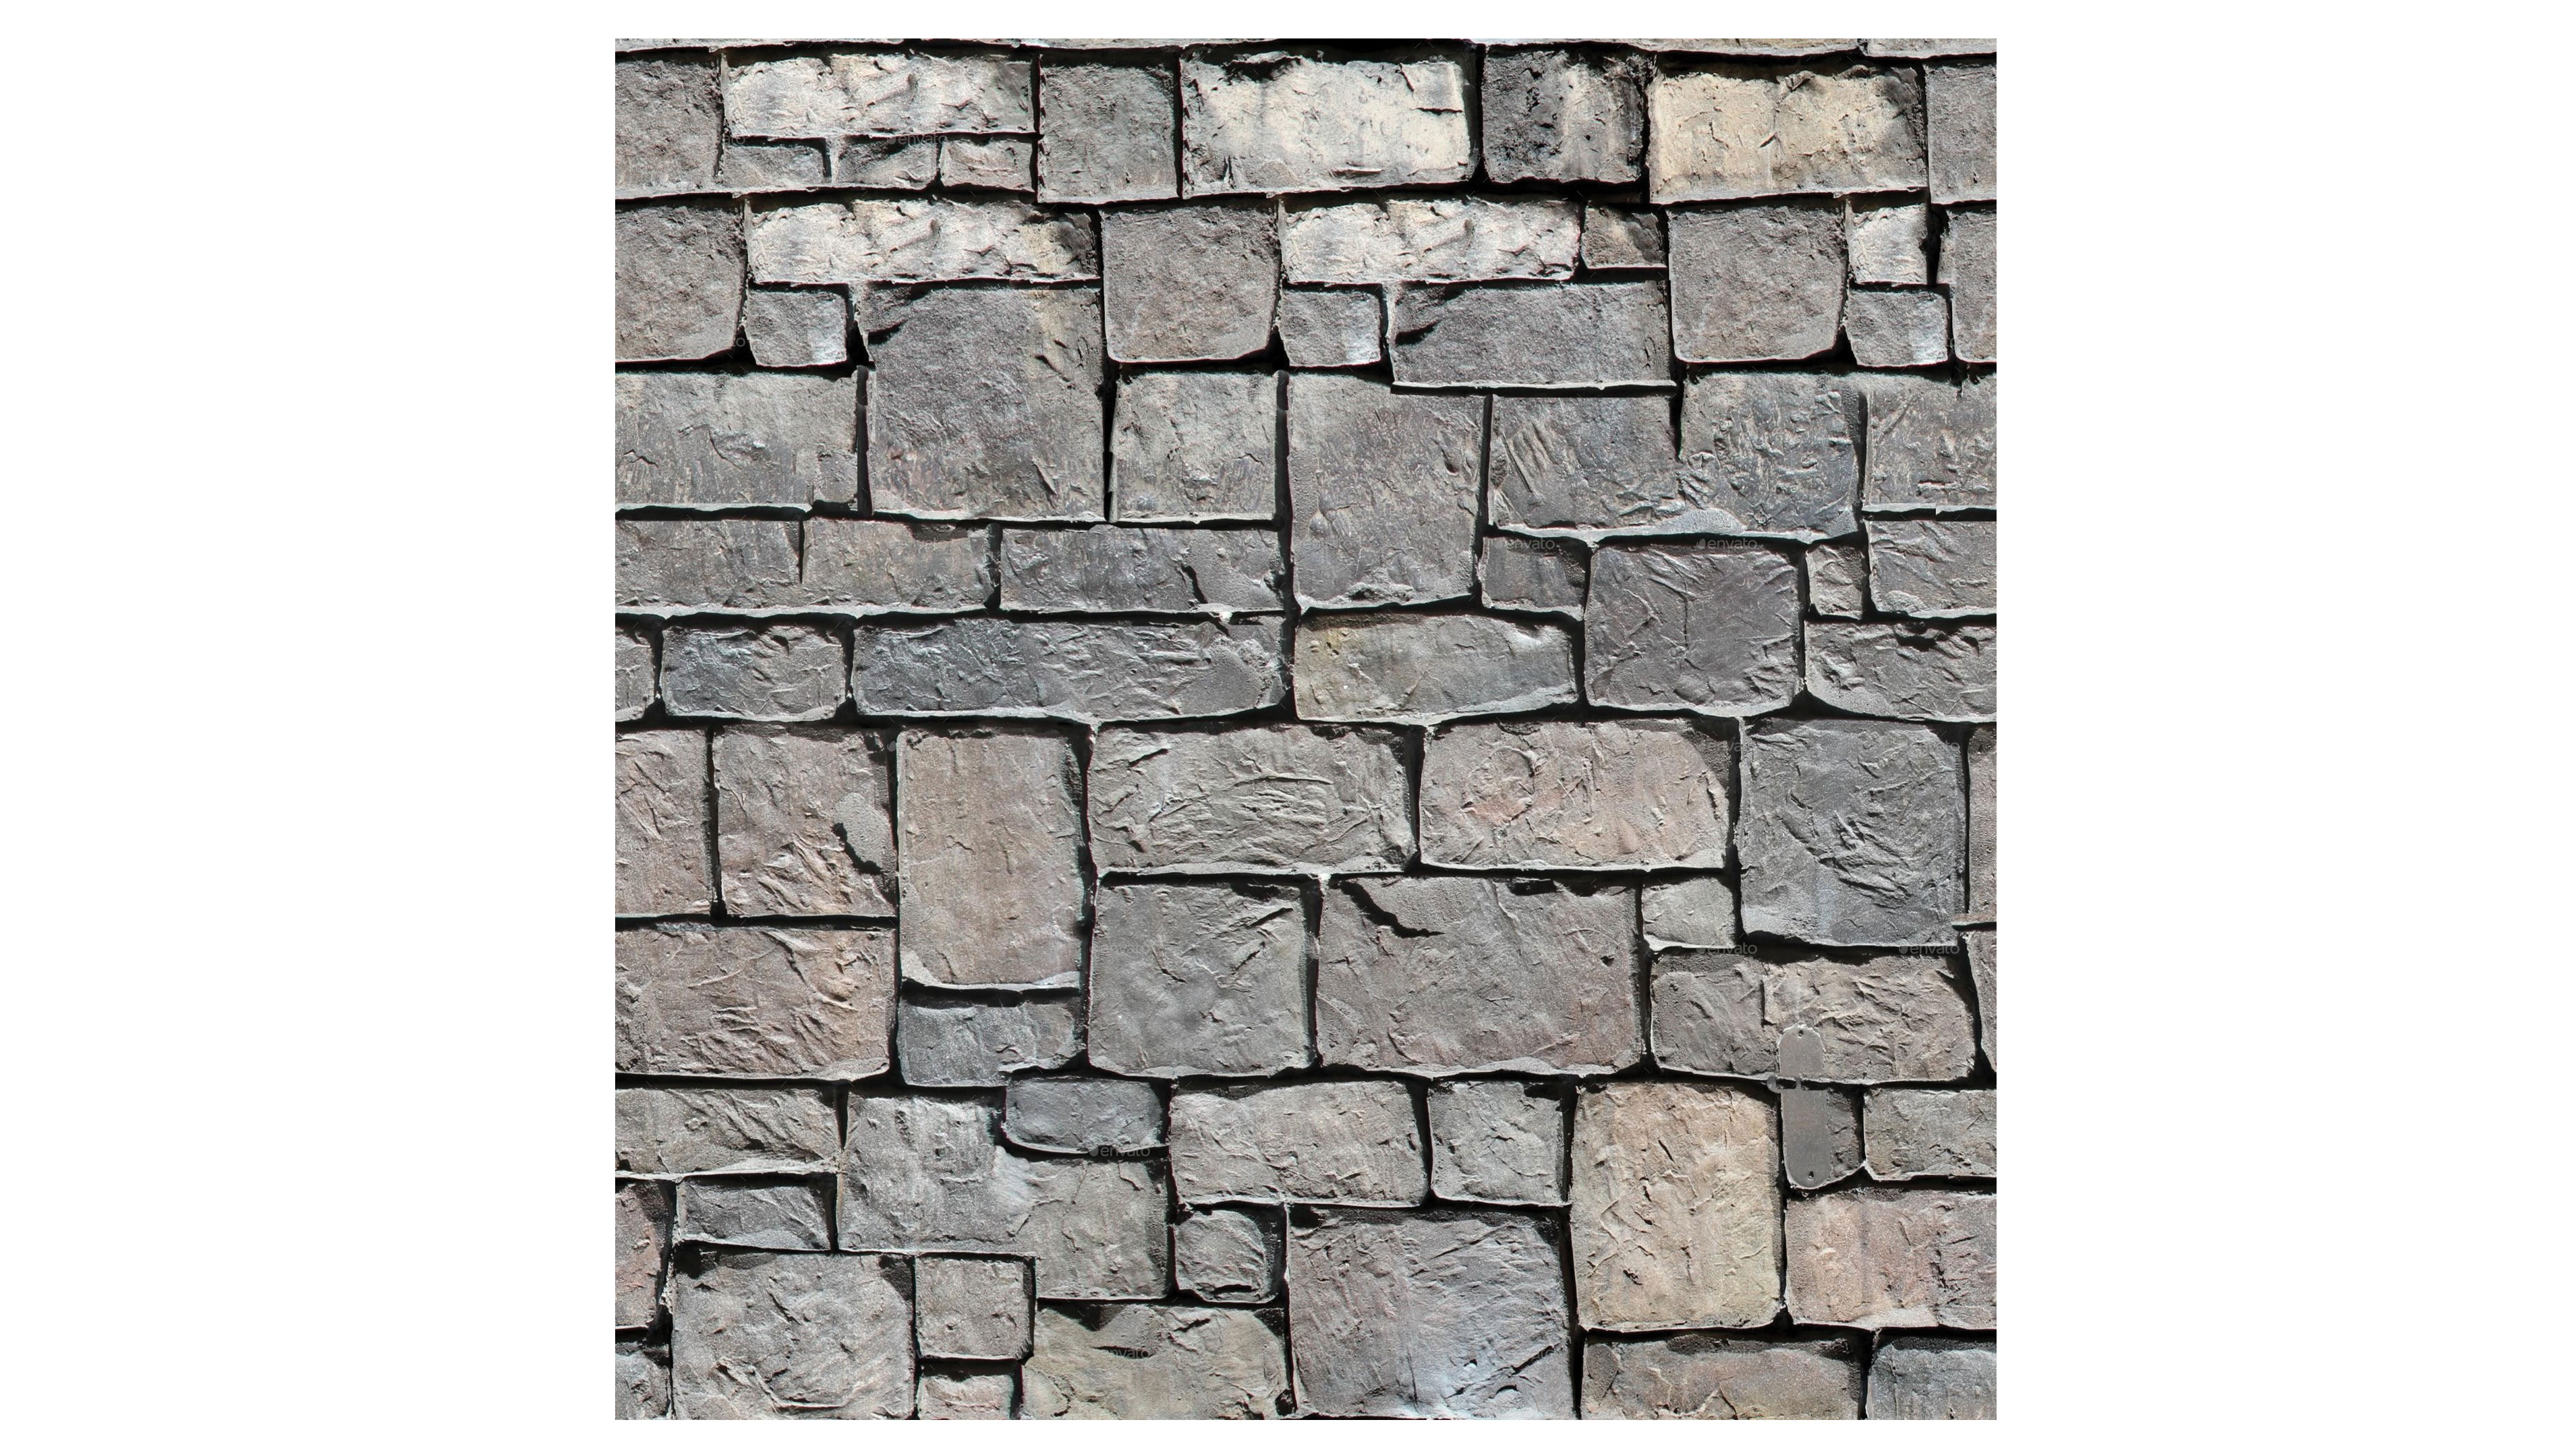
Next, you’ll create a ground for the scene. To start, you need to load an image to use. Textures for things like ground and wall surfaces can be created by taking your own photos and carefully cropping adjusting edges in Photoshop CC. Just be sure they can tile nicely. To get started quickly, there are great libraries online as well, see our best on free textures.
You can pick anything that will tile. This means the edges would blend together seamlessly if you laid them side by side. You can select something like tiles or stone for this. Notice that you use the texture wrap options to repeat the wrapping for this. This example uses 12x12 repeating. Adjust this to suit your image once you test the scene.
// load a ground texture
var texture = new THREE.TextureLoader().
load(“assets/stone.jpg”);
texture.wrapS = texture.wrapT = THREE.
RepeatWrapping;
texture.repeat.set (12,12);
07. Create a ground material
Three.js includes a variety of material types for you to use. Materials are thought of as the skin that covers a 3D object. You can use basic materials that do not react to light or phong or lambert shader materials that do. You can use your own custom shader materials as well. For this ground, use a Physical material. It has a very realistic look, reacting to light very well. Use the texture you loaded as the diffuse map, and also as a bumpMap if you don’t have a specific texture for that.
// create ground material
material = new THREE.MeshPhysicalMaterial({map:texture,bumpMap:texture});
08. Create a ground mesh
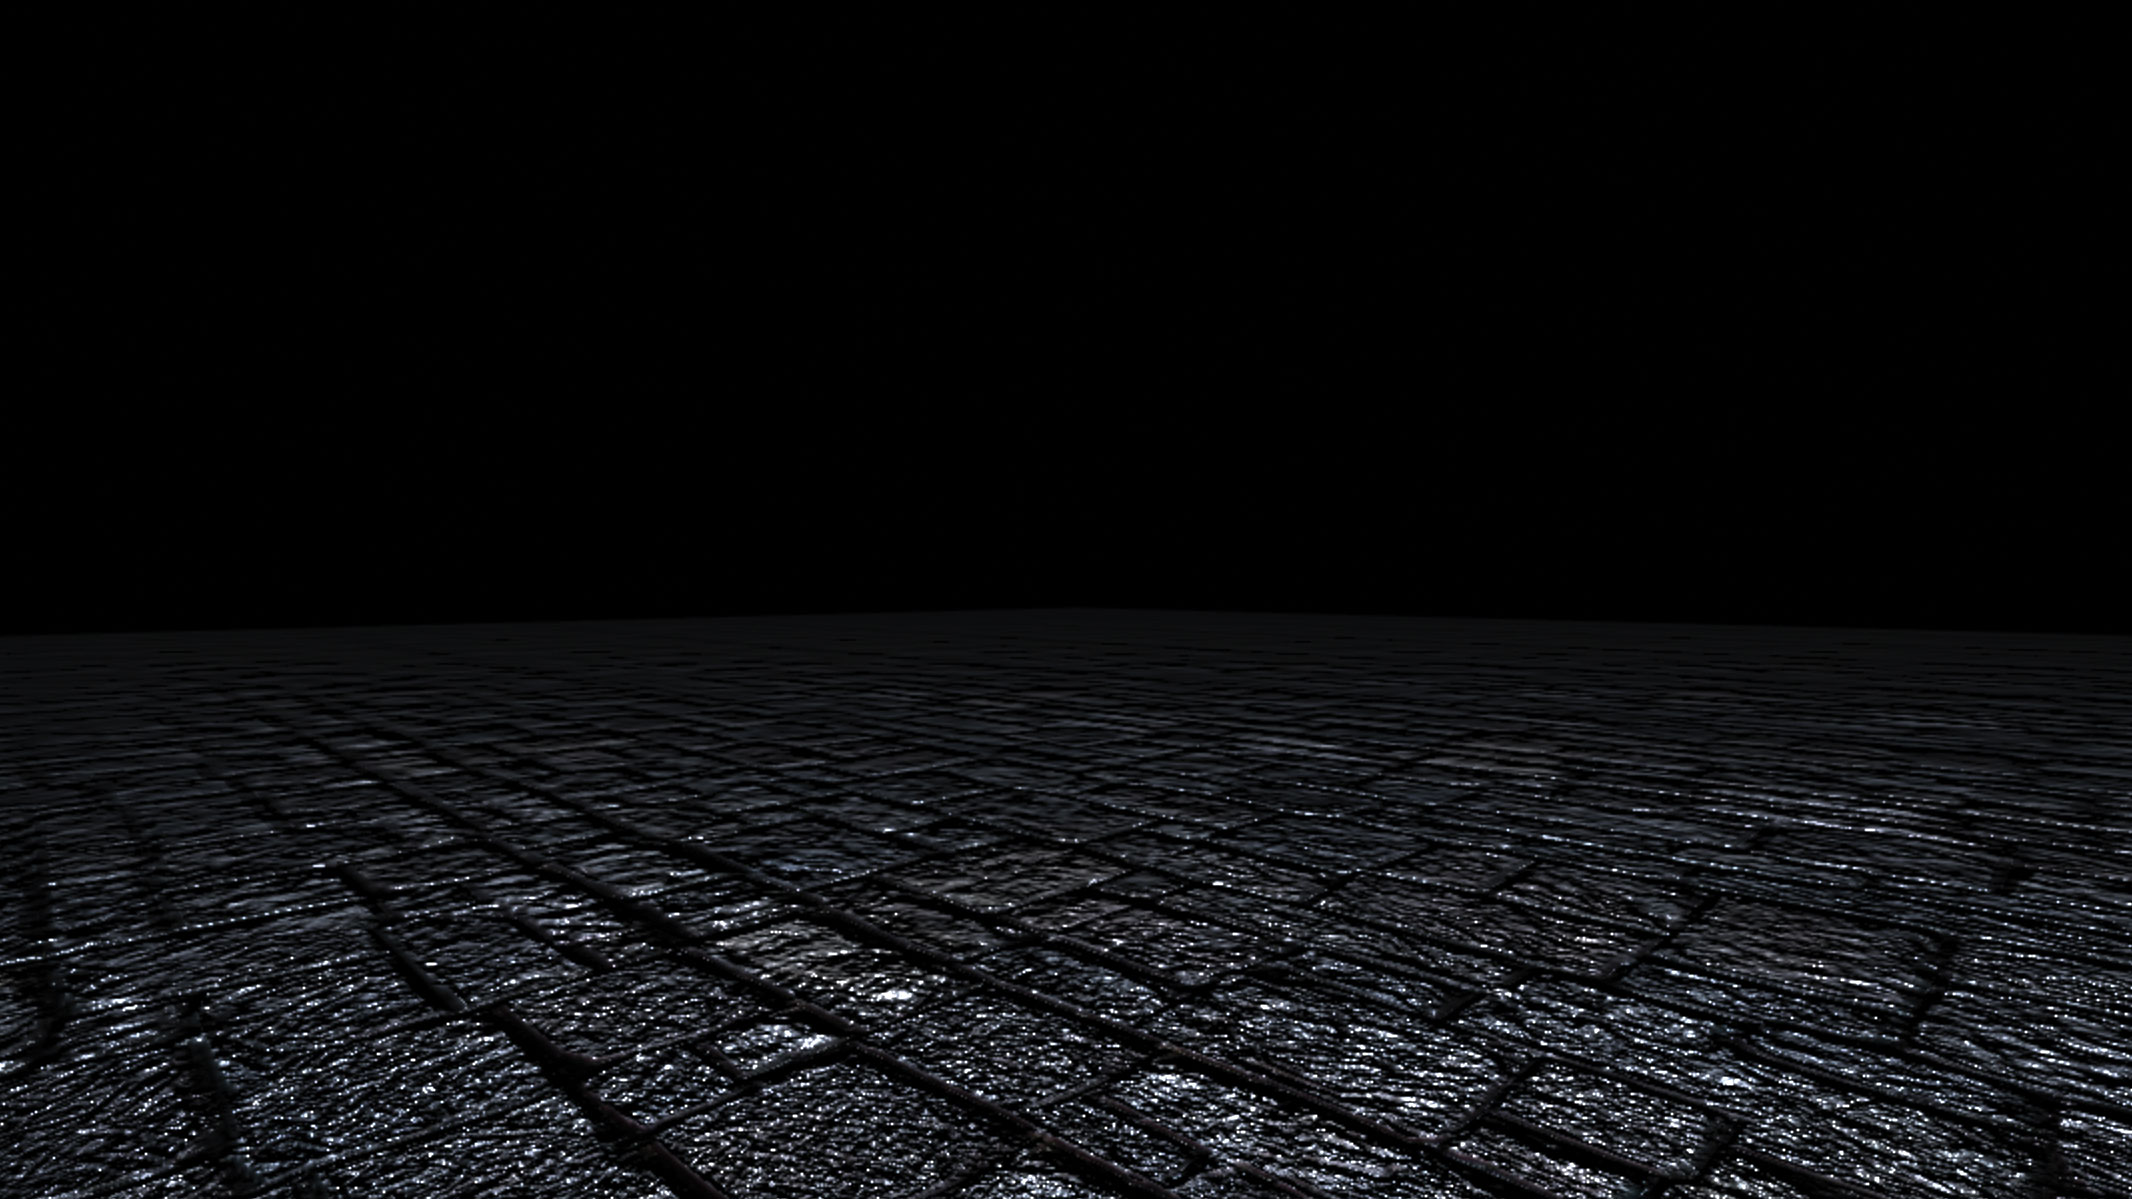
When we combine the material (skin) with the geometry that defines the shape of the 3D object, we create a mesh. For the ground, you need a simple plan. The material shader and texture will create the illusion of complex surface detail.
Add the following code to create your ground mesh, rotate to a nice angle and position it to below the camera. Be sure to run your code after this to see how it looks. Adjust any code you need to dial it in.
// create ground mesh
var geometry = new THREE.PlaneBufferGeometry
( 100,100 );
var ground = new THREE.Mesh( geometry,
material );
ground.rotation.z = Math.PI/180 * -45;
ground.rotation.x = Math.PI/180 * -90;
ground.position.y=-2.0;
scene.add(ground);
09. Load an objective
Next, you’ll add a central 3D object for focal interest. This is the star of your scene, so choose a texture you like to cover it. Note: You will make this object highly reflective, so the texture you load here is a more subtle look than the ground was.
// load object texture
var texture = new THREE.TextureLoader().
load(“assets/rock_01_diffusion.jpg”);
10. Create an environment map
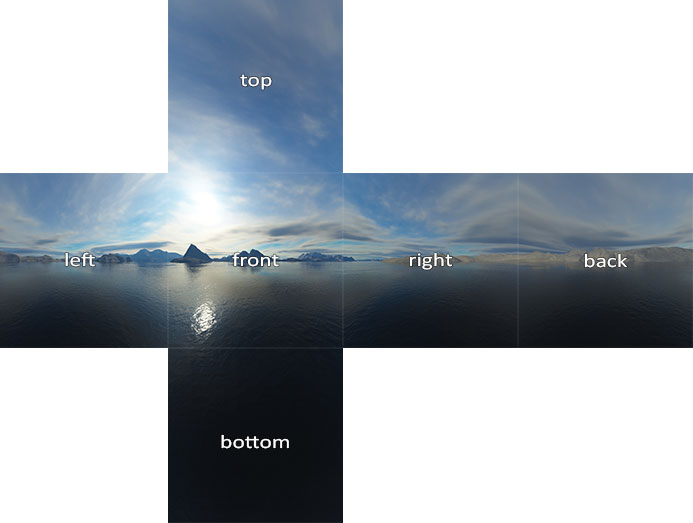
Next, create an environment around your object that will be reflected on its surface. You could also add this to the scene as the scene.background property if you wish. To load an environment, you use a CubeTextureLoader. The images you use should be six images that skin the inside of your cube to form a seamless image, called cube maps.
var envMap = new THREE.CubeTextureLoader()
.setPath( ‘assets/’)
.load( [ ‘px.jpg’, ‘nx.jpg’, ‘py.jpg’, ‘ny.
jpg’, ‘pz.jpg’, ‘nz.jpg’ ] );
11. Add tetrahedon
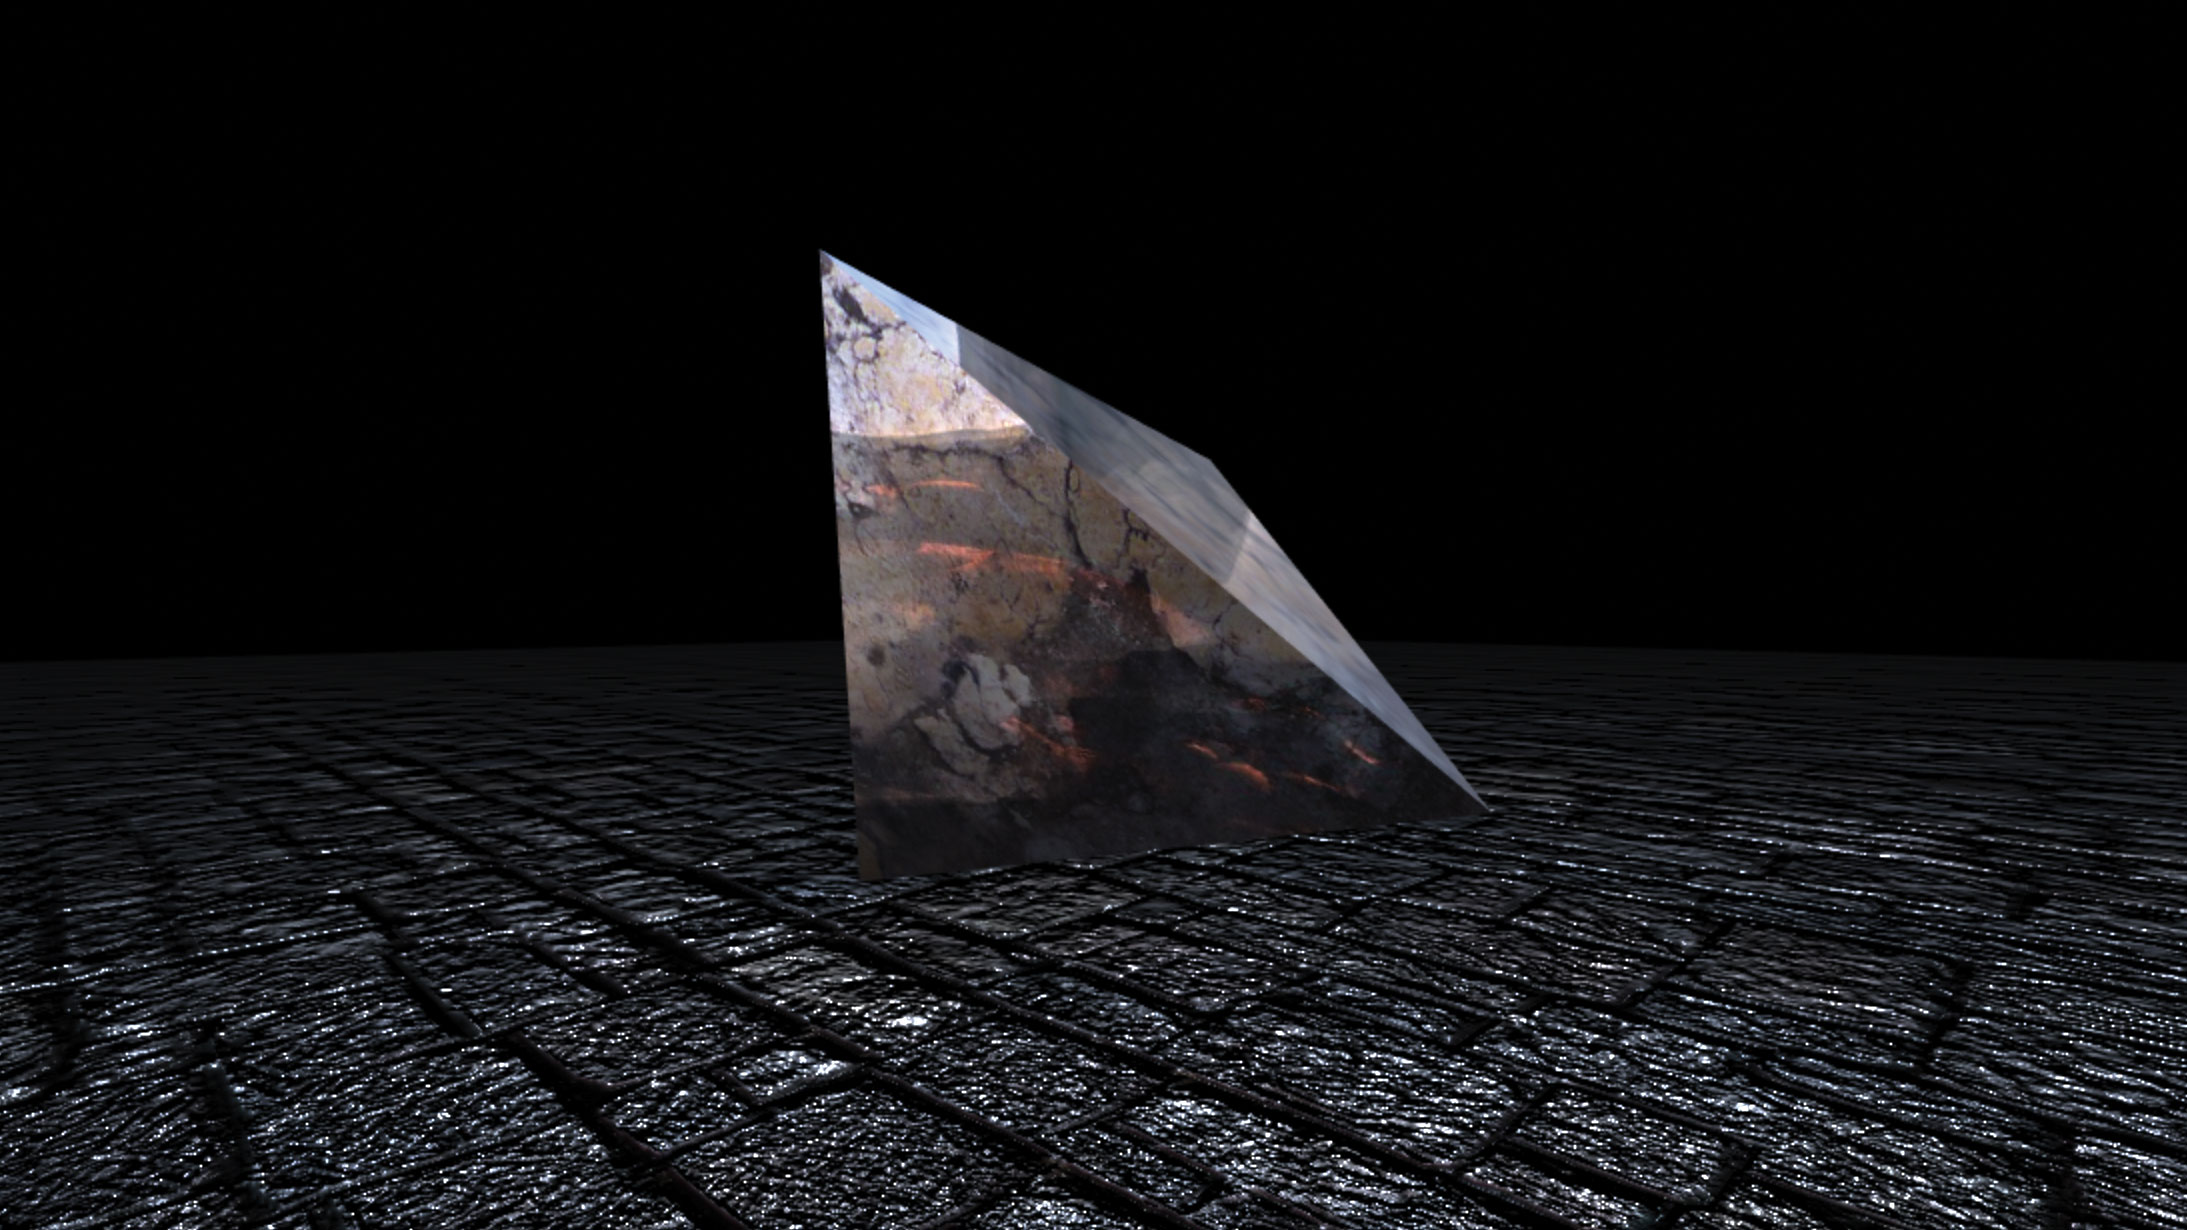
Three.js comes with many default geometries you can use for your scenes. One of the cooler ones is the Tetrahedron. It takes a radius and a 'detail' parameter to define the number of faces of the object.
Add one to your scene, with the following code.
// create Tetrahedron
var geometry = new THREE.
TetrahedronBufferGeometry(2,0);
var material = new THREE.MeshPhysicalMaterial
( { map:texture,   envMap:envMap,
metalness:1.0,roughness:0.0 });
t = new THREE.Mesh( geometry, material );
t.rotation.x=Math.PI/180*-10;
scene.add( t );
12. Add rotation and camera target
To make sure the camera is always looking at your main object, you use the camera.lookAt function. You can also add some ambient rotation to your object as well.
Update your animate function code to look like this.
requestAnimationFrame( animate );
t.rotation.y -= 0.005;
camera.lookAt(t.position);
renderer.render(scene, camera);
13. Add particles loop
Next, add some ambient particles to the scene. These will blend nicely with the foreground video loop you’ll add later, as well as being interactive. Add a simple 'for' loop to hold the code you’ll use to create multiple particles.
for (i=0;i<=num;i++){
	// particle code will go here
}
14. Create particle mesh
The first thing to do is create the particle object. You could do this with spheres, sprites, or any object you wish. For now, try making them simple spheres.
Inside your for loop add the following code.
// create new mesh
var geometry = new THREE.SphereBufferGeometry( .1,6,6  );
var material = new THREE.MeshPhysicalMaterial( { envMap:envMap, metalness:1.0 } ) ;
var particle = new THREE.Mesh( geometry, material );
15. Set random position and distance
The particles will orbit the central object and should be randomly positioned so they fill the space nicely and have an organic look. Add the following code to set an irregular position and then assign a constant distance for each particle.
// set random position
particle.position.set(Math.random()*100.0 -
50.0,0.0 ,Math.random()* - 10.0 );
// calc distnace as constant and assign
to object
var a = new THREE.Vector3( 0, 0, 0 );
var b = particle.position;
var d = a.distanceTo( b );
particle.distance = d;
16. Set up angles for orbits
To make animating the orbits faster, add the angle constants for the orbits, and store them as a property of the particle. Add the following code to define these random content angles.
// define 2 random but constant angles
in radians
particle.radians = Math.random()*360 * Math.
PI/180; // initial angle
particle.radians2 = Math.random()*360 * Math.
PI/180; // initial angle
17. Add particle to scene and collection
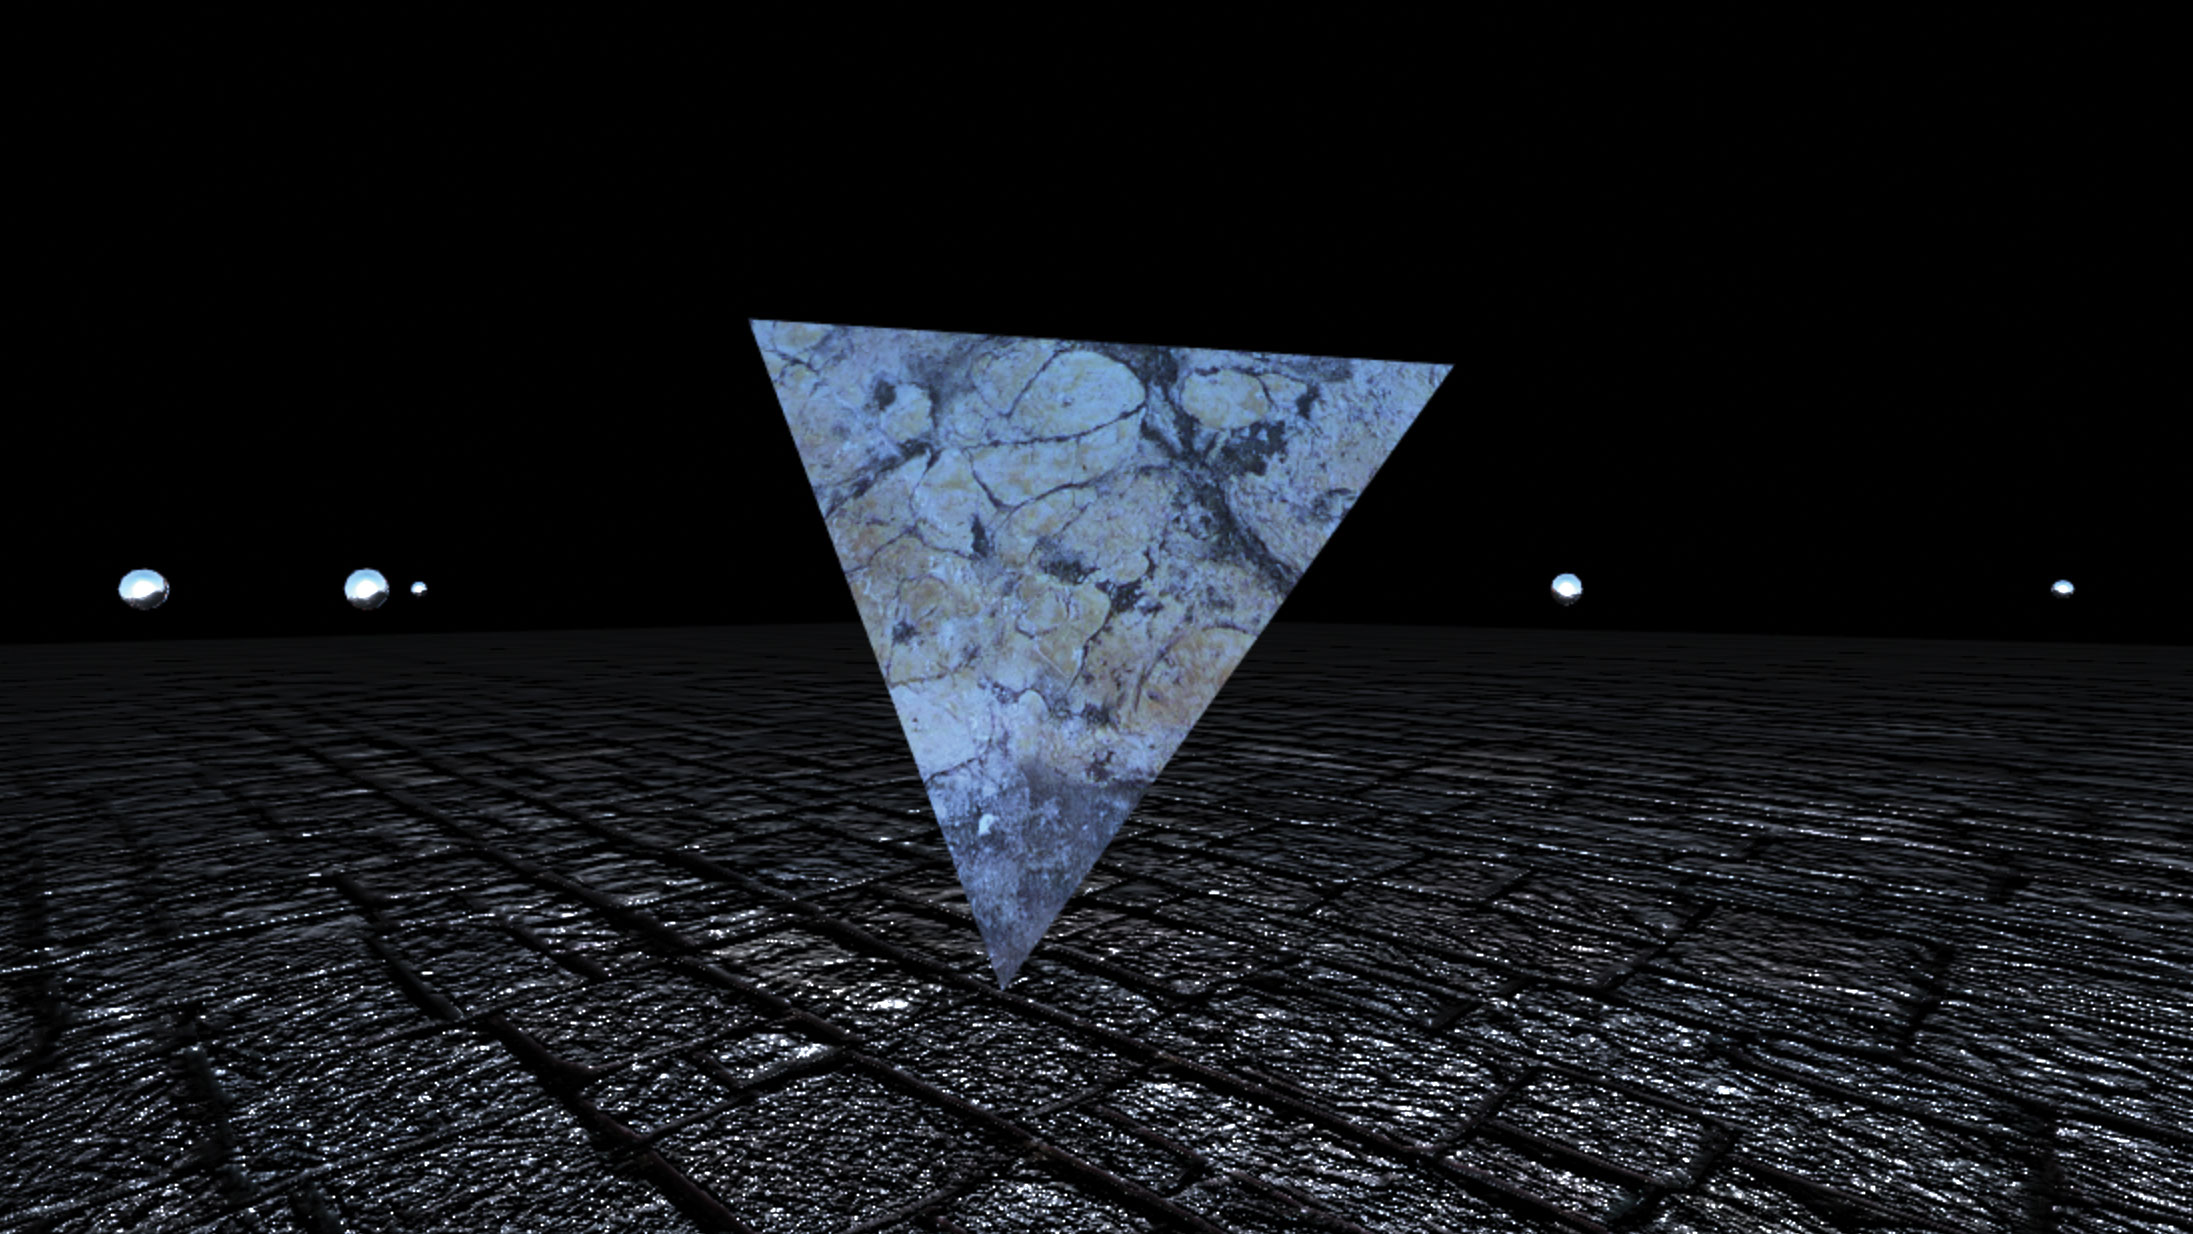
Lastly, add the particle to the scene and to the objects array you defined earlier. This will make iterating all the particles easy later on.
// add object to scene
scene.add( particle );
// add to collection
objects.push( particle );
18. Add animation to particles
Next, you need to update the position and rotation of your particle objects. These orbit at a constant distance from the scene centre. Add the following code to your animate function.
for (i=0;i<=num;i++){
	var o = objects[i];
	o.rotation.y+=.01;
	if( i % 2 == 0) {
		o.radians+=.005; o.radians2+=.005;
	} else {
		o.radians-=.005; o.radians2-=.005;
	}
	o.position.x = (Math.cos(o.radians) *
o.distance);
	o.position.z = (Math.sin(o.radians) *
o.distance);
	o.position.y = (Math.sin(o.radians2) *
o.distance*.5);
}
19. Add a title
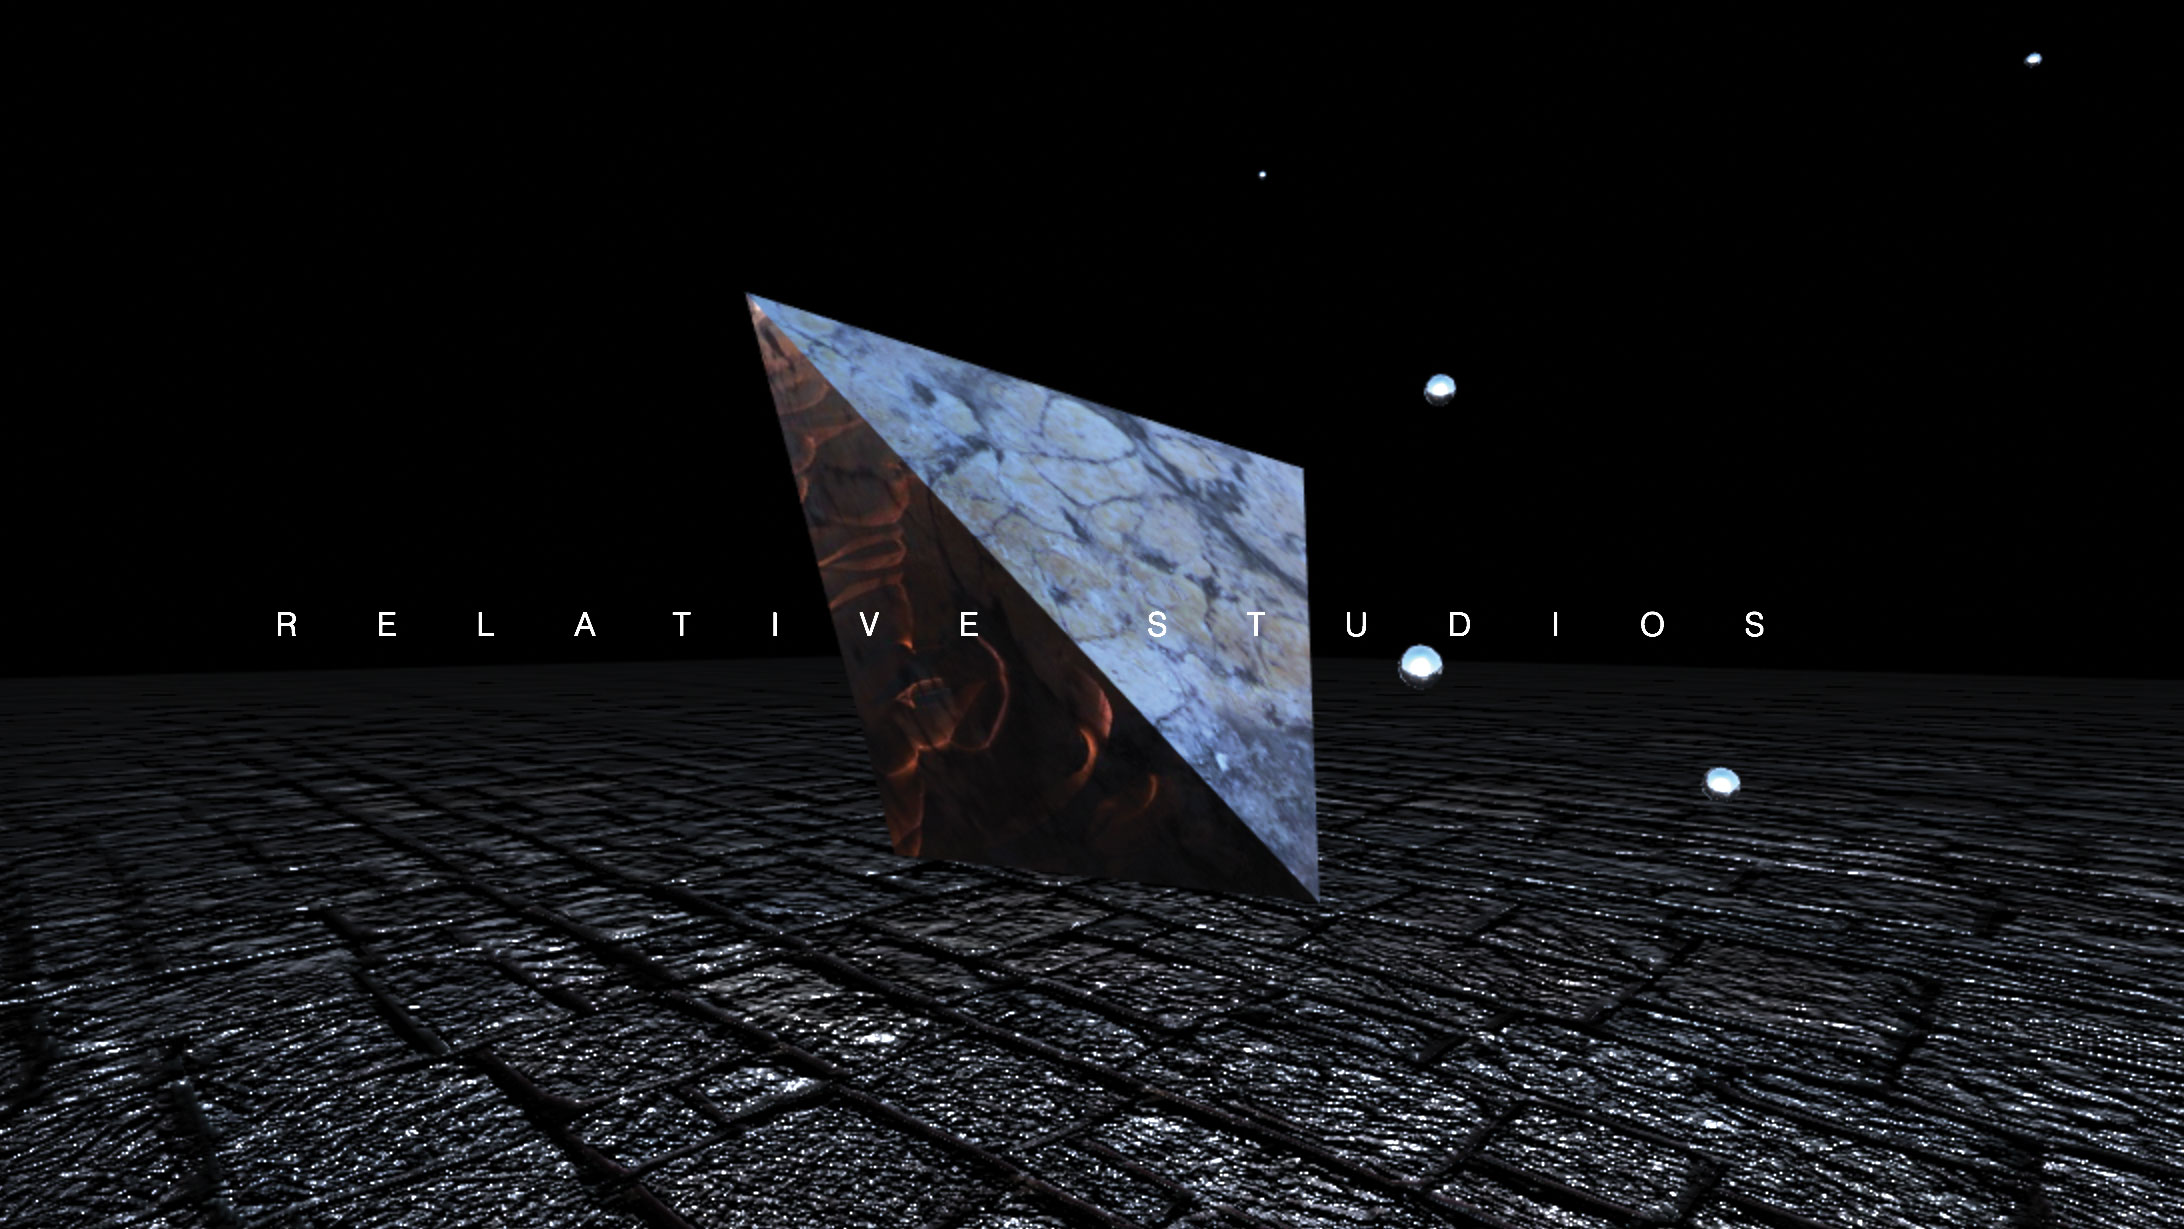
Next, add a title in the centre of the screen – a name to introduce your brand. Letter-spacing for titles gives a great cinematic look. Use any font/style you like, but look at film title references for inspiration. See our list of free fonts for a list of our favourite downloadable fonts.
First add the DOM element for your title. Add this after the script tags before the closing body tag.
<h1>Relative Studios</h1>
Add the following styles for your title to your style tags at the top of your file.
h1 { color:white; position:absolute; top:50%;
z-index:100; width:100%; text-align: center;
transform: translate(0,-100%); font-family:
‘Raleway’, sans-serif; font-weight: 100;
letter-spacing: 40px; text-transform:
uppercase; font-size: 16px; }
20. Add a video loop
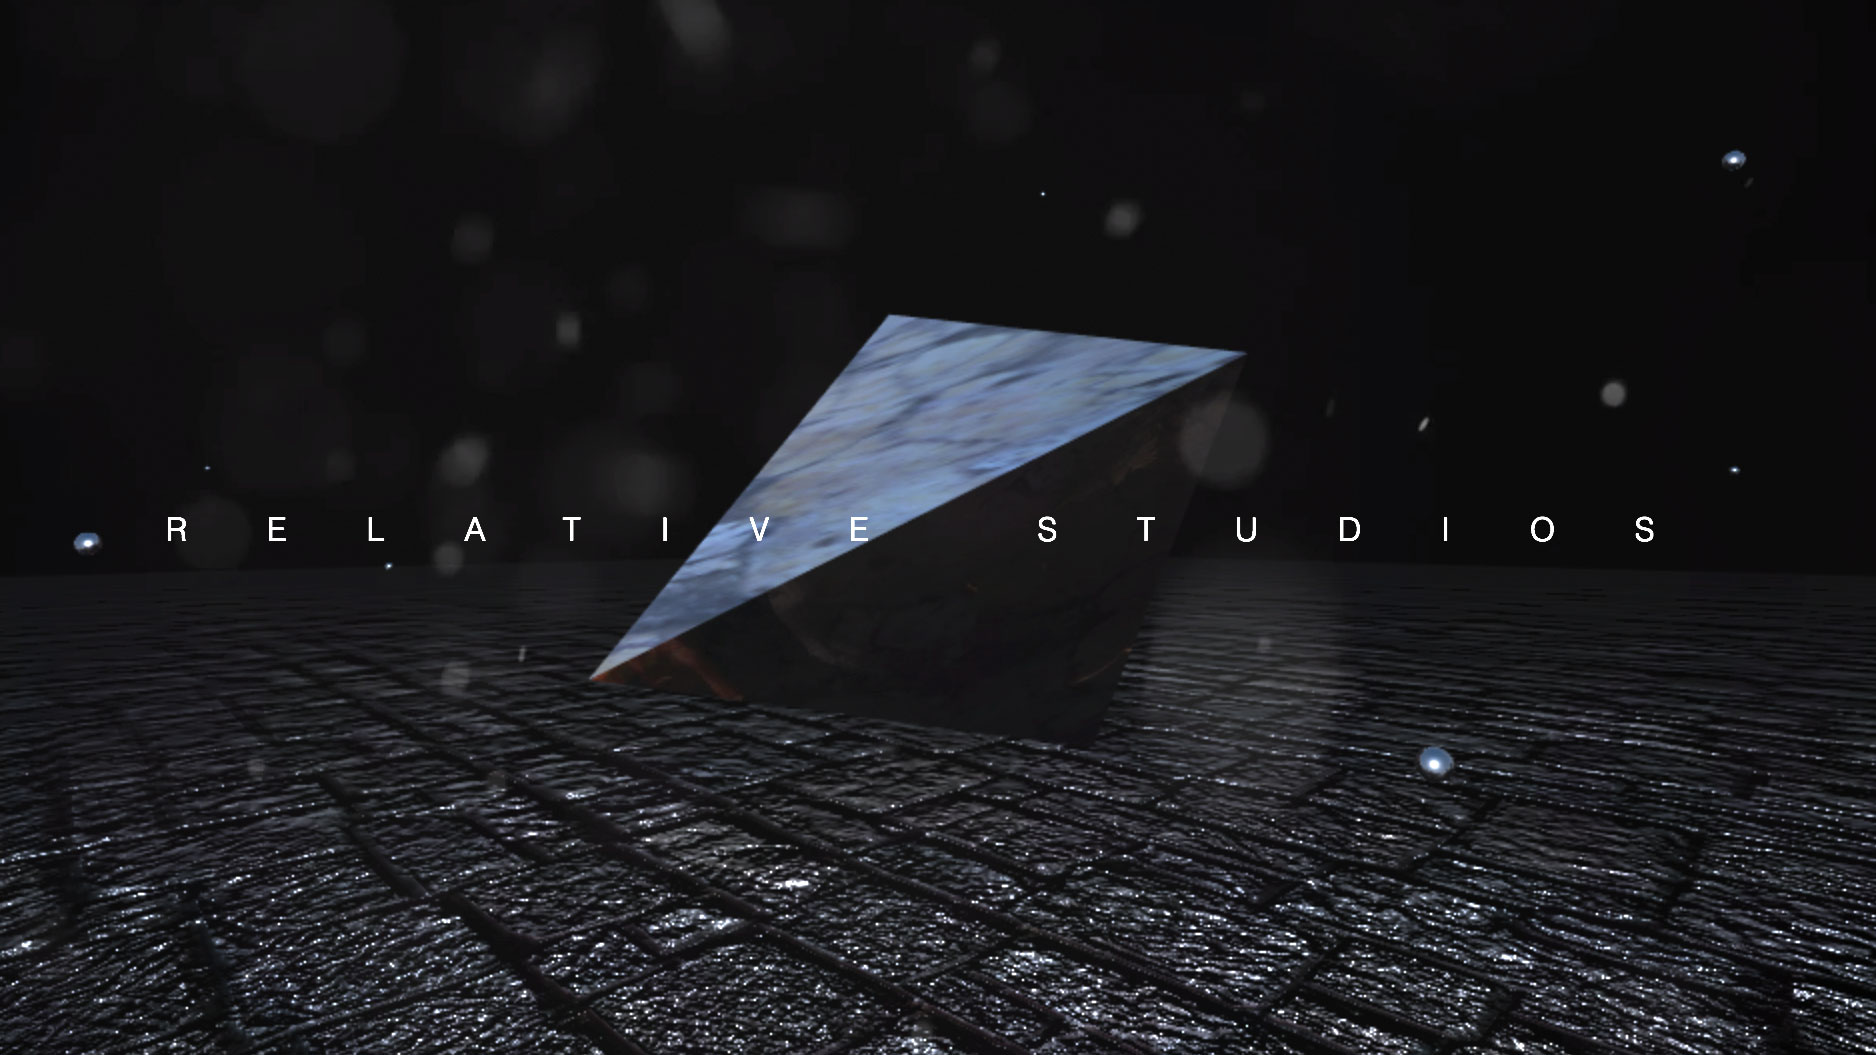
A nice trick to create depth to your landing is to add a small video loop. You can use smoke, dust or particles. These are widely available online, or part of a wide number of video and filmmaking packages. Add the following video tag after your H1 tag. Note that you want to set it to 'muted' and autoplay. This will also allow the video to play on mobile devices as well online.
<video id=”videoBacker” loop src=”assets/
snow.mp4” autoplay muted ></video>
To style up the video, add the following CSS to your styles at the head of your page.
#videoBacker {  background-size: cover;
object-fit: cover; z-index: 9; opacity:.3;
position: absolute; top:0px; left:0px;
width:100vw; height: 100vh; transition: 1s
opacity ease-in-out;
21. Add letter-boxing
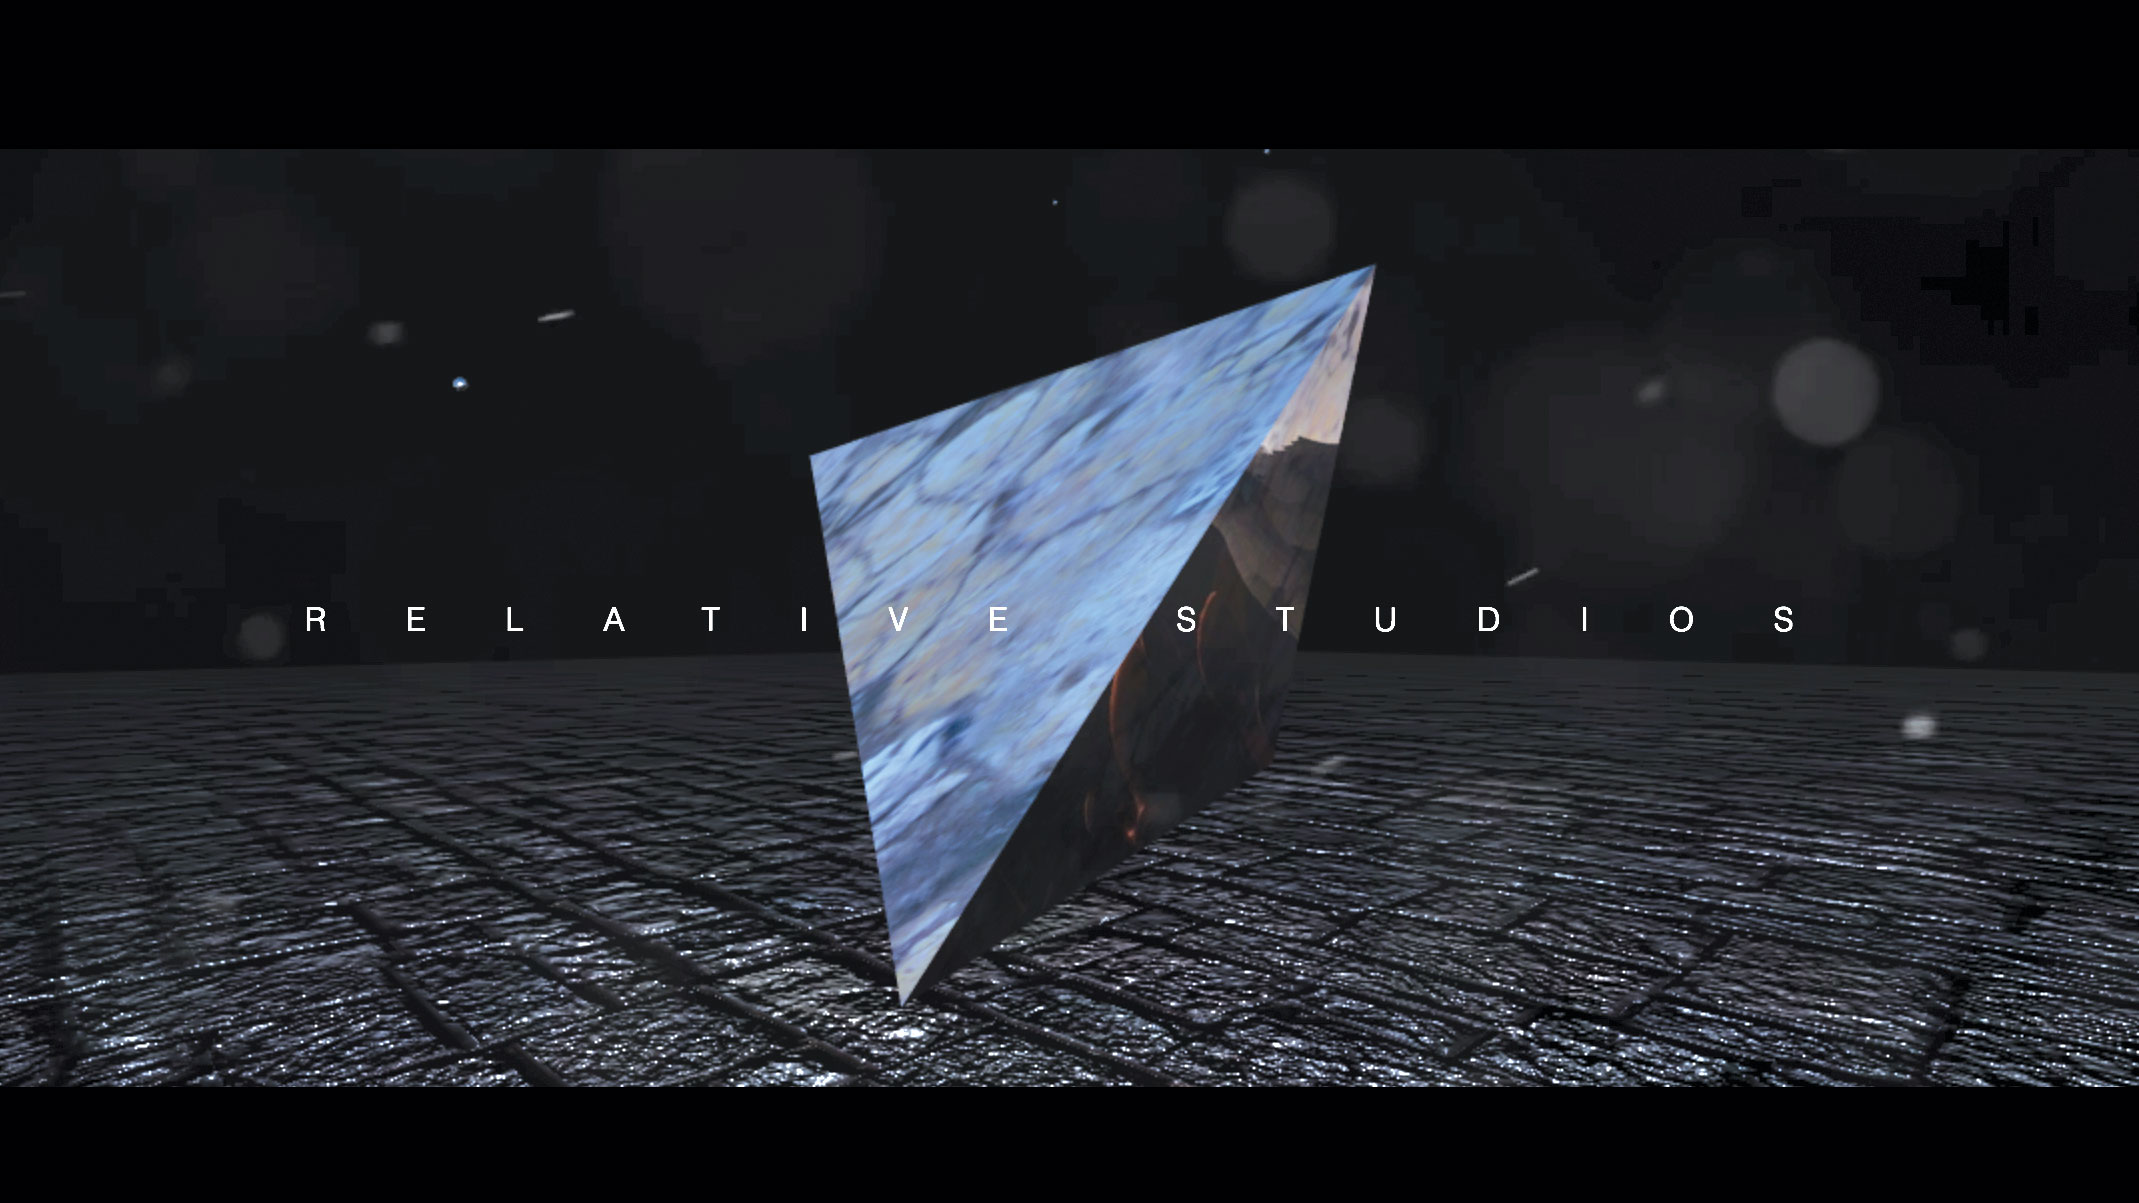
To really give your landing page a cinematic style, add some letter boxes to the page.
Start by adding the div elements for this.
<div class=’bar-top’></div>
<div class=’bar-bottom’></div>
Then update your styles to add styles for these two black bars. You can adjust these styles to your taste and needs as well.
.bar-top { background-color: black;
height:100px; position: absolute; top:0;
left:0;z-index: 100; width:100vw;}
.bar-bottom { background-color: black;
height:100px; position: absolute; bottom:0;
left:0; z-index: 100; width:100vw;}
This article originally appeared in issue 287 of Web Designer. Buy issue 287 or subscribe here.
Read more:
Richard is an award-winning interactive technologist, designer and developer. He specialises in creating interactive worlds with science-fiction themes, exploring the synergy between human and machine. He has also written regular articles for Net Magazine, and Web Designer Magazine on a range of exciting topics across the world of tech, including artificial intelligence, VFX, 3D and more.
