How to draw animals: 15 top tips
Aaron Blaise offers observational and illustration advice to help you master the art of drawing animals.

Sign up to Creative Bloq's daily newsletter, which brings you the latest news and inspiration from the worlds of art, design and technology.
You are now subscribed
Your newsletter sign-up was successful
Want to add more newsletters?

Five times a week
CreativeBloq
Sign up to Creative Bloq's daily newsletter, which brings you the latest news and inspiration from the worlds of art, design and technology.

Once a week
By Design
Sign up to Creative Bloq's daily newsletter, which brings you the latest news and inspiration from the worlds of art, design and technology.

Once a week
State of the Art
Sign up to Creative Bloq's daily newsletter, which brings you the latest news and inspiration from the worlds of art, design and technology.

Seasonal (around events)
Brand Impact Awards
Sign up to Creative Bloq's daily newsletter, which brings you the latest news and inspiration from the worlds of art, design and technology.
Learning how to draw animals is an integral part of illustration. From wildlife scenes around the world to portraits of pets, there are a myriad of possibilities once you've mastered the skill.
This guide, from acclaimed animator, director and wildlife artist Aaron Blaise, offers expert advice on how to successfully draw animals. With a bit of practice, the animal kingdom will be at your fingertips. For more art lessons, see our pick of the best how to draw tutorials but, for now, scroll down to soak up Blaise's expert advice.

Blaise will use his wealth of experience to give a unique insight into the old ways of animation at Vertex 2021 on 25 February. Those with a ticket to the virtual event can watch live and enjoy on-demand access to any of the talks for 30 days. Don't miss out on the ultimate event for 2D and 3D artists, get your ticket today.
Draw animals like a pro with Aaron Blaise
Long before I was a director and animator with Walt Disney Feature Animation, I was a lover of wildlife. Growing up as a bit of a wild child in the swamps of south Florida, I would typically be found running through the woods, barefoot of course, tracking animals. I would draw them in my sketchbooks or even collect the bones of animal kills and save them for later study.
It was always my dream to be an illustrator for National Geographic and to see the world. Instead, I went on to Disney and a successful animation career, but I still found a way to pursue my love of drawing animals by working on classic films like The Lion King and Brother Bear. Now I want to share some of the knowledge from my years of studying animals with you!
01. Observe first
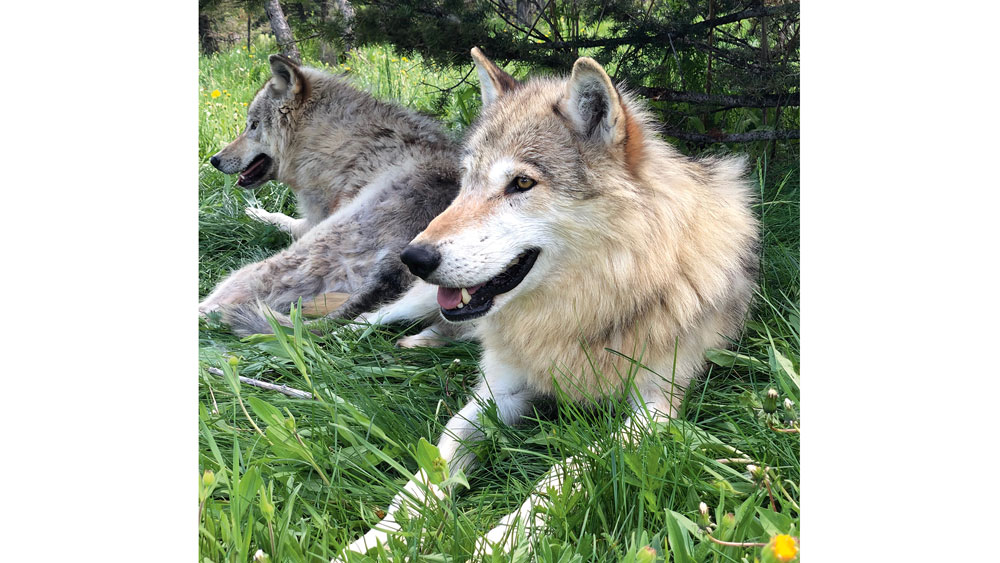
Before you start to draw, stop and really look. Take a moment to observe and study the animal. How does it move? Often you'll notice patterns of movement. What's the animal doing?
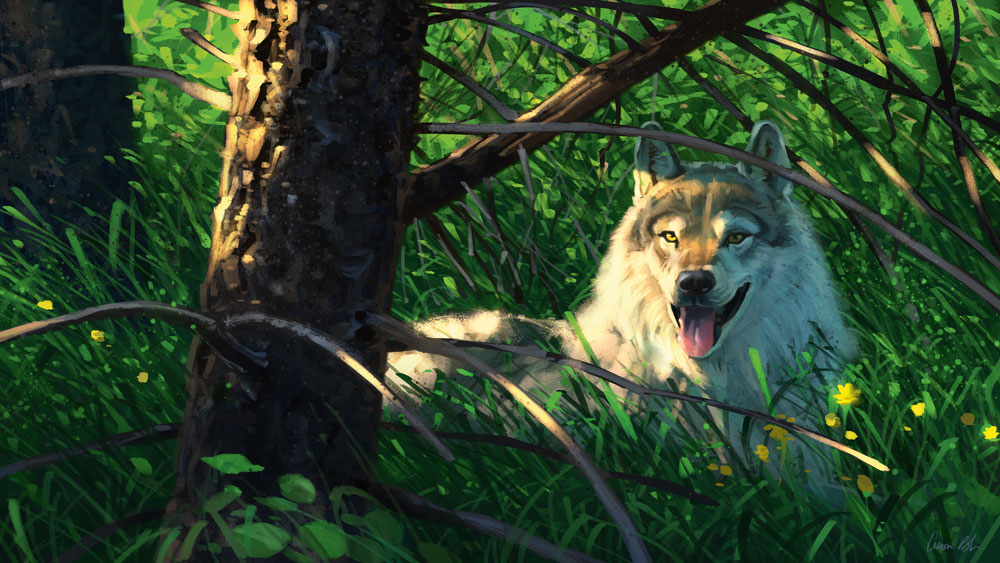
Can you anticipate where it will be next? If it's a hot day it might be heading for shade, for example. These sorts of details can be crucial in helping you capture details because animals often won't sit still and pose for you – especially in the wild!
02. Do your research before you get there

I do my homework on what animals I'll see in a particular area. For instance, on a trip to Alaska I may try to learn everything I can about grizzly bears, muskox and moose before I arrive. I'll study books and do research to learn about their muscles, skeletons and patterning. I'll even watch live webcams of an area to give me a sense of the environment. This information will aid me when I'm on location, and save a lot of time.
03. Take a mental picture
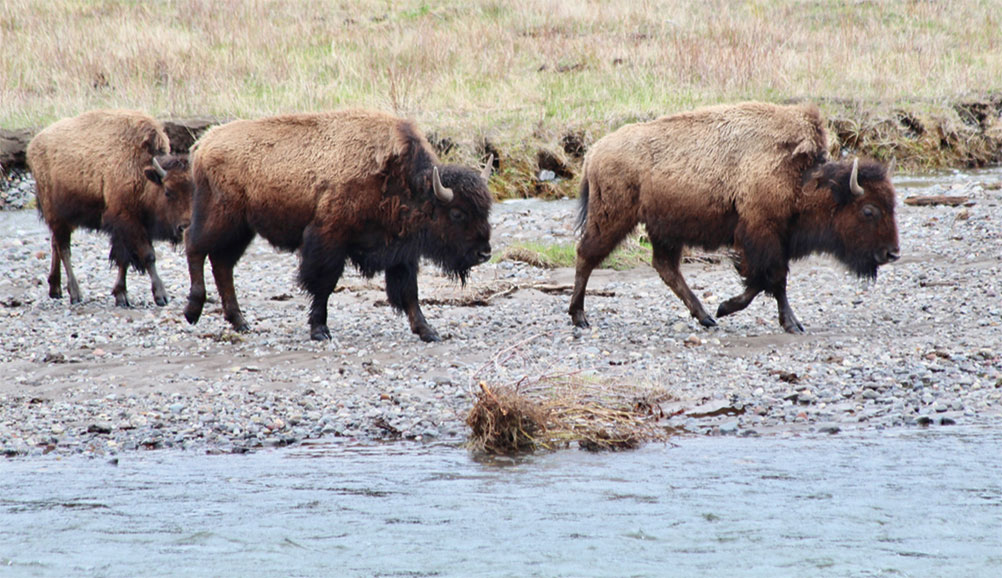
Animals often don't sit still. To combat this I've developed a technique of taking a mental snapshot. I don't stare at the animal the entire time I'm drawing. Instead, I'll glance at the animal and then quickly look away to my page.
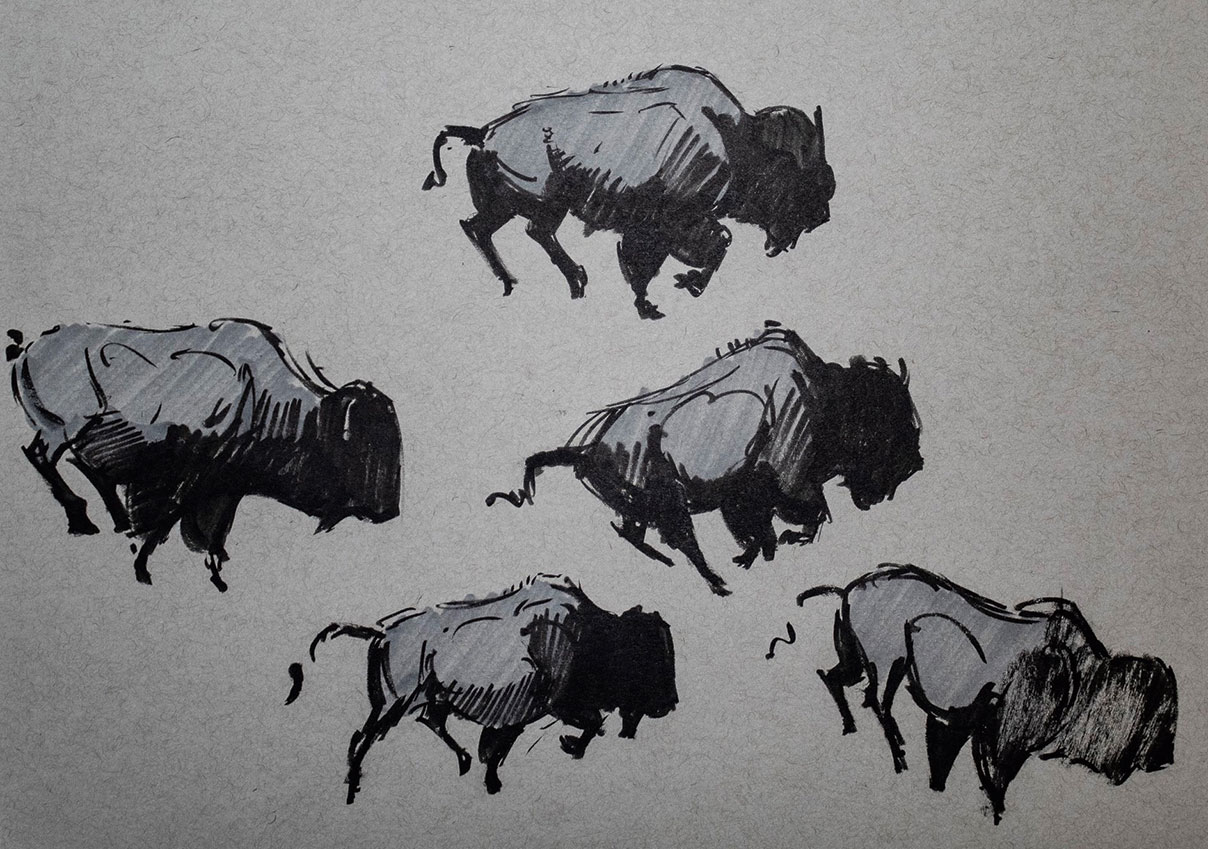
By doing this the last image of the animal that I saw is frozen in my mind. Combined with my research on anatomy, I'm able to get an accurate drawing down on the page.
04. Break the body up into sections
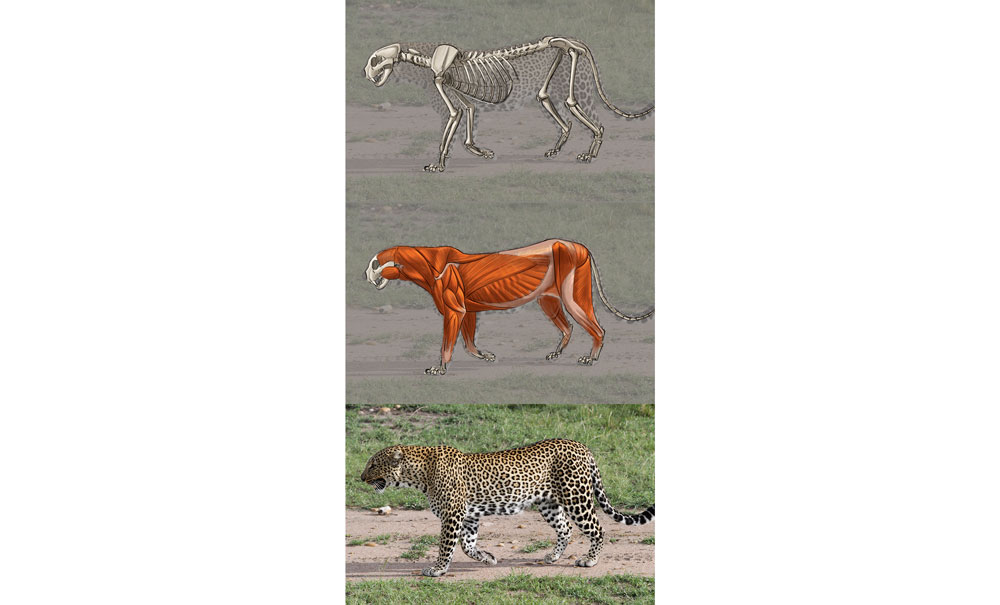
This is an observation I've made over the years. Most quadrupeds can be broken down into six main areas: the head, the neck, the front legs and shoulders, the body, the rear legs and hips, and finally the tail. This may seem like a simple observation, but once you break the animal up this way you can overlap those areas in any orientation in space.
05. Understand basic comparative anatomy
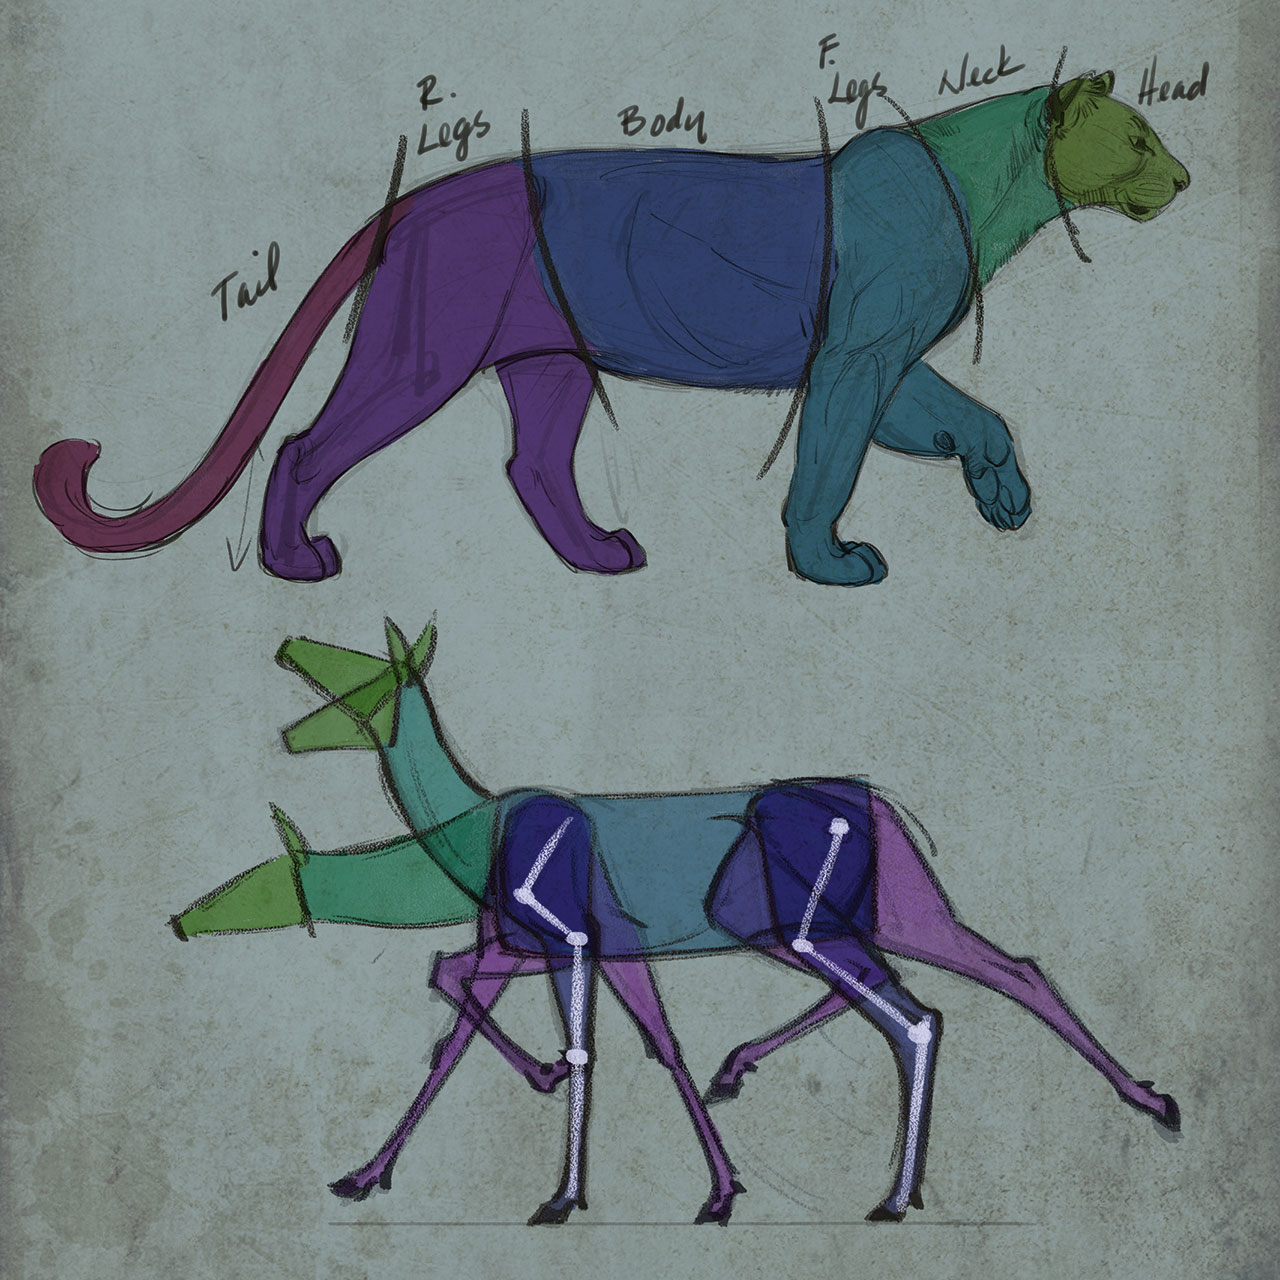
People ask how do I know all these details about the animals I draw? The answer is: I don't! But I do know comparative anatomy. Most animals, especially mammals, have all the same "parts" – just spaced out differently. And this is true of humans as well. Once I understood that
I have basically the same parts as a lion, just in different locations, it was a eureka moment in my ability to draw them.
06. Watch your proportions

Now that you understand that most animals have the same bones and muscle groups as you do, it's just a matter of playing with the proportions and getting those correct. This is primarily a matter of practice and repetition. But once you start to get the spacing and proportions right, you'll be able to draw your subject in any pose or angle.
07. Use black and white ink on midtone paper
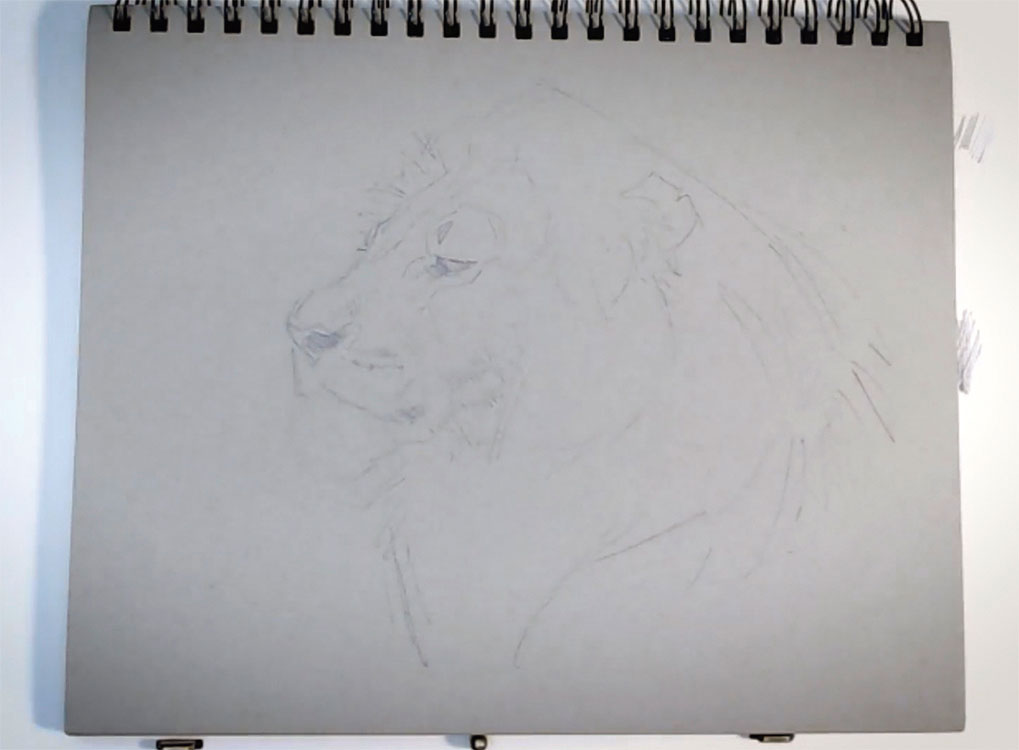
How to enhance a pencil drawing of a lion's head with inks, bringing it to life:
a). Create a rough sketch

First lay in a rough drawing in pencil bearing in mind all the tips you have already learned so far. It's okay to be loose at this stage. This can give your work a dynamic edge! You'll refine the image in the later steps.
b). Add darks to the drawing
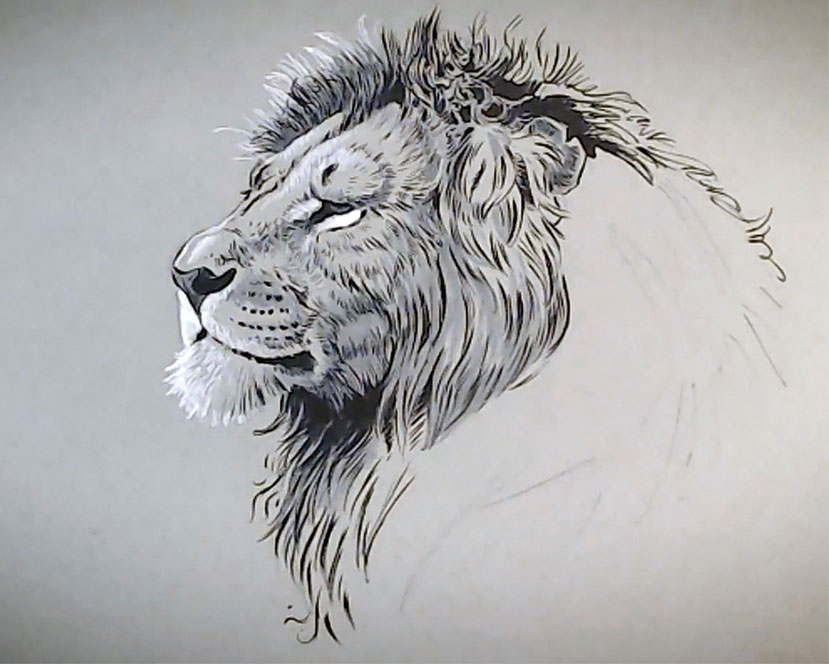
Next, use a brush pen and/or ball point pen to lay down the darks. Use waterproof ink here in case you want to add watercolour or a wash later. Try to work in one consistent direction so you don't smear the ink.
c). Use white ink for highlights
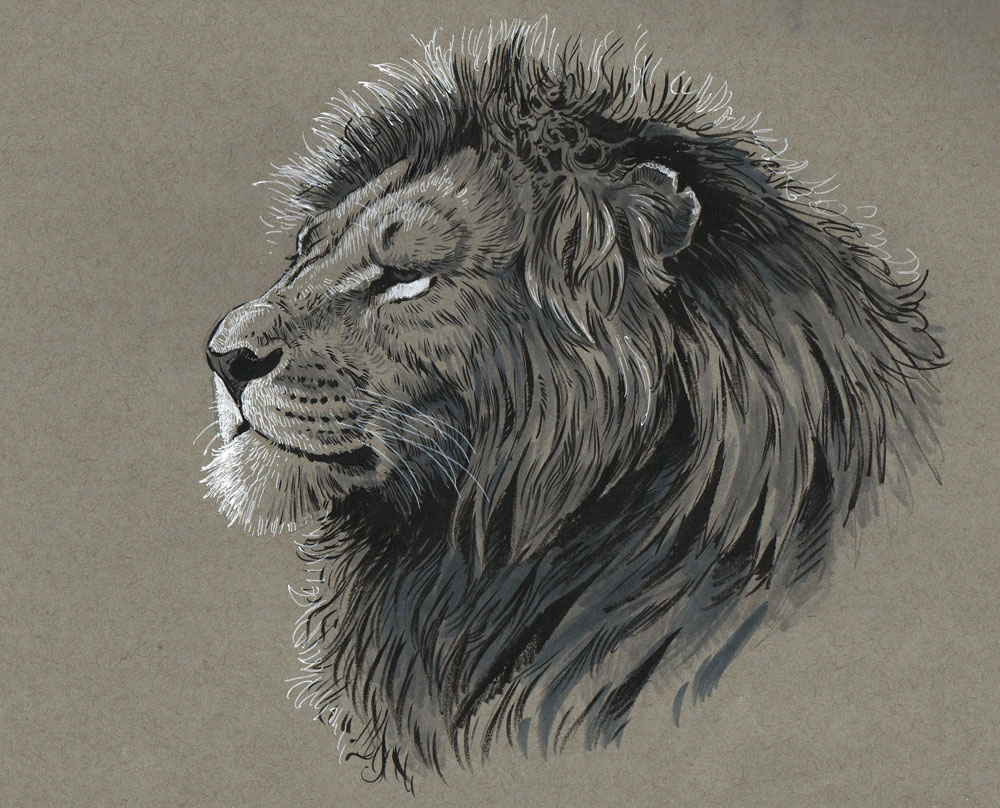
Now use a white pen (I like Sakura Gelly Roll pens for this) and add final accents and highlights. Because you started with a mid- tone and not on white you can go lighter and make it pop! Use markers to add more shading.
08. Stay loose and find the flow
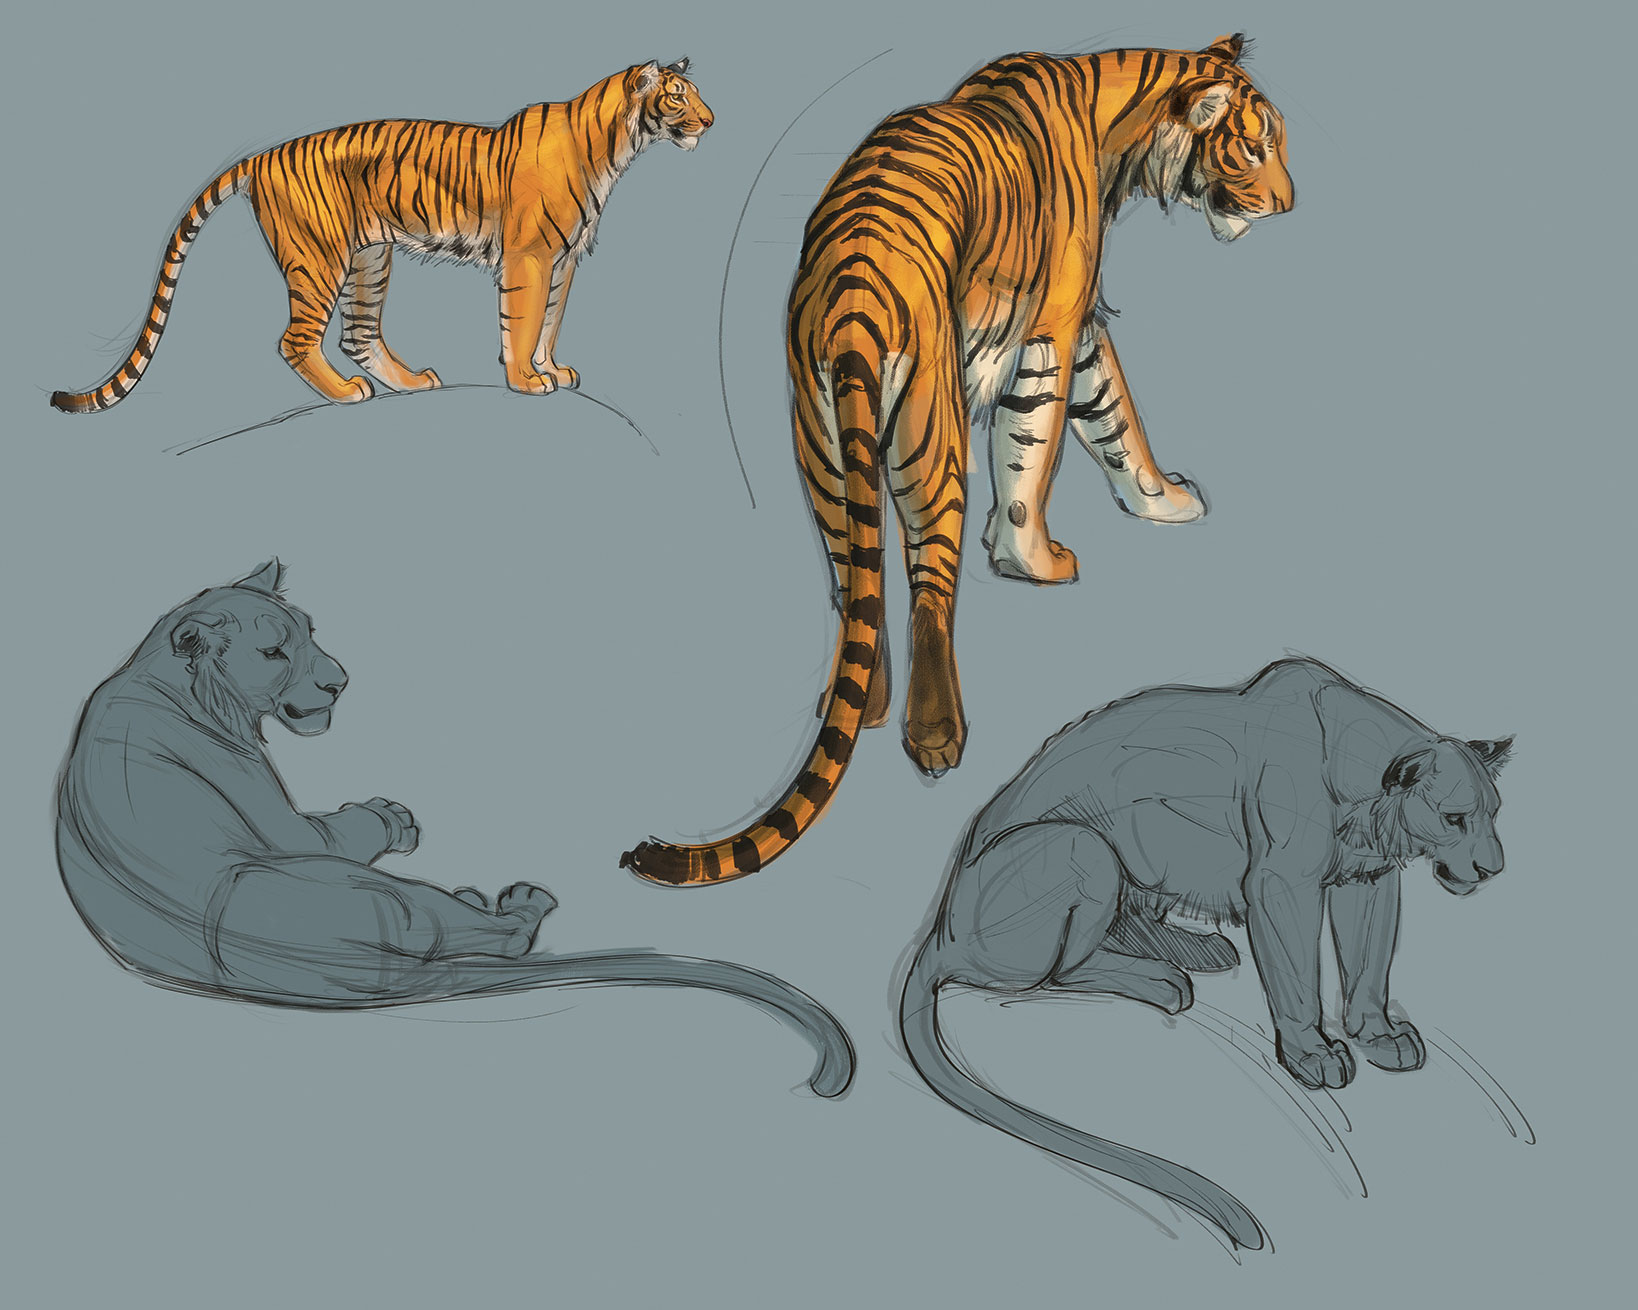
This is similar to step six if you want to get down a gesture of your pose right away. The animal is likely to move on you, so you need to get the essence of the pose fast. If you're drawing a tiger or lion you need to get the action and don't worry about every stripe and whisker. Instead, look for the line of action and rhythm to the pose.
09. Capture good silhouettes
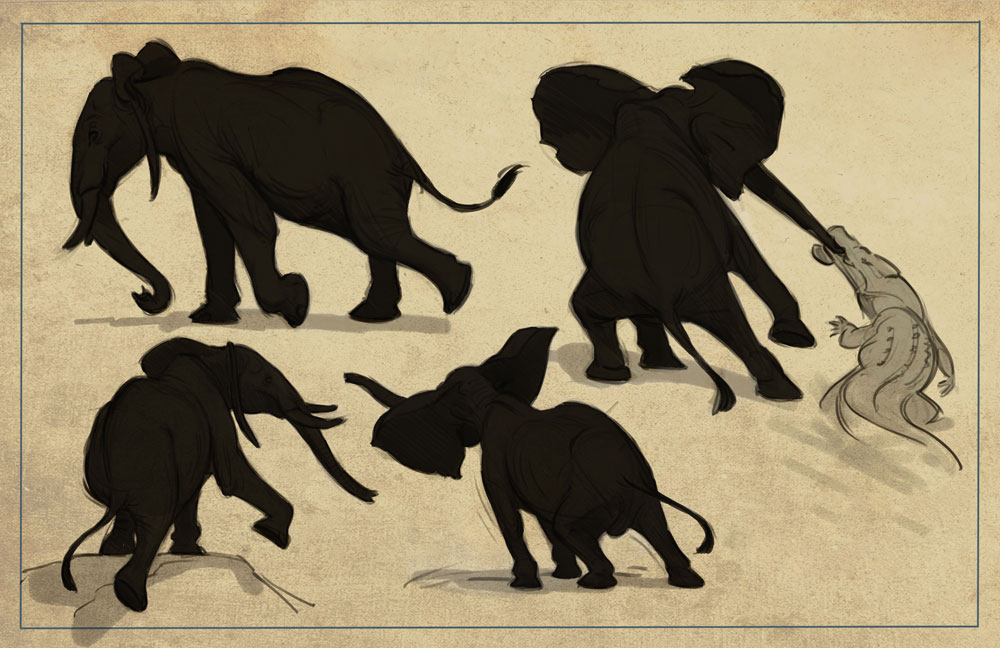
The basics of good animal drawing are not that different from drawing a good human character. You want their pose to read as clearly and concisely as possible. If your silhouette isn't clear then the drawing won't be understood by the viewer. It's the same whether you're drawing an elephant, a bear or any other animal.
10. Use overlapping shapes to create depth
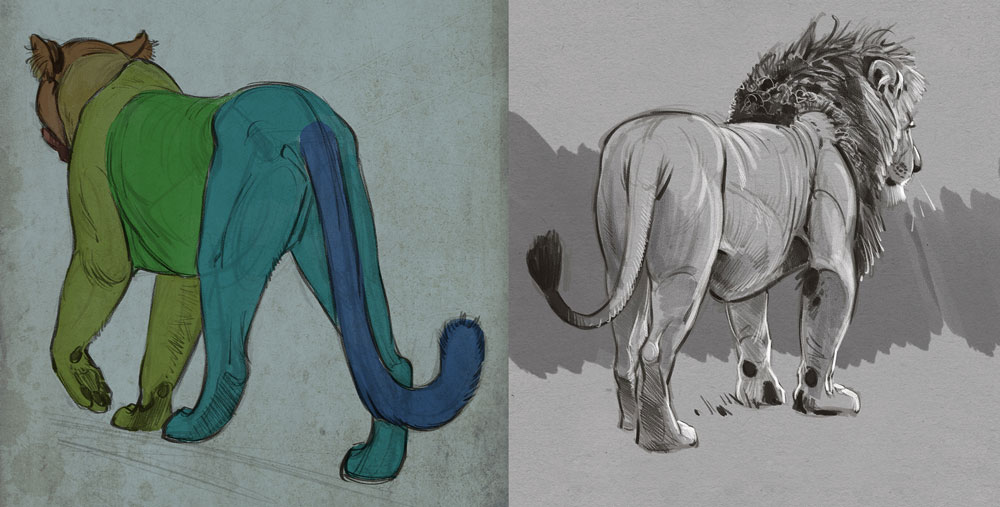
Once you're happy capturing the different shapes of your chosen animal, try overlapping them. This will give your image a sense of depth and space in the frame. Properly overlapping each shape will give your drawings a sense of believability and life.
11. Create action and drama
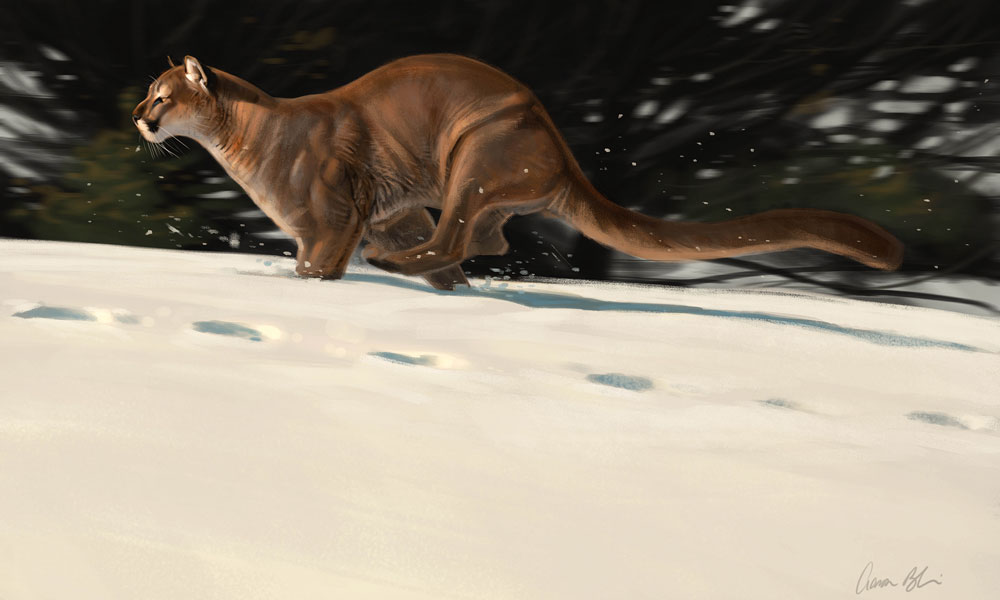
Animals are living creatures. If you've been out in the wild drawing you'll have noticed that they're always on the move. You should be capturing this in your drawings as well. While there's nothing wrong with a good animal portrait (so to speak), I've found that images of animals in action always get a bigger response and have more impact. Work hard to develop a sense of drama and life into your images.
12. Be mindful of light and shadow
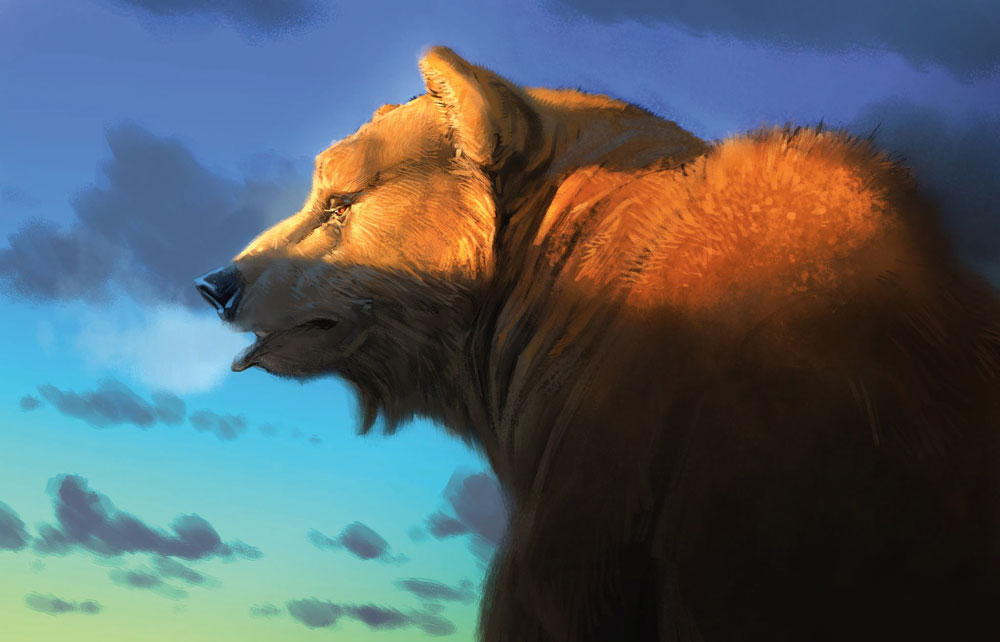
Proper use of light and shadow in your image can help enhance the feeling of drama that we discussed in step 11. I'll often push or exaggerate the lighting of nature to heighten that feeling. Used properly, a dramatically cast shadow can deeply enhance the mood of your image as well as give it a sense of time and place.
13. Look for the big shapes first
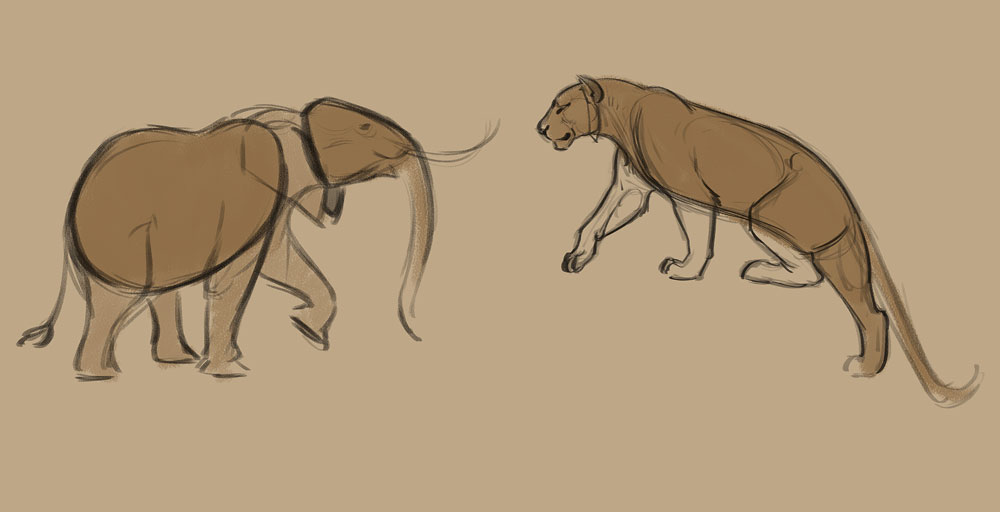
A typical mistake that I see artists make is they get too caught up in the details right away. You don't need to do that. Instead, get down the big shapes first. For example, if you're drawing an elephant then find the big "bean shape" of the body and lay that in, followed by the triangle or wedge shape of the head. Get their placement right and the rest will come together quickly.
14. Look for emotion and personality

Whether drawing an animal that's realistic or cartoony, try to get as much personality as possible into the image. As humans we look for this naturally and gravitate towards it. Use that to your advantage whenever possible. A little exaggeration or emphasis can go a long way.
15. Be selective when drawing your animal's hair and fur
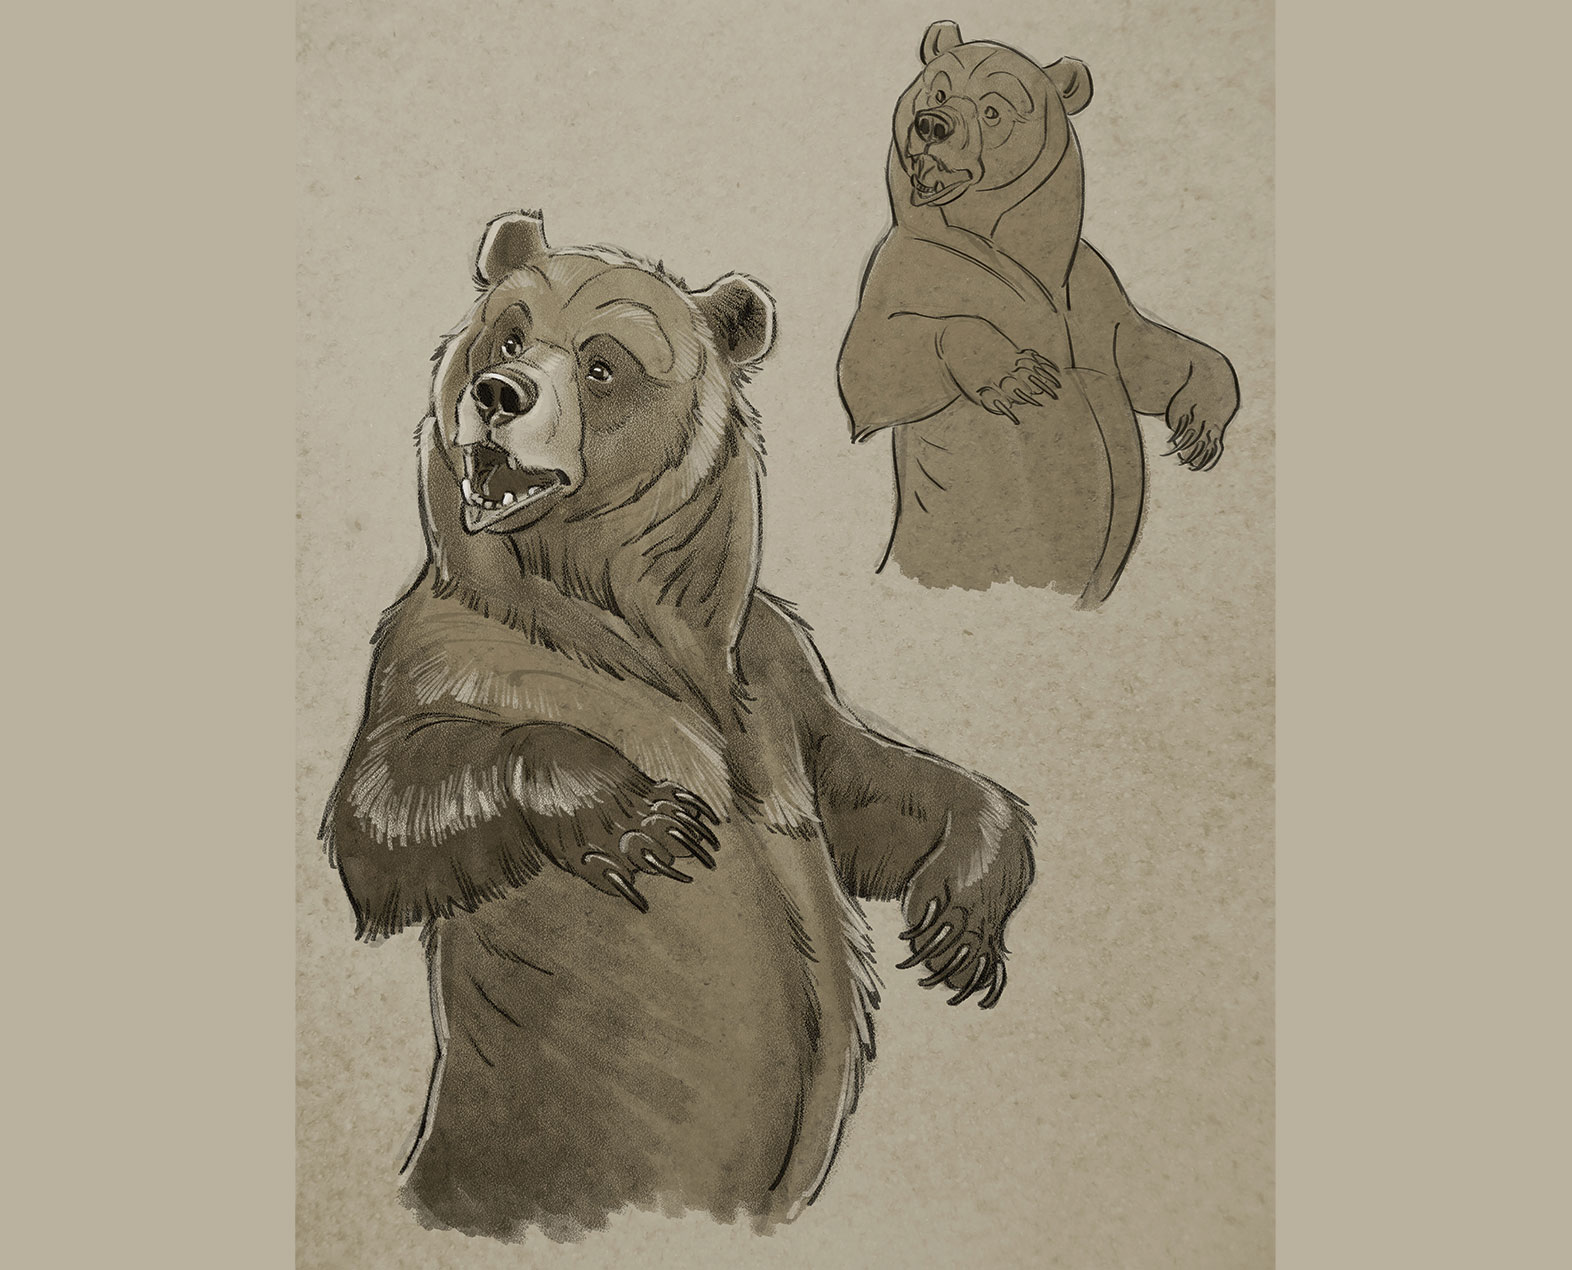
There's no need to be too detailed here. You don't need or want to draw each and every hair on an animal. Instead, make marks in key spots to suggest it. Places where the body bends are a great spot to indicate a hair break.
This article was originally published in issue 183 of ImagineFX, the world's best-selling magazine for digital artists. Buy issue 183 or subscribe to ImagineFX.
Read more:
Sign up to Creative Bloq's daily newsletter, which brings you the latest news and inspiration from the worlds of art, design and technology.

A graduate of Ringling College of Art and Design, Aaron Blaise worked as an animator for Walt Disney for 21 years. He was co-director of Brother Bear and nominated for an Oscar. He has worked in Beauty and the Beast, The Lion King, Mulan and more hit animators movies. Aaron now teaches animation techniques from his studio, online and regularly gives talks at art and animation events.
