How to edit videos for Instagram: quick tips for creating Stories, Reels, and Posts
Our guide covers how to make an Instagram video (also known as a reel), plus how to edit your content to run smoother on the platform.
Sign up to Creative Bloq's daily newsletter, which brings you the latest news and inspiration from the worlds of art, design and technology.
You are now subscribed
Your newsletter sign-up was successful
Want to add more newsletters?

Five times a week
CreativeBloq
Sign up to Creative Bloq's daily newsletter, which brings you the latest news and inspiration from the worlds of art, design and technology.

Once a week
By Design
Sign up to Creative Bloq's daily newsletter, which brings you the latest news and inspiration from the worlds of art, design and technology.

Once a week
State of the Art
Sign up to Creative Bloq's daily newsletter, which brings you the latest news and inspiration from the worlds of art, design and technology.

Seasonal (around events)
Brand Impact Awards
Sign up to Creative Bloq's daily newsletter, which brings you the latest news and inspiration from the worlds of art, design and technology.
This article is currently being updated and modernised for 2025. Please ignore any errors or inconsistencies for the time being.
Looking for the best ways to edit video footage for Instagram? You're in the right place. This popular social media platform is always evolving, and arguably, what used to be a photo-sharing site is now one that prioritises video content above all else. You don't need expensive video equipment either, as one of the best camera phones can now easily get the job done thanks to advanced editing suites.
Before we get ahead of ourselves, you should know that there are a few different methods when it comes to uploading video content to Instagram. You can post a video either as a Reel, (a short video up to 3 minutes long), a story (only visible on your profile for 24 hours), a remix (this involves collaborating with someone else's reel), you can also go LIVE (where you host a live session for your followers to tune into), or you can publish a longer video post (up to 60 minutes long) – and this will typically show in your main profile grid, and not the reels tab.
This might feel a bit overwhelming to take in if you're new to using Instagram, but I promise it's not as complicated as it sounds. I'll dive into everything you need to know about how to edit videos for Instagram in this guide, so don't worry if you haven't got your head around it yet. For more powerful video editing options, check out our guide to the best free video editors,. Similarly, take a look at our guide on how to make a TikTok video if you're looking to share your new video across multiple platforms.
Figure out the type of video you want to post
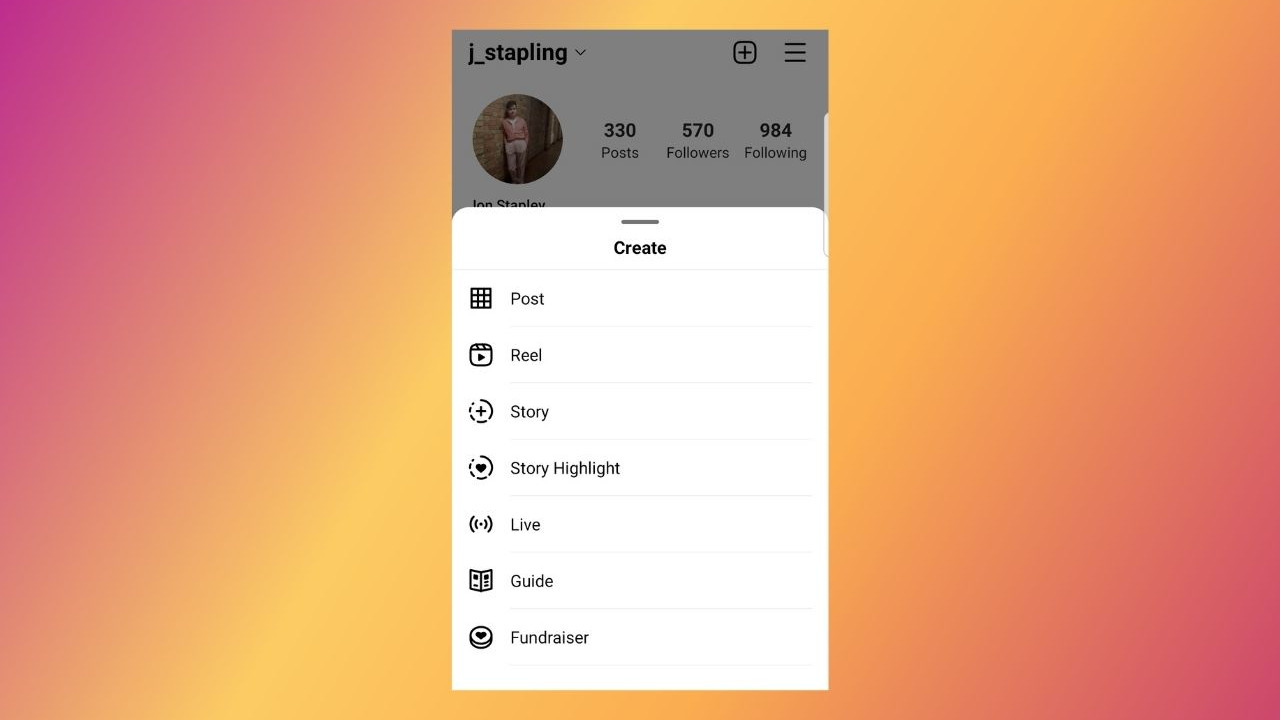
The first thing to establish when creating video for Instagram is to determine what type of video you’re planning to post. The method you use to upload a video to Instagram will ultimately depend on two things: its total length, and how long you want the video to stay on your profile.
If you only intend to post a quick update that won't remain visible to your followers forever, then it's an Instagram Story that you want. For something a bit longer, it's a Reel. And for anything over 3 minutes long, this is a main feed post. Are you following?
The next thing to figure out is whether you want to record your video footage first and then upload it to the app, or if you want to shoot your video in-app, using Instagram's platform. The easiest way to get started posting your video on Instagram is to hit the + symbol at the bottom of the screen.
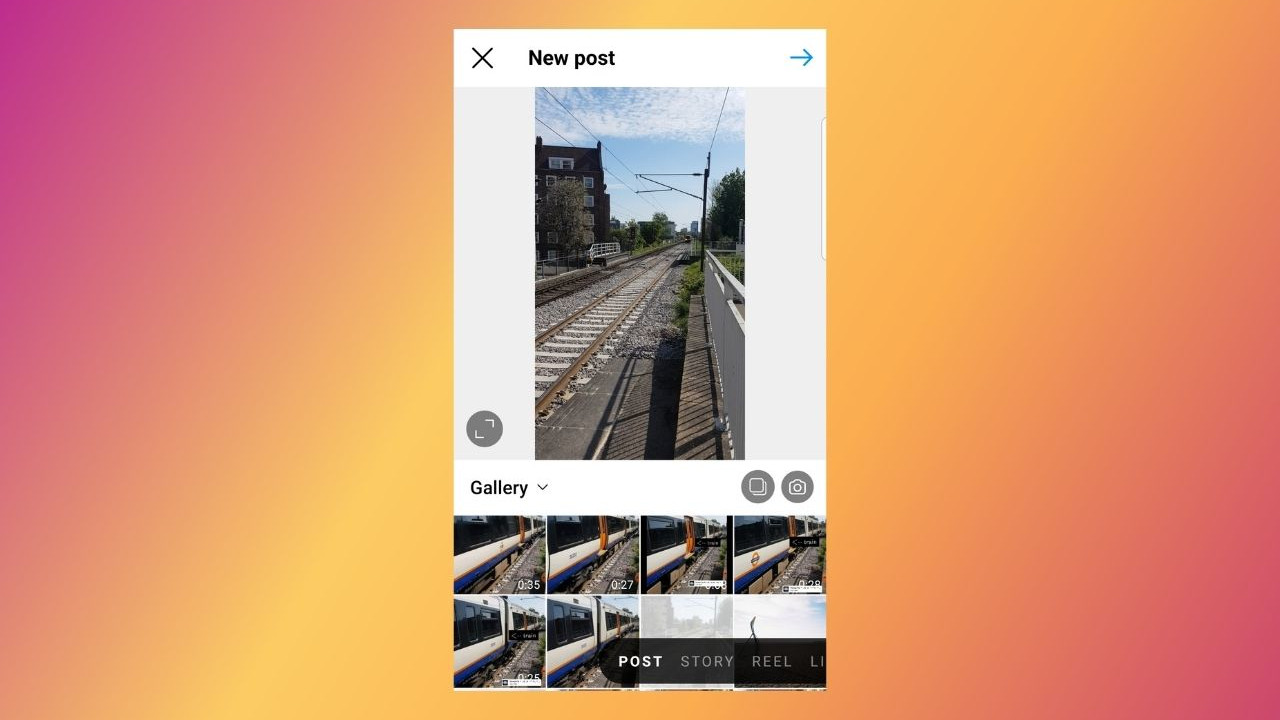
This will take you to your phone's camera roll, but if you look to the bottom right, you should see a black bar with Post, Story, Reel, and Live written across it. Swipe across the screen to change between these four video modes, and this will take you to the necessary screen for uploading the type of content you want to post.
Sign up to Creative Bloq's daily newsletter, which brings you the latest news and inspiration from the worlds of art, design and technology.
Upload or shoot your Instagram video
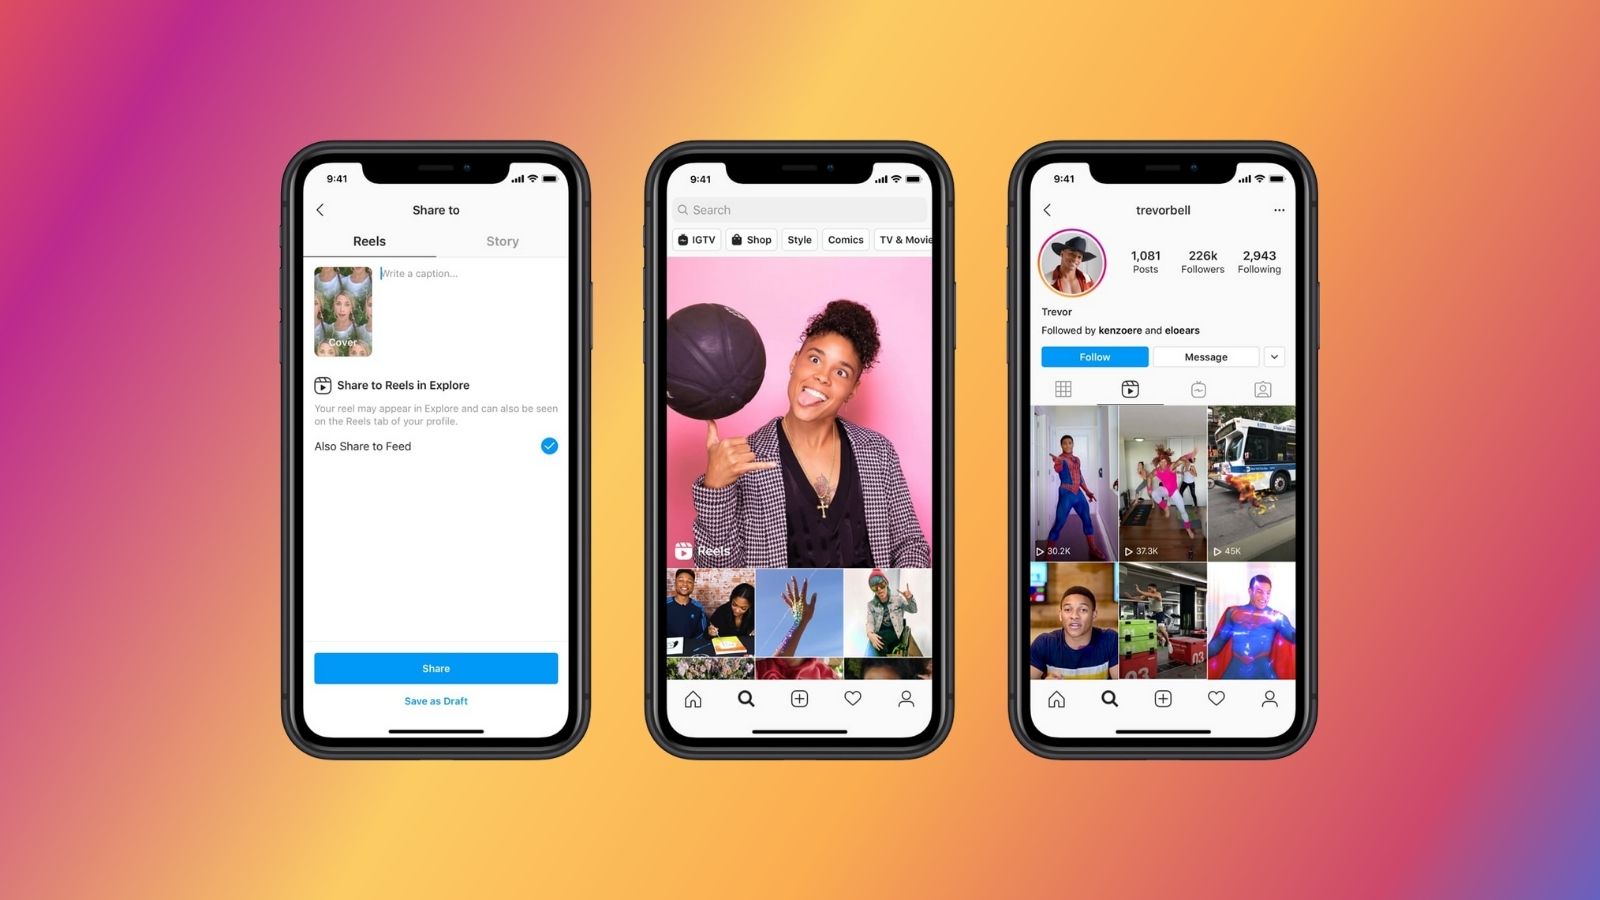
Instagram Reels
What Stories were to Snapchat, Instagram Reels are to TikTok. These are short clips that can be posted to the main feed, or continually scrolled through just like TikToks.
Create in-app if possible: You can add pre-recorded clips to a Reel by tapping the camera roll icon at the bottom left, but unlike TikToks, Reels don’t let you add many effects to these clips. You can add text, stickers and music in a similar interface to Stories, but the more advanced stuff is fenced off unless you’re shooting in-app. Simply tap the centre button to start recording, or use the clock icon to start a recording timer.
Set the length: Reels can be set to 15, 30 or 60 seconds – they don’t have to be exactly these prescribed lengths, but they cannot exceed them.
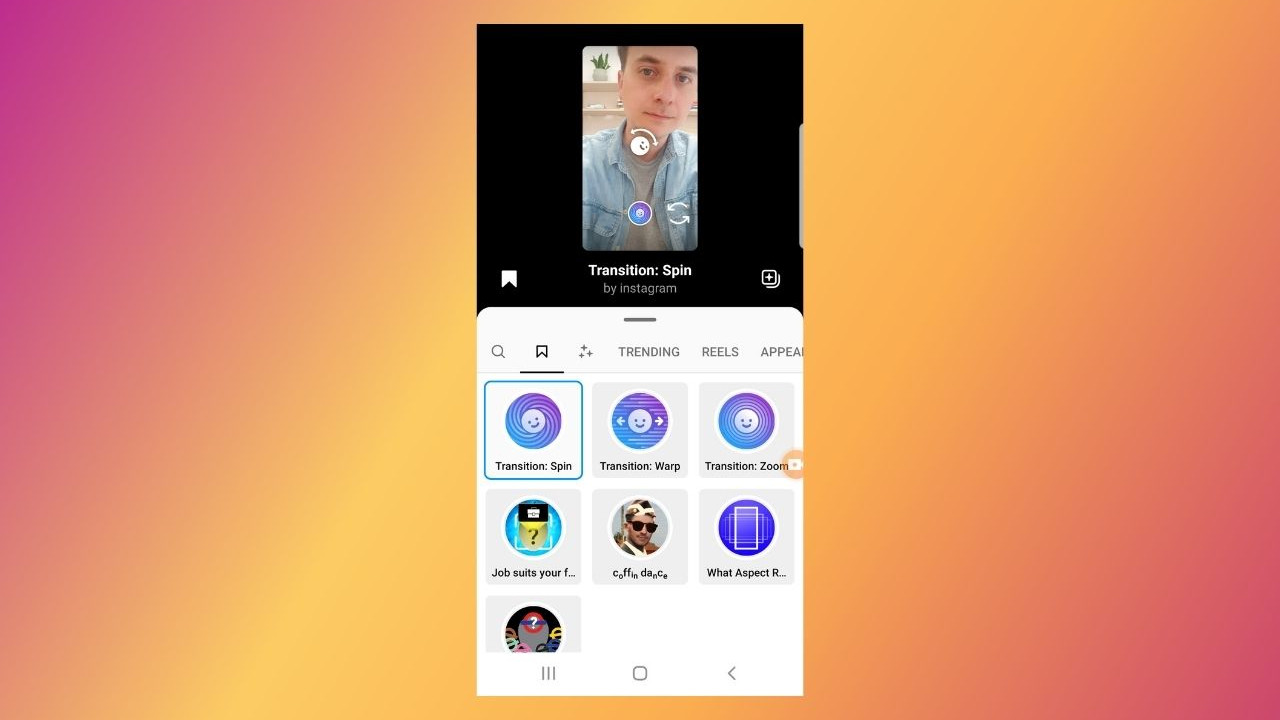
Use transitions: In the Effects panel (accessed by tapping the stars icon), you can find some useful Transitions to get you from one clip to another. These include effects like Warp (whip between clips when you turn your head left or right), Spin (trigger a spinning transition by tilting your head), Zoom (tap a section of the frame to transition by zooming in on that area) and more. They can be really handy for stitching clips together smoothly.
Save effects: The effects interface on Reels is a big sprawling mess. If you find an editing effect you like, save it using the bookmark icon so that you can easily access it again.
Feed post (longer video)
An Instagram feed post is the simplest way to share a video. The in-app editing functionality here is quite limited though, meaning that if you simply want to share a video on your feed, you may want to edit it beforehand in a separate app or program. Here are the key things to remember.
Set the dimensions: You can post a video in Instagram’s traditional square format, or in the dimensions it was originally shot. When selecting your clip from your gallery, click the two-arrows icon on the bottom left to toggle between these options.
Remember the time limit: You’ve got a maximum of 60 seconds when posting video clips to your Instagram feed.
Trim and add filters: In-app, you can use the uploader to trim your video clip, or to add one of Instagram’s famous filters (though they are a bit passé these days). If you want to add music, text or effects, you’re best off either doing it beforehand or using either Reels or Stories, as the post editor doesn't offer this functionality.
Instagram Stories
Instagram Stories are short, ephemeral photos and videos that show up at the top of a user’s feed, and disappear after 24 hours. Originally introduced to compete with Snapchat, Stories have since become a key part of the Instagram experience. Here are some tips for editing Instagram Stories.
Think in 15 seconds: An individual Instagram Story is 15 seconds long. If you upload a longer video, it’ll automatically be split into multiple stories, but this can make for a disjointed experience for the viewer. You can individually select parts and remove them to isolate a 15-second section, but the breaks may not be where you want them. It’s best to plan in advance and trim your clips to 15 seconds or less before upload – your phone’s native video app will likely be able to handle this.
Stay vertical: Instagram Stories are almost exclusively viewed full-screen on a phone display, so portrait format dimensions (1080 by 1920 px) are what you need to be thinking in. If you do have video that’s a different orientation, you can always zoom in manually in the interface like you would with a photo, but remember that this will have an impact on the quality.
How to edit an Instagram video
Editing Instagram Reels
Align your clips: Once you’ve added your first clip, you’ll notice a new icon on the left-hand menu bar. This is the Align tool – selecting it will bring up a ghost overlay of the end of your previous clip, which you can then align the next shot to. This is useful for smoothly transitioning between clips.
Want to know more about Reels? Check out our full beginner's guide to Instagram Reels for more tips.
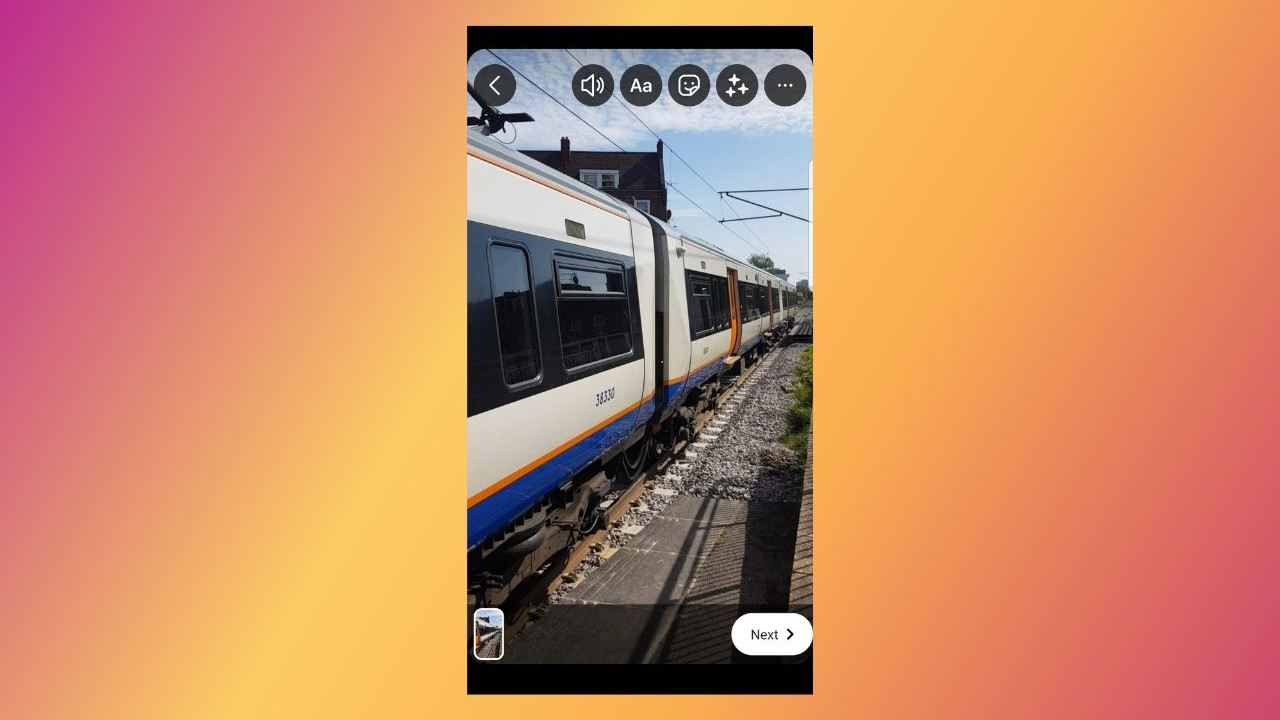
Editing Stories
The Instagram app makes it easy to add simple things to your Stories. You can overlay text, add music (the app links up with Spotify), rotate video, zoom in, move the video around the canvas, add a background, overlay photos from your gallery, and more. If you have simple tasks like these in mind, the easiest thing to do is probably handling it in-app.
The Stories interface isn’t much for colour correction. There are Instagram’s well-known filters named after cities, which you can access by swiping left or right in the Stories interface, but honestly these are pretty lame. For simple colour correction or stylish presets, you’re best off looking into an app like Adobe Premiere Rush.
For more on Stories, see our Instagram Story tips guide.

Jon is a freelance writer and journalist who covers photography, art, technology, and the intersection of all three. When he's not scouting out news on the latest gadgets, he likes to play around with film cameras that were manufactured before he was born. To that end, he never goes anywhere without his Olympus XA2, loaded with a fresh roll of Kodak (Gold 200 is the best, since you asked). Jon is a regular contributor to Creative Bloq, and has also written for in Digital Camera World, Black + White Photography Magazine, Photomonitor, Outdoor Photography, Shortlist and probably a few others he's forgetting.
