Get started with HTML canvas
Explore the basics of canvas for simple visuals and animation.

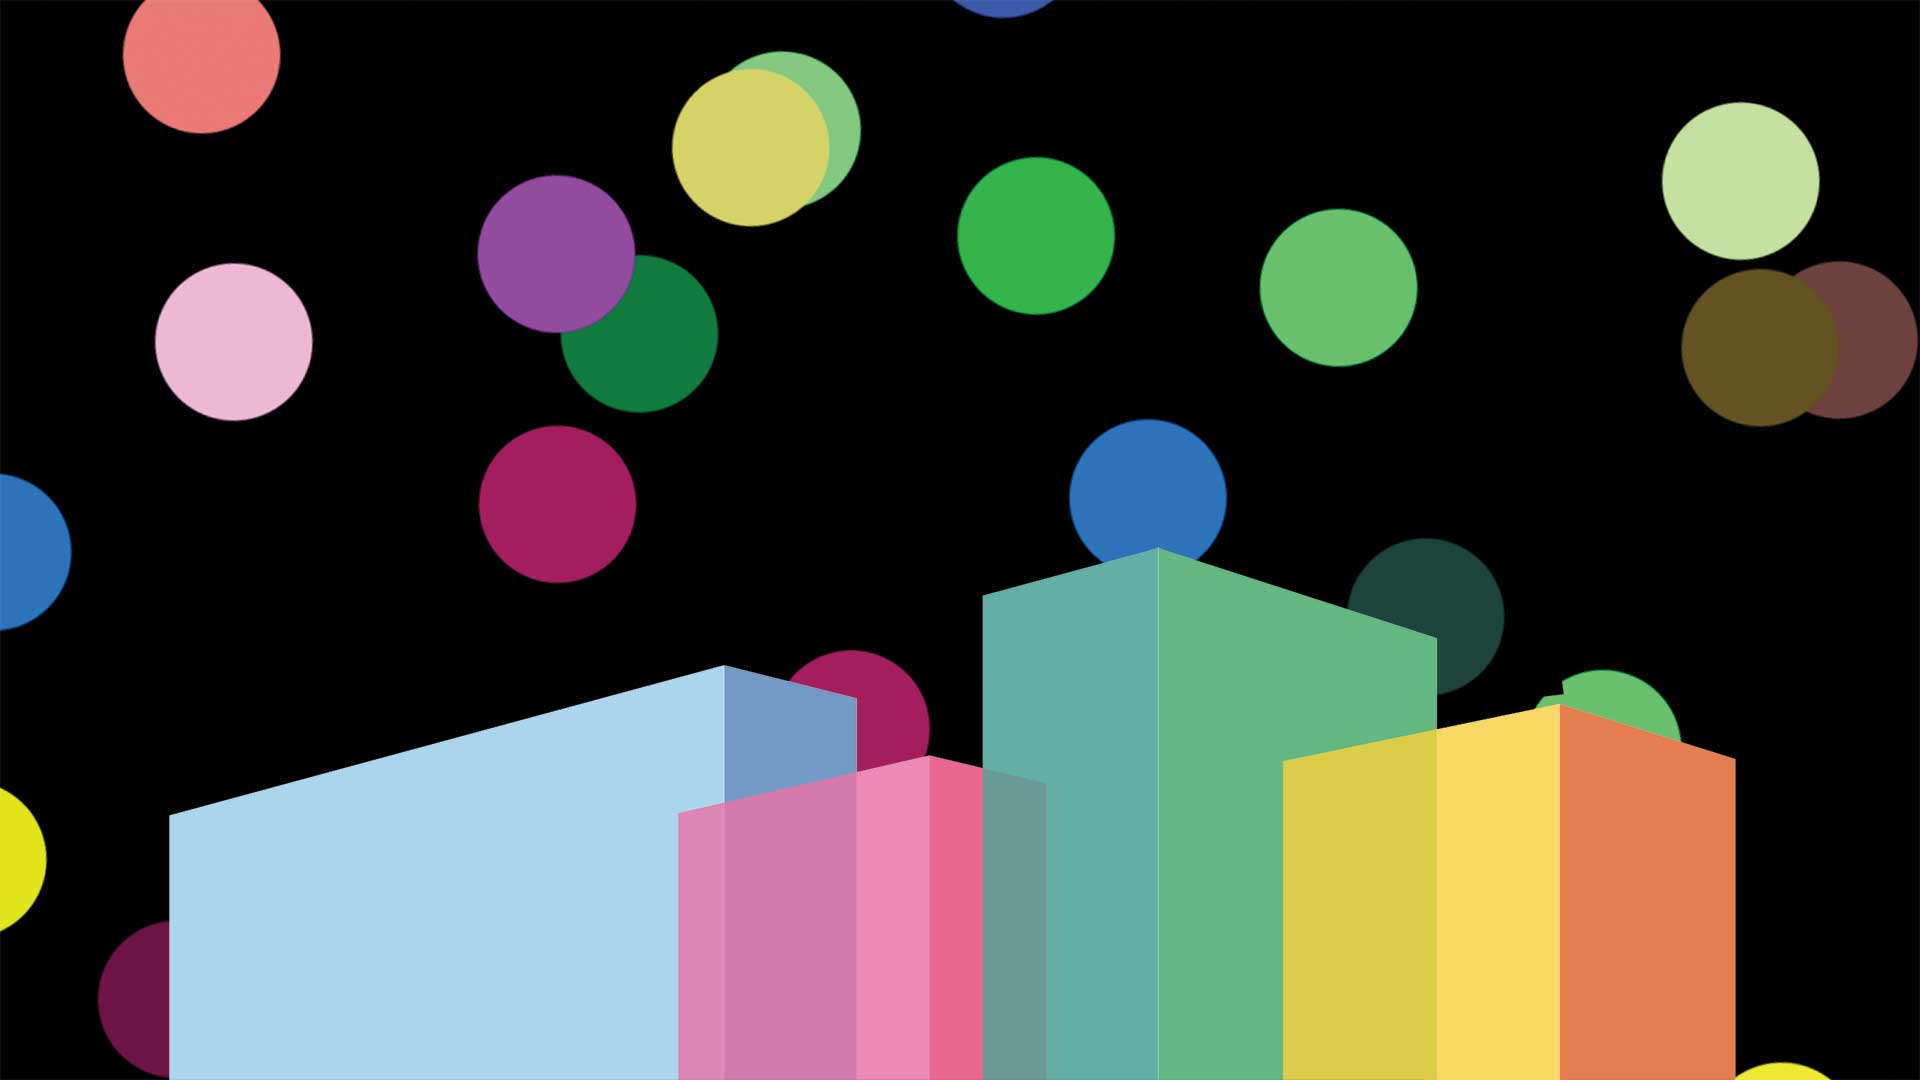
The HTML <canvas> element is a powerful solution for creating pixel-based graphics on the web using JavaScript, and will allow you to create some remarkable effects with a bit of practice. Want other options? Try a website builder and these web hosting providers.
In this tutorial, we'll take a look at creating a canvas object, drawing simple visuals on it and animating those visuals.
01. Create a page
Canvas is fundamentally an HTML element that you place on the page, scale to cover the area you want and can then draw upon. To get started, we need to create a simple page with a canvas object.
<!DOCTYPE html>
<html>
  <head>
  <meta charset='utf-8'/>
  <title>HTML Canvas Demo</title>
  <link rel='stylesheet' href='custom.css'/>
  <script src="canvas.js"></script>
  </head>
  <body>
  <canvas id="html-canvas">
  </body>
</html>
02. Scale the canvas
To give us plenty of space to play with, we want our canvas to fill the whole screen. We'll also give it a black background so you know it's definitely there. This can actually be a bit tricky to do without ending up with scroll bars or white space. The CSS below should take care of it.
canvas {
  height: 100vh;
  width: 100vw;
  position: absolute;
  background-color: #000000;
}
  margin: 0;
  padding: 0;
}
03. Initialise the canvas for use
Next we need to add some JavaScript to set up the canvas ready to use. We'll have it hook off a DOMContentLoaded event to ensure the script doesn't try to run before the canvas element is ready. We'll also have it set the canvas resolution to match the area it covers – otherwise the canvas will scale up without increasing resolution, leading to blurry or pixellated graphics.
document.addEventListener("DOMContentLoaded", function() {
  var canvas = document.getElementById("html-canvas");
  var circles = [];
  var radius = 50;
  canvas.width = canvas.clientWidth;
  canvas.height = canvas.clientHeight;
  var context = canvas.getContext("2d");
}, false);
04. Draw a shape
You'll notice that in the last step, we crated something called a ‘context'. This is how drawing on canvas occurs. It's easiest to think of the context as a paintbrush that we can use to draw different lines, arcs and basic shapes.
What we can now do is put our context to use by writing a drawCircle function that will create a 360-degree arc – that is, a circle. We do this by telling the context to define an arc, set styles for the border and fill, then rise the fill() and stroke() functions to actually draw the shape (stroke draws the border).
Daily design news, reviews, how-tos and more, as picked by the editors.
function drawCircle(x, y, radius, border, border_colour, fill_colour)
  {
  context.beginPath();
  context.arc(x,y,radius,0,2*Math.PI);
  context.strokeStyle = border_colour;
  context.fillStyle = fill_colour;
  context.lineWidth = border;
  context.closePath();
  context.fill();
  context.stroke();
  }
05. Create many circles
Great. We have a function that can draw circles. Now we need something to draw. Let's extend the code from step 3 to create an array describing circle objects. It will store each circle's x and y co-ordinates, colour and a direction value.
We create this array structure rather than just drawing circles straight away because it will enable us to animate the circles by re-drawing the contents of the array later on.
for (var i = 0; i < 20; i++) {
  var x = radius + (Math.random() * (canvas.width - (2 * radius)));
  var y = radius + (Math.random() * (canvas.height - (2 * radius)));
  var colour = randomColour();
  var direction = Math.random() * 2.0 * Math.PI;
  circles.push({x:x,y:y,colour:colour,direction:direction});
draw(); }
06. Randomise the colour
In the last step, we've used a couple of new functions that haven't been defined yet. Let's start with randomColour(). This will be a utility function that returns a randomised hexadecimal string representing a colour. It's fairly straightforward to implement.
function randomColour() {
  var chars = '0123456789ABCDEF';
  var colour = '#';
  for (var i = 0; i < 6; i++) {
  colour += chars[Math.floor(Math.random() * 16)];
  }
  return colour; }
07. Draw the graphics on the page
Now we're ready to bring things together by implementing the draw() function. This will do two key things. Firstly, it will clear the canvas using the clearRect() function. This will be important when we come to animate our circles, to avoid drawing the new frame over the top of the old. It will then iterate through the array we constructed and draw each circle on the canvas in succession using our drawCircle function.
function draw() {
  context.clearRect(0, 0, canvas.width, canvas.height);
  circles.forEach(function (circle) {
  drawCircle(circle.x, circle.y, radius, 5, circle.colour, circle.colour);
    });   }
08. Animate the shapes
If you try it out now, you'll see some static circles painted on the page. But we want to animate them. To do this, we need to extend our draw() function in a couple of ways. Firstly, we'll use the circle.direction value we pushed to the array to calculate changes in x and y position for the circle.
Next, we'll use a built-in function called requestAnimationFrame that recursively calls the draw() function. requestAnimationFrame allows the browser to decide when to call the function again, avoiding the need to implement timers to calculate when to draw the next frame.
function draw() {
  context.clearRect(0, 0, canvas.width, canvas.height);
  circles.forEach(function (circle) {
  circle.x = circle.x + Math.cos(circle.direction);
  circle.y = circle.y + Math.sin(circle.direction);
  drawCircle(circle.x, circle.y, radius, 5, circle.colour, circle.colour);
  });
  requestAnimationFrame(draw);
  }
09. Bounce at the edge of the page
There's one thing still missing, though. The circles now just disappear off the edge of the screen. Let's make them bounce back. To do this, we'll add a call to a new function, bounce(circle), within the forEach loop of the draw() function.
The bounce function will determine when a circle is at the edge of the screen, and adjust its direction value appropriately.
function bounce(circle) {
  if (((circle.x - radius) < 0) || ((circle.y - radius) < 0) || ((circle.x + radius) > canvas.width) || ((circle.y + radius) > canvas.height))  {
  circle.direction += (Math.PI / 2);
  }
  if (circle.direction > (2 * Math.PI)) {
  circle.direction -= (2 * Math.PI);
  }
}
This article originally appeared in Web Designer issue 266. Buy it here.
Related articles:

Simon Jones is a technology leader with experience managing product and engineering teams of up to 200 staff, both at startups and large corporates. He is a proficient full-stack developer, in particular with Go & React + TypeScript. He now works at Meta in London. Formerly CTO at Norwegian VC-backed startup Just, and Engineering Director at Barclays and American Express.
