How to create hair in Cinema 4D
Give your character art an extra dimension with our guide to making complex and vibrant 3D hair.
Sign up to Creative Bloq's daily newsletter, which brings you the latest news and inspiration from the worlds of art, design and technology.
You are now subscribed
Your newsletter sign-up was successful
Want to add more newsletters?

Five times a week
CreativeBloq
Sign up to Creative Bloq's daily newsletter, which brings you the latest news and inspiration from the worlds of art, design and technology.

Once a week
By Design
Sign up to Creative Bloq's daily newsletter, which brings you the latest news and inspiration from the worlds of art, design and technology.
Once a week
State of the Art
Sign up to Creative Bloq's daily newsletter, which brings you the latest news and inspiration from the worlds of art, design and technology.

Seasonal (around events)
Brand Impact Awards
Sign up to Creative Bloq's daily newsletter, which brings you the latest news and inspiration from the worlds of art, design and technology.
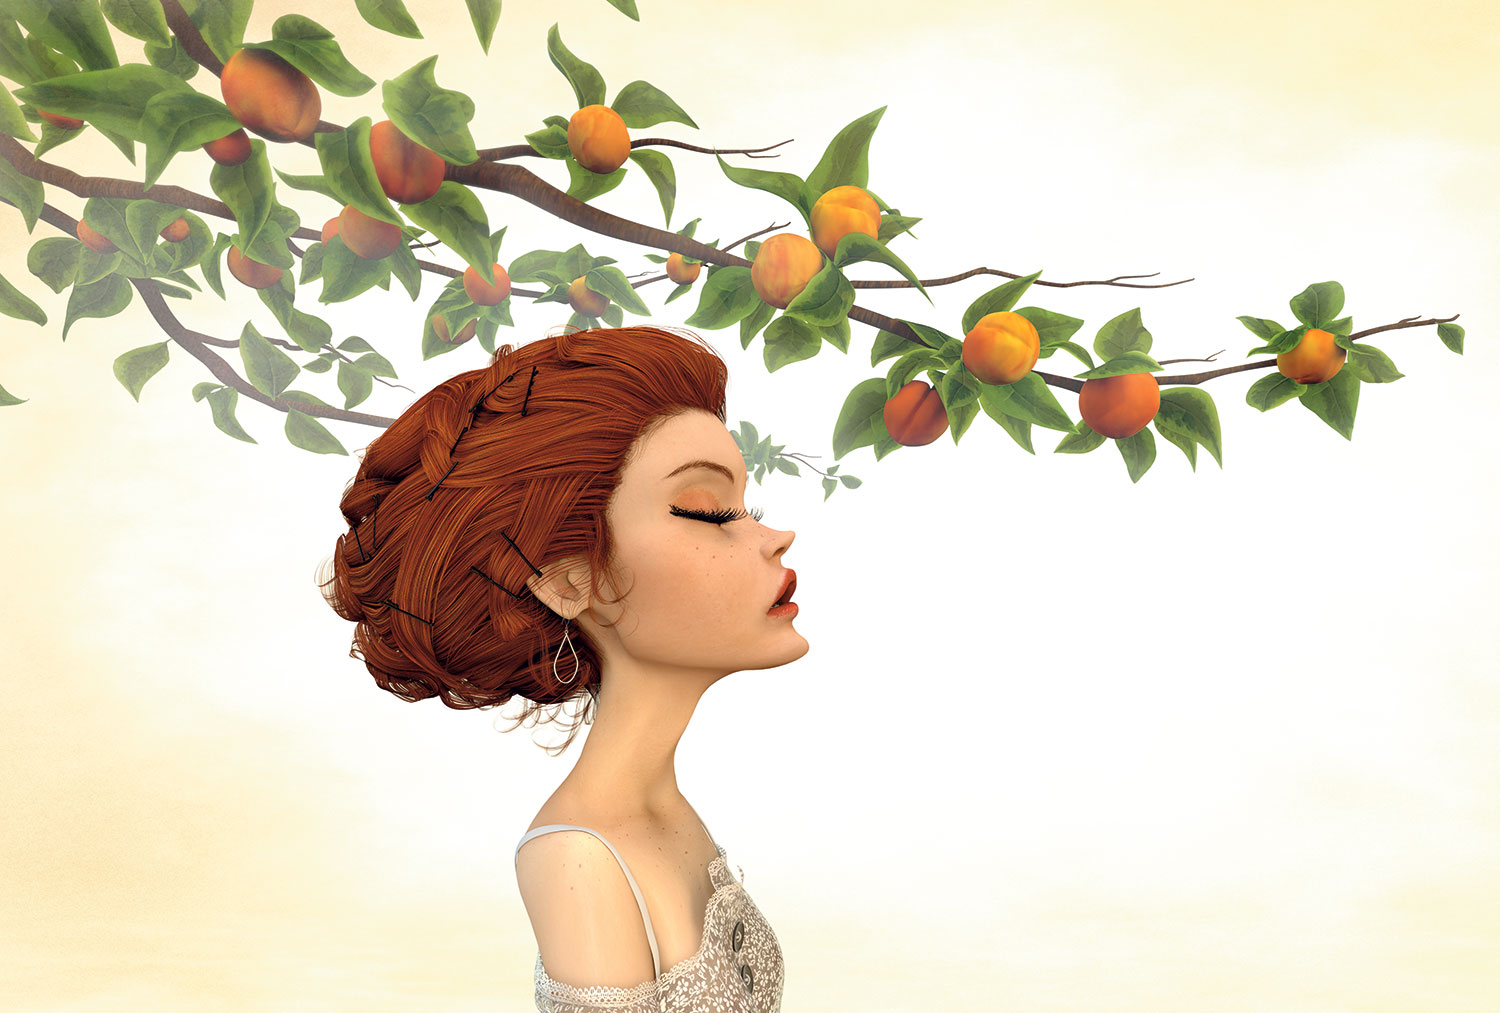
Inspired by the fantastic character art of Carlos Ortega Elizalde and Lois van Baarle, I decided to try my hand at 3D character creation. I had always struggled with things like 3D clothing and hair, and most of my character creation attempts resulted in epic failures.
Wanting to improve my skills, I stumbled upon a series of training videos from Warner McGee: Creating a Character. Although the training is intended for Modo users, the concepts and techniques are easily adapted to other 3D modelling software.
In an attempt to hone and challenge my 3D hair creation skills, I also went in search of concept art with sophisticated hair that inspired me. For my image, Last Morning of Spring, my inspiration was an exceptional illustration by Kmye Chan titled First Morning of Summer.
I'm continually learning new skills. In this quick step-by-step tutorial, I'll share some of the things I've learned over the past year-and-a-half about creating 3D hair.
Download the accompanying video for this tutorial.
01. Establish the forms
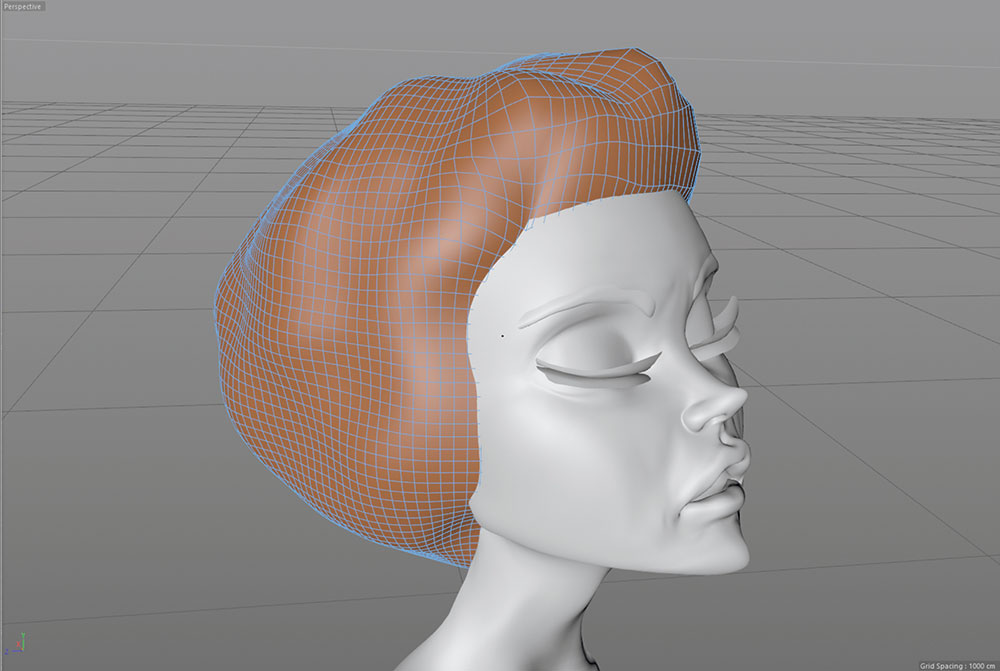
I always establish the biggest forms first, starting with the main hair shape. I then focus on where the hair is parted, roughly creating and defining any hills and valleys. I try not to add too much detail too early. The more effort that I put into getting clean geometry at a lower polygon level, the more it'll pay off later when I subdivide and start working with higher topology.
02. Add visual interest
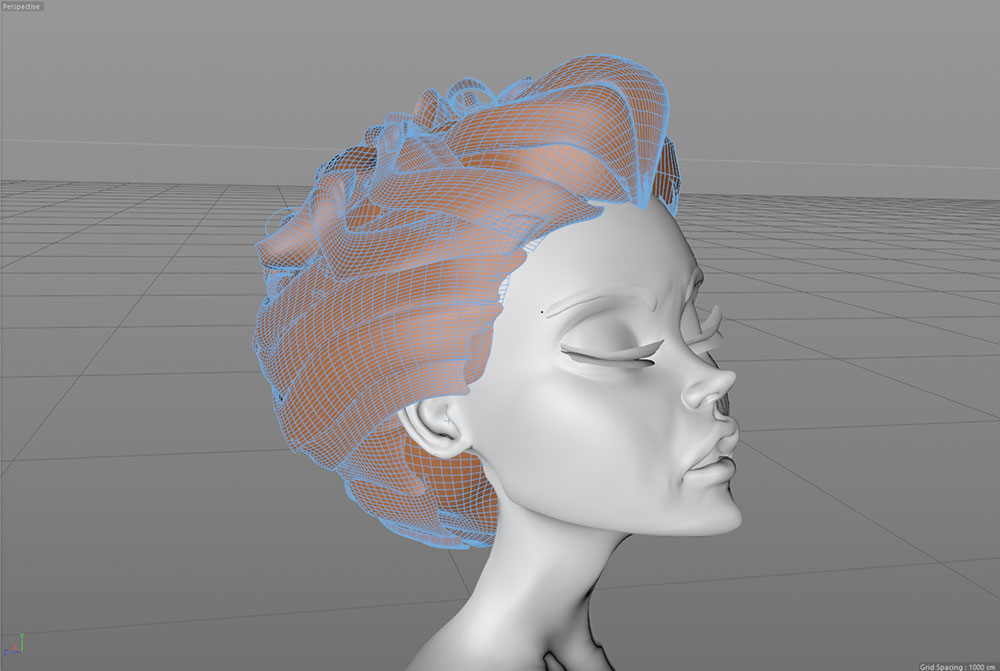
With my basic hair shape established and subdivided, it's time to add some visual interest by adding some additional hair strands and layers. I usually borrow topology from my main shape by selecting polygons that make nice hair strand shapes, and copying and pasting them. I then position them in a slightly offset position from the main hair shape and any other hair strands.
Sign up to Creative Bloq's daily newsletter, which brings you the latest news and inspiration from the worlds of art, design and technology.
03. Additional hair strands
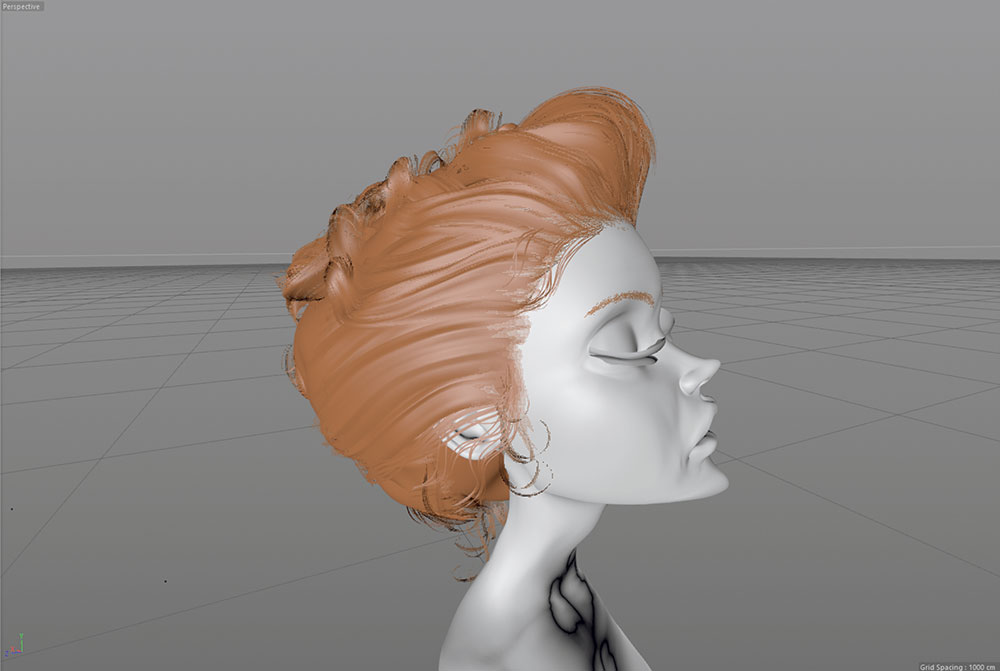
I recess the beginning of the hair strands into the main hair shape or head to give the appearance that they're growing naturally. I add many additional strands and overlap them to add depth, adding alpha layers to the textures for transparency. Although individually they don't add much interest, as I add more strands and combine them together with the main hair shape, the hair model becomes convincing.
04. Hair reference photos
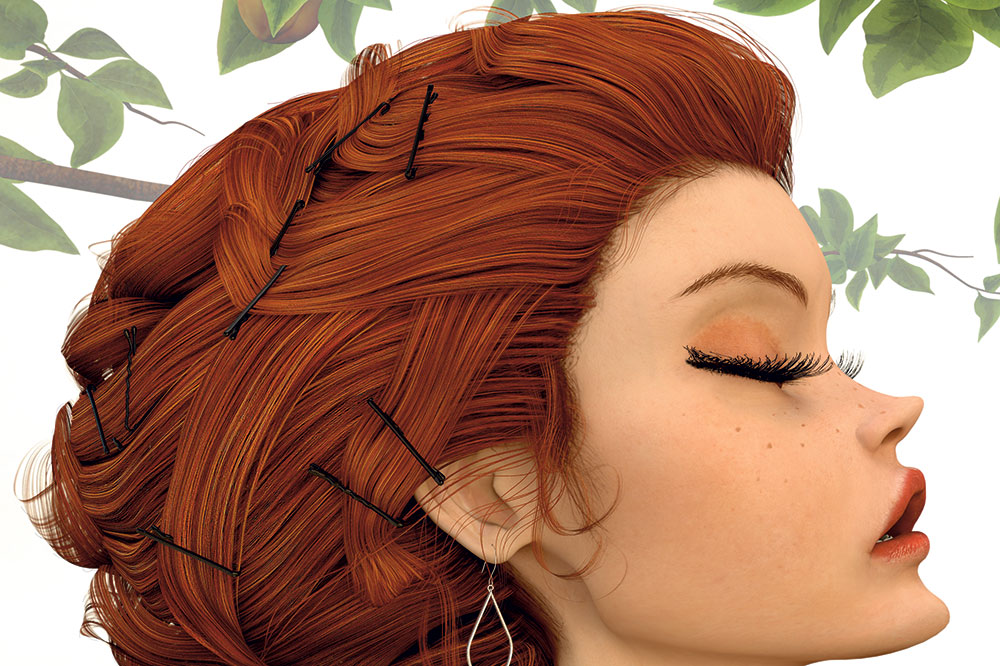
Using reference photos, I try to stay true to how hair reacts to thing like gravity and bobby pins in the real world. I focus on how real hair clumps and groups together, and I try to mimic these qualities when creating the hair. I finish up by adding lots of small strands and curls to make the hair more convincing. To help disguise any flaws, I also add additional hair strands to my final render in post work using Photoshop.
This article originally appeared in 3D World issue 217; buy it here!
Related articles:
- 20 top character design tips
- How to perfect hair in your portraits
- How to create 3D hair and fur
