Oil painting for beginners: 5 important things to know before you get started
Top tips for oil painting – from brushes and boards to beginner techniques.

Daily design news, reviews, how-tos and more, as picked by the editors.
You are now subscribed
Your newsletter sign-up was successful
Want to add more newsletters?

Five times a week
CreativeBloq
Your daily dose of creative inspiration: unmissable art, design and tech news, reviews, expert commentary and buying advice.

Once a week
By Design
The design newsletter from Creative Bloq, bringing you the latest news and inspiration from the worlds of graphic design, branding, typography and more.

Once a week
State of the Art
Our digital art newsletter is your go-to source for the latest news, trends, and inspiration from the worlds of art, illustration, 3D modelling, game design, animation, and beyond.

Seasonal (around events)
Brand Impact Awards
Make an impression. Sign up to learn more about this prestigious award scheme, which celebrates the best of branding.
Welcome to our oil painting for beginners guide, which includes the five most important things to know if you're just starting out with oils. Painting with oils is an exciting way to create art. However, many people can be intimidated by this medium, when in fact it provides the ideal way to learn... which, of course, includes making mistakes. In fact, you can never really ruin an oil painting, as it can always be corrected and painted over.
The main thing with oils is to have fun with it and enjoy its rich, generous and glossy texture. When I paint, I always try to see the painting as a whole, working across the entire canvas. I aim for the painting to look good at every stage, instead of only thinking of the end result. You can view the process more like sculpture rather than drawing, using the paint to add movement, texture and depth.
Here, I will run through some of the basic equipment and techniques you can expect to use with oils. Head over to our best oil paint supplies and best oil paints guides if you need to stock up, or keep reading for five excellent tips.
Oil painting tips for beginners
01. Choose brushes and boards for oil painting
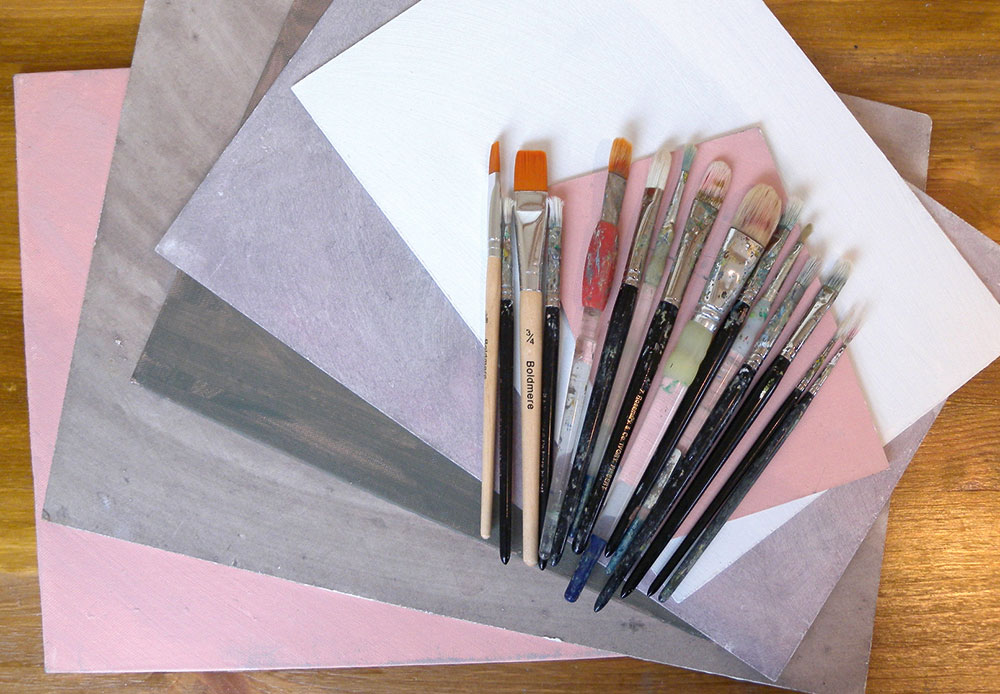
There are many brushes available so, if you can, try them out to discover what works for you in terms of hair, shape and handle length (see this best paintbrushes for oils guide for more help choosing).
I prefer using brushes with shorter handles because my paintings are small (use long handles for larger work as you will need some distance). I keep a small selection of different sizes (two of each – one for light colours and one for darks).
If you're new to oils, one tip is to use a larger brush with a small canvas. This will stop you getting bogged down in details and allow you to focus on the main shapes instead.
As for surfaces, I prefer boards rather than canvases, because they're easy to transport, ship and store.
02. Find the right oil paints
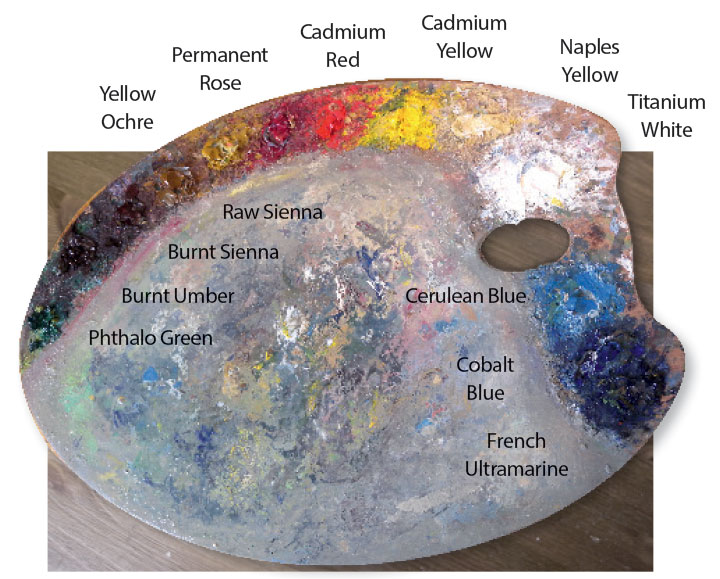
Cheaper student-quality oil paints are perfect to start with, and are ideal for backgrounds. But for better results, I prefer using 'artist' ranges – especially if I want vibrant blues, greens and reds. These higher quality paints have a better concentration and quality of pigments.
A limited palette makes life easier. If you have leftover paint, use it to tint your blank canvases (and make sure you pick one of the best oil paint canvas options, too).
03. Paint in layers or 'alla prima'
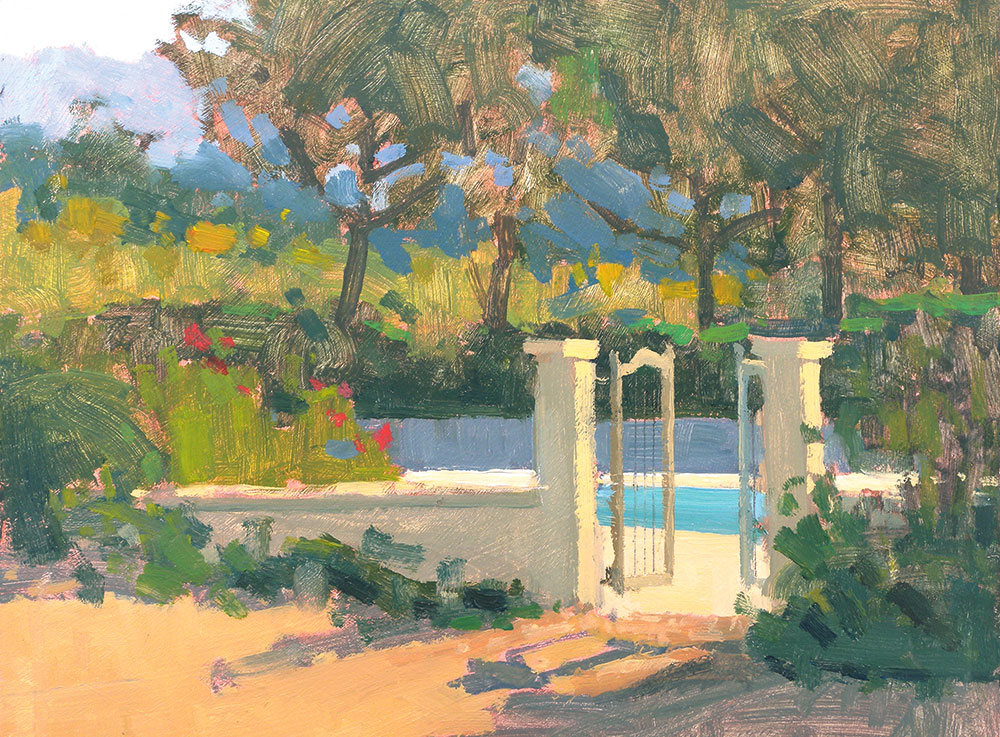
Broadly speaking, oil painting can be approached in two ways – first is the traditional way, building depth with layers. Here, you can avoid cracks by having thinner, fast-drying layers under fatter (with more oil), thicker, slow-drying layers.
The other method – and the one I prefer – is to work in one application, wet-on-wet or 'alla prima'. I tend to work in one session, usually plein air, and aim to apply the paint in a fresh and spontaneous way. I block in the main shapes with thinner paint, and end with thicker brushstrokes.
04. Paint with the dry brush technique
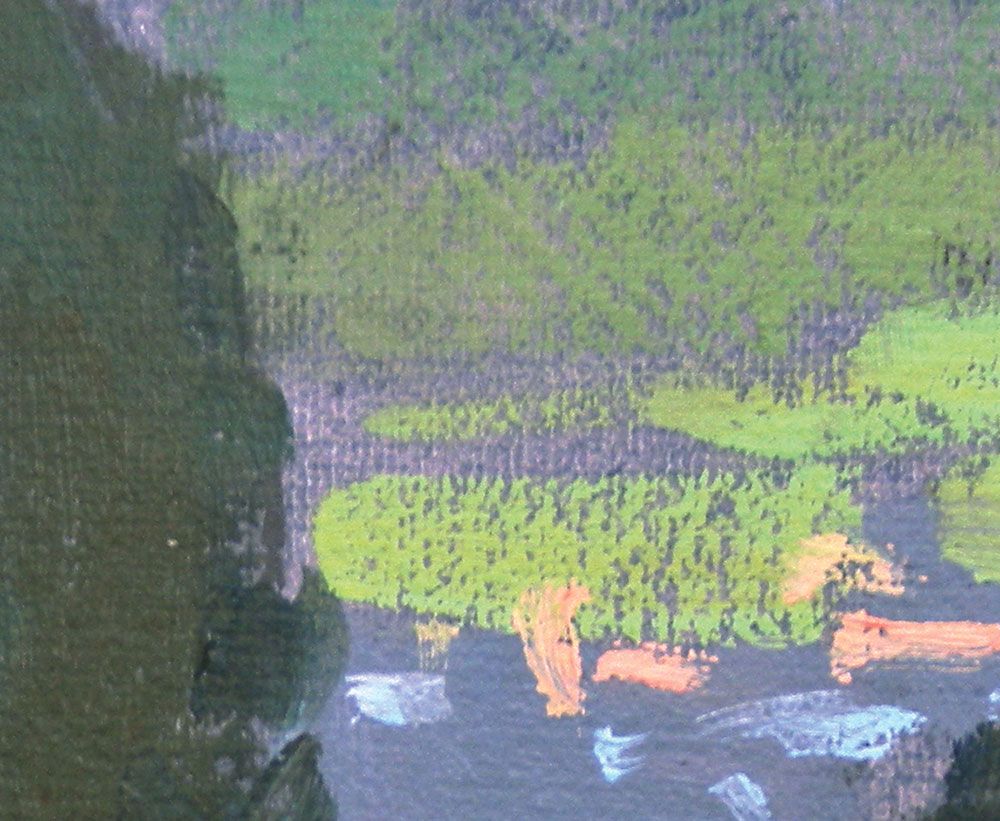
One of my favourite oil painting techniques is 'dry brushing'. Here, you load your brush with pure paint, and gently leave a trace over a fairly dry area in the painting. The result is a chalky, powdery stroke that embraces the texture of what's underneath, and can be seen in some areas.
This technique can be used in 'alla prima' on areas that have dried. I often use it to depict sparkly reflections in water, or to suggest smoke or mist. You can also use it to add subtle final details, such as bridges or flowers.
05. Paint impasto strokes
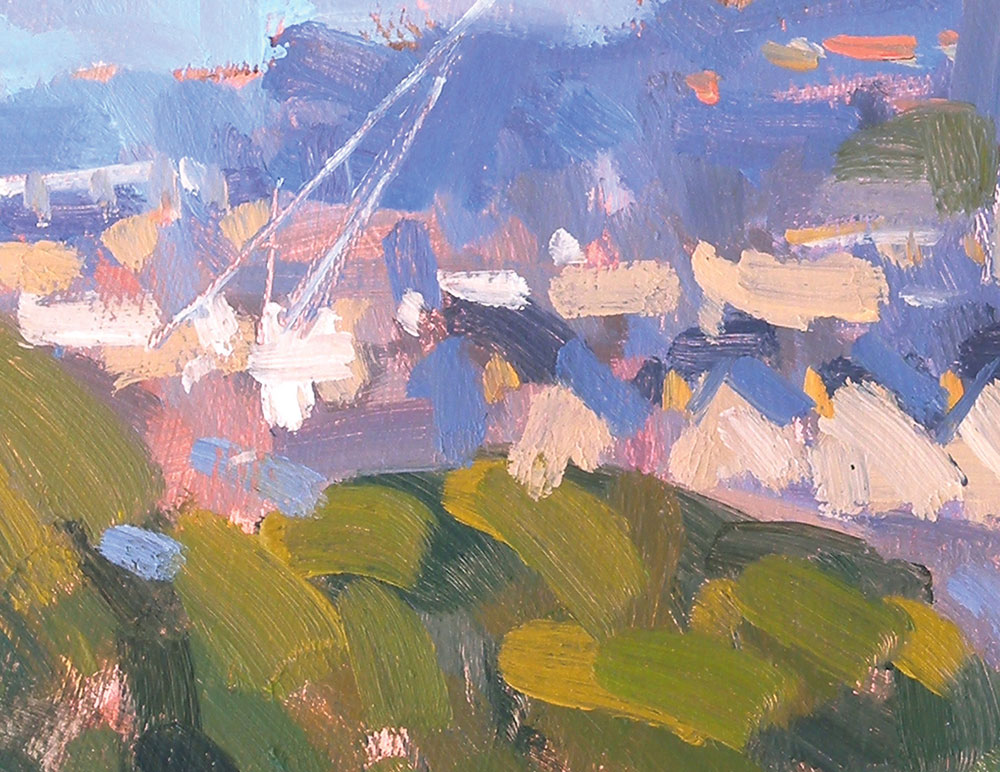
The impasto technique is where paint is applied thickly to the surface. The thick, glossy, shiny marks are an attractive feature, and the thickness and slow drying time of oils makes it the perfect medium for this technique. Load the brush with paint to build texture and movement into the painting.
The strokes bring energy to the painting, but also give it an added dimension, as the marks stand out from the surface and affect how the light is reflected on the canvas.
I usually save my impasto marks for the last stage of the painting, using them for the light areas and focal points.
For more on oil painting, see our oil painting techniques and how to tackle portrait painting with oils
Daily design news, reviews, how-tos and more, as picked by the editors.
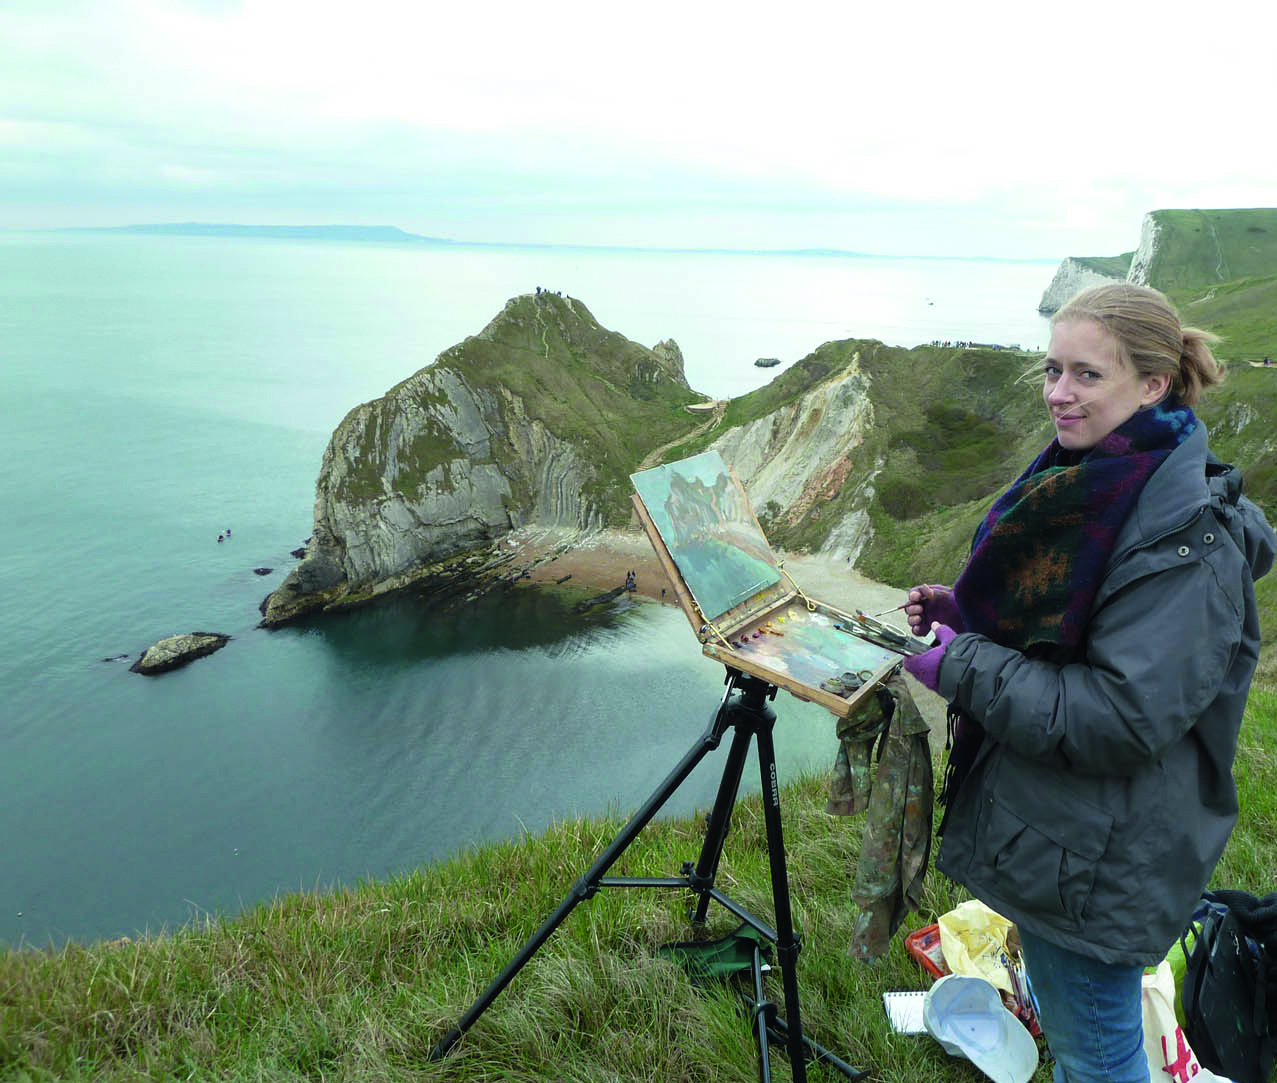
Originally from Belgium, Valérie has lived in the UK for the past 11 years. She works mainly in oils and enjoys working plein air.
