Colourising a scanned hand-drawn pencil sketch to get rid of the black lines can save an artist lots of work and aggravation. Dark, black lines are hard to paint over while maintaining the sketch. Thankfully, there's an easy way to colour and soften those black lines using Photoshop.
For more advice, you can also see our favourite how to draw tutorials, as well as get your hands on the best pencils around with our handy guide. In the meantime, here's how to work on a pencil sketch in Photoshop.
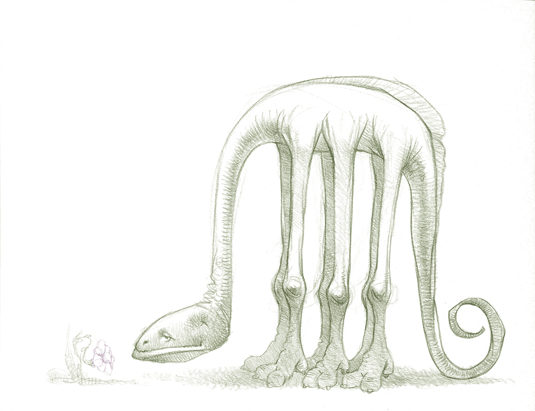
01. Open in Photoshop

Once scanned, open your sketch in Photoshop and use the 'Image > Adjustments > Levels' menu commands to maximise the white and minimise the black. Move the white adjustment marker to the left so the lightest grey areas become white. Then shift the mid-value adjustment marker to the left so the black lines become light grey.
Article continues below02. Add a new layer

Create a new layer and set the blending mode to Color. Then start adding colour to the lines of the sketch. For my lizard sketch I filled this layer with an olive green that would eventually become the colour of the lizard, and I used a brush to paint pink over the small flower. Merge Down the colour layer and save the image. The sketch now has lighter values and the colours are closer to those that will be used in the painting.
03. Blend On!
There are several additional Blending Modes that work as well but with somewhat different results. Color Burn will give a coloured sketch that's darker. Soft Light will give a more subtle effect with a bit more grey. Try additional Blending Modes for different looks.
Like this? Read these!