Raise your 3D game, by following the best Maya tutorials available today.
(Image credit: Syawish A Rehman)
The best Maya tutorials are here to boost your skills in this popular 3D software from Autodesk. We've included tutorials at beginner, intermediate and advanced level, so whatever your experience level, you'll find a tutorial here for you. And best of all, they're all free to access online!
If you're new to Maya, it's an industry standard tool used across film, TV, video game, and architecture industries to create 3D models, animations, visual effects, and simulation. Top of our list of the best 3D modelling software, you can use it along with a 3D modelling laptop to create complex 3D models using polygonal modeling, NURBS modeling, or sculpting tools. And that's not all! Maya's texturing tools allow for the creation of intricate surface details and the application of textures and materials. Plus its animation tools let you create and manipulate keyframes, motion paths, character rigs and more.
Below, we've rounded up the best Maya tutorials to help you get to grips with its core features, and supercharge your skills.
In this detailed video tutorial from Game Dev Academy, you will learn all of the basics of using Maya 2022 including the tools and user interface, how to create polygon and NURBS models, how to UV map and texture them, how to light your scene and how to create a rendered image of your work. It's available either as separate lessons or one 4.5 hour-video.
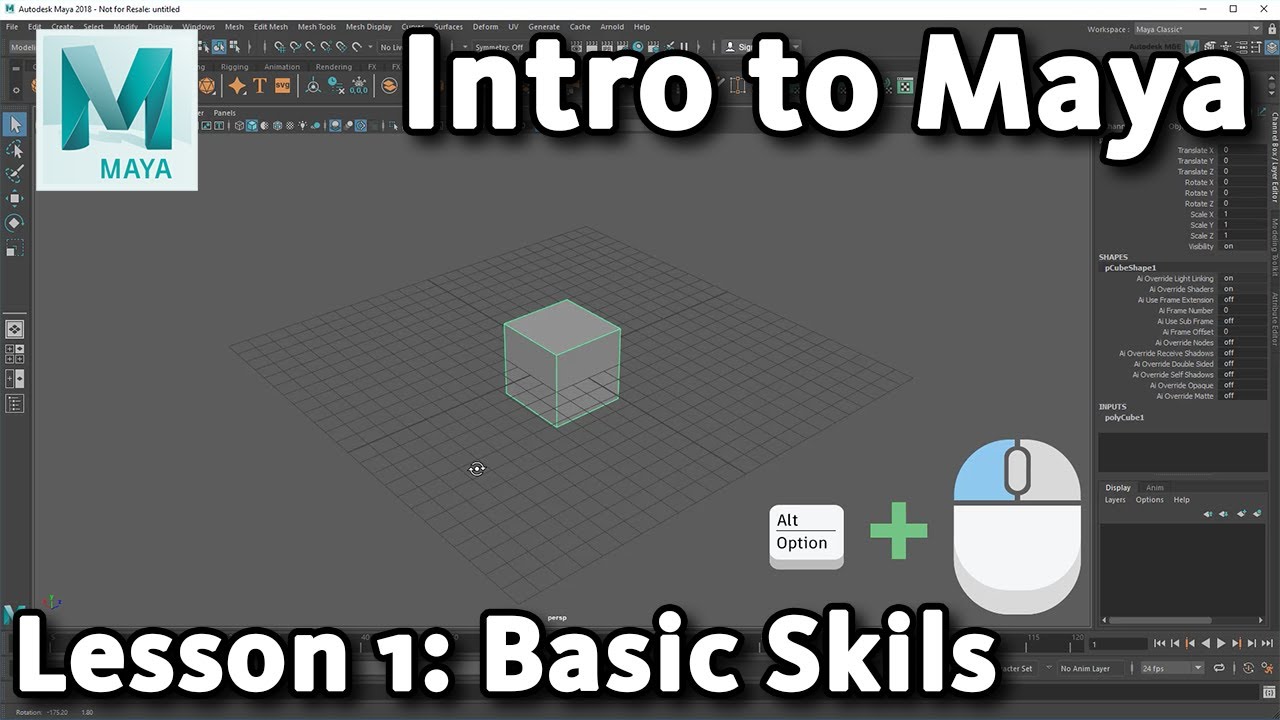
If you're just getting started with Maya, it's also worth taking a look at this intro to Maya from the tool's maker, Autodesk. If you find this one useful, there's a whole series of these basic tutorials to choose from.
03. Create a custom Maya interface
Maya offers a bewildering array to tools, commands and options to suit every workflow. So where do you get started? This tutorial shows you how to build a custom interface, enabling you to create the perfect working environment for your needs, using Maya's UI customisation options.
04. How to create custom rig controls in Maya
The best rigs are the ones that are intuitive and simple to use, and make sense for a whole team of animators. This tutorial on how to create custom rig controls, which originally appeared in 3D World magazine, offers some best practice rules to follow.
05. How to simplify blend shape creation in Maya
(Image credit: Antony Ward)
Blend shapes, or morph targets as they are also known, are a powerful way to bring life to a static model. Traditionally, creating blend shapes could be a long and tedious job, but there have been lots of improvements in blend shape creation over the years and some shortcuts have been developed to help speed up generation and prevent the need for any work to be repeated. How to simplify blend shape creation in Maya explains how you can use a mixture of Maya's new tools and methods for how to quickly and efficiently create blend shapes. This tutorial originally appeared in 3D World magazine.
06. Create a UV wrap with the Roadkill plugin
UV wrapping is used to apply a 2D image texture onto a 3D mesh. Maya's Roadkill plugin automatically lays out UV co-ordinates and minimises distortion in just a few clicks. Here's how to use it to create a UV wrap, in four easy steps.
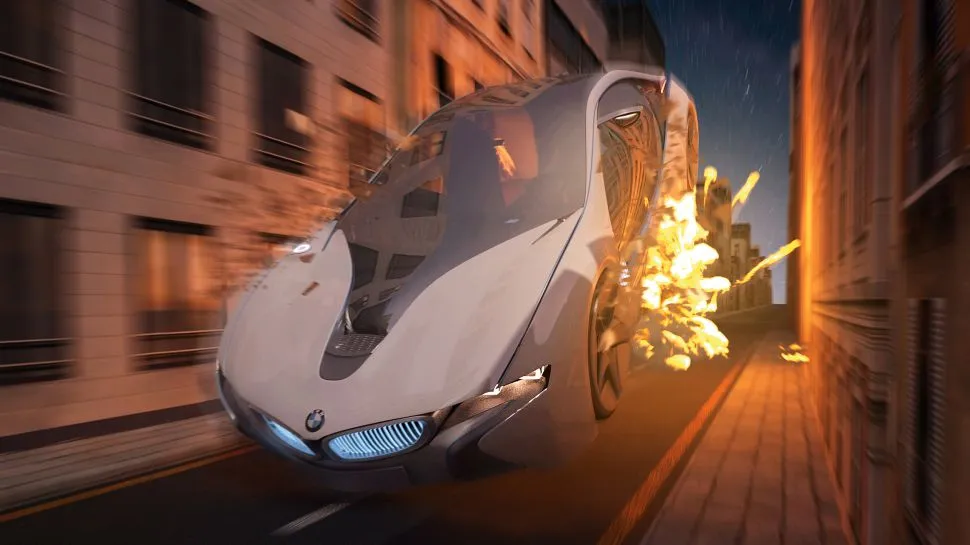
07. Simulate explosions in Maya
Explosions are a huge part of our entertainment, from video games to action films. However, most of the explosions you see on screens aren’t real. This in-depth Maya tutorial walks though how to craft a realistic explosion, using nParticles and FumeFX. This tutorial originally appeared in 3D World magazine.
08. Create a portal effect in Maya
That portal effect in the Dr Strange movie was very special: It was pretty much the only effect in the movie that didn’t lean more towards motion graphics than visual effects. So, this Maya tutorial by Syawish A Rehman walks you through creating an amazing portal effect, with help from nParticles – and in particular, the Nucleus mode. This tutorial originally appeared in 3D World magazine.
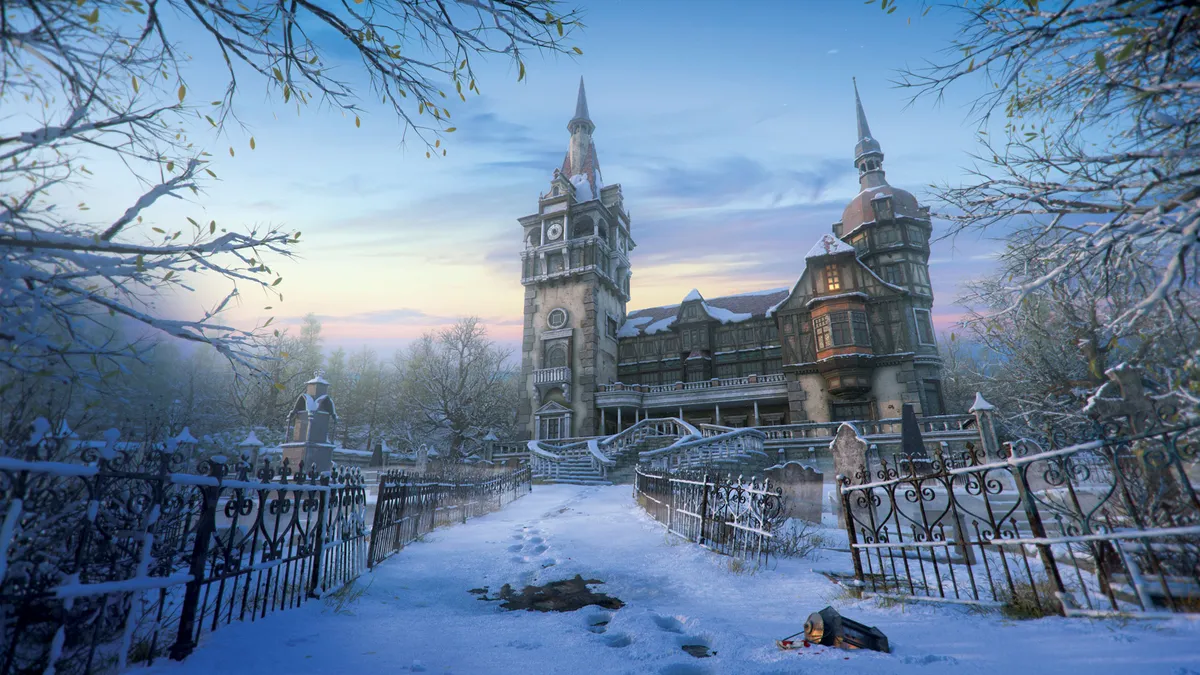
09. Create a scene with RenderMan for Maya
(Image credit: Jeremy Heintz)
This tutorial by Jeremy Heintz shows you how to make a winter environment with RenderMan for Maya. It covers everything from creating a compelling composition through to shading, lighting and getting your image production-ready. This tutorial originally appeared in 3D Artist magazine.
10. How to speed up retopology in Maya
(Image credit: Antony Ward)
Retopology is becoming an increasingly essential part not only of game development, but also film and TV production. How to speed up retopology in Maya explains how to use Maya's tools to perform retopology faster, using the Conform tool to create basic primitives. This tutorial originally appeared in 3D World magazine.
11. Maya shaders and textures
As part of a Know the Basics series from 3DTotal, Paul Hatton delves in to the process of creating and assigning materials in Maya. This walkthrough will help you wrap your head around all the different material types and how to render them in Maya's default renderer, Arnold.
12. Create better character animations
This tutorial presents a way to reskin a finished character that doesn't involve painstakingly importing and exporting skin weights with sloppy results. Using the Export Deformer Weights tool, labelled Export Weights and Import Weights, is a much more efficient and successful way to finish your animation.
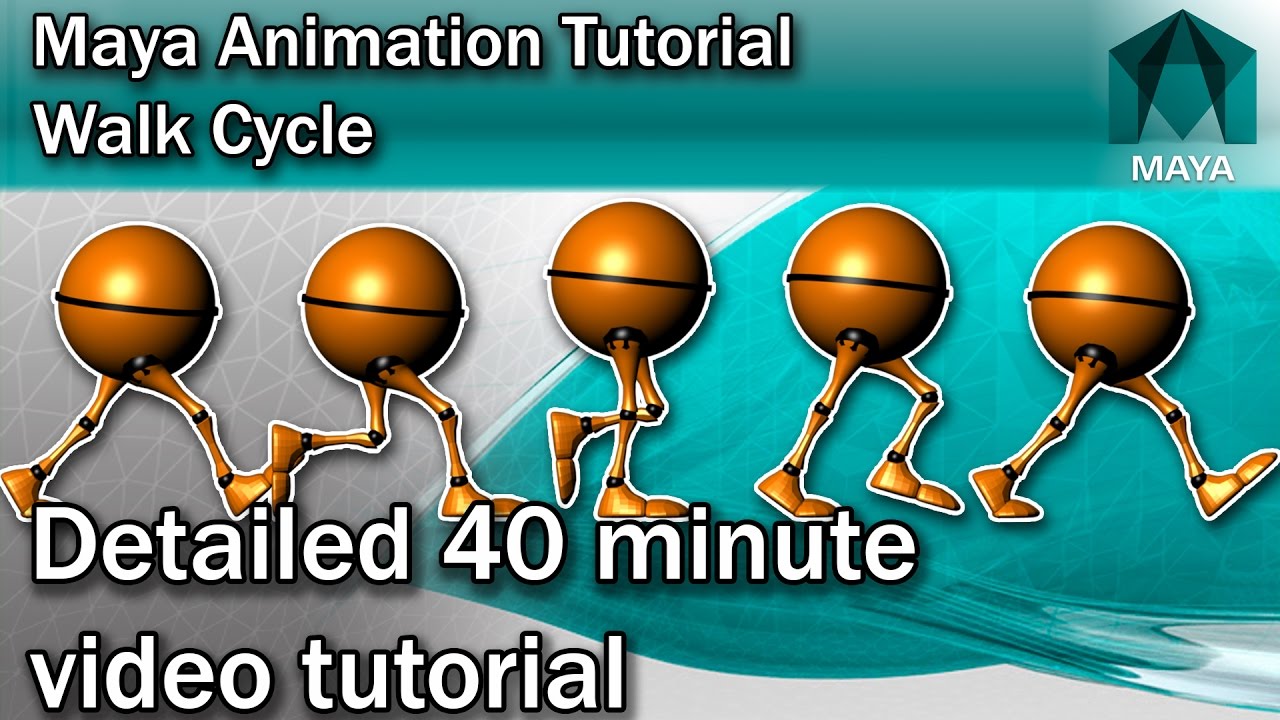
13. Create a walk cycle in Maya
Maya Walk Cycle Tutorial - Complete | Character Animation Tutorial - YouTube
Learn how to create a convincing walk cycle with this detailed 40-minute Maya tutorial. In it, you'll learn how to master each pose, set up the timing and refine the walk cycle using the graph editor.
14. Create a realistic environment in Maya
Creating different environments is exciting... but to make them believable, it's key to study your references. In this Maya tutorial on creating realistic environments, originally published in 3D World magazine, Eva Ng demonstrates how she made this project.
15. How to create smoke in Maya
Maya 2019 tutorial : How to create various types of smoke - YouTube
This video tutorial from Mike Hermes shows you how to create loads of different types of smoke, from a trickle of cigarette smoke to a dense cloud of smoke from a grenade.
Thank you for reading 5 articles this month* Join now for unlimited access
Rob Redman is the editor of ImagineFX magazines and former editor of 3D World magazine. Rob has a background in animation, visual effects, and photography.