Learn how to make your own custom brush heads in Artrage with these 3 expert tips.
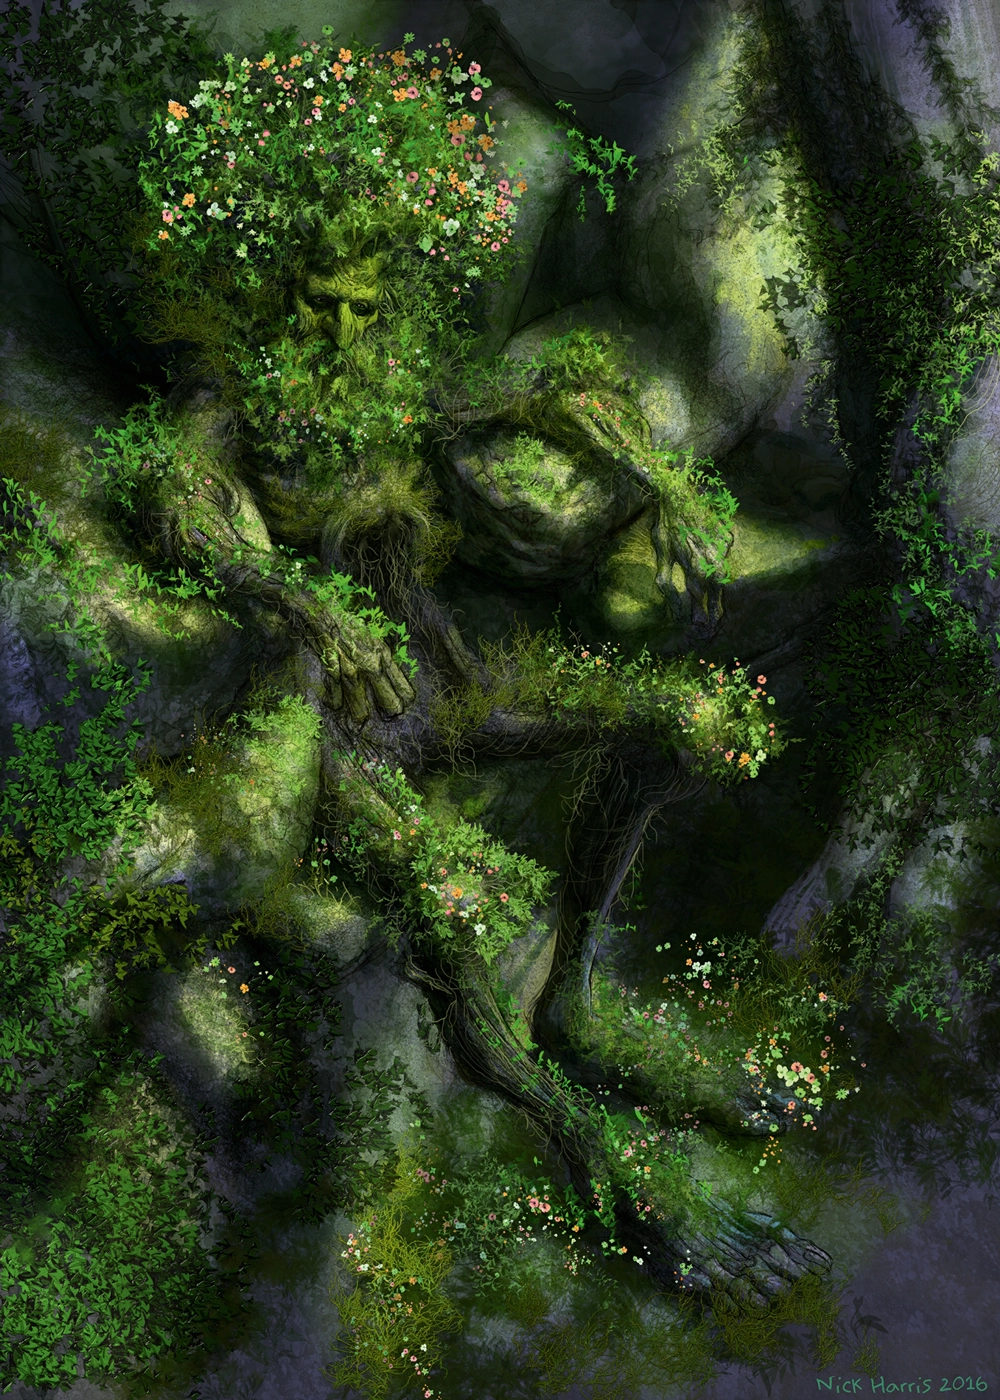
I use the Sticker Spray in ArtRage – a fabulous art tool, particularly if you make your own brush heads for it. While it seems a bit of a rigmarole at first, the paint app is well worth the effort. I’ve made foliage brushes that have become very useful.
It’s a three stage process: a) paint a Sticker sheet; b) load the Sticker sheet; c) adjust the settings. Easy, huh? So what is a Sticker sheet? It’s the image(s) which the tool sprays. It can comprise a single image or multiple images (as we tackle here). At stage (b) it becomes obvious why the images need to be arranged in a grid – that’s how the Sticker Spray is built, to read the image. There are row and column setting windows to input grid settings. Painting multiple dabs according to a grid means you’ll be able to load them as a Sticker sheet.
I paint a sheet of nine 500px squares, on square canvas. Loading the image will require a three-row/three-column setting. If I paint the nine dabs in a row, it requires a one-row/nine-column setting. The tool architecture requires you paint the Sticker sheet in pure red – R255, G0, B0. I set the Saturation to 100 per cent, but Luminance to 50 per cent. Now for the real fun. Open the Sticker Brush settings and select Spray Variation…
Latest Videos From Creative Bloq
Step 01.
Pure red allows for greater control
Paint the marks you want to make up the Sticker brush into a grid formation on one layer. Pure red marks will afford you more colour control later. Paint marks left to right, or right to left, depending on which way you want the sticker brush to flow. Export the layer as a PNG to keep transparency information for the image.
Step 02.
Make an archive of the colours and textures you use
Click the Stickers tab to open a palette of all the Sticker sheets available. Click New to open the Load pane. Click Colour and open your saved PNG file. Repeat for a second layer. Click Texture if you wish to load the same file for texture. Pick Shadow (or not). Set rows and columns appropriate for your sheet. Save with a suitable name.
Step 03.
Adjust the variations for the desired result
Close all the panels and select the Sticker Brush. Click Settings>Spray Variation. Each grid square is a control, like Pen Pressure/Scale, which you can drag from +100 to -100. Hue/Tracing H 100 per cent gives more colour control, if you used pure red in step 1. I use Sheet sequence 100 per cent random; see what works for you.
English artist Nick Harris switched to a digital canvas in 2000, after 18 years of using traditional media. Most of his work involves creating artwork for children’s books, though he has also dabbled in animation, including some background work on the hit 1988 film Who Framed Roger Rabbit?. He has supplied a wealth of advice and tutorial help for illustrators in ImagineFX magazine.