4 steps to digitally perfecting the look of clay
Artist Alexis Anderson explains how to make your 3D model look matte, using a combination of Maya, ZBrush and Photoshop.
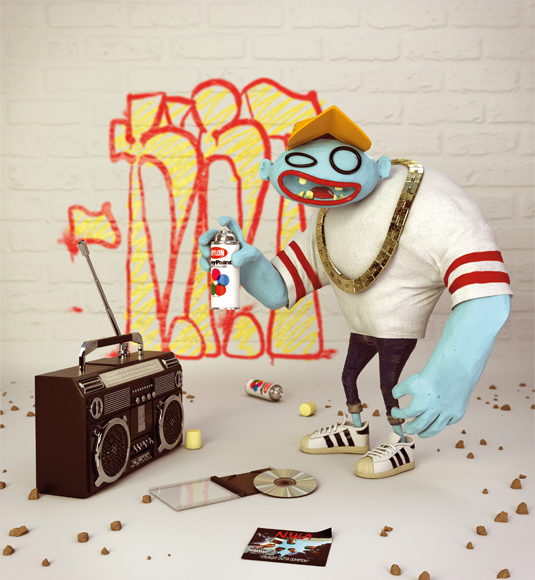
The first thing I do when creating a material is look for a lot of references on the internet. I do this to find the look that I'm searching for and to see the differences in the behaviour of the material. I also have to see how the material reacts to different types of lighting.
Having finished my character in Maya, I export it to ZBrush to make a detailed clay look. ZBrush is an extremely powerful tool for sculpting details on models. It allows you to work with a very high polygon count.
I then import it to Photoshop and invert it because the white part in the alpha is what's affecting the mesh; it's like with a bump map. Then you need to save the file as a .psd and import it to ZBrush as an alpha. I choose to paint the creases using Photoshop.
01. Sculpt the clay into shape
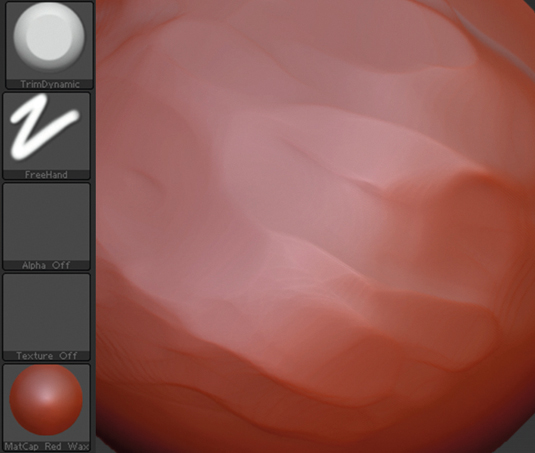
I often use the Clay and Trim Adaptive brushes. Try to mimic the strokes someone would do when they drag their finger over a clay material. Here you can build and subtract until you get the desired look.
02. Apply imperfections
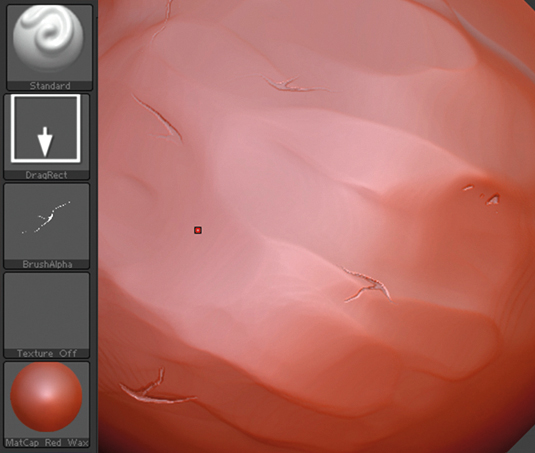
Start with the creases and crackles. Paint crackles in Photoshop and save them as .psd files, then in ZBrush click the Brush Alpha and import the .psd file. After that use dragRect to place them randomly.
03. Add the fingerprints
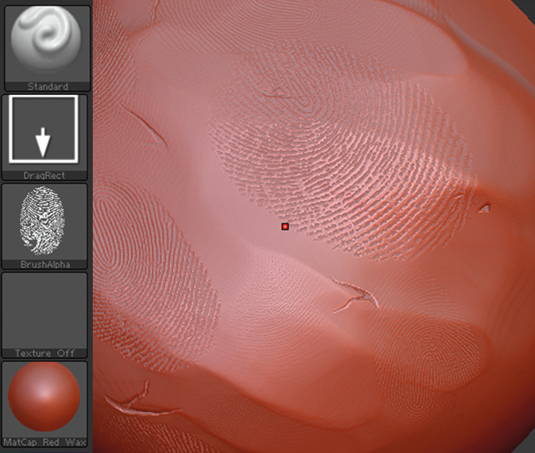
Next add the fingerprints. Be careful not to overdo it with the fingerprints and don't repeat them too much, it could look artificial and not realistic at all.
04. Use noise to add realism
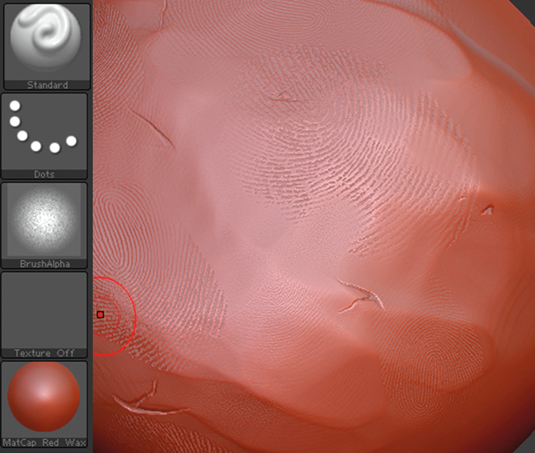
Next, break up the perfect fingerprints and use Trim Adaptive again. We want it to look like we've worked with it a lot, so the fingerprints will be in layers. Finally, add noise to break up the surface a bit more.
Daily design news, reviews, how-tos and more, as picked by the editors.
Words: Alexis Anderson
Freelance artist Alexis Anderson creates 2D and 3D art and also has a passion for graffiti art. This article originally appeared in 3D World issue 183.

The Creative Bloq team is made up of a group of art and design enthusiasts, and has changed and evolved since Creative Bloq began back in 2012. The current website team consists of eight full-time members of staff: Editor Georgia Coggan, Deputy Editor Rosie Hilder, Ecommerce Editor Beren Neale, Senior News Editor Daniel Piper, Editor, Digital Art and 3D Ian Dean, Tech Reviews Editor Erlingur Einarsson, Ecommerce Writer Beth Nicholls and Staff Writer Natalie Fear, as well as a roster of freelancers from around the world. The ImagineFX magazine team also pitch in, ensuring that content from leading digital art publication ImagineFX is represented on Creative Bloq.
