Make your type stand out
Alex Gill reveals how to quickly create 3D type using Photoshop and Illustrator
Sign up to Creative Bloq's daily newsletter, which brings you the latest news and inspiration from the worlds of art, design and technology.
You are now subscribed
Your newsletter sign-up was successful
Want to add more newsletters?
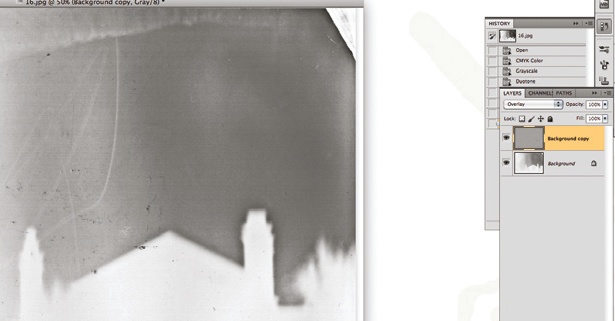
06 Moving into the Face folder, create a colour gradient of your choosing above your type. With this layer selected, hold Ctrl/Cmd and click the thumbnail of your Face layer. Click the Layer Mask icon to create a mask on your gradient in the shape of your type. With your new mask now selected, Ctrl/Cmd+click the thumbnail of your 3D elements and fill them with white. Turn the gradient layer’s blending mode to Overlay.
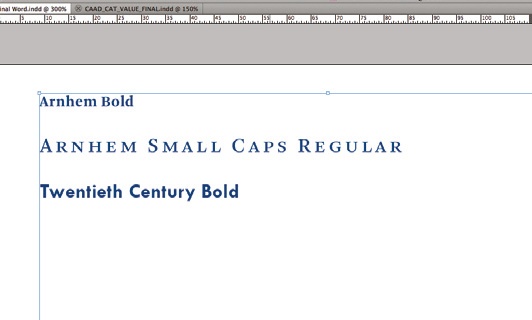
07 Create a new Hue/Saturation adjustment layer above your gradient, hold Alt/Opt and click between the layers to apply it to the gradient layer. By moving the Hue slider you can create some interesting alternative colours. I’m going to settle on -98. We’re now going to add some shine and other effects. Ctrl/Cmd+click on the face thumbnail again. Go to Select>Modify and set Contract to 5px, then create a new layer named ‘Shine’ and fill it with white.
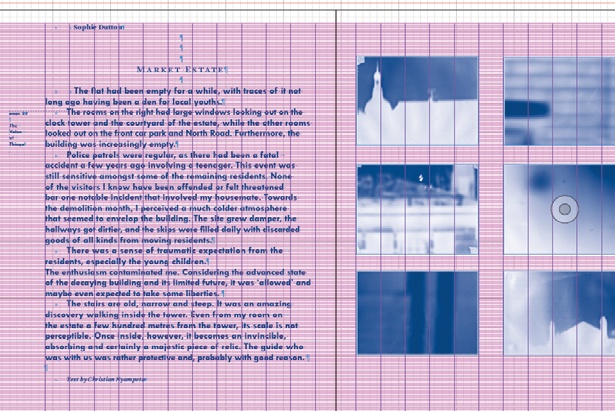
08 Select the Shine layer, click the New Path icon in the Paths tab, and draw a wave shape with the Pen tool over the top and bottom line of type. Ctrl/Cmd+ click the thumbnail of your new path and go back to the Shine layer. Delete the lower white sections and set the blending mode to Overlay. Select the Face layer and go to Layer>Layer Style>Inner Shadow. Set Blend Mode to Normal, Opacity to 100%, Angle: 145°, Distance and Size to 2pt and tick Use Global Light.
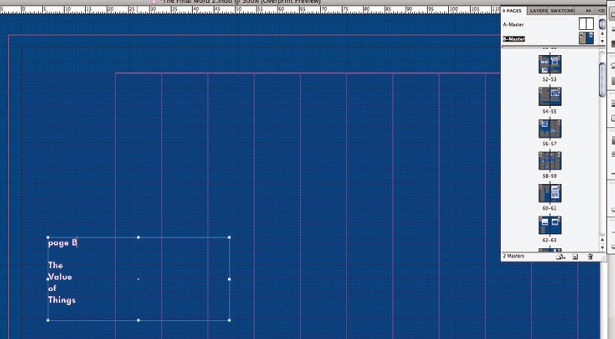
09 Create a new Levels adjustment layer above your Shine layer and mask it so that it only affects your type. Select Increase Contrast from the drop-down menu in the Adjustments panel or change to your preference. Create a new layer, ‘Noise’, go to Edit>Fill and set Use to 50% Gray. Then go to Filter>Noise>Add Noise>8%. Hit OK and set the Noise layer blending mode to Soft Light. Apply the type mask as you did with the levels.
10 Create a new layer called ‘Glows’, select the Radial Gradient tool and set it from white to transparent. Hold Shift and draw, say, three radials where light will break between the letters. When you’re happy, set the opacity of the Glows layer to 70%. Then select all the layers apart from the background, duplicate them, merge them and label them ‘Soften’. Now duplicate your Soften layer, rename it ‘High Pass’ and turn it off for a moment. Select your Soften layer, and add a Gaussian Blur at 50px and hit OK. Set the layer blending mode to Soft Light and its opacity to 50%. Select your High Pass layer and desaturate it. Go to Filter>Other>High Pass>40px, set the layer blend to Overlay and you’re done.
Sign up to Creative Bloq's daily newsletter, which brings you the latest news and inspiration from the worlds of art, design and technology.

The Creative Bloq team is made up of a group of art and design enthusiasts, and has changed and evolved since Creative Bloq began back in 2012. The current website team consists of eight full-time members of staff: Editor Georgia Coggan, Deputy Editor Rosie Hilder, Ecommerce Editor Beren Neale, Senior News Editor Daniel Piper, Editor, Digital Art and 3D Ian Dean, Tech Reviews Editor Erlingur Einarsson, Ecommerce Writer Beth Nicholls and Staff Writer Natalie Fear, as well as a roster of freelancers from around the world. The ImagineFX magazine team also pitch in, ensuring that content from leading digital art publication ImagineFX is represented on Creative Bloq.
