Create a realistic CG tree in 6 simple steps
Bring your foliage to life with award-winning 3D software SpeedTree.
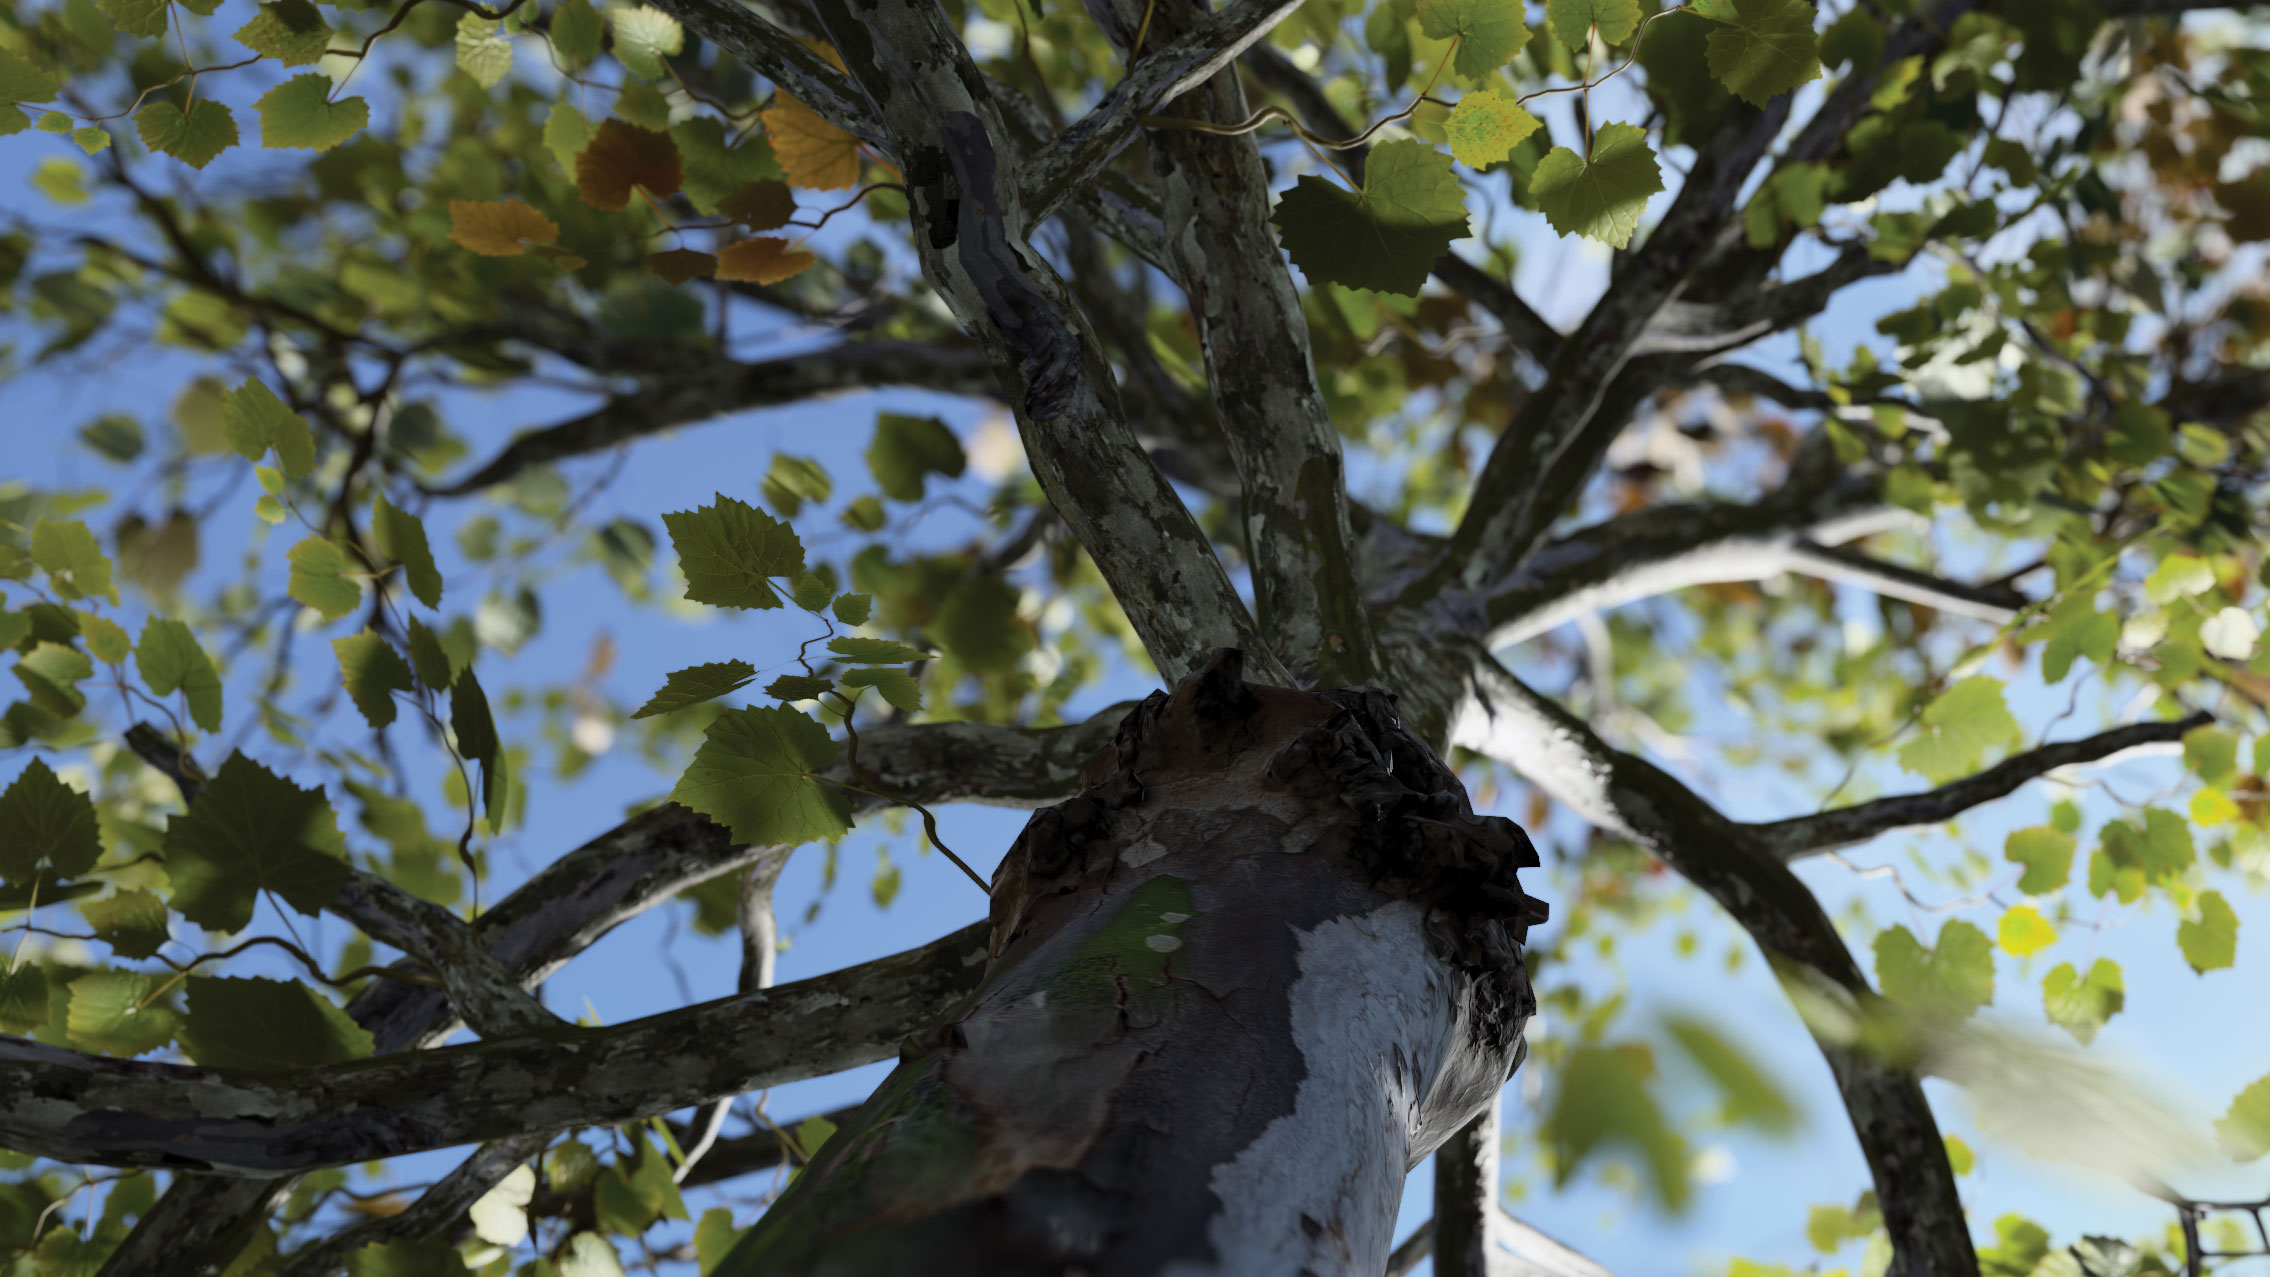
Daily design news, reviews, how-tos and more, as picked by the editors.
You are now subscribed
Your newsletter sign-up was successful
Want to add more newsletters?

Five times a week
CreativeBloq
Your daily dose of creative inspiration: unmissable art, design and tech news, reviews, expert commentary and buying advice.

Once a week
By Design
The design newsletter from Creative Bloq, bringing you the latest news and inspiration from the worlds of graphic design, branding, typography and more.

Once a week
State of the Art
Our digital art newsletter is your go-to source for the latest news, trends, and inspiration from the worlds of art, illustration, 3D modelling, game design, animation, and beyond.

Seasonal (around events)
Brand Impact Awards
Make an impression. Sign up to learn more about this prestigious award scheme, which celebrates the best of branding.
Creating believable computer generated trees has always been a difficult challenge for 3D artists; as with all things in nature, no two trees are the same, and traditional cloning techniques do not lend themselves easily to natural creation.
To create impressive 3D art that features realistic foliage, you either need a lot of time and talent or a quality software solution. Enter the award-winning SpeedTree. With this application, an artist can create a bespoke series of trees of any size, either through the supplied templates or entirely from scratch, with full control over every aspect of the creation and position of every element, from trunk to leaf.
The products within SpeedTree vary from modelling to plugins, which work with digital content creation applications to create instances throughout a scene.
The core application for CGI creation is SpeedTree Cinema. In SpeedTree Cinema all the tools are available for bespoke tree mesh creation with a full PBR texture workflow, and a wide range of export options to allow a tree to work with practically any of the best 3D modelling software.
SpeedTree accommodates different geometry levels for leaves and branches dependant on distance or use, and just like the branches, leaves can be modified and given features such as twist and curls.
With easy exporting to a wide range of software and render solutions, SpeedTree is the easiest way to make lots of bespoke trees very quickly. This is greatly enhanced with the addition of the SpeedTree Library, which allows the searching of many types of foliage for quick placement or as a starting point for custom plant life.
Create your own realistic 3D trees with this easy-to-follow guide...
Daily design news, reviews, how-tos and more, as picked by the editors.
01. Make a tree with SpeedTree cinema
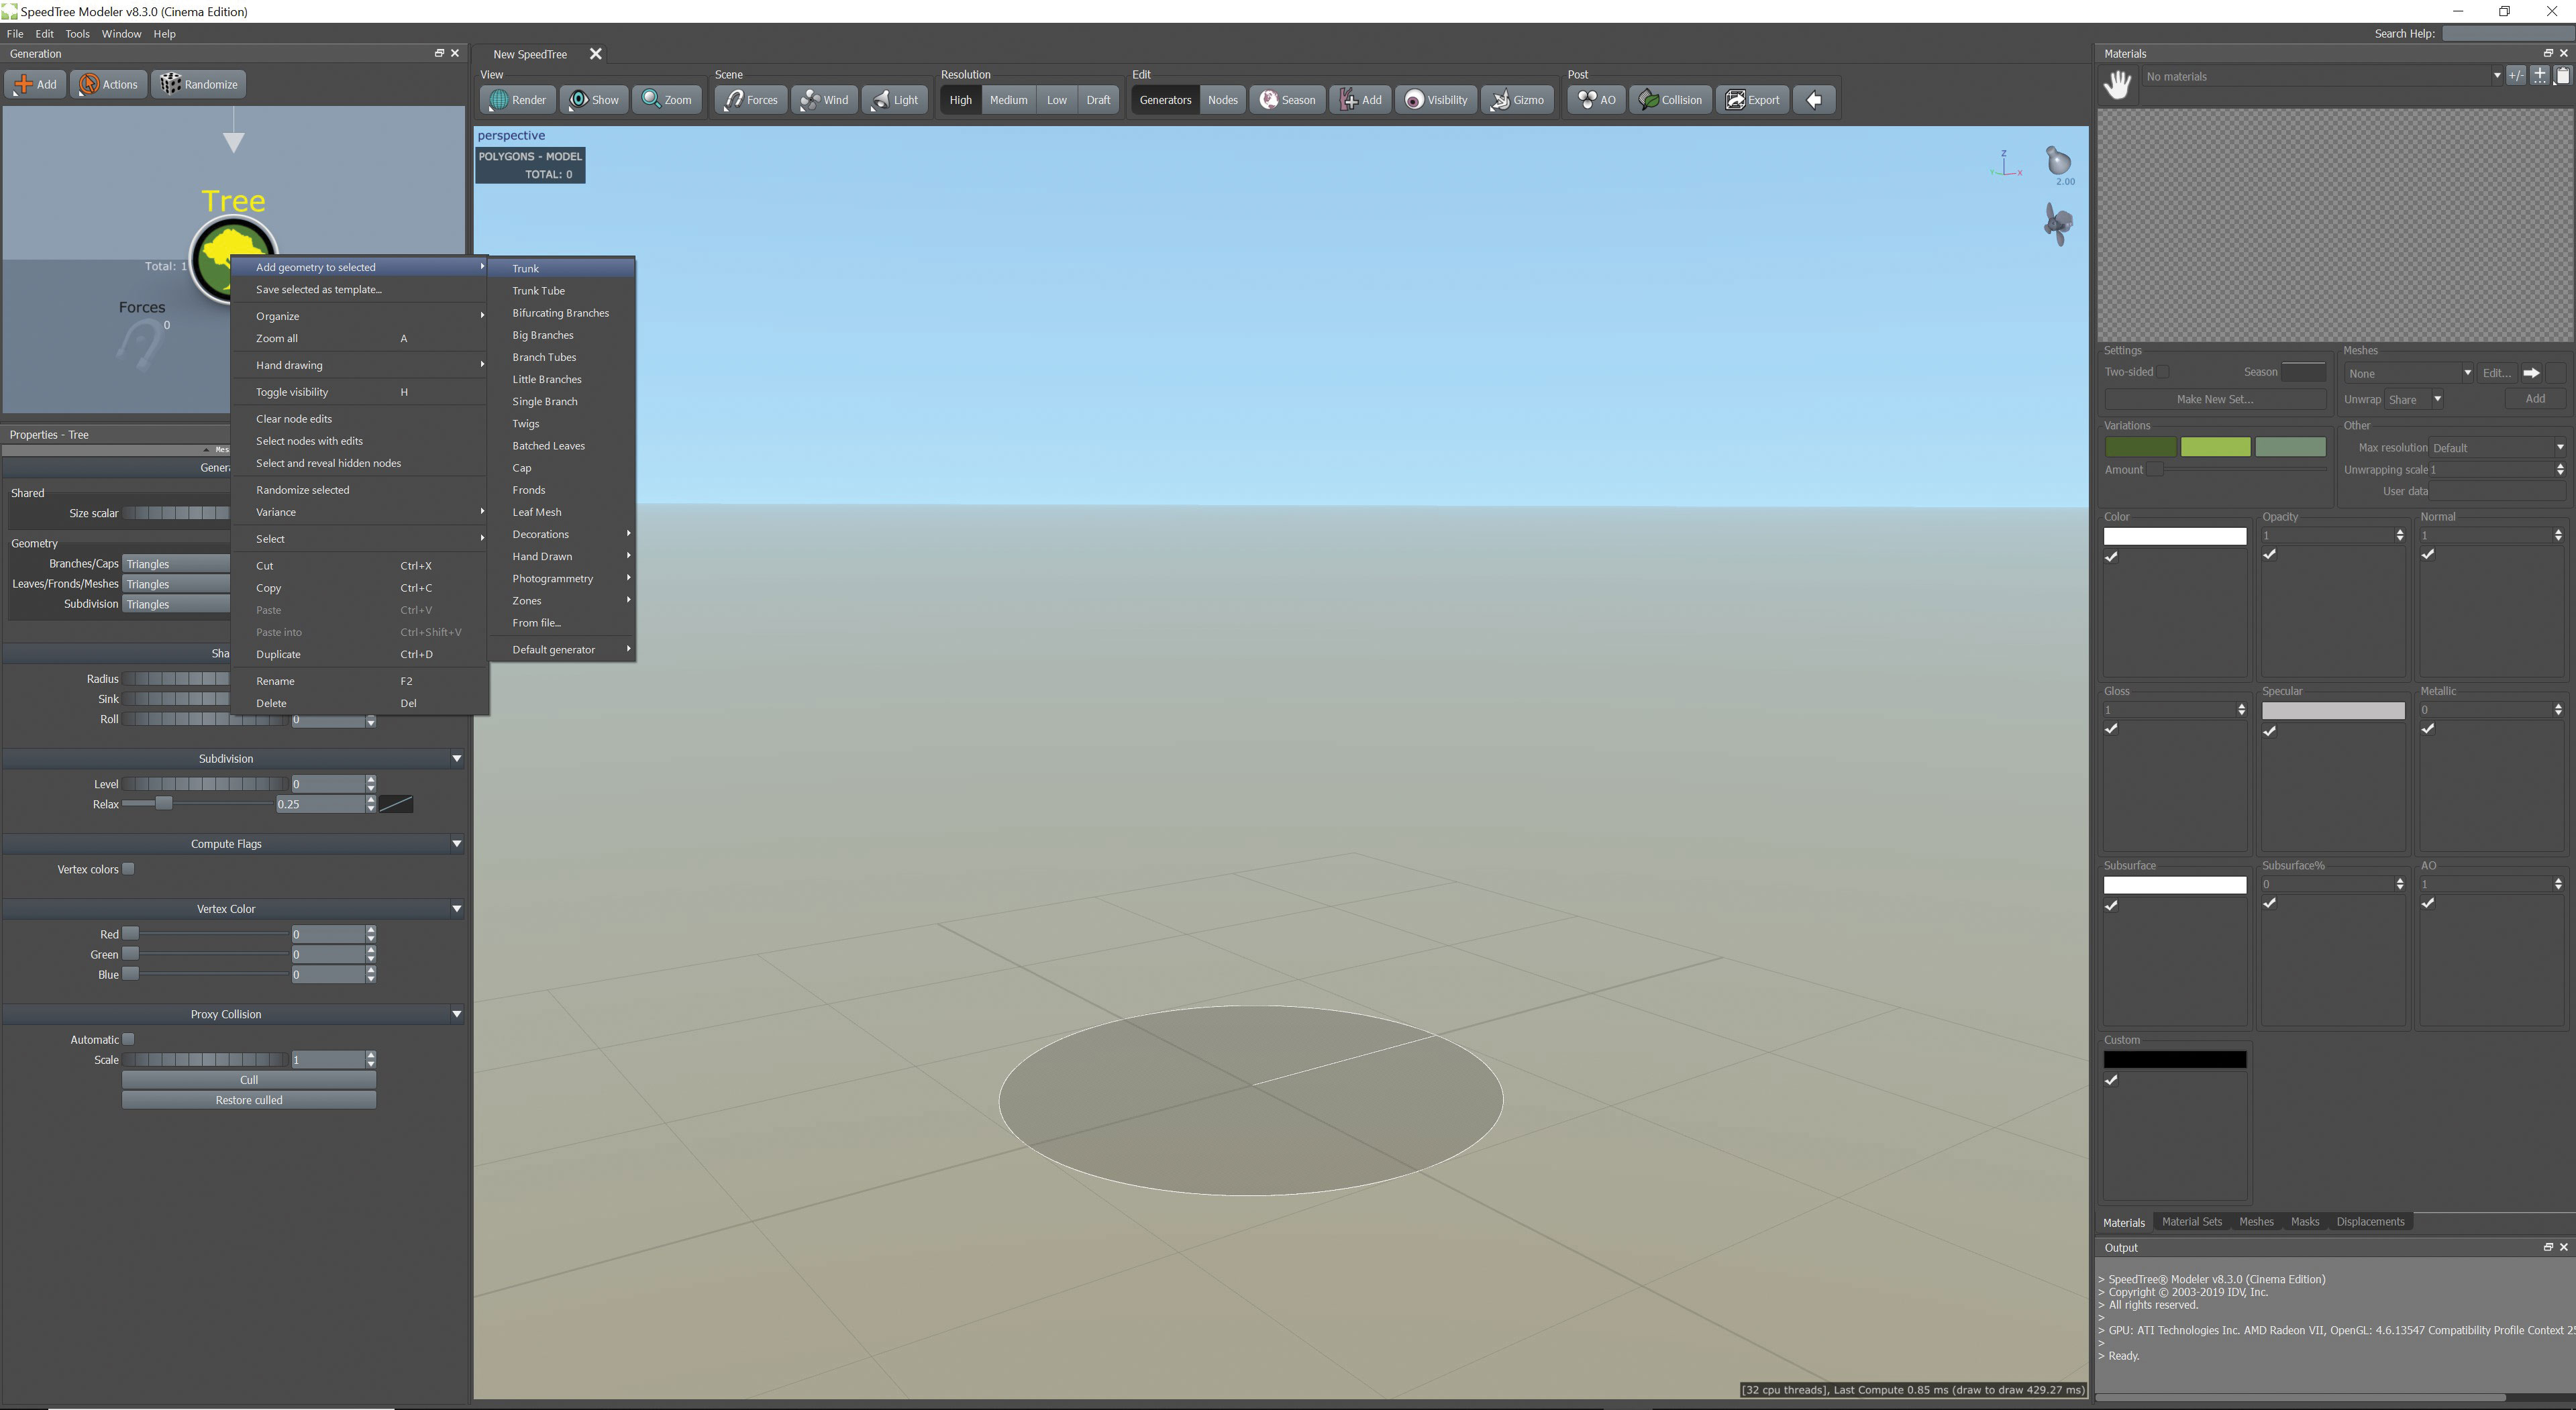
Creating bespoke trees is made quick and easy with SpeedTree. To make a basic tree, the easiest way to get started is to simply work from an existing template, but for this example we will actually start from a blank template.
Using the Generation nodal palette right-click on the Tree icon and select ‘Add geometry to selected>Trunk’. This will create a basic trunk in the main SpeedTree view window.
02. Create a material from existing assets
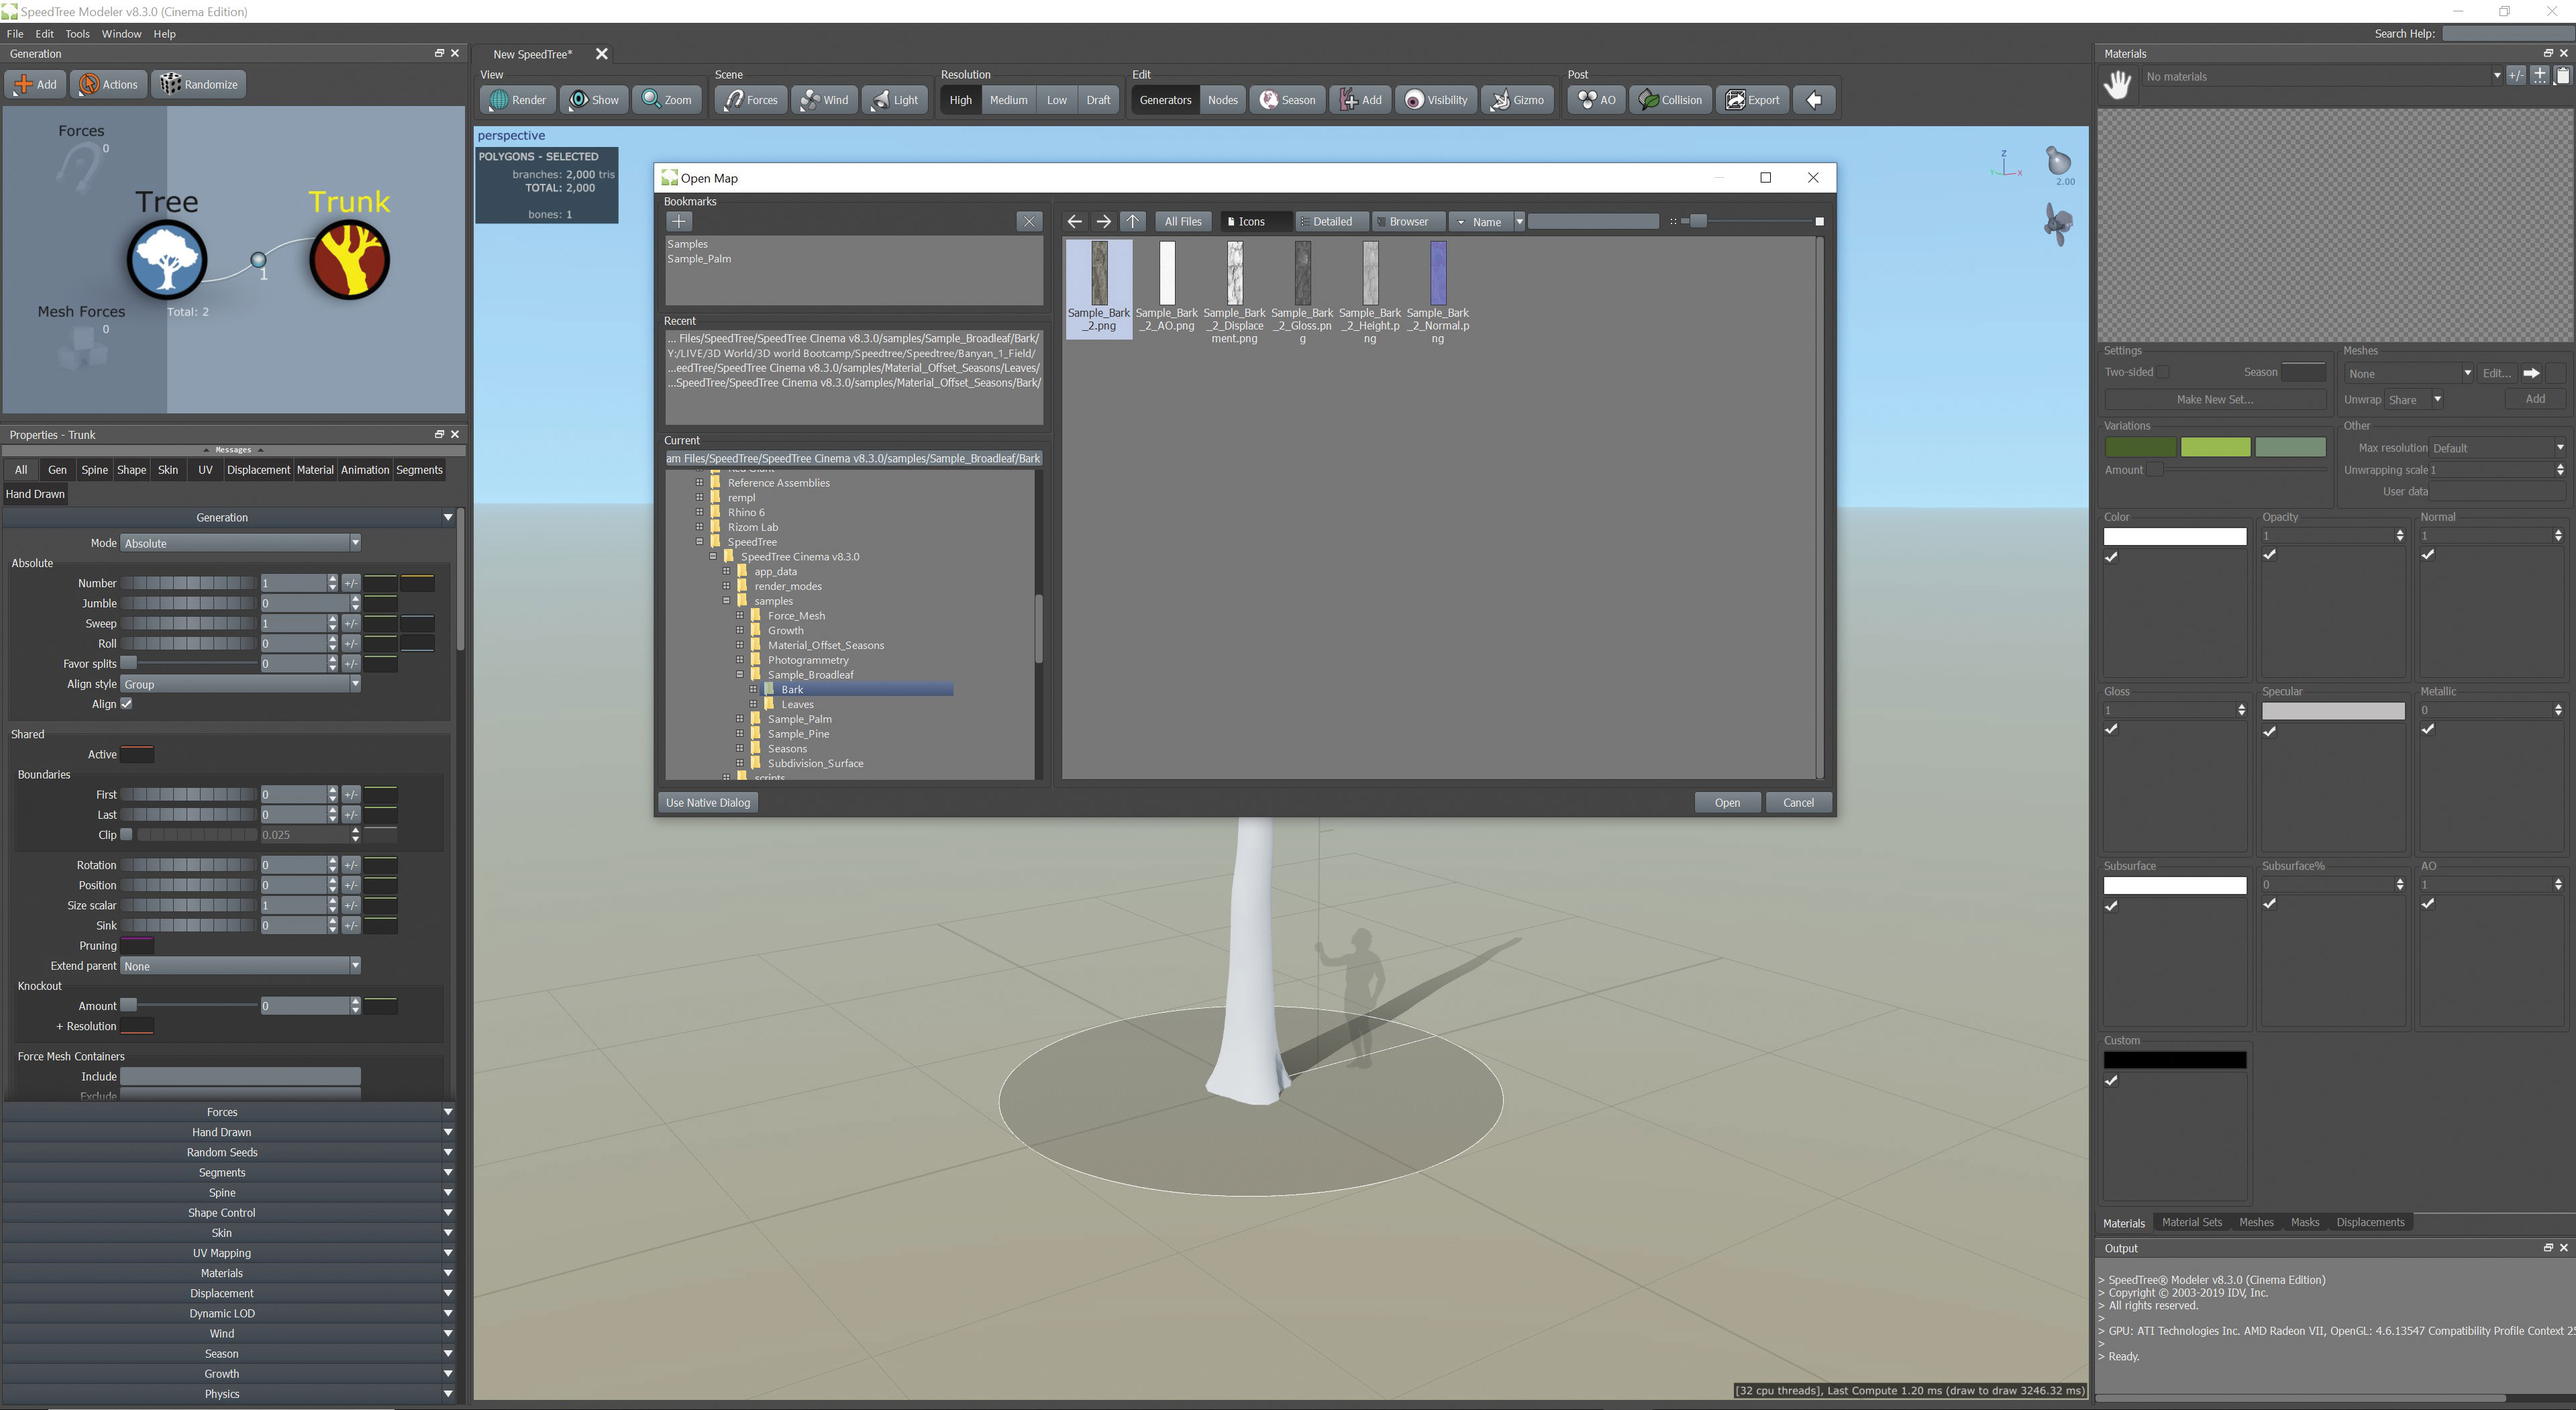
When the trunk is in the middle of the viewer, it denotes the scale and height. While we could use the properties to adjust the trunk, it can be a good idea to add a material. In the Materials palette, select the ‘+’ above the three dots button, to browse for a material and add it to the list automatically.
In this case, choose the bark of the Sample Broadleaf example. Only one texture needs to be selected for SpeedTree to elect the rest to populate all the material slots.
03. Add material to the tree
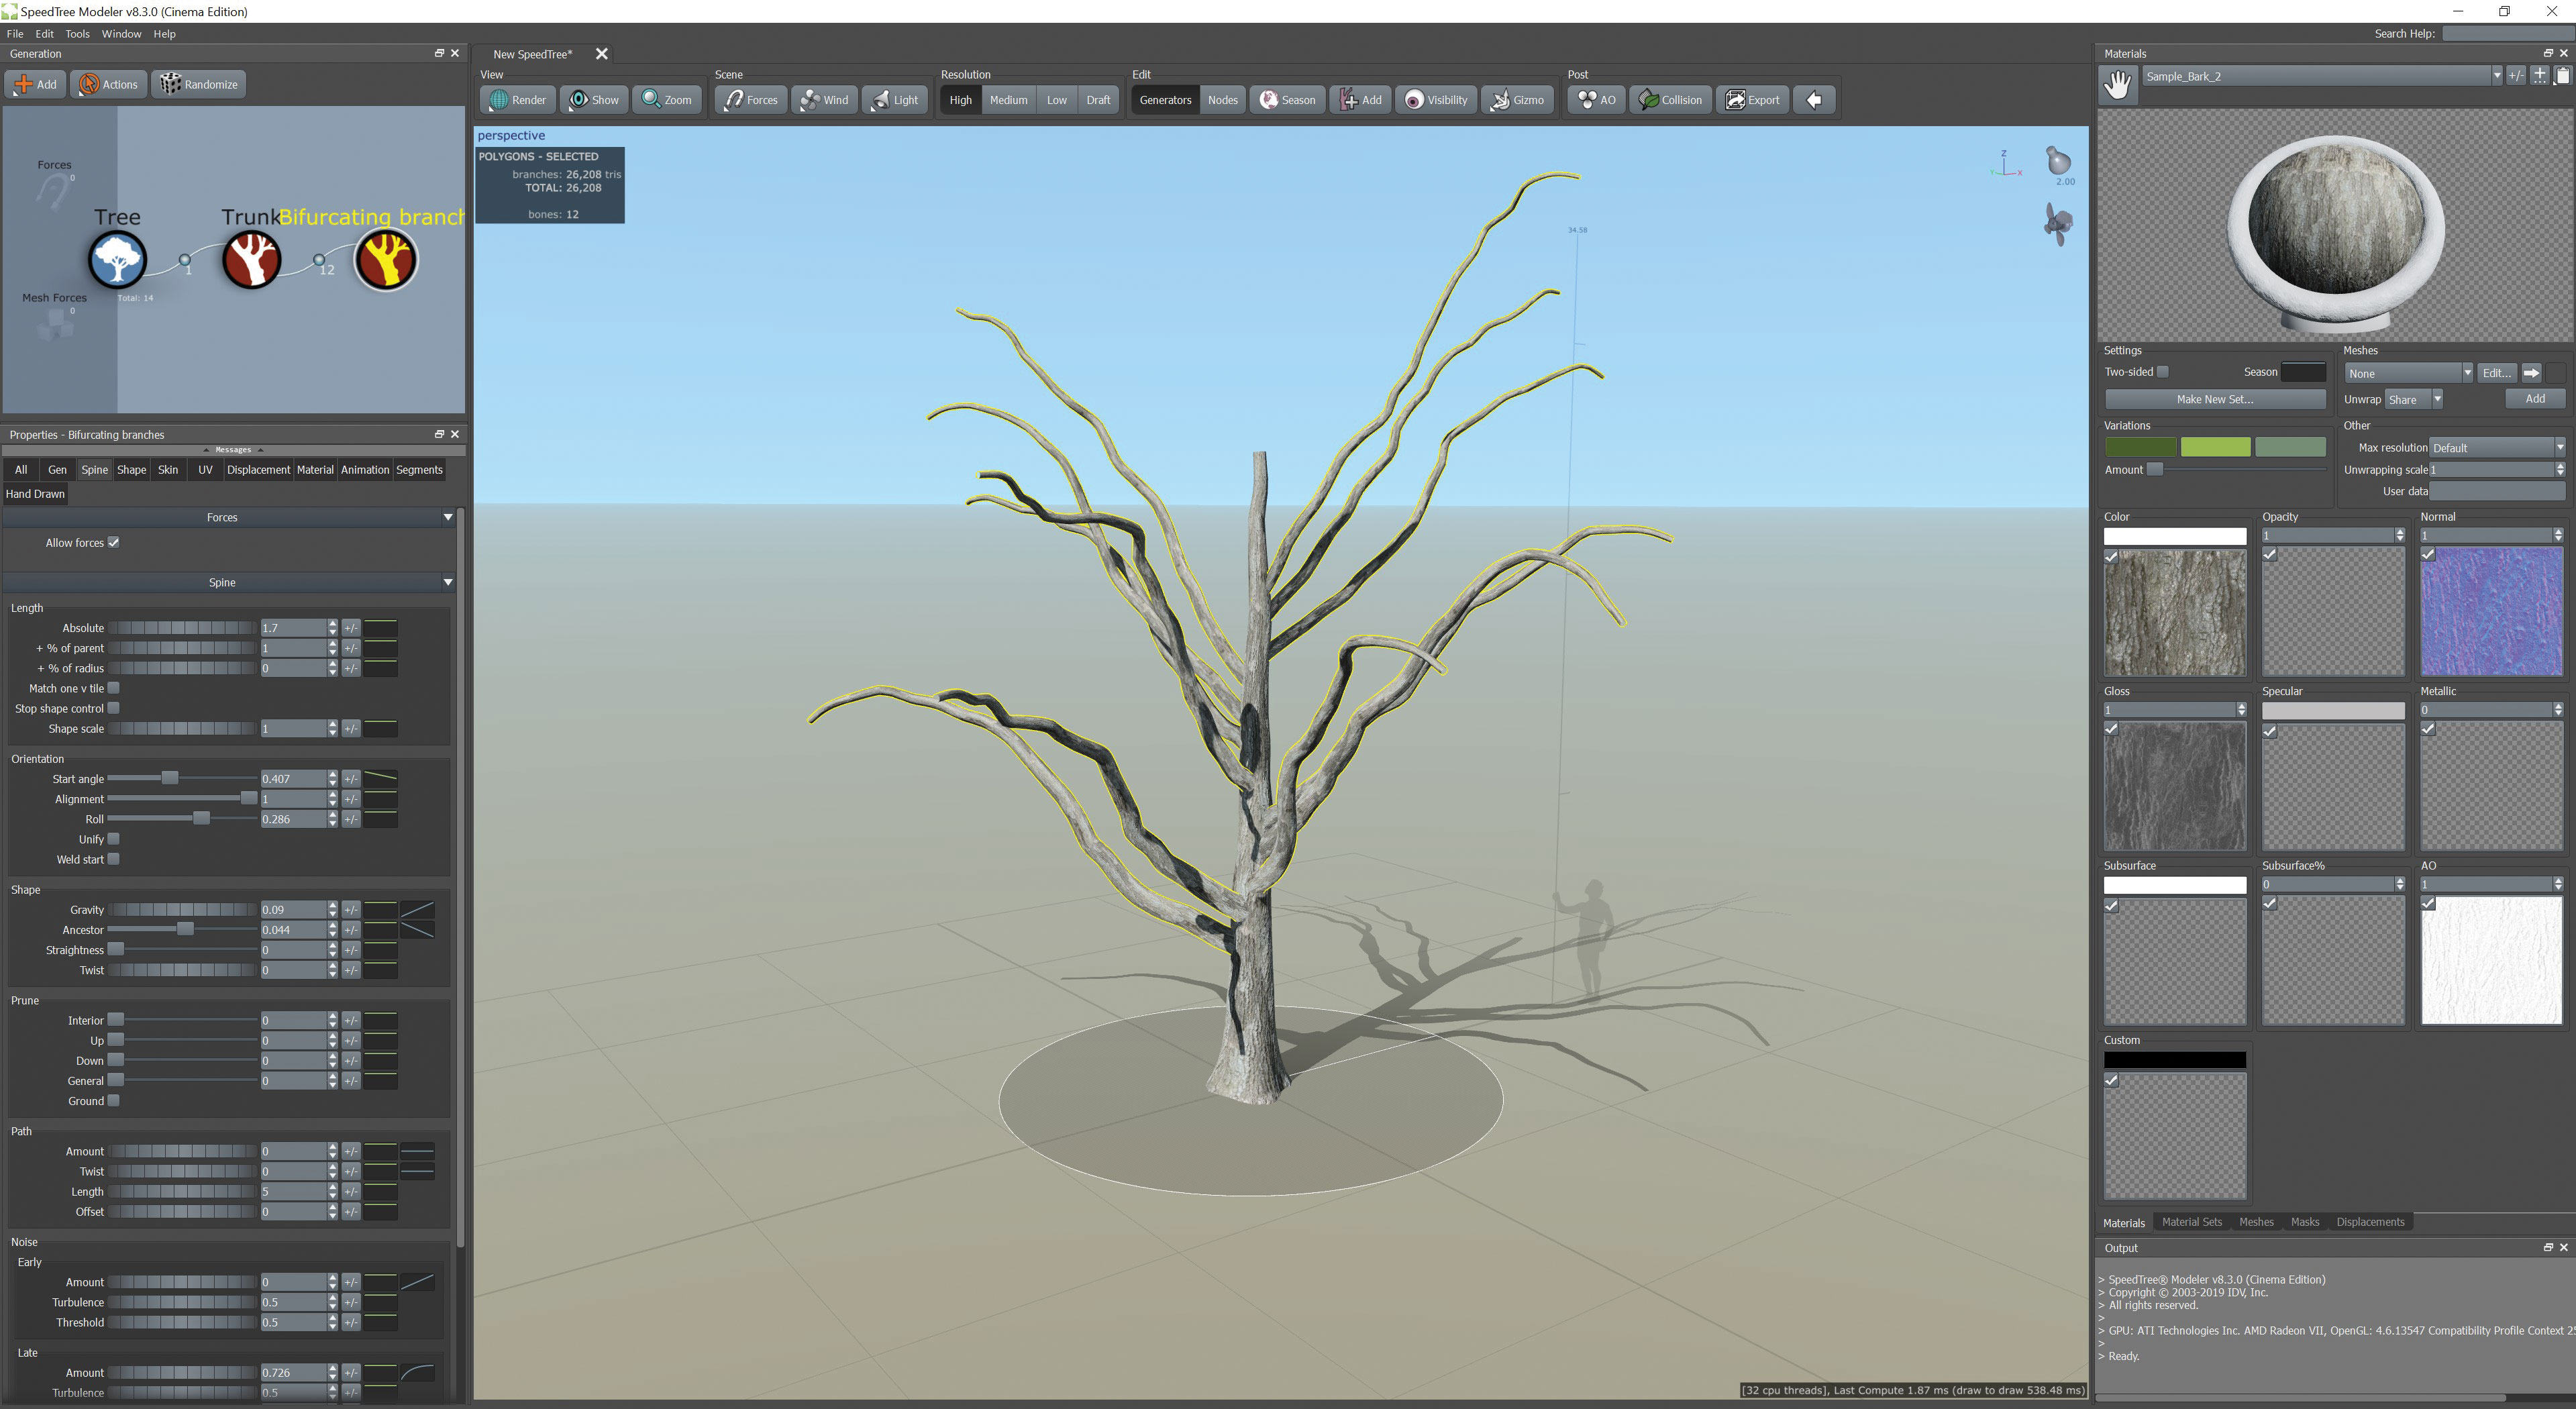
With the Sample Bark material ready to go, use the hand icon in the Materials palette to drag it to the trunk. To add branches to the tree, right-click on the red trunk icon in the Generation palette and select from the branches section.
In this example, Bifurcating Branches was chosen. In the Properties panel, there is a wide range of options to adjust the branches to the artist’s choice, enabling the creation of a bespoke look.
04. Place smaller branches and leaves
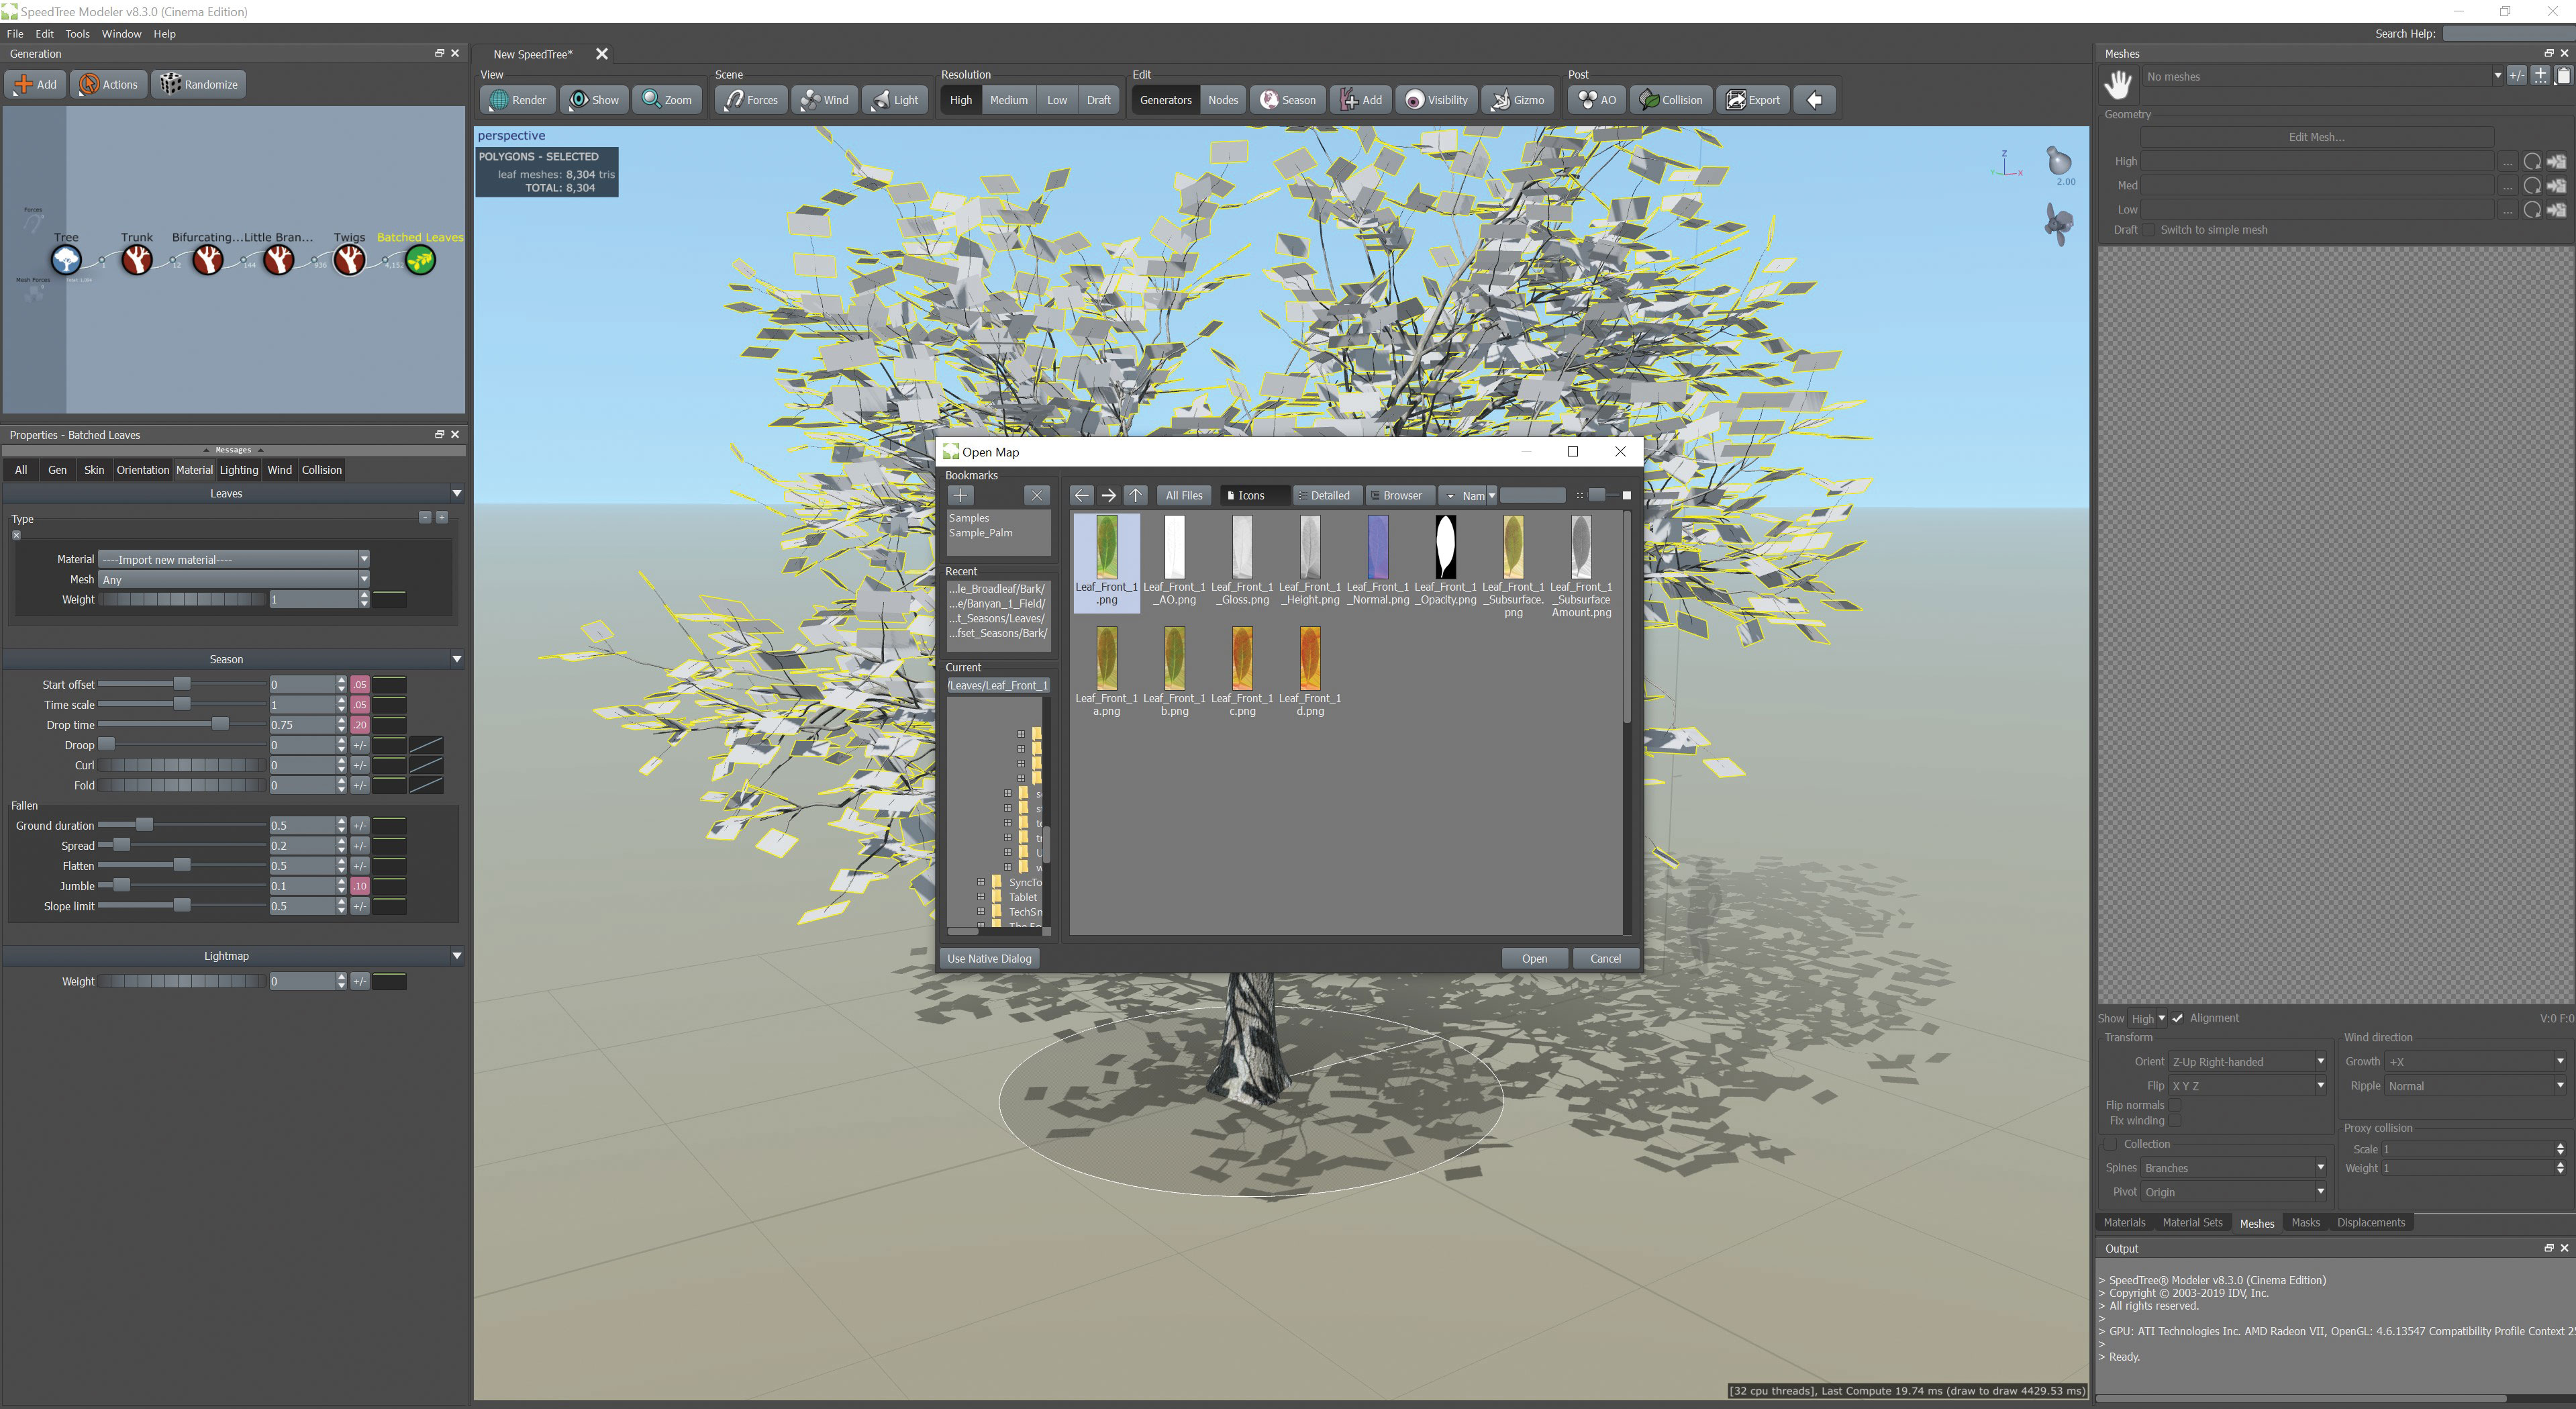
When the main branches have been added, use the same process of right-clicking a node in the Generation palette to add little branches and twigs. Leaves can now be added by right-clicking on the twig icon in the Generation palette and selecting Batched Leaves.
Add a material to the leaf by choosing the Material option from the Properties palette for the batched leaf, and select the desired sample leaf material.
05. Adjust the leaves
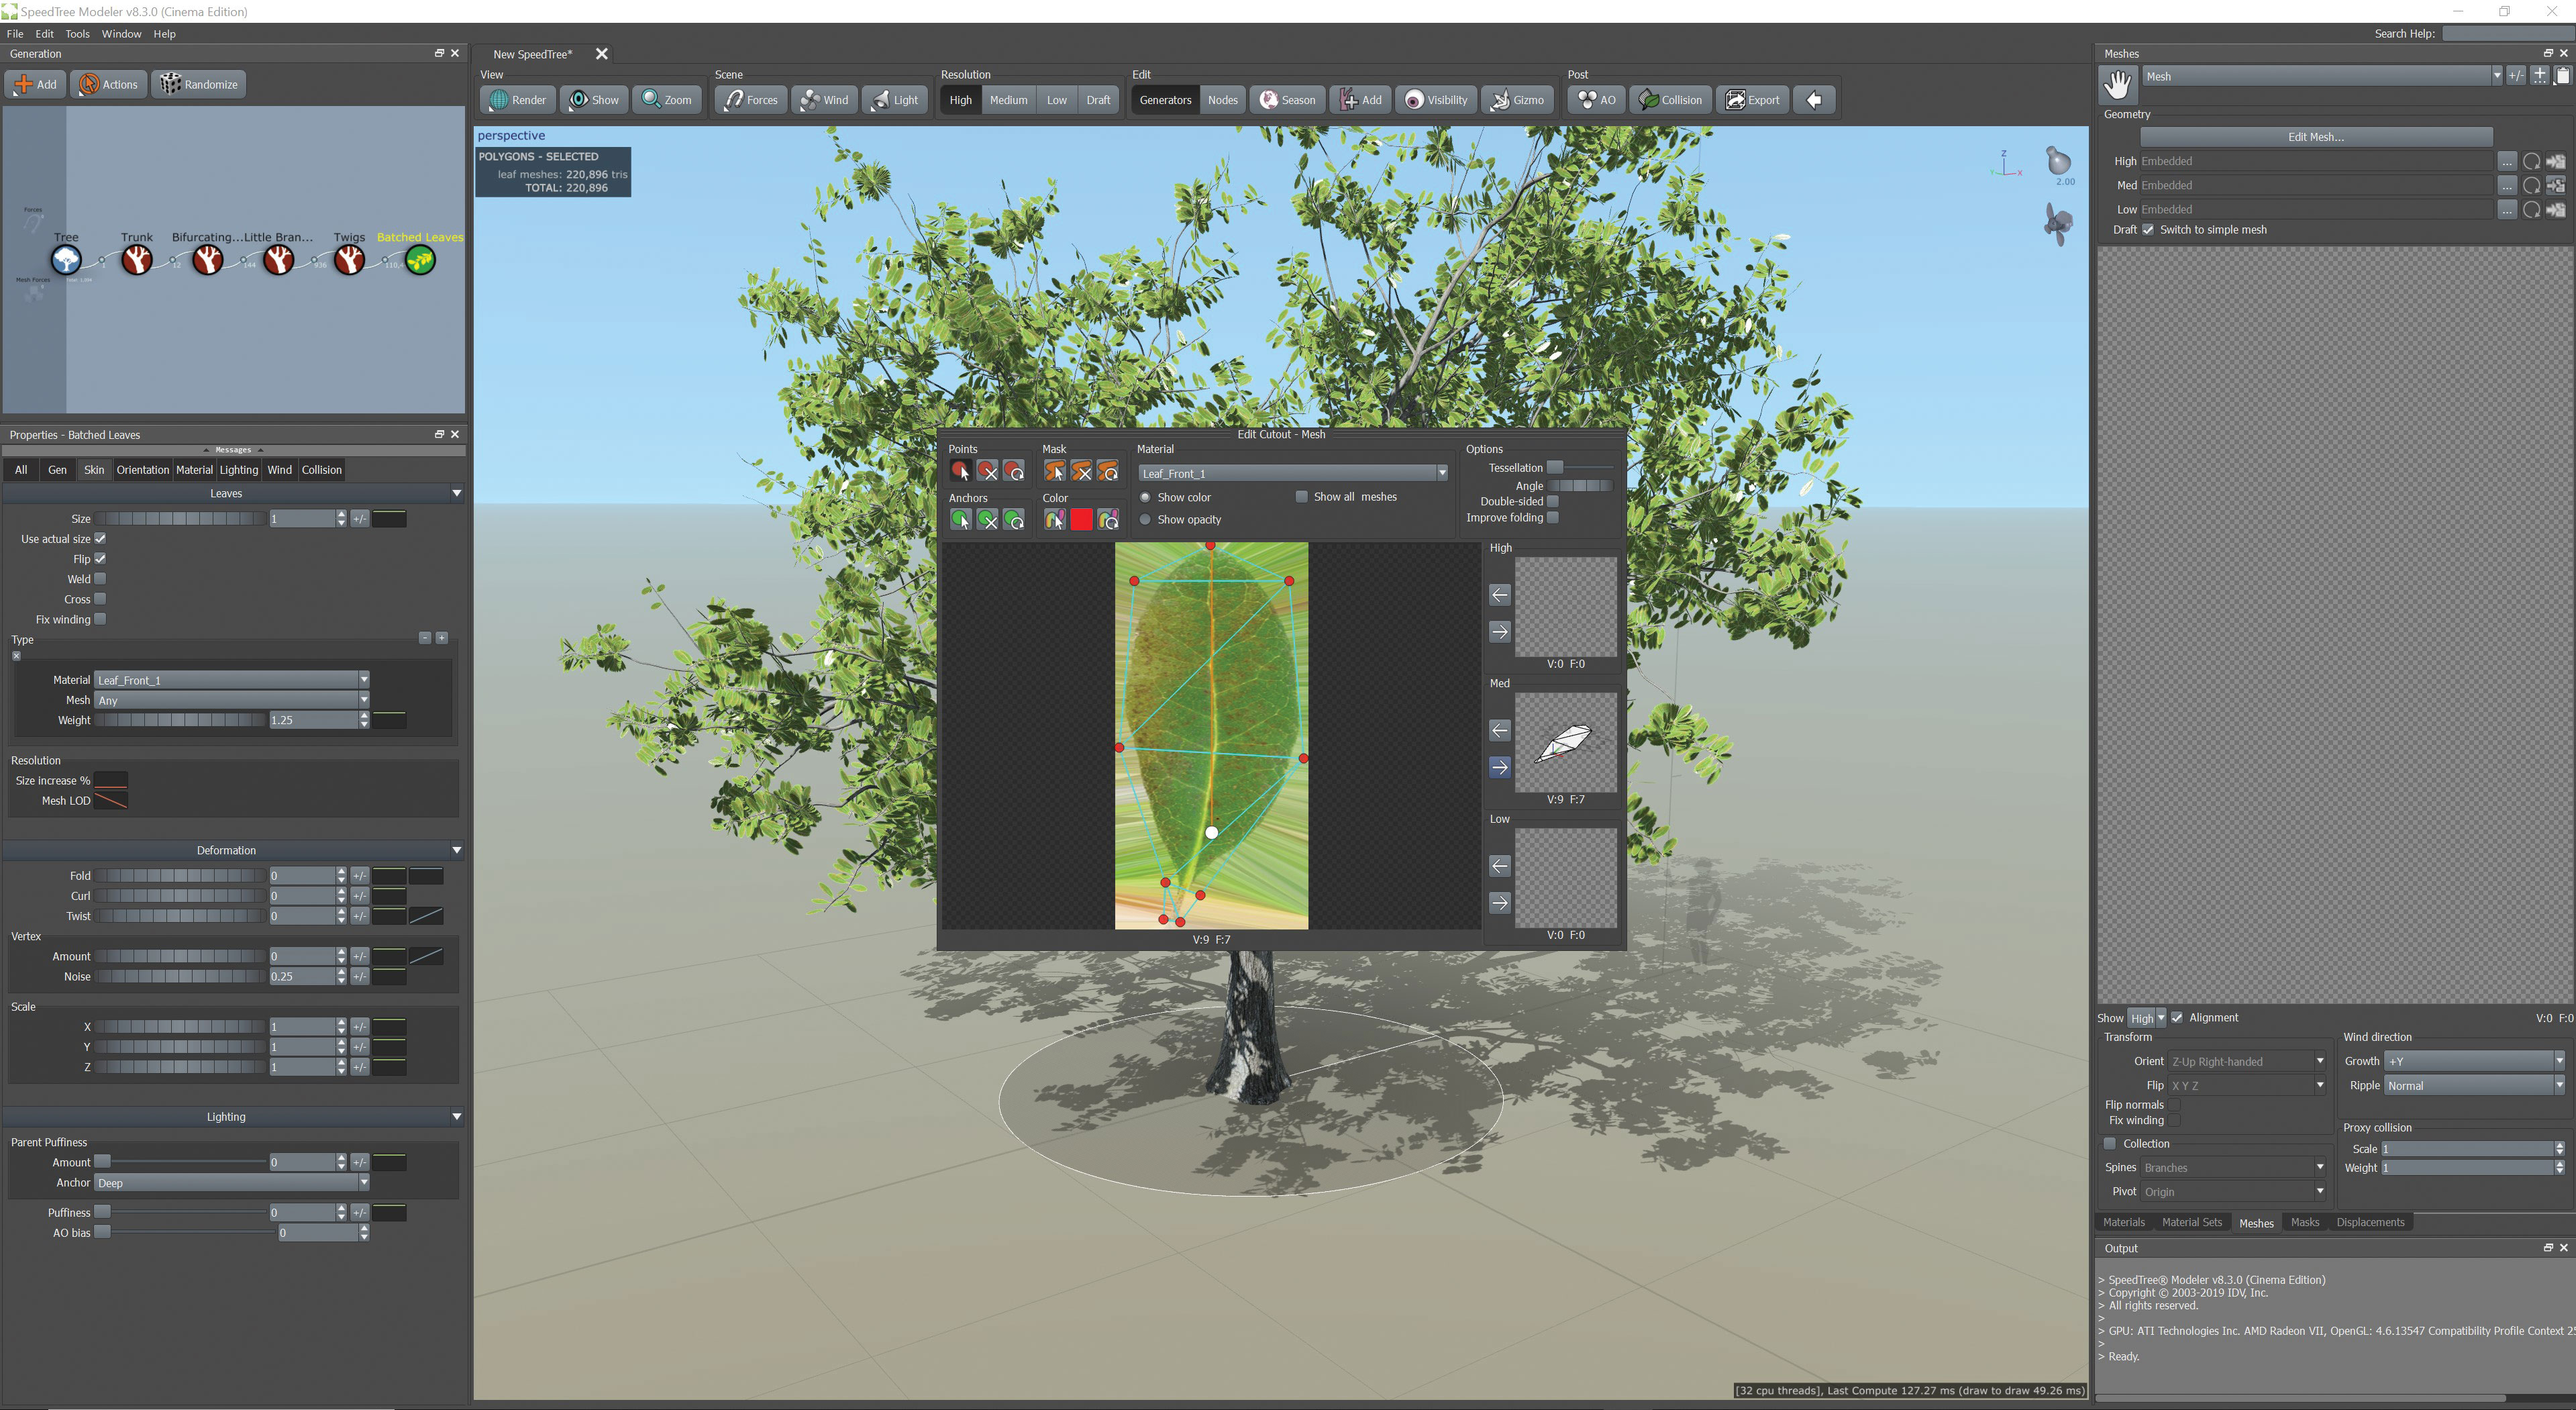
There are a variety of methods to populate the tree with leaves using the Properties palette. Choose whichever gives the desired result. In this example, Classic was chosen. Meshes of the leaves can be modified by choosing the Meshes tab of the right-hand window, selecting a new mesh and editing it.
This pops up the Edit Mesh window, where, once the leaf material has been chosen, meshes can be created for the various levels of detail required.
06. Prepare the tree for export
When the tree is ready, there are a variety of simulation options that allow an artist to see how it will react. Use the Enable Wind option to see how the tree will animate in a breeze. Like many elements in SpeedTree this can be adjusted by the artist to suit. Ambient occlusion can also be quickly created for export.
When the model is ready to export, choose the method of export that is required, and export to the selected format such as Alembic or FBX.
This article was originally published in issue 250 of 3D World, the world's best-selling magazine for CG artists. Buy issue 250 here or subscribe to 3D World here.
Related articles:

Mike Griggs is a veteran digital content creator and technical writer. For nearly 30 years, Mike has been creating digital artwork, animations and VR elements for multi-national companies and world-class museums. Mike has been a writer for 3D World Magazine and Creative Bloq for over 10 years, where he has shared his passion for demystifying the process of digital content creation.
