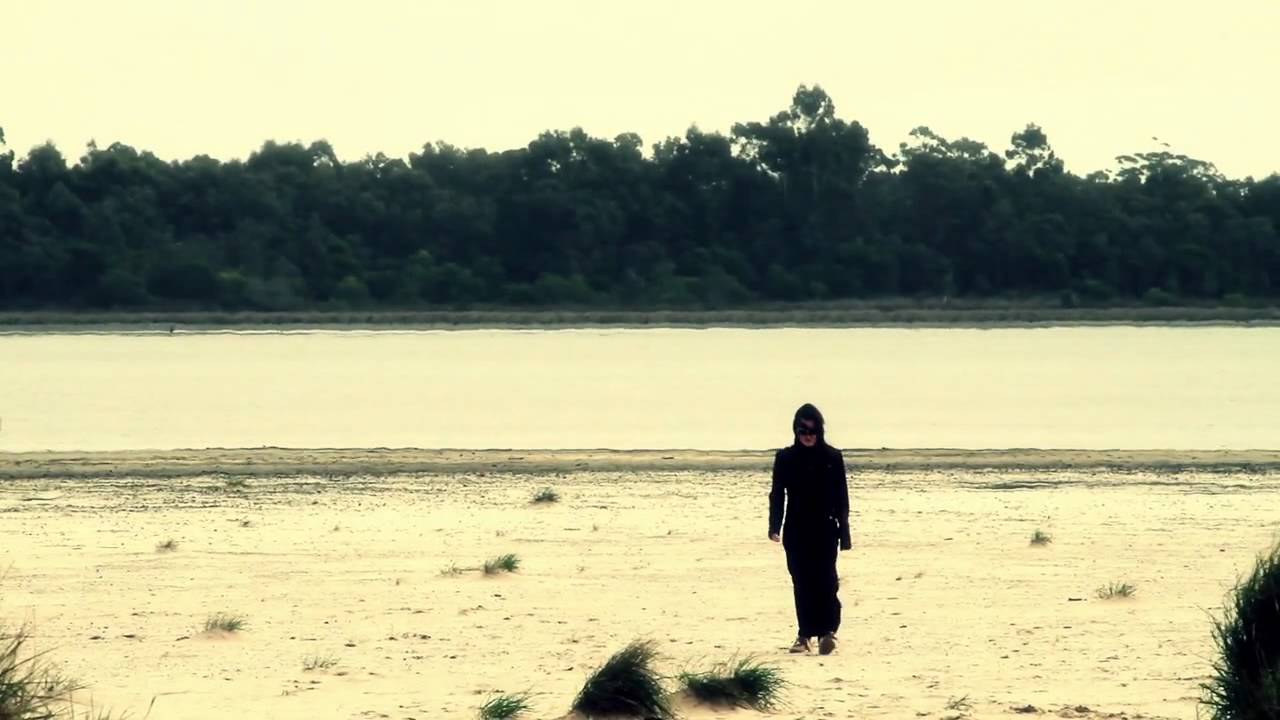
In films like The Book of Eli, every landscape needs heat haze – and by adding this subtle effect, you can make the coolest of footage appear to have been shot on a scorching day. The sample footage for this tutorial was shot on a rainy day, but after colour correction and heat haze has been added, the wind looks as though it’s a hot desert wind. The key to getting this right is using the correct level of displacement, which we’ll cover here, and you’ll also be shown how to test the effect without rendering. After Effects CS6's new variable Mask Feather tool completes the effect, which you can see at the foot of this tutorial.
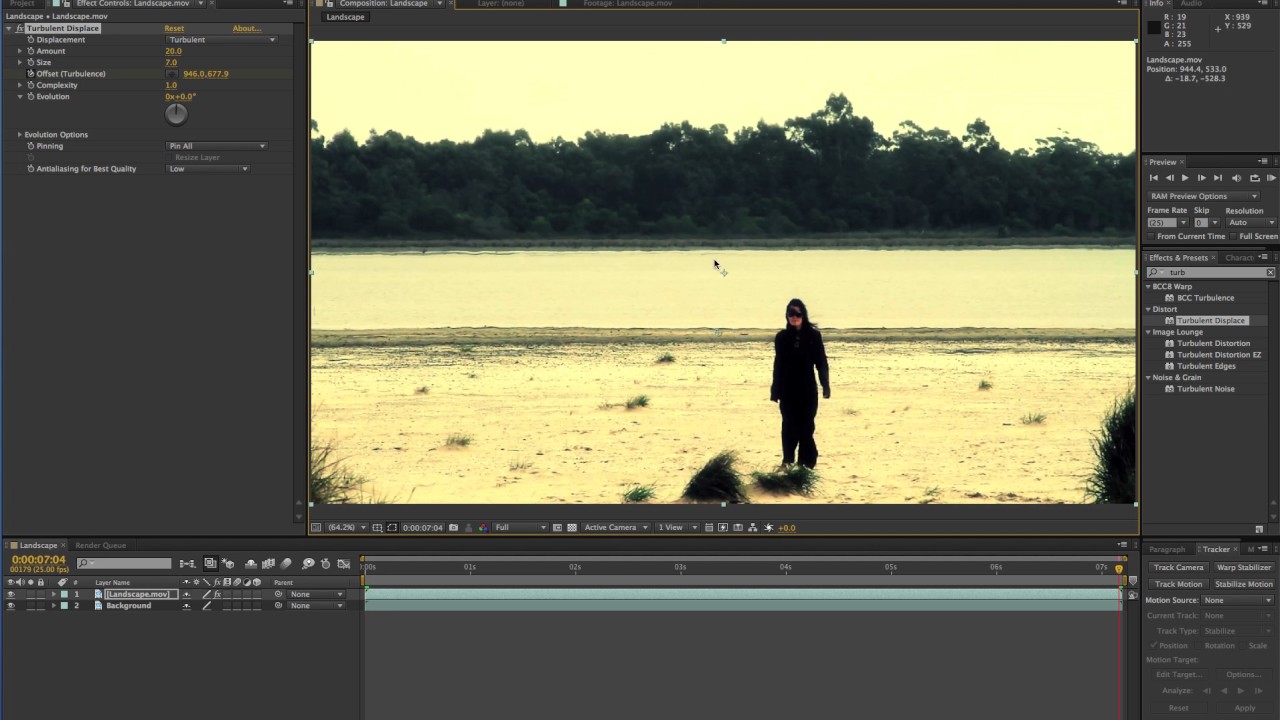

01 Drag the Landscape.mov file from your disc to the Create New Composition button, then go to Edit> Duplicate. Change the name of the lower clip to ‘Background’. Apply the Turbulent Displace filter to the clip, with Displacement set to Turbulent. The basic effect is too large and isn’t animated, so you just need to adjust the settings to create smaller, realistic ripples.

02 For shots with a wide lens, aim for small ripples; and for long lens shots, use wider ripples. In this example, Amount is set to 20 and Size to 7. To preview the effect without rendering, click on the Offset crosshair, and drag it from the bottom of the clip to the top.

03 Place the Offset crosshair at the bottom of the screen. Go to the beginning of the composition and click the keyframe stopwatch for Offset. Also click the keyframe stopwatch for Evolution. Go to the end of the composition and drag the Offset crosshair to the top of the screen. Drag the Evolution dial around 360 degrees.

04 Hit the G key to select the Pen tool, and draw a mask across the horizon and around the figure. The heat haze should not appear in the foreground landscape, or in front of the figure. Hit M, and then check the Invert box and the heat haze will appear behind the figure and in the background.

05 Use the Mask Feather tool to drag out an external mask feather. Use the same tool to draw an internal mask, closing the feather in on the figure. Keyframe the mask path, select the mask points around the figure and ensure they align with her throughout the clip.