InDesign’s Paste Into function enables you to speed up the layout process in many ways. In this tutorial, I’ll demonstrate how to paste multiple images into one frame so that you can crop them as one object, while they remain individually editable.
This is just one use for this simple, easy-to use feature. Once you’re familiar with how to use the Paste Into command, you’ll find it’s a very handy tool to speed up your workflow.
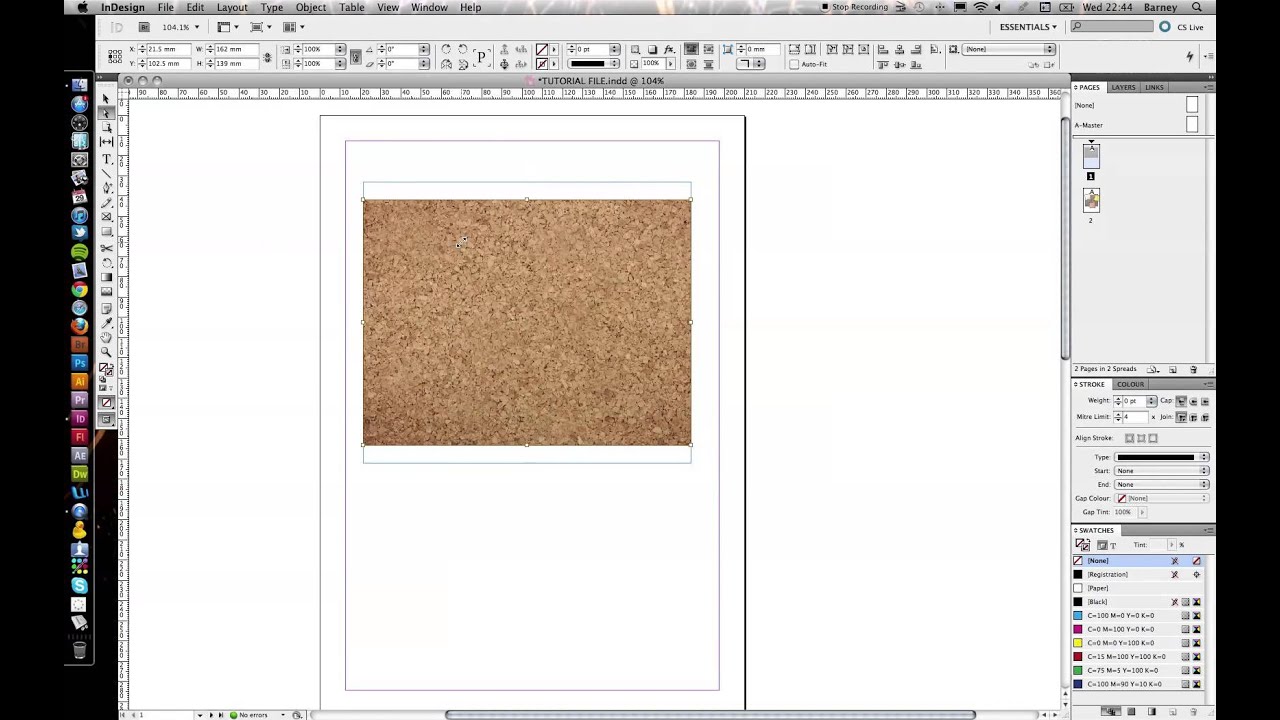

01 First, open InDesign and place an image or graphic that you would like to use as a background (File>Place). In my example, I’m using a notice board that will be covered with Post-it notes. The shape of this image will match the frame that holds multiple images.

02 Next, place three smaller images into the file and arrange them so that they overlap some of the edges from the first large image. This is so that we can demonstrate the effect that the Paste Into command has when used later.

03 When you’re happy with the position of the three small images, select them all with the Direct Selection tool and group them (Object>Group). Next, copy the group (Edit>Copy), before deleting it.

04 Select the Rectangle Frame tool and drag out a blank frame on top of your background image of the same size and position. This will become the frame that crops the smaller images you are about to paste into it.

05 Select the blank frame and go to Edit>Place Into (Cmd/Ctrl+Opt/Alt+V). This will paste the three grouped images into the frame and crop them as one object to the boundary of the house frame. Note that the images are pasted in the same position on the page in which they were copied. The size and position of both the house frame and the three images remain editable. To edit the pasted images, simply double-click inside the house frame.
Find 10 eye-catching examples of flyer design at our sister site, Creative Bloq.

