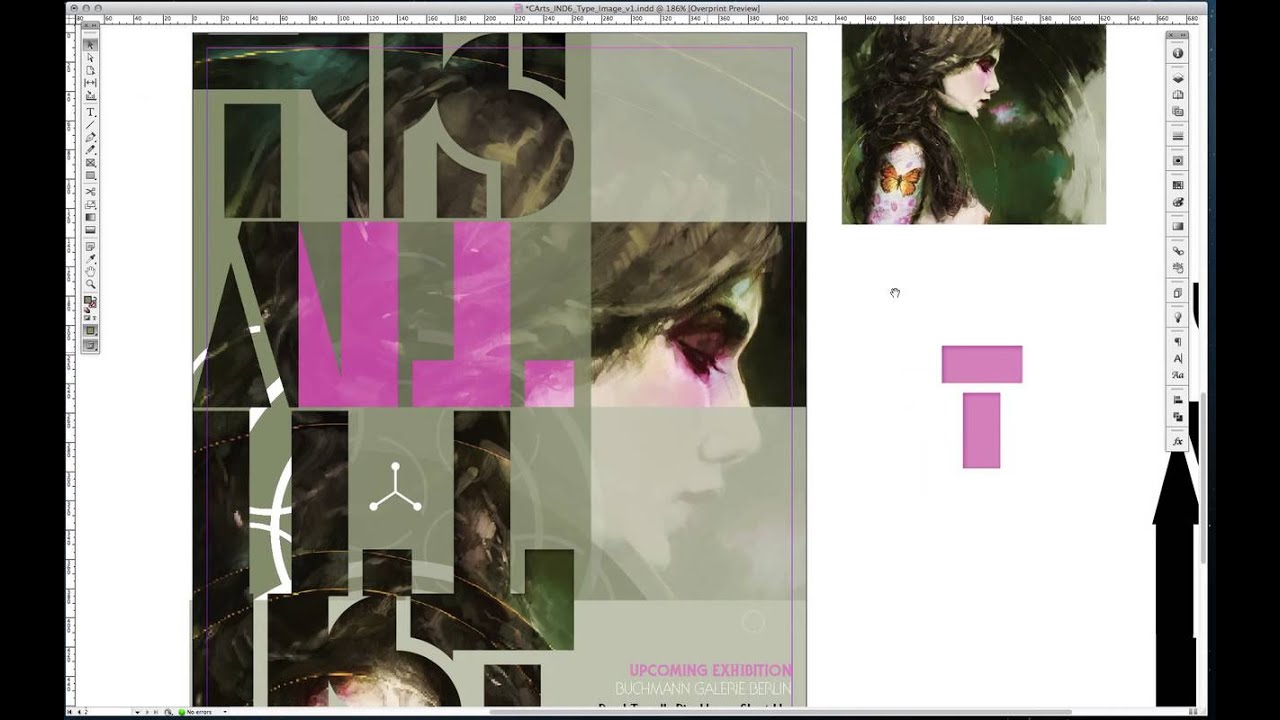
Video tutorial: Quickly combine images and type in InDesign CS6
Paul Tysall reveals a simple-yet-effective solution for merging images and type with InDesign’s Create Outlines command
Sign up to Creative Bloq's daily newsletter, which brings you the latest news and inspiration from the worlds of art, design and technology.
You are now subscribed
Your newsletter sign-up was successful
Want to add more newsletters?
Merging imagery within typography can be a simple and effective solution in a variety of situations, especially when page real estate or visual material isn’t in abundance. In the accompanying poster graphic I’ve used this technique in InDesign CS6 to tantalise the viewer with a sneak peek at the illustration work being exhibited in a gallery.
The interplay of words and illustration helps to elevate the typography: the letterforms are no longer there to simply communicate a message, they become a way of abstracting and focusing on details from the illustration, and invite the viewer to explore what’s in front of them.
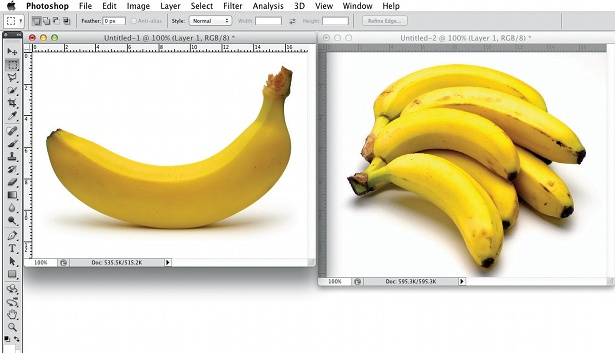
01 Before you turn your typography into outlined text you need to rough out how it’s going to work. Establishing the right typeface is paramount – a good, heavy sans serif works best for what we have planned as it covers a greater surface area; I’ve used Aldo Open (created by Jonathan Hill) – as is working out the amount of density you’ll need for the letterforms.
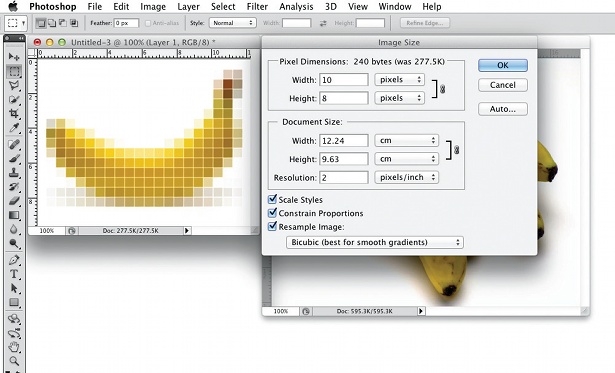
02 At this stage, if you were to outline everything in one go you would more than likely end up with overlapping paths, so it’s best to approach each letterform individually. Copy and paste each target letter, then hit Cmd/Ctrl+ Shift+O to turn it into paths. Now reveal the document grid by pressing Cmd/Ctrl+” and begin aligning your typography.
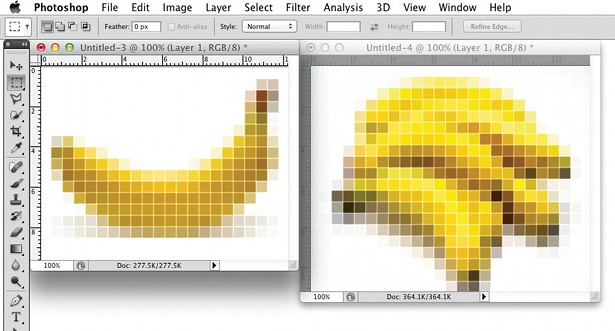
03 Once you’ve got everything looking as you wish, open the Pathfinder panel (Window>Object & Layout). Select all the letterforms that you want to merge and click the Add icon. What we’ve created is effectively a customised picture-binding box that you can paste or import into.
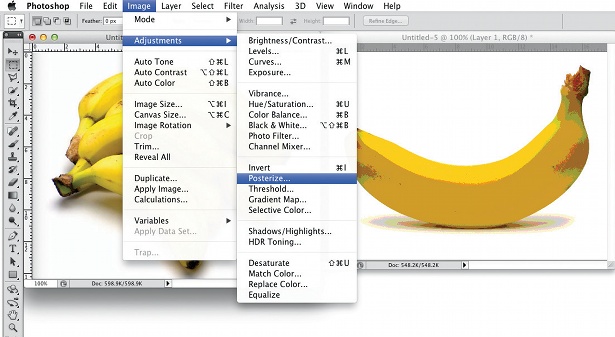
04 To get the illustration from the design into the outlined type, copy the illustration, then select the outlined text and paste it into (Cmd/ Ctrl+Opt/Alt+V). To re-enforce the effect that the type is cutting through to the illustration below, open the Effects panel, change ‘Settings for’ to Object and add a subtle inner shadow.
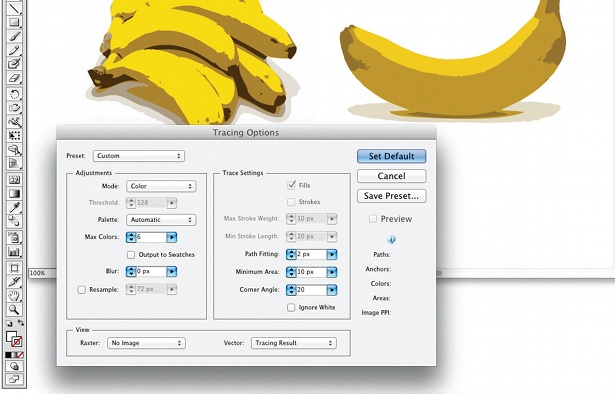
05 Now you can take things a little further and start to play with the background colour of your outlined letterforms. Combine this with altering the pasted illustration’s opacity and Effects style (Cmd/Ctrl+Shift+F10) to create some appealing tint effects. As always, be careful you don’t over-cook things – you still want some semblance of legibility with the typography to hold the attention of viewers.
Discover 10 brilliant examples of kinetic typography at Creative Bloq.
Sign up to Creative Bloq's daily newsletter, which brings you the latest news and inspiration from the worlds of art, design and technology.

The Creative Bloq team is made up of a group of art and design enthusiasts, and has changed and evolved since Creative Bloq began back in 2012. The current website team consists of eight full-time members of staff: Editor Georgia Coggan, Deputy Editor Rosie Hilder, Ecommerce Editor Beren Neale, Senior News Editor Daniel Piper, Editor, Digital Art and 3D Ian Dean, Tech Reviews Editor Erlingur Einarsson, Ecommerce Writer Beth Nicholls and Staff Writer Natalie Fear, as well as a roster of freelancers from around the world. The ImagineFX magazine team also pitch in, ensuring that content from leading digital art publication ImagineFX is represented on Creative Bloq.
