Video tutorial: Retouch human skin in Photoshop
Ben Secret explains how to use the Healing Brush with the Dodge and Burn tools to retouch a human subject
For a basic retouch, we’re going to use Photoshop’s Healing Brush tool to remove any obvious spots, blemishes and stray hairs. We’re also going to use the Dodge and Burn tools – which enable us to selectively lighten and darken parts of our image – to contour any abrupt shadows, and to go over areas like dark rings underneath eyes.
Many retouchers prefer to use tools like the Healing Brush, Dodge and Burn on their own separate layers, with the Healing Brush set to Sample>Current and Below, and Dodge and Burn being performed on an Overlay or Soft Light layer. I’ve chosen to use both tools together on a duplicate of the source image, as we would flatten any changes made for the second stage anyway.

01 The first step is to create a duplicate of our source image and select the Healing Brush tool. This is an excellent tool for cleaning up any obvious blemishes. I use a small, soft brush (you can find some great free Photoshop brushes online), and the key is to zoom in, and Opt/Alt+click on small, clean areas of skin, then paint over nearby blemishes or lines of similar tone, avoiding any edges.

02 Next select Photoshop’s Dodge tool, which will let us add light to shadows. I use a very soft brush with a 2% flow to lightly go over unwanted shadows, and to smooth and contour highlight and shadow regions. I like to switch between the Dodge tool and the Healing Brush quite often as, with practice, you’ll find the two can be used quite symbiotically.
Article continues below 
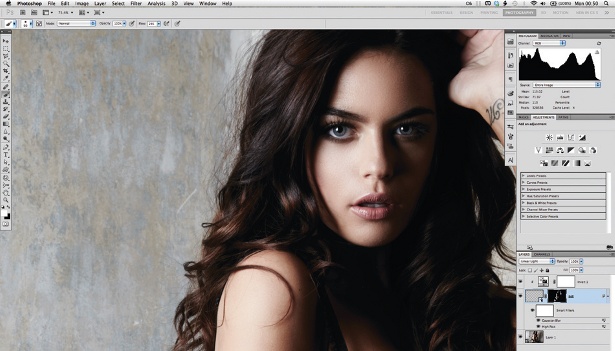
03 If you’re happy with the results, delete the source image, duplicate our retouched version with Ctrl/Cmd+J and label this layer ‘IHP’. Now, with our IHP layer selected, change the blending mode to Linear Light and the opacity to 50%. Add an Invert adjustment layer, and add it as a clipping mask for our IHP layer by Alt/Opt+clicking between the two layers in the Layers panel.

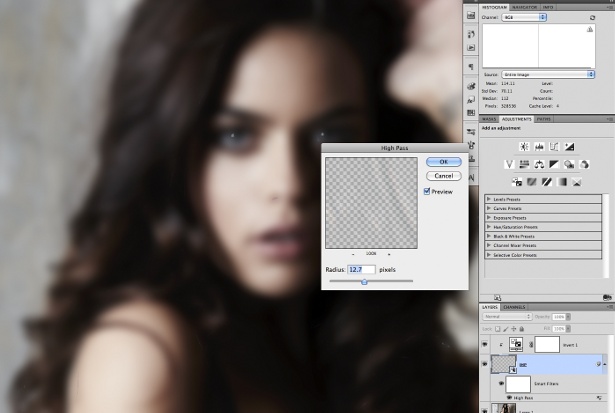
04 You will know if you’ve done everything correctly so far, as we should have a screen of 50% grey. Now, with our IHP layer still selected, select Convert For Smart Filters… from the Filter menu. Now select a High-Pass filter, and increase the radius until we get a smooth, soft image with enough form and structure in the highlights, using 12-13 pixels.

05 Now select a Gaussian Blur filter. A typical rule of thumb is to have the pixel radius here around a third of the value used on your High-Pass, but adjust it until you get the desired level of pore detail in the skin. Next add a Mask to our IHP layer, and invert it (Ctrl/Cmd+I). Now we can paint the effect in with a white brush, avoiding any edges or specular highlights.
Sign up to Creative Bloq's daily newsletter, which brings you the latest news and inspiration from the worlds of art, design and technology.

The Creative Bloq team is made up of a group of art and design enthusiasts, and has changed and evolved since Creative Bloq began back in 2012. The current website team consists of eight full-time members of staff: Editor Georgia Coggan, Deputy Editor Rosie Hilder, Ecommerce Editor Beren Neale, Senior News Editor Daniel Piper, Editor, Digital Art and 3D Ian Dean, Tech Reviews Editor Erlingur Einarsson, Ecommerce Writer Beth Nicholls and Staff Writer Natalie Fear, as well as a roster of freelancers from around the world. The ImagineFX magazine team also pitch in, ensuring that content from leading digital art publication ImagineFX is represented on Creative Bloq.
