How to paint an ornate design on metal work
Digital artist John Staub explains how to create metal work with edge using Photoshop.
Daily design news, reviews, how-tos and more, as picked by the editors.
You are now subscribed
Your newsletter sign-up was successful
Want to add more newsletters?

Five times a week
CreativeBloq
Your daily dose of creative inspiration: unmissable art, design and tech news, reviews, expert commentary and buying advice.

Once a week
By Design
The design newsletter from Creative Bloq, bringing you the latest news and inspiration from the worlds of graphic design, branding, typography and more.

Once a week
State of the Art
Our digital art newsletter is your go-to source for the latest news, trends, and inspiration from the worlds of art, illustration, 3D modelling, game design, animation, and beyond.

Seasonal (around events)
Brand Impact Awards
Make an impression. Sign up to learn more about this prestigious award scheme, which celebrates the best of branding.
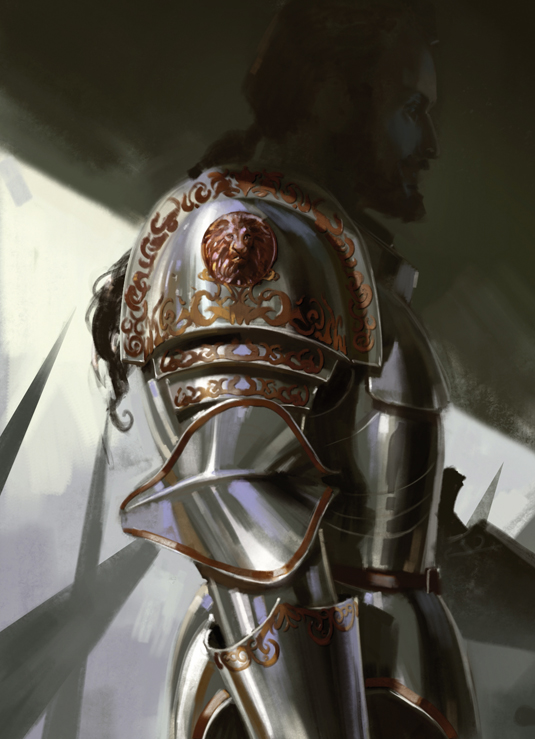
Painting ornate designs on a surface can be made easier if you treat it as a separate element to the surface it's going to be on. Before I try and tackle the ornate designs on the armour I try to make sure that the armour is already complete and painted to a fairly finished degree. Only then will I begin painting the ornate designs on top.
The trick to achieving the effect of shiny metal for me is contrast. Creating strong value contrast in the overall form of the armour will help really sell it. Another key thing to remember is that shiny armour is very reflective and will reflect the objects and colours that are around it, like a mirror. The shinier the metal, the stronger and clearer the reflection of the object will be.
When the armour is finished, I then paint the actual armour design on a separate layer on top. I want the armour to tell the story not the person wearing it, so the decoration design suggests a knight with a high rank as well as an emblem type design to suggest a clan or kingdom he's sworn allegiance to. To give the effect of brass I include a lot of cool blueish hues.
01. Sketchy business
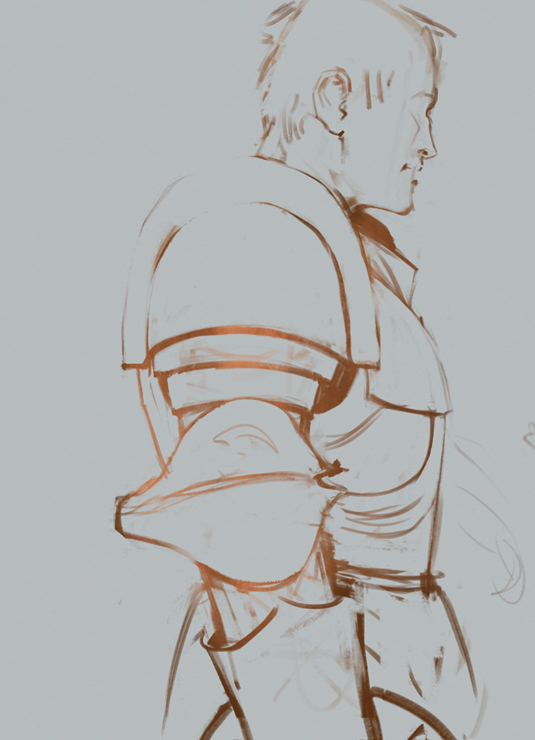
I begin with a quick line drawing of the image. The drawing itself I would consider fairly tight. I try to make sure the basic design of the armour is already clear, as well as all the proportions all properly measured and adjusted accordingly so that I avoid fixing and making changes later on when I begin the painting.
02. Building shapes
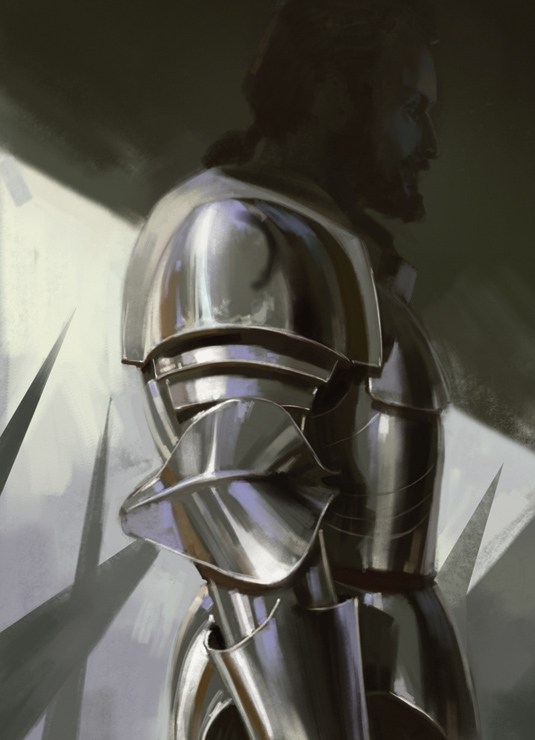
I paint and render the basic design of the armour. The decorations are like the icing on the cake. Before placing it on I ensure that the base and foundation for these decorations are clearly established. I wanted a moody, sombre tone to this image, resulting in a more cooler muted colour scheme and lighting choice.
03. Ornate Coleman
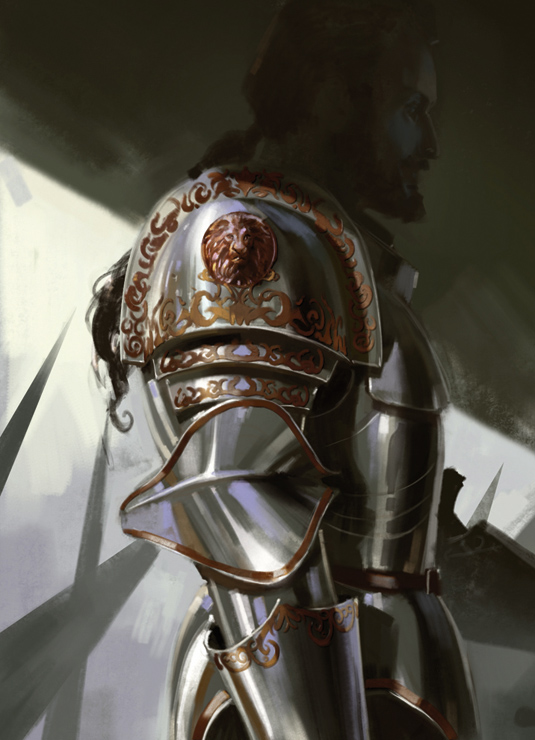
Once the armour base has been fully painted in I then begin sketching in and rendering the decorations on the armour. The bronze decorations, which is a warm metallic colour, introduces a pleasing contrast to the scene and complements the overall cool tone of armour and image in general.
Artist's secret
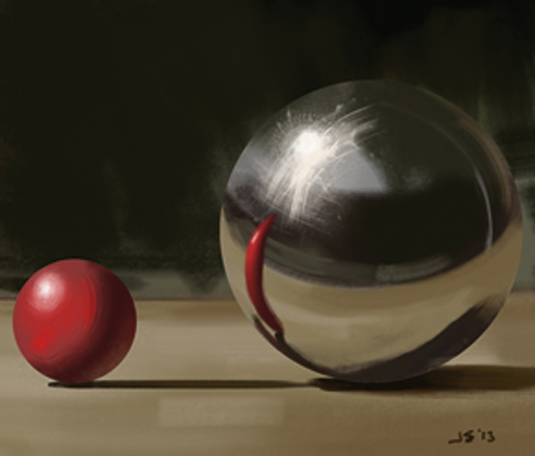
The secret to painting convincing metal, I believe, is to have as much of the environment and surrounding colours reflect into the metal itself. This means that the hues and tones of the environment appear in the metal. In addition, make sure your reflections wrap around the metal properly.
Daily design news, reviews, how-tos and more, as picked by the editors.
Words: John Staub
John Staub is an illustrator and concept designer who currently specialises in the games and publications field. This article originally appeared in ImagineFX magazine issue 103.

The Creative Bloq team is made up of a group of art and design enthusiasts, and has changed and evolved since Creative Bloq began back in 2012. The current website team consists of eight full-time members of staff: Editor Georgia Coggan, Deputy Editor Rosie Hilder, Ecommerce Editor Beren Neale, Senior News Editor Daniel Piper, Editor, Digital Art and 3D Ian Dean, Tech Reviews Editor Erlingur Einarsson, Ecommerce Writer Beth Nicholls and Staff Writer Natalie Fear, as well as a roster of freelancers from around the world. The ImagineFX magazine team also pitch in, ensuring that content from leading digital art publication ImagineFX is represented on Creative Bloq.
