Creating fuzzy textures: 4 top tips
Learn how to create fuzzy material textures for hair, clothing and environments with these handy tips.
Sign up to Creative Bloq's daily newsletter, which brings you the latest news and inspiration from the worlds of art, design and technology.
You are now subscribed
Your newsletter sign-up was successful
Want to add more newsletters?
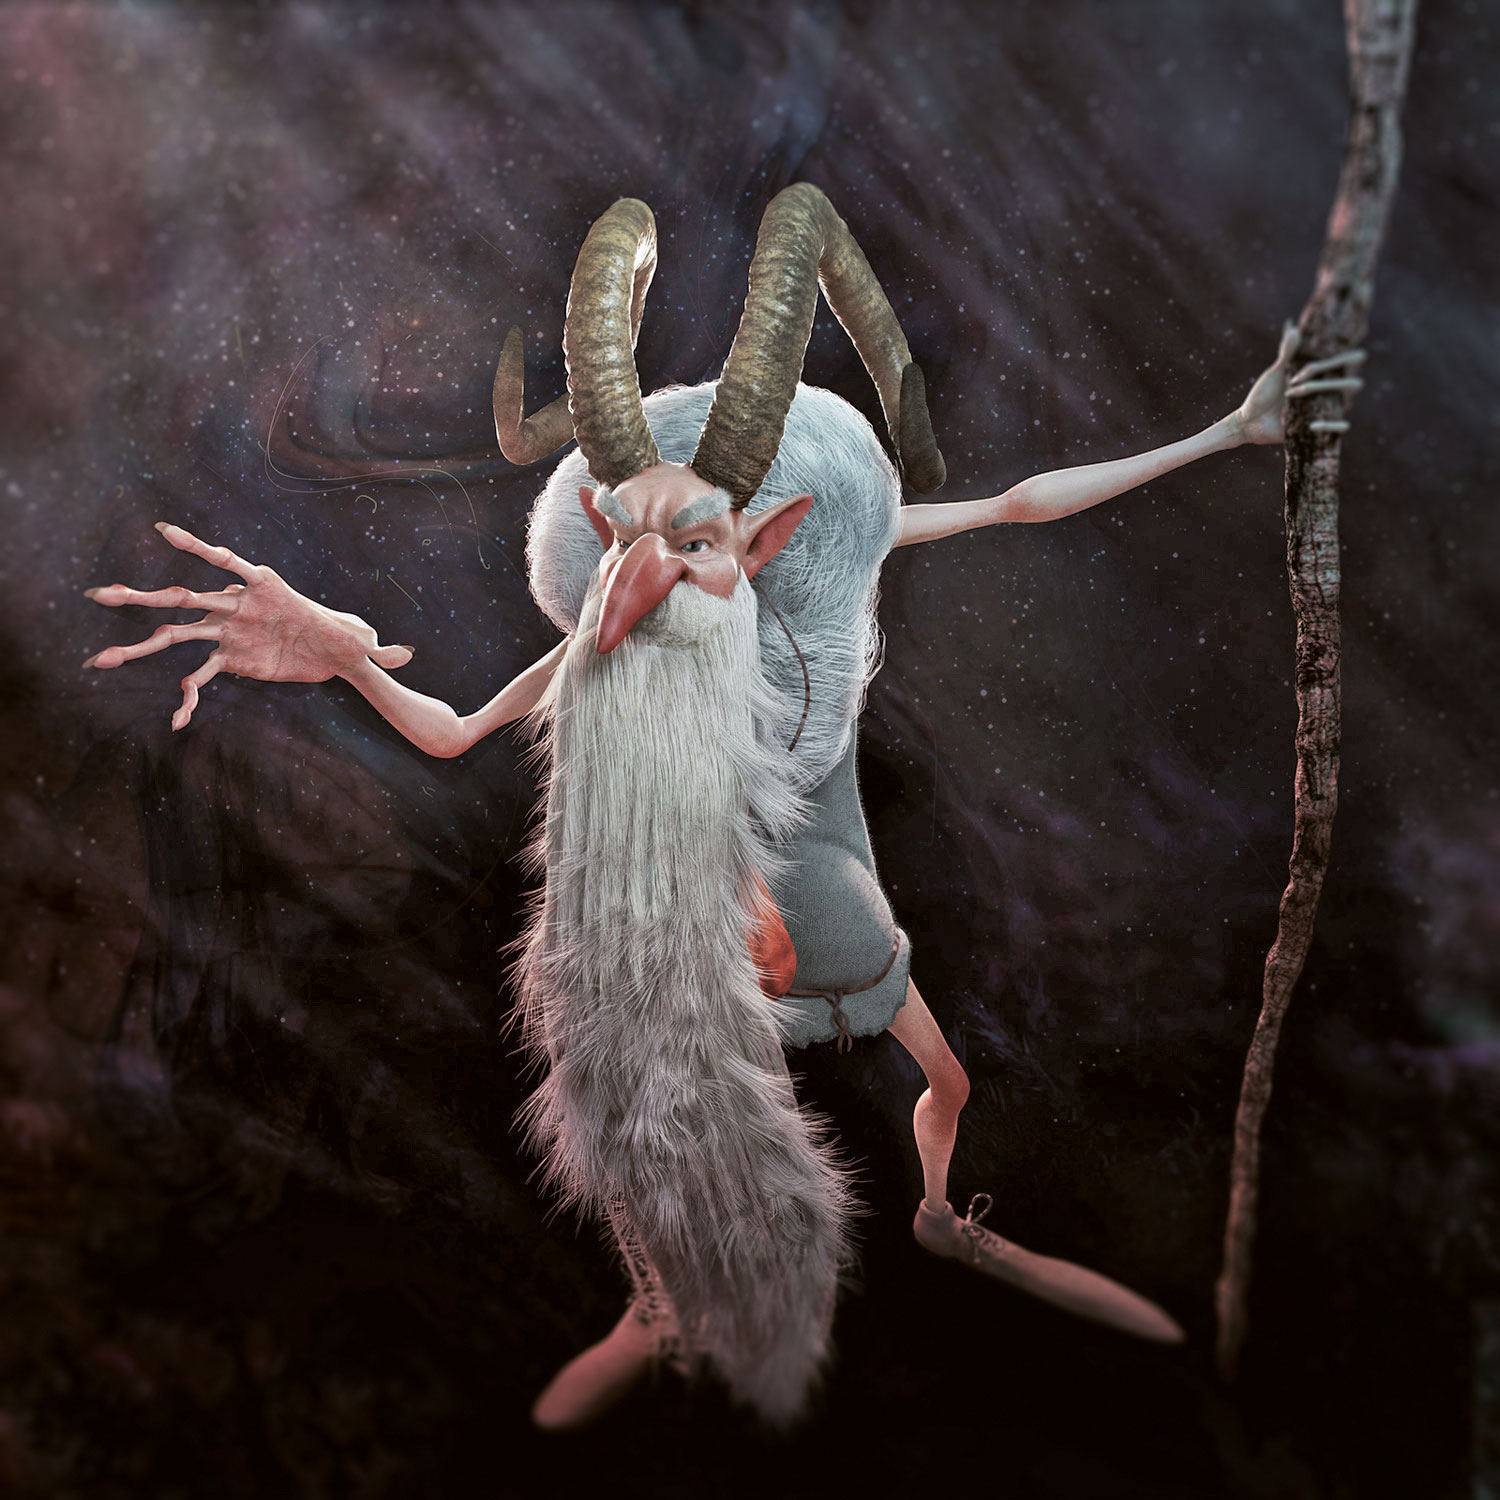
Fuzzy materials can be used for carpet, grass, clothing, both facial and body hair, fur and many other assets that you will need to create a scene or a character. I will walk through my methods of making fuzzy 3d art materials on one of the stylised characters that I created (with character concept art by Julia Sarda). This character is an old villain and his hair and clothes are dirty and scruffy.
There are many different approaches to creating a fuzzy material, but in this case I used Maya 2015’s Shave and a Haircut, and V-Ray. For part of the project, I used V-Ray because it has one of the best and fastest procedural fur plug-ins, however, it has its limitations. The fur is only generated during render time and is not actually present in the scene, meaning it can be hard to visuallise how it’s going to look.
V-Ray is good for creating fuzzy textures as it has one of the best and fastest procedural fur plug-ins, however, it has its limitations
To create a VRayFur object, select a mesh from the Maya scene, then go to Create>V-Ray>Add VRayFur to selection. You can also explore other options like Maya XGen, ZBrush FiberMesh, Ornatrix, Yeti, GMH2 or Modo Fur and Hair to create the fur style you like. A lot of the time you will have to cross between different software to get the best look as fast as possible. I also use Shave and a Haircut for facial hair.
Article continues belowFirst, I create the hair or fur style with Shave and a Haircut. Then, I convert the hair to curves and export it as .fbx fi le format. I re-import the curves into the scene and adjust the position of curves and populate them by hand if necessary. I create a basic mesh underneath the main object for curves to be attached using a Wrap deformer.
Select the basic mesh that the curves are attached to, as well as the curves, and go to nDynamics>nHair>Make Curves Dynamics Option box. Tick Snap Curve Base to Surface and click on Make Curves Dynamic. Next, go to nDynamics>nHair>Assign Paint Effects Brush to Hair. Now you can control the hair by using a hairSystem node, which is a Maya hair system.
To start visualising, set the Hairs Per Clump to 50 to see the hair in your viewport and play with the settings. You should be able to make a variety of hair or fur with this method. For rendering, first create a VRay material attribute for the hairSystemShape and connect a vrayHairMtl to it. Then, in the HyperShade create a vrayHairSampler and connect it into the following inputs of your vrayHairMtl: diffuse color (a 0.455 gamma node), secondary spec color (a 0.455 gamma node), and transmission color (no gamma correction needed).
01. Facial hair
To create the stylised villain character’s facial hair, I use four sets of hair systems. The first one is for the major length and density of the beard; the second is for the clumps and the rough and dirty parts; third is for his moustache; and the fourth one is for the eyebrows. By using and mixing different hair systems, I am able to control different characteristics of the hairstyle.
Sign up to Creative Bloq's daily newsletter, which brings you the latest news and inspiration from the worlds of art, design and technology.
02. Fuzzy clothing
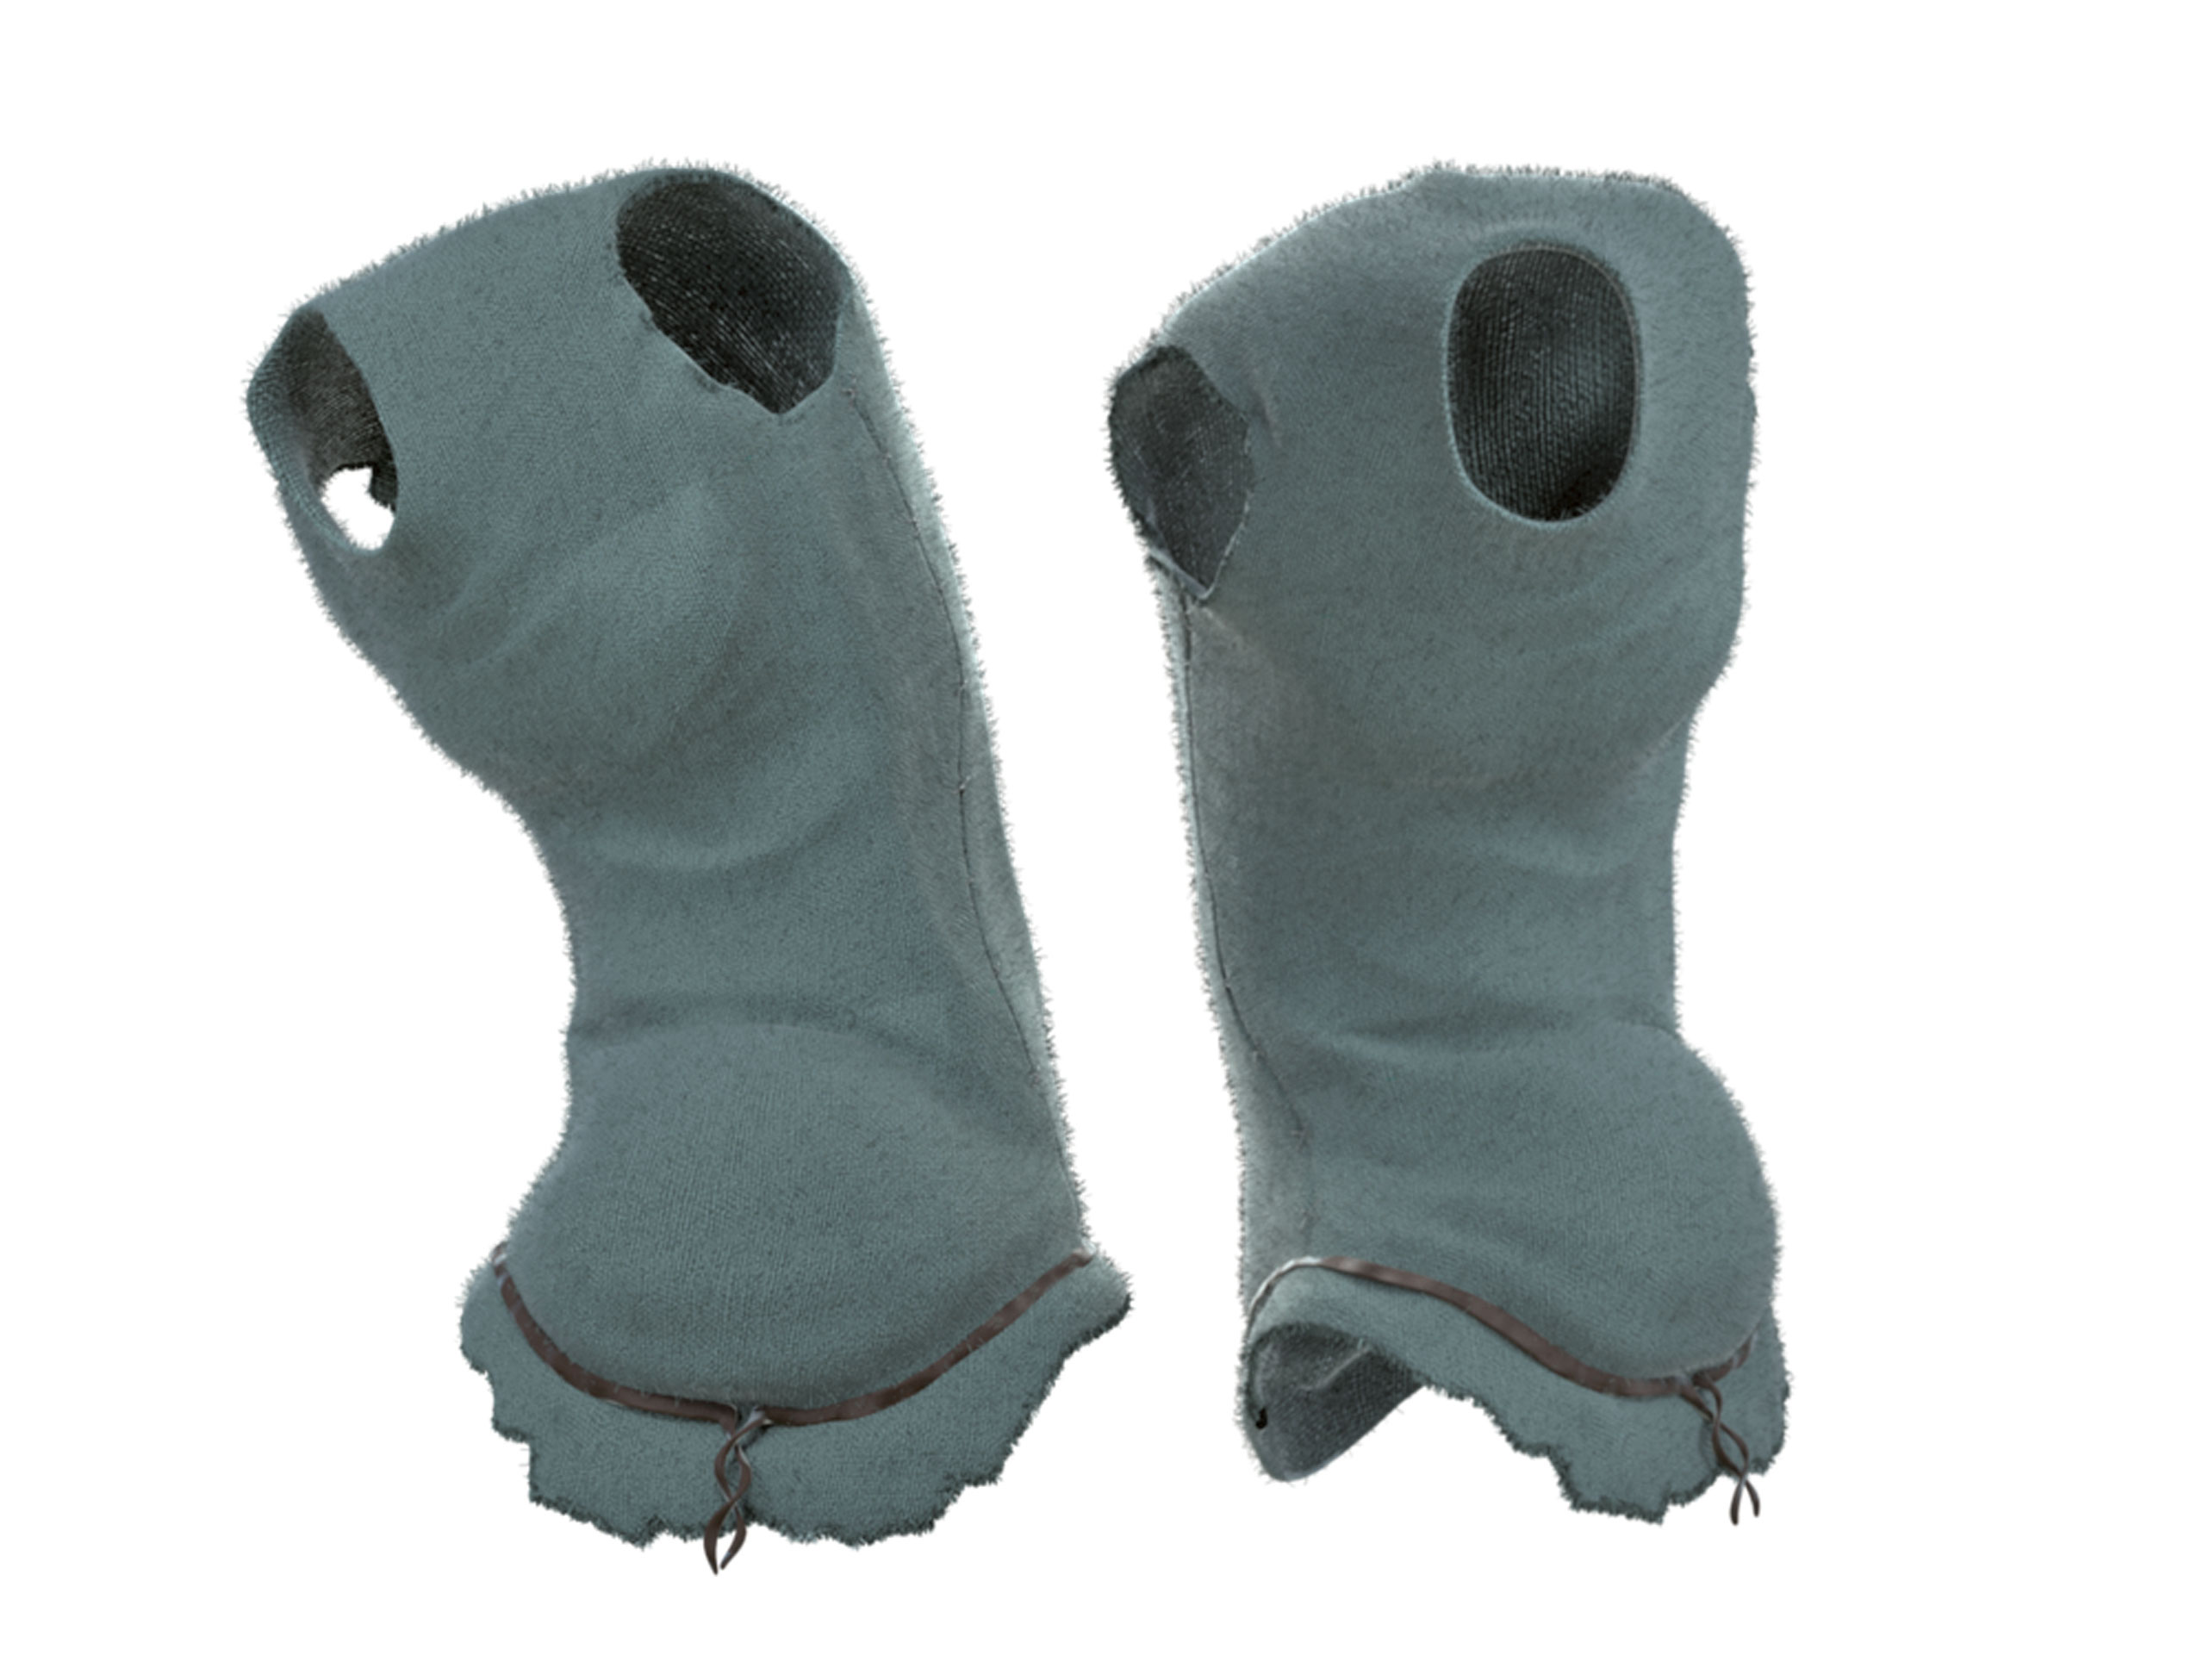
There are three main parts to creating a wool fabric: a tileable wool texture, tileable wool displacement map and VRay fur. I use a VRay material with Fresnel and very minimal reflection glossiness. Dense and very thin VRayFur settings will work well for this purpose, just experiment with the settings to discover unique fuzzy finishes on your cloth renders.
03. Fluffy fur
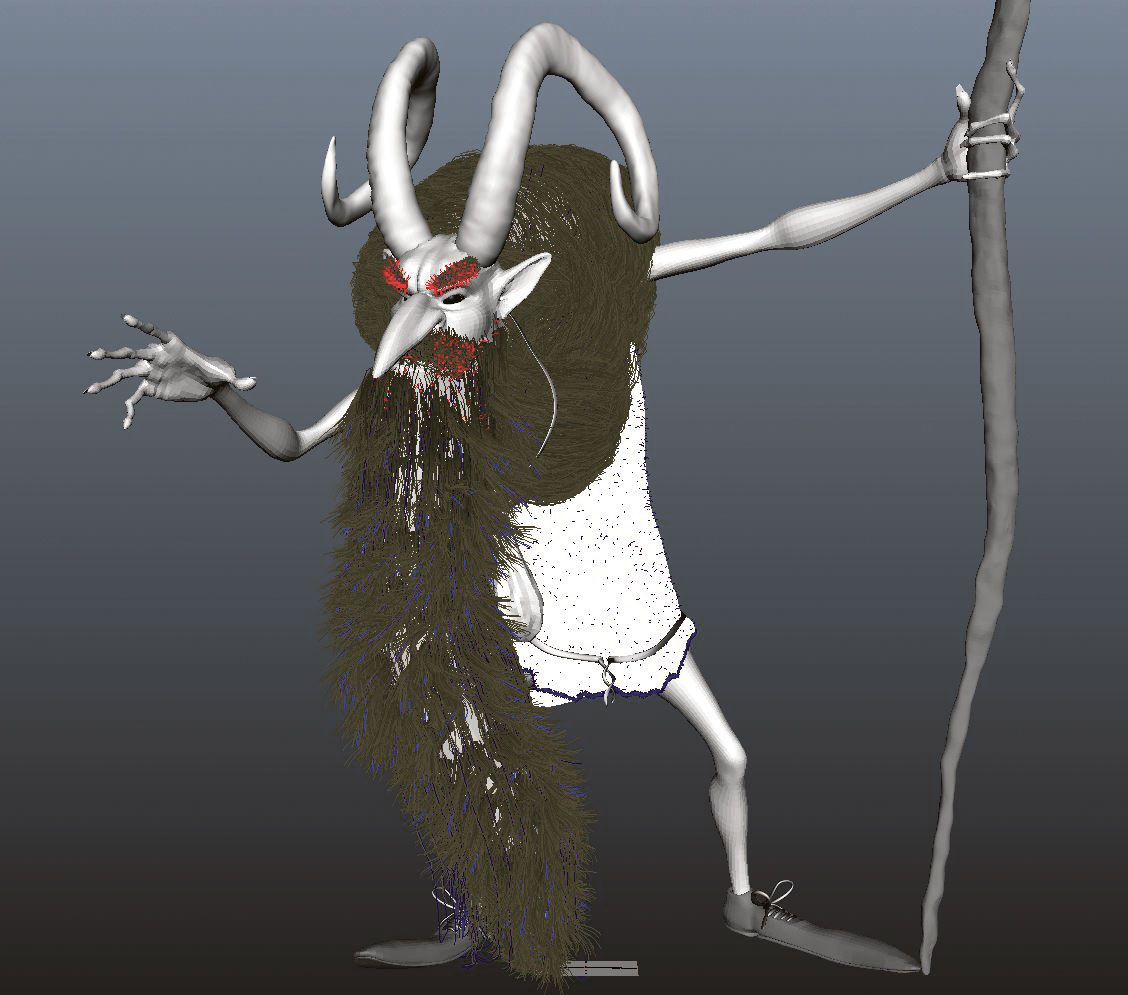
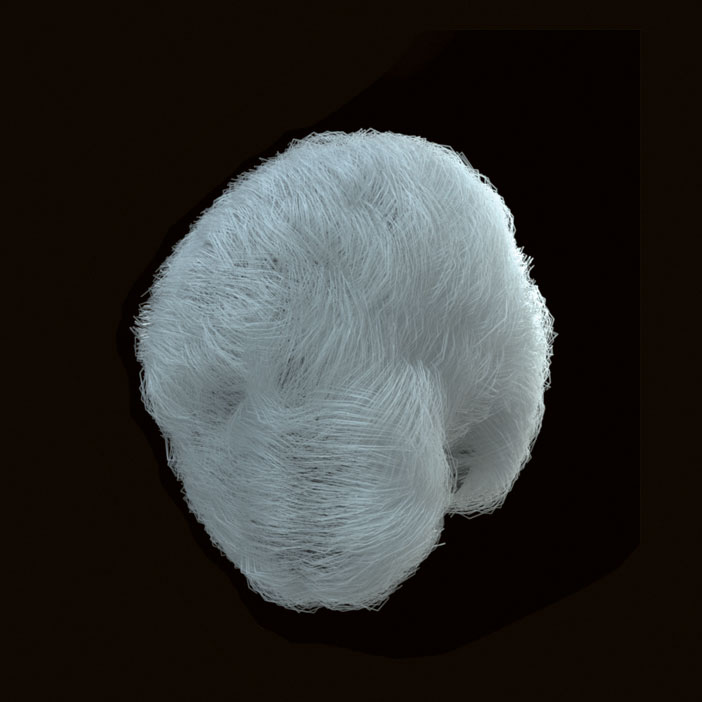
For fluffy fur, I use the method of creating curves by using Shave and a Haircut and then converting them into Maya’s hair system. The goal is to create fur that looks like big, fluffy, candy floss. For this, try using greater hairs per clump settings than the facial hair settings. I’d also recommend using a greater clump width settings, such as 0.02, as well.
04. Ragged fabric
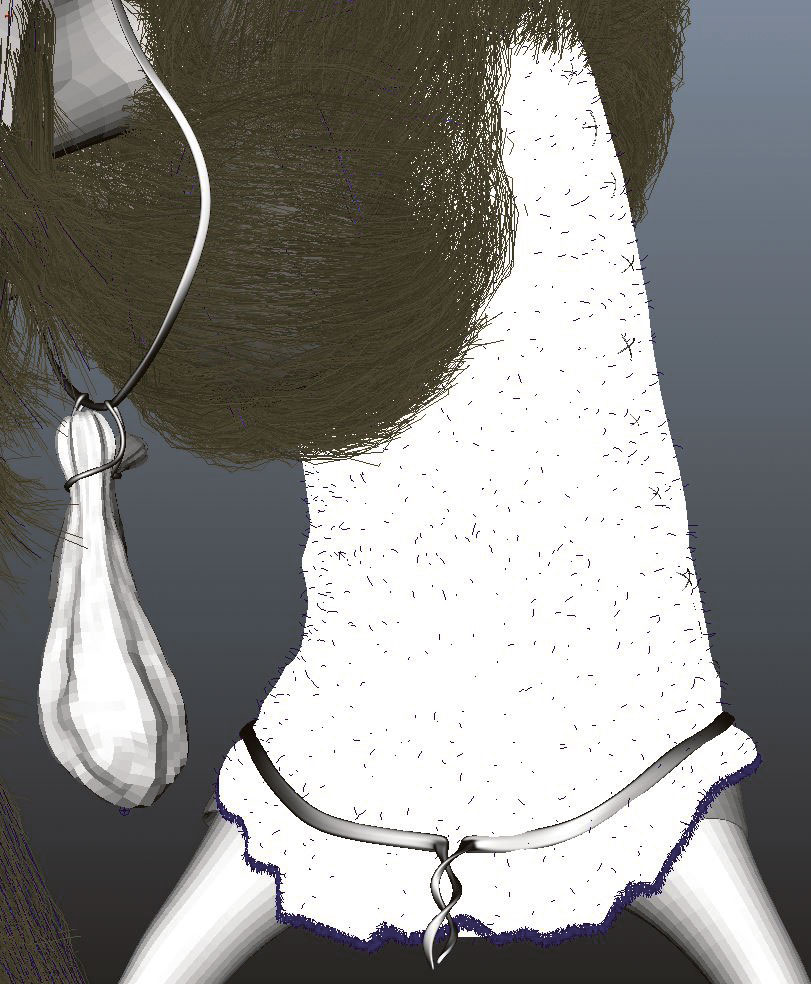
I use V-RayFur on the areas that have a used, ragged fabric look. This is a very efficient method and it renders pretty fast as well. I use it around the edges of his clothes. I first sculpt the mesh to make it look like it’s worn out, then select the polygons at the edges and assign the VRayFur. I would recommend a thickness greater than the regular wool fuzz.
This article was originally published in 3D World magazine issue 213. Buy it here.
Related articles:
