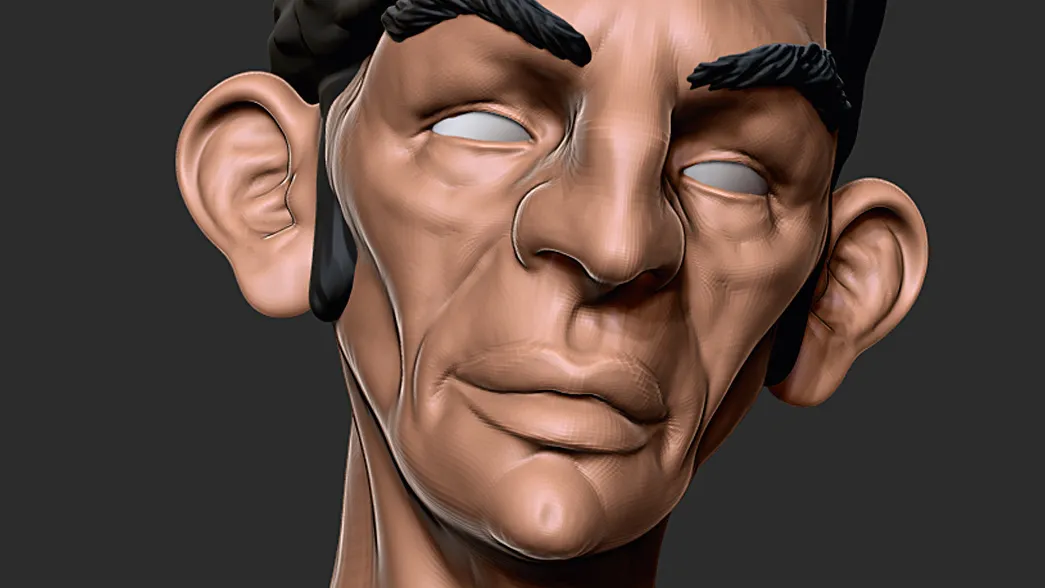
If you're tired of waiting around for hours for renders of your 3D art, you should check out ZBrushCore and its rendering process, Best Preview Render, or BPR. Using it is as simple as pressing the BPR button at the top right of the interface. This produces a high-quality image you can then export.
ZBrushCore tends to simplify all of its processes, which is why there aren’t many settings you can tweak in the Render palette. However, since the rendering stage is all about producing a good-looking image of your model with decent image resolution, we need to consider other aspects that affect the render such as the Material type, lighting and shadows.
There are two types of materials in ZBrushCore: MatCaps and Standard Materials. The main difference is that the Standard Materials react to the position of the light source, whereas the MatCaps (Material Capture) have the lighting and colour information already baked in.
The process of adding or positioning a light is very simple and there’s even a dedicated palette for it. If you choose to use a MatCap, then the effect of the light won’t be visible until you create the render.
01. Camera setup

Before you hit that Render button, you need to choose a camera angle that works for your model. The size of the canvas is the size for the render. With that in mind, go ahead and rotate the model to find a view that you like. Open the Draw palette and use the Angle of View. This is essentially like tweaking a camera lens to change the perspective and how much of the ‘scene’ is captured by the lens.
02. Lighting options

To start tweaking the light sources, dock the Light palette to the right tray and click the BPR button for a quick render test. Each switch with a lightbulb represents a light, and by default there’s only one enabled. Click the thumbnail with the sphere to move the yellow dot around: this represents the position of the light. Do another quick BPR test so you can see the difference.
03. Shadow properties

The PBR Shadows slider will determine how sharp or soft the cast shadows will be. A higher value will create smoother shadows, but you might need to increase the number of Rays to avoid artefact. You will only see the effect of changing the Shadows slider after running a quick BPR test. Turning the Floor off before rendering enables you to render without casting shadows on to the floor.
04. Material options

To select a different material, choose it from the Material palette or the Material thumbnail at the left of the UI. If you have multiple subtools and you want different materials between subtools, you need to assign the materials. Turn on the M switch at the top of the interface and make sure the RGB one is off. Then go to the Color Palette, and click the FillObject button. Now if you select a different material, you’ll see that the object you just ‘filled’ stays with the previous material.
05. Render and export

Finally, once you’ve chosen your camera angle, tested your light position, tweaked shadow properties and assigned your materials, it’s time to render your image. Fortunately, we’ve done all the heavy lifting and the rendering process just involves pressing the BPR button and waiting while ZBrushCore does its thing. If you’re happy with the result, go to the Document palette, click the Export button and save your render as a PSD file.
This article was originally published in issue 158 of ImagineFX, the world's best-selling magazine for digital artists. Subscribe to ImagineFX here.
Related articles:
