5 tips for sculpting in double-quick time
Follow these top tips to sculpt a realistic animal using ZBrush in under an hour.
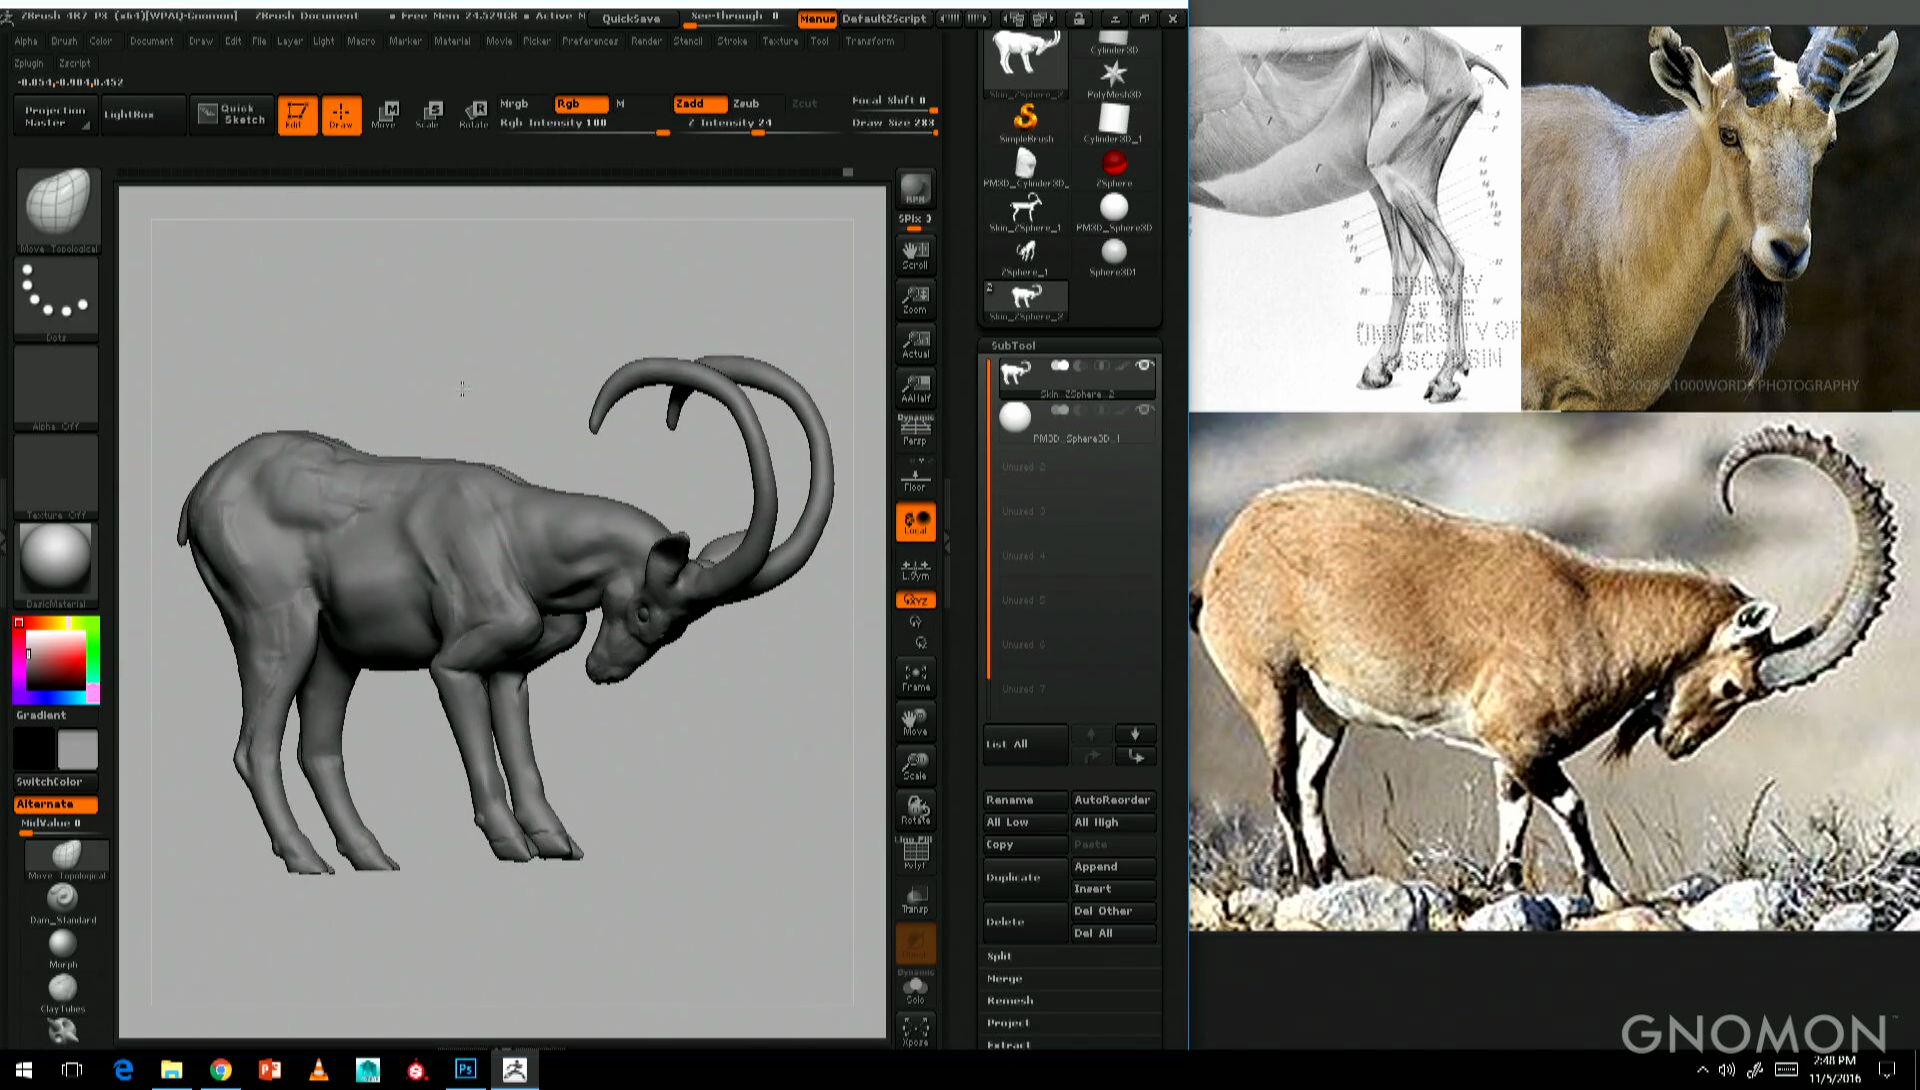
Sculpting a really detailed 3D creature can take days – but it's still amazing how far you can get in an hour. This model of a Nubian ibex was sculpted by Krystal Sae Eua during her one-hour ZBrush masterclass at Anatomy Lab, a live event held at Gnomon – School of Visual Effects, Games and Animation in Los Angeles last year.
In issue 220 of 3D World magazine (on sale now), Sae Eua walks you through the whole process, creating an underlying skeleton from ZSpheres, using the Adaptive Skin system to turn the ZSpheres into a normal mesh, then gradually refining the model using the Move Topological, ClayTubes, Displace and Standard brushes.
Above, you can watch the full live recording of the masterclass, which was broadcast worldwide on Gnomon's Livestream channel. The video shows you everything you need to do to recreate the ibex for yourself, but we've also provided five key tips to help you keep your sculpt on track.
01. Plot out the skeleton first
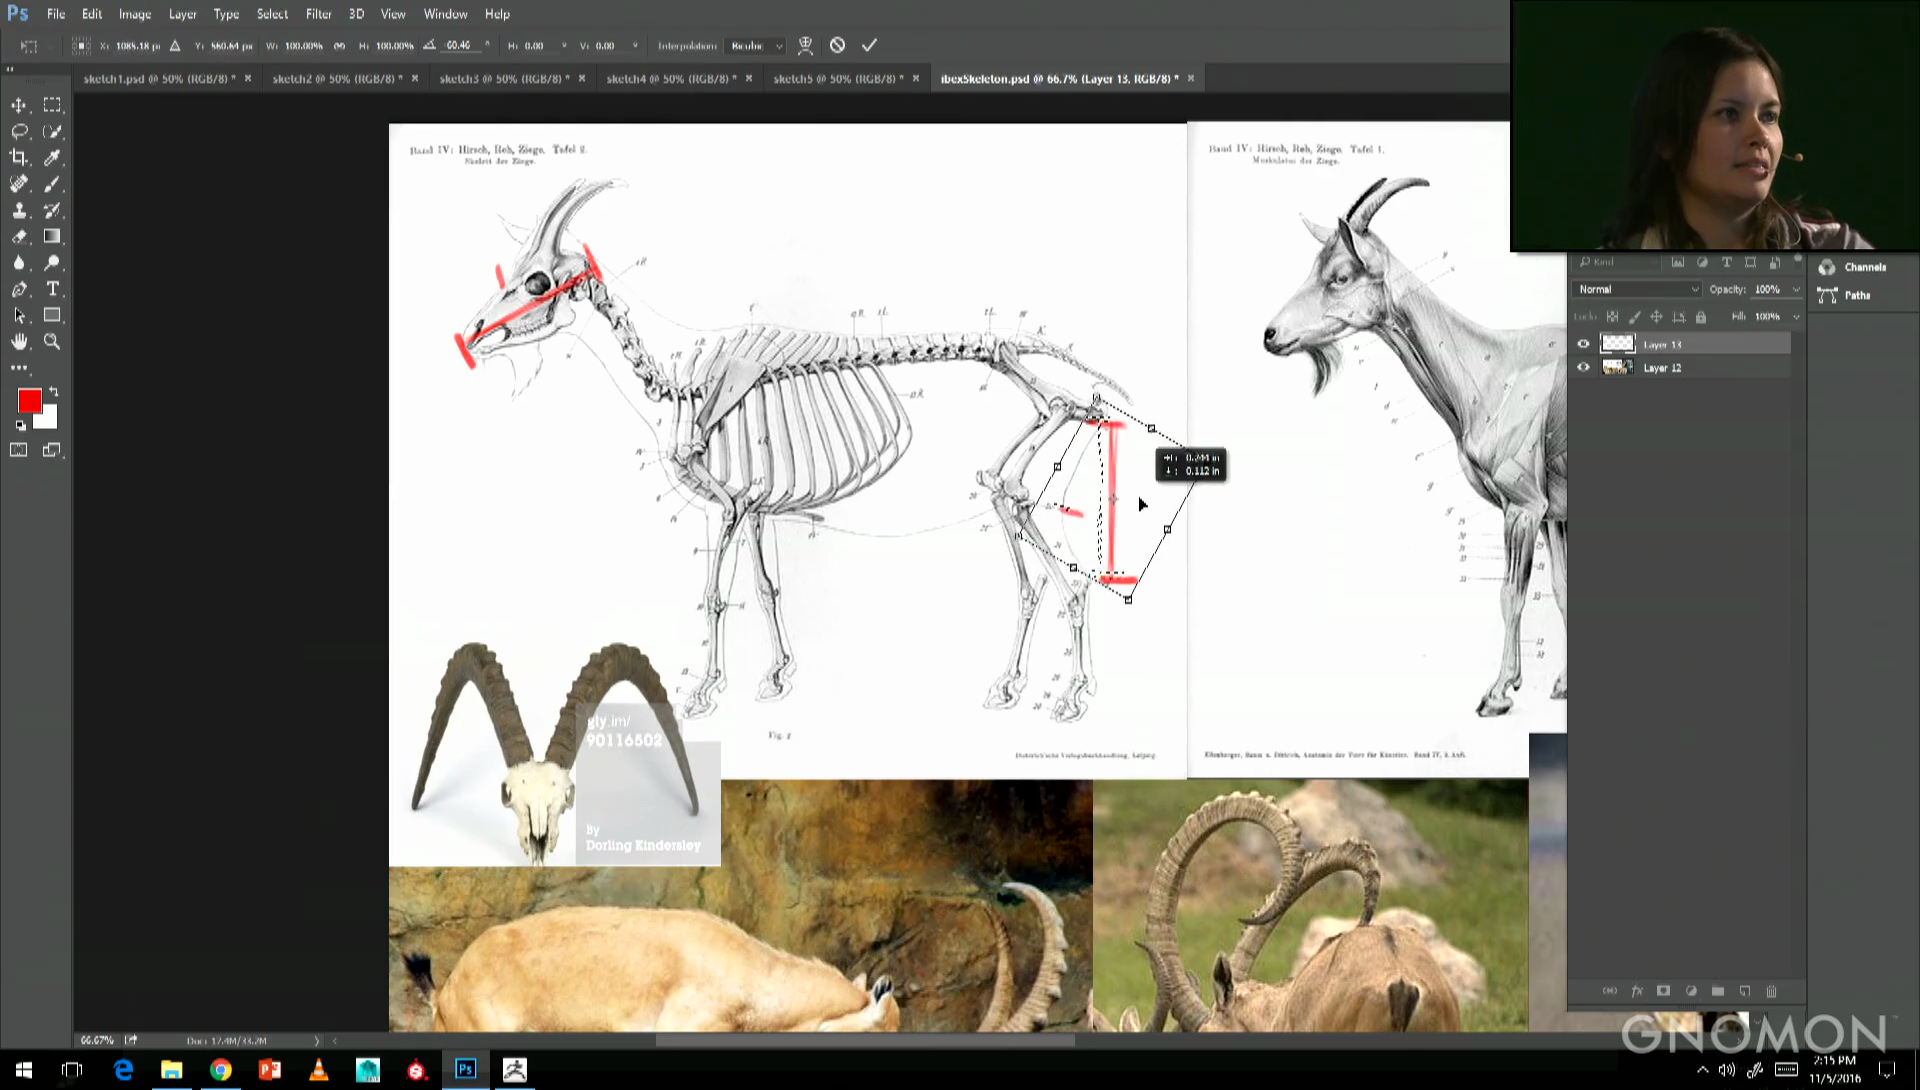
When you're looking for reference images, don't just look for photos of the animal you're sculpting: try to find a diagram of its skeleton too. The skull is a great indicator of how its face is structured, and you can also plot out the proportions of the body in head lengths, just as you would with a human: the distance from the back of the ibex's pelvis to the top of the heel is around one head length, for example.
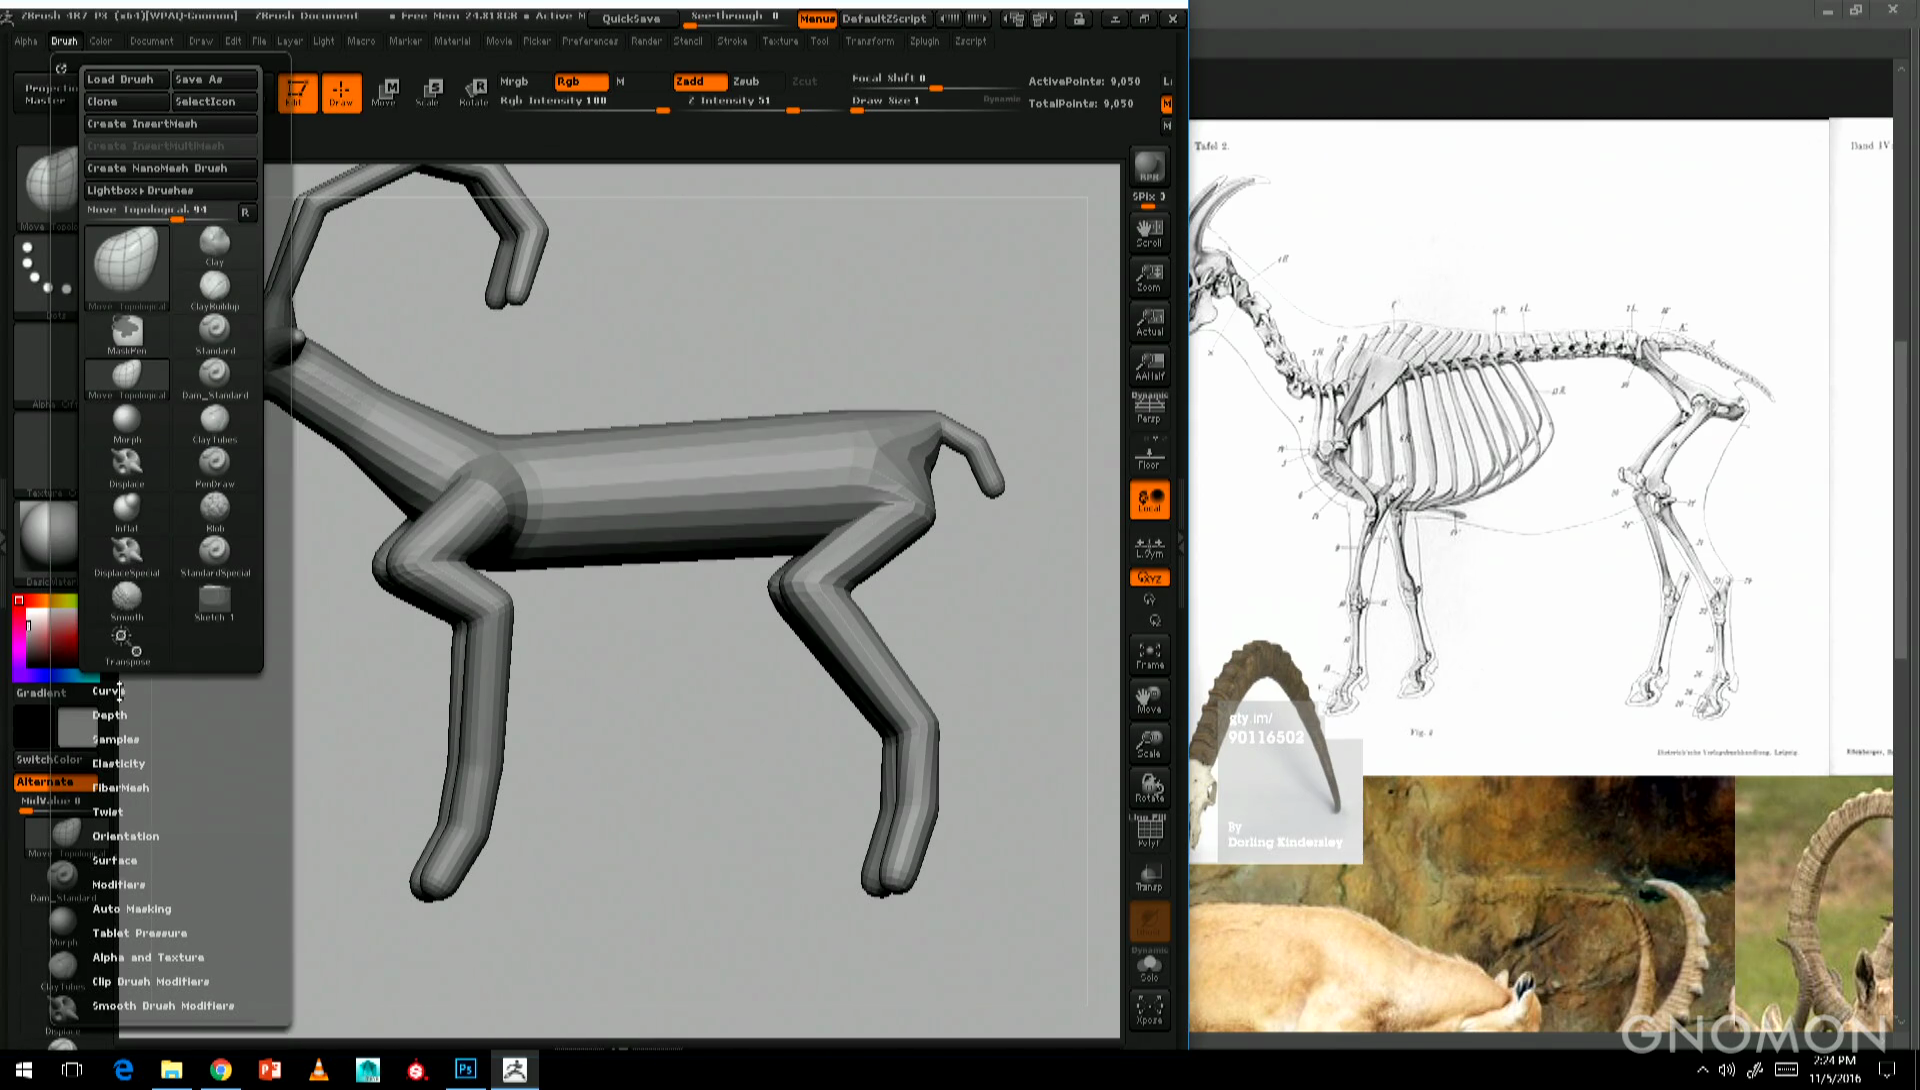
You can use the diagram to plot out a rough skeleton for your sculpt using ZSpheres. In quadrupeds, as in humans, the most important forms are the skull, scapula, ribcage and pelvis, so make sure your skeleton matches the proportions shown on the diagram. If you're just starting out, you may also want to place geometric primitives of the same dimensions as the key forms around your sculpt (cubes or flattened cubes are fine), so you can keep checking their proportions as you work.
02. Use hotkeys
If you want to sculpt quickly, it's important to set up hotkeys for the tools you will be using most frequently so you don't waste time scrolling through menus and palettes. Krystal uses hotkeys for the Move Topological, ClayTubes, Displace and Standard brushes. For the Displace brush, she turns on AccuCurve ('Brush > Curve > AccuCurve'); for the Standard brush, she uses Alpha 46 and a roll distance ('Stroke > Modifiers > Roll Dist') of 3.
It also helps to set up hotkeys for Transform operations like Move, Scale and Rotate, and for the different camera views of the model stored in the ZAppLink Properties sub-palette. If you use the Cust1 and Cust2 buttons to set the camera views you will be using most, you can rotate your sculpt to check its proportions, then snap right back to where you left off.
Sign up to Creative Bloq's daily newsletter, which brings you the latest news and inspiration from the worlds of art, design and technology.
03. Keep switching views
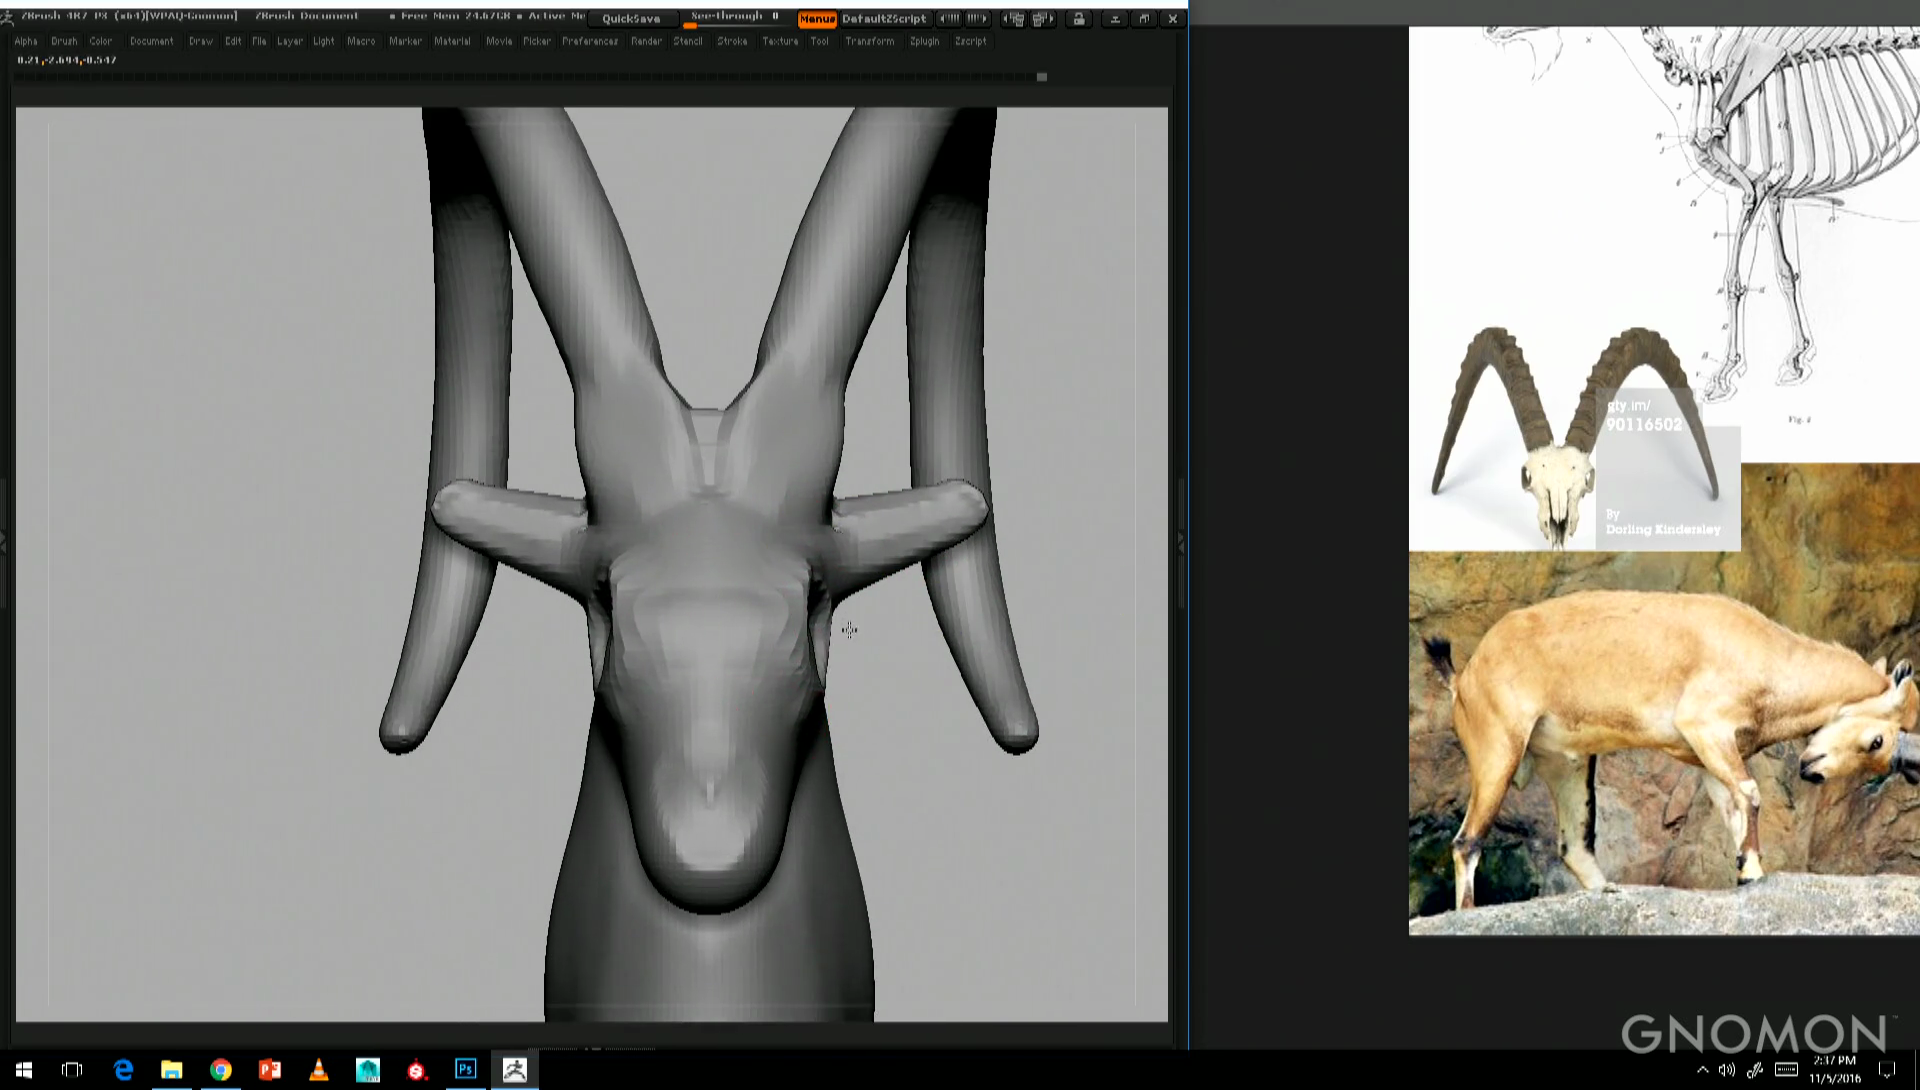
On that note, don't just work in a single camera view: keep switching between front and side views of your sculpt to check its proportions match those of your reference images. One mistake that young artists often make is not to make the head wide enough when seen from the front, for example. If you're just starting out, avoid ZBrush's Perspective camera modes, as these can make it harder to gauge proportions accurately.
04. Stay symmetrical as long as you can
When you're sculpting a new animal, it's best to keep ZBrush's symmetry options turned on for as long as you can, so that as you update one side of the model, the other side updates automatically.
Breaking symmetry lets you put the sculpt into a more dynamic pose, but only do so once you are happy that you have established all of the basic forms of the sculpt correctly, including the major bones, muscle groups, and other anatomical landmarks like the horns, hooves and tail.
If you make a mistake and turn off symmetry too early, you can always make your sculpt symmetrical again by switching to a front view, masking out half of the model, and selecting 'Deformation > SmartResym'.
05. Don't get bogged down in detail
One common mistake is to get too detailed too early. Don't add in fine surface details like wrinkles and folds as soon as you sculpt a body part: adding in a new form often makes it apparent that other parts of the body are out of proportion, meaning that you will need to keep going back and reworking things you sculpted earlier. Wait until you have established all of the forms of the model, then add the detail in one go at the end.
It's also easy to forget that with ZBrush, just as with drawing, it's the lines that are important. It's not so much about the detail in your sculpture as it is about the silhouette. If something feels wrong, double-check the proportions of the skeleton: that's probably where the problem lies. When in doubt, zoom out.
Going further
Gnomon holds masterclasses and speaker events like Anatomy Lab most weeks. They're usually free to watch, so if you want more training like this, keep an eye on the Events section of its website. Or if you're interested in studying at the school full-time, it has just been accredited for its first baccalaureate degree, a four-year BFA in Digital Production, which runs alongside its two and three-year programs.
Related articles:
Jim Thacker is a freelance writer and editor.

