Build a voice controlled UI
Learn how to use the Speech Recognition API to convert speech to text for easy input into forms.
We've seen many new APIs added to the web over the last few years that have really enabled web content to have the same kind of functionality as many apps have had for some time. A relatively new API is the Speech Recognition API, which as you can probably guess, lets you use your text as an input onto the page. It requires a click to start the service and again to stop.
A great case for this might be in allowing accessibility among your users, giving voice input as an alternative to clicking. If your analytics show that you have a lot of mobile browsing, then think how much easier it would be to speak into your phone than using the keyboard.
There have been predictions that screen-based interfaces might start to disappear within ten years. At first this might sound like science fiction, but as users get more and more comfortable with speech as input through the likes of Alexa and Siri then it stands to reason that this will become pervasive as an input method. The tutorial here will get you up to speed on speech input and then use that to leave product reviews on an ecommerce site.
Download the files for this tutorial.
01. Start the project
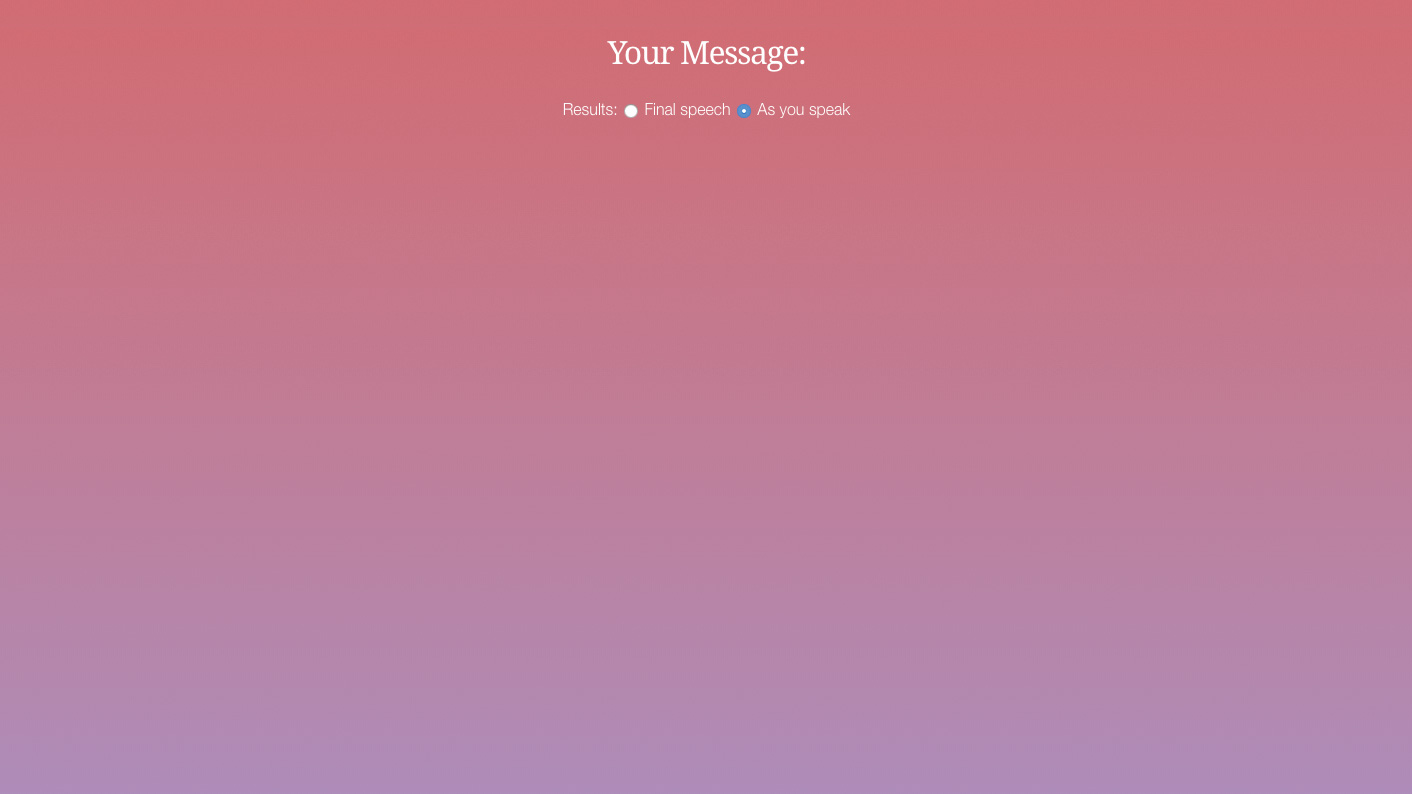
From the project files folder, open the 'start' folder in your code IDE and open the 'speech.html' file to edit. All the CSS for the project is written as that isn't the focus of the speech API, so add the link shown here to get the Noto Serif typeface and link up the CSS file.
<link href="https://fonts.googleapis.com/css?family=Noto+Serif" rel="stylesheet">
<link rel="stylesheet" href="css/style.css">
02. Add the content
The first elements of this will be to have a wrapper in which to hold all of our on-screen content. The first element in here will be a hidden message that tells the user if the Speech API is supported in the browser. This will only be seen if it isn't. Then a heading tells the user that the form elements that follow will be used for their message.
<div id="wrapper">
	<span id="unsupported" class="support hidden">Speech API Not Supported</span>
	<h2>Your Message:</h2>
03. Choose the results
When using the Speech API there are two ways to display the content. In one, text displays when the user has stopped speaking and the 'listening' button is clicked off. The other shows words on screen as spoken. This first radio button allows for the final speech result to be shown.
Daily design news, reviews, how-tos and more, as picked by the editors.
<div id="typeOfInput">
	<span>Results:</span>
	<label>
		<input type=radio name=recognition-type value=final> Final speech</label>
04. Radio two
The second radio button is added here and this one allows the user to select the text to be displayed as they speak. These radio buttons will be picked up by the JavaScript later and used to control the speech input, but for now this allows the user to have an interface to control that.
<label>
	<input type=radio name=recognition-type value=interim checked> As you speak</label>
</div>
05. Display the text

The text that the user speaks into the page will need to be displayed on the screen. Here the text-area is added that has the id of 'transcription' — this will be targeted so that the user's speech ends up here. There's also a clear button to remove the text.
<textarea id="transcription" readonly>
</textarea>
<br/>
<button id="clear-all" class="button">Clear Text</button>
06. The last interface
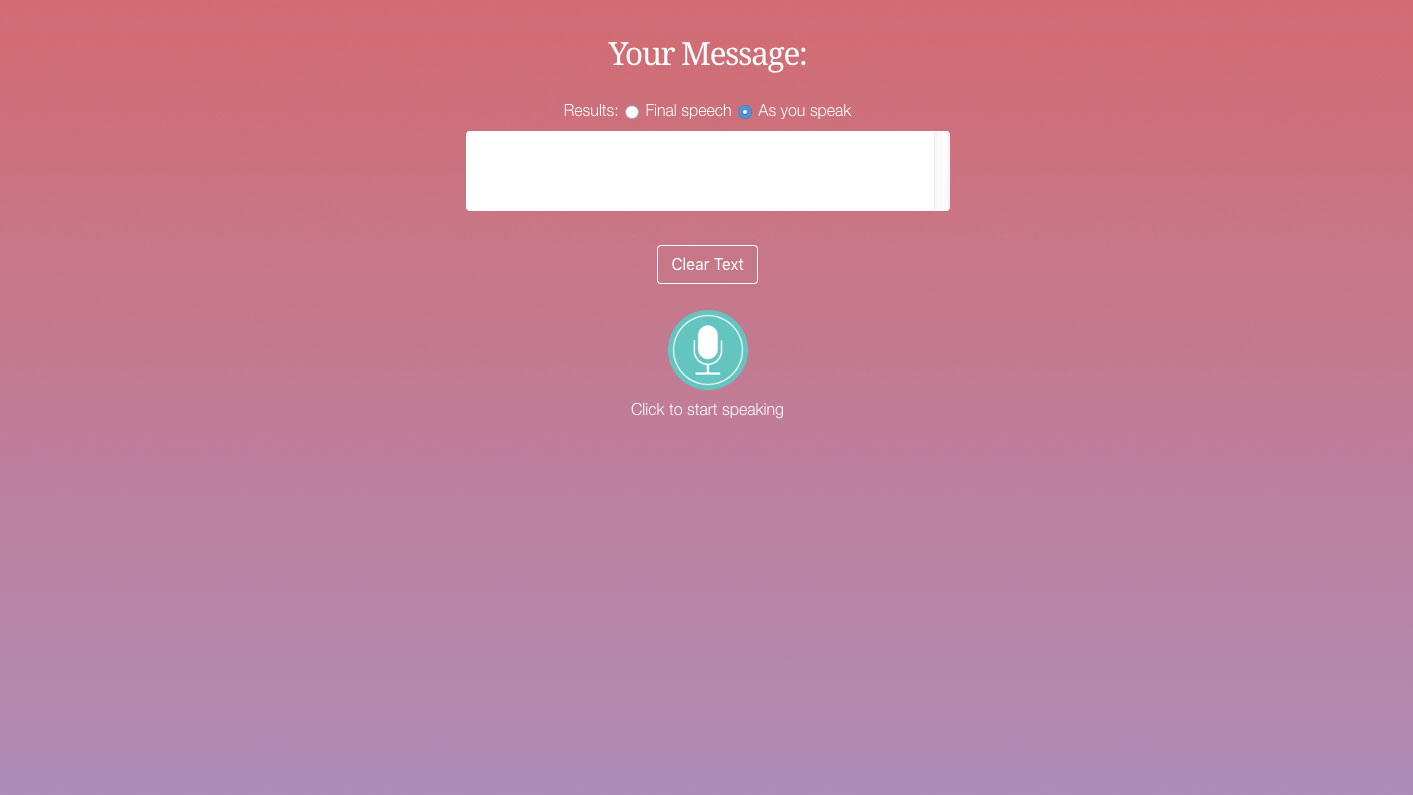
The final interface elements are added to the screen now. The speech button enables and disables the speech, so it must be clicked before speaking. Clicking again stops it. As this is a relatively new interaction, the log underneath will tell the users what to do.
<div class="button-wrapper">
    <div id="speechButton" class="start"></div>
  </div>
  <div id="log">Click to start speaking</div>
</div>
07. Add Javascript
Now add the script tags before the closing body tag. This is where all of the JavaScript will go. The first two lines grab the page elements with the matching ID and store them in a variable. The transcription is the text result of the speech. The log will update the user with how to use it.
<script>
var transcription = document.getElementById('transcription');
var log = document.getElementById('log');
</script>
08. Variable results
Using the next few variables, more interface elements are cached into them. The speech button will become a toggle, letting users switch speech on and off., monitored by a Boolean, true/false variable. The clear-all button will delete unsatisfactory speech results.
var start = document.getElementById('speechButton');
var clear = document.getElementById('clear-all');
var speaking = false;
09. Is it supported?
The first thing our code will do is find out if this speech feature is supported by the user's browser. If this result comes back as null then the if statement throws up the hidden message, while simultaneously taking the start button away from the interface to stop the speech input.
window.SpeechRecognition = window.SpeechRecognition ||
	window.webkitSpeechRecognition ||
	null;
if (window.SpeechRecognition === null) {
	document.getElementById('unsupported').classList.remove('hidden');
	start.classList.add('hidden');
} else {
10. Start the recognition
The speech recognition is started as the 'else' for the speech recognition being available. The continuous input is started as that is the default on the radio buttons. The 'onresult' function will handle the results of the speech input. This will be added into the transcription's text field.
var recognizer = new window.
SpeechRecognition();
recognizer.continuous = true;
recognizer.onresult = function(event) {
	transcription.textContent = '';
	for (var i = event.resultIndex; i < event.
	results.length; i++) {
11. Final or interim?
The if statement now checks to see if the user wants to display the text as they are talking (interim) or only after they finish speaking (final). You will notice that if it's interim, each word gets added to the text with the '+=', while the final just dumps the whole text in there.
if (event.results[i].isFinal) {
		transcription.textContent = event.results[i][0].transcript;
	} else {
		transcription.textContent += event.results[i][0].transcript;
		}
	}
};
12. Handling errors
As with most JavaScript APIs there is an error handler that will allow you to decide what to do with any issues that might arise. These are thrown into the 'log' div to give feedback to the user, as it is essential that they are aware of what might be going on with the interface.
recognizer.onerror = function(event) {
	log.innerHTML = 'Recognition error: ' +
	event.message + '<br />' + log.innerHTML;
};
13. Start speaking!
The event listener here is started when the user clicks the button to start speaking. If the user is not speaking, then the button changes colour to show speaking has started, the variable for speaking is set to true and the 'interim' radio button is checked to see if this is the user's choice for input.
start.addEventListener('click', function() {
	if (!speaking) {
		speaking = true;
		start.classList.toggle('stop');
		recognizer.interimResults = document.
		querySelector('input[name="recogniti
		on-type"][value="interim"]').checked;
14. Take the input
The 'try and catch' statement now starts the speech recognition and tells the user that they should start speaking and that when they are done, 'click again to stop'. The catch will pick up the error and throw that into the 'log' div so that the user can understand what might be wrong.
try {
	recognizer.start();
	log.innerHTML = 'Start speaking now
	<br/>Click to stop';
} catch (ex) {
	log.innerHTML = 'Recognition error:
	<br/>' + ex.message;
}
15. Click to stop
Now when the user clicks to stop talking, the speech recognition is stopped. The button is changed back to green from red while talking. The user interface is updated so that the user is informed that the service has stopped. The speaking variable is set to false, ready to let the user speak again.
} else {
		recognizer.stop();
		start.classList.toggle('stop');
		log.innerHTML = 'Recognition stopped
		<br/>Click to speak';
		speaking = false;
	}
});
16. Clear the text
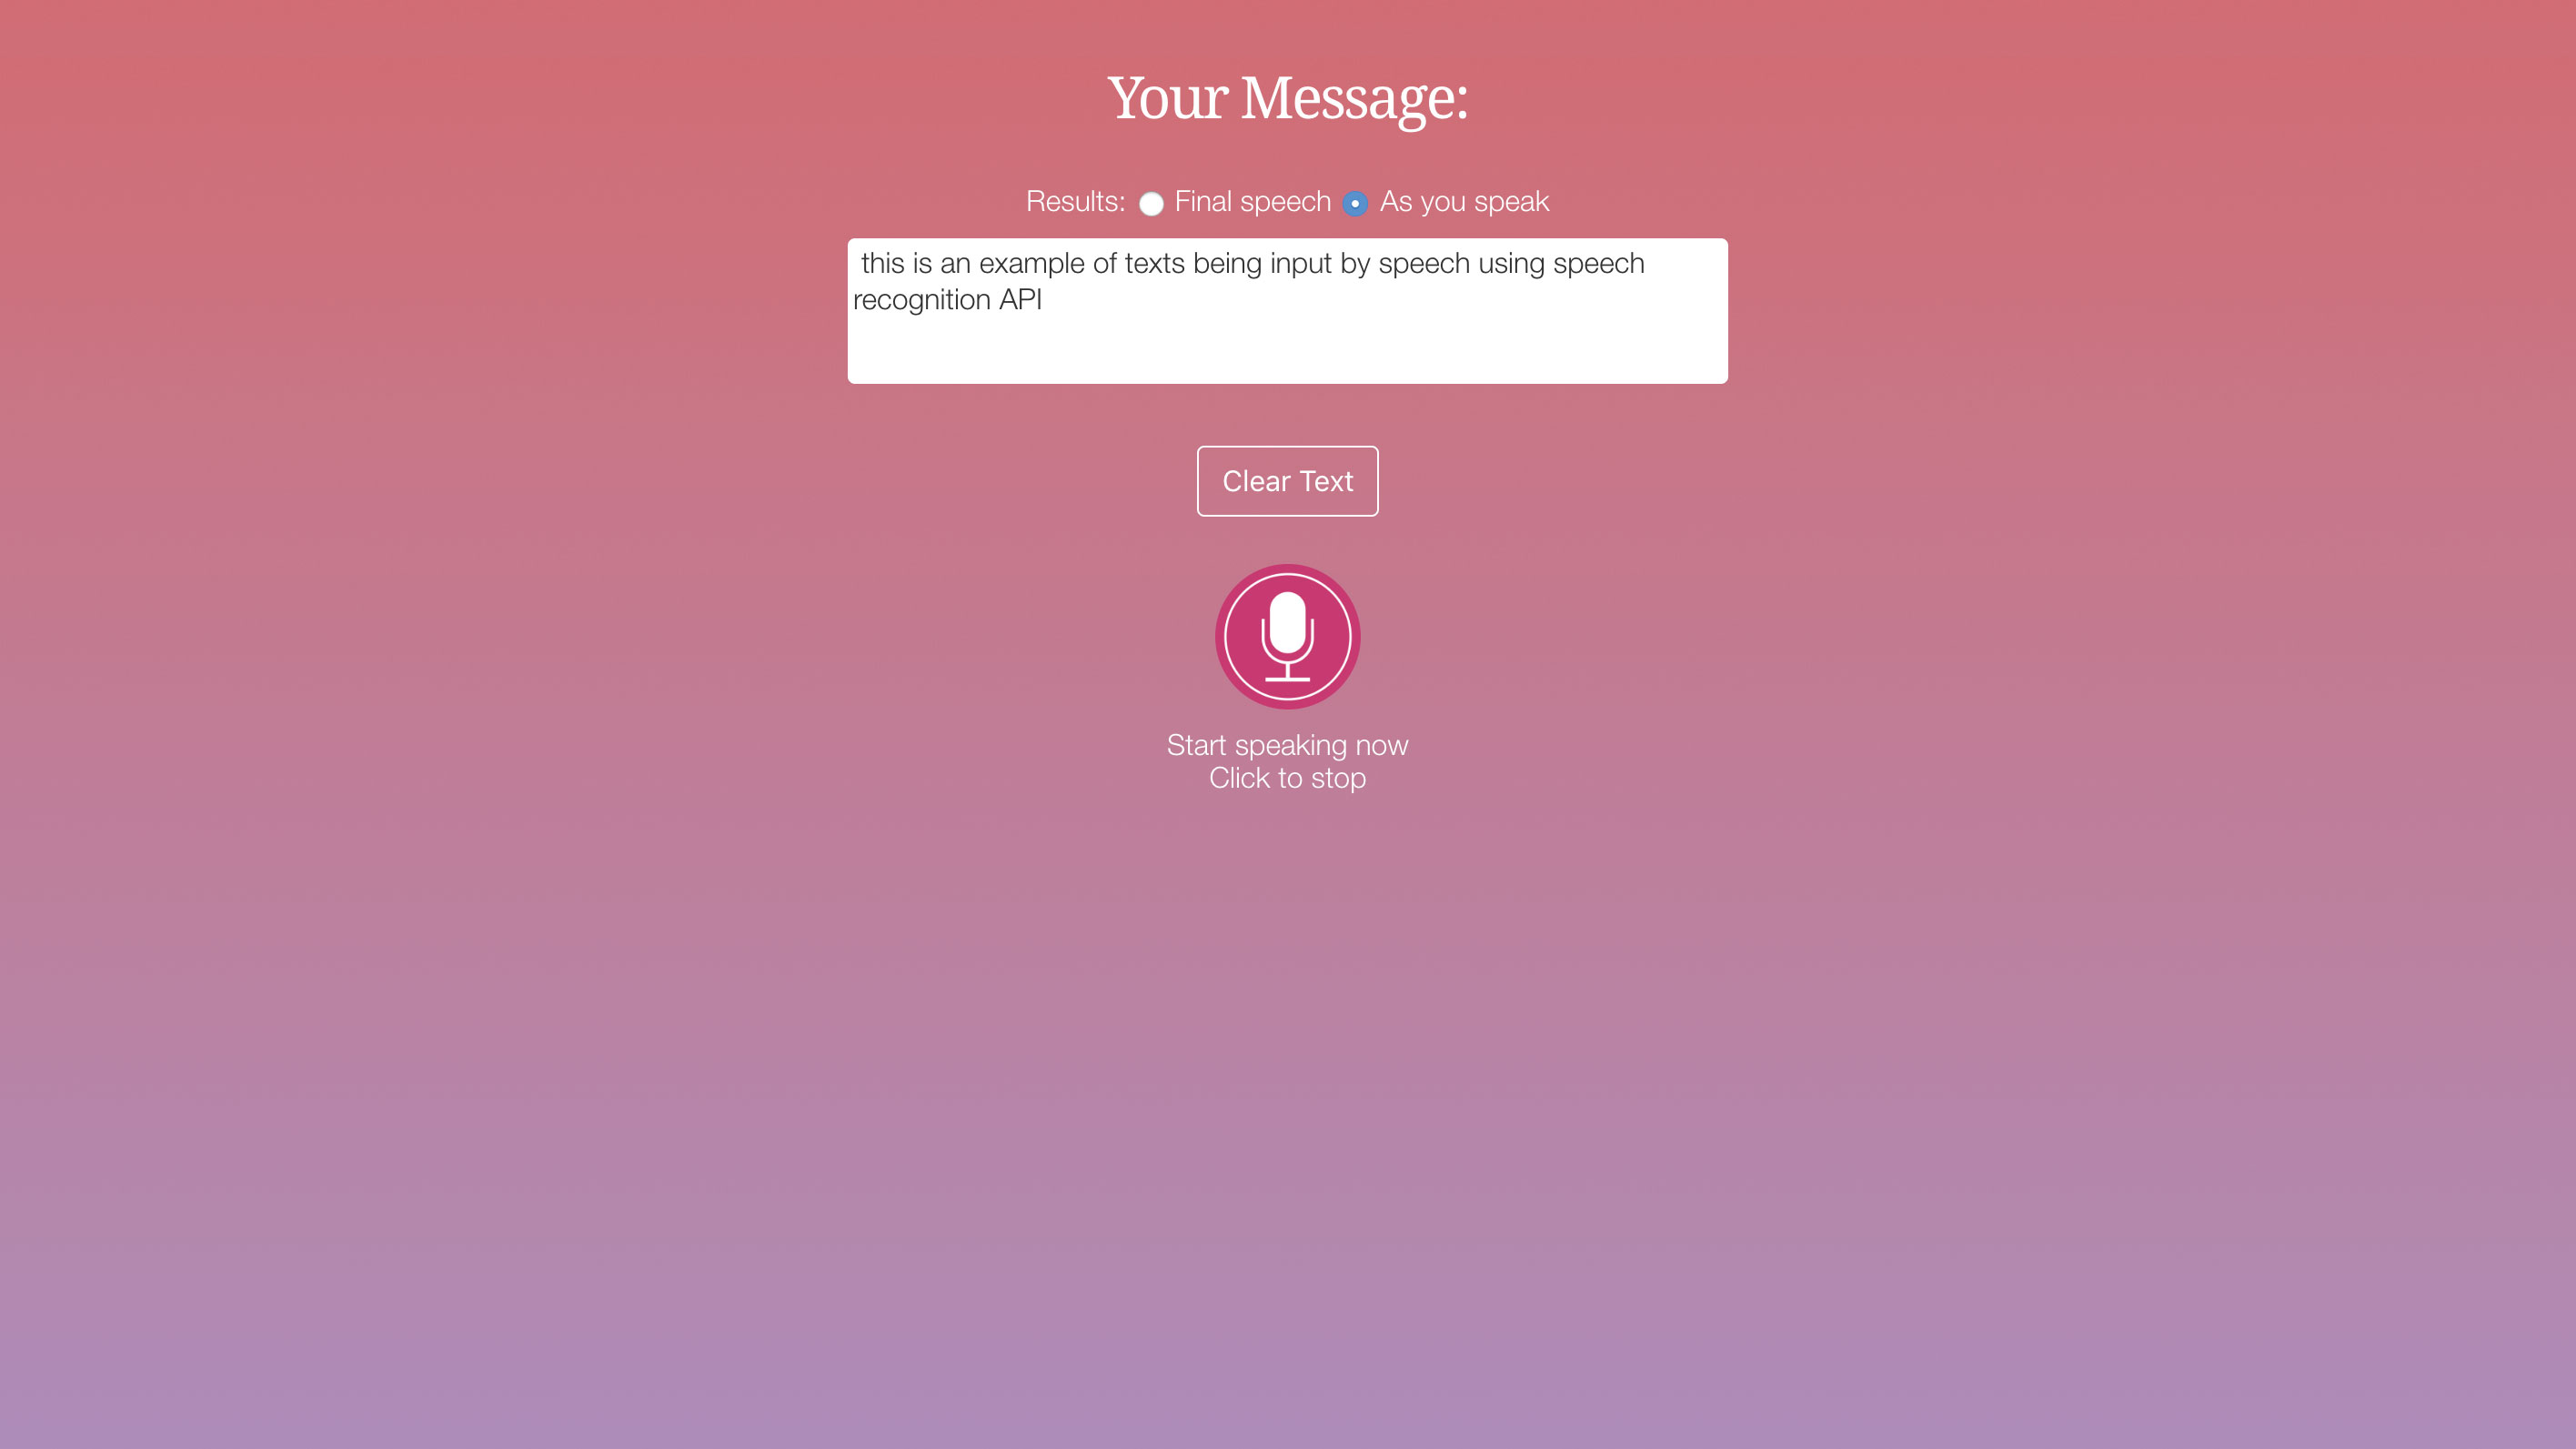
The final code for this section is just a clear button to remove the speech input text in case it is wrongly interpreted. Save the file and test this in your browser. You will be able to click the button to speak into the computer and see the results.
clear.addEventListener('click', function() {transcription.textContent = '';
});
}
17. Add purpose
Now as you have a working example, there needs to be some purpose to the interface, so let's make this so that users can input reviews. Save the page and then choose Save As, with the new name of 'reviews.html'. Add the following HTML elements just after the <div id="wrapper"> line.
<h1>Product Reviews</h1>
<div id="reviews"></div>
18. Total submission
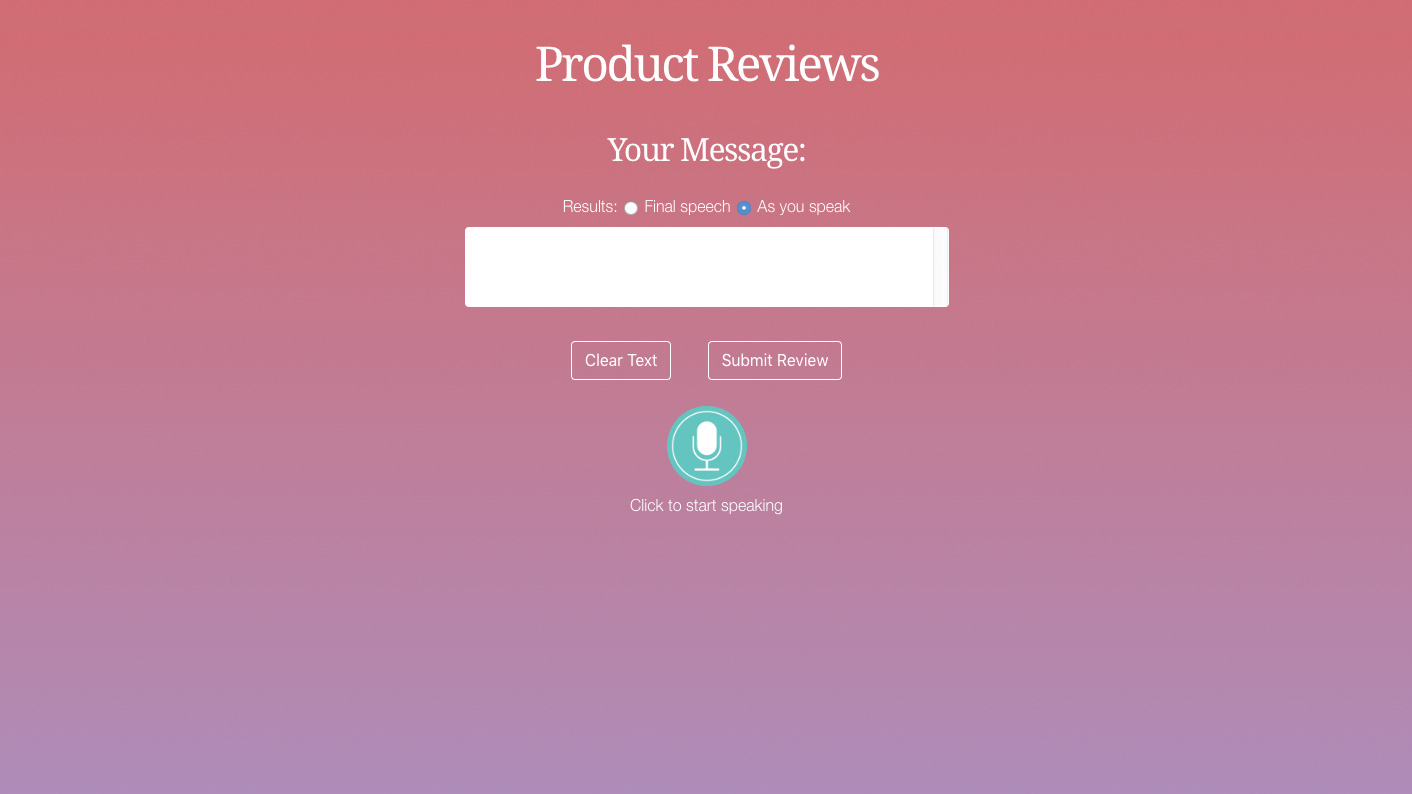
The previous code will hold the reviews. The user will need to submit their speech input, so add the submit button right after the 'clear text' button, which will be around line 28 in your code. Then you can move down to the JavaScript for the next step.
<button id="submit" class="button">Submit Review</button>19. New interface elements
At the top of your Javascript add the new variables to hold the references to the new interface elements that have just been added. These will provide you with a way to submit and display the results on the screen within the 'reviews' section of the page.
var submit = document.getElementById('submit');
var review = document.getElementById('reviews');
20. Submit the entry
Now the code here will handle when the user clicks the submit button, place this right before the 'clear' button code, which should be around line 88 in your code. First, a paragraph tag is created and the speech input is subsequently added into this. This will then be added into the 'review' section.
submit.addEventListener('click', function() {
		let p = document.createElement('p');
		var textnode = document.createTextNode
		(transcription.value);
		p.appendChild(textnode);
		review.appendChild(p);
		let today = new Date();
let s = document.createElement('small');
21. Final submission
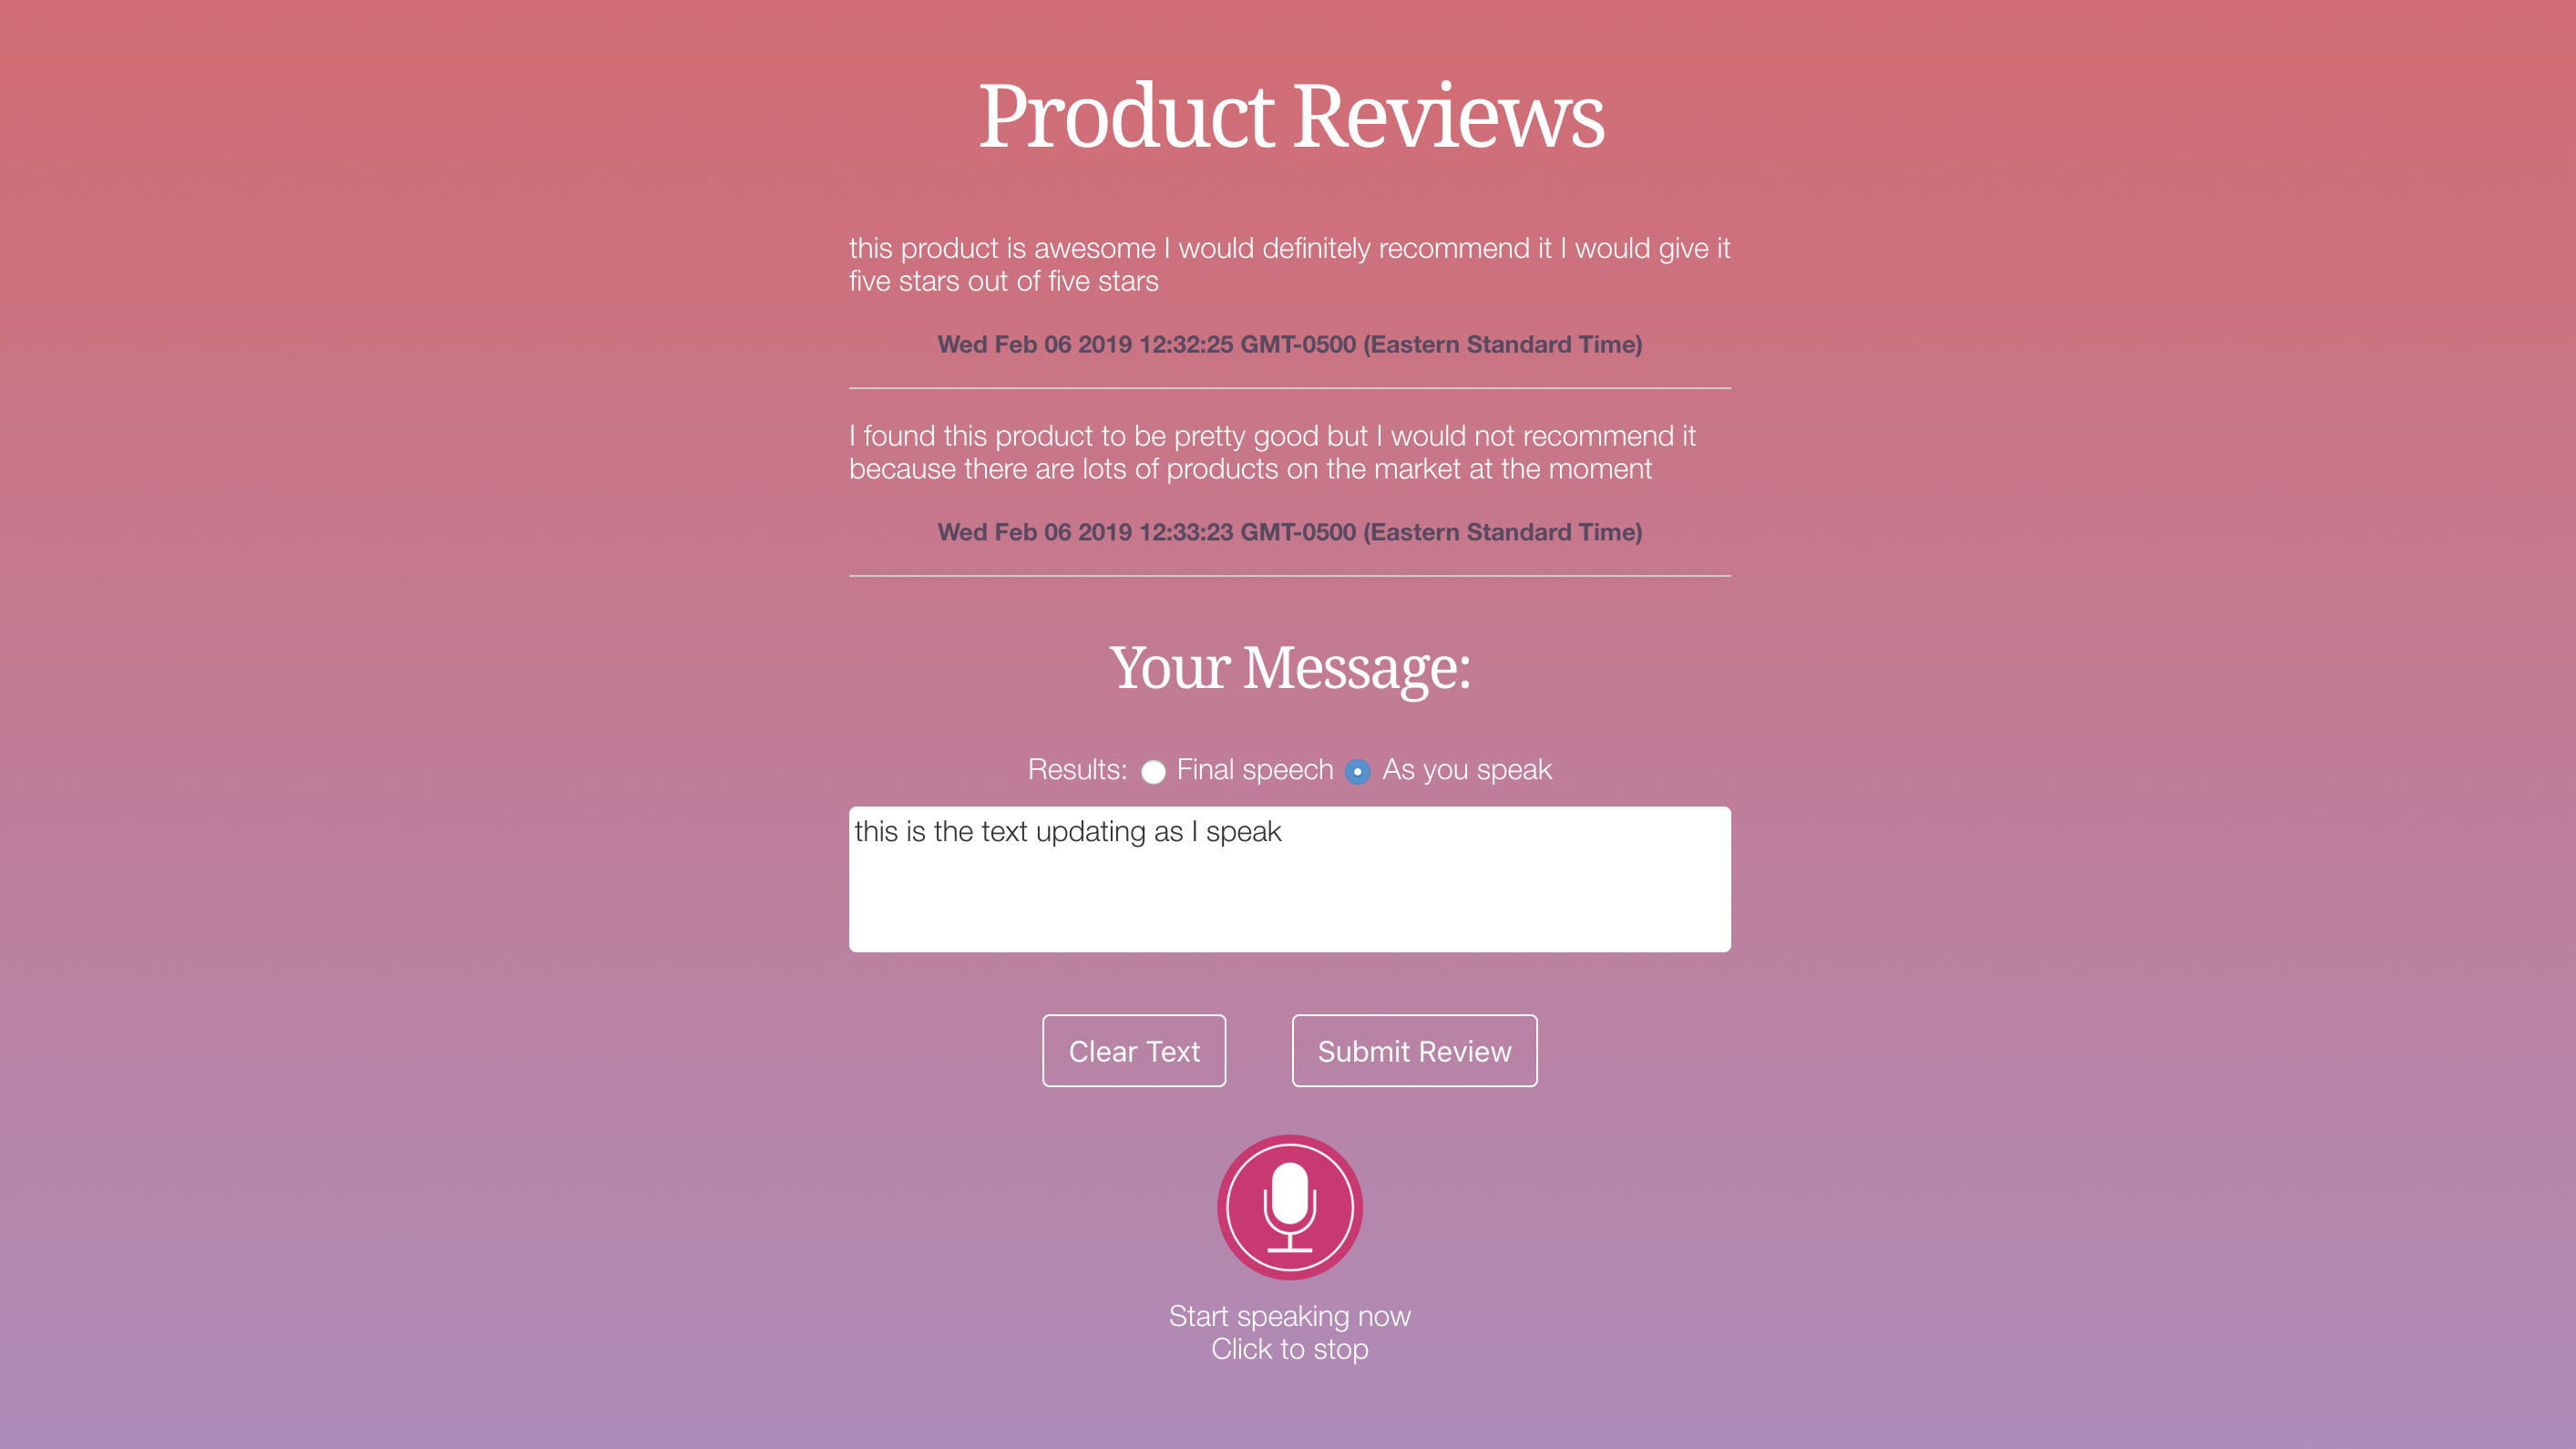
The date is added so that the review is timestamped into the document. Finally a horizontal rule is added to show where each review ends, then the text is cleared ready for new input. Save the page and test this. You will see that you can now submit your speech into the page as reviews. For persistence you would need to use a database to store these results.
textnode = document.createTextNode(today);
s.appendChild(textnode);
review.appendChild(s);
let hr = document.createElement('hr');
review.appendChild(hr);
transcription.textContent = '';
});
This article was originally published in issue 286 of creative web design magazine Web Designer. Buy issue 286 here or subscribe to Web Designer here.
Related articles:

Mark is a Professor of Interaction Design at Sheridan College of Advanced Learning near Toronto, Canada. Highlights from Mark's extensive industry practice include a top four (worldwide) downloaded game for the UK launch of the iPhone in December 2007. Mark created the title sequence for the BBC’s coverage of the African Cup of Nations. He has also exhibited an interactive art installation 'Tracier' at the Kube Gallery and has created numerous websites, apps, games and motion graphics work.
