How to draw a wolf
Video tutorial: Learn how to draw a wolf that's realistic and anatomically correct.
If you've mastered how to draw a dog, you'd be forgiven for thinking you'd easily be able to draw a wolf too. While being able to sketch a passable version of Fido will stand you in good stead when approaching how to draw a wolf, there are more differences between these canine breeds than you might think. All of these make a huge difference to the accuracy of your drawing.
This video tutorial offers a step-by-step guide to how to draw a wolf, focusing on a side view of a standing animal. The lesson begins with sketching out the overall shape of the wolf as an underdrawing so you can figure out where all the parts of the body will go. Next comes carving out the mass and structure of the wolf in perspective to solidify the drawing. At that point the real fun can begin – fur, facial features and so on.
Follow the video tutorial above, or scroll down for a written step-by-step guide. Once you've nailed the basics, make sure you try out the bonus step: how to draw a wolf with a winter coat. And when you've finished, we've got a brilliant selection of other how to draw tutorials to get stuck in to.
Note: having a photo reference of a real wolf by your side during this tutorial is highly recommended.
How to draw a wolf: a step-by-step guide
01. Sketch the basic shape of the head
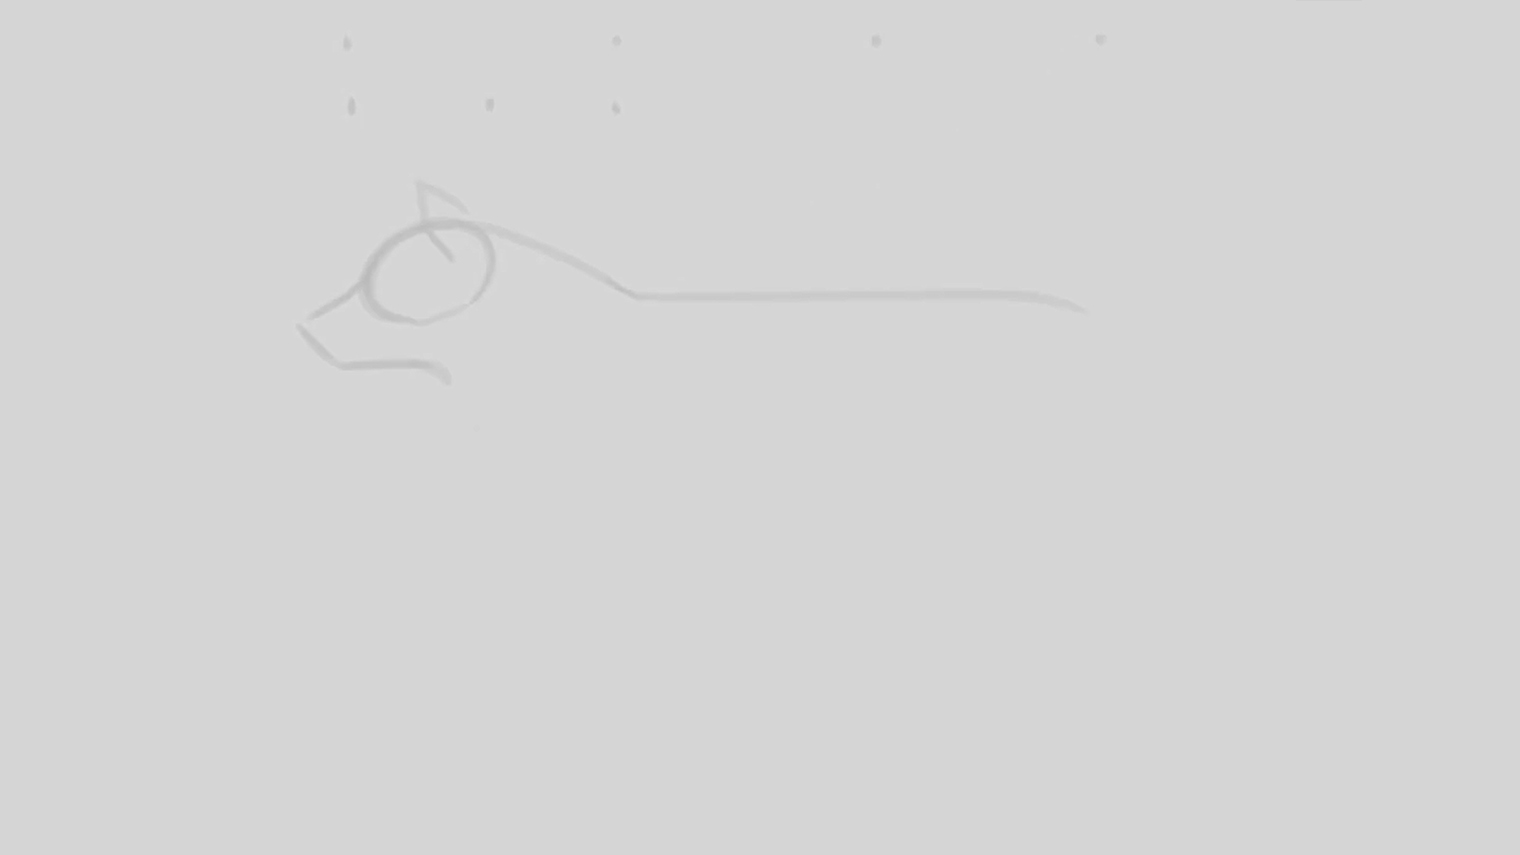
Start off by drawing the head as an oval tilted to the left about 45 degrees. Connect the muzzle pointing down in the same direction, almost as long as the oval. The bottom of the muzzle goes flat across, half way to the oval just below it. Block in the shape of the ear by drawing a line as the base of the ear on the head, forming a triangle above that's slanted forward and curved in the back.
02. Find the length of the neck and body
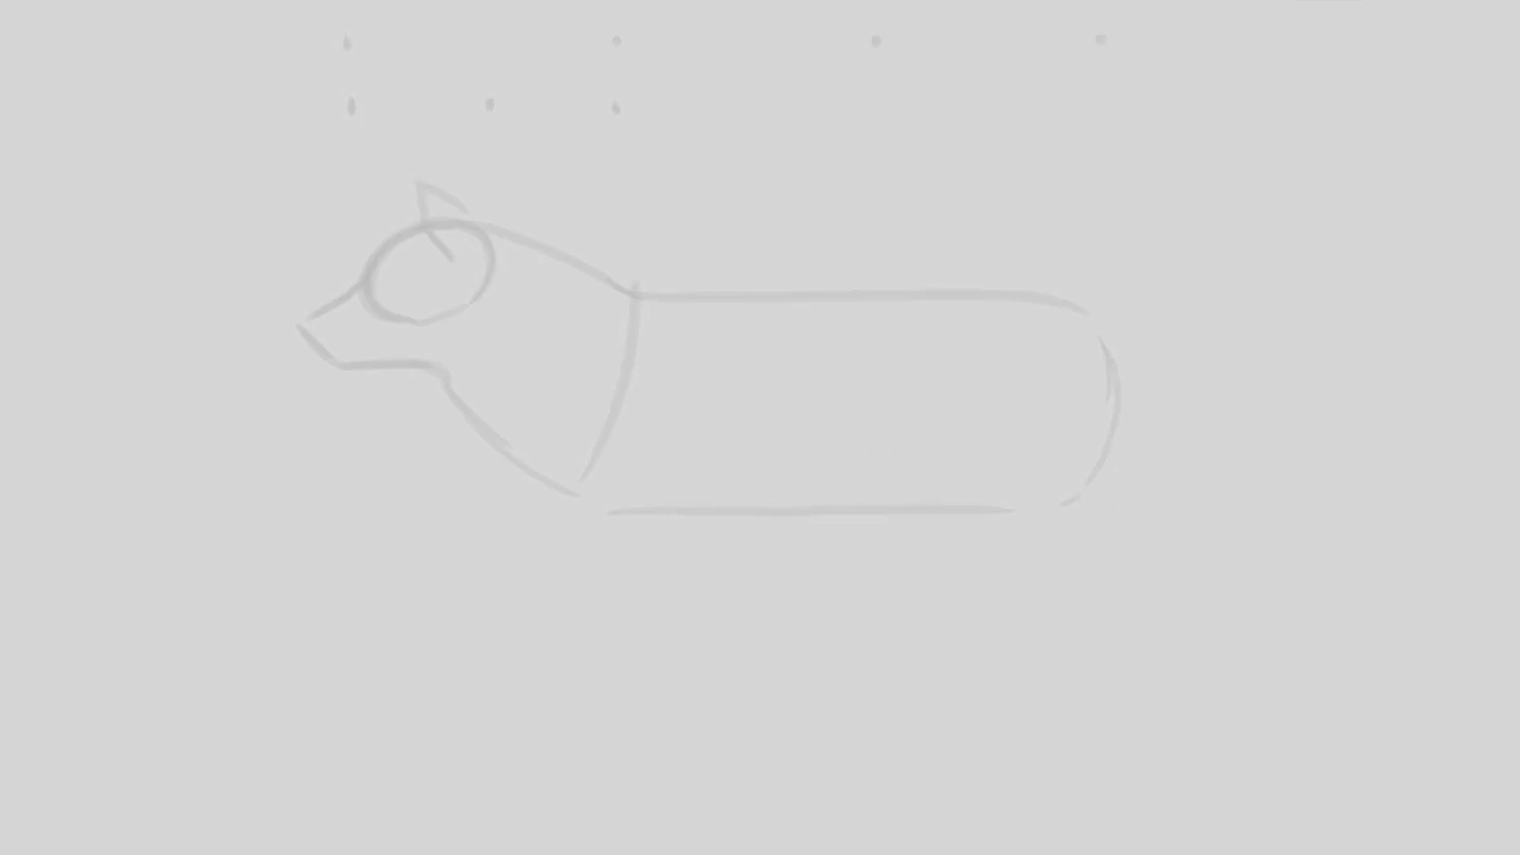
Locate the base of the neck by measuring the length of the oval head two times sideways. Relative to the body, a wolf's head stands lower than a dog's head, so make sure to draw the neck angled lower. The length of the back is three times the length of the oval and neck. From the neck, connect a straight line across to indicate the back.
03. Complete the shape of the neck and body
The neck will be thick and full of fur, so draw the shape of the neck getting thicker as it goes down to the base of the body. From where the neck is left off, complete the body with a straight line for the stomach, all the way to the back and closing it off.
Daily design news, reviews, how-tos and more, as picked by the editors.
04. Divide the body into three parts
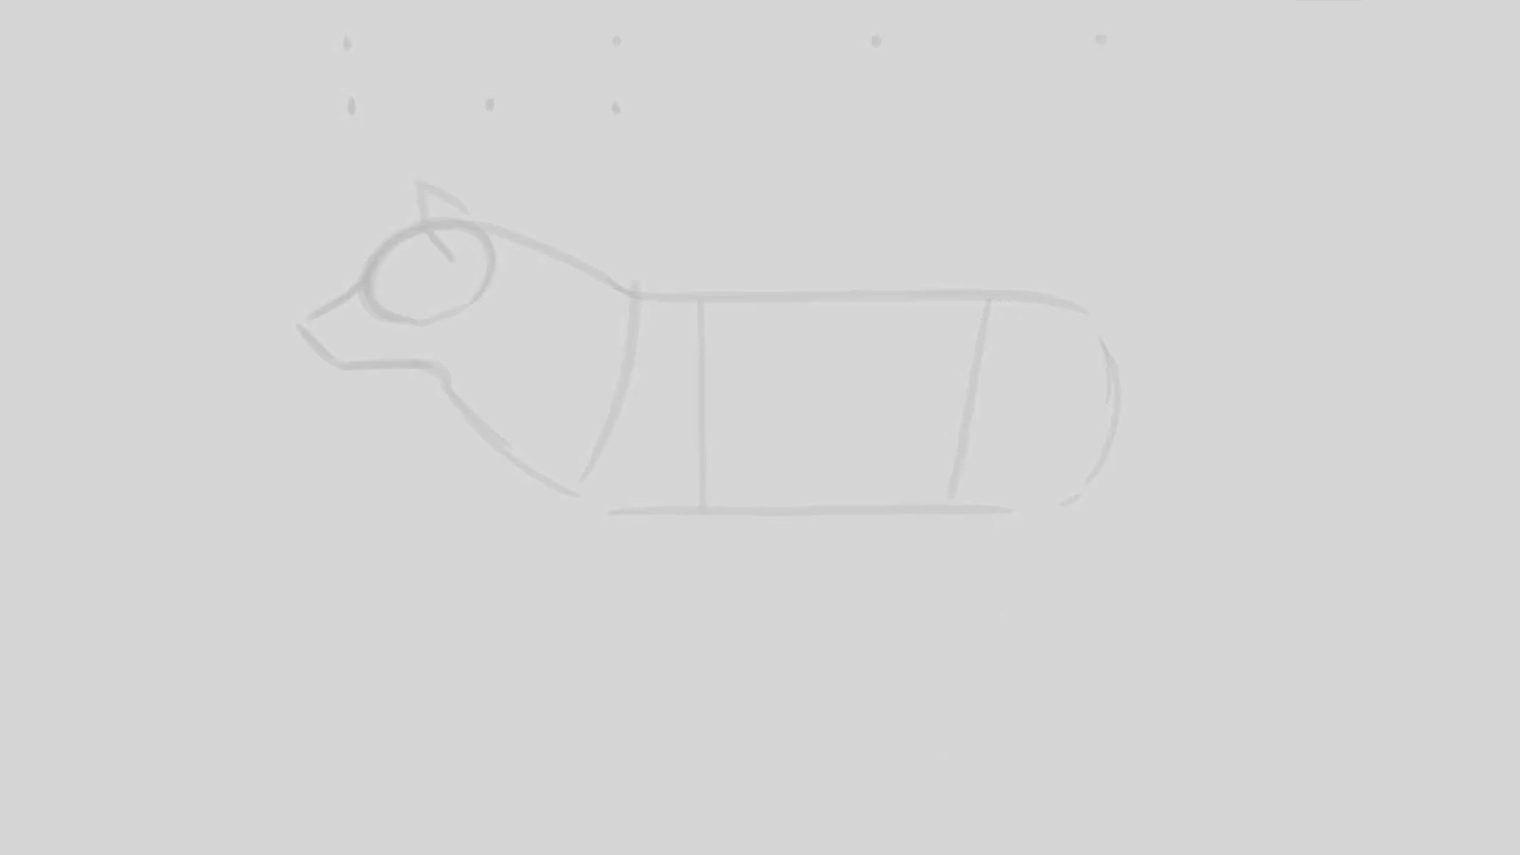
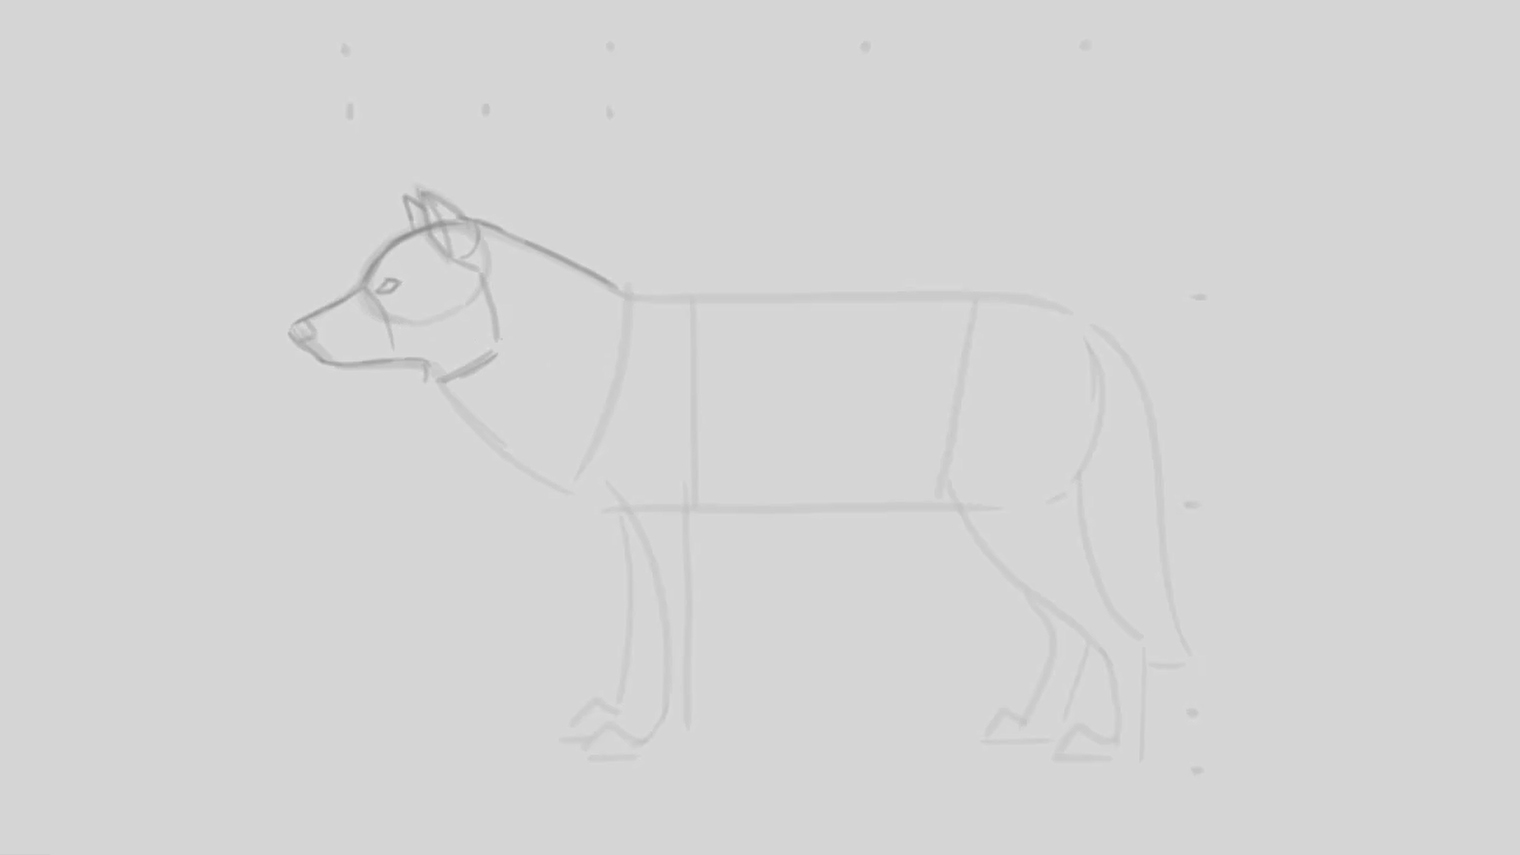
The body is sectioned off into three parts; the shoulders, stomach and hind legs. The line that divides the shoulder section comes straight down, sectioning off a narrow shape. The line for the hind legs is like a forward slash, separating the section from the long stomach.
05. Sketch the basic shape of the legs and tail
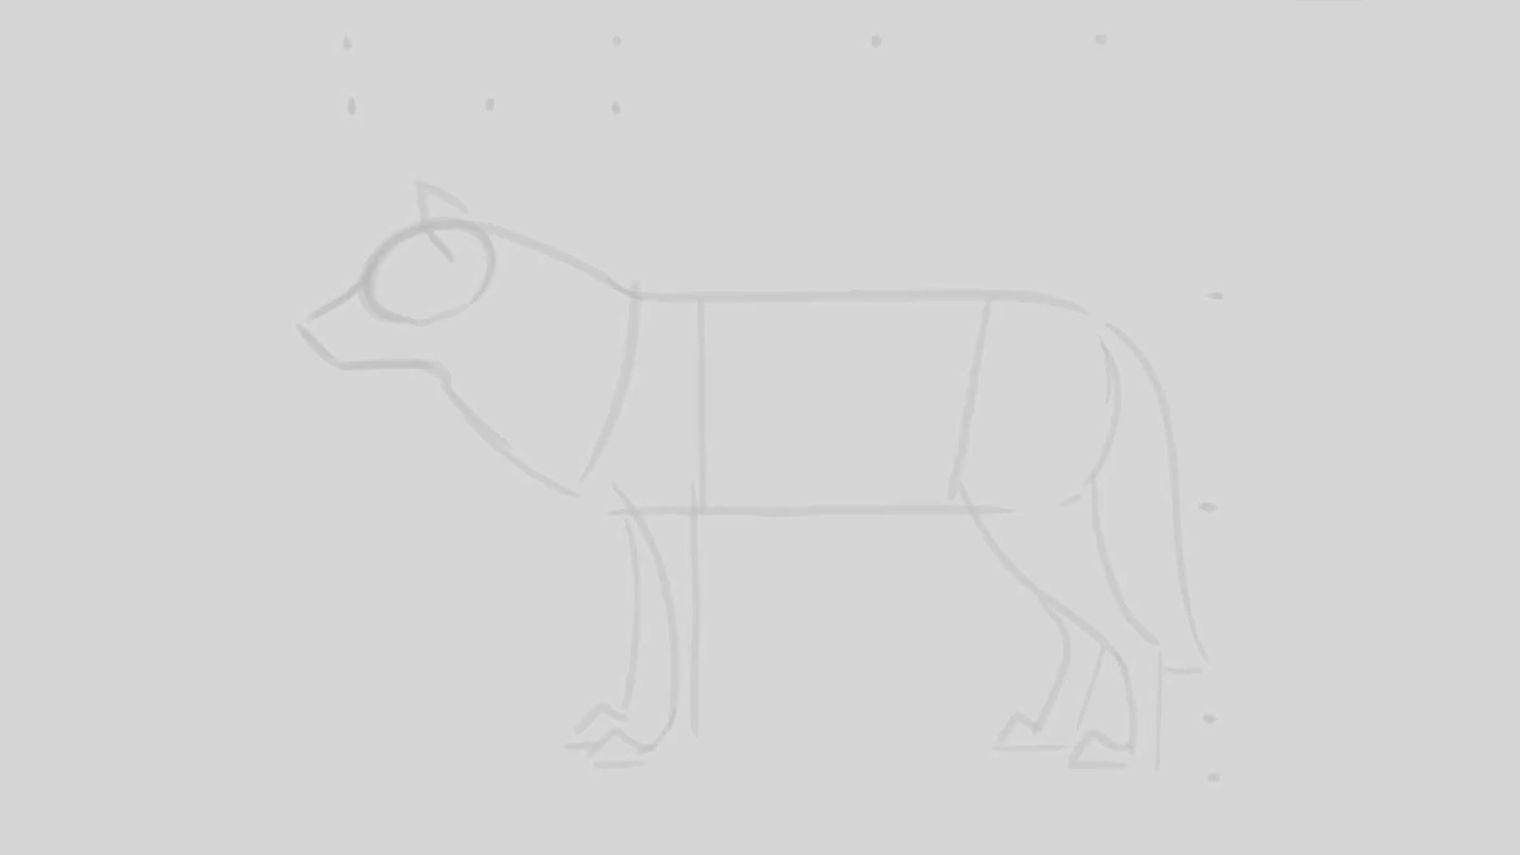
The height of the wolf is about two times the height of the body, plus an extra one sixth. Draw the front leg with a curved front and straight back. For the hind legs, draw a long 'S' shape in the front, and tapered at the back stopping halfway down.
From there, drop a straight line down to indicate the heel. The triangular shaped toes should look long and big. Draw the rest of the legs that are hiding behind the other front legs, make them slightly staggered to look more interesting and three dimensional. The tail shape is thick and long, dropping down to the heel.
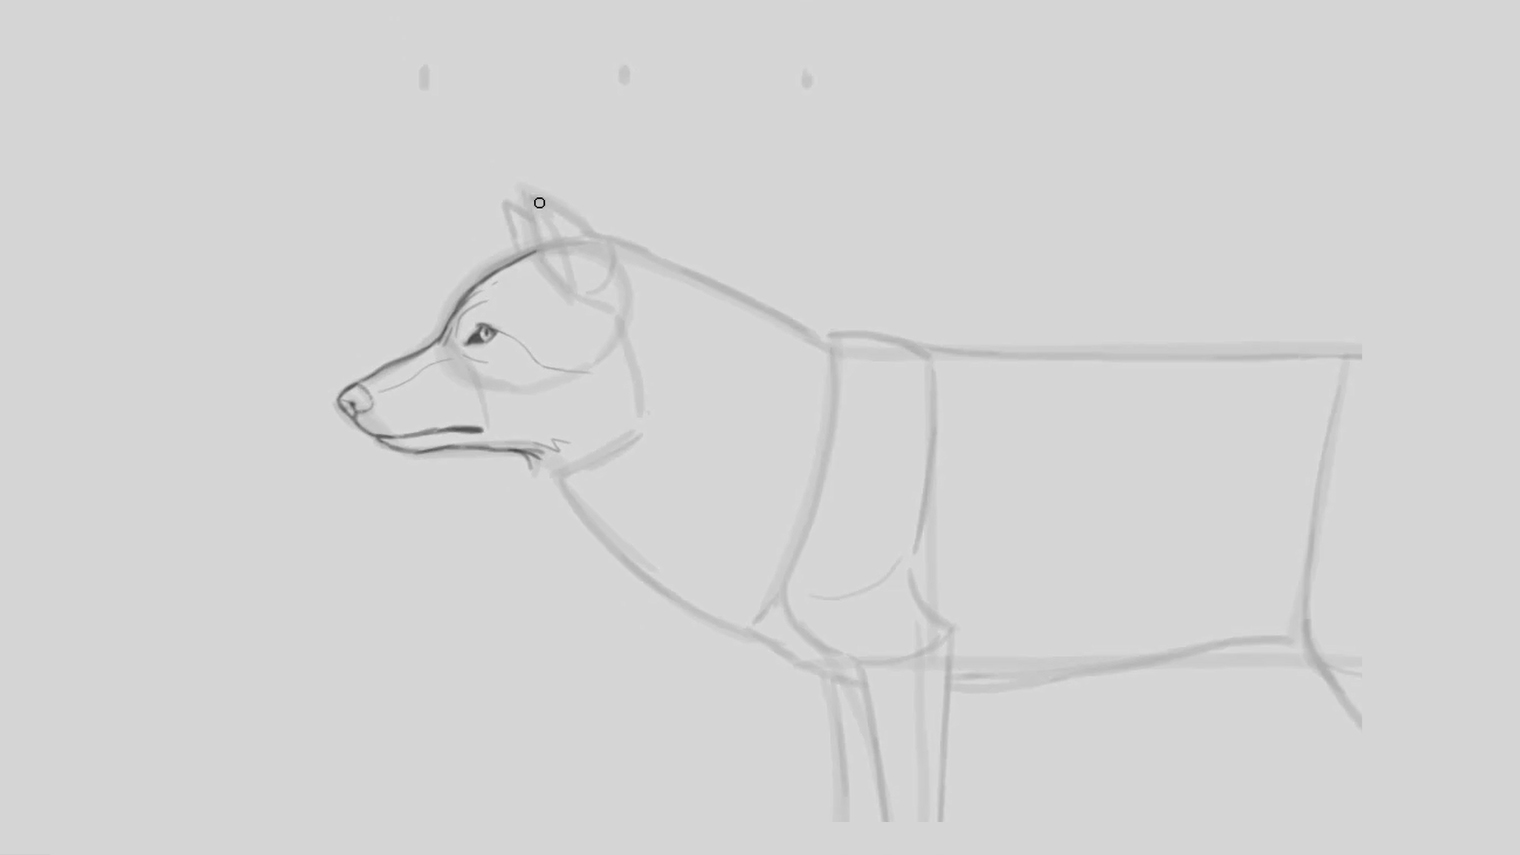
06. Carve out the mass structure of the head
Draw the top of the head and muzzle flat, and block in the shape of the nose and chin following the base drawing. The chin has a subtle curve as it reaches the neck and mane. The ear is almost like a cone shape with a line in the middle to indicate the front plane. Indicate the cheeks connecting from the ear, down the head and across to the chin. Add the eye as a thin slanted diamond shape, drawn right above the muzzle closer to the front of the oval.
07. Structure the front section of the body
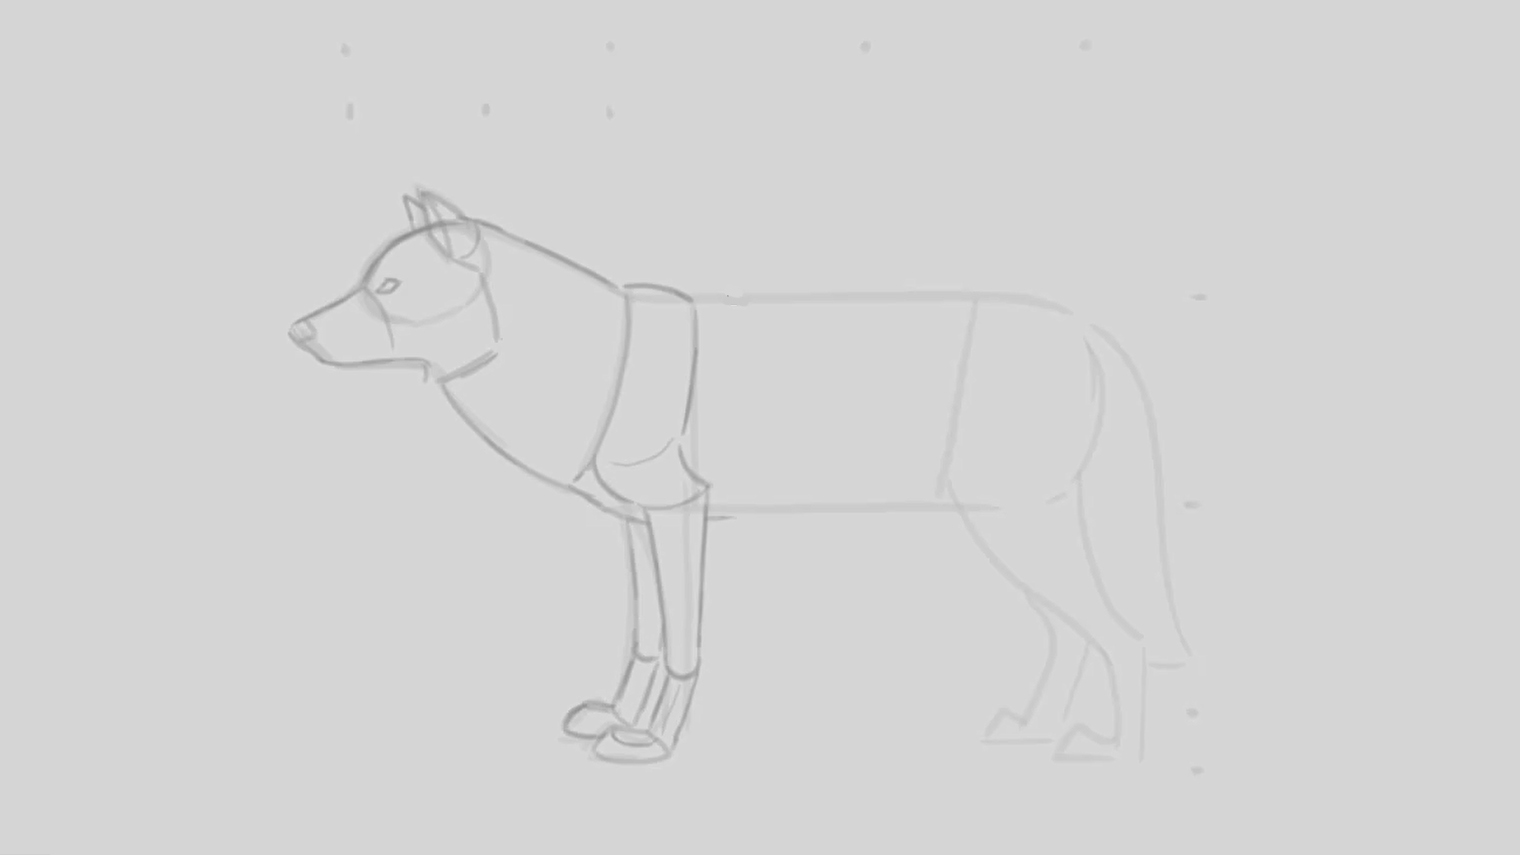
Follow the underdrawing to structure the neck, and add a small hump on top of the shoulder section. Draw a line that comes down to the elbow with a curl at the bottom. Mirroring the curl, draw the shoulder and section it off from where the legs starts. The leg tapers down to the wrist, connecting to the tube-shaped hand jutting forward. Then attach the paw formed like the shape of a puck. Draw out the chest located behind the arm, right under the shoulders. Repeat the same thing for the leg behind.
08. Form the middle section of the body
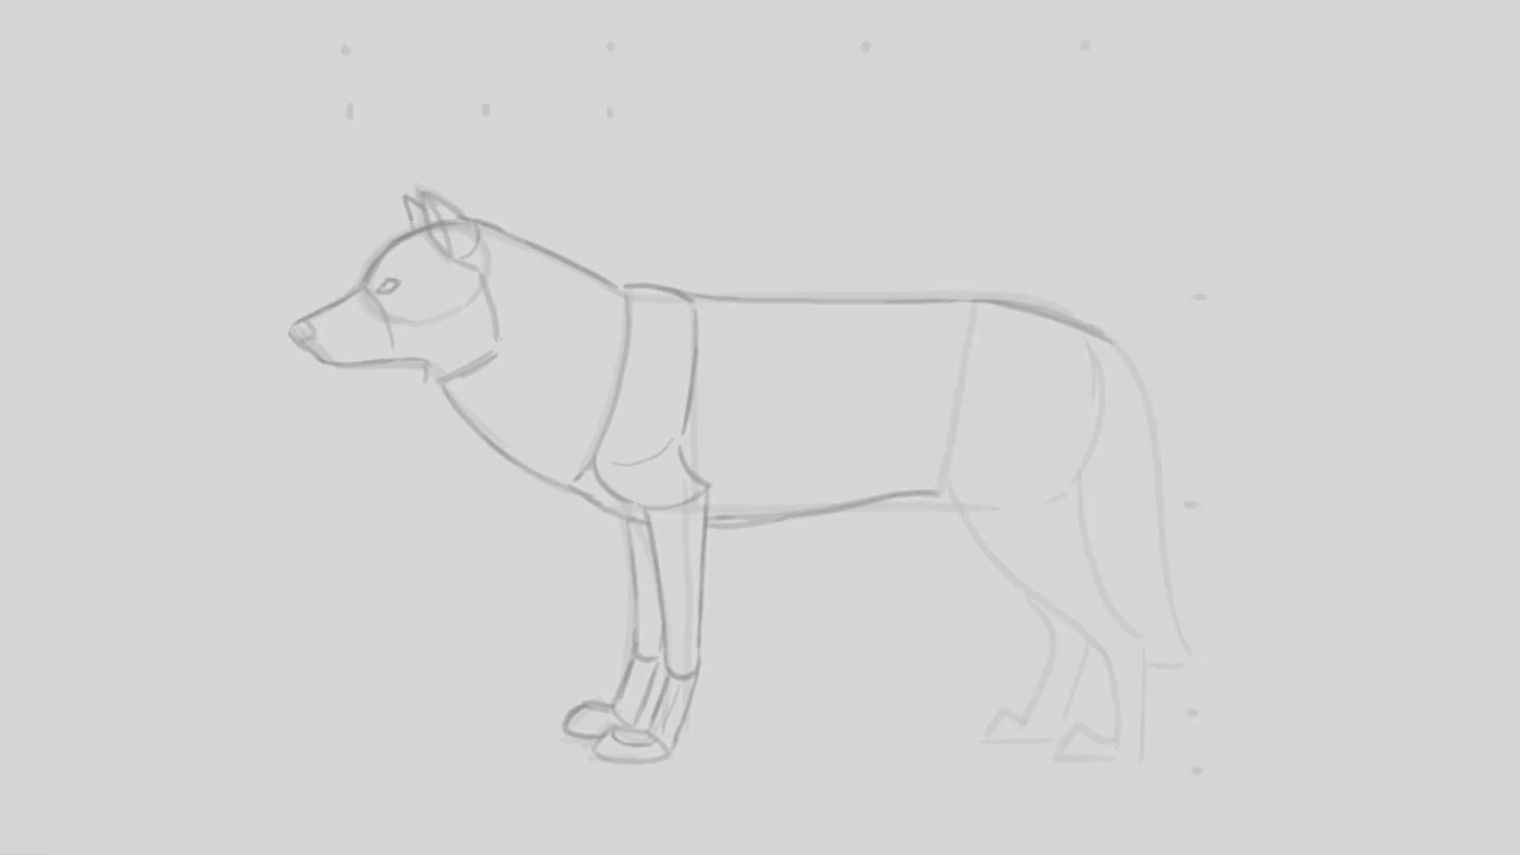
Where the middle and hind leg section of the body meet is where the hip is located. Draw a line that runs along the shoulder to the back, dipping down to the tail as it passes the hip. From the chest, draw the stomach – tucking up as it reaches the hind legs.
09. Shape the back section of the body
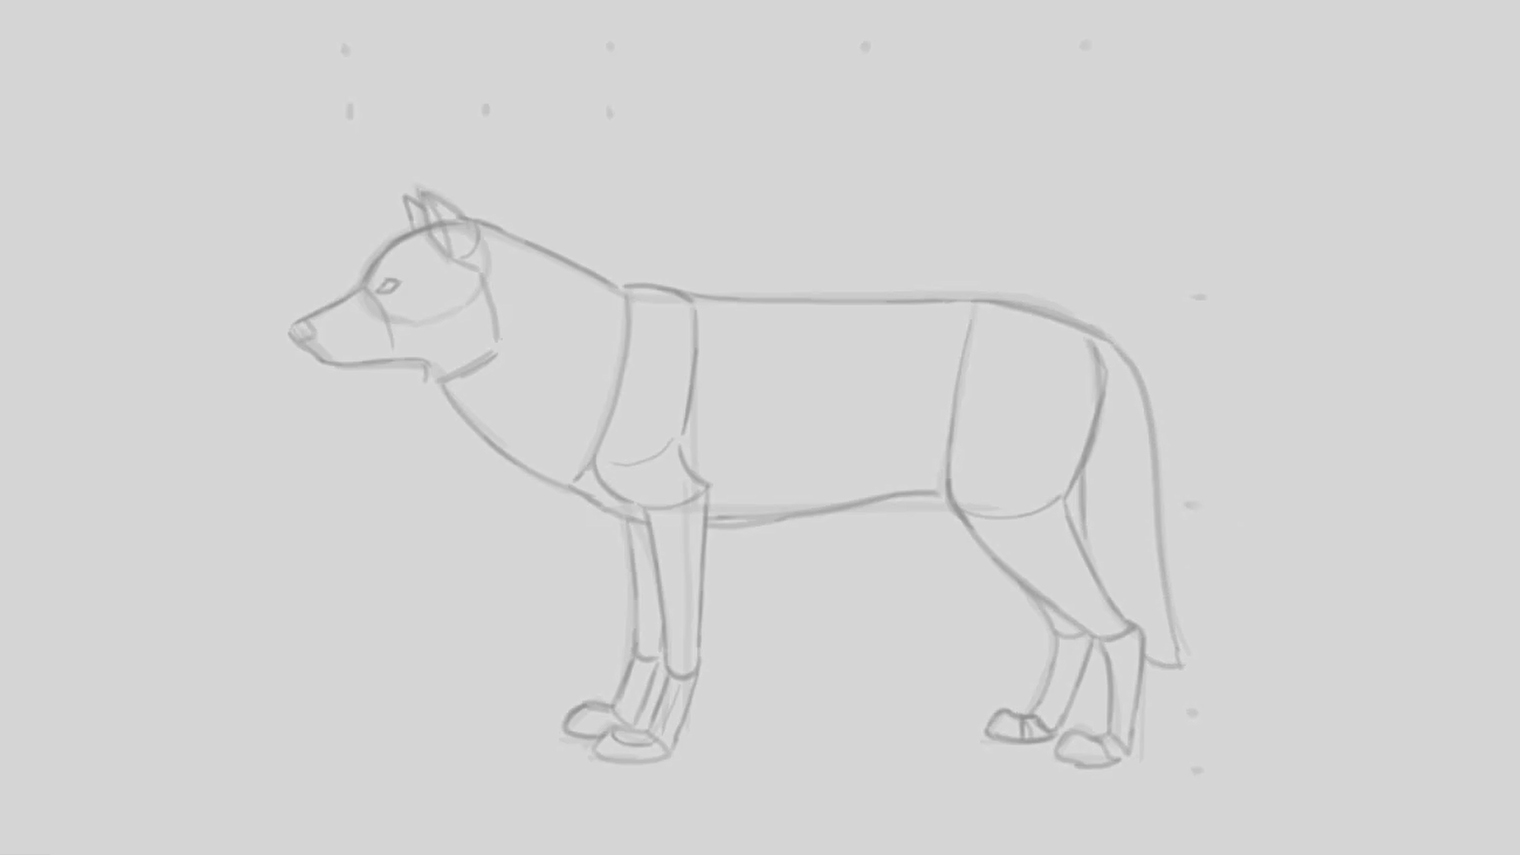
From the hip, draw a line down to the knee located where the stomach meets. The upper section of the hind legs is curve to the back of the knee, and tapers down to the heels. The heel should be located higher than the wrists. The back paws are just like the front, only smaller in size. Draw in the tail.
10. Draw the details of the head
The top of the muzzle has a small bump right before it reaches the nose. The nose is big but make sure it's not too pointy. As the mouth runs across the muzzle, it tucks up a bit and straight across back to the eyes. Wolves' lips don't hang over that much, so draw the chin thin. The eyeball is shaped like one quarter of a pie, filled with a black diamond right behind. Add some lines to the face to add structure and make it more wolf-like.
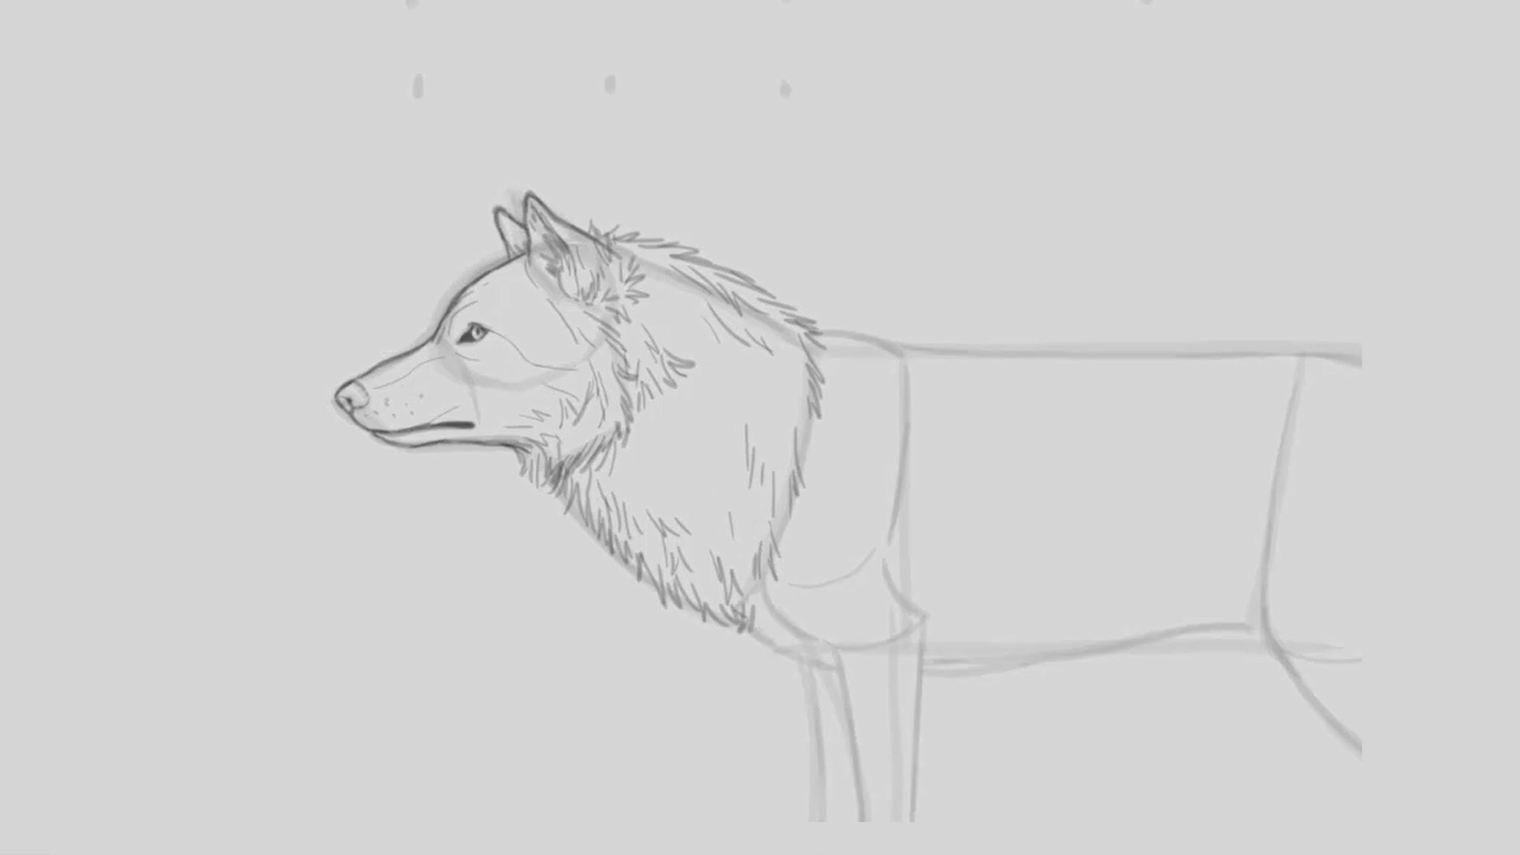
11. Draw the ear and mane
Draw the ears big and rounded at the top. The ear is very furry in the inside, and short in the back. Make the mane and neck look full by adding plenty of fur along the underdrawing, adding some variety to the fur going in different directions. Be careful not to go too overboard on the fur, or it will get too confusing and break the structure. It's best to place the fur along the edges where the plane of the neck is turning away.
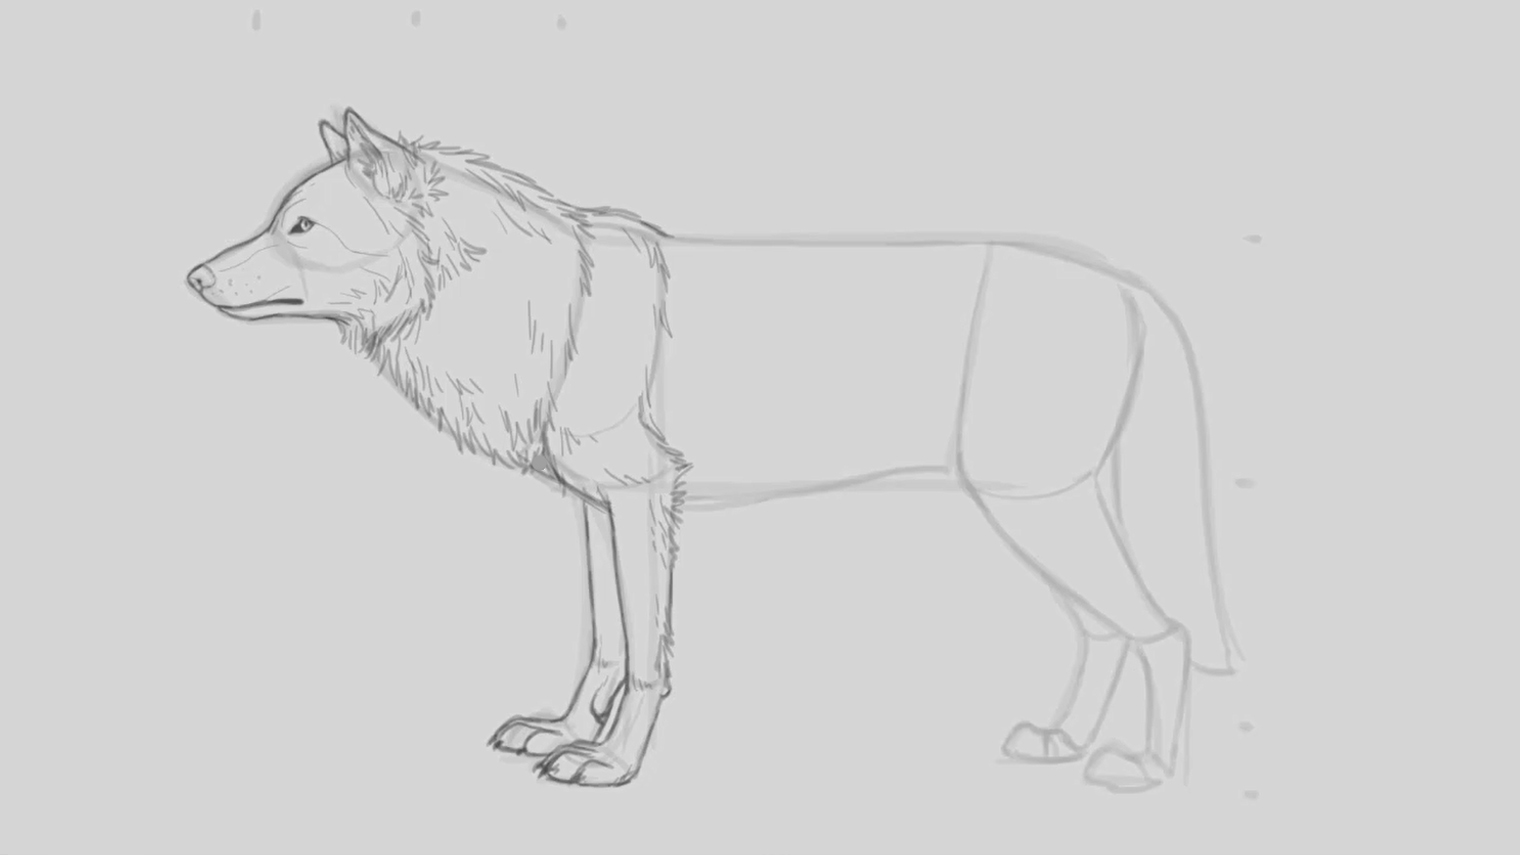
12. Draw the fur and details around the shoulder
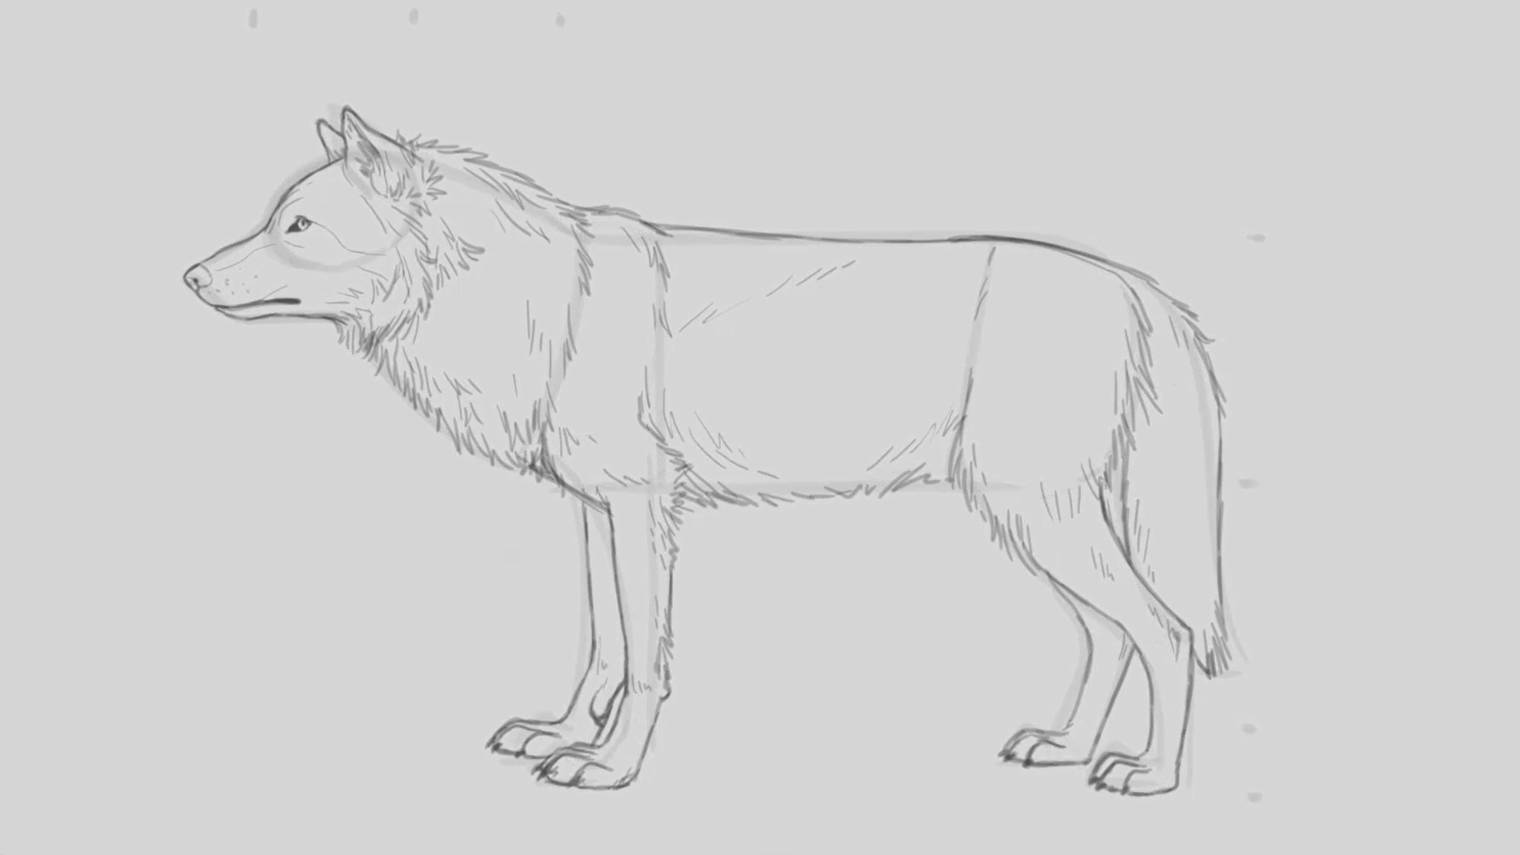
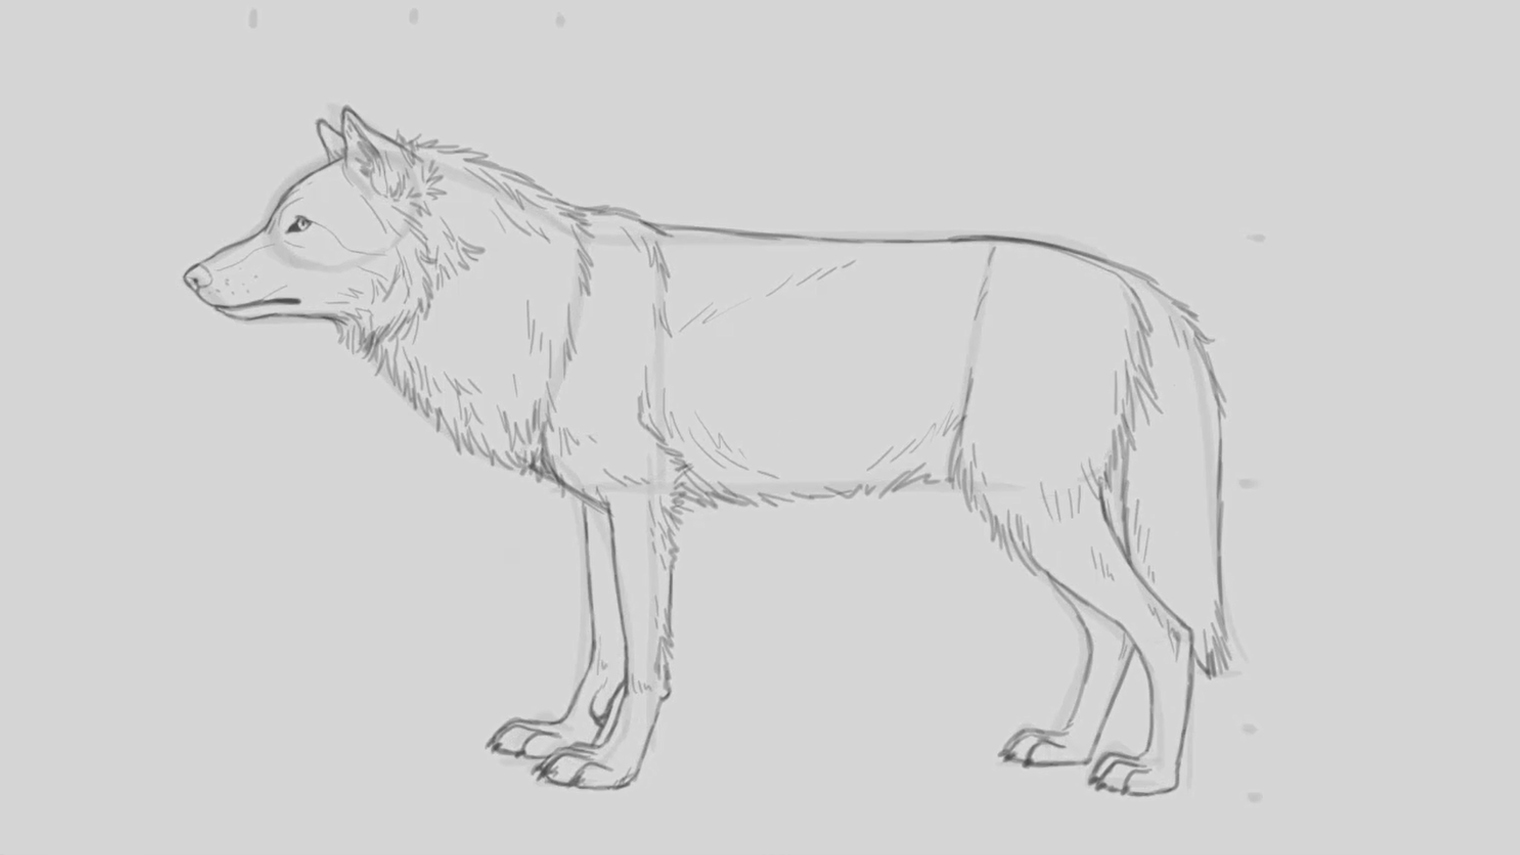
At the top of the shoulder section, the fur covers the bump at the top, shoulder and elbow. The front side of the leg has a subtle curve coming down, while the back has a bunch of smaller fur in the back. At the wrist joint, there is a small pad in the back that sticks out. The fingers of the paws are shaped almost like big long triangles. The front paw has a fifth toe on the inside and two long toes in middle.
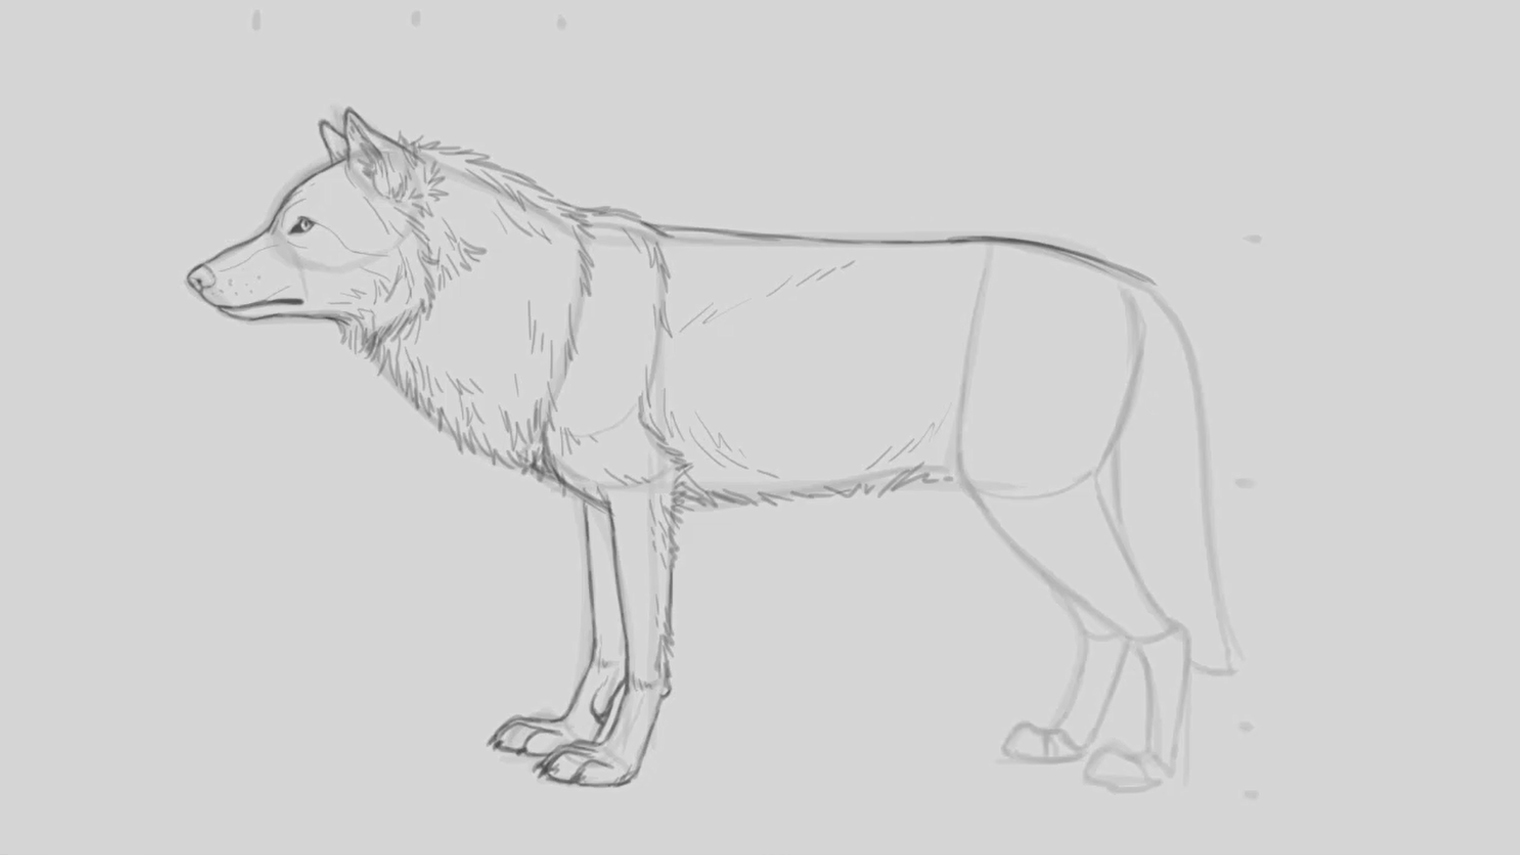
13. Draw the fur and detail around the mid-section
The back dips down to the hip and comes right back up, and back down again to the tail. The fur in the stomach area goes in the opposite direction as it gets to the middle area. Draw some thin lines to define the visible muscle in the back.
14. Draw the fur and detail around the back section
There is more fur in the top section of the leg than the bottom, so draw the furry detail on the top and smooth lines in the bottom. Just like the front paw, draw the hind in a similar way, but smaller and with only four toes. Finish off the body by drawing the furry tail.
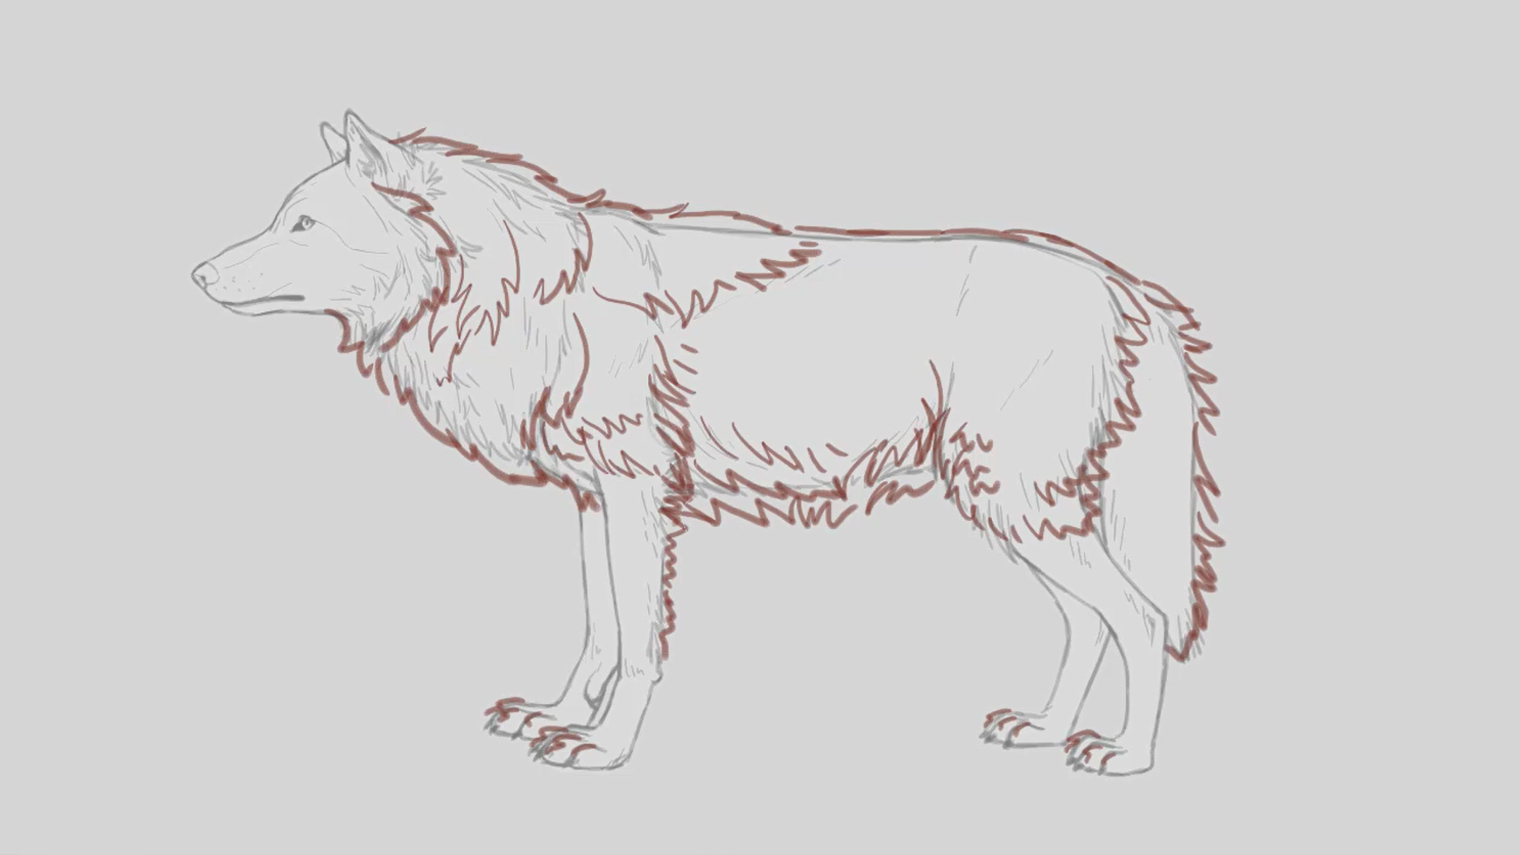
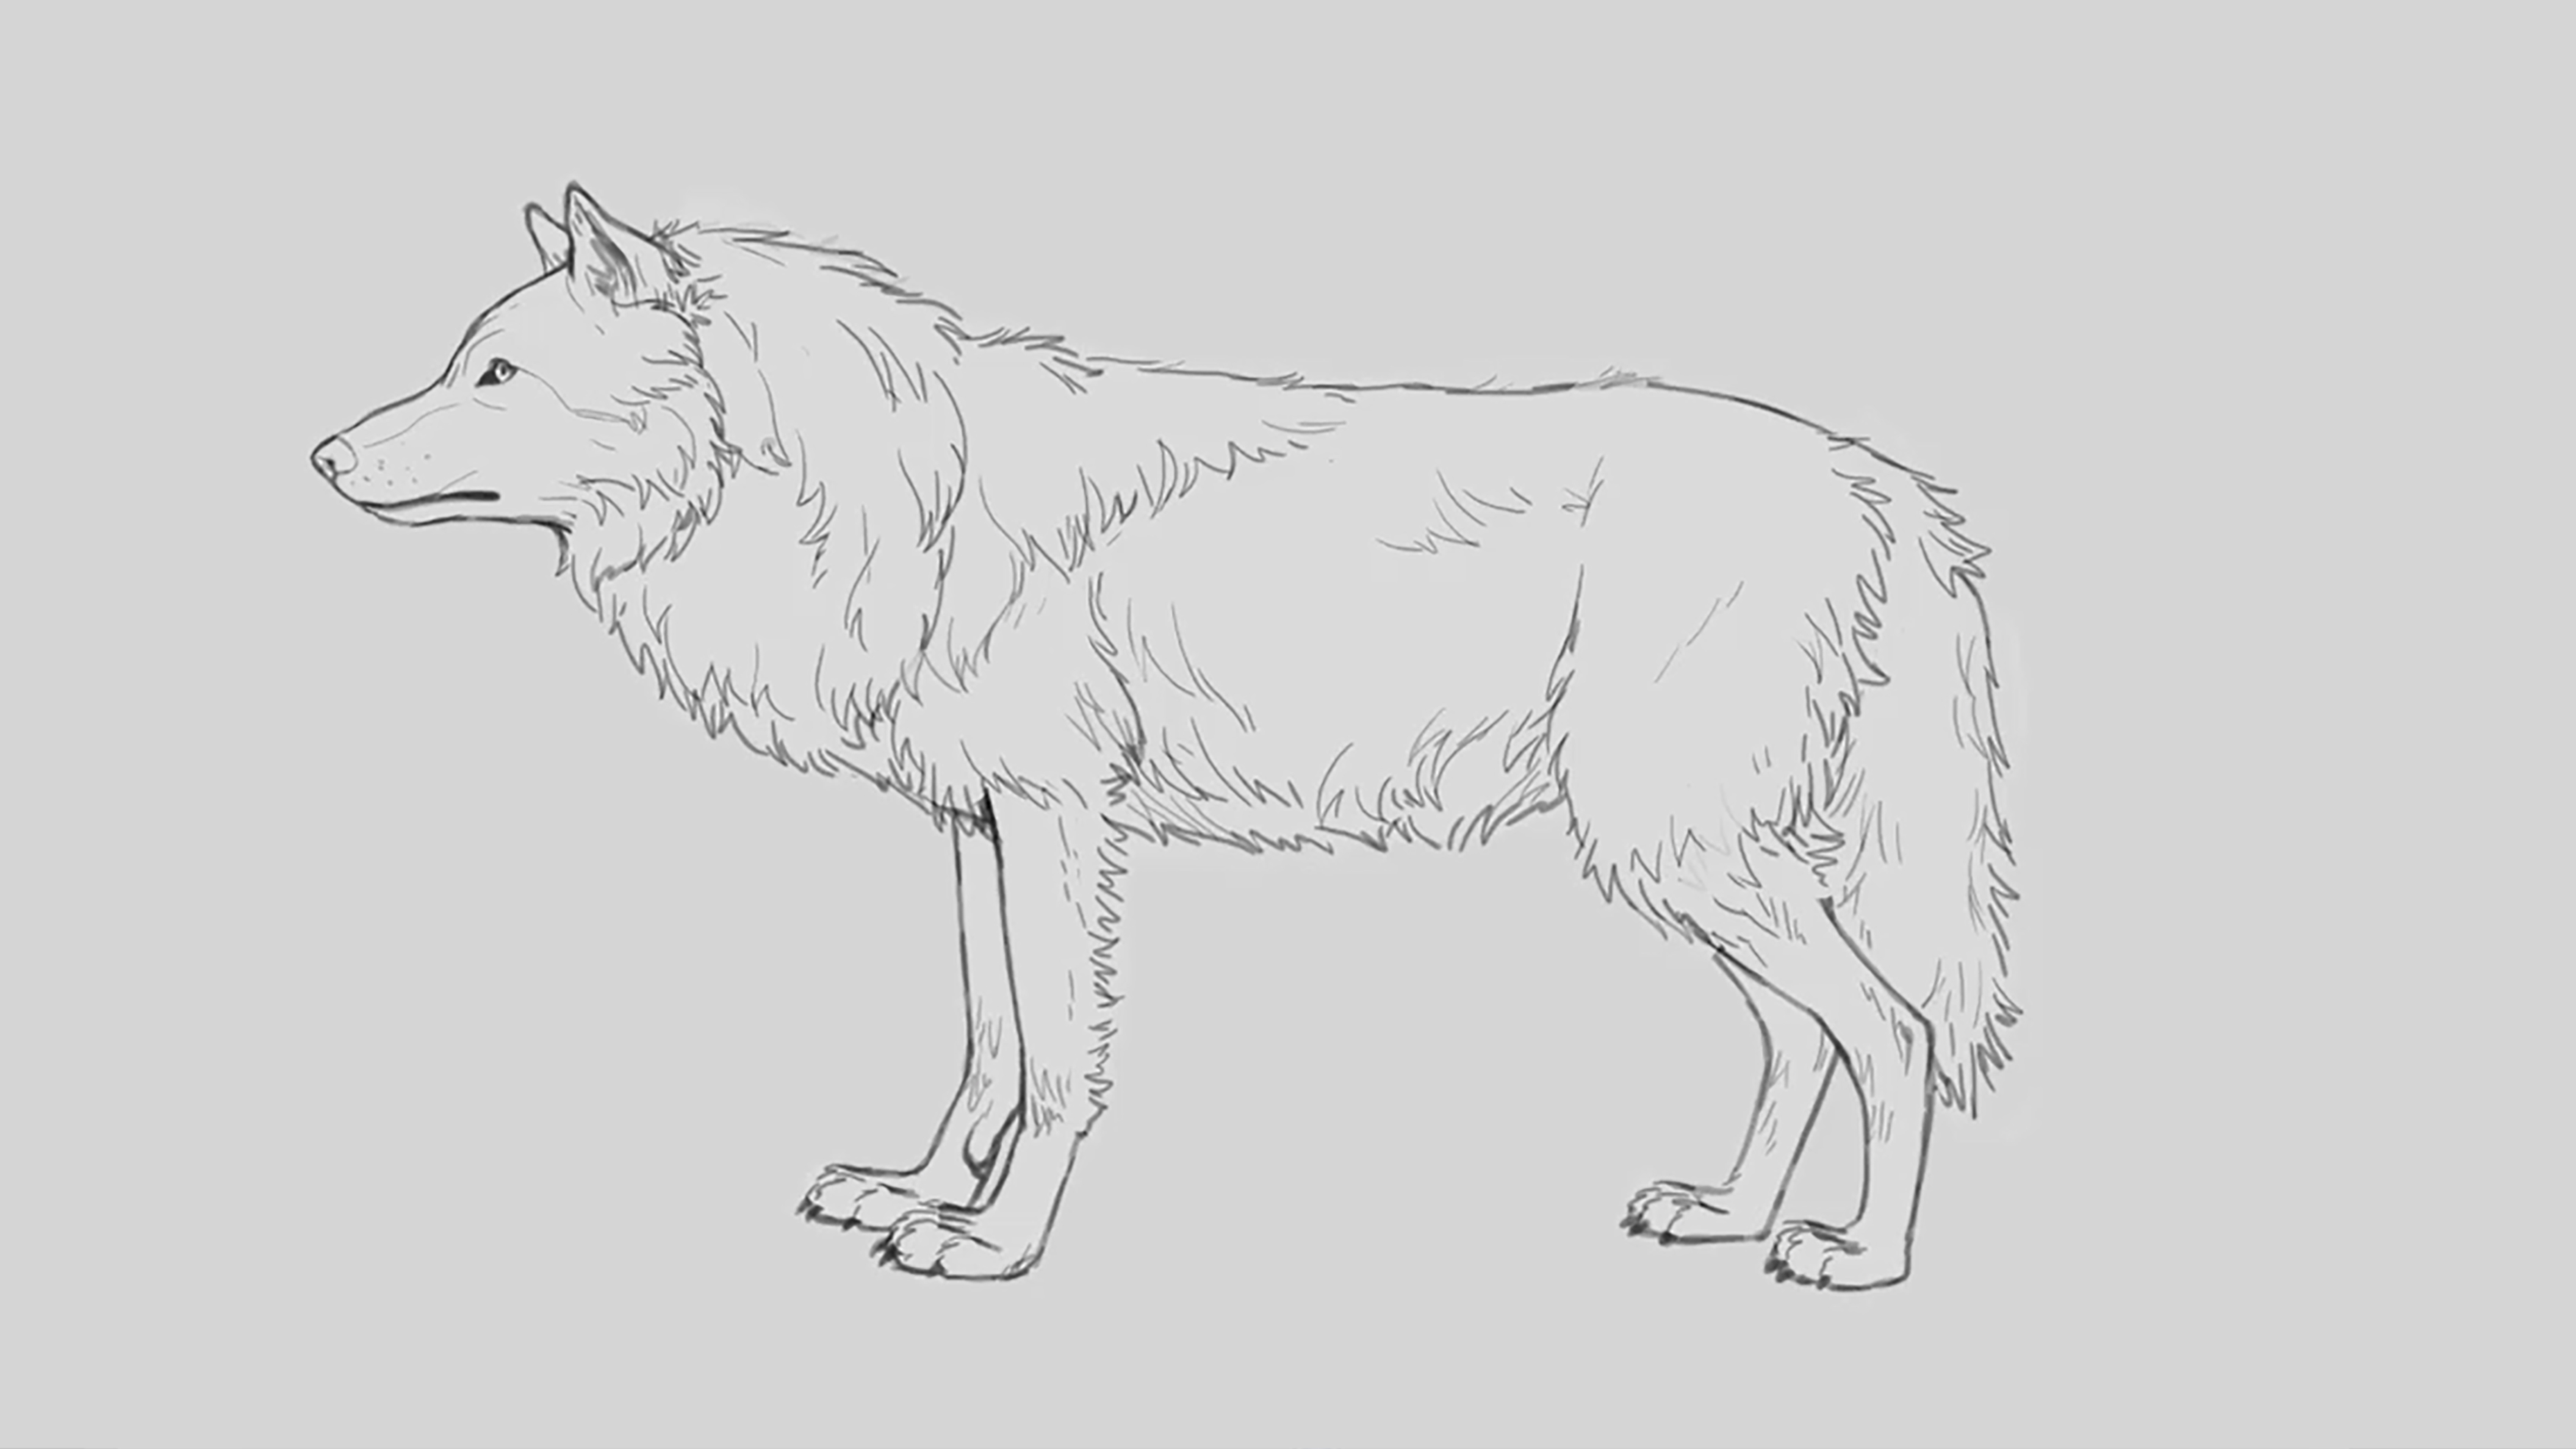
15. Bonus: add a winter coat
When drawing the winter coat, you can go over the top of the final drawing of the wolf with more fur around the majority of the body. When you add the thick fur coat, draw a variety of lines and shapes to make the wolf look fuller. Draw the fur in different sizes of chunks, lengths, and a variety of lines and shapes.
Read more:

Masae Seki works at Imaginism Studios as a character designer and illustrator for film, tv and book publishing. She has illustrated numerous books for Disney and is a character designer on the Netflix film "12/24" (2018).

