Get started with Assets in Affinity Designer
When working on projects like app design or branding collateral, it’s important that there is consistency between different elements, to give a sense of continuity across the design. In Affinity Designer, Assets help address this issue. You are able to save sets of Assets, ready to drop into your document for repeated use.
In this article, we'll show you how to get started using the Assets function in Affinity Designer. Watch the video above for a two-minute overview, or read on for some top tips. This is part of a series of video tutorials showing you how to use Affinity Designer – a popular vector art tool for Mac, Windows and iPad.
01. Access the Assets Panel
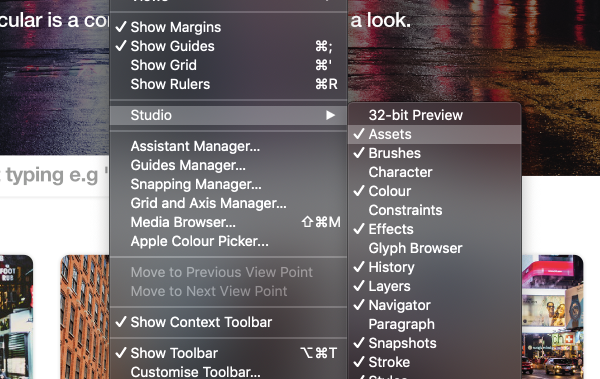
You can access the panel and add it to your workflow by going to View > Studio > Assets. Once selected you can drag it to your panels and keep it there for future use. I keep my Assets panel next to my colour palette.
02. Import and export Assets
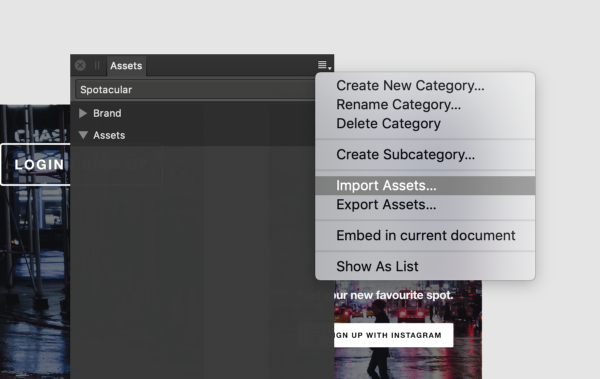
It may be that you are working with team and there is an existing collection of assets for your design, or that you want to download a UI kit (many of these are now being made for Affinity Designer). To import Assets, simply click the Options icon on the Assets panel and click on Import. This will bring up a finder window for you to select the relevant .afassets file for immediate installation – no need to close and reopen the app.
To export Assets, just hover over the export option. This will create an .afassets file, and from here you can make your own asset kits for others to use.
03. Create Assets
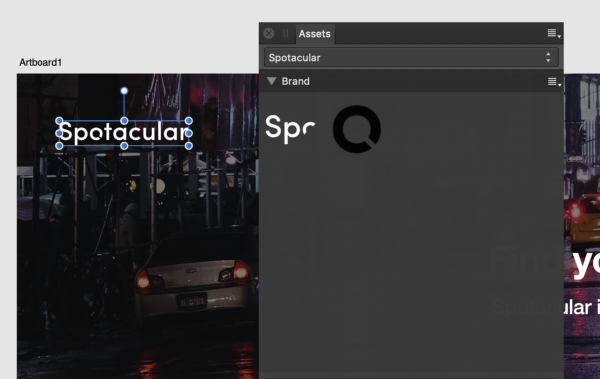
To create an Asset, just drag whatever object you want to into the the relevant category. Things that you will reuse often, such as buttons, logos or illustrative elements are good things to turn into assets. However, technically you could go all out and turn whole website layouts into assets – if, for example, you wanted to replicate a template.
04. Create categories and sections
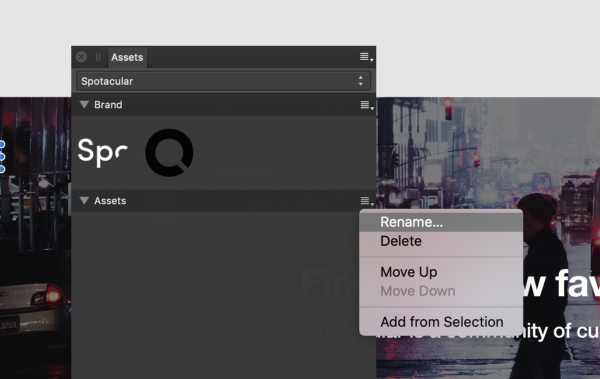
Click on the option/menu icon in the Assets panel to create additional categories and sub-categories. Sub-categories are useful if you want to divide up assets, for example: you might have one sub-category for branding (logos and so on), one for illustrative elements and another for UI elements such as buttons or icons.
Daily design news, reviews, how-tos and more, as picked by the editors.
05. Embed Assets
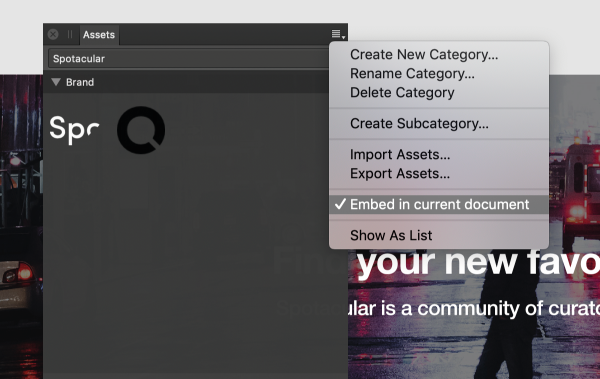
Finally by clicking the option/menu icon in the Assets panel, you can embed your assets into the file. This means that when you share the file with someone, they will also be able to access all the assets relevant to the file. This is great for handing over work to a client, or if another designer wants to pick up where you left off.
More in this Affinity Designer tools series:

Tom Ludd is a Product Designer at Softr, and the founder of creativity.wtf. He previously founded The Designers' League, a community of more than 80,000 creatives, and has written for Creative Bloq on digital design tools. Tom also runs the brand and product design studio Prelude, which is currently working on Showcase, "a place to discover what's next at the intersection of tech and creativity."
